Making Leonardo da Vinci’s LEGO Ornithopter Fly
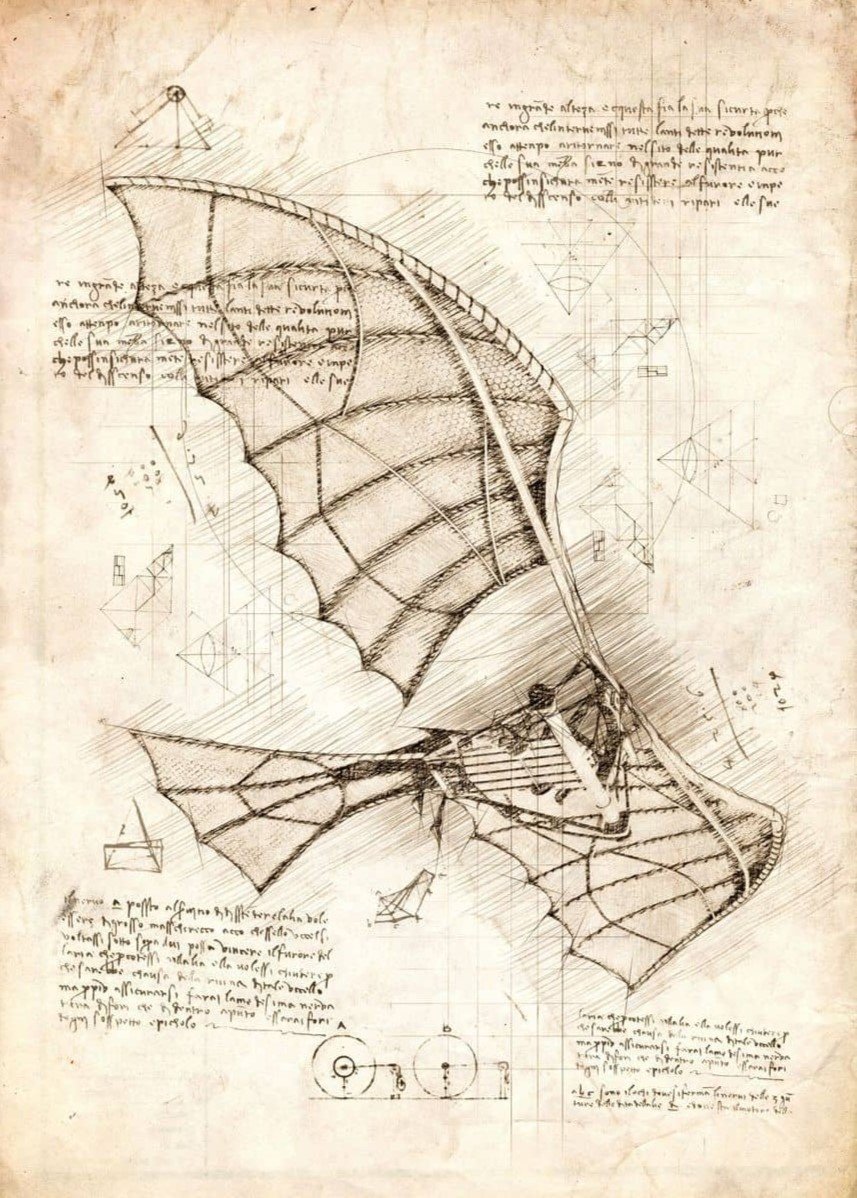
/Back in the 15th century, THE renaissance man Leonardo Da Vinci had a dream to design a human-powered flying machine. He never realized his goal, but he quite impressively worked out an early understanding of many laws of physics behind flight—often based on observing birds and their mechanics. This allowed him to devise some pretty fantastic concepts that were ahead of his time, such as his famed “flying machine” (an ornithopter).
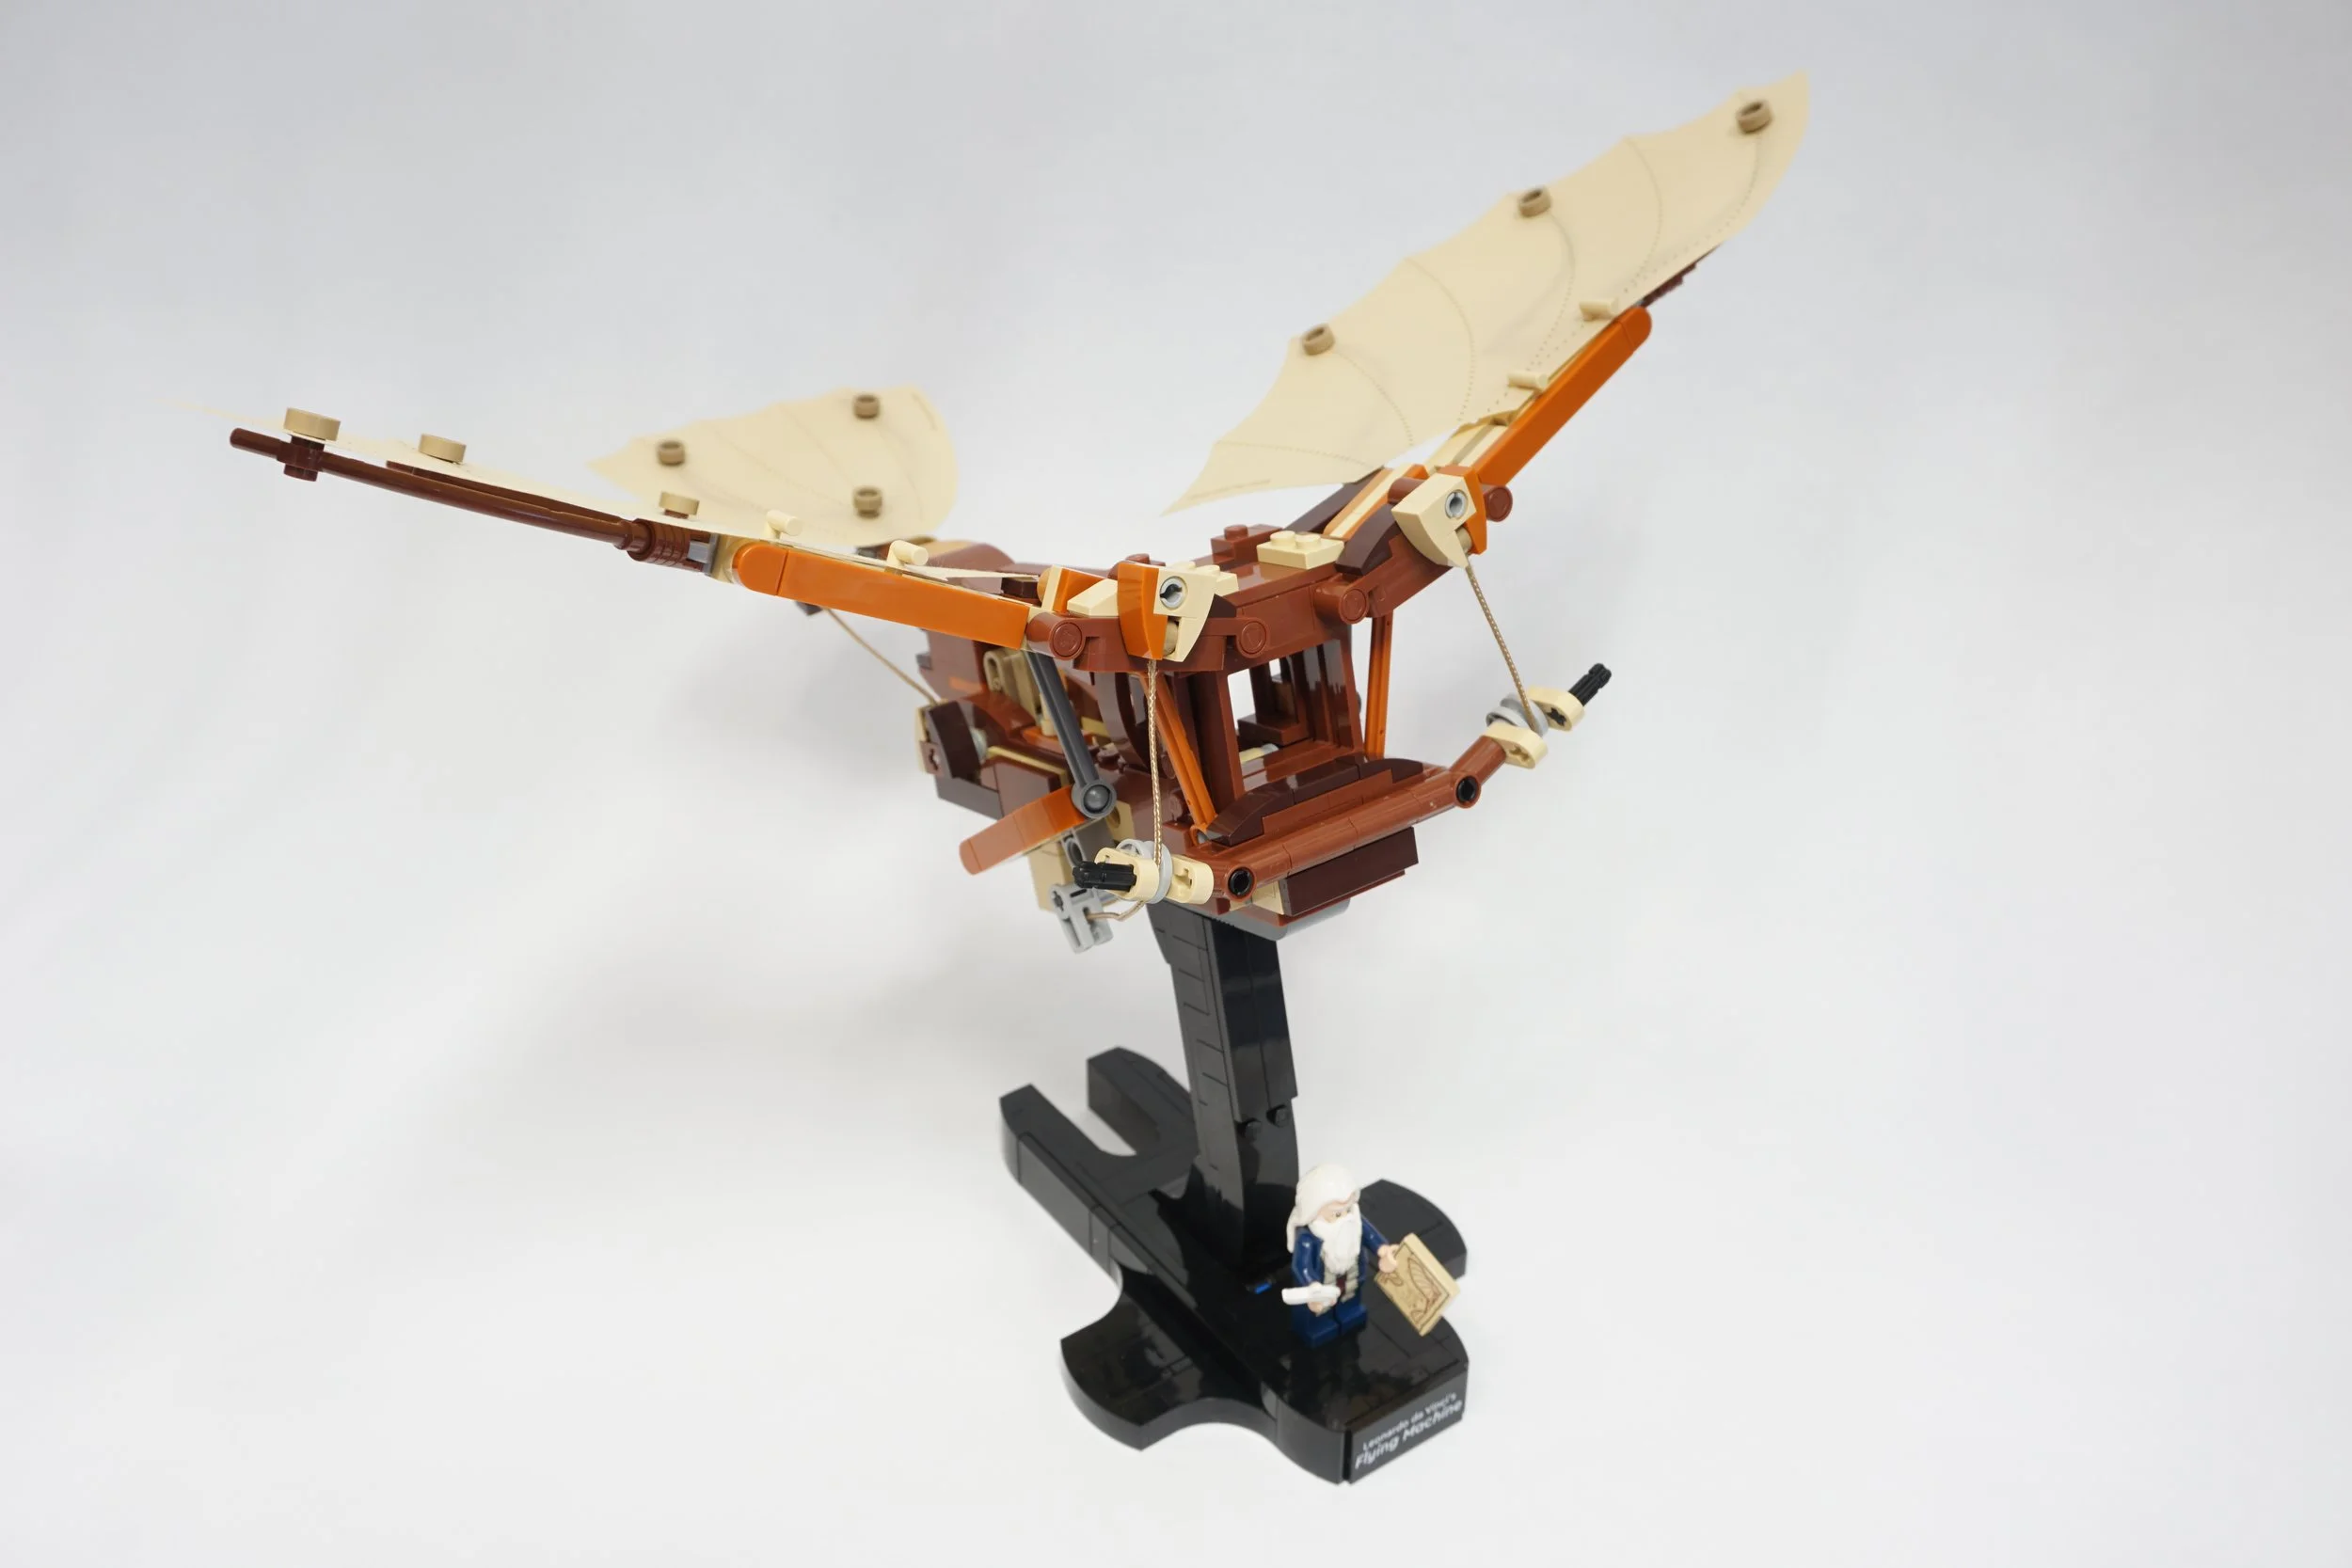
The flying machine design revolves around a central wooden platform that the human lies on and works mechanisms with their arms and legs to power bird-like wings and a tail with ropes and pulleys. To be fair, Da Vinci’s ornithopter couldn’t get past the weight-to-power ratio that the inefficient flapping motion required. But, it sure looks cool, doesn’t it!?
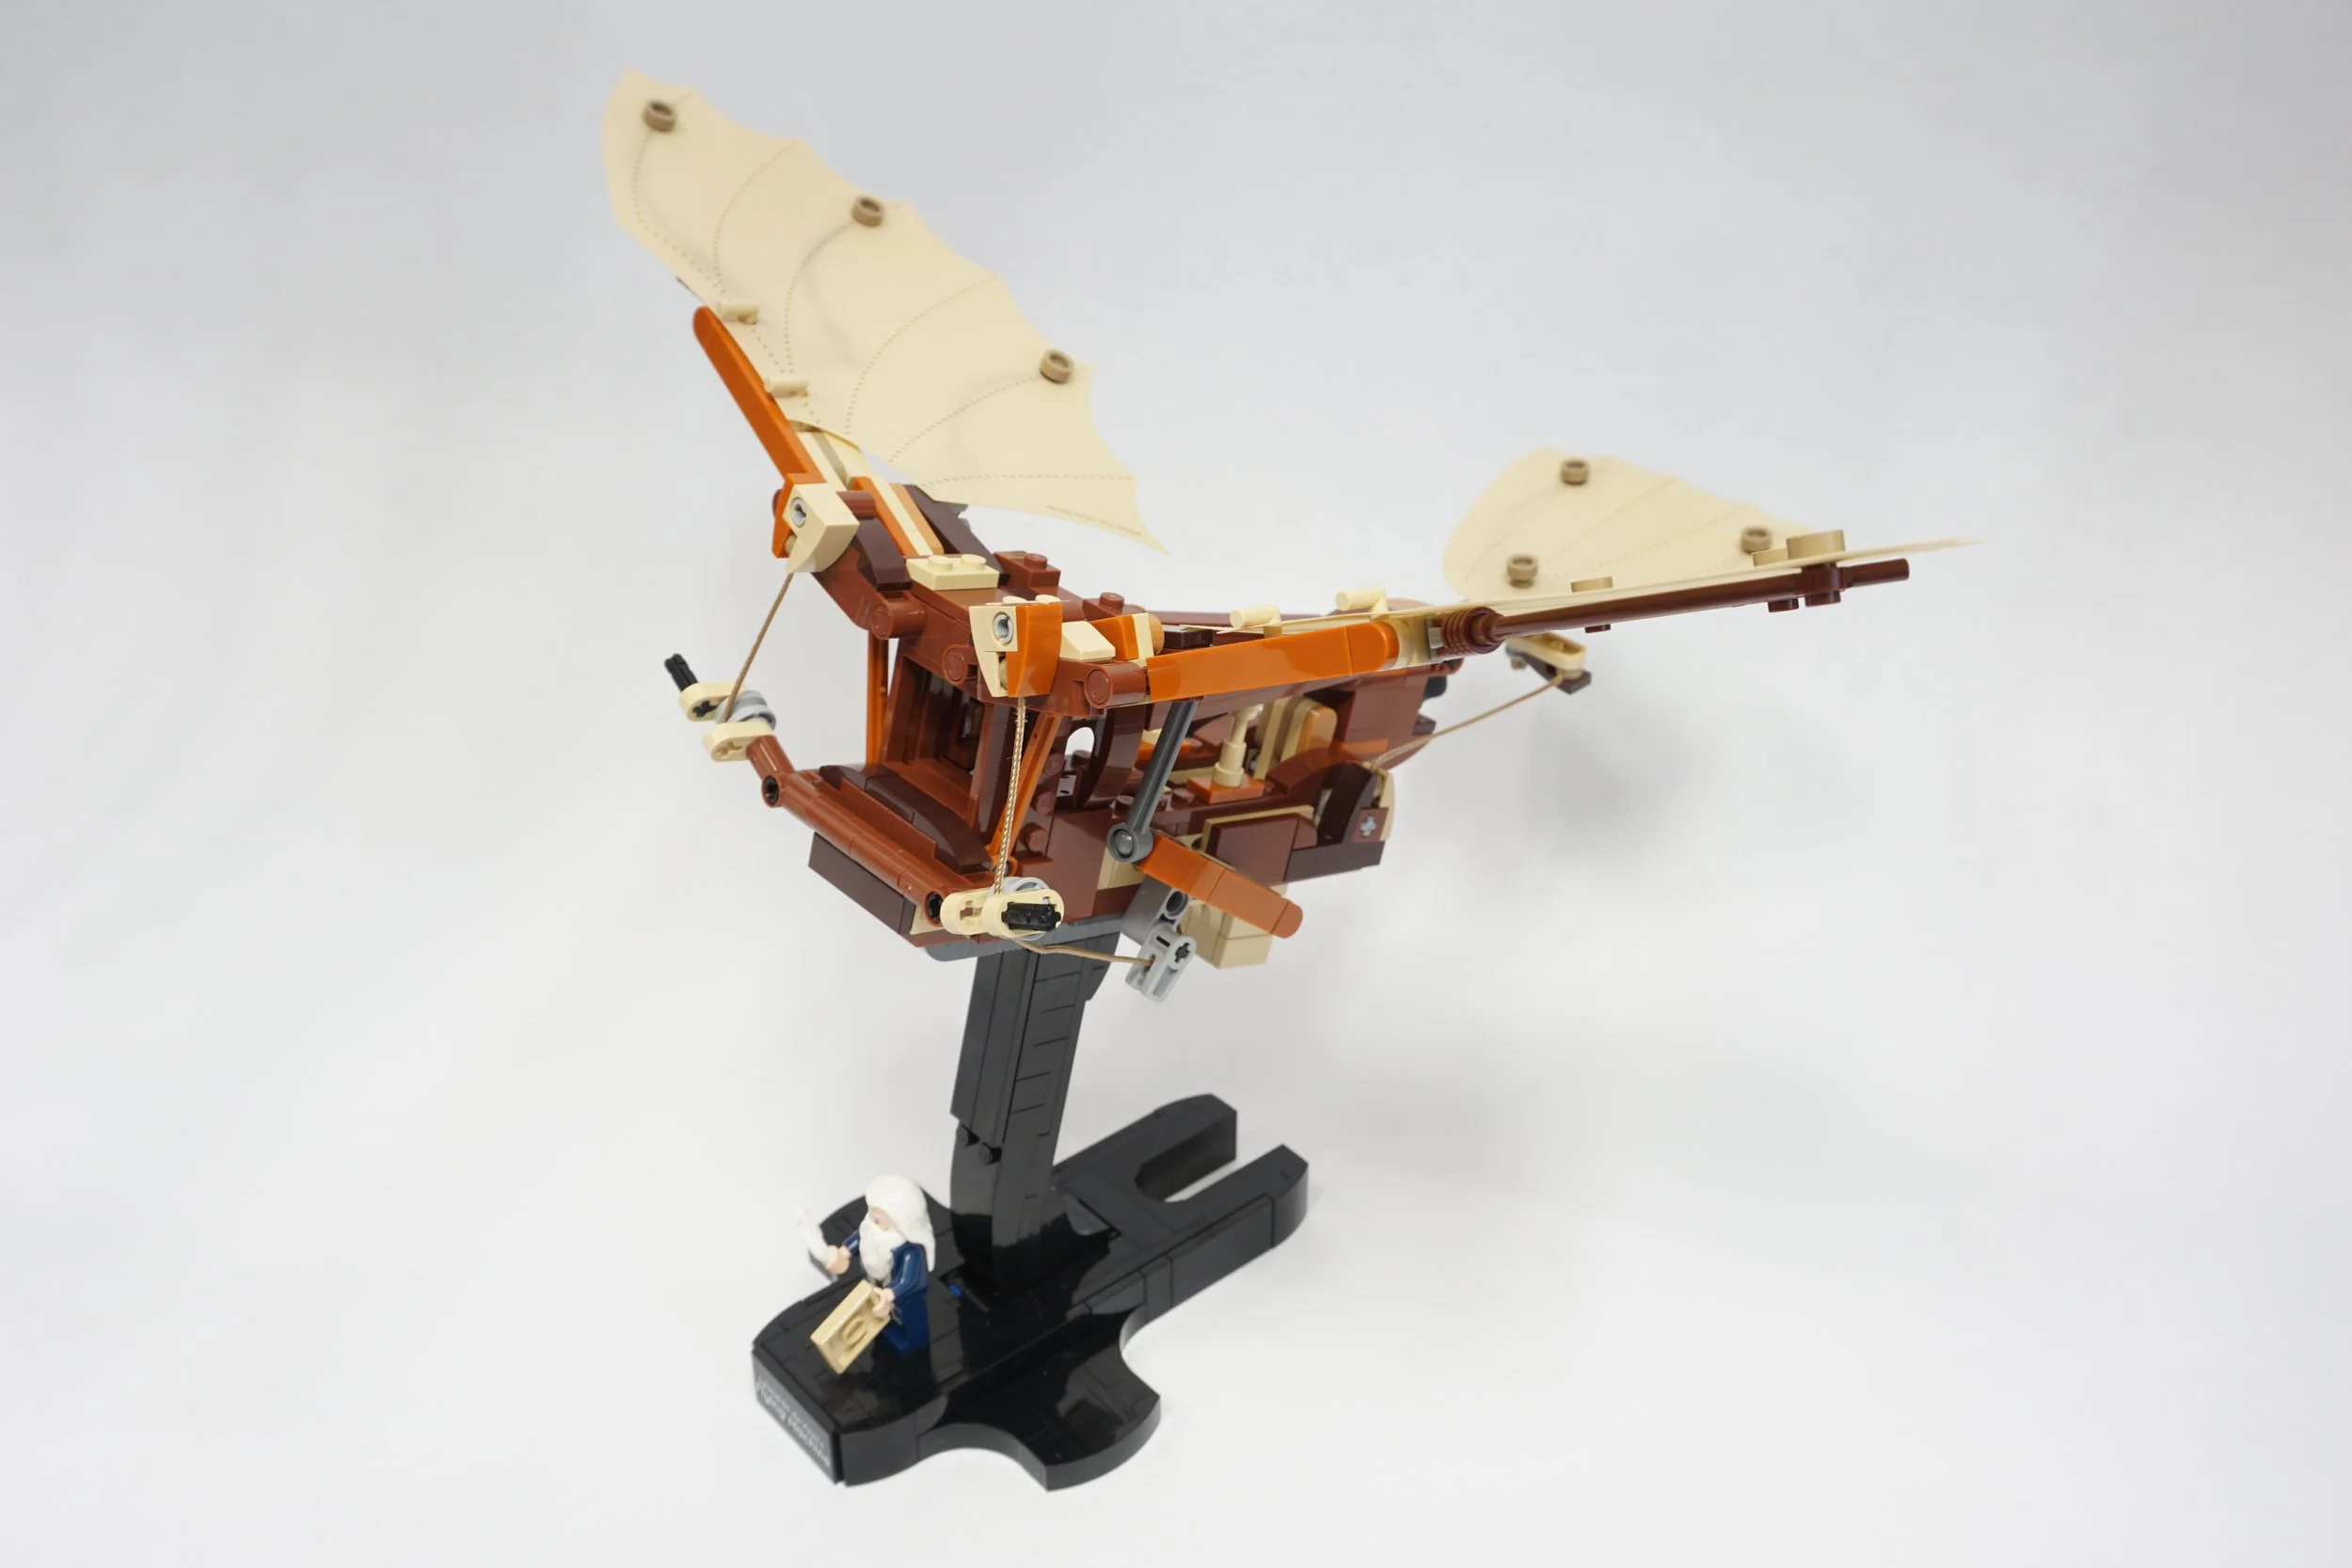
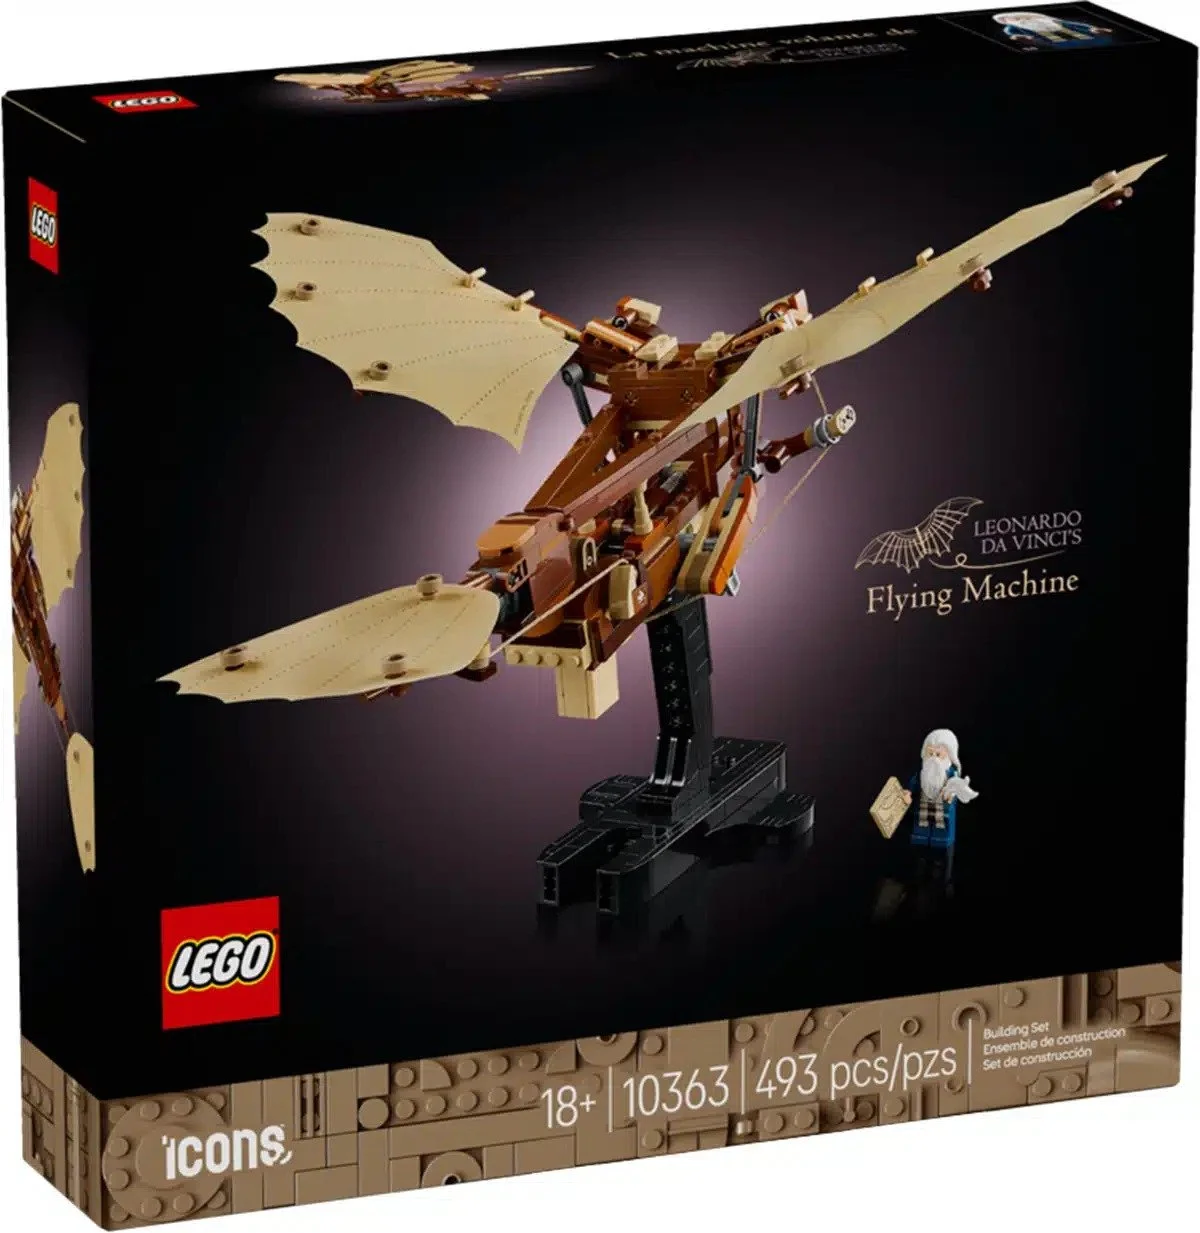
Isn’t she beauteous!!
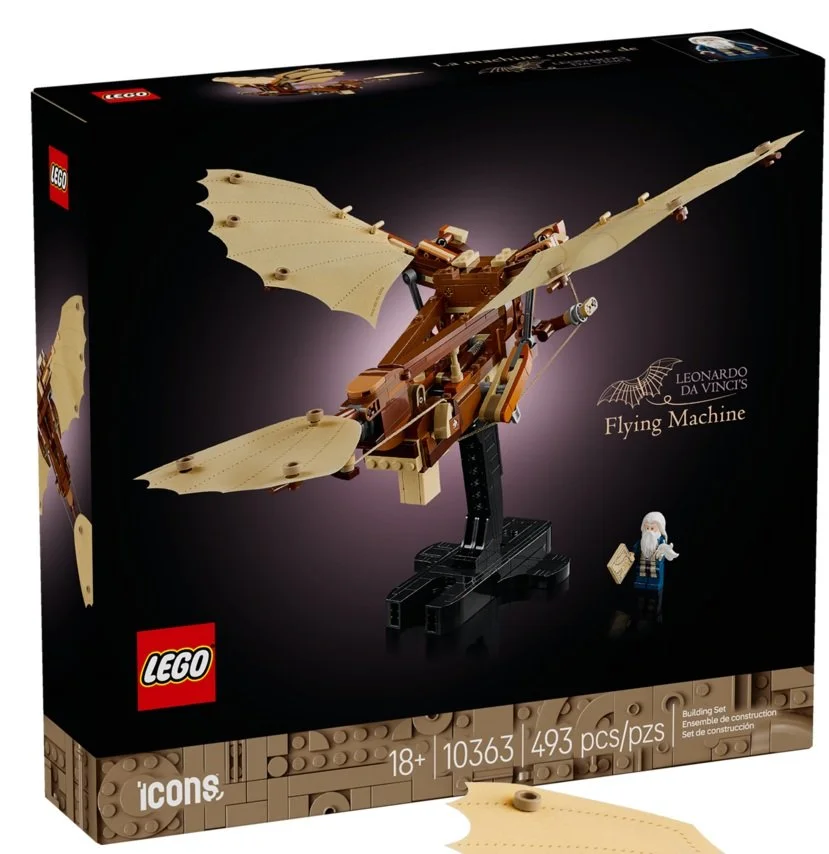
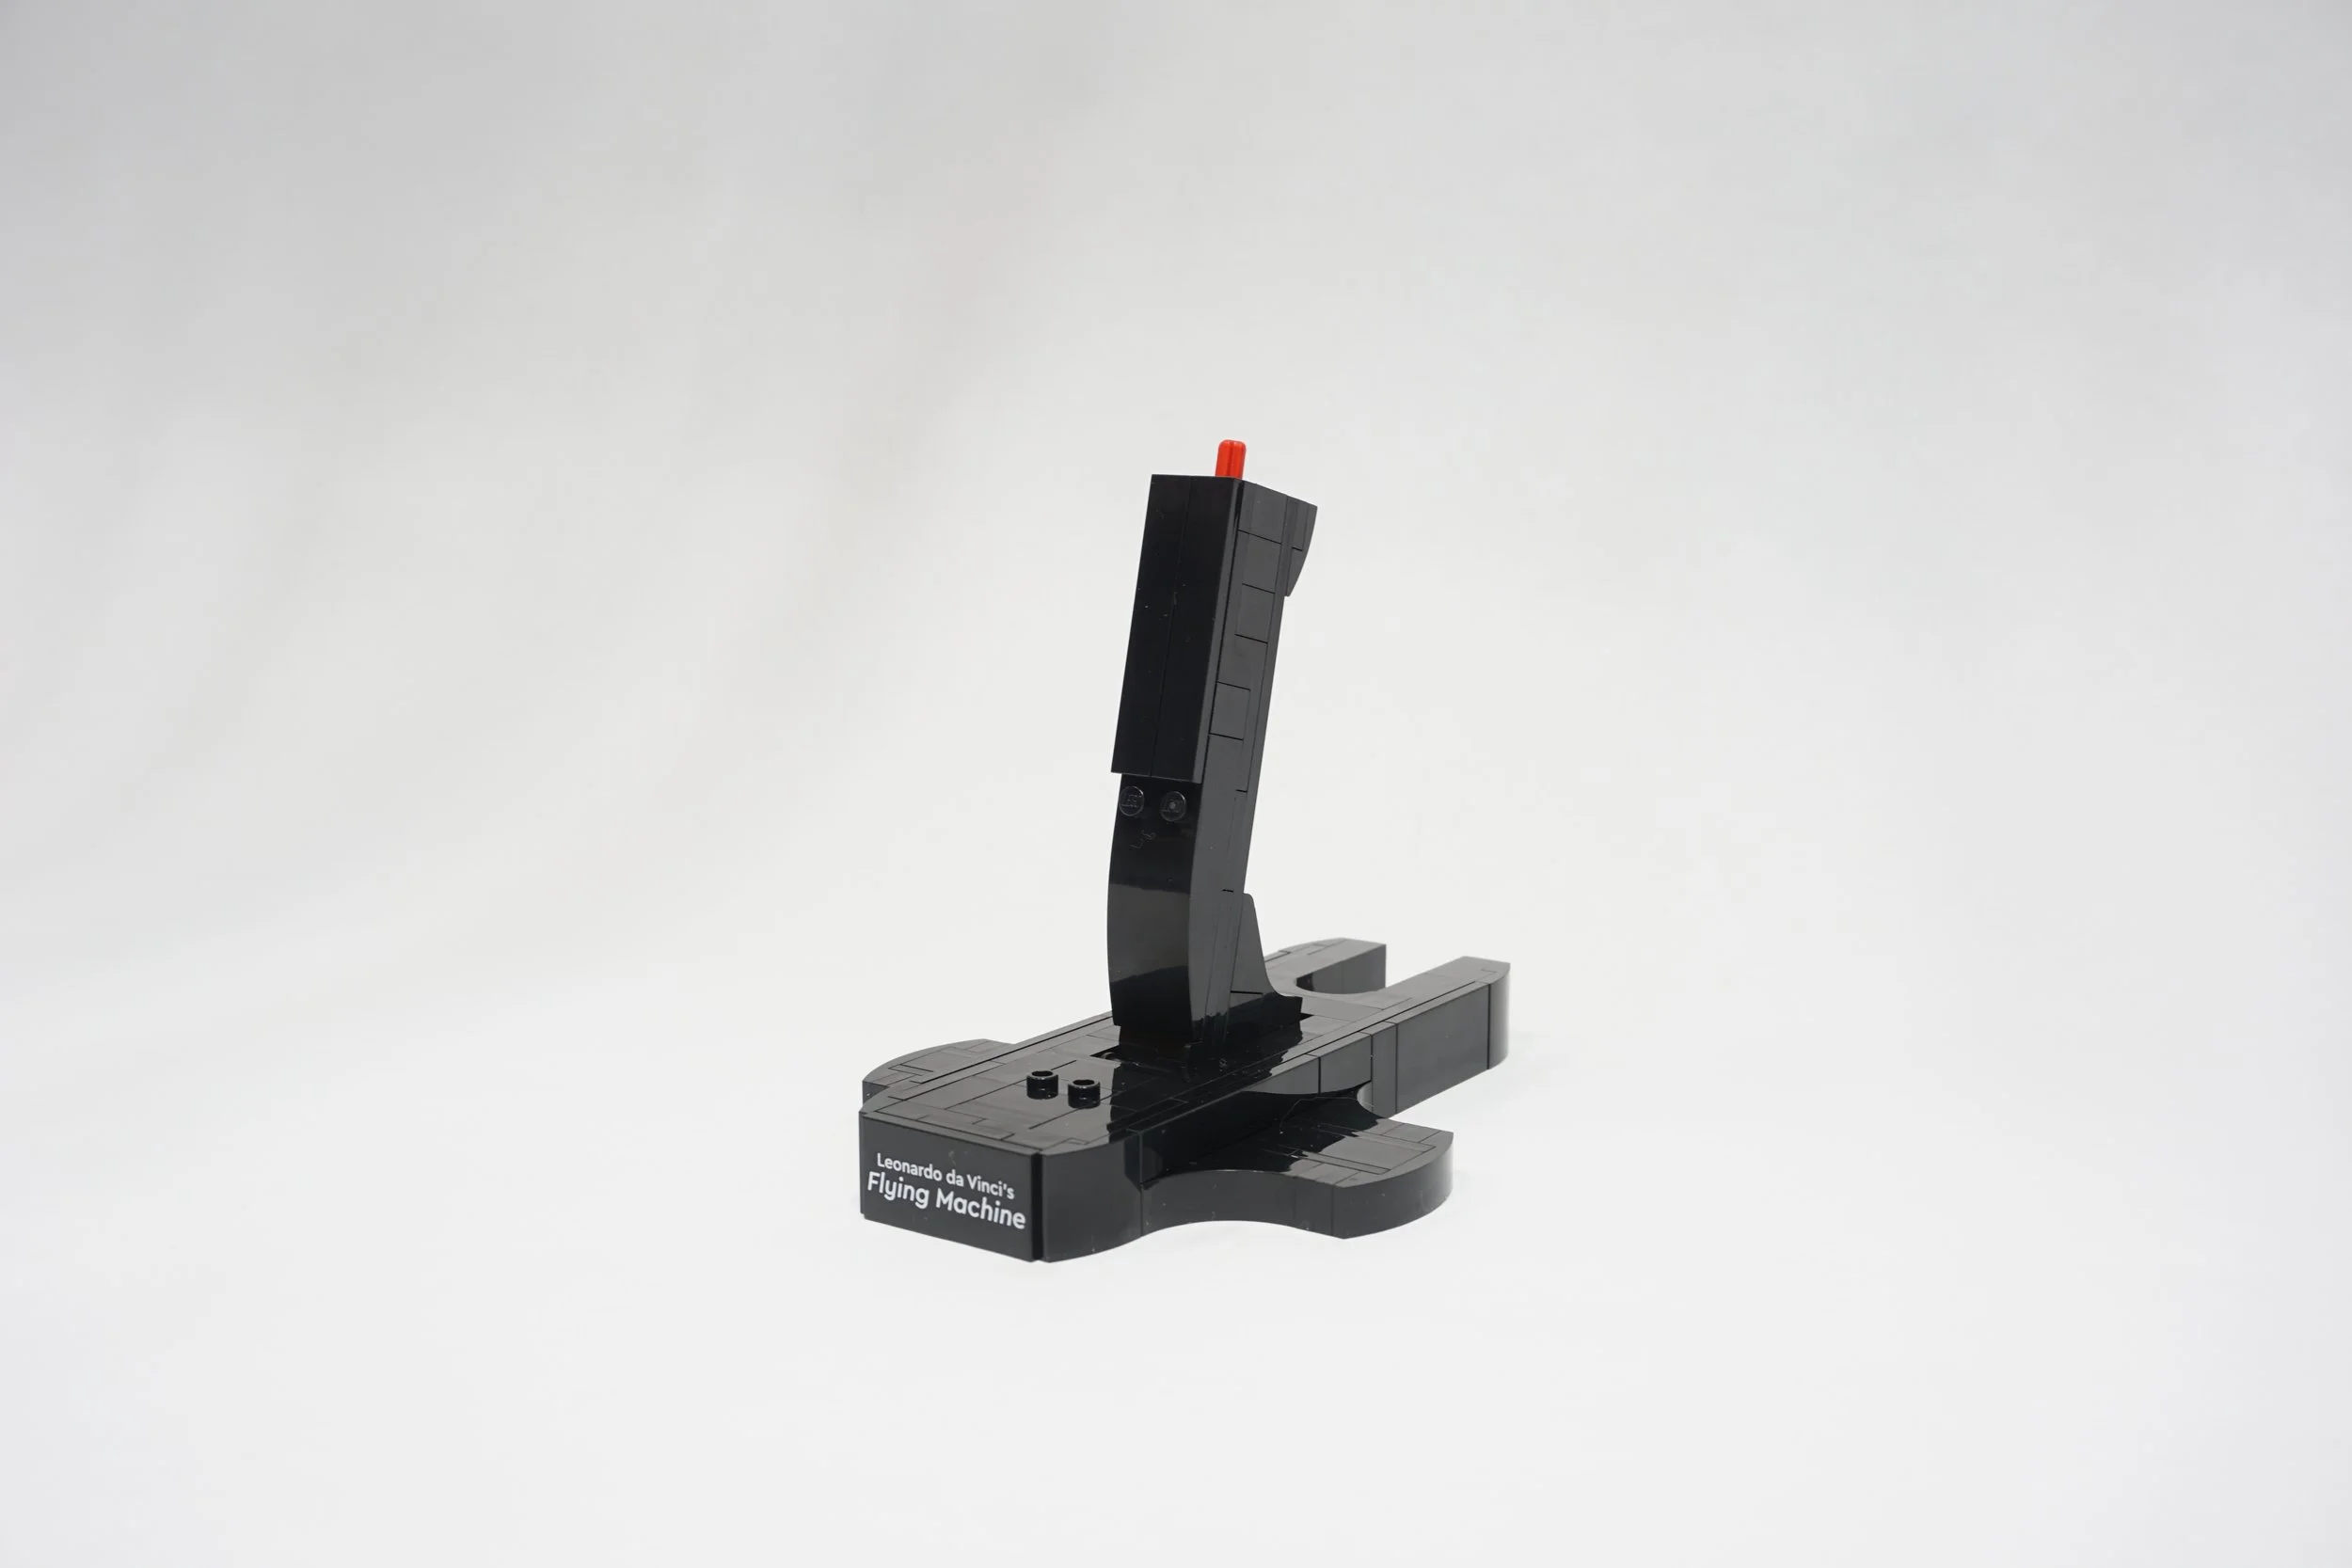
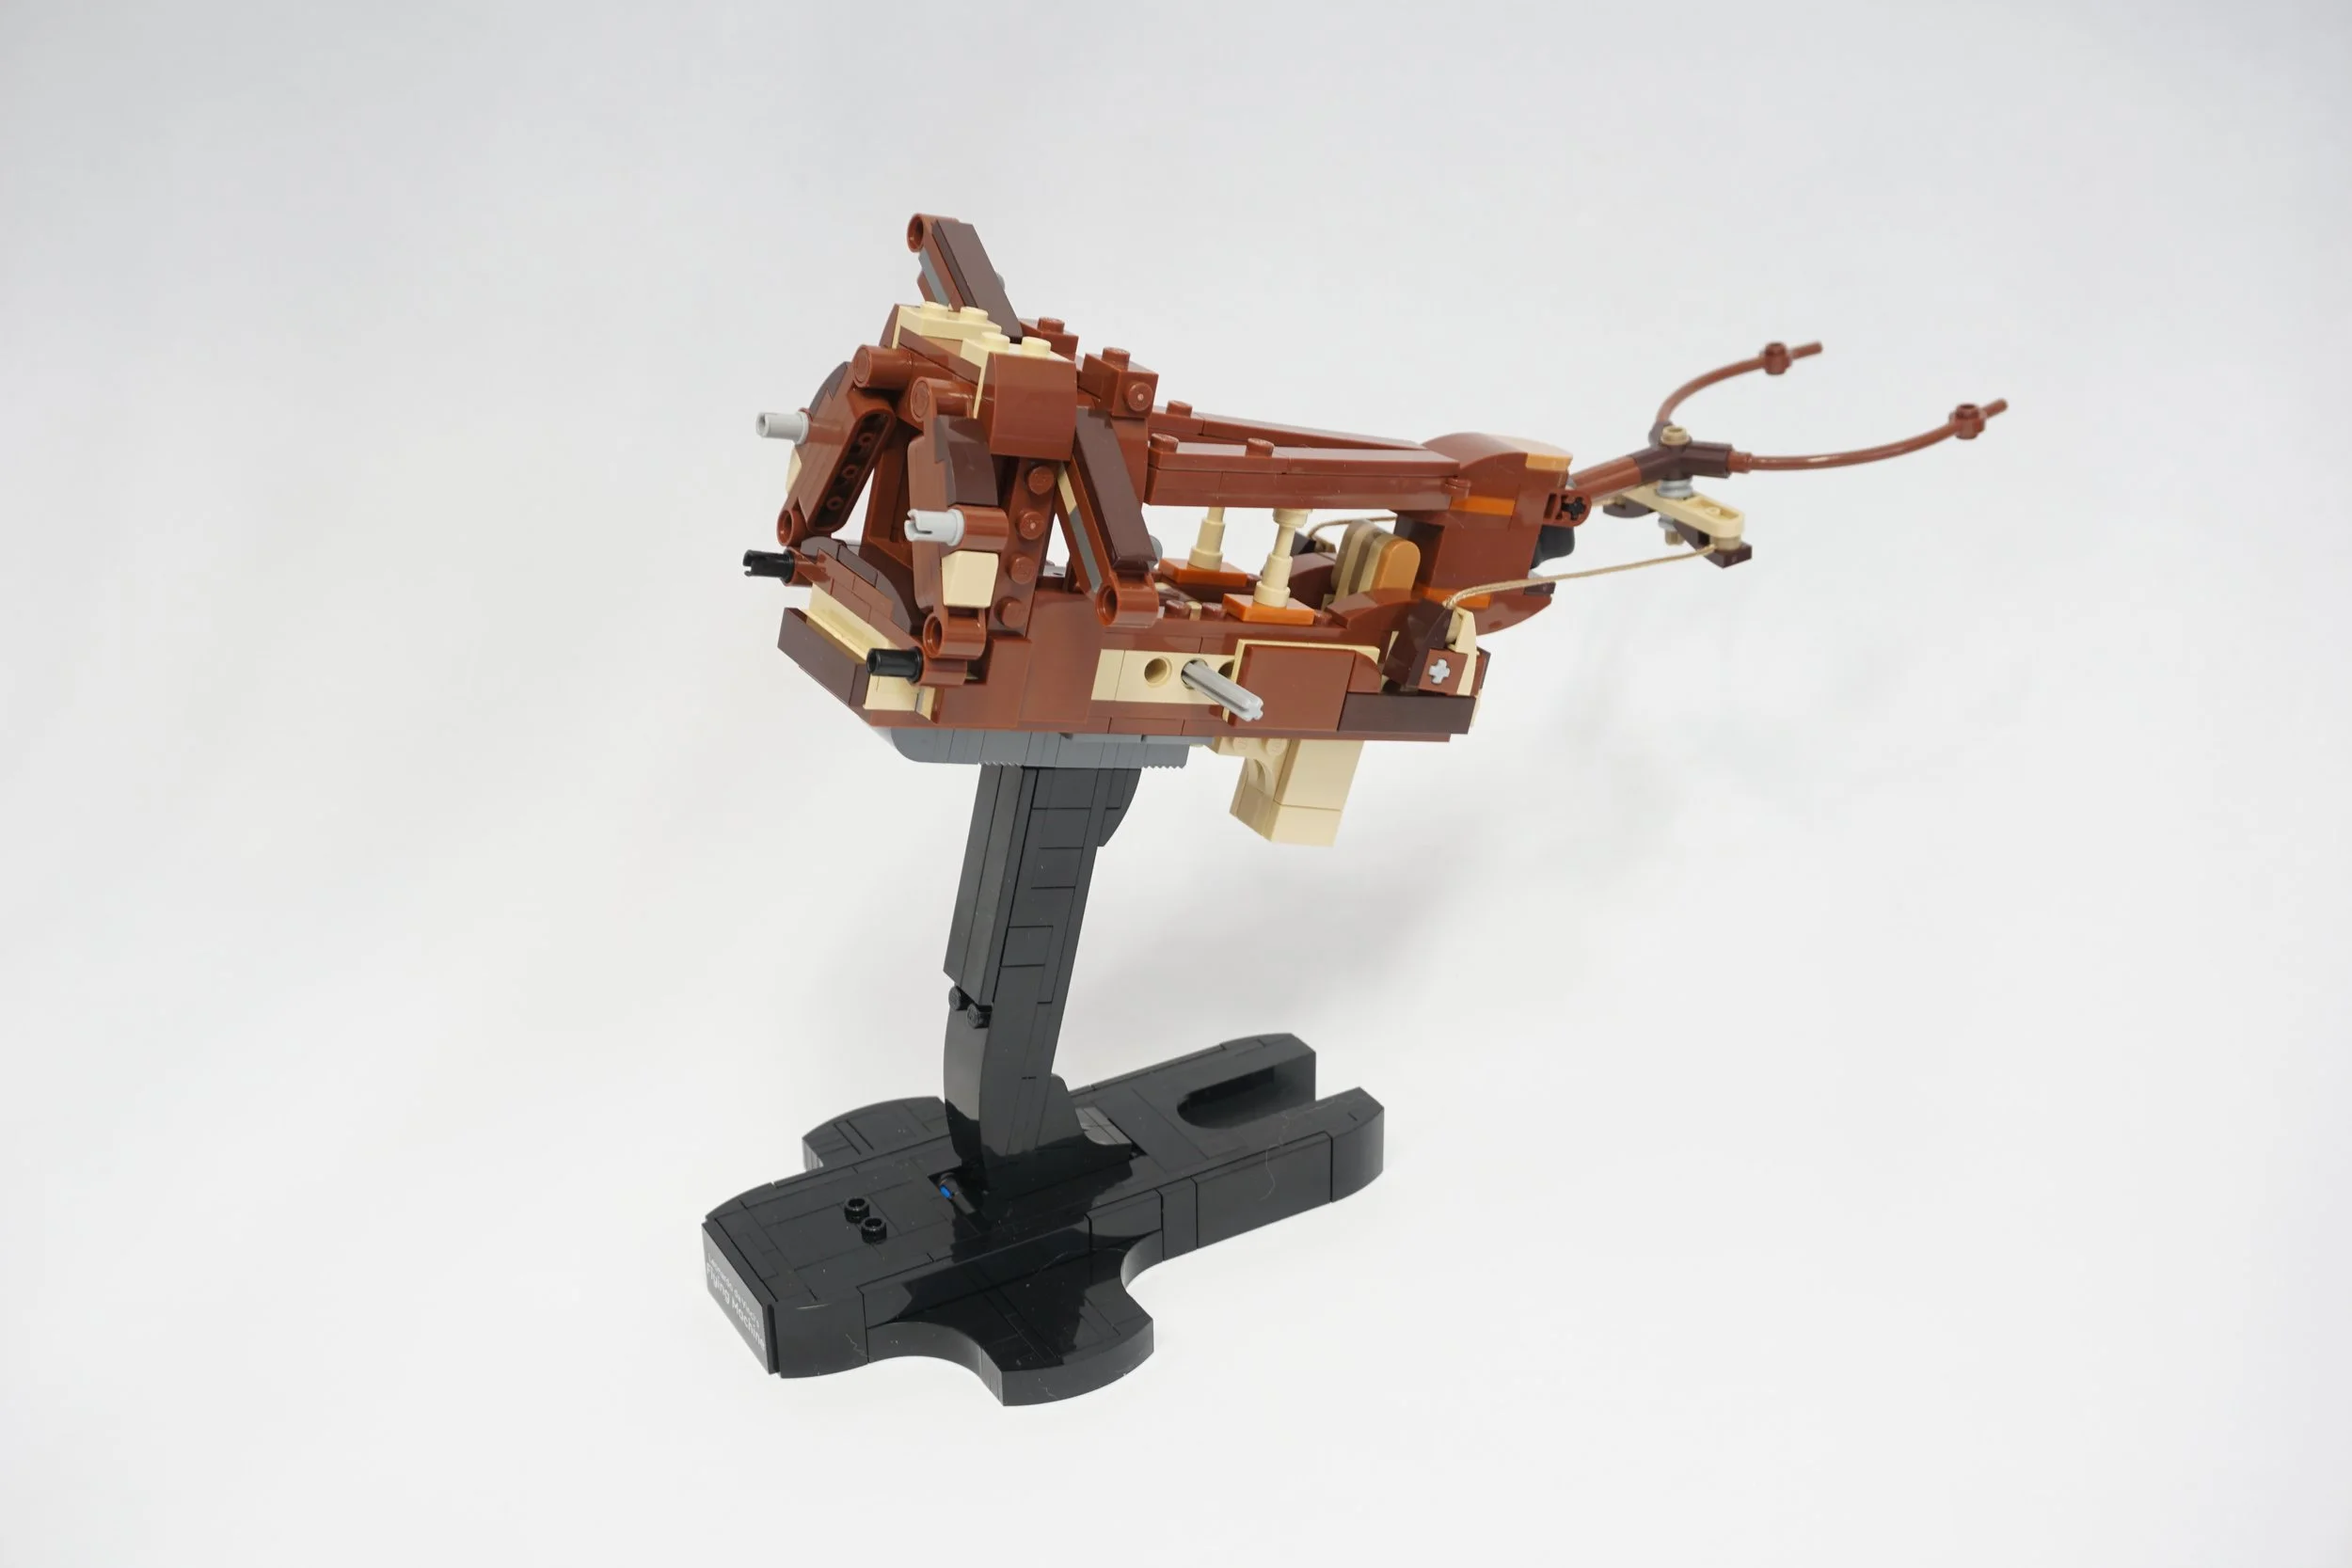
The creative folks over at LEGO decided to adapt Da Vinci’s ornithopter concept into set 10363, Leonardo da Vinci’s Flying Machine, and as an aerospace geek, I knew I had to do something BrickNerd-ey with it. LEGO’s interpretation is not only aesthetically beautiful but it has one of my favorite manual functions I’ve ever seen in a set. Pulling the trigger under the keel both flaps the wings and wags the tail in tandem, resulting in a very pleasing smooth motion and visual effect.
Snazzy as all heck, and one of the most satisfying lego set mechanisms i’ve ever seen
Since the early 1900s, numerous inventors have achieved Da Vinci’s dream of human-powered flight in a more practical aerodynamic way: get some big fixed wings and use human power to move the aircraft forward on wheels until it achieves enough speed to provide sufficient lift. (Basically, veeeeeery light and low-power versions of modern aircraft. Neato!) And as a testament to human ingenuity, there even was an ornithopter built in 2010 that, when towed into the air, could sustain flight briefly. To me, that’s an asterisk, but…It’s still darn impressive.
But let’s not let reality rein us in here—we want to pay homage to Da Vinci and get his craft aloft into the skies for an adventure! So in true LEGO Technic nerd fashion, I knew it was my solemn duty to motorize this sucker (just like Snow White’s cottage) and get it flapping above some LEGO clouds. This one’s for you, Leo!
Building the Set
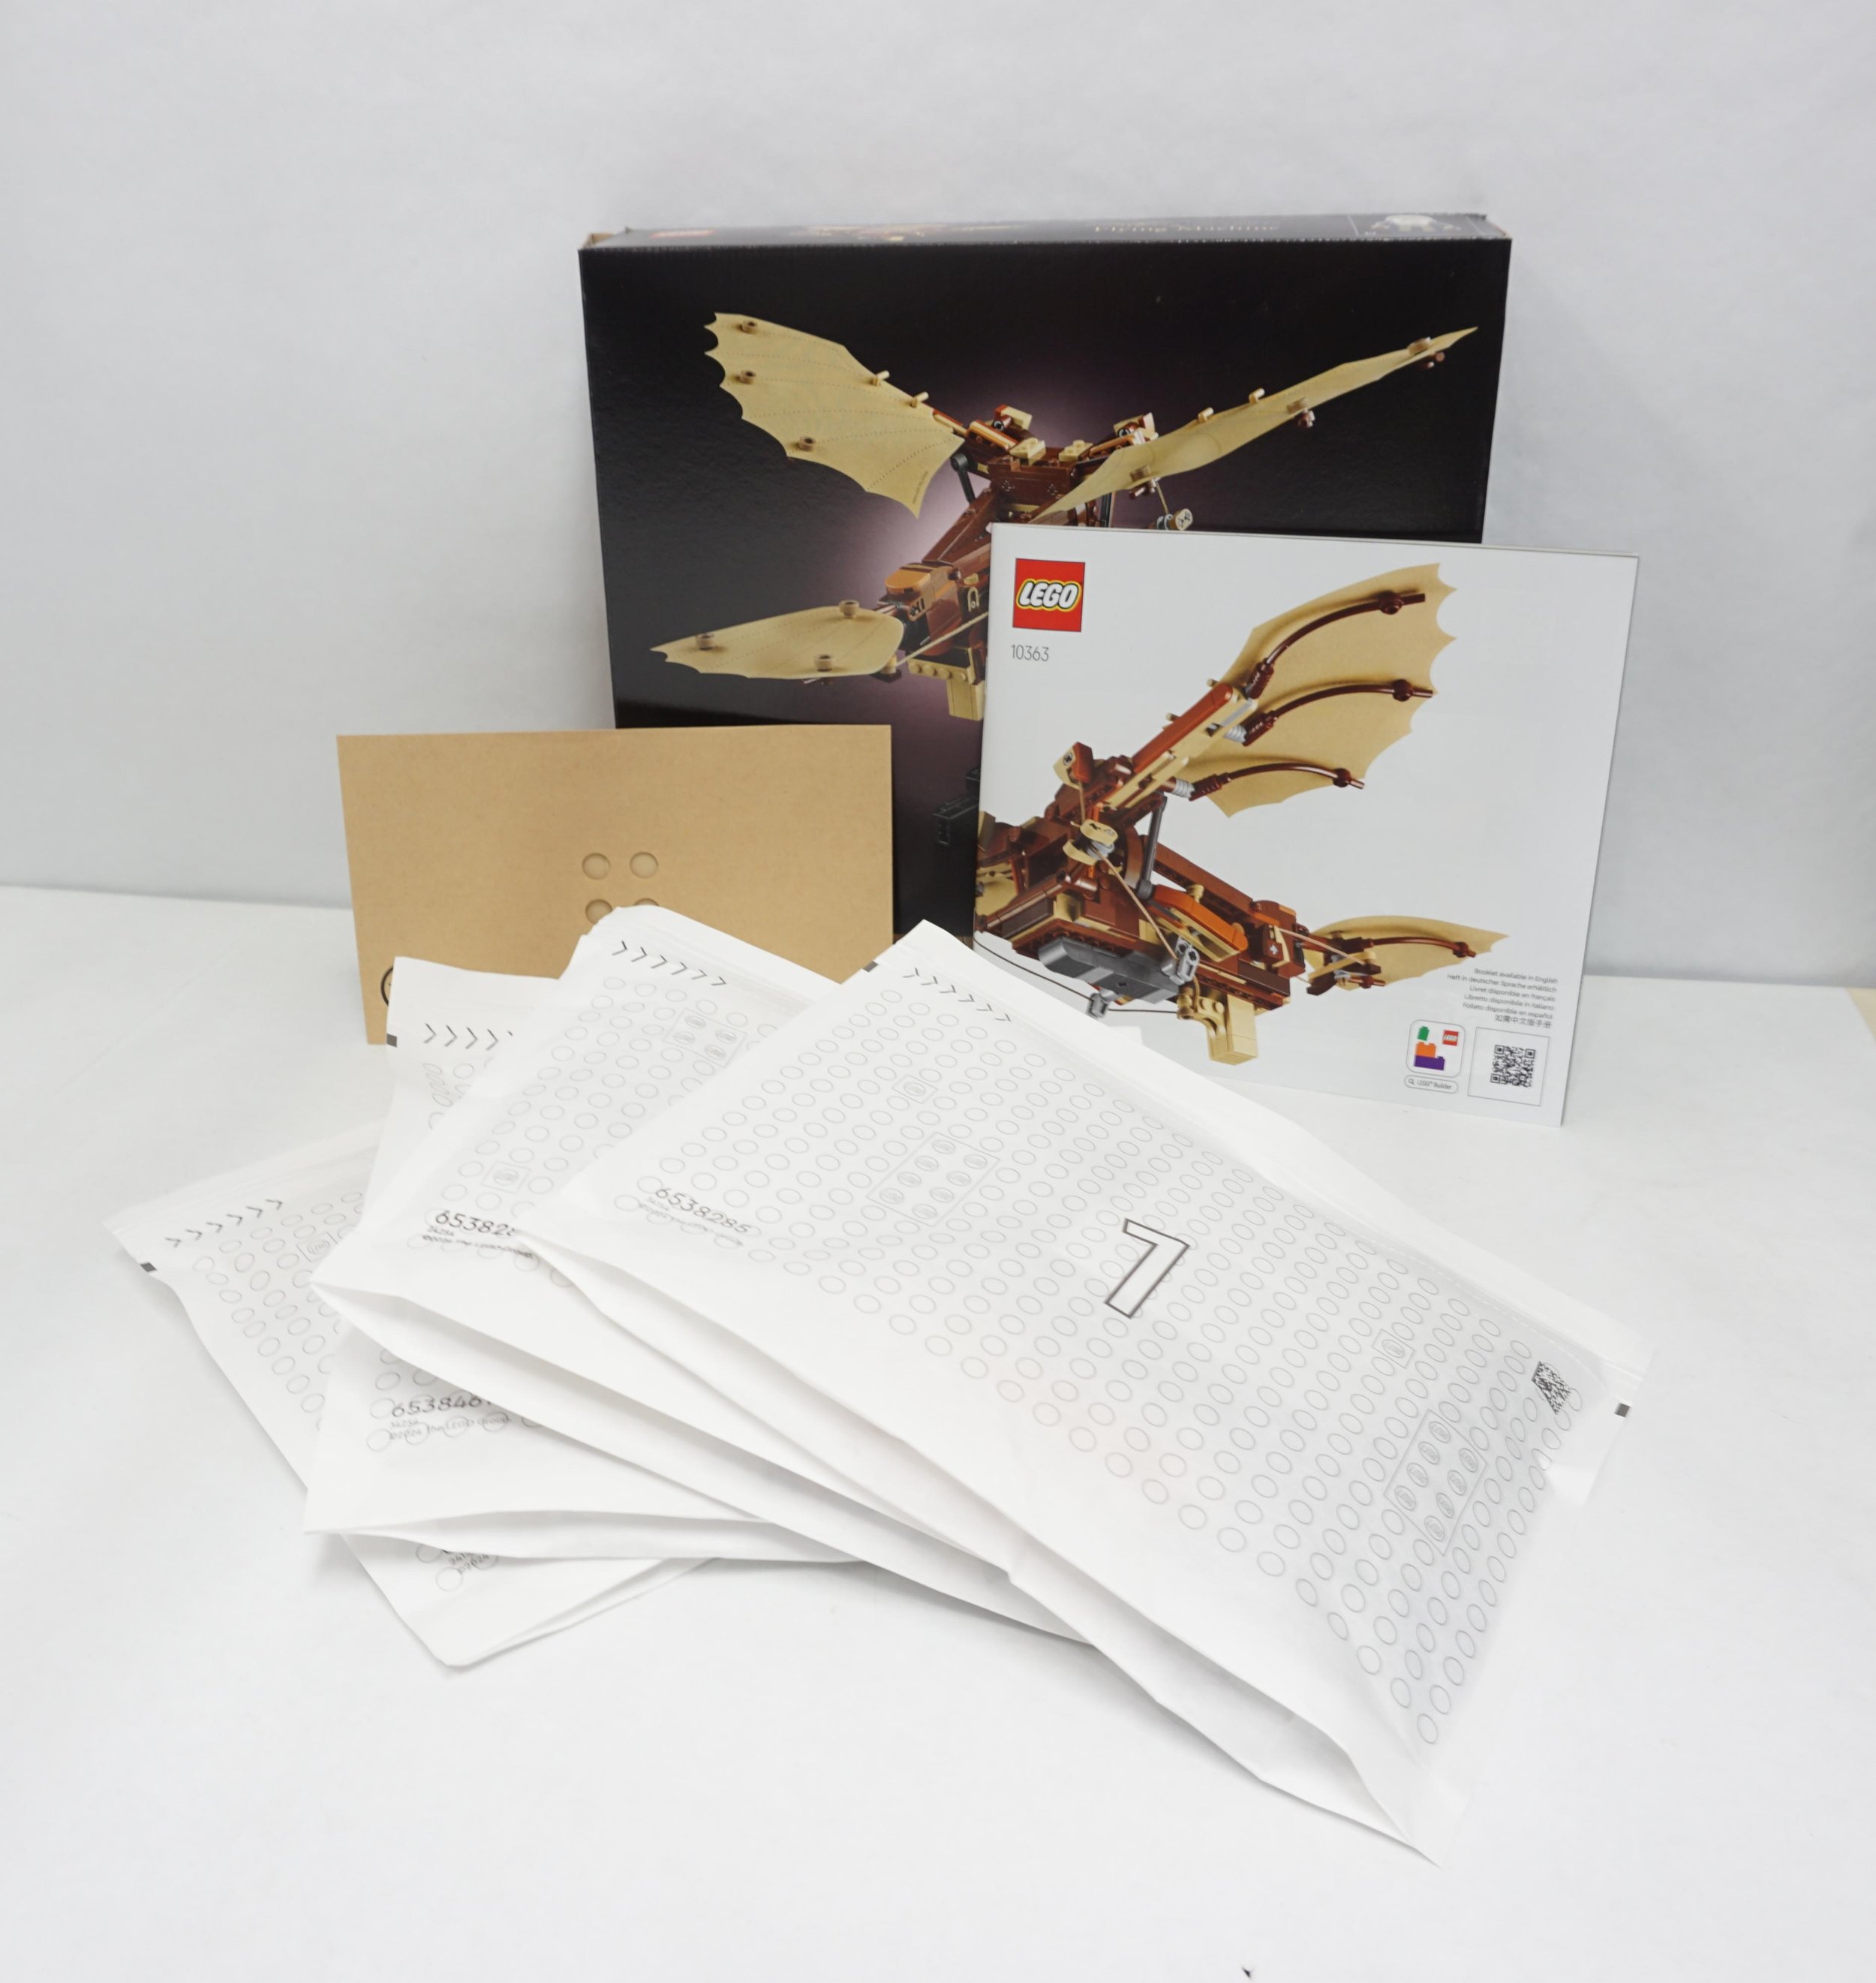
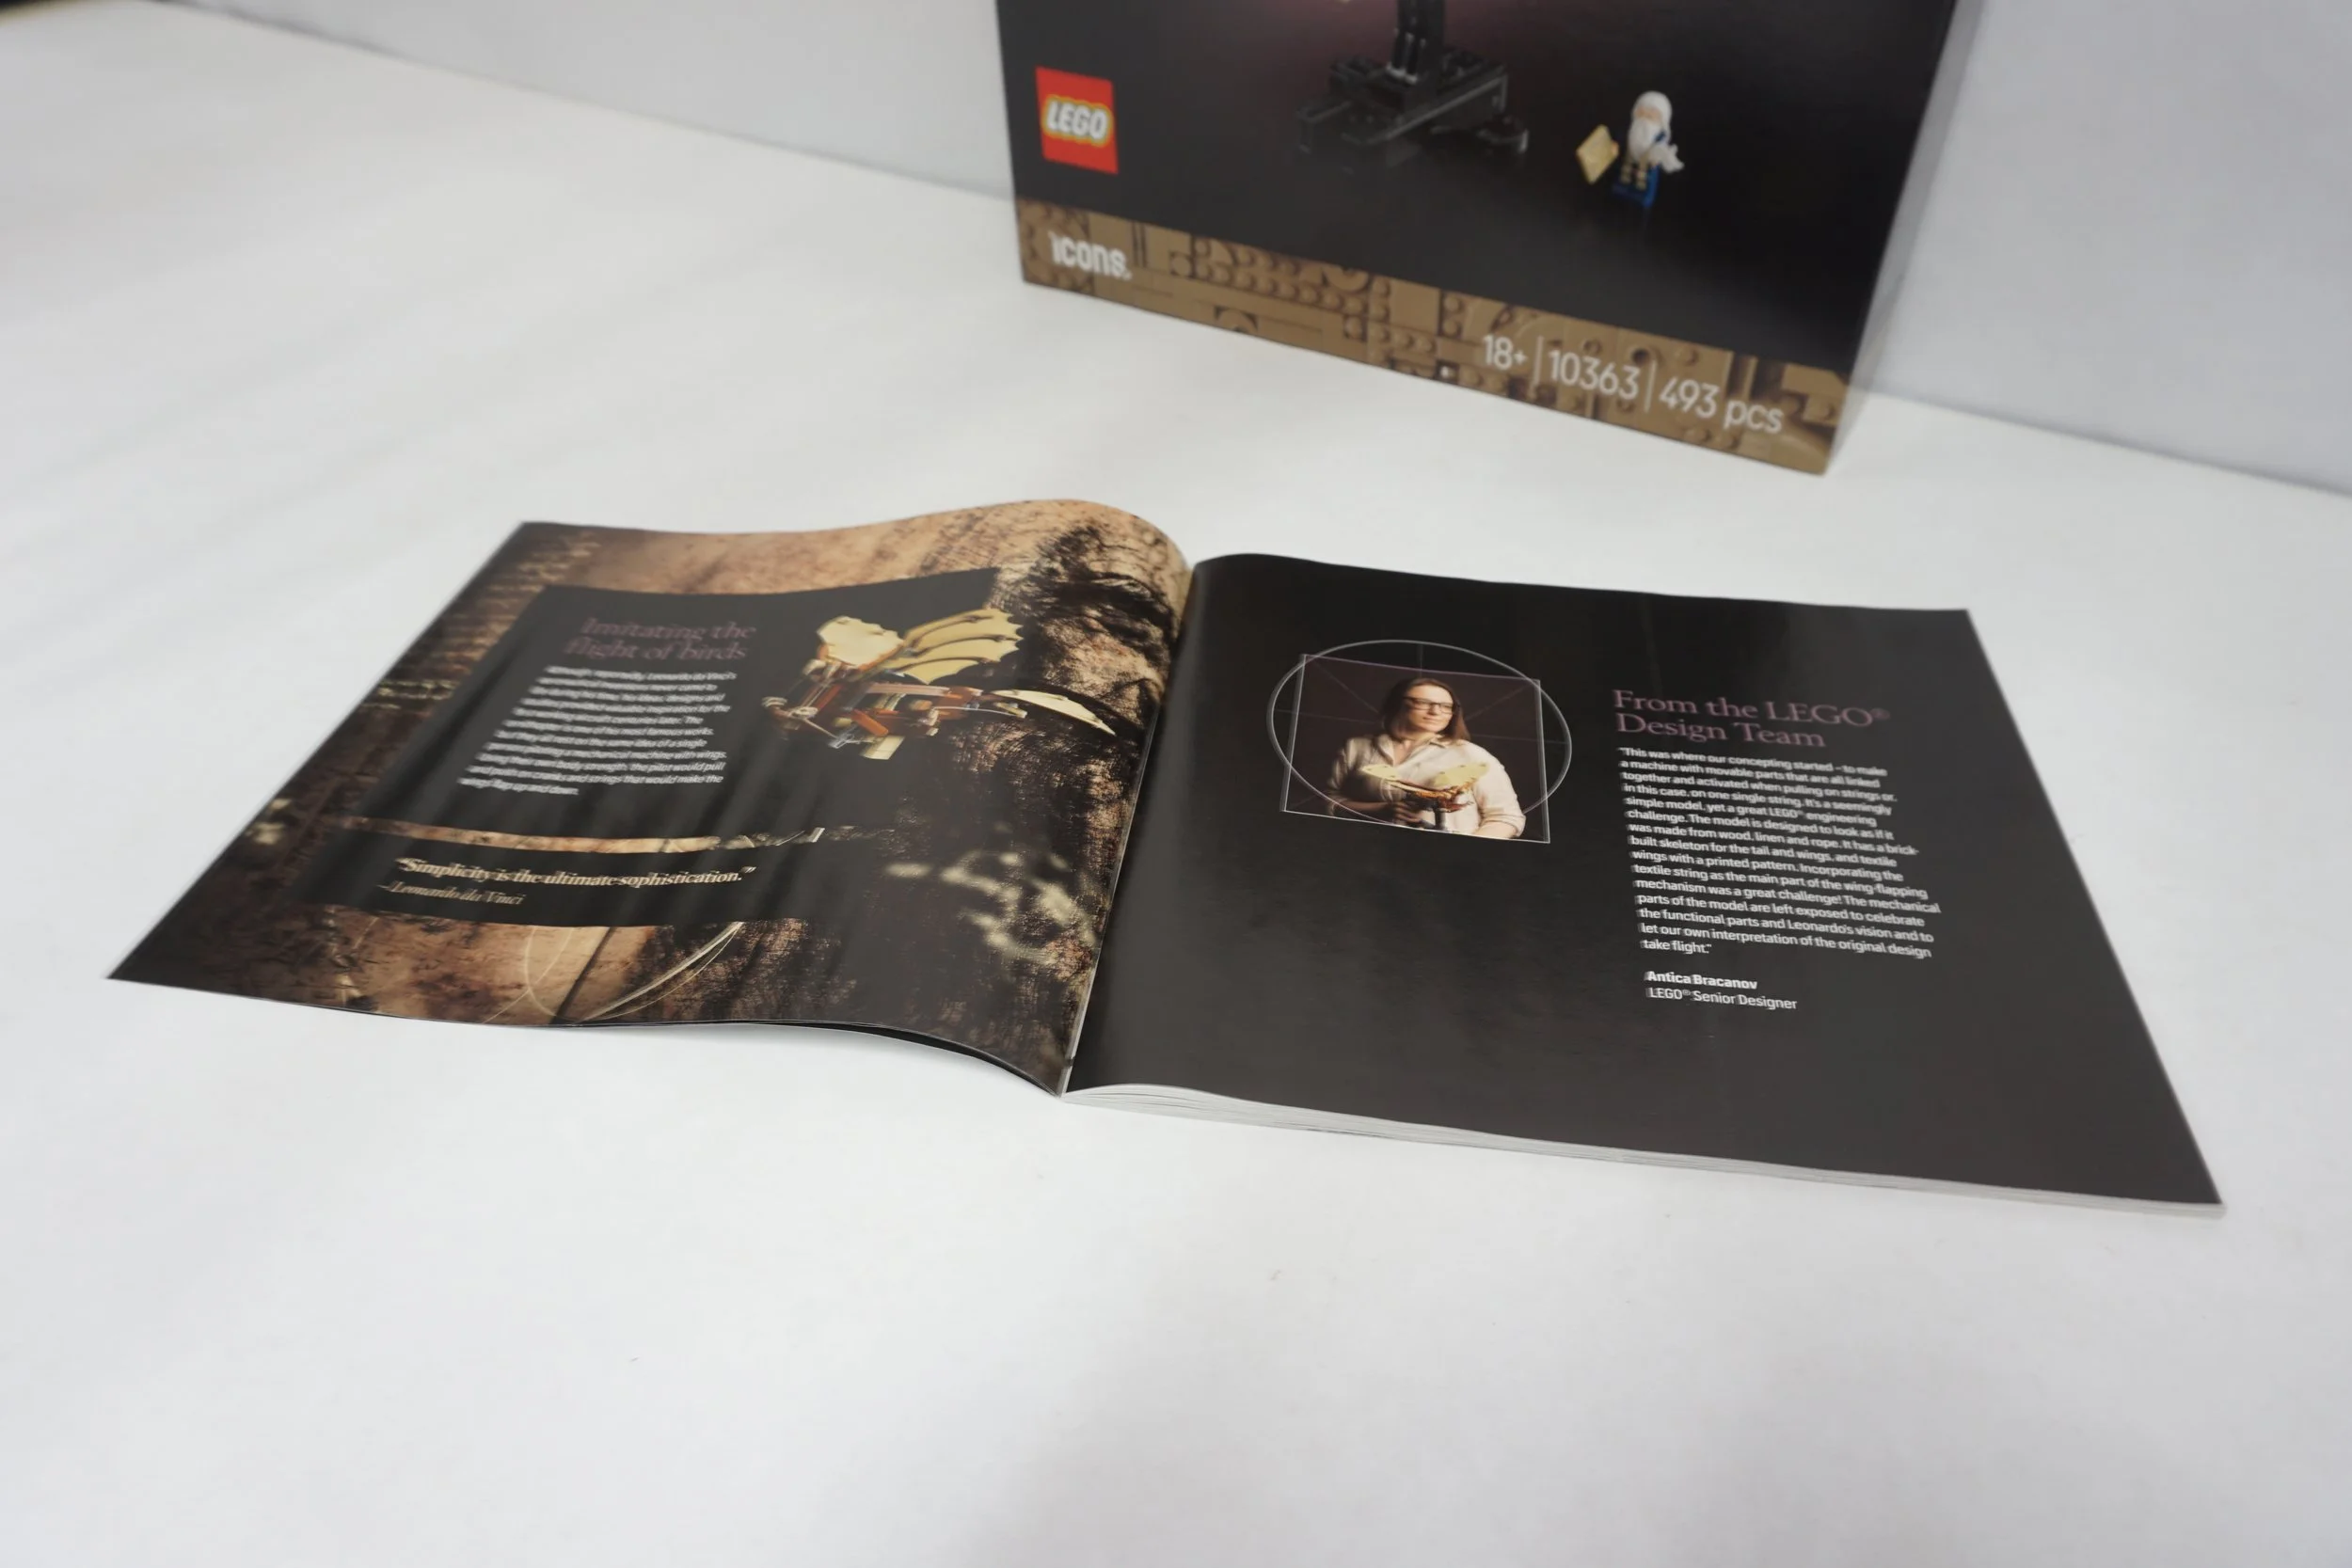
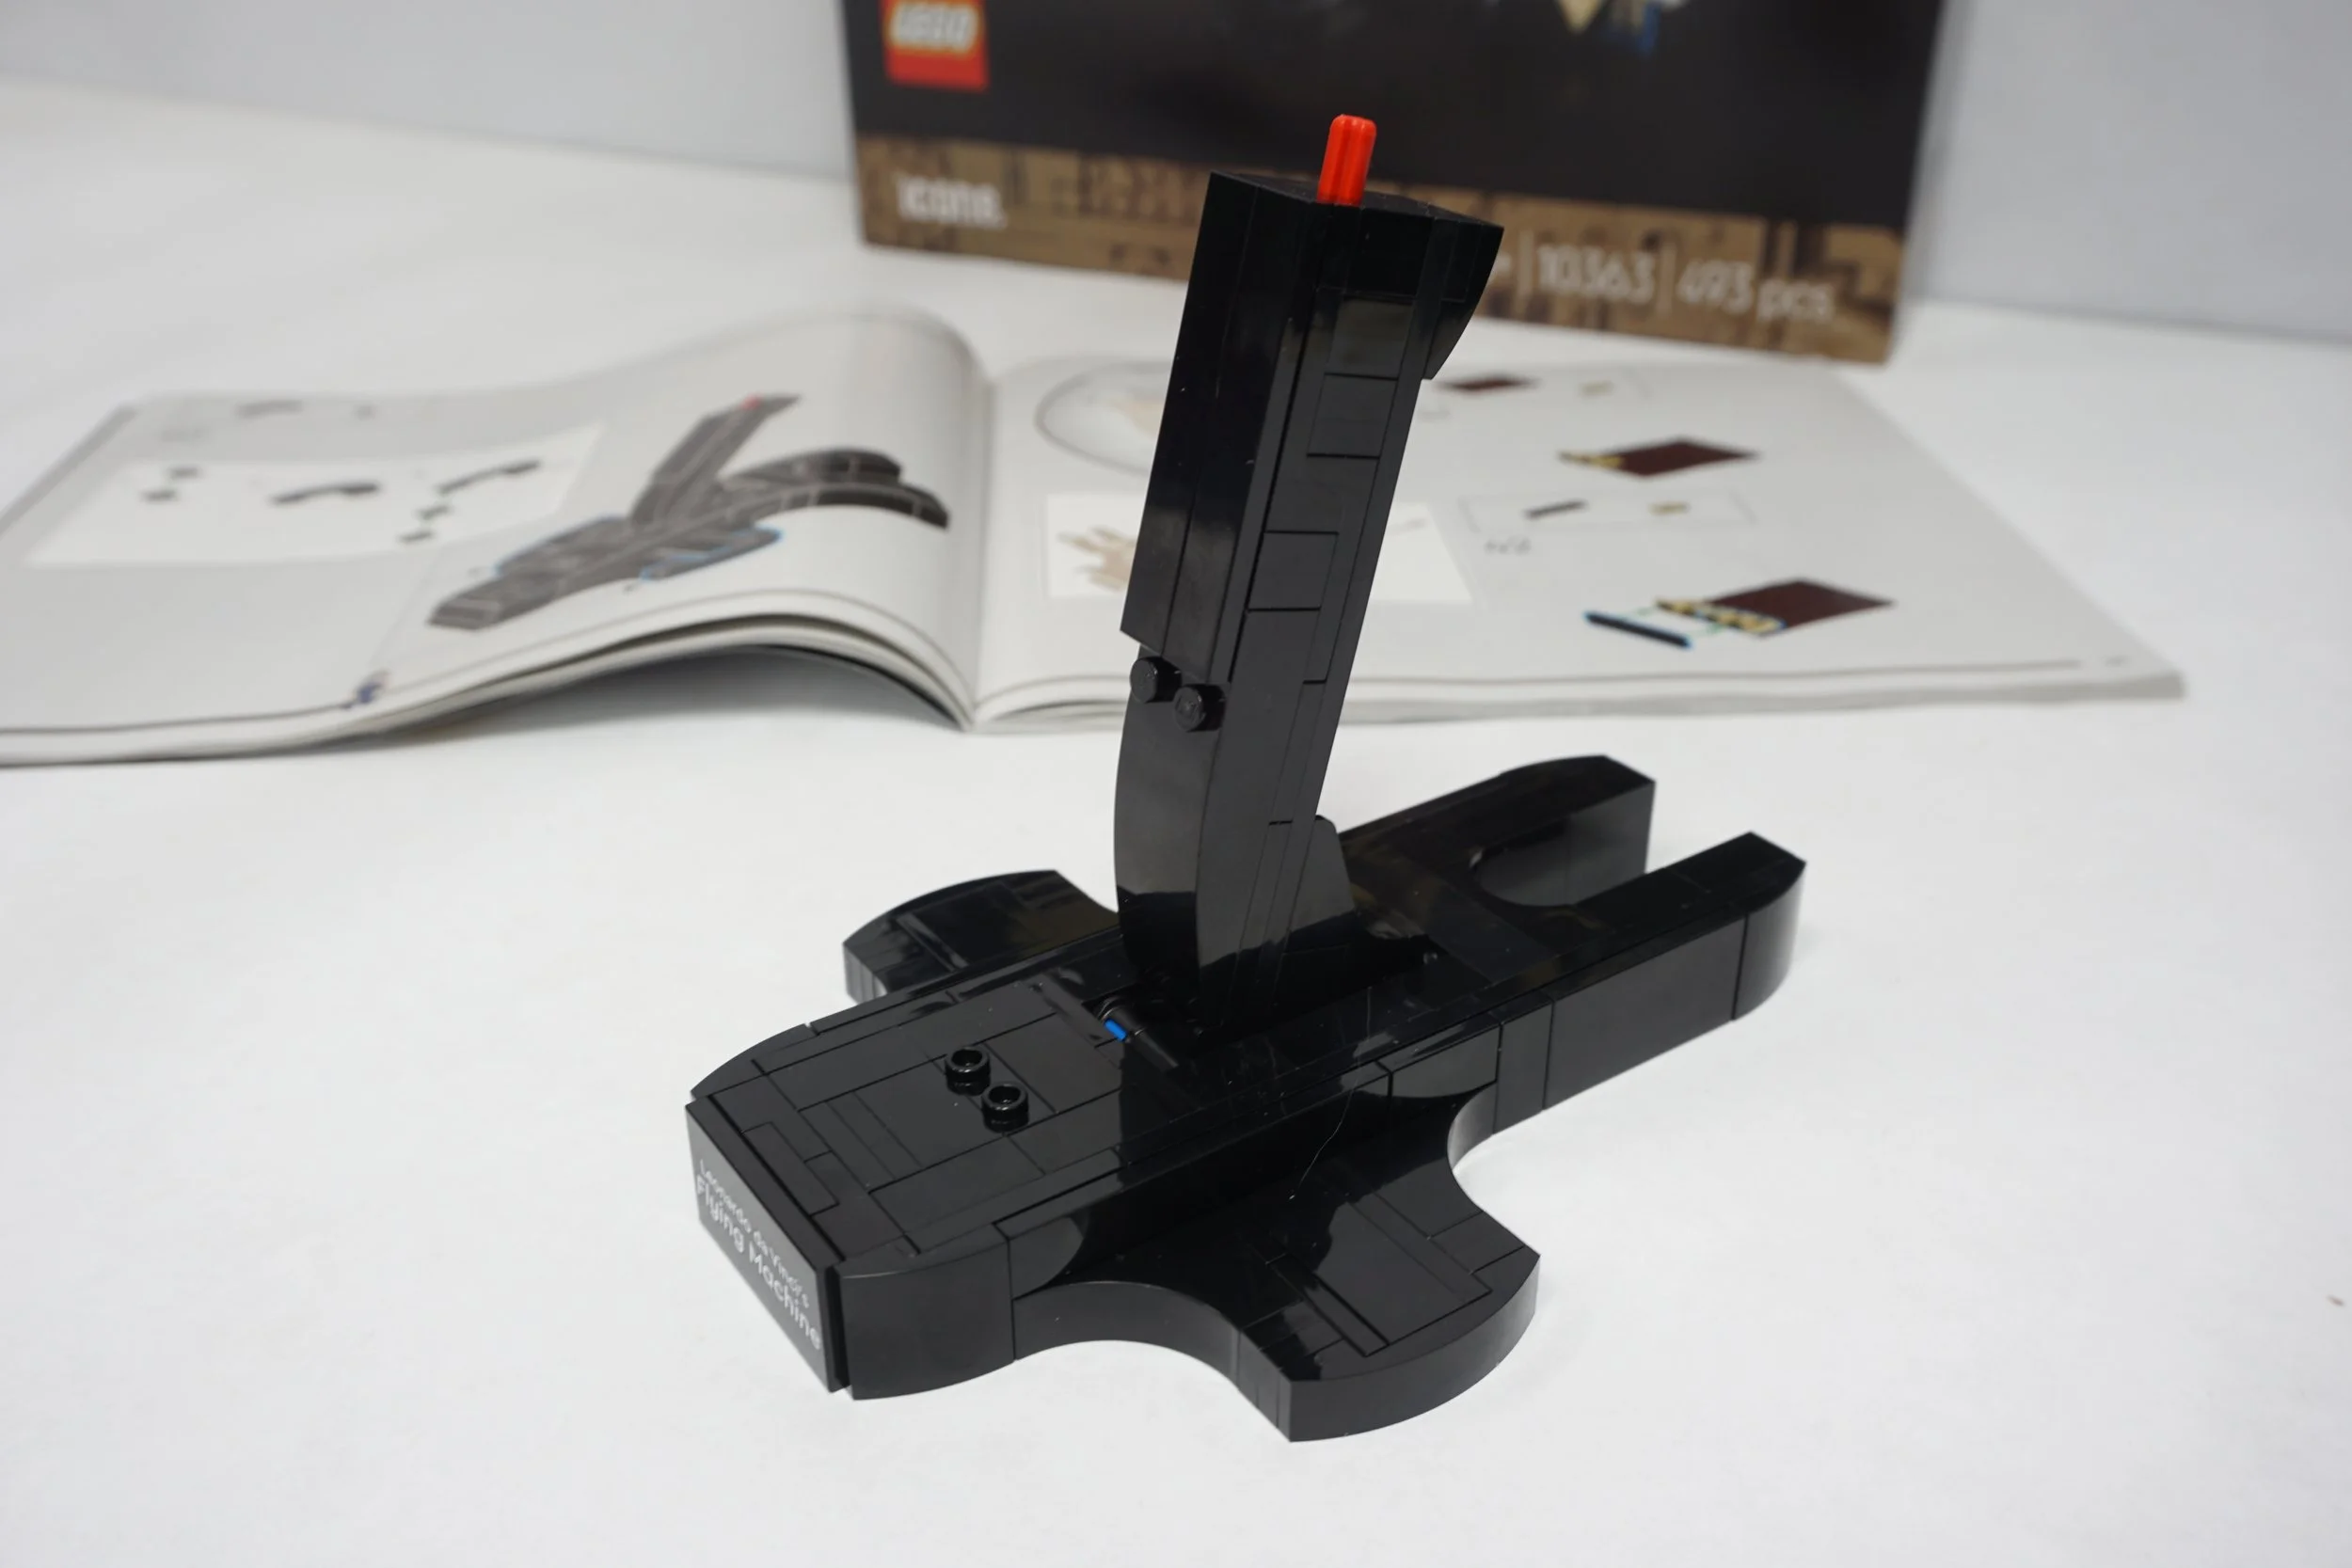
Building the Flying Machine set was a pleasure! It’s relatively small, so it was a quick job, and everything is pretty neatly done. It is always good to learn some tricks from the amazing LEGO designers. Inside the box, there were four numbered bags (paper), an envelope with the delicate wing and tail parts, and the instructions.
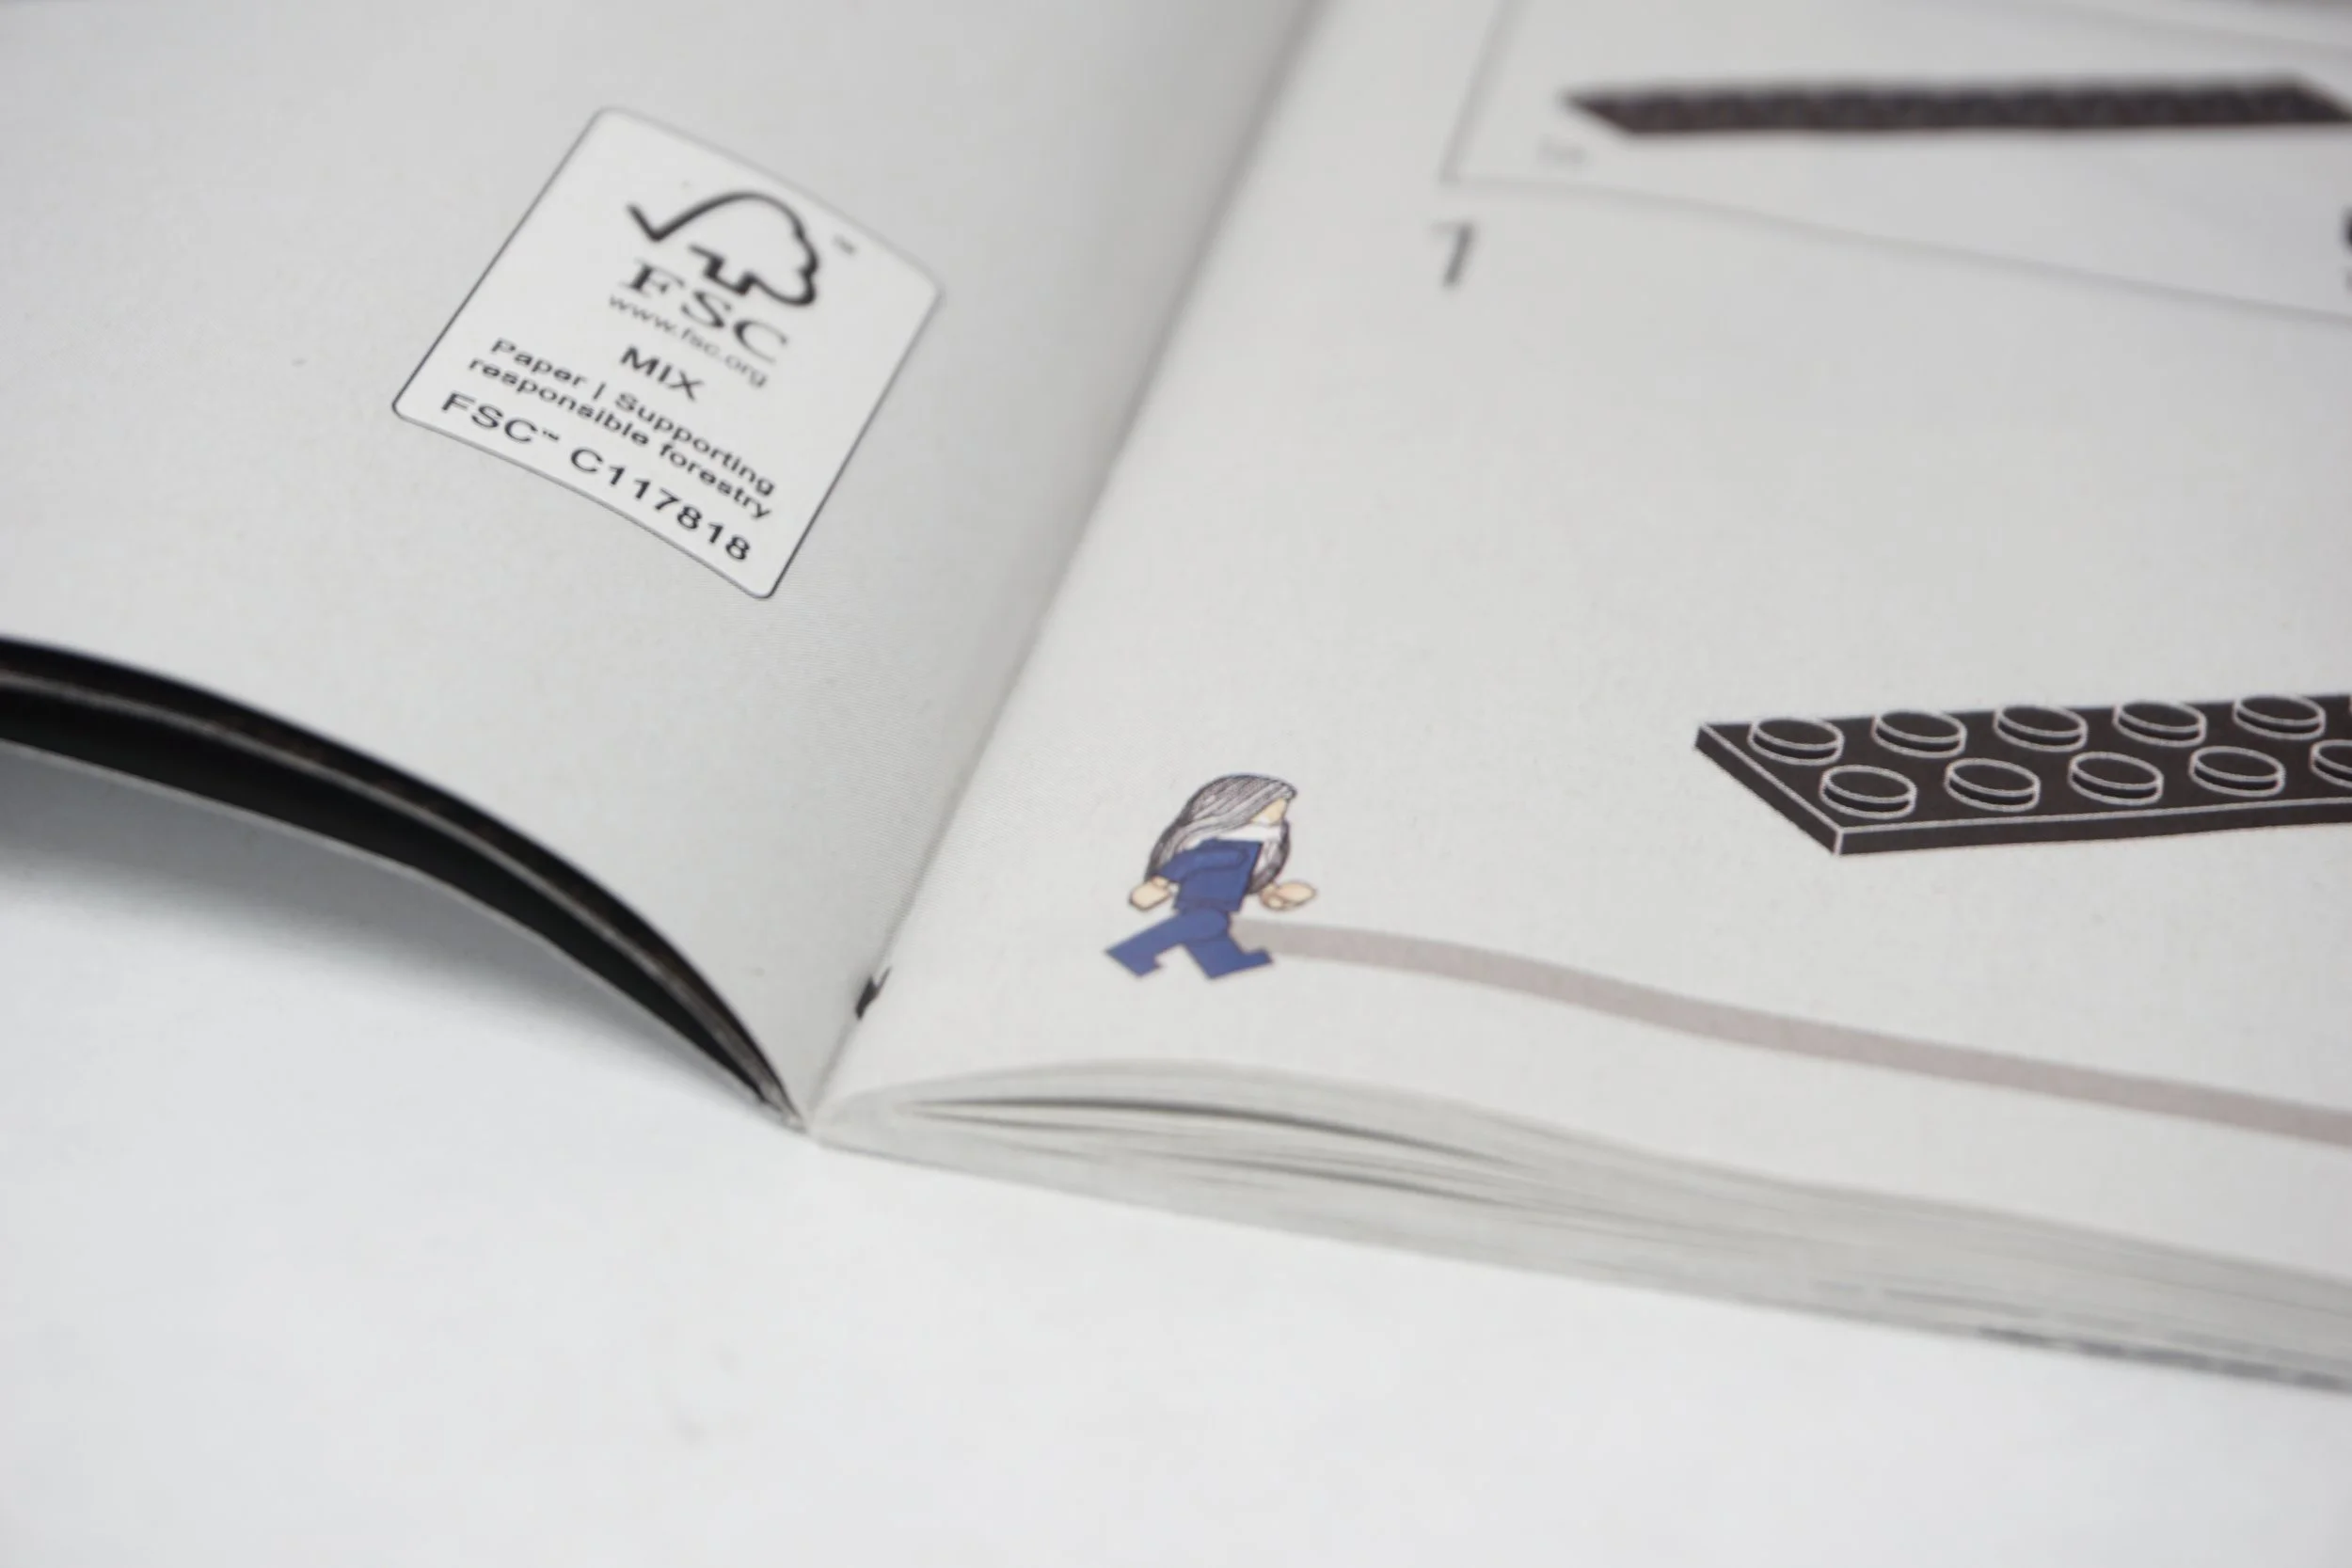
As with other recent Icons sets, the instructions had some neat, premium-feeling introductory background material. Leonardo himself walks along the progress bar at the bottom of each page, letting you know how far you’ve gotten in the overall effort.
See below for the pictures I took of the build process.
Modifying the Set
Next, I’ll describe the process I used to motorize the set. I tried to keep these changes as minimal as possible, doing only what was necessary to enable the envisioned movement. At the end of the article, I will provide a digital Studio file of the changes.
Mod #1
One of the first things I learned was that disconnecting the main spring is a huge help. This way, the motor doesn’t have to fight against the spring force. You need to remove the Technic axle, hold up the spring, and reinsert the axle so it doesn’t connect to the spring anymore.
No more fighting that spring force yay!
Mod #2
Swap a “Technic, plate 1 x 5 with smooth ends” (321214) into the arm of the wing mechanism, as indicated in the image below. This is quick and easy and provides the means to control the wings—the mechanism will link up with that arm.
Also, remove the bottom inkwell that holds the tan rope in place. Without further tinkering, keeping the tail and wing mechanisms linked that way for this simple conversion caused more trouble than it was worth, so while the rope looks cool, it no longer drives the motion.
Easy Schmeezy!
Mod #3
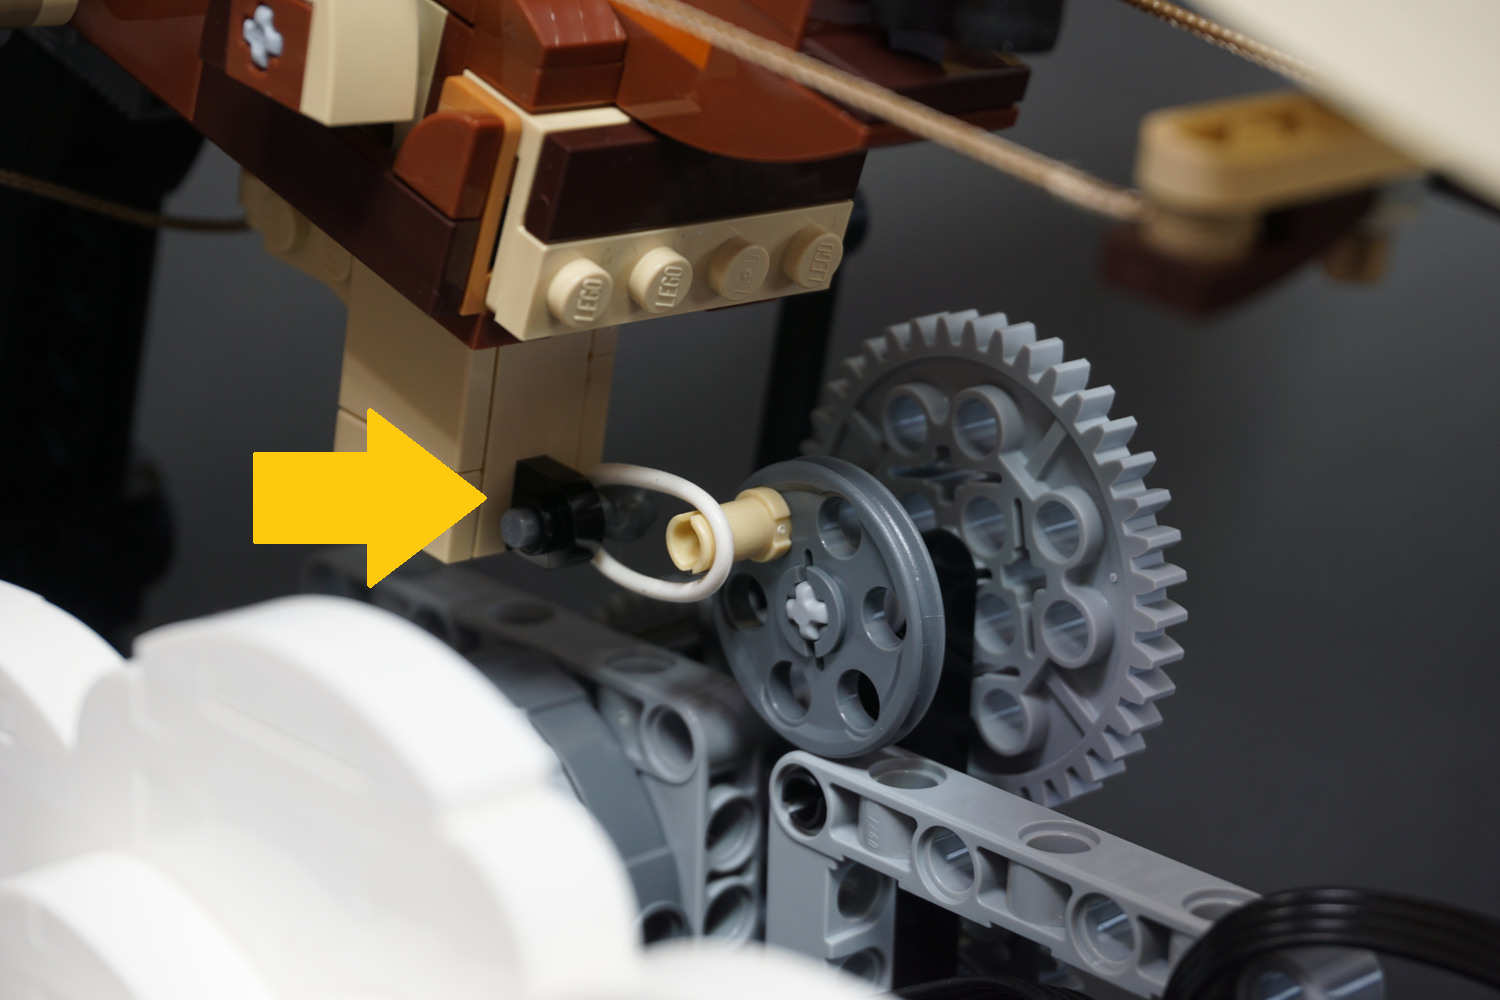
I needed something to imitate the squeezing motion of a hand. Swap a “plate, round 1 x 2 with open studs” (35480) into the trigger mechanism on the bottom of the ornithopter, as shown in the image below. This is also quick and easy and provides the means to control the tail. The mechanism for the tail interacts with this via a 3mm bar with ball joint and a rubber band.
A little swap swap swaperoo!
Mod #4
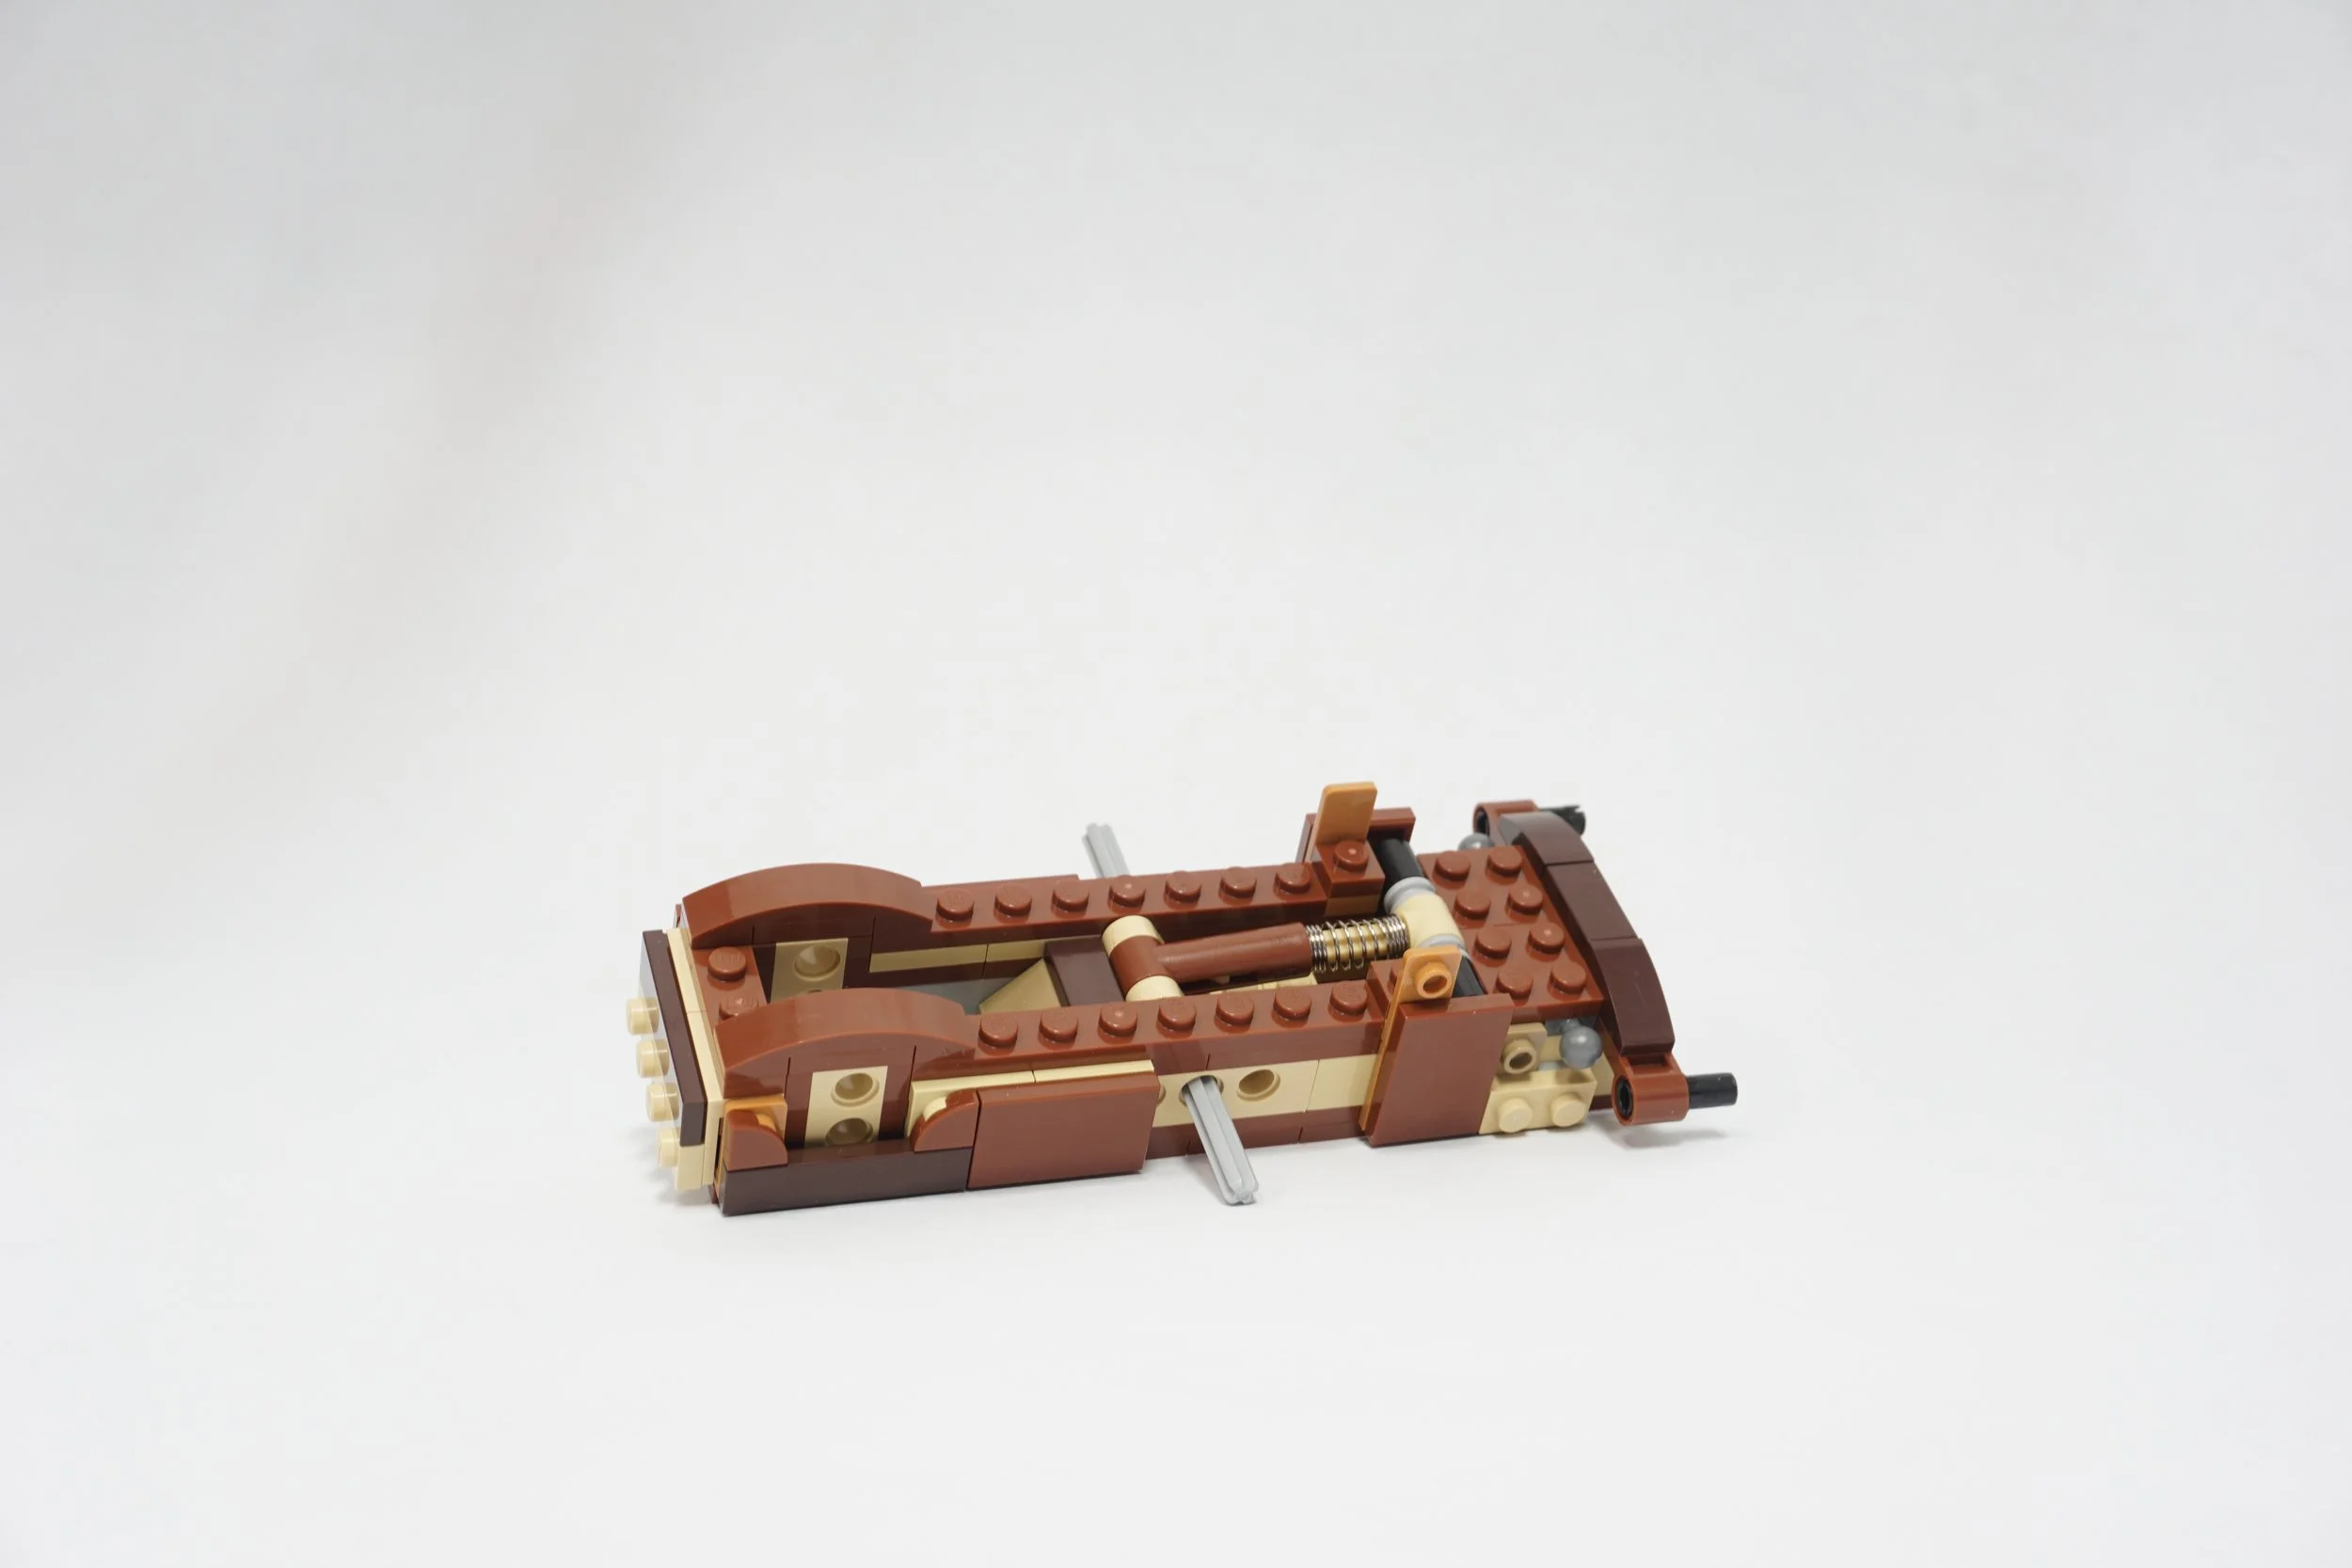
The new mechanism was a bit too much for the stand in the official set, so I needed to reinforce it. To do this, you’ll swap out the “slope, curved 6 x 2” with a number of smaller parts and clamp the plates together using “bracket 1 x 2 - 1 x 2” brackets and their inverted mates as indicated in the image below. This is an optional step, but I noticed over time the curved slope was starting to separate from the plate below it due to the stand needing to react all the force from the motor into the mechanism… you can just as easily check once in a while and squeeze the stand tight—your call!
Just a wee bit of extra strength
Building the Mechanism and Base
Now for the meat and potatoes!
First Pass
I began the process looking for a way to grab onto the existing mechanism driver—the trigger under the keel. After a few iterations of mechanisms, I had something working… but as I mentioned above, this approach still had the big spring installed which didn’t work very smoothly. The motor was fighting the spring force for half the rotation, and it wasn’t happy… one symptom of that was the base kept coming apart, and I needed reinforcement beams across to the stand. So you can see here what that looked like, but it needed another iteration.
A decent start… but worked the motor too hard
Take Two
So I made a few of the modifications listed above to the set, the most important one being unhooking the spring so it no longer fought the motor. Now, I dove into the design again and realized that without the spring, the lower trigger doesn’t drive anything the way I had hoped. So that meant I needed to drive the wings and the tail separately.
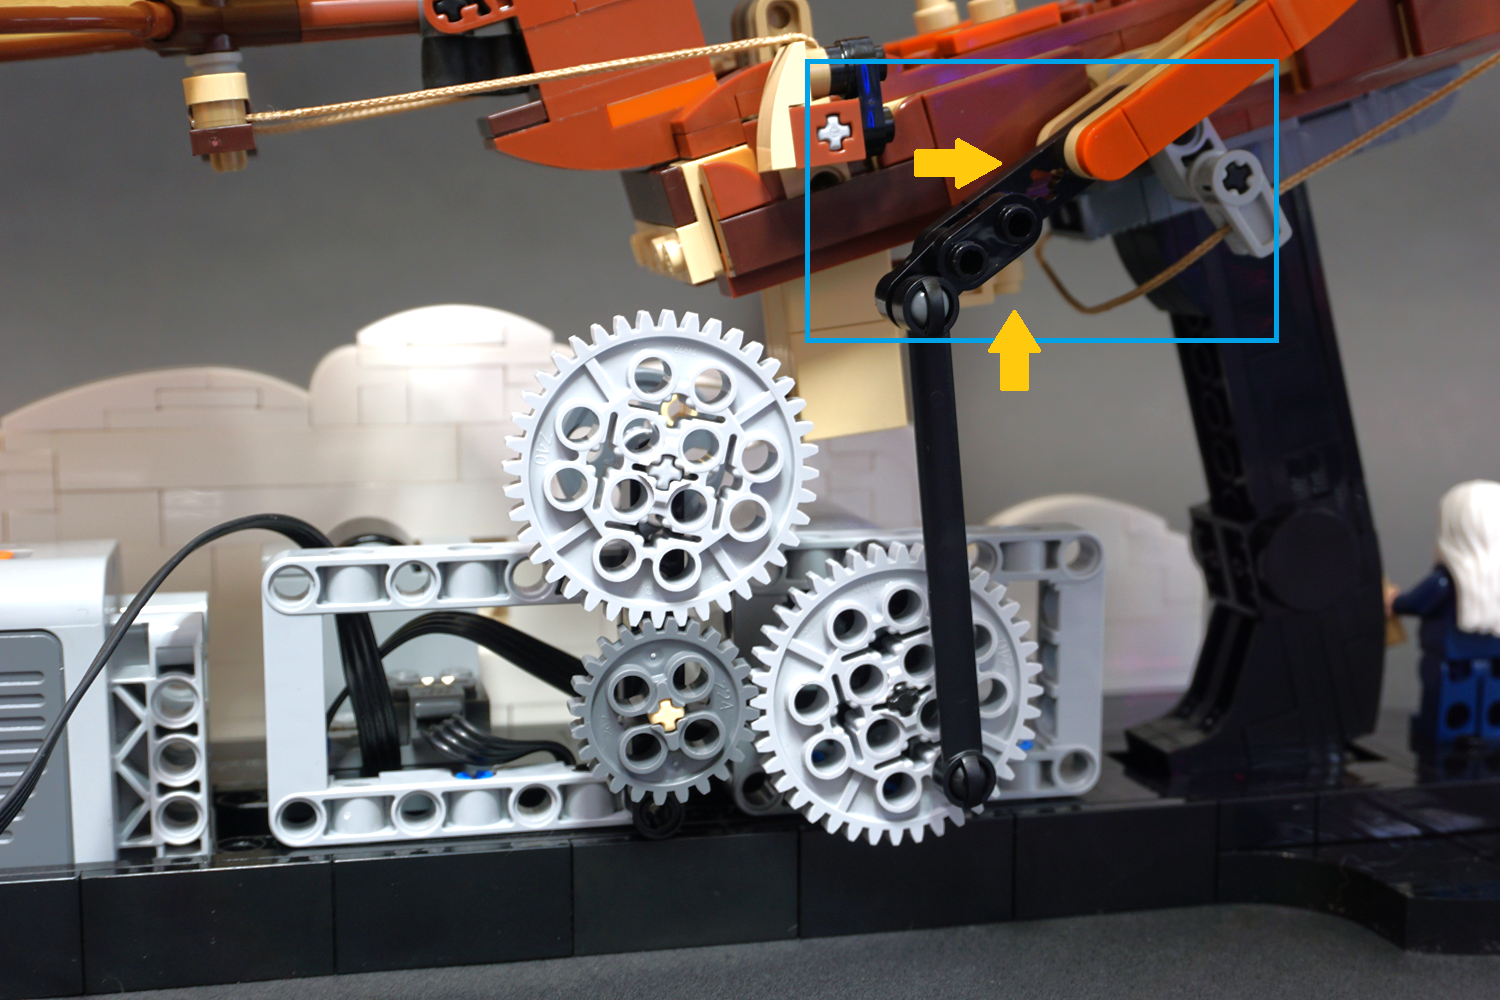
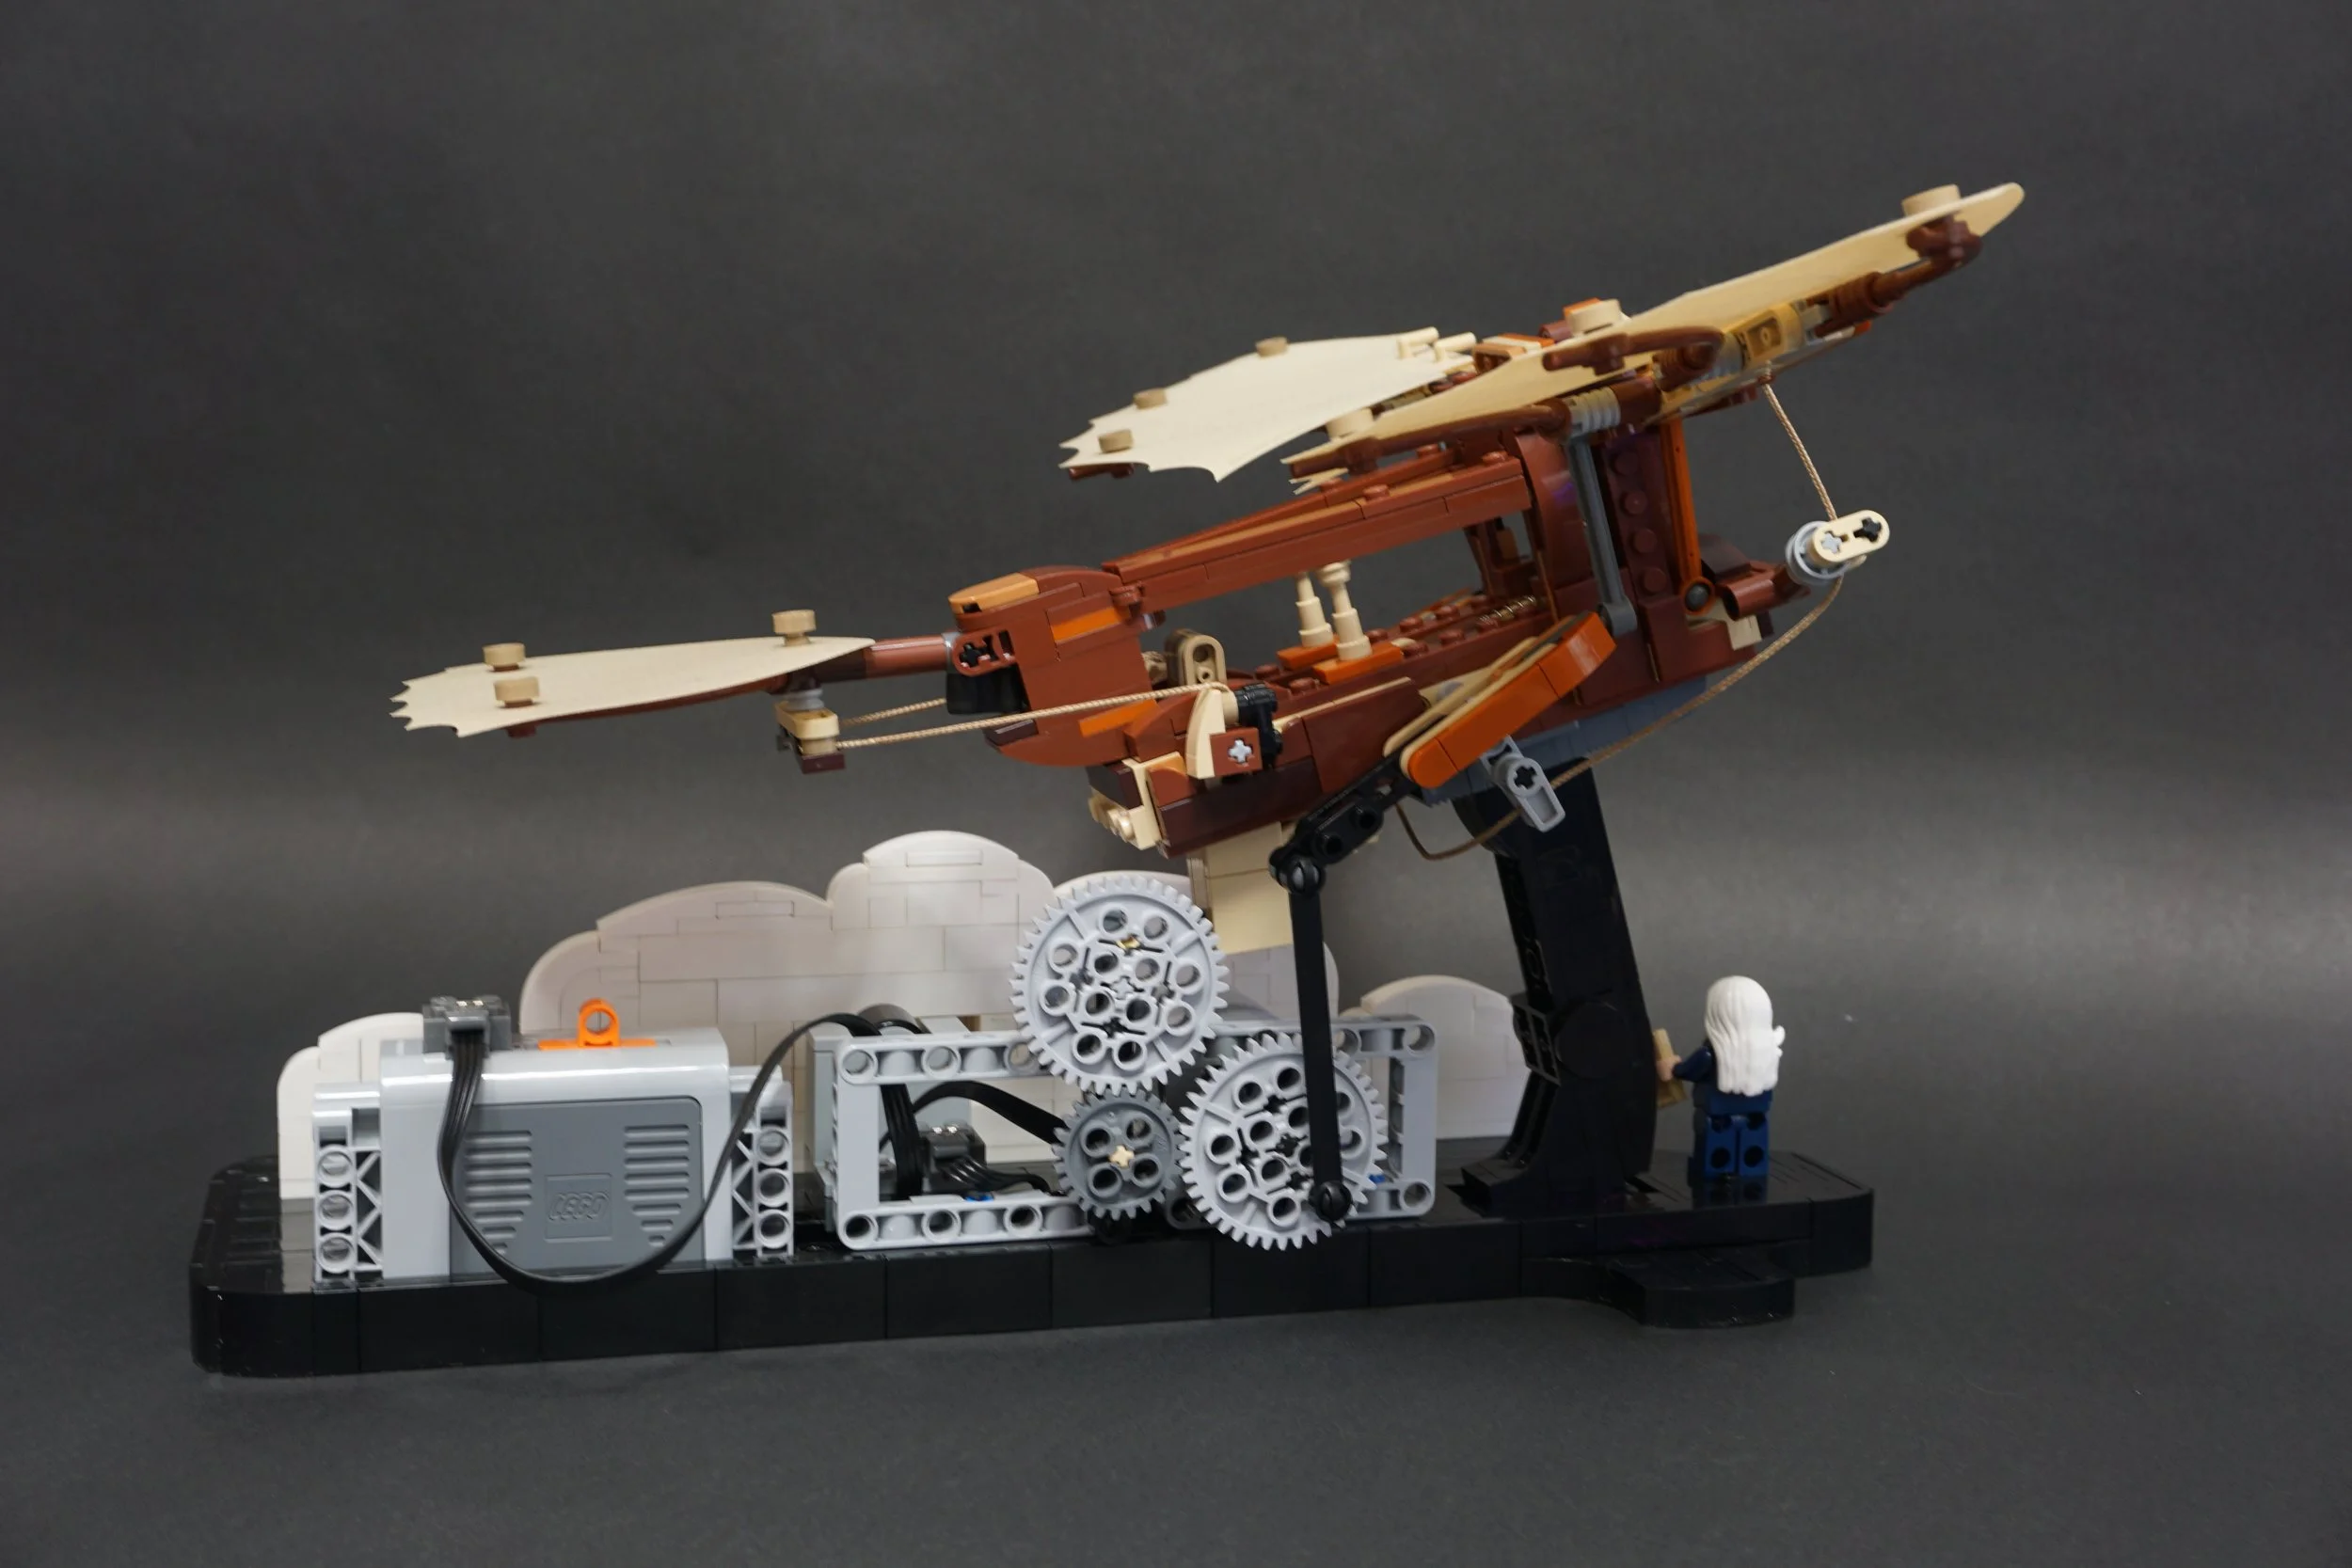
For the wings, I hooked into one of the mechanism arms at the base of the forward body. For the tail, I hooked into the trigger, that’s what’s driven by the second higher big gear.
It’s all hooked up!
Now you can see how the mechanism works, imitating squeezing the trigger with gears and a rubber band.
Pizzaz Time!
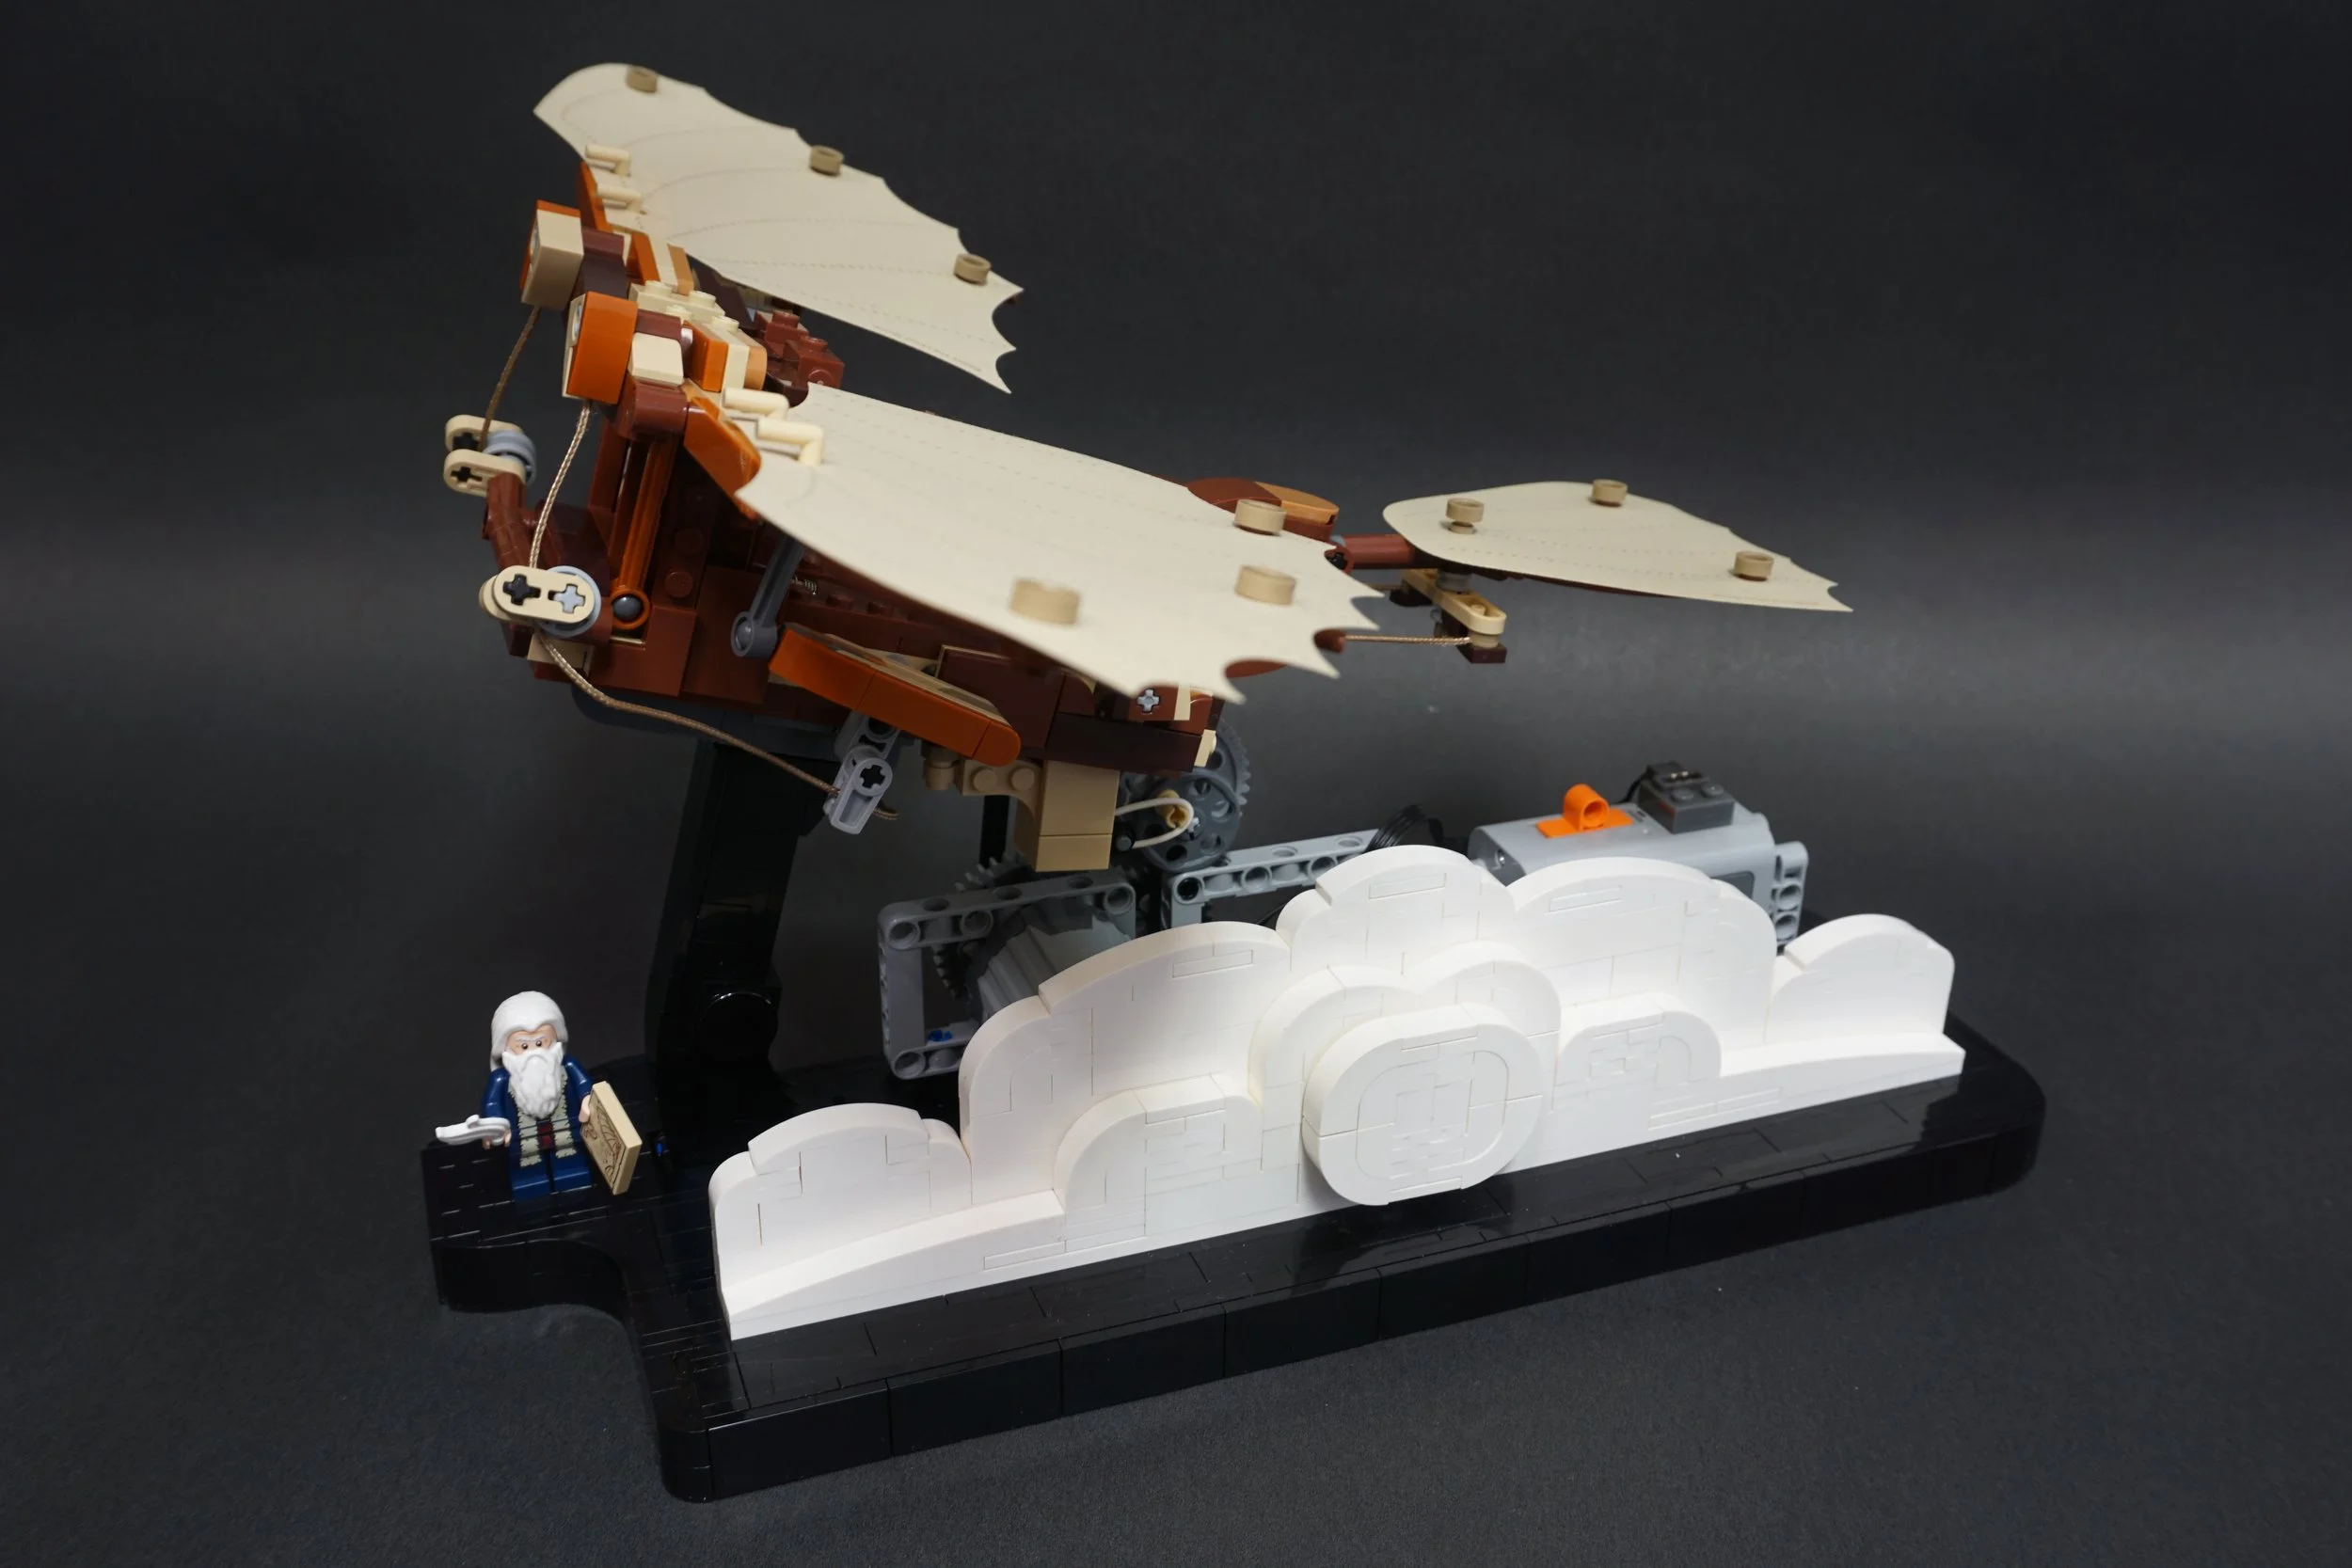
Now the mechanism worked exactly as I wanted, I decided that even with the extended black base, it wasn’t quite smooth enough a model and needed something extra. So, I ended up deciding to add a cloud to partly obscure the mechanism while leaving just a little peek so you get a taste of what’s behind it. This way, I could also build in the battery pack. All that needed an expanded black base as well. See some details in the photo gallery below!


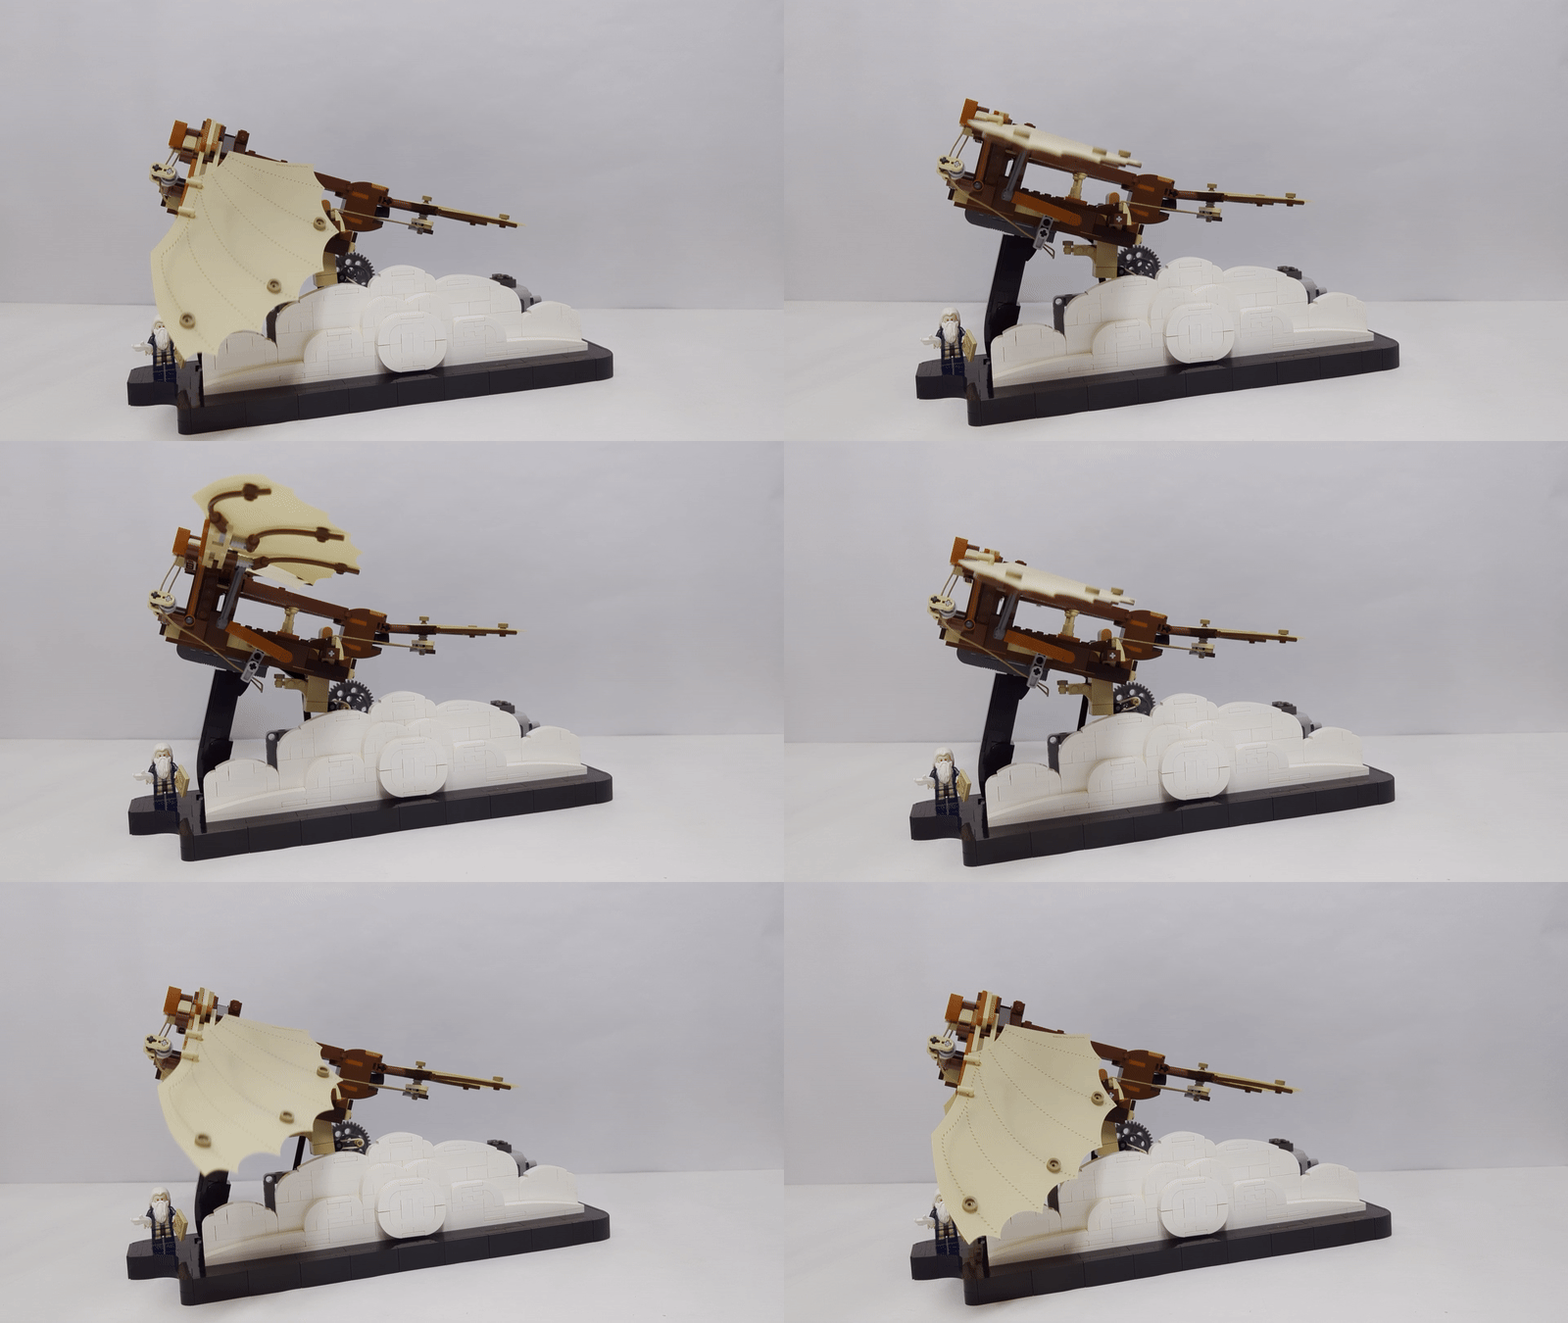
And with that, the modifications were done, and it was time to take it for a test flight! See below for the final result. I think it’s a satisfying little mod, to be sure!
Time to fly!
We have take-off! It flaps, it flies, it takes to the skies!
Fly… maybe no, but FLap, yes!
Here is an extended video showing off the entire modifications with the decorative updates on the base.
Build It Yourself
And really, that’s that! We’ve made da Vinci’s Flying Machine get as close to flying as we can, short of throwing it off a balcony. It’s not the most complex mod, to be sure. But for those who want to know the exact details, here is a digital Studio file download of the mechanism and expanded base design. As an old fan of simple Power Functions, I designed everything around using PF equipment, though you can easily swap out for newer Powered Up equipment with a little ingenuity.
There are a few pretty specific Technic parts, but otherwise, the base uses fairly typical curved slopes, bricks, plates, and tiles. I wish you great success and enjoyment if you decide to make one for yourself! Overall, this set seems simple but is actually a joy to build and play with. With a little tinkering, it’s exhilarating to see Leonardo’s dream of flight come to life—even if just in a flapping, cloud-soaring, desk-bound version.
10363 Leonardo da Vinci’s Flying Machine is available now for around $50 US from LEGO.
DISCLAIMER: This set was provided to BrickNerd by LEGO. Any opinions expressed in this article are those of the author.
Best of BrickNerd - Article originally published January 2, 2025.
Let us know in the chat if you build my design or if you come up with your own creative way to mechanize the set!
Do you want to help BrickNerd continue publishing articles like this one? Become a top patron like Marc & Liz Puleo, Paige Mueller, Rob Klingberg from Brickstuff, John & Joshua Hanlon from Beyond the Brick, Megan Lum, Andy Price, Lukas Kurth from StoneWars, Wayne Tyler, Dan Church, and Roxanne Baxter to show your support, get early access, exclusive swag and more.

