Mastering Rebrickable: A Guide to Sharing MOCs and Instructions
/Today’s guest article comes from ThrawnsRevenge who has built more than 150 MOCs available on Rebrickable. He shares some of the things he’s learned about mastering the platform, from sharing designs to protecting them.
Finding Rebrickable
The world of LEGO is constantly changing every year, both within the LEGO community itself and in the online sphere surrounding our favorite plastic bricks. Every year, we get a flurry of new parts and ways to catalog them. On top of that, we always see new programs or websites to catalog parts, blog about our experiences with LEGO, and find ways to upload our models online to share. One of these websites is called Rebrickable, a site used by many LEGO fans to share their models both for free or even for sale.
Rebrickable was started by Nathan Thom in 2011 and it has flourished as a platform since then. The website allows you to catalog your parts collection, both with sets and loose bricks. Using that data, Rebrickable recommends which models from its user-submitted MOCs and alt-build database you can build. Rebrickable also houses a blog and forum, as well as articles written by its inventory admins and MOC reviews.
I started using Rebrickable around 2020 after many people online suggested I sell instructions. (Read more about people asking for instructions in this BrickNerd article.) Now after almost four years of using the platform, I have the 38th most-viewed account with over 43,000 user downloads. Rebrickable has now become fused into my hobby of LEGO and even supports it through MOC instruction sales, as well as getting my name out there to more people.
This article will go over some of my key points of uploading MOCs to rebrickable, the process of uploading, and some basic things to keep in mind. Let’s dive right in!
Rebrickable 101
There are a couple of things I keep in mind when uploading models to Rebrickable. These pointers will help create the highest chance for your models to have a positive impact on those looking to download (or buy) them and create a great experience.
The first one is having an understanding of basic competitive analysis. This means that before even submitting your model, there is some sort of niche that you are able to carve for yourself. This can be done in many different ways, such as different scales, different price points for parts, better features, or better details. Let’s say, for example, you designed a car that you would like to upload to the site. Are there other builders who have uploaded the same car as you? If they have, is yours bigger? Maybe it’s smaller? These are things to consider, especially if you are planning to sell models on the platform.
One of the ways that I accomplish this is by creating models on a smaller and tighter scale (1:42 scale) so that my models are all the same size most of the time and tend to be slightly cheaper than their 1:35 counterparts. I also focus on being as detailed as possible without being difficult to build and minimizing illegal building techniques. Another great way is to see if you can pack “more fun” in your build than other versions of the same model. It is also a good practice to do price checks for models. The cheaper the parts are for your model compared to other options, the more likely the model will get downloaded or sold.
No1likescherry Chibi Delta 7
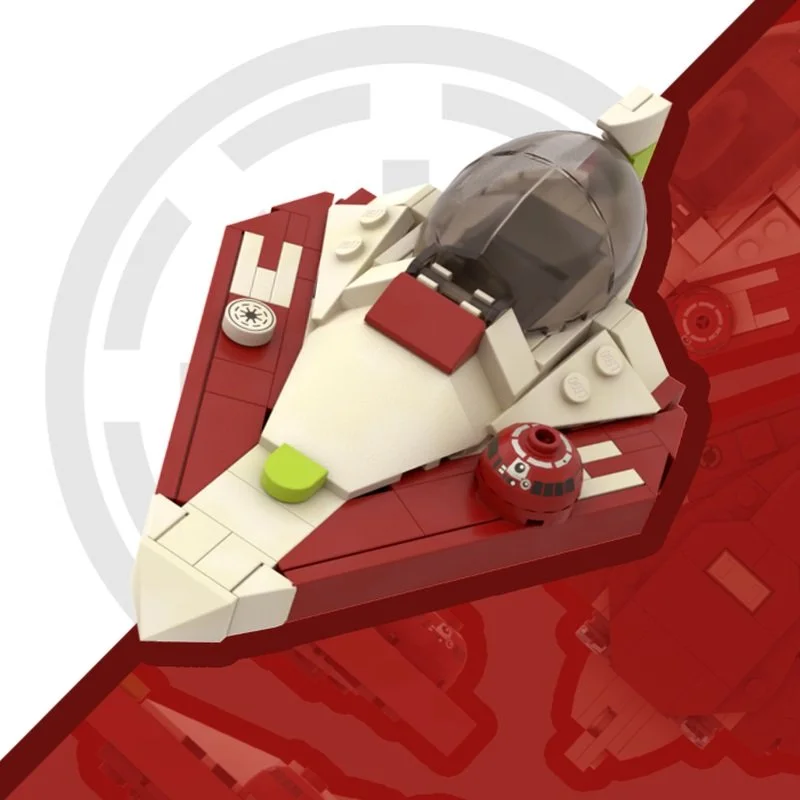
Flyinspace Delta 7
The second point is that your page for the model is the first thing someone sees before deciding if it’s worth getting. The more information you give people before making the choice of what model they want, the more likely they will get it. Things like part counts, sizing, features, or even price points based on BrickLink are all good to know. If you have pictures, this also helps understand size and style. This can be rendered in a 3D modeling program or made with actual pictures of the built model (real pictures tend to be better).
The_Minikit_Guy MTT description page
Also, if you have a YouTube channel or just videos of the model and its features, this will help the model and its performance. Another practice that I have is a change log cataloging all the changes I make over the model’s lifetime to let people know if I change it, update it, or make price-based design changes.
The third point is the instructions that you upload to Rebrickable. Rebrickable allows many different kinds of instructions, and the options depend on whether the model is for sale or not. You can upload computer-generated, BrickLink Studio, LEGO Digital Designer, actual photos, and maybe even a video if you have it as an external link.
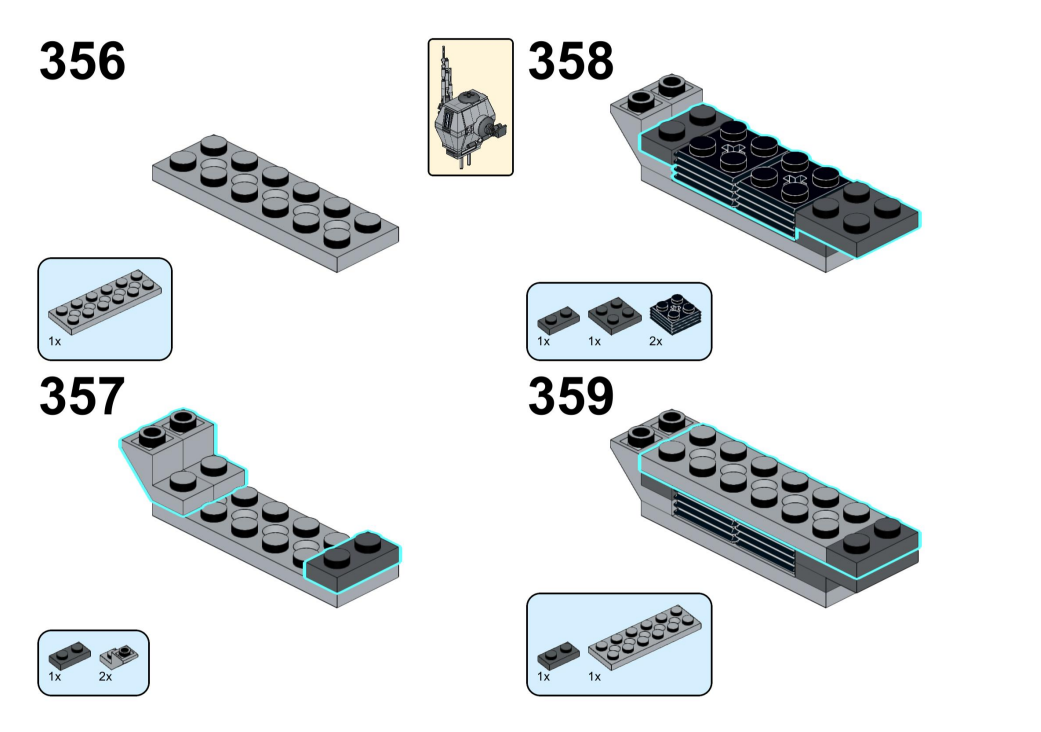
Whatever you choose as your instructions, it’s important to make sure they are the best they can be and as straightforward as possible. The closer your instructions are to official LEGO versions, the more likely people will get more of your models and the more popular you can become. Having a positive building experience is just as valuable as having a great and affordable model.
Example Instruction page from my First Order Hover Transport
Affordability is the fourth point for rebrickable. I touched on the first point a bit, but being able to know how to do that is important, as well as being able to do it across all your models. A great way to do this is if you have a ton of parts inside the model, see if you can replace a bunch of them with cheaper, colorful parts to reduce part costs. Sometimes this isn’t possible and a very specific part is needed to accomplish a look or feel. You could have alternate instructions with a different technique used for those who don’t want to spend extra and don’t mind a slight downgrade on looks. Affordability can also be seen in having many options when getting models.
Having many options with models is a great way to make a model more enticing for people looking to download and build your MOCs. This can be done by having many variants such as alternate colors, add-ons to models like extra equipment or variants, or even having modularity in the build and providing many modules to slot in. Having a UCS-style stand as a separate instruction for a vehicle model can also elevate a build, and adding that sort of official and clean look is another great selling point.
Getting Started with Rebrickable
Now that we have reviewed some of the main points of models for Rebrickable, we can go through the upload process. To start, you should create an account if you don’t already have one. Rebrickable is free to use and is free to upload to as well (keep in mind models added for sale have a 10% fee to cover rebrickables costs). After setting up your account with the info you would like, we can go straight to uploading your first MOC on rebrickable.
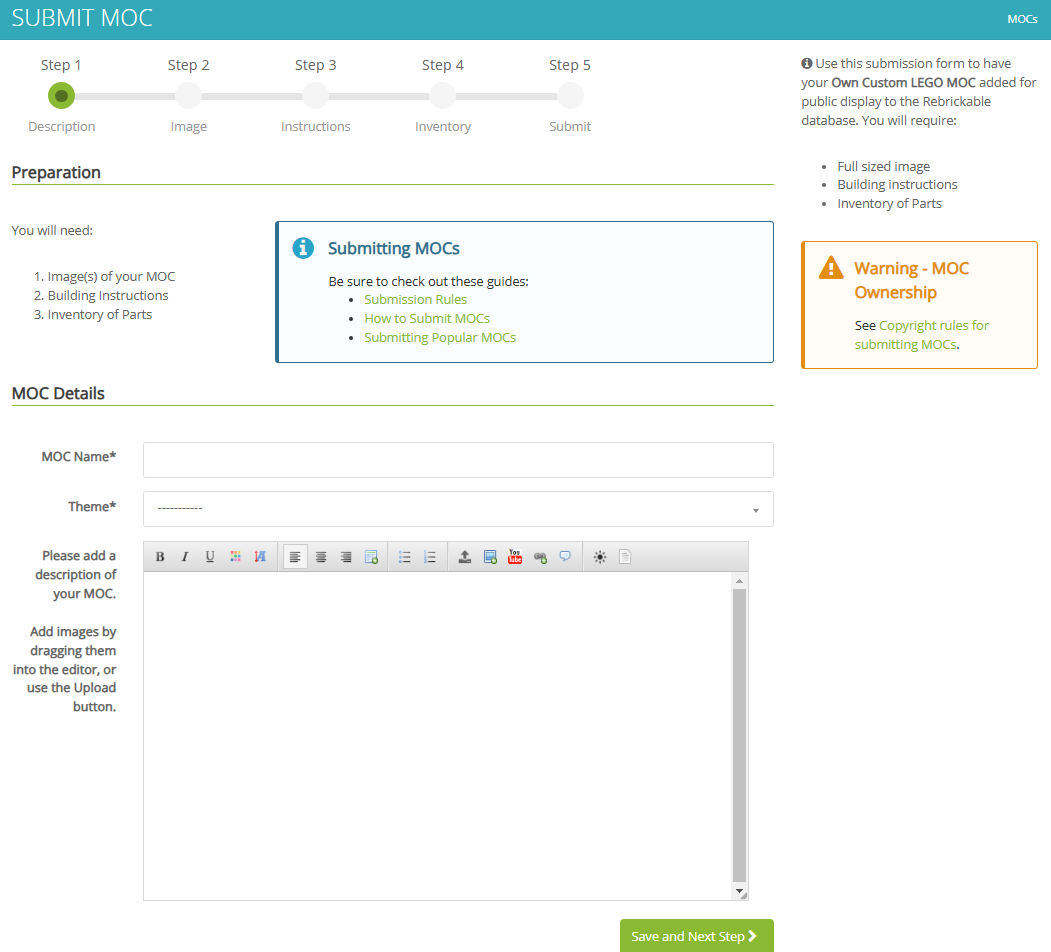
When submitting a MOC to Rebrickable, five steps need to be done in order. The first step is the MOC description. This ties into the second point I brought up where you want to give as much info about the MOC as possible. It is also best to organize all of this info neatly so anyone interested can quickly see the info they need. You add a MOC name as well as a theme which is a drop down menu, if you can’t pick a theme you can always use something related or similar. In my MOC description, I like to add the change log at the bottom and a socials section before that.
Rebrickable MOC Submission page
The second step is adding images. The more images you have, the better! Also remember to show pictures of the model’s features and any alt-color variants you have included. It also helps to add reference photos for the model, just for those who do not know what you built. The first photo you upload will be the feature photo and the thumbnail photo, so choose the best angle you have for it. Rebrickable prefers photos to be square or rectangular hamburger style, so keep that in mind. Adding vertical rectangle photos can get the model flagged by admins and they will ask you to reupload the correct ratio, this is cause the thumbnail gets cropped and will cut the top and bottom of the photo if done vertically.
The next third step is uploading your instruction file. Studio accepts many instruction types for free models but is more limited when the instructions are paid for. This is also the page where you would set your price for your instructions. If you need a reference for how to set your prices, look at other builds or models similar to yours or those that have a similar part count. I would personally also suggest uploading a parts list or an XML file if you have one. Sometimes rebrickable parts upload isn’t 100%, so it’s always good to add this just in case.
At the bottom of this page, you can also choose whether this MOC is original, an alternative model (also known as an alt model) based on a set, or a mod based on someone else’s instructions. If you are making a mod, I would always suggest contacting the original creator first to make sure it’s okay and that they don’t mind. I have seen lots of drama from modding and MOC theft accusations that come from just a lack of communication, so be careful!
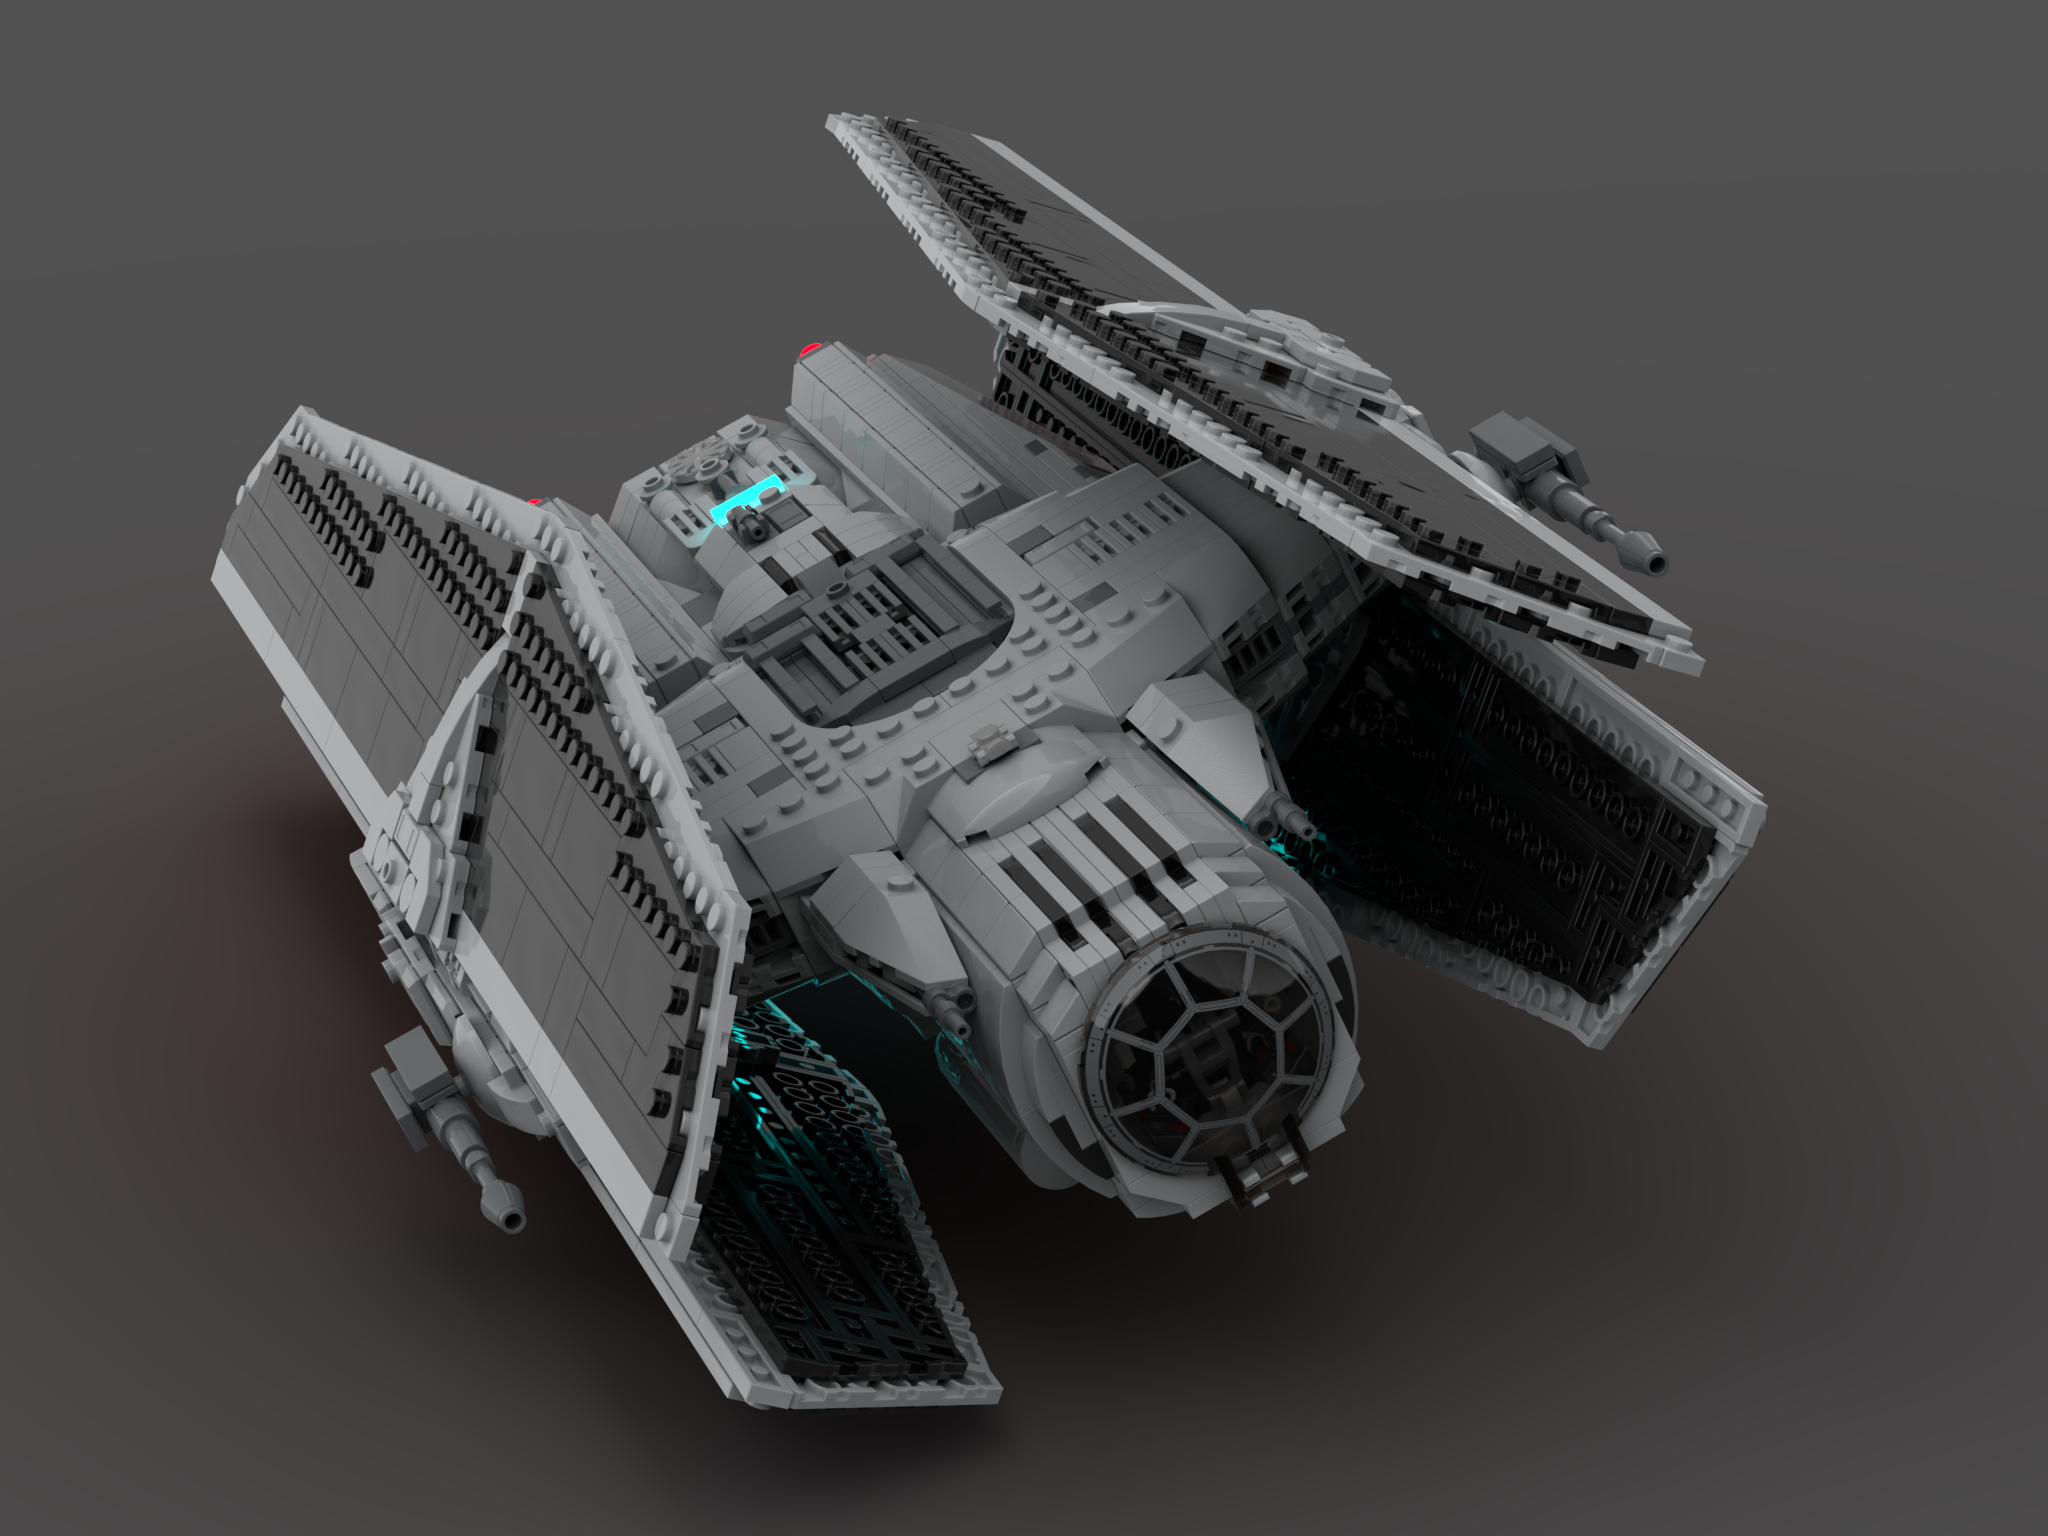
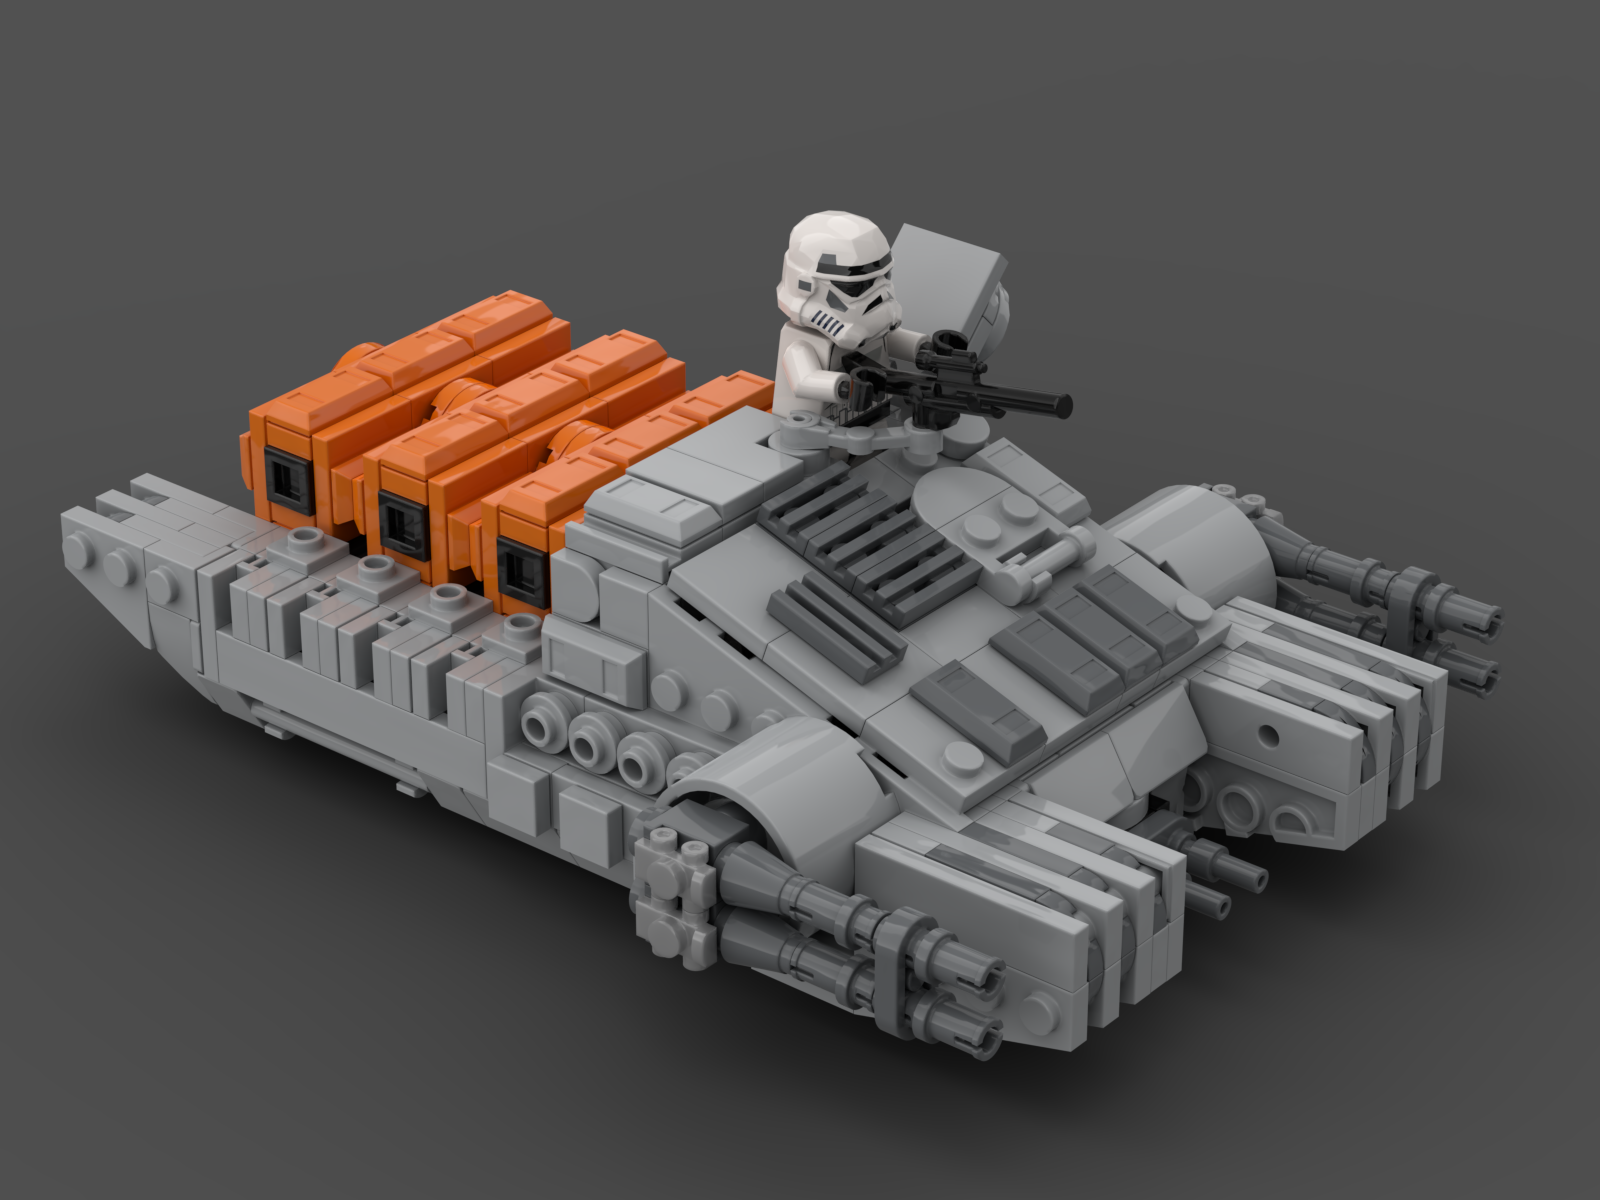
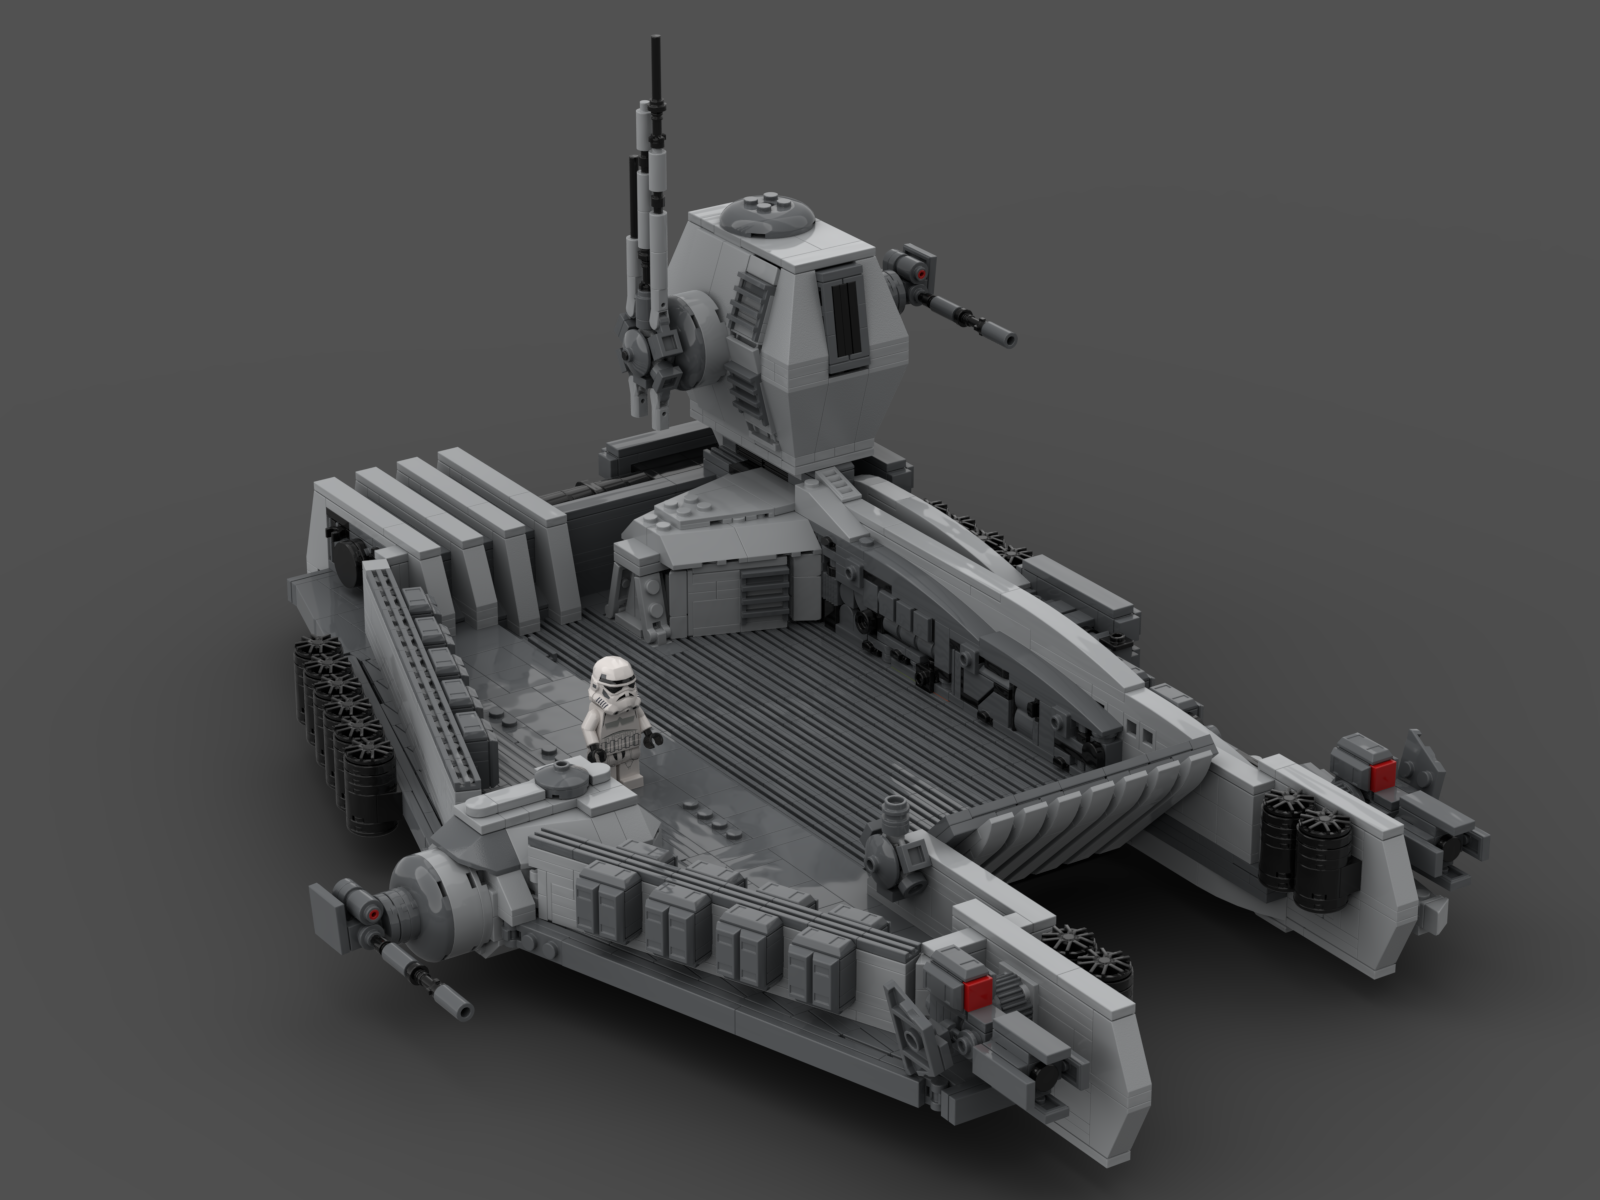
Several Star Wars-related models available on Rebrickable from ThrawnsRevenge.
After the instructions, lastly you upload the parts. Parts uploading can be done manually by finding each part and adding it via the search or by uploading a Studio file in .io format. In this section, you can also add spare parts and alternative parts. Including spare parts can be helpful to have some extra parts that may be lost when a person is building your creation, similar to how LEGO adds spares in their sets. Alternative parts are great if your model has different variants or add-ons to the design. You can also add colorless parts, which are categorized as “No Color/Any Color” in Rebrickable. This feature helps in buying parts directly from the Rebrickable buy option, where the cheapest available color for that part will be auto-selected when checking out.
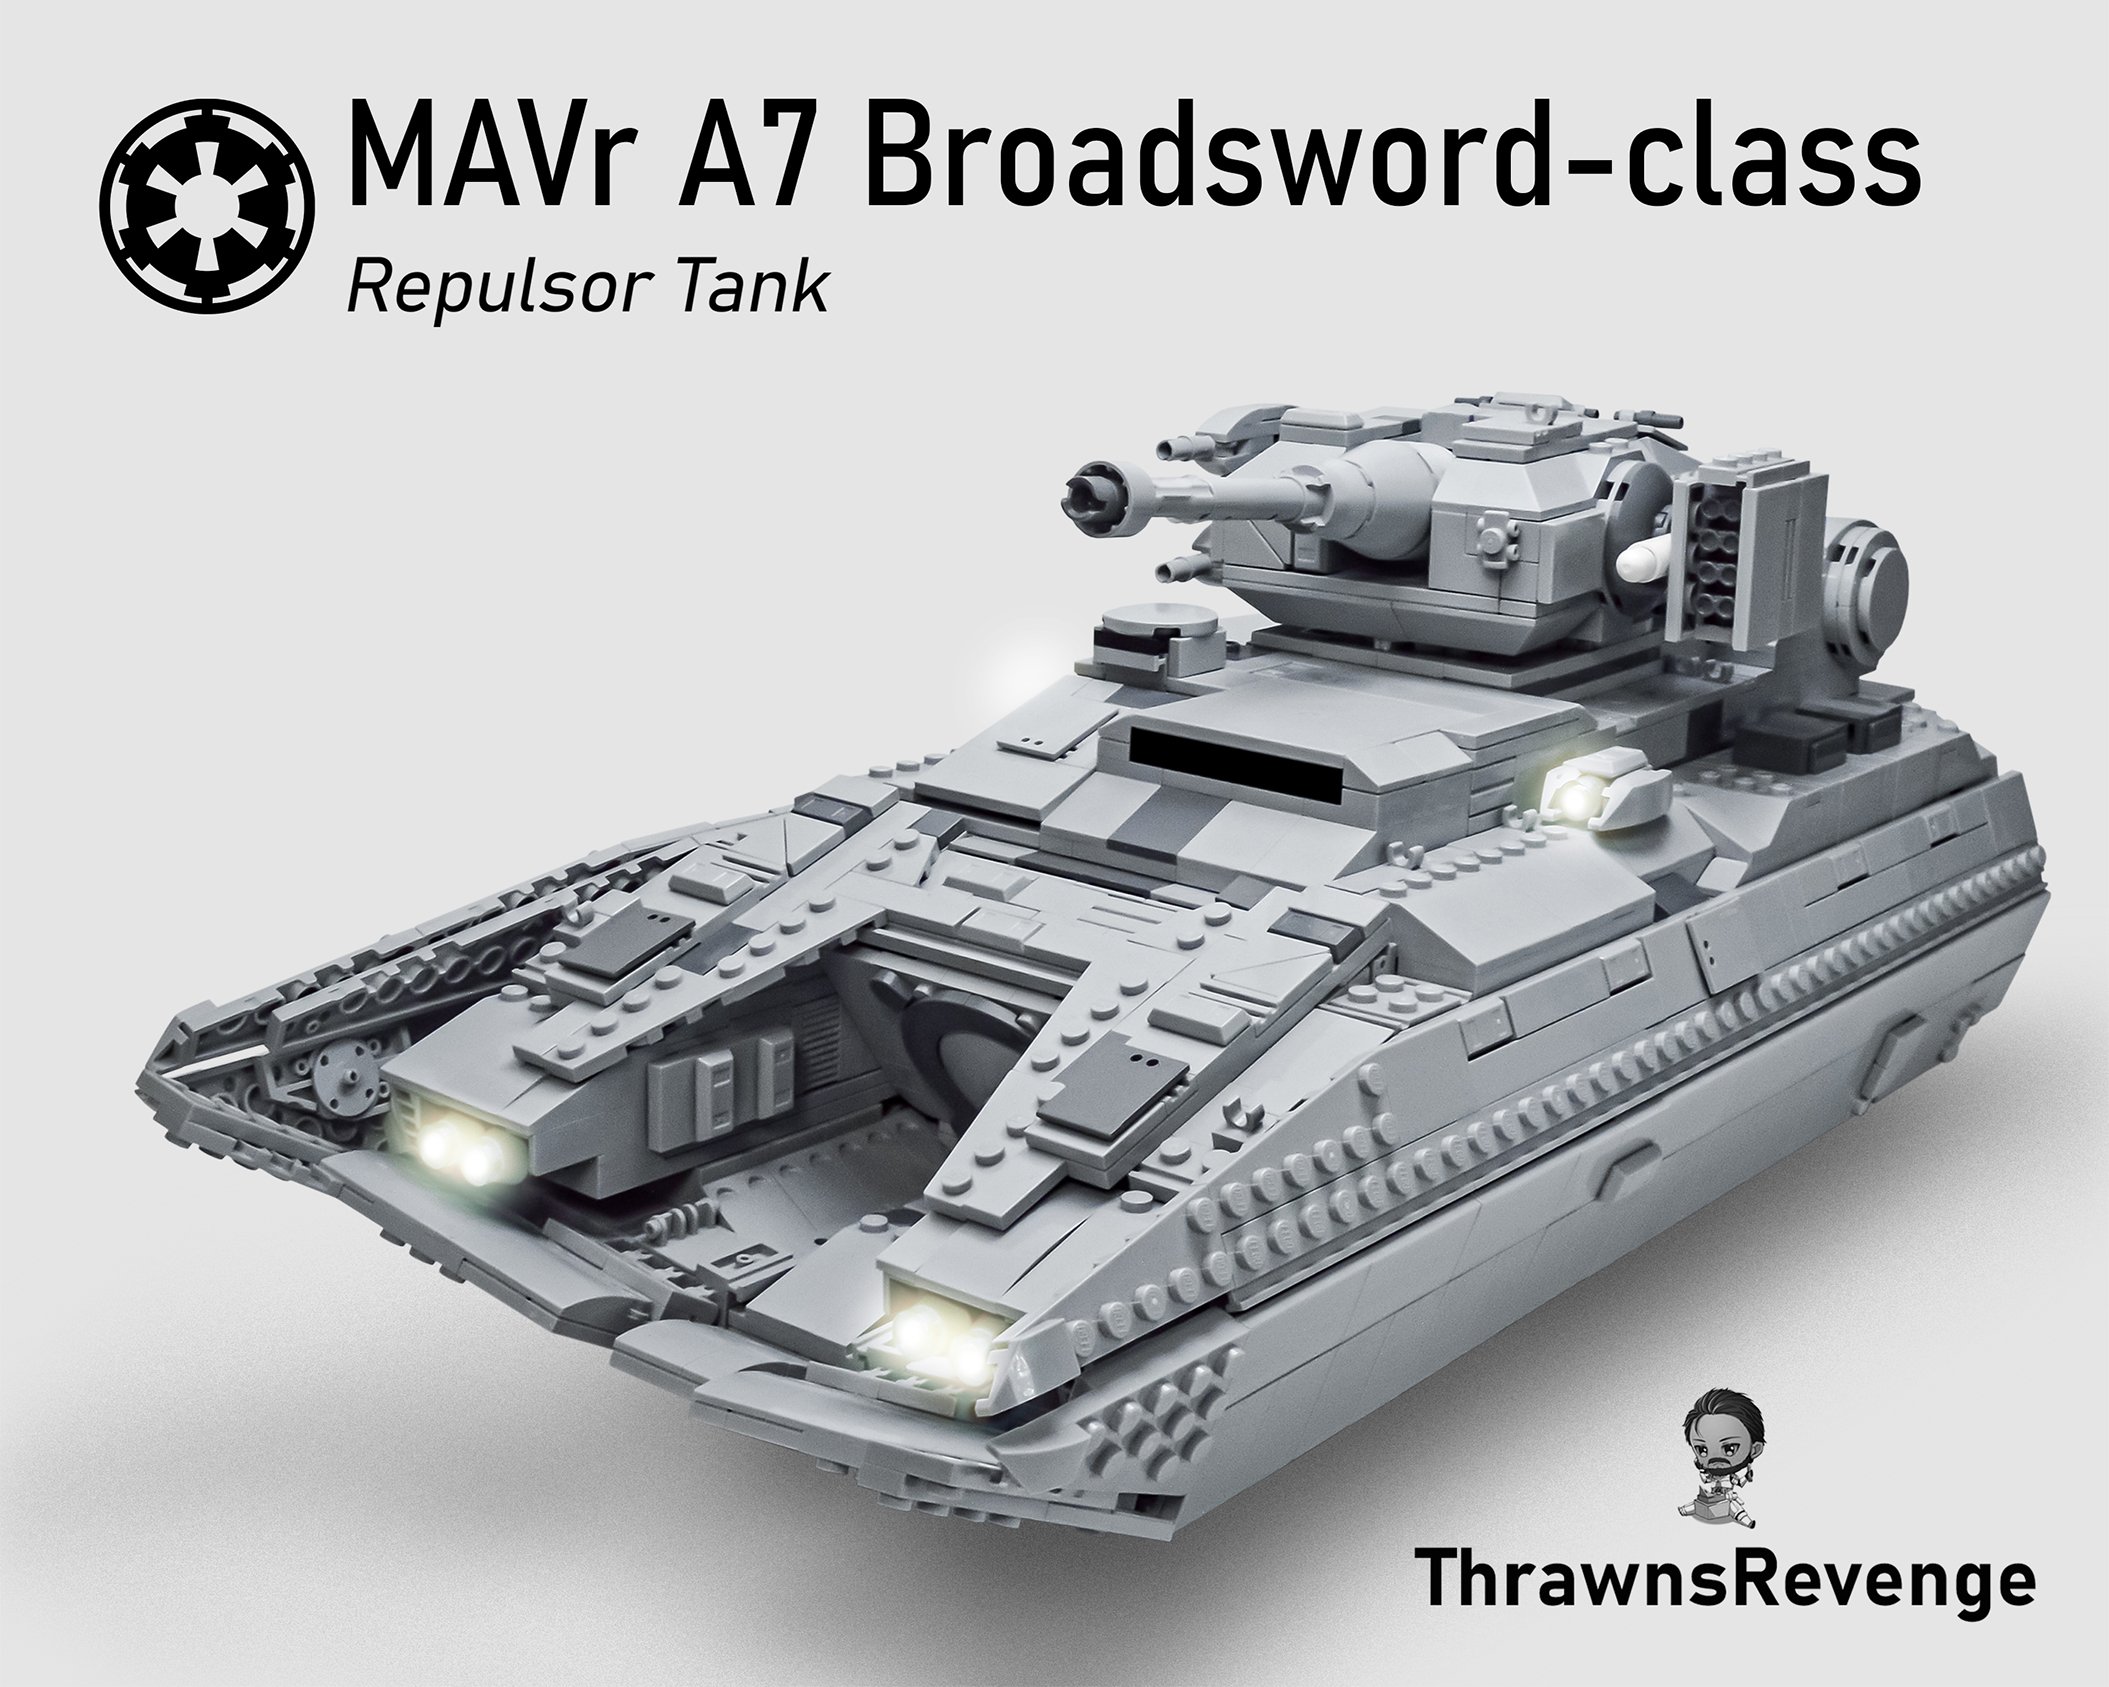
Repulsor Tank Model by ThrawnsRTevenge. Cover by Melnik Edits.
Finally, you can submit your model! When submitting, you can also send a message to the moderation team that checks the models. If it’s your first time uploading, this may take some time as moderators tend to look more carefully at newly made accounts that upload a model for the first time.
Mastering Rebrickable
One thing to keep in mind when uploading to Rebrickable is that because Rebrickable is moderated, you have to keep in mind what will and won’t be accepted. Usually, very small builds that can be easily recreated from images tend not to be allowed for sale. Also, MOCs that are uploaded must be uploaded by the original creator unless it is a collaboration build or you were given specific permission to do it. Another thing to keep in mind is that if the model took inspiration from someone else, it is best to credit them, as this can also get a MOC rejected.
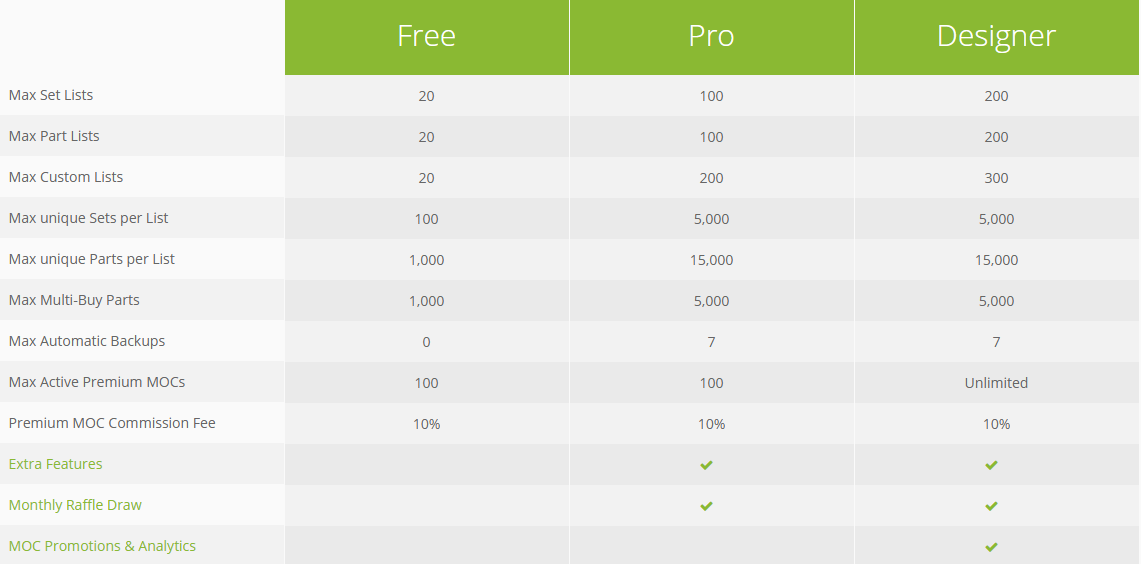
Some more Rebrickable-specific things I would suggest include getting a Rebrickable premium account if you are selling MOCs… if they are doing well enough to pay the $ $10 a month fee. A premium account allows for extra features for MOC submissions, such as no ads being shown on your MOC, selecting which pages customers can preview when looking at your instructions before purchase, advanced MOC data and analytics, and occasional promotions.
But one of the biggest benefits of the premium subscription to Rebrickable is the ability to protect your models from piracy and theft. This can be accomplished in many ways, such as watermarks, block lists, specific country blocking, and PDF stamping. All of these features are available through the user settings tab and can be changed to how you see fit.
The most important one to me is adding countries to the “Do Not Sell” list. This is done by going to the user settings and going to premium MOCs. Scrolling all the way to the bottom of this tab, you can add specific countries to block from seeing your MOC. I would highly recommend adding Hong Kong and China as certain knock-off companies mostly reside there, so blocking them helps keep your models safe from theft. I also use the watermark and PDF stamps as well which can be activated above the “Do Not Sell to Users” section of the premium mocs tab in user settings.
From Digital to Physical
Rebrickable is an invaluable tool for LEGO fans, whether you’re cataloging your collection, building from others’ designs, or sharing your own. With its growing community and expanding features, it opens up countless opportunities to turn your creativity into something tangible. By following the tips and steps outlined here, you’ll not only maximize the impact of your models but also contribute to a thriving LEGO community.
Model by ThrawnsRTevenge. Cover by Jakethemystic.
So, whether you’re an experienced builder or just starting to share your MOCs, take the plunge—your next great LEGO adventure might just start with a Rebrickable upload!
Best of BrickNerd - Article originally published January 10, 2025.
What else do you want to know about Rebrickable? Have you ever sold instructions before? Let us know in the comments below!
Do you want to help BrickNerd continue publishing articles like this one? Become a top patron like Marc & Liz Puleo, Paige Mueller, Rob Klingberg from Brickstuff, John & Joshua Hanlon from Beyond the Brick, Megan Lum, Andy Price, Lukas Kurth from StoneWars, Wayne Tyler, LeAnna Taylor, Monica Innis, Dan Church, Roxanne Baxter, and Steven Laughlin to show your support, get early access, exclusive swag and more.


