Trondheim in Miniature: Birth of a Custom LEGO Event Kit
/For the tenth anniversary of our big LEGO event in Norway, and the final one before stepping down as organisers, my friend Harald and I decided to create a special set for the attendees—something we could look back on and be proud of. This is the story of how the custom Trondheim Skyline event kit came to be.

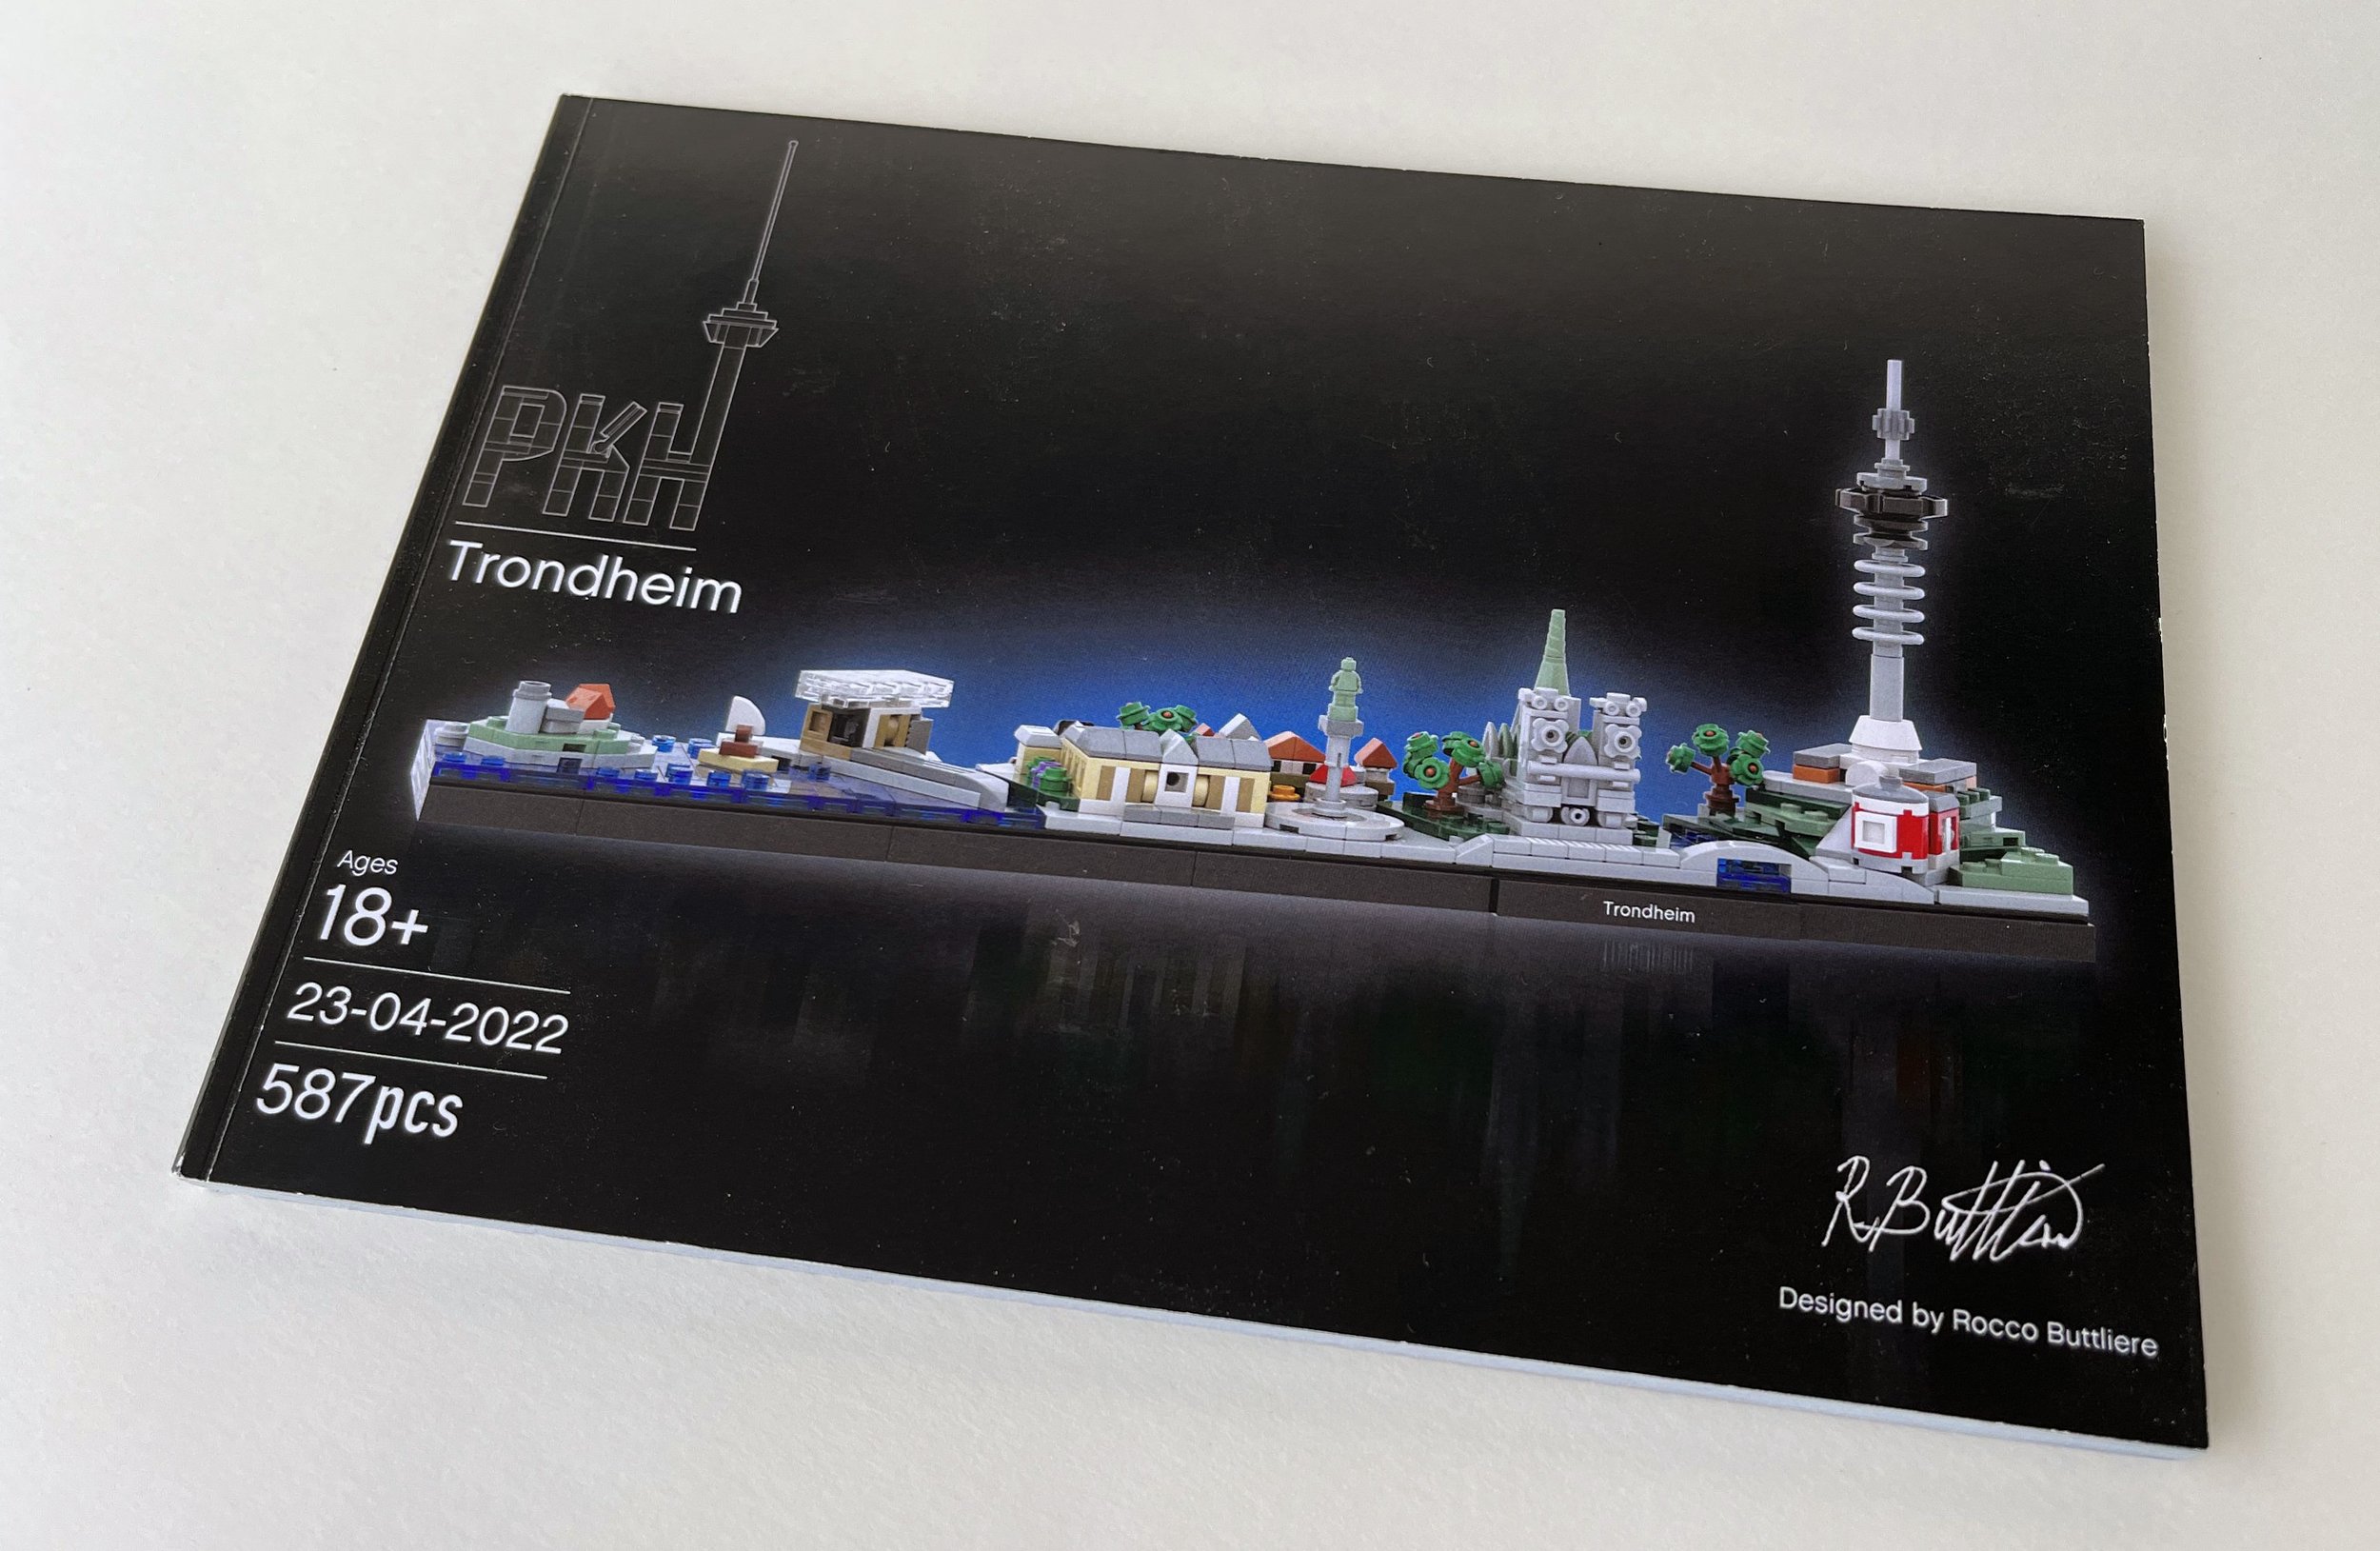
Trondheim Skyline, exclusive event set for På Kloss Hold 2022
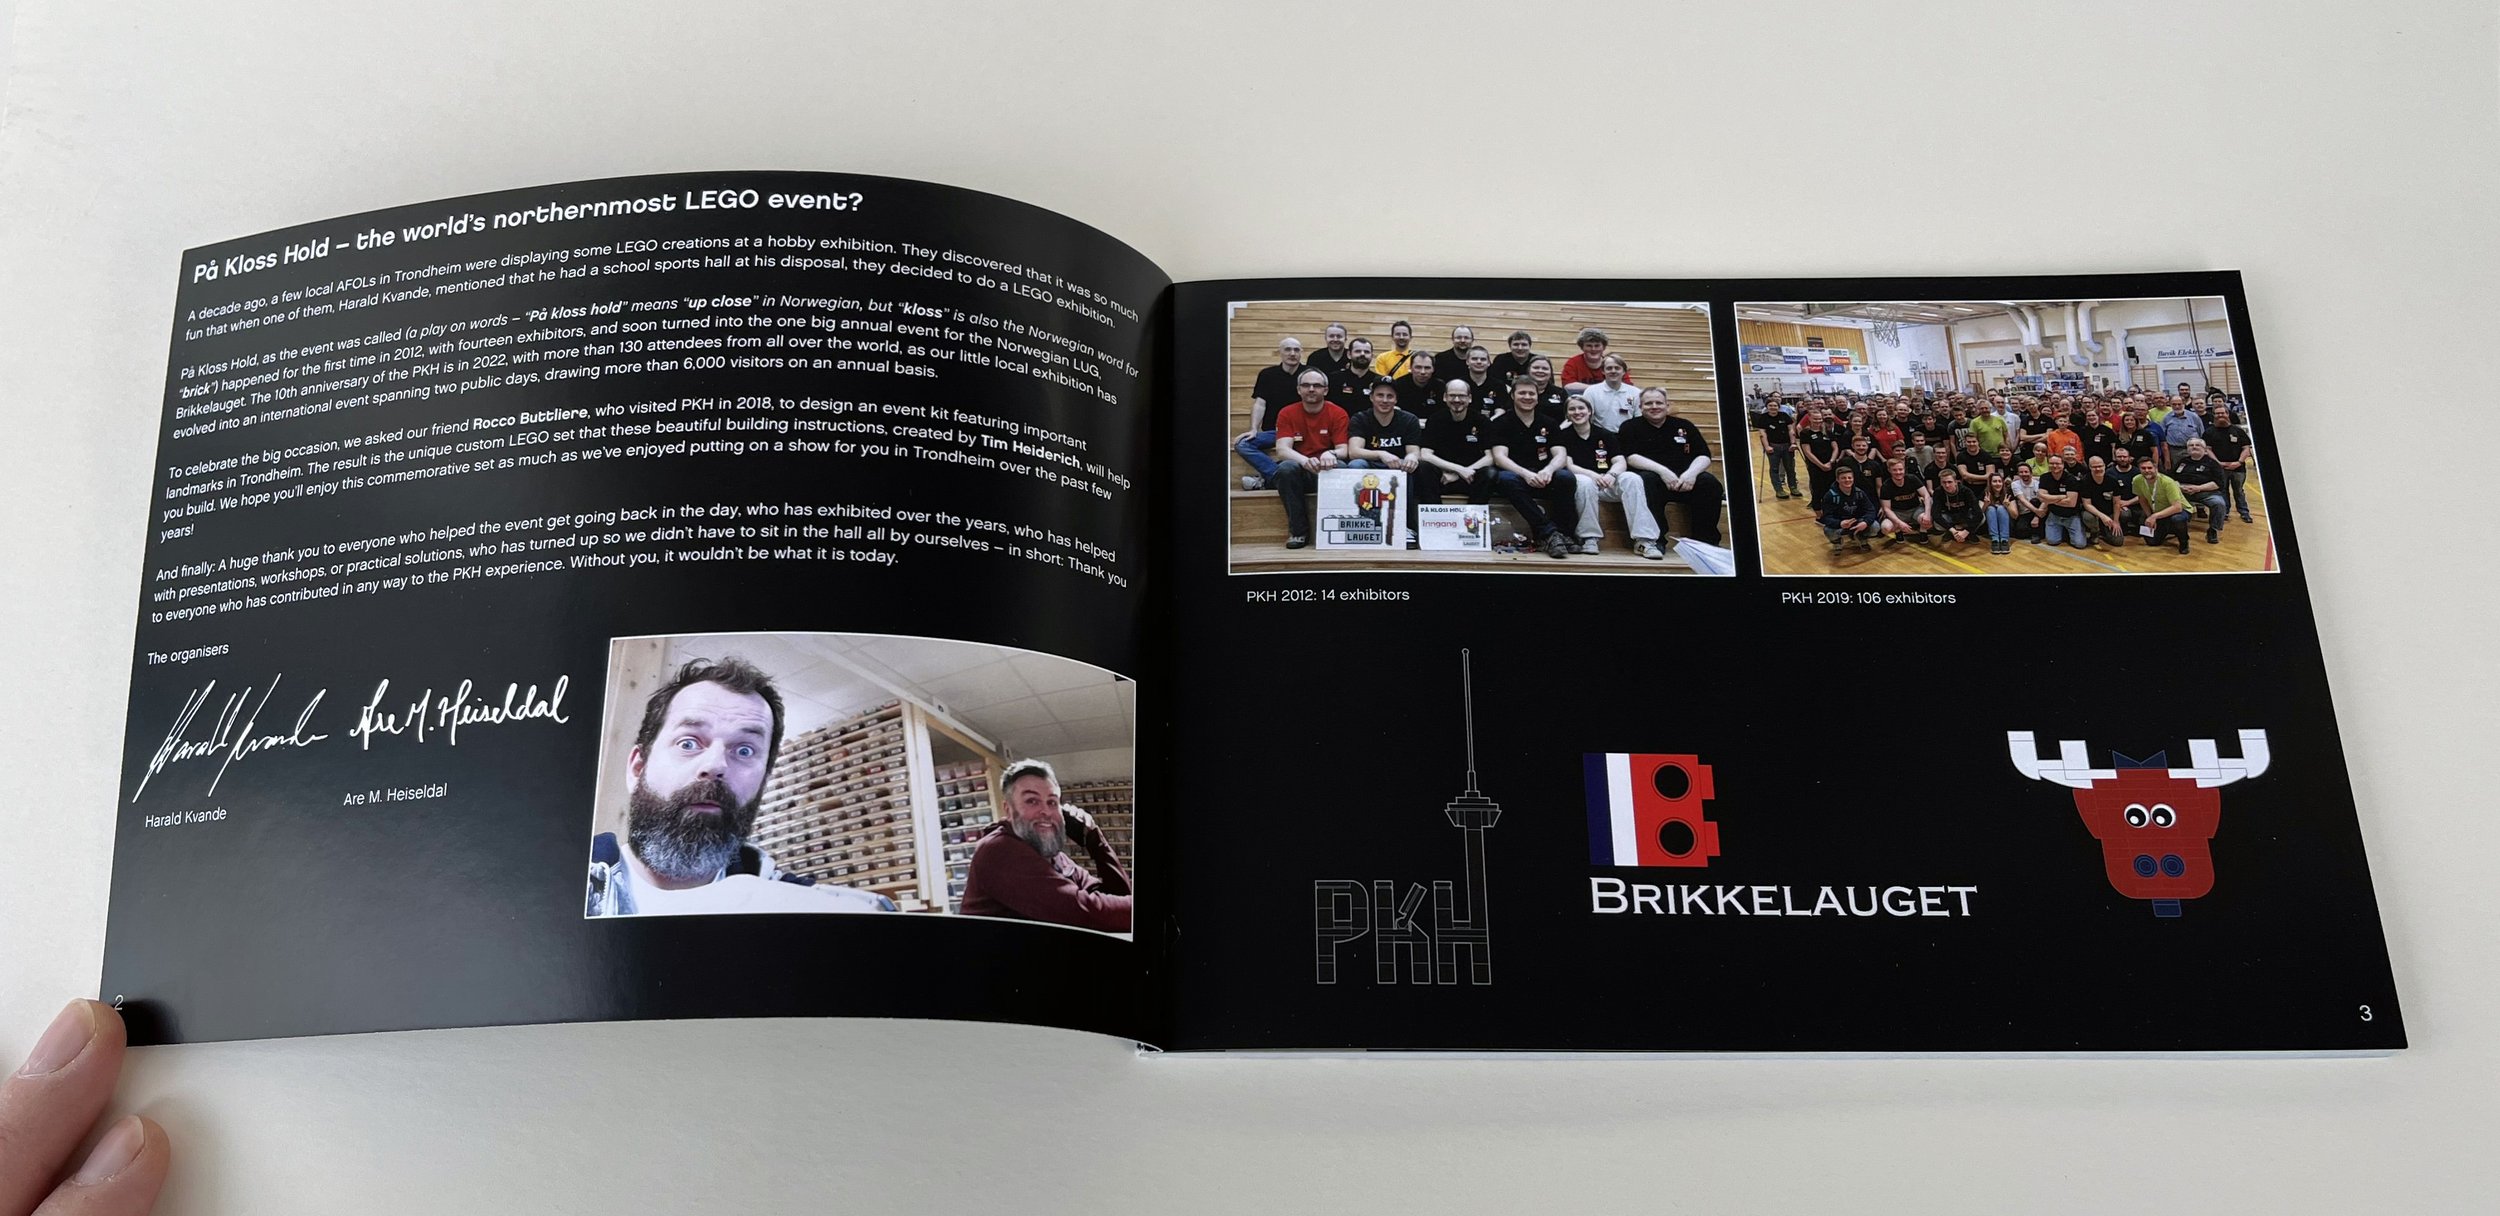
Regular BrickNerd readers might remember a couple of articles I wrote back in 2021 about what we believe is the world’s northernmost major LEGO event*, På Kloss Hold (PKH) in Trondheim, Norway. The event has evolved from a tiny add-on to our LUG’s annual general meeting to an international convention with 100+ participants.
(*= I never intended to claim that there aren’t, or have never been, events held farther north than PKH! After this article was published, I’ve been told of such events in Sweden, Finland and even in Norway! I do, however, still firmly believe that PKH is the world’s northernmost major event, and by that I mean that it is a) annual, b) international, and c) draws 100+ exhibitors every year. I hope that helps!)
A few years ago, our resident LEGO Certified Professional (LCP), Matija Puzar, was asked to design small event sets for PKH, to be handed out to the attendees. He initially came up with some very clean and simplistic miniature versions of recognisable buildings in Trondheim. A couple of years later we had the idea to ask him for sets depicting the location of our AFOL evening which was secret until the event.
Matija’s PKH event sets, left to right: Munkholmen, Stiftsgården, Kristiansten fortress, nidaros cathedral, and Samfundet
As you can see, he’s done a fantastic job creating some lovely little sets for us. My co-organiser Harald Kvande and I did, however, several years back start talking about wanting to do something different, going all in, for the big tenth anniversary of the event. That was supposed to be in April 2021—but obviously the COVID-19 pandemic threw some spanners in the works for 2020, so instead, our ninth event eventually happened in October ‘21.
That meant, though, that we knew we would most likely be able to invite people to the big number 10 in April 2022. By then, Harald had been involved in planning the PKH events from the very beginning in 2012, and he and I had been the organising committee on our own since 2016. A bit of “event fatigue” was beginning to set in, and we both felt it might be time to hand the baton over to somebody else. This was of course an even bigger incentive for us to go out with a bang—so right after the ninth event, we started planning!

PKH 2022 planning meeting, COVID style. Harald on the left… and my cat on the right
Enlisting the Help of Someone Special
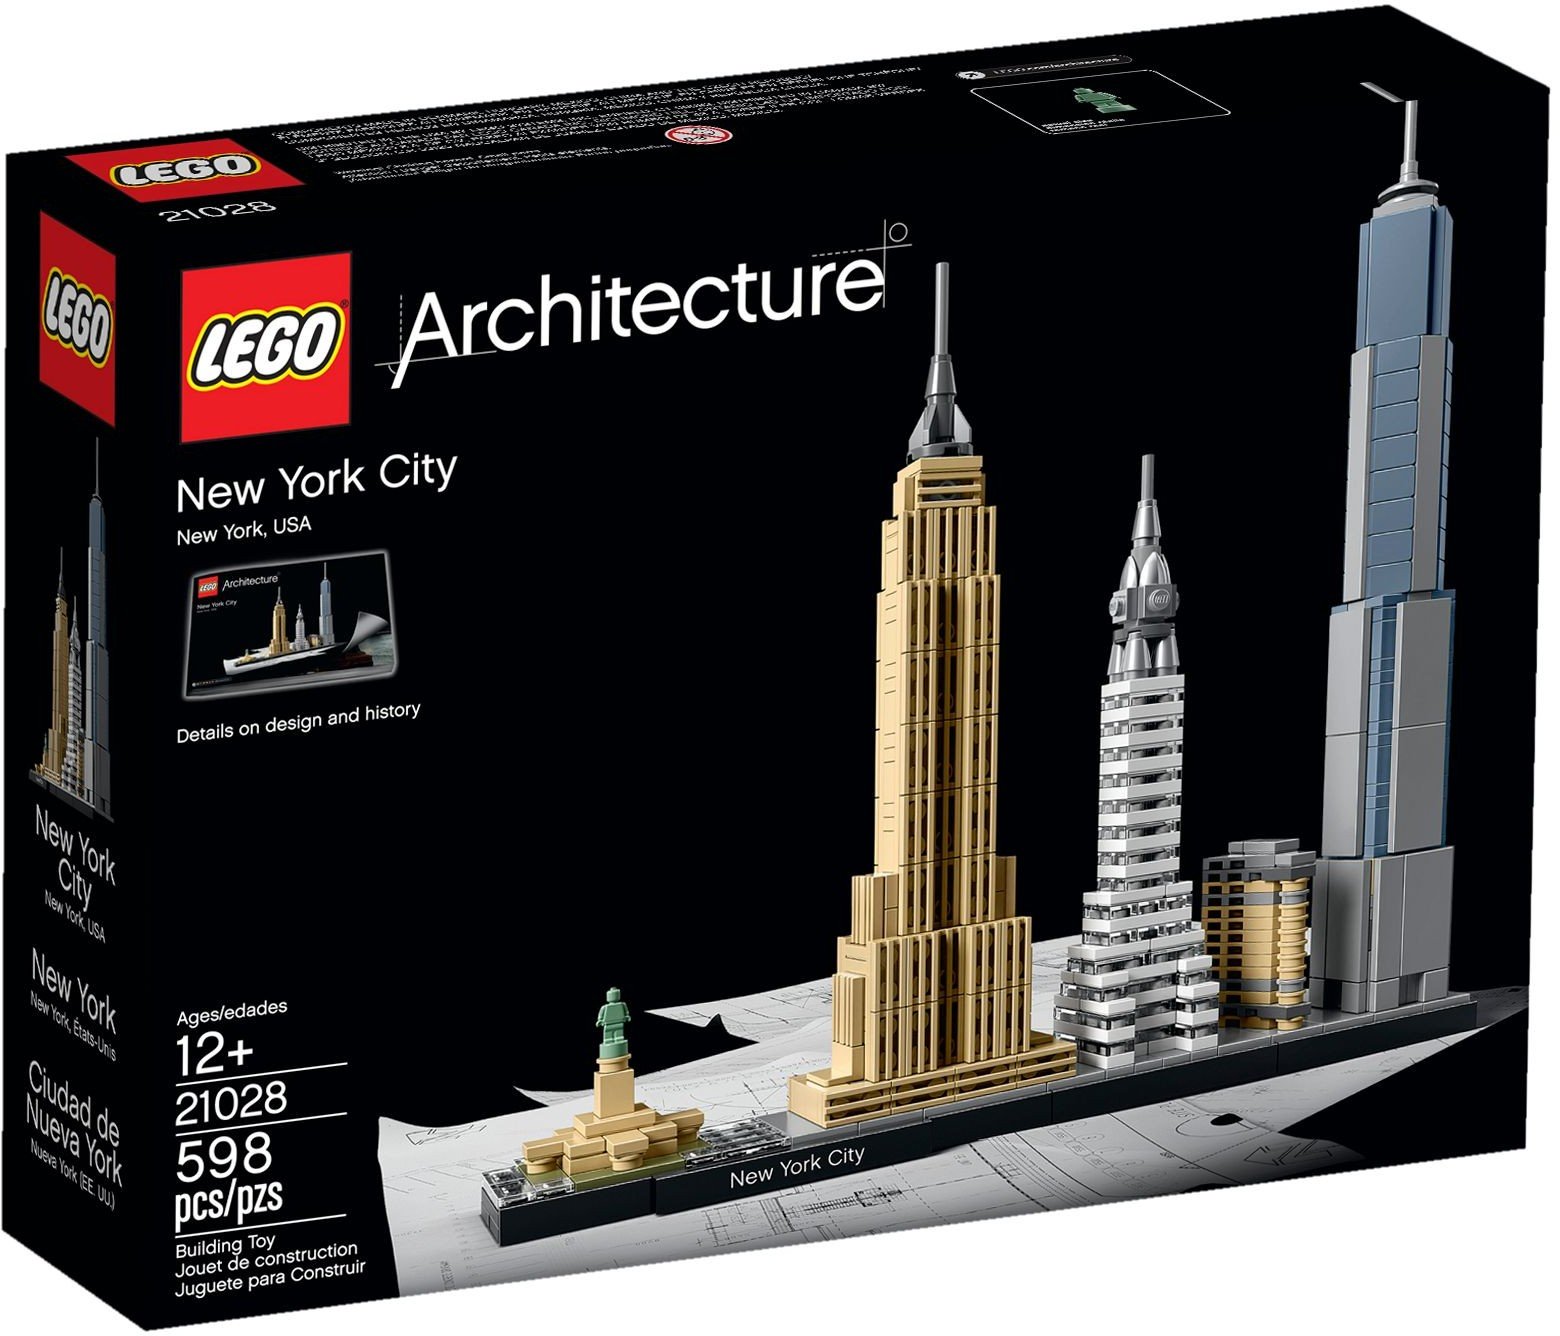
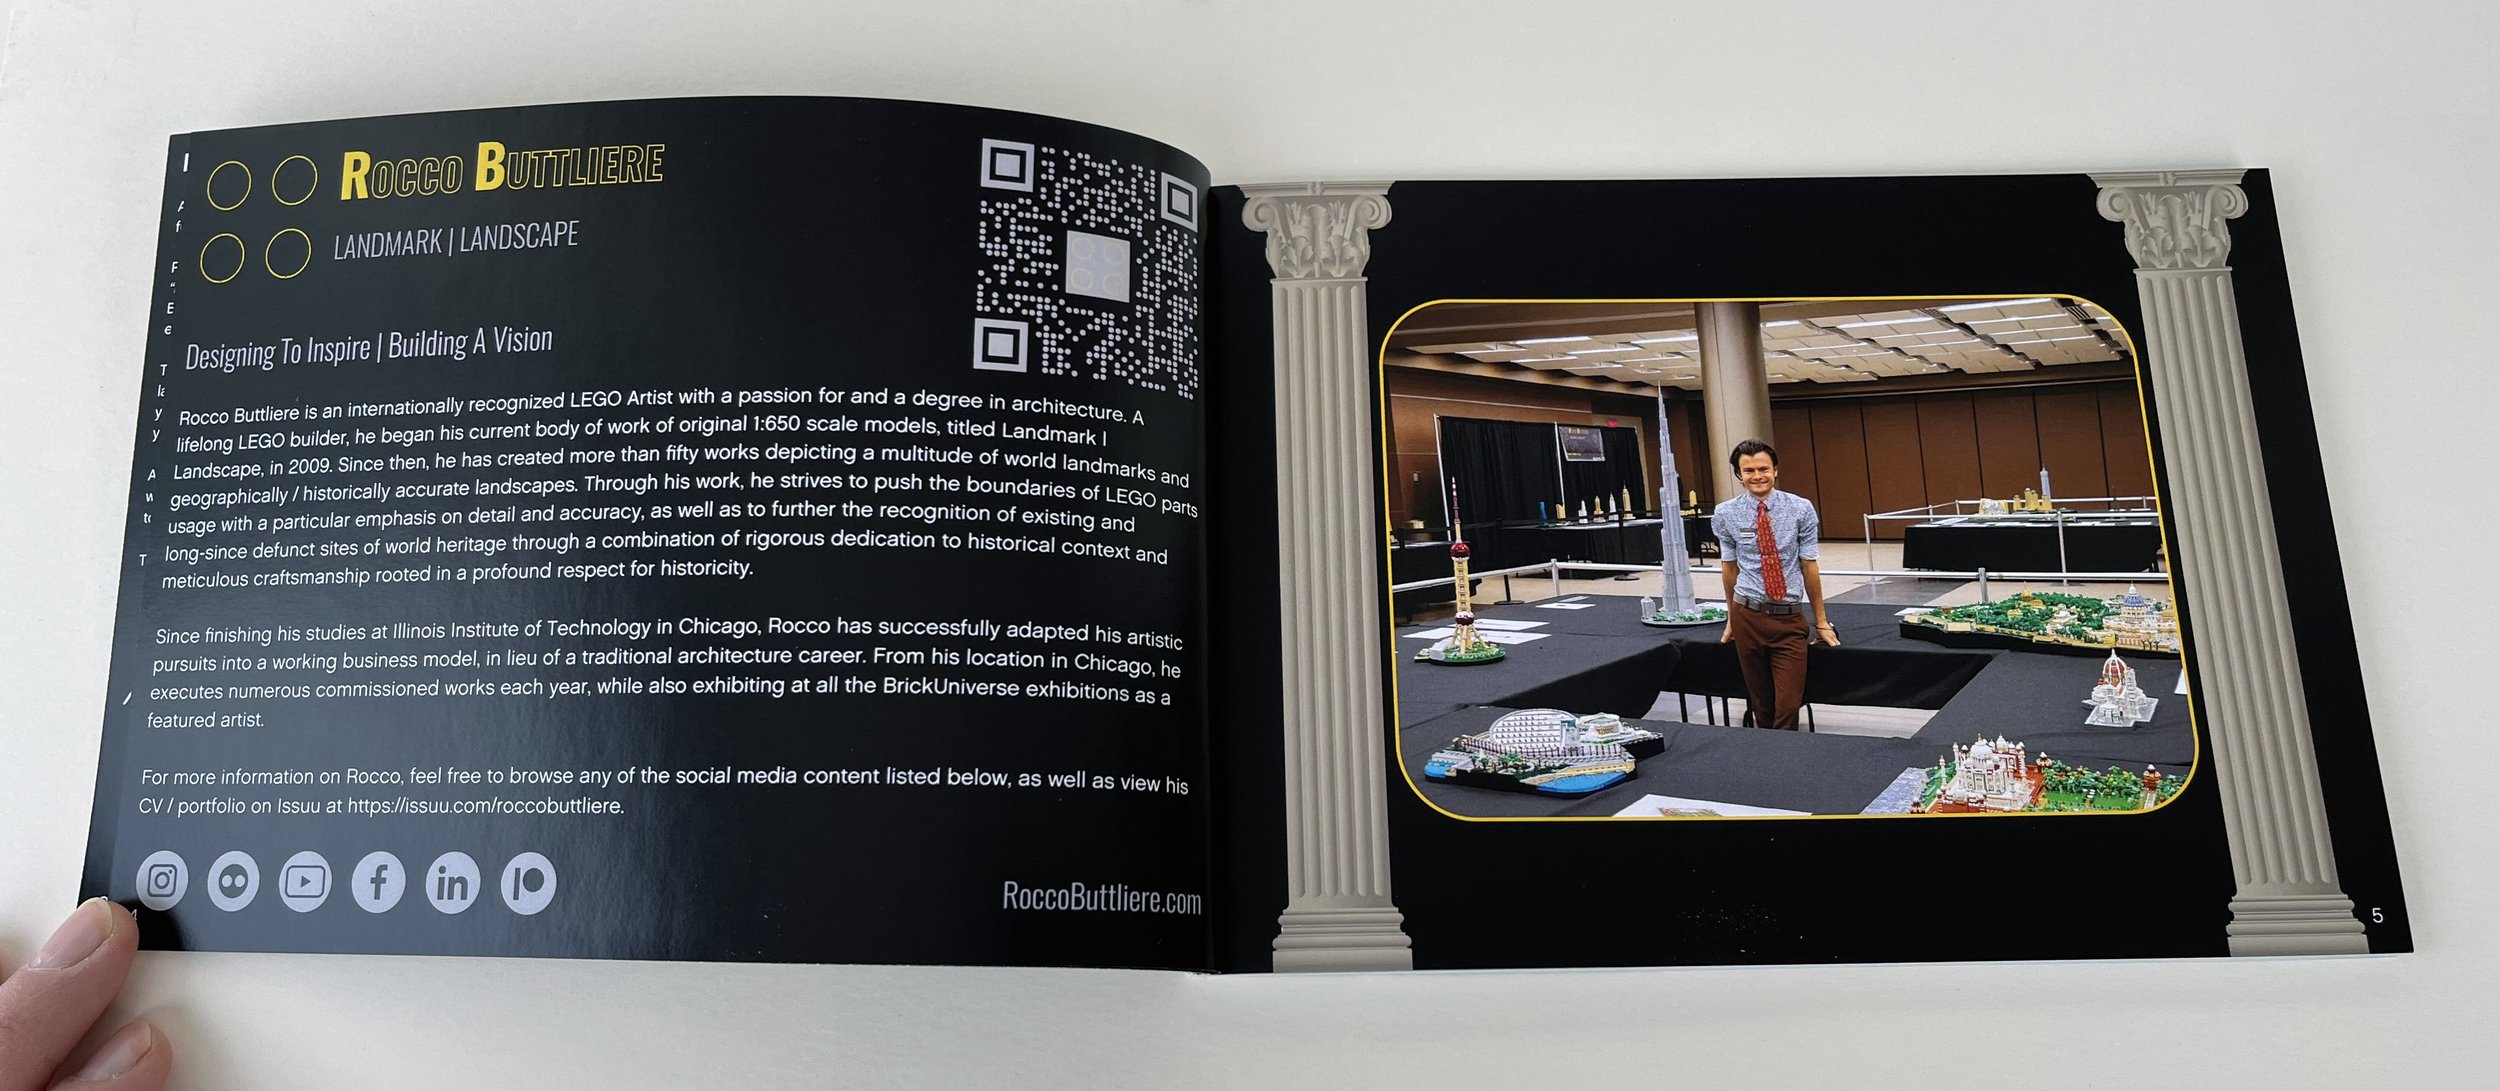
At this point, I should mention that the inspiration for a LEGO Architecture-style skyline event set came from LEGO World Copenhagen. Danish LUG Byggepladen, who are responsible for organising the “Fan Zone” part of that event (the rest of the event is a big corporate thing aimed at families and children, organised by the LEGO Group themselves, although it won’t be held in 2023), hired architecture builder extraordinaire Rocco Buttliere to create the Copenhagen Skyline in 2018, incidentally for their own tenth anniversary!

Copenhagen Skyline by Rocco Buttliere, made for LEGO World Copenhagen 2018
All the Fan Zone exhibitors were given a chance to get one. 999 copies were made and the rest were sold with the profits going towards good causes. I was lucky enough to be able to get my hands on one, and liked it a lot! (Tom Alphin, also known as The Brick Architect and a friend of BrickNerd, got one as well—you can read his review here.)
As soon as we had a date for PKH 10, I contacted Rocco. Now, this is the guy who built a whole country in microscale (please do watch the video if you haven’t or read our interview with him). He’s arguably one of the world’s best LEGO architecture builders, so approaching somebody with his kind of portfolio might be intimidating to some people. Luckily, Rocco and I go way back, we first met a few seconds after this photo was taken at Brickworld Chicago in 2015:

Rocco Buttliere with his amazing skyscraper models at Brickworld Chicago in 2015, all built before he even turned 21
Rocco even visited PKH in Trondheim in April 2018, just a couple of months after LEGO World in Copenhagen, bringing his lovely Houses of Parliament/London Eye display with him all the way from Chicago, so he was no stranger to Trondheim, either. I had mentioned the idea of an event set to him earlier, but now it was time to get things in motion. I promptly set up a business meeting with Rocco on a rooftop hotel terrace in Rome in November 2021, overlooking the Vatican, to seal the deal.
No, really, I did! I’ve got proof:

Enjoying the view of St. Peter’s Basilica from the rooftop terrace, just after agreeing to make our event set
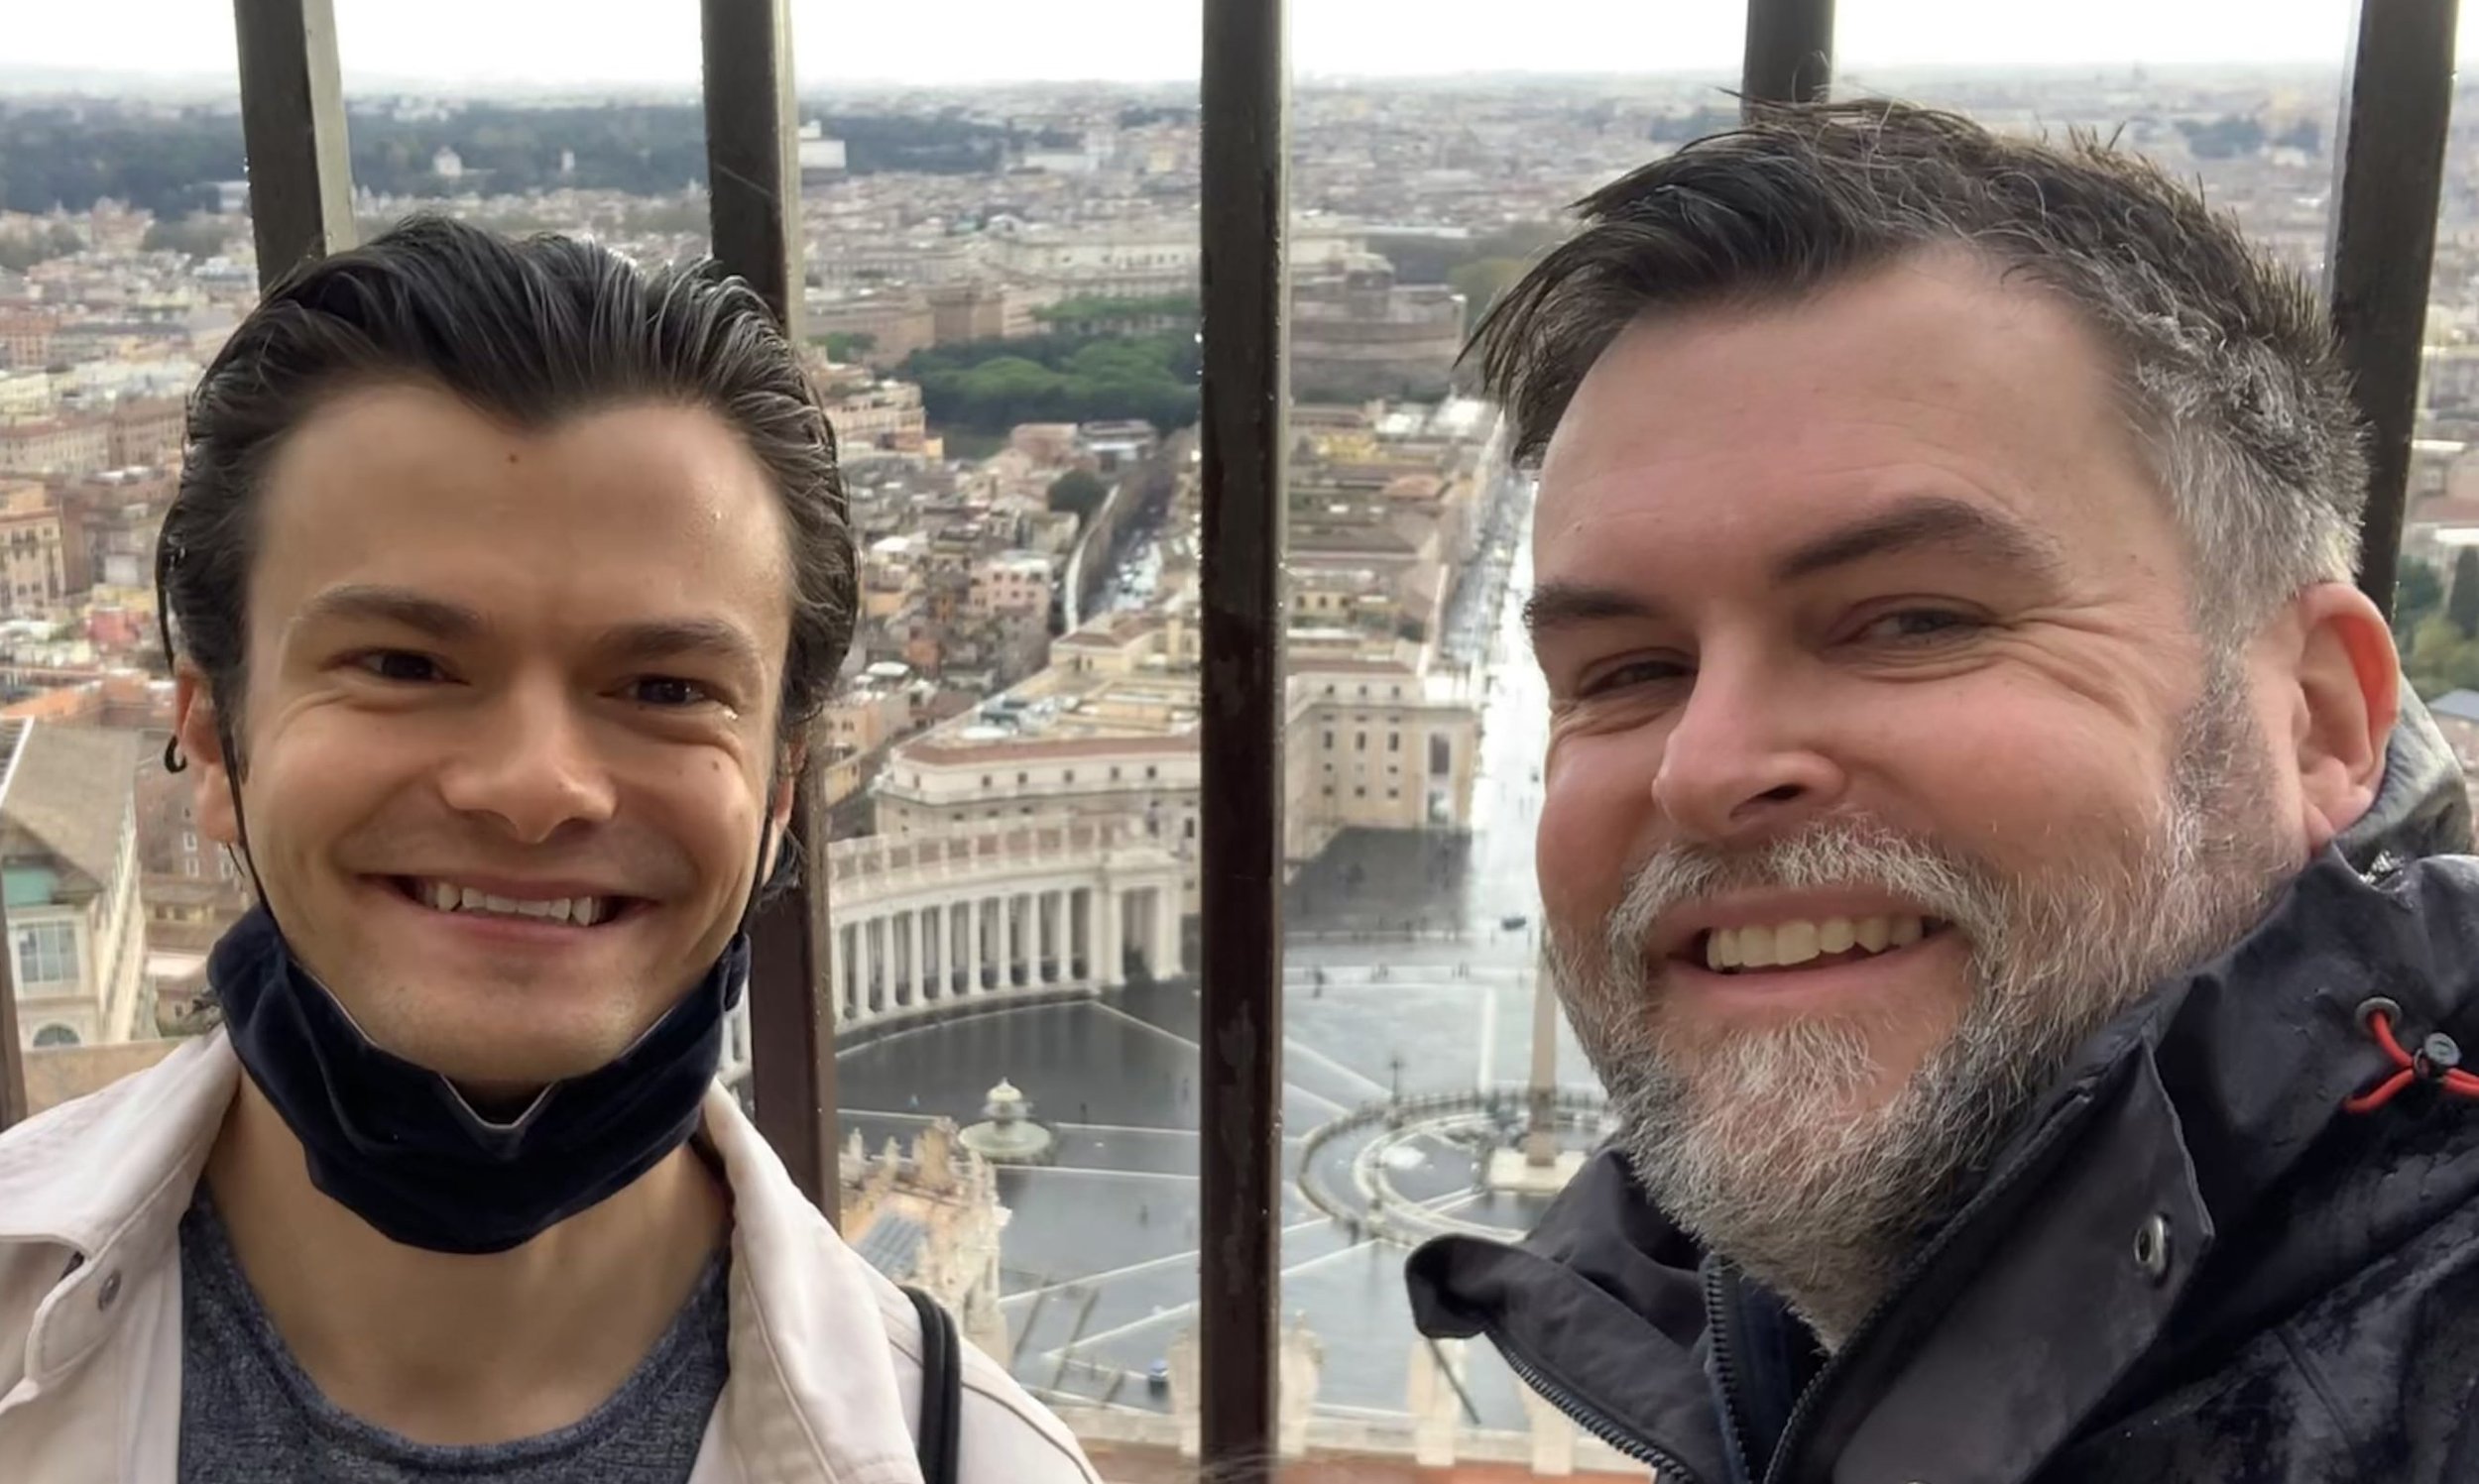
Overlooking St. Peter’s Square from the top of the basilica
Alright, some context is required. My wife and I went to Italy for the Bricks in Florence Festival and a few days in Rome afterward (technically, I went there for the convention—she went along because of, well, Florence and Rome), and it just so happened that Rocco was in Rome at the same time doing research for his incredible SPQR Imperial Rome project, recreating the whole city with a million LEGO bricks. So after a long day with a guided tour of the Vatican (basically, the country Rocco built which made our tour guide pretty awe-struck, mamma mia) we sat down on the rooftop terrace and agreed on a reasonable fee for designing the set for us. Hurrah!
What About the Instructions?
This all meant that the set design was arguably in the very best hands. I knew perfectly well what Rocco had done before, and I was confident that he’d come up with something special for us. However, I had noted one thing that Tom Alphin mentioned in his Copenhagen Skyline review: he said that the instructions, although nice to look at, were a bit confusing at times. Now, this is hardly surprising given how much time is spent inside LEGO on official sets, making everything clear and easy to understand, but I had briefly considered trying to make the Trondheim instructions myself, and this was a clear warning to me to keep my hands off that.

Bill Keene Memorial Interchange, model and instructions by Tim Heiderich
Luckily, back in January 2021, BrickNerd ran a feature on “con kit builder” Tim Heiderich, who was responsible for designing the event kits for (now sadly defunct) Bricks LA. In that article, there were some absolutely amazing pictures of the instructions he had made for these kits, meant to resemble LEGO’s own Architecture set instructions. I couldn’t resist and reached out to ask if he would consider making instructions for Rocco’s Trondheim set. Incredibly, he agreed, even without an in-person meeting on a rooftop terrace in Rome!
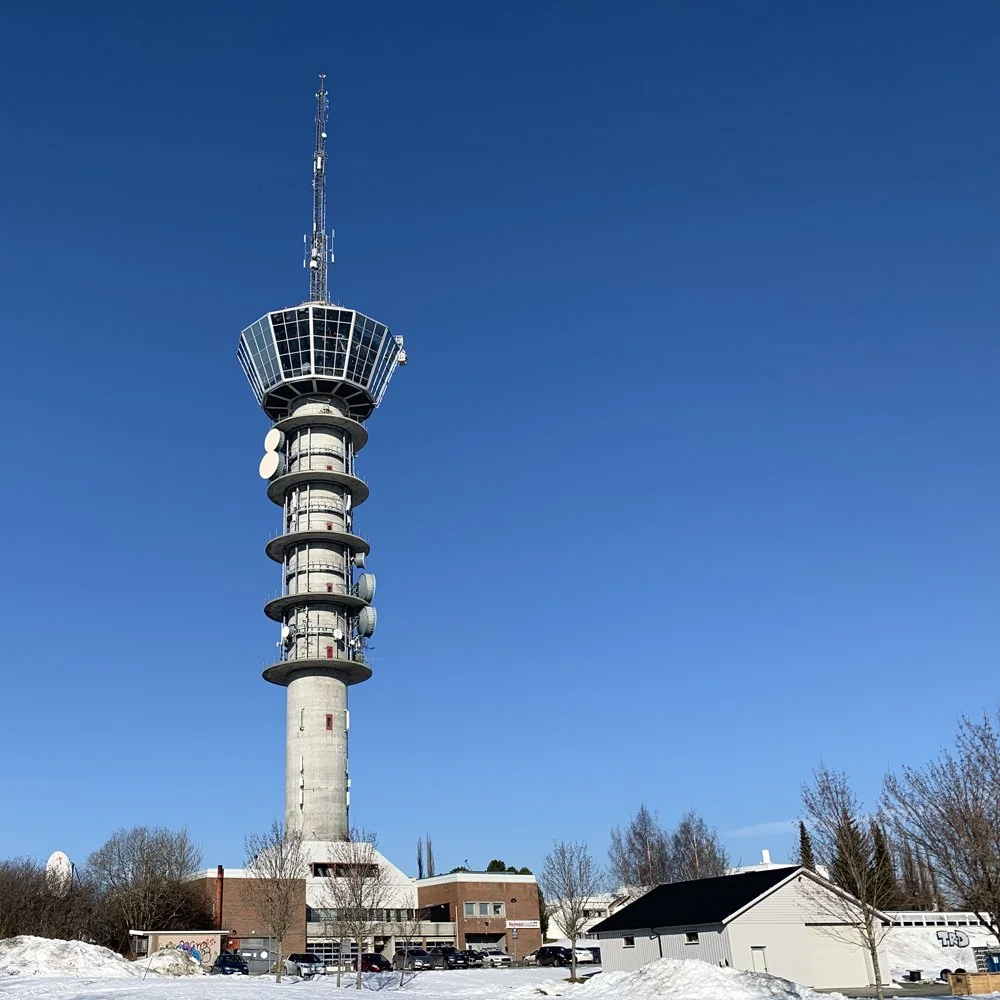
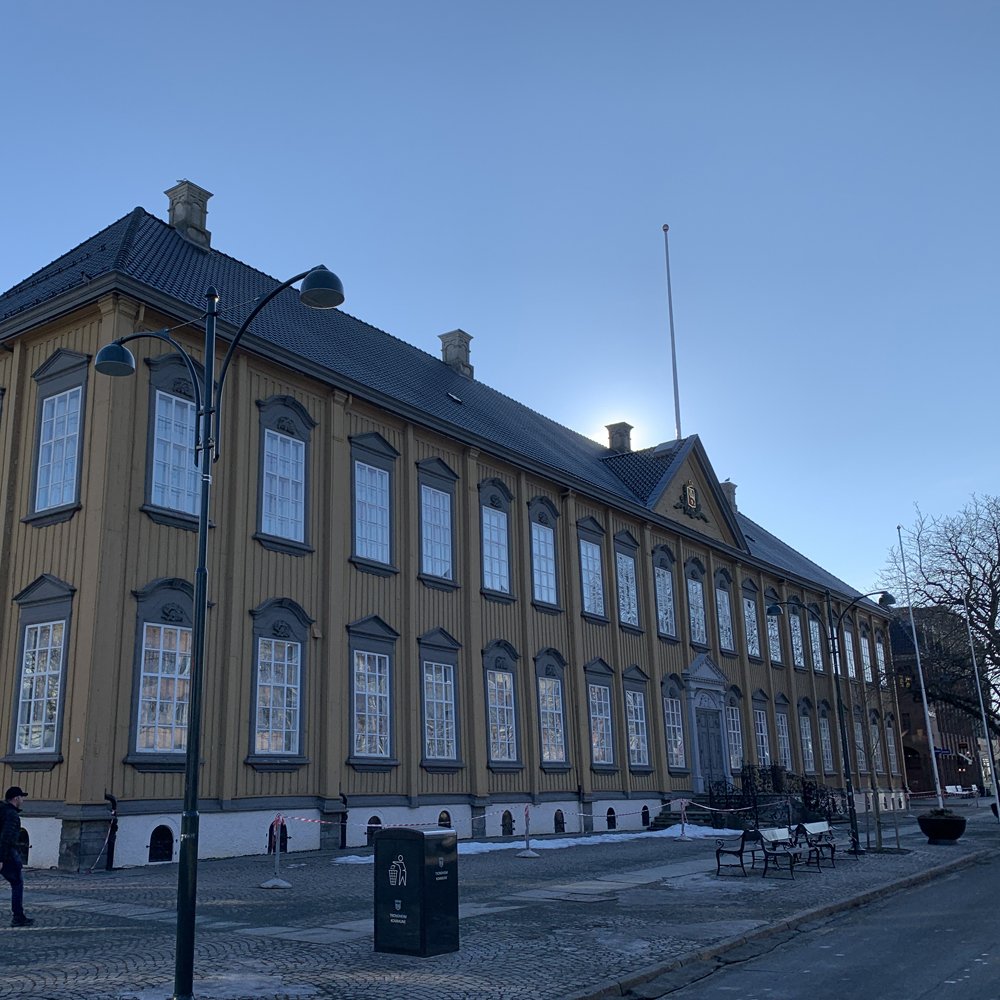
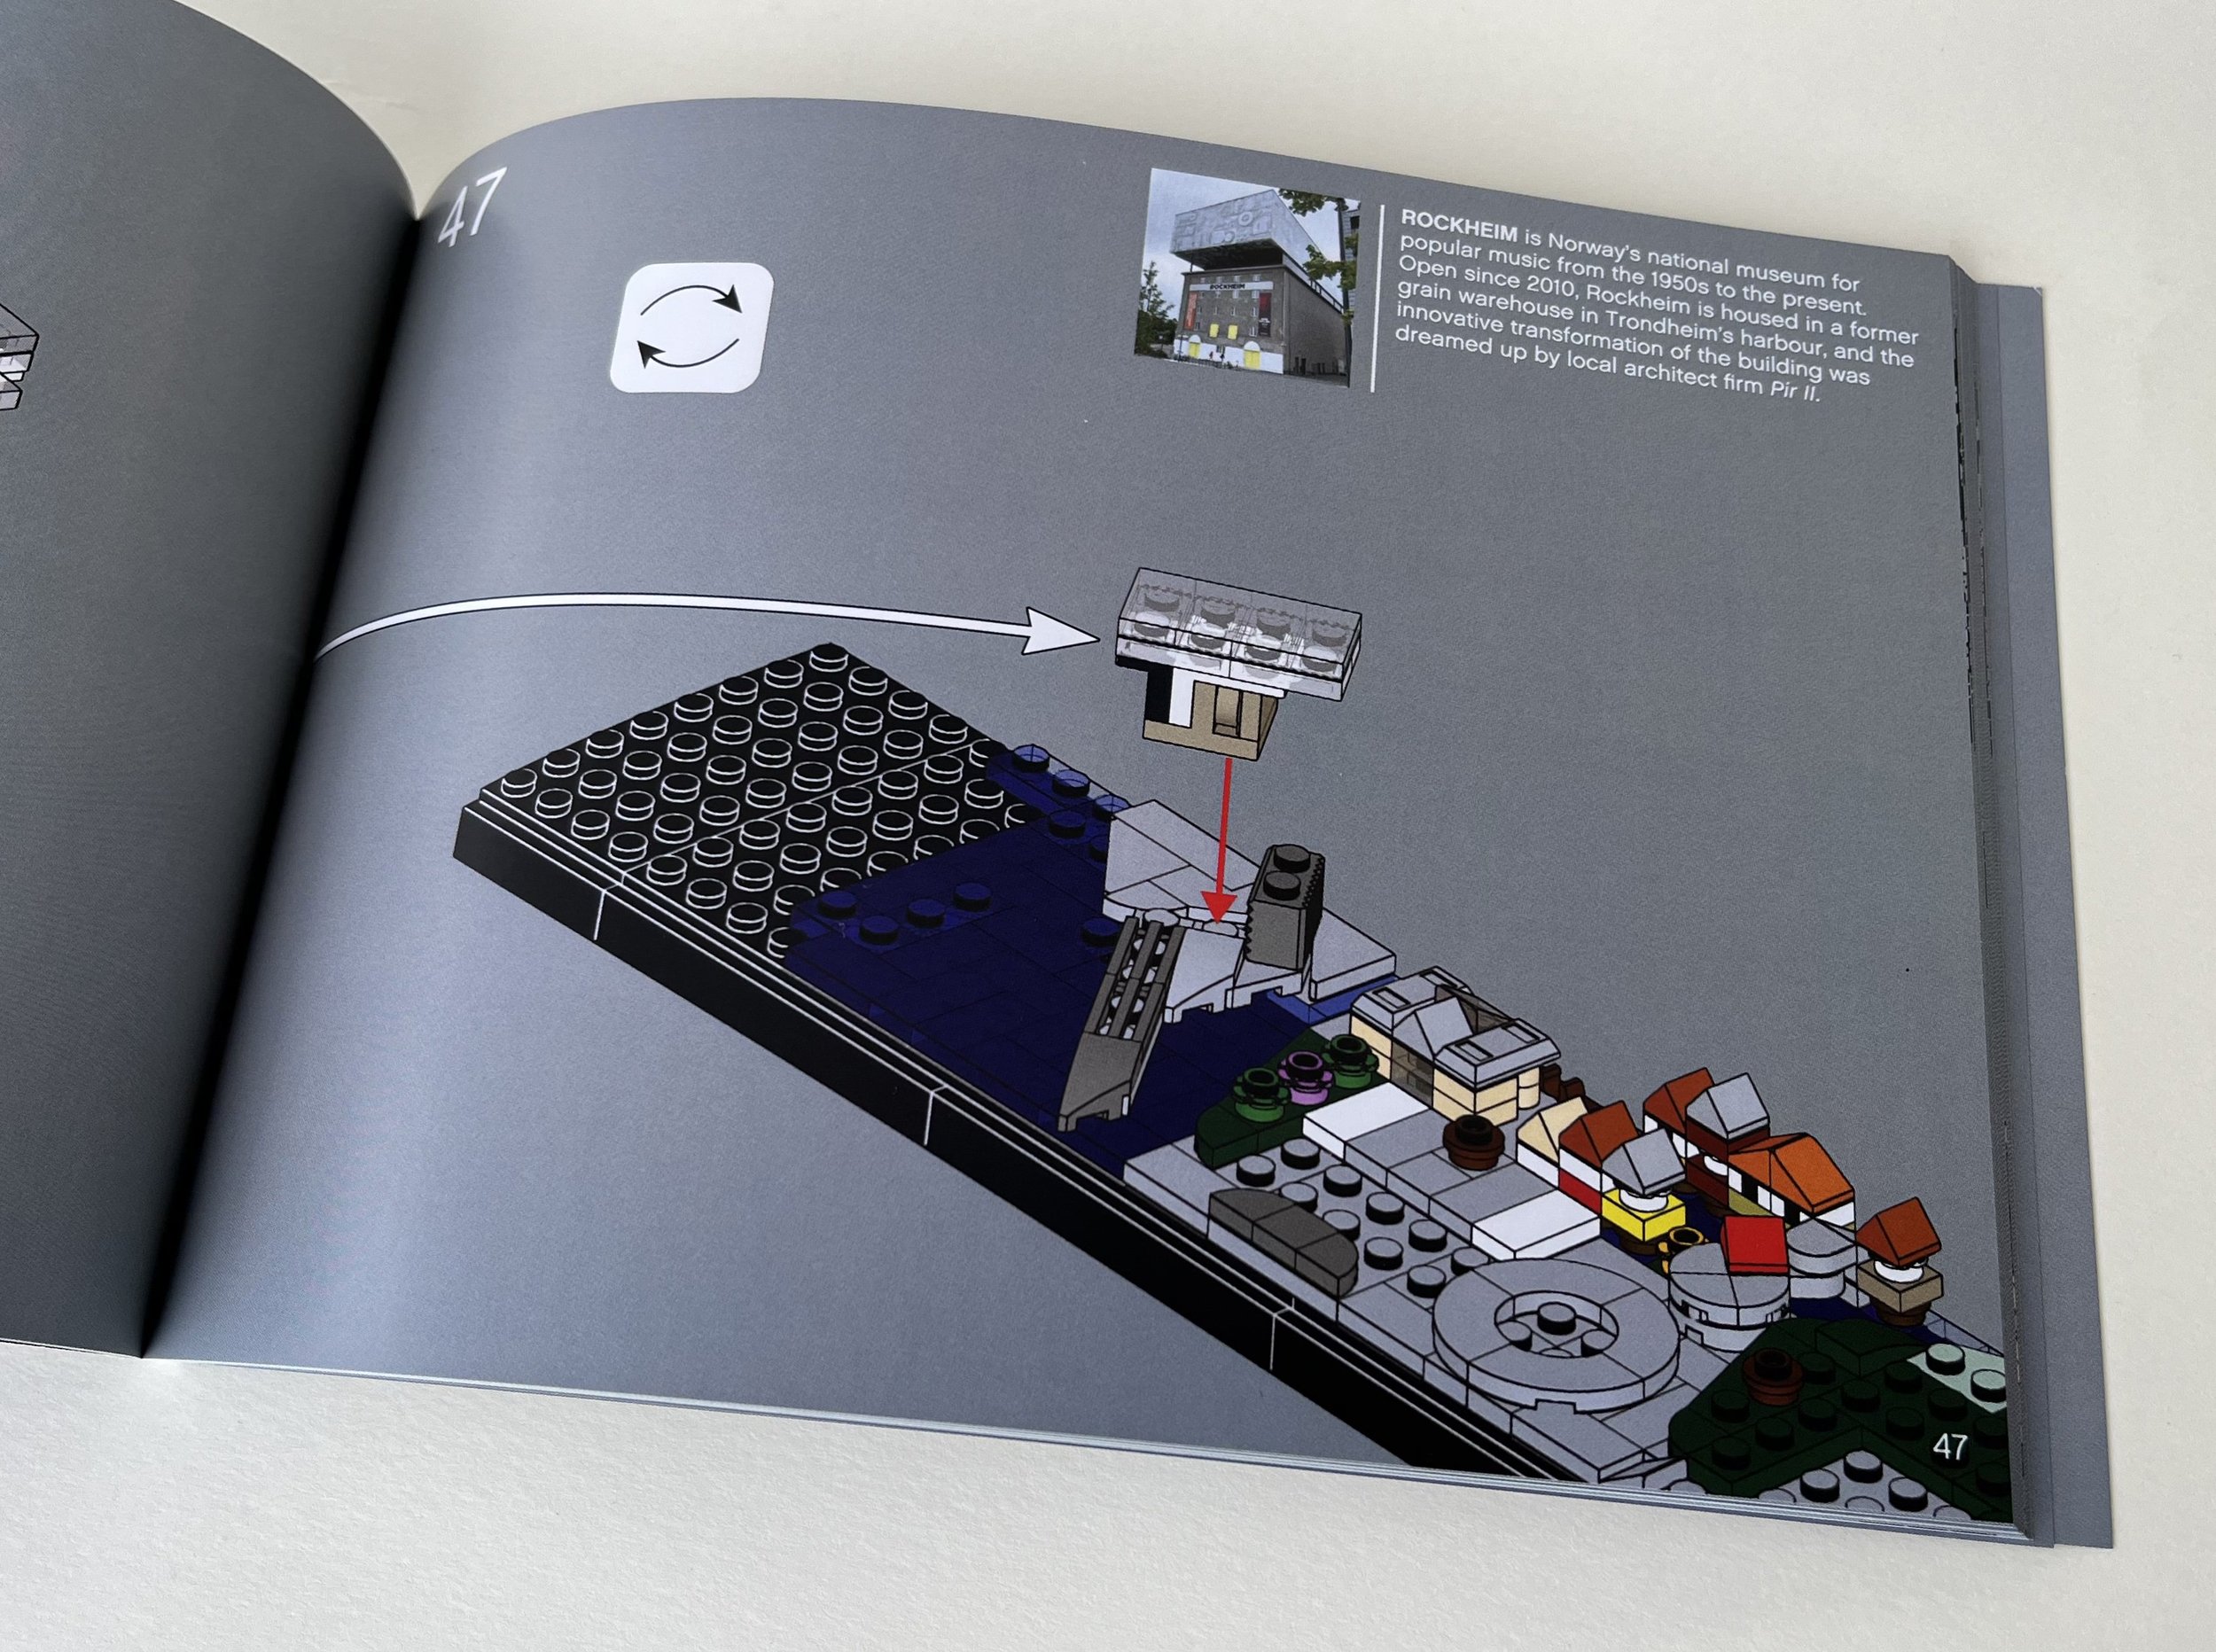
With both the set itself and the instructions under control, the next thing on the list for for us event organisers was to agree on the landmarks we wanted included in the set. Obviously, we wanted to choose significant features in Trondheim, and I eventually sent a list to Rocco including nine options: the Tyholt tower, Bakklandet, the Old Town Bridge, Nidaros Cathedral, the Students’ Society building, Stiftsgården, the King Olav Tryggvason statue, Rockheim, and Munkholmen (the ones in bold were landmarks he had to include).
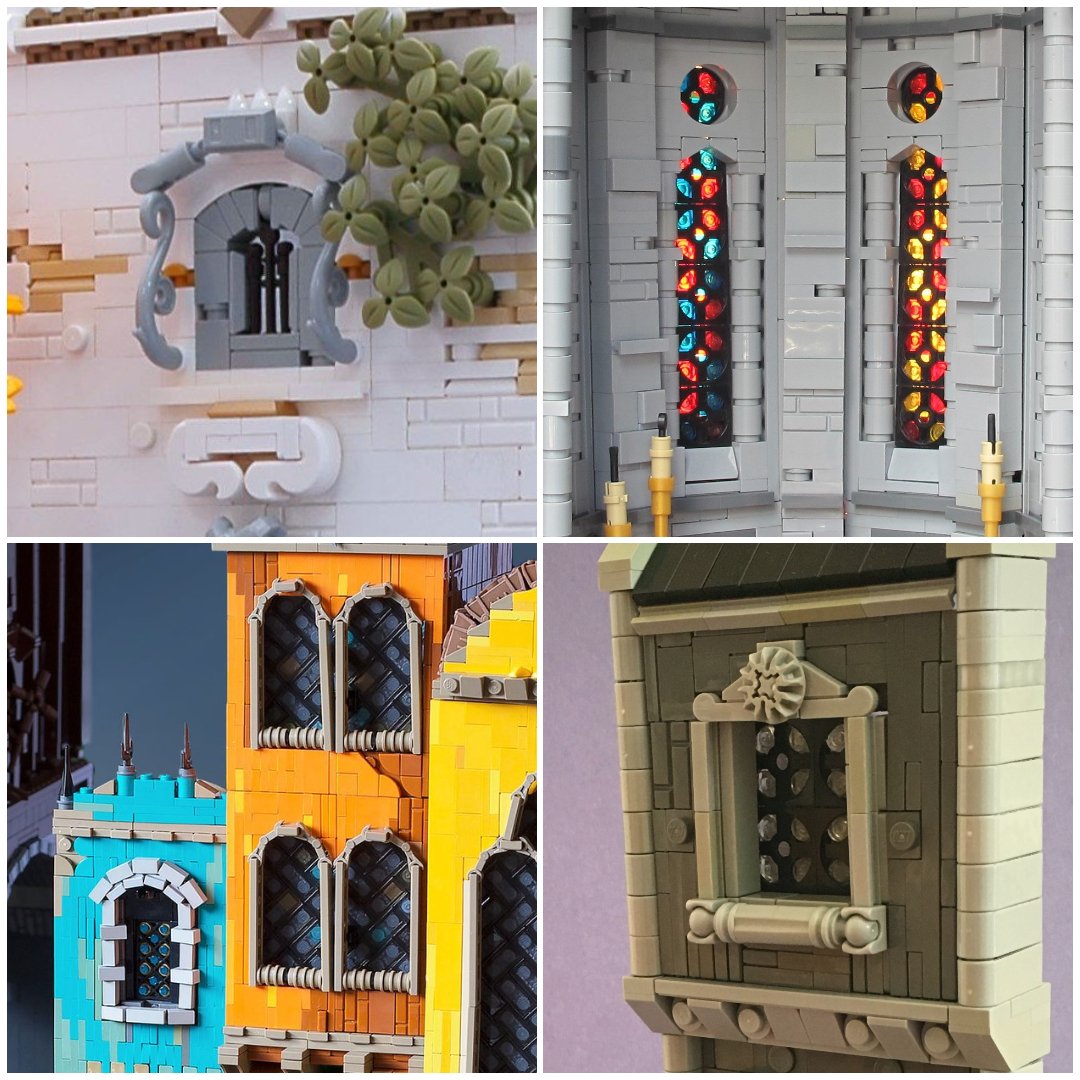
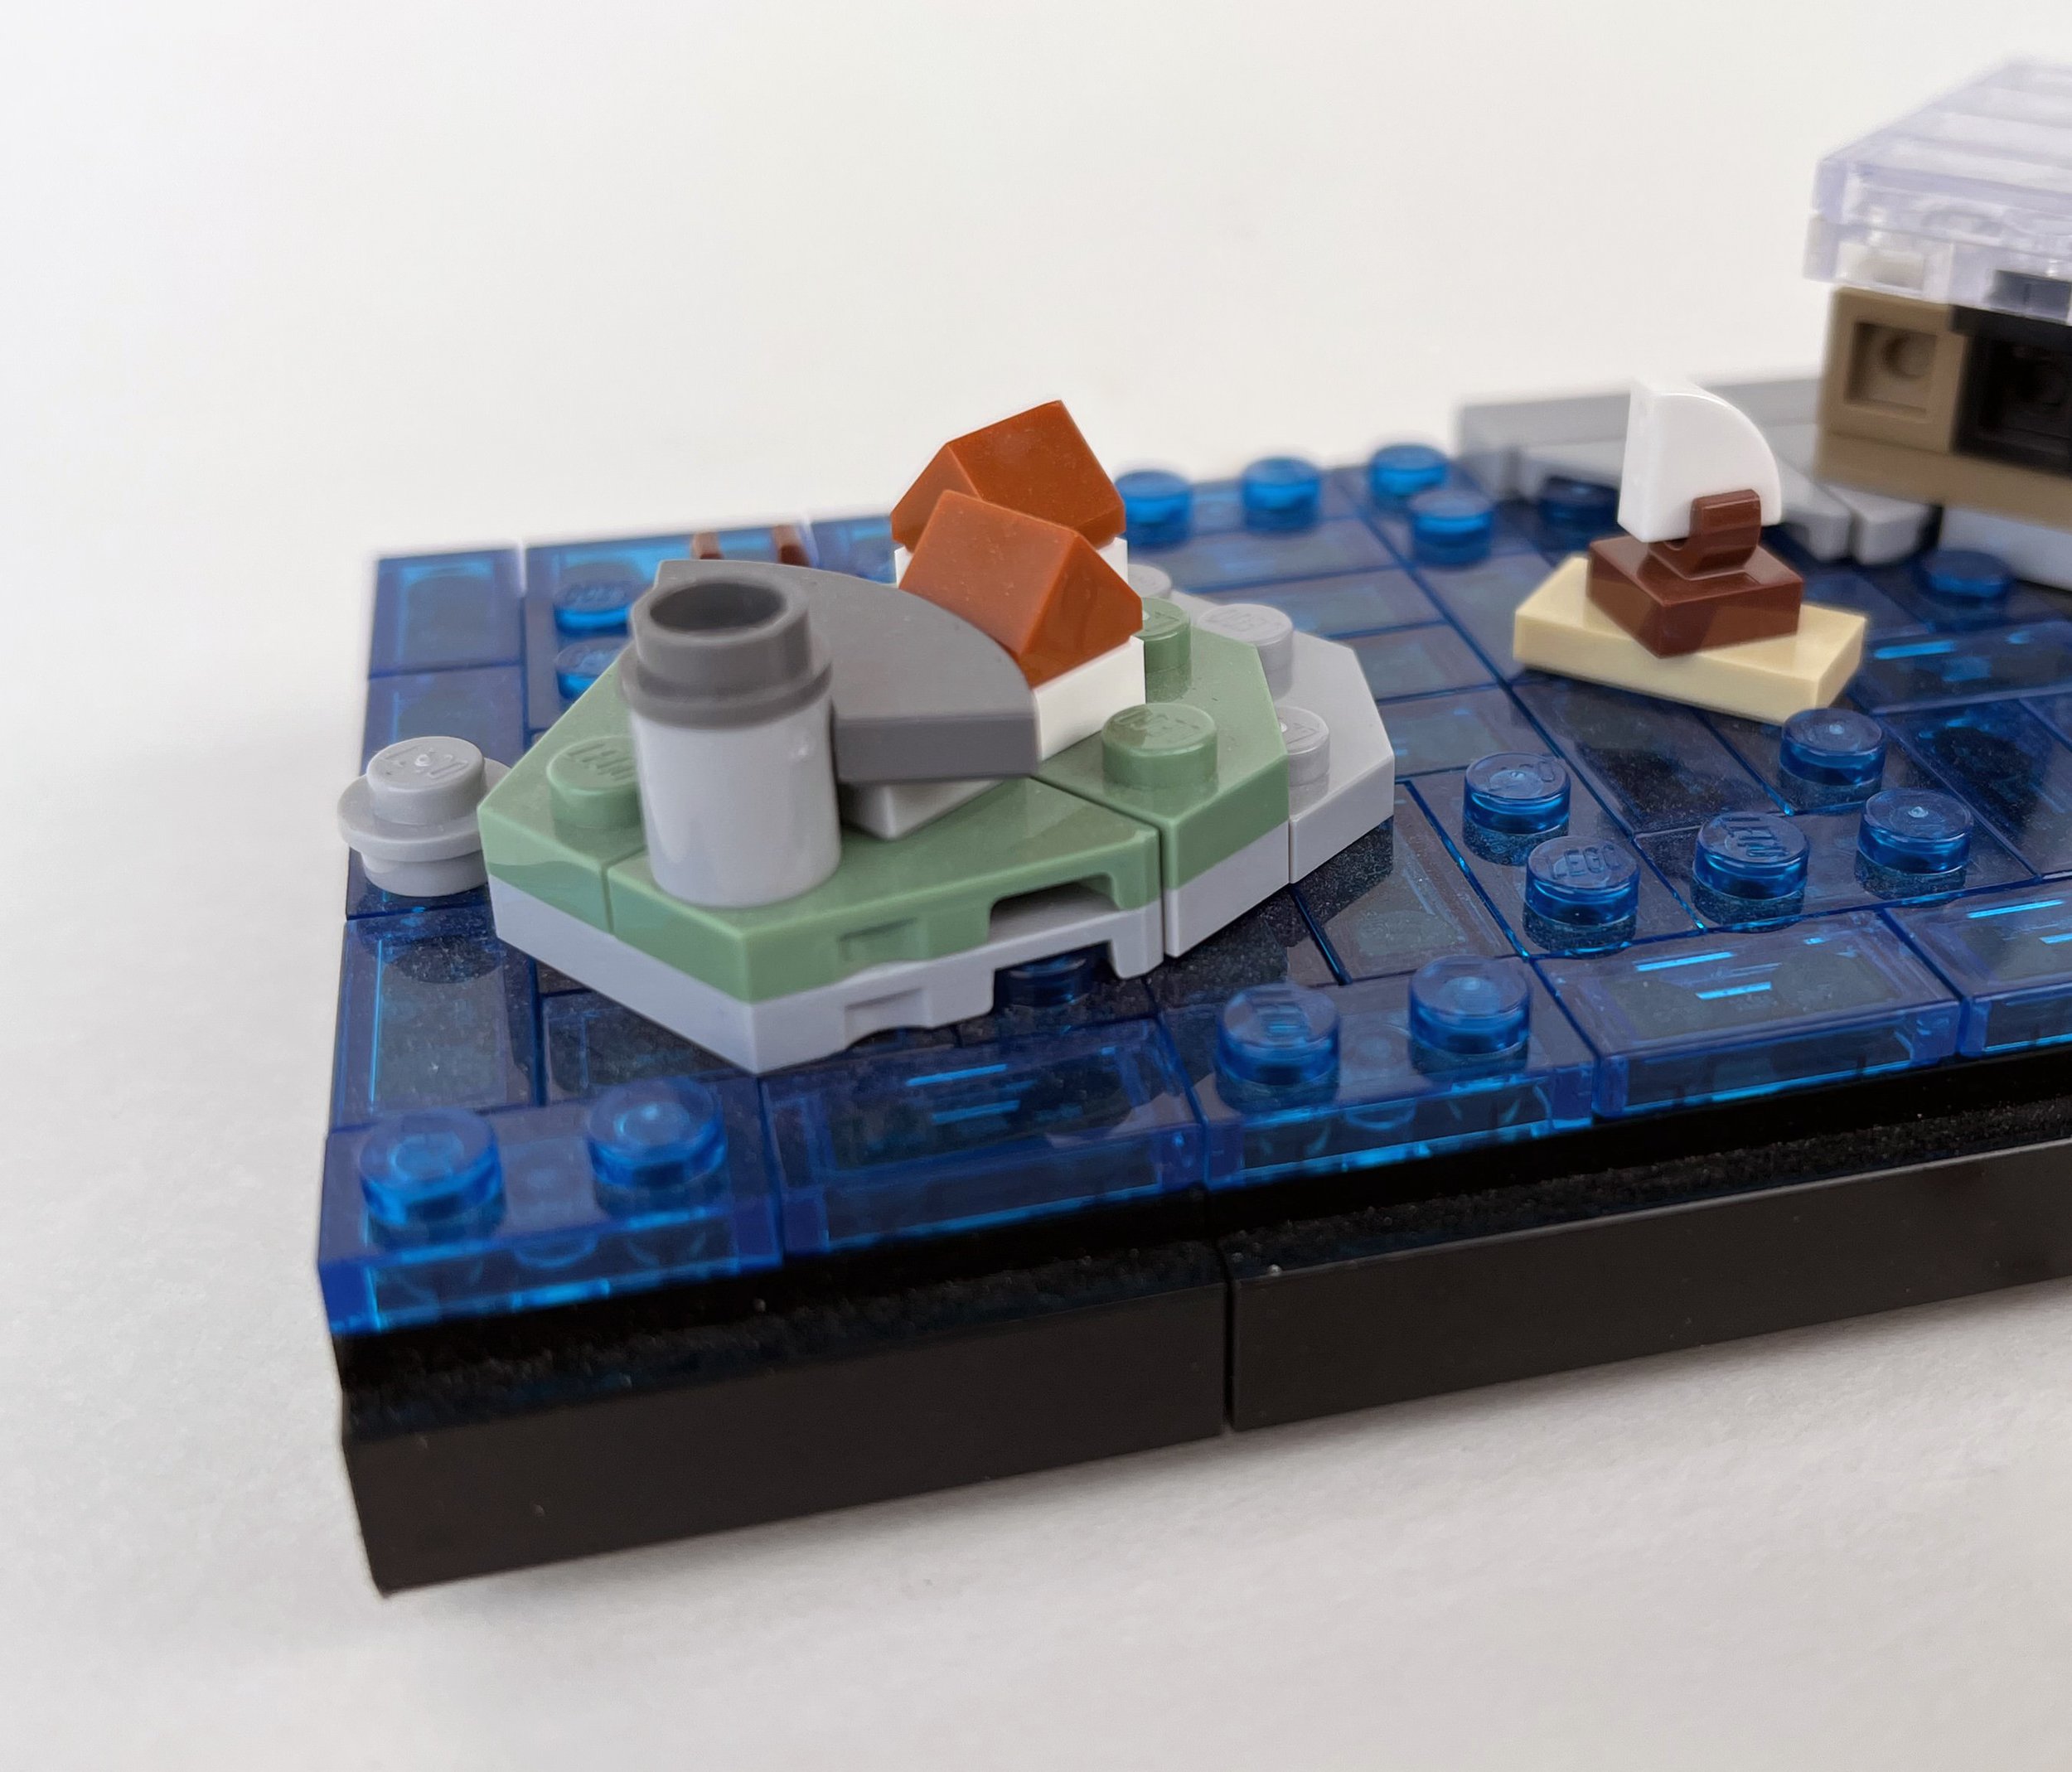
The images below show, left to right and bottom to top, eight of the nine landmarks in the aforementioned order. I didn’t expect him to get them all in there, but that was at least a good starting point (the most eagle-eyed among you may have spotted the fact that four of them had already been the subject of Matija’s previous event sets). The pace at which Rocco worked from there really astonished me!


I sent him the list on November 15th, six days after our rooftop meeting in Rome. On December 3rd he sent me what was basically the finished file, featuring all nine landmarks in an ingenious design incorporating the (very important) river Nidelva as well! I thought that was fast—but then he told me that he had been busy with other projects, so he hadn’t even started the design process until November had passed…

The Old Town Bridge. With some AFOLS. I’m sorry!
(Note: We intended to put small info boxes into the building instructions with details about the nine landmarks included in the set, so I took the pictures above on a trip to Trondheim in early 2022. They can all be found in the instructions, as planned. But why are there only eight pictures, you may ask? Well... what I didn’t realise until right now, while writing this article, is that I actually forgot to take a picture of the Old Town Bridge. That meant the bridge never got an info box—even though it is referenced in the set! I hereby apologise for this omission, which has undoubtedly led to a troubled bridge over water. Here, Old Town Bridge—please accept the (slightly larger) picture on the right as part of the apology!)
After just a few emails back and forth, discussing tiny details, the final version of the set was signed off on December 13th, less than a month after receiving the brief. The following is how Rocco describes the process.
The Trondheim Skyline Design Process
“Prior to designing the Trondheim skyline kit, I had the pleasure of designing the Fan Zone event kit for the 10th LEGO World Copenhagen back in 2018. I'd like to imagine that my process on both skylines began much as it does for designers of the official LEGO Architecture skylines; with an ambitious list of potential landmarks to include in the design. Lists are certainly one thing, but I credit even being considered for these kits not solely based on my decade-plus body of work, but primarily on the fact I had visited the subject cities and explored all the depicted landmarks far prior to being tapped for my design services. It's no stretch to say I would not have felt comfortable designing such an event kit without first having experienced the breadth of the subject city myself.”
Rocco’s map with all the landmarks pinned. Photo by GOOGLE EARTH
“As skylines are a relatively rare design treat among my portfolio, I had forgotten how satisfying it was to simply drop pins in Google Earth to orient myself. The landscape shown here encompasses the entirety of the urban core of Trondheim, which is outlined by the Nidelva River on the north (right side of screenshot), and man-made waterways to the south (left side of screenshot). The line delineating the frontage of the skyline model (labeled in red) actually follows this north-south axis almost perfectly. It's worth noting, Are had sent me a list of all the landmarks pinned above, and it just so happens I was able to include every last landmark on that list!”
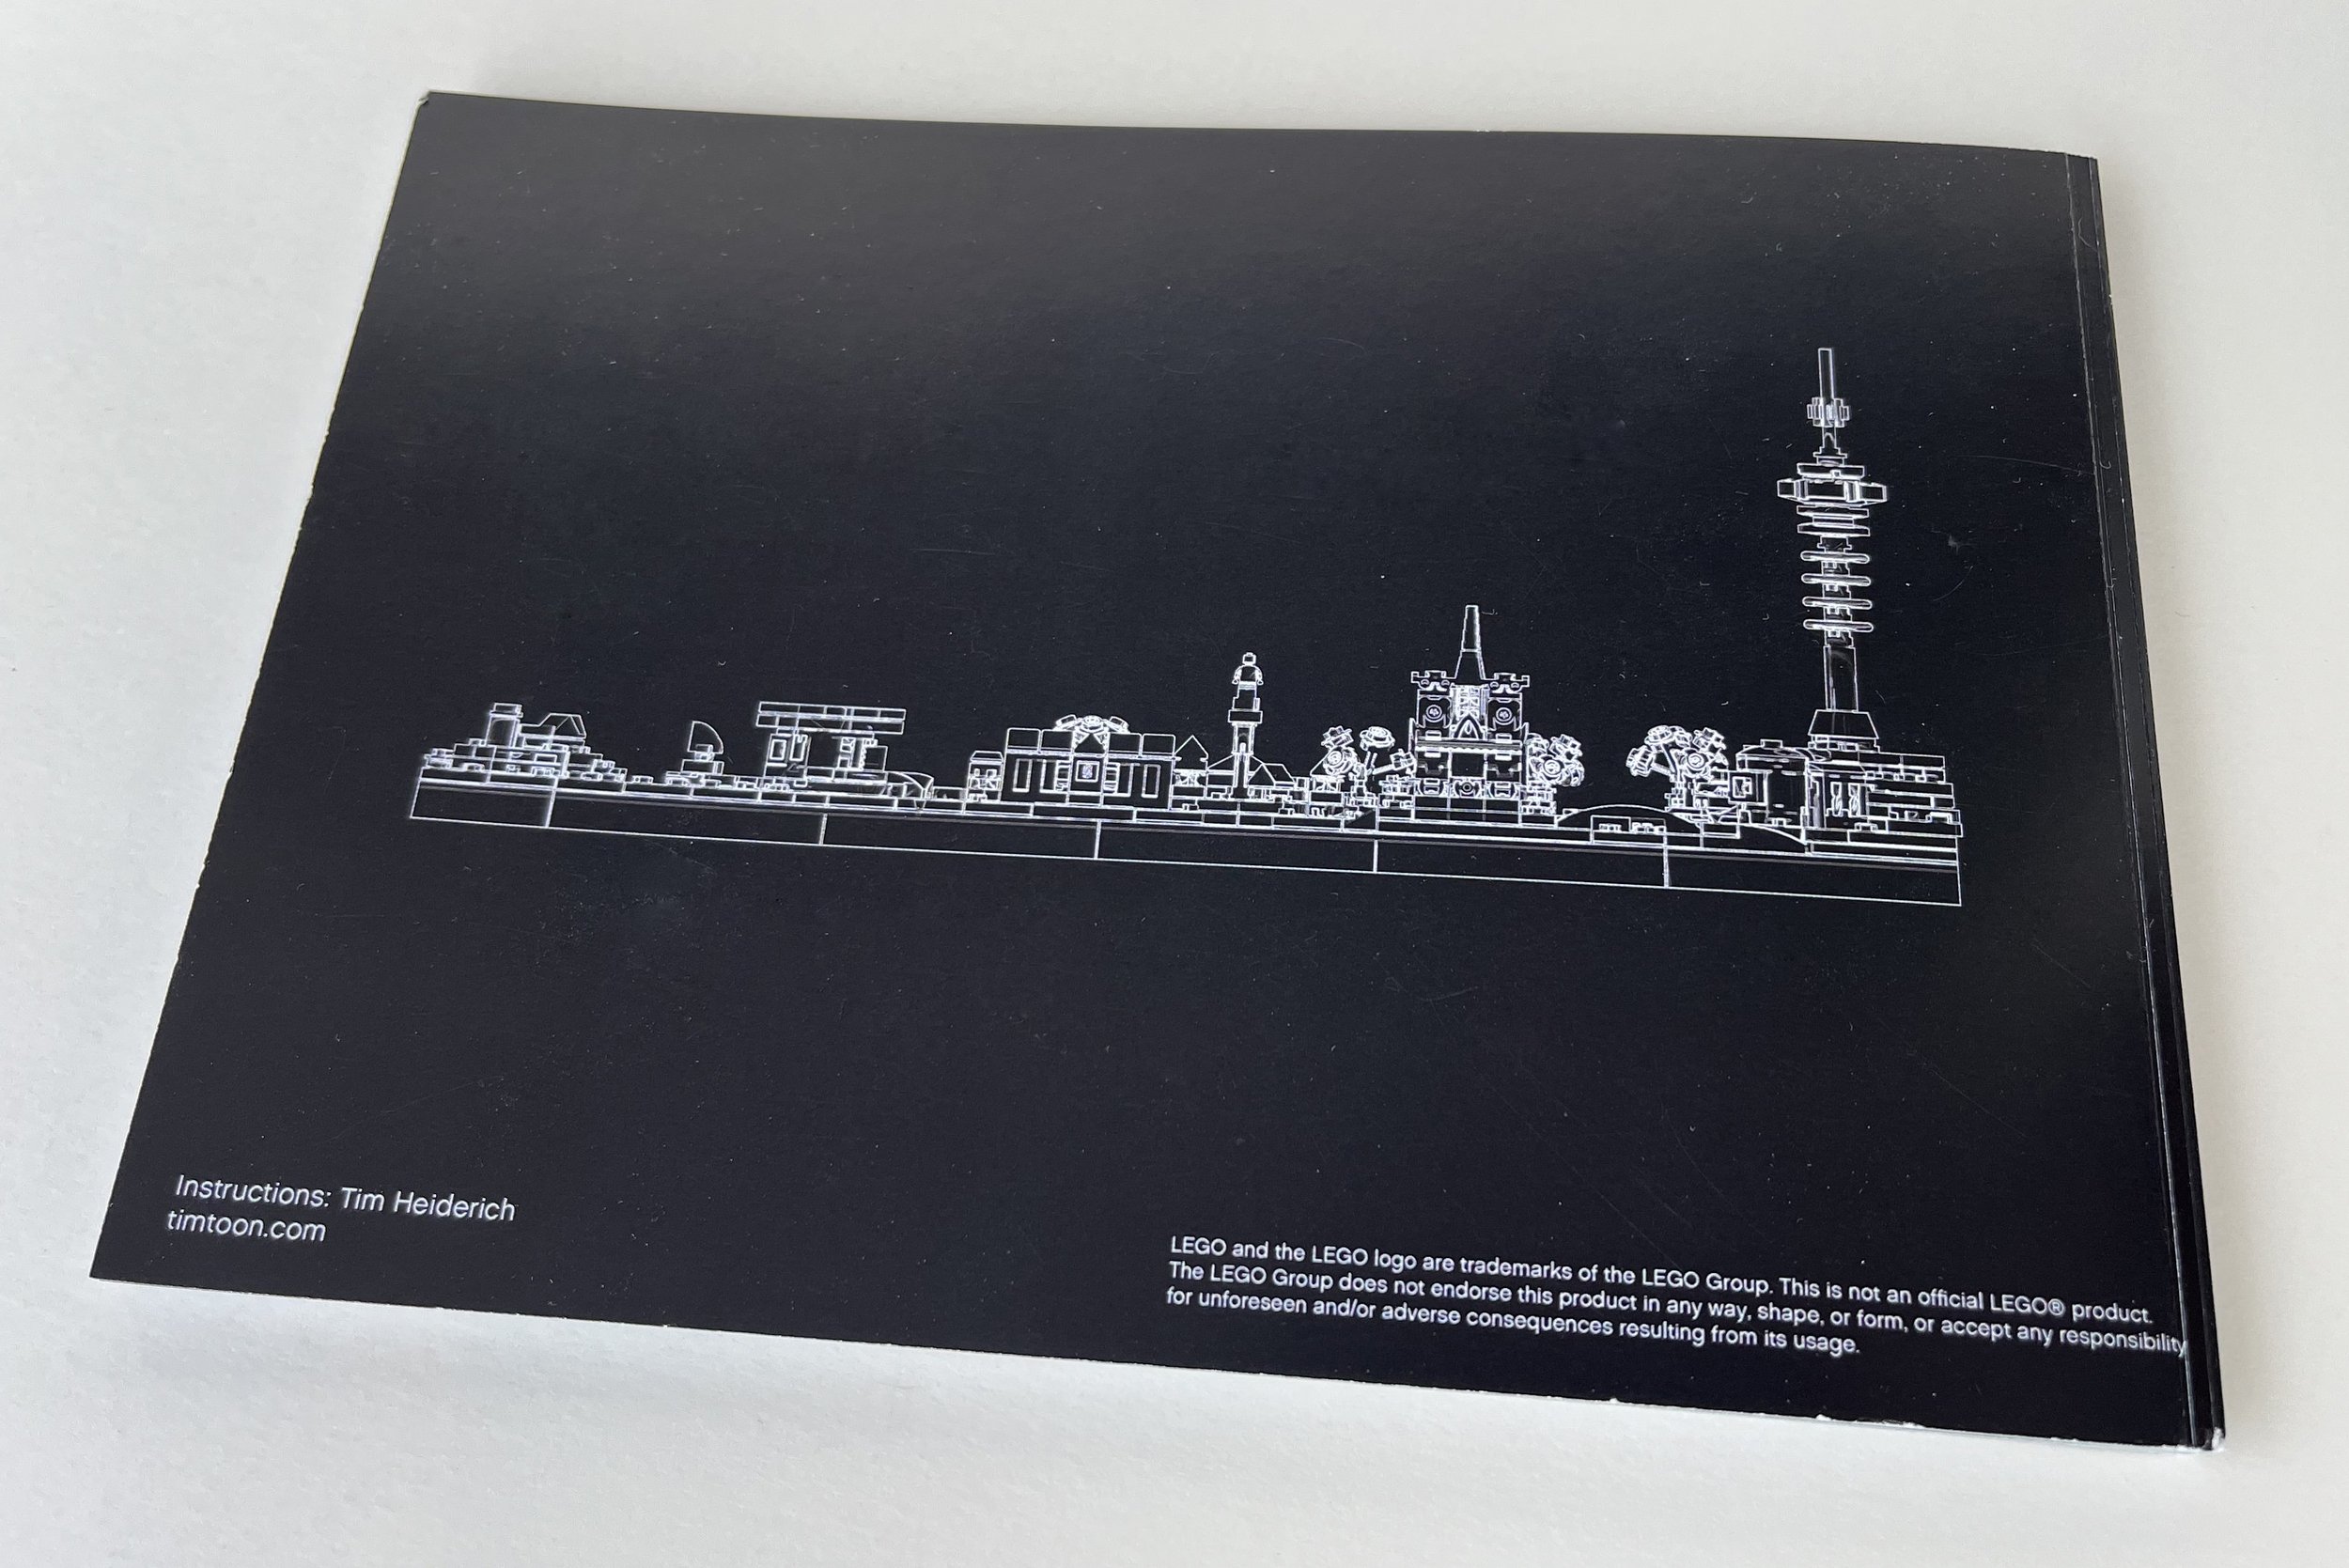
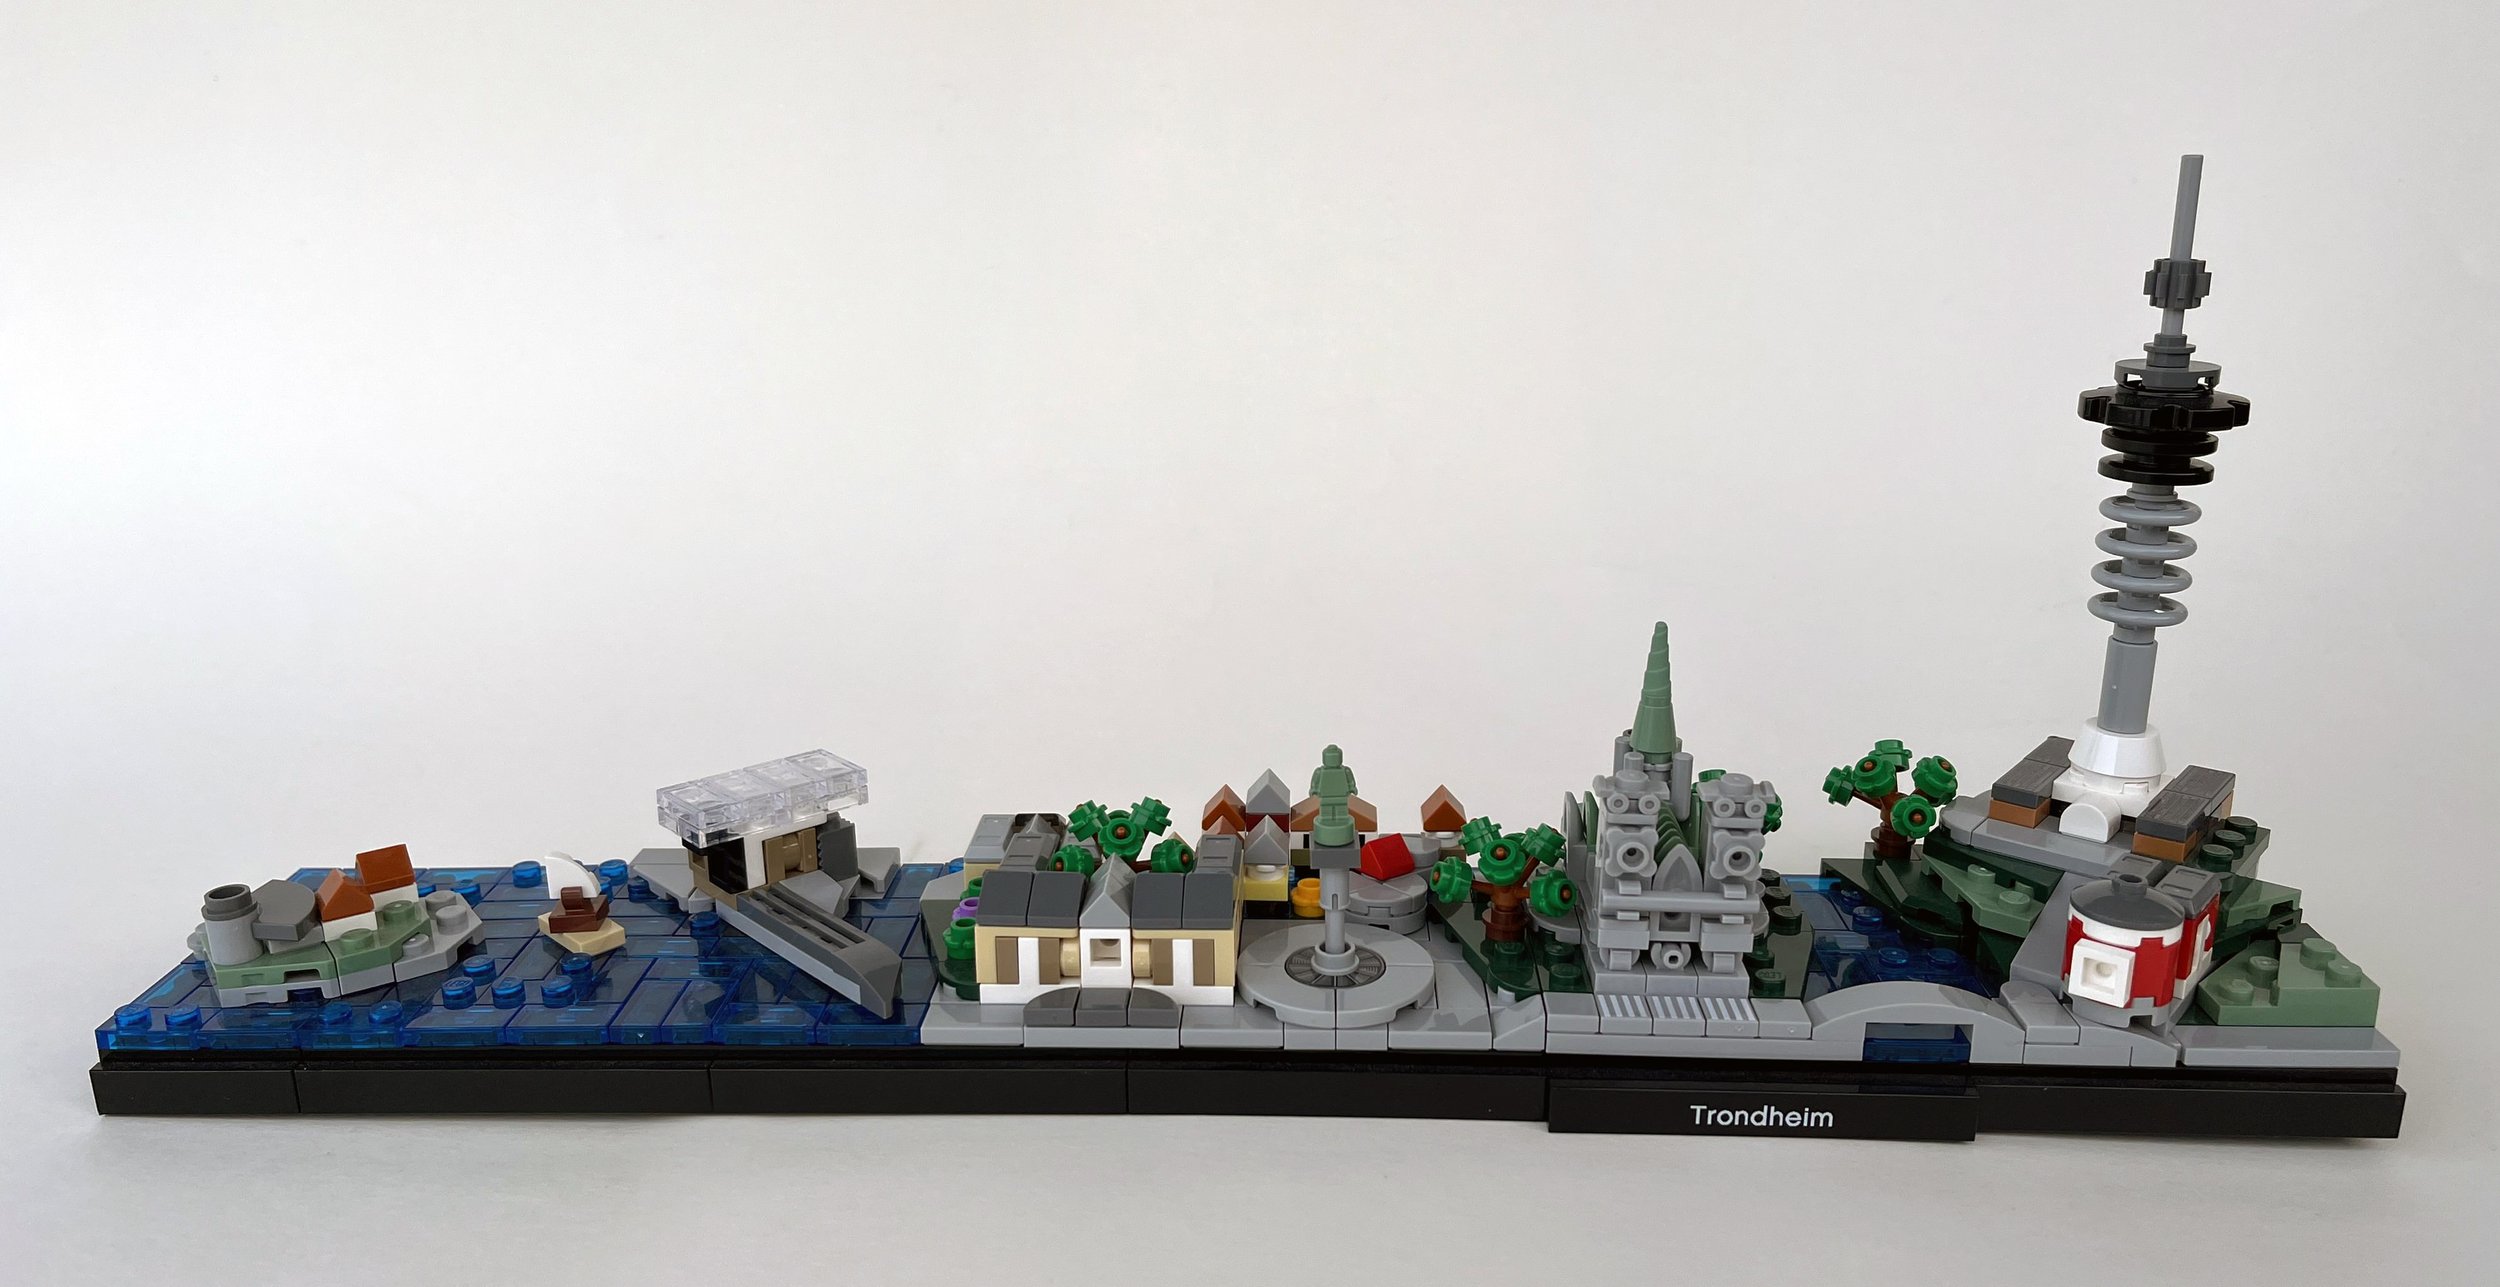
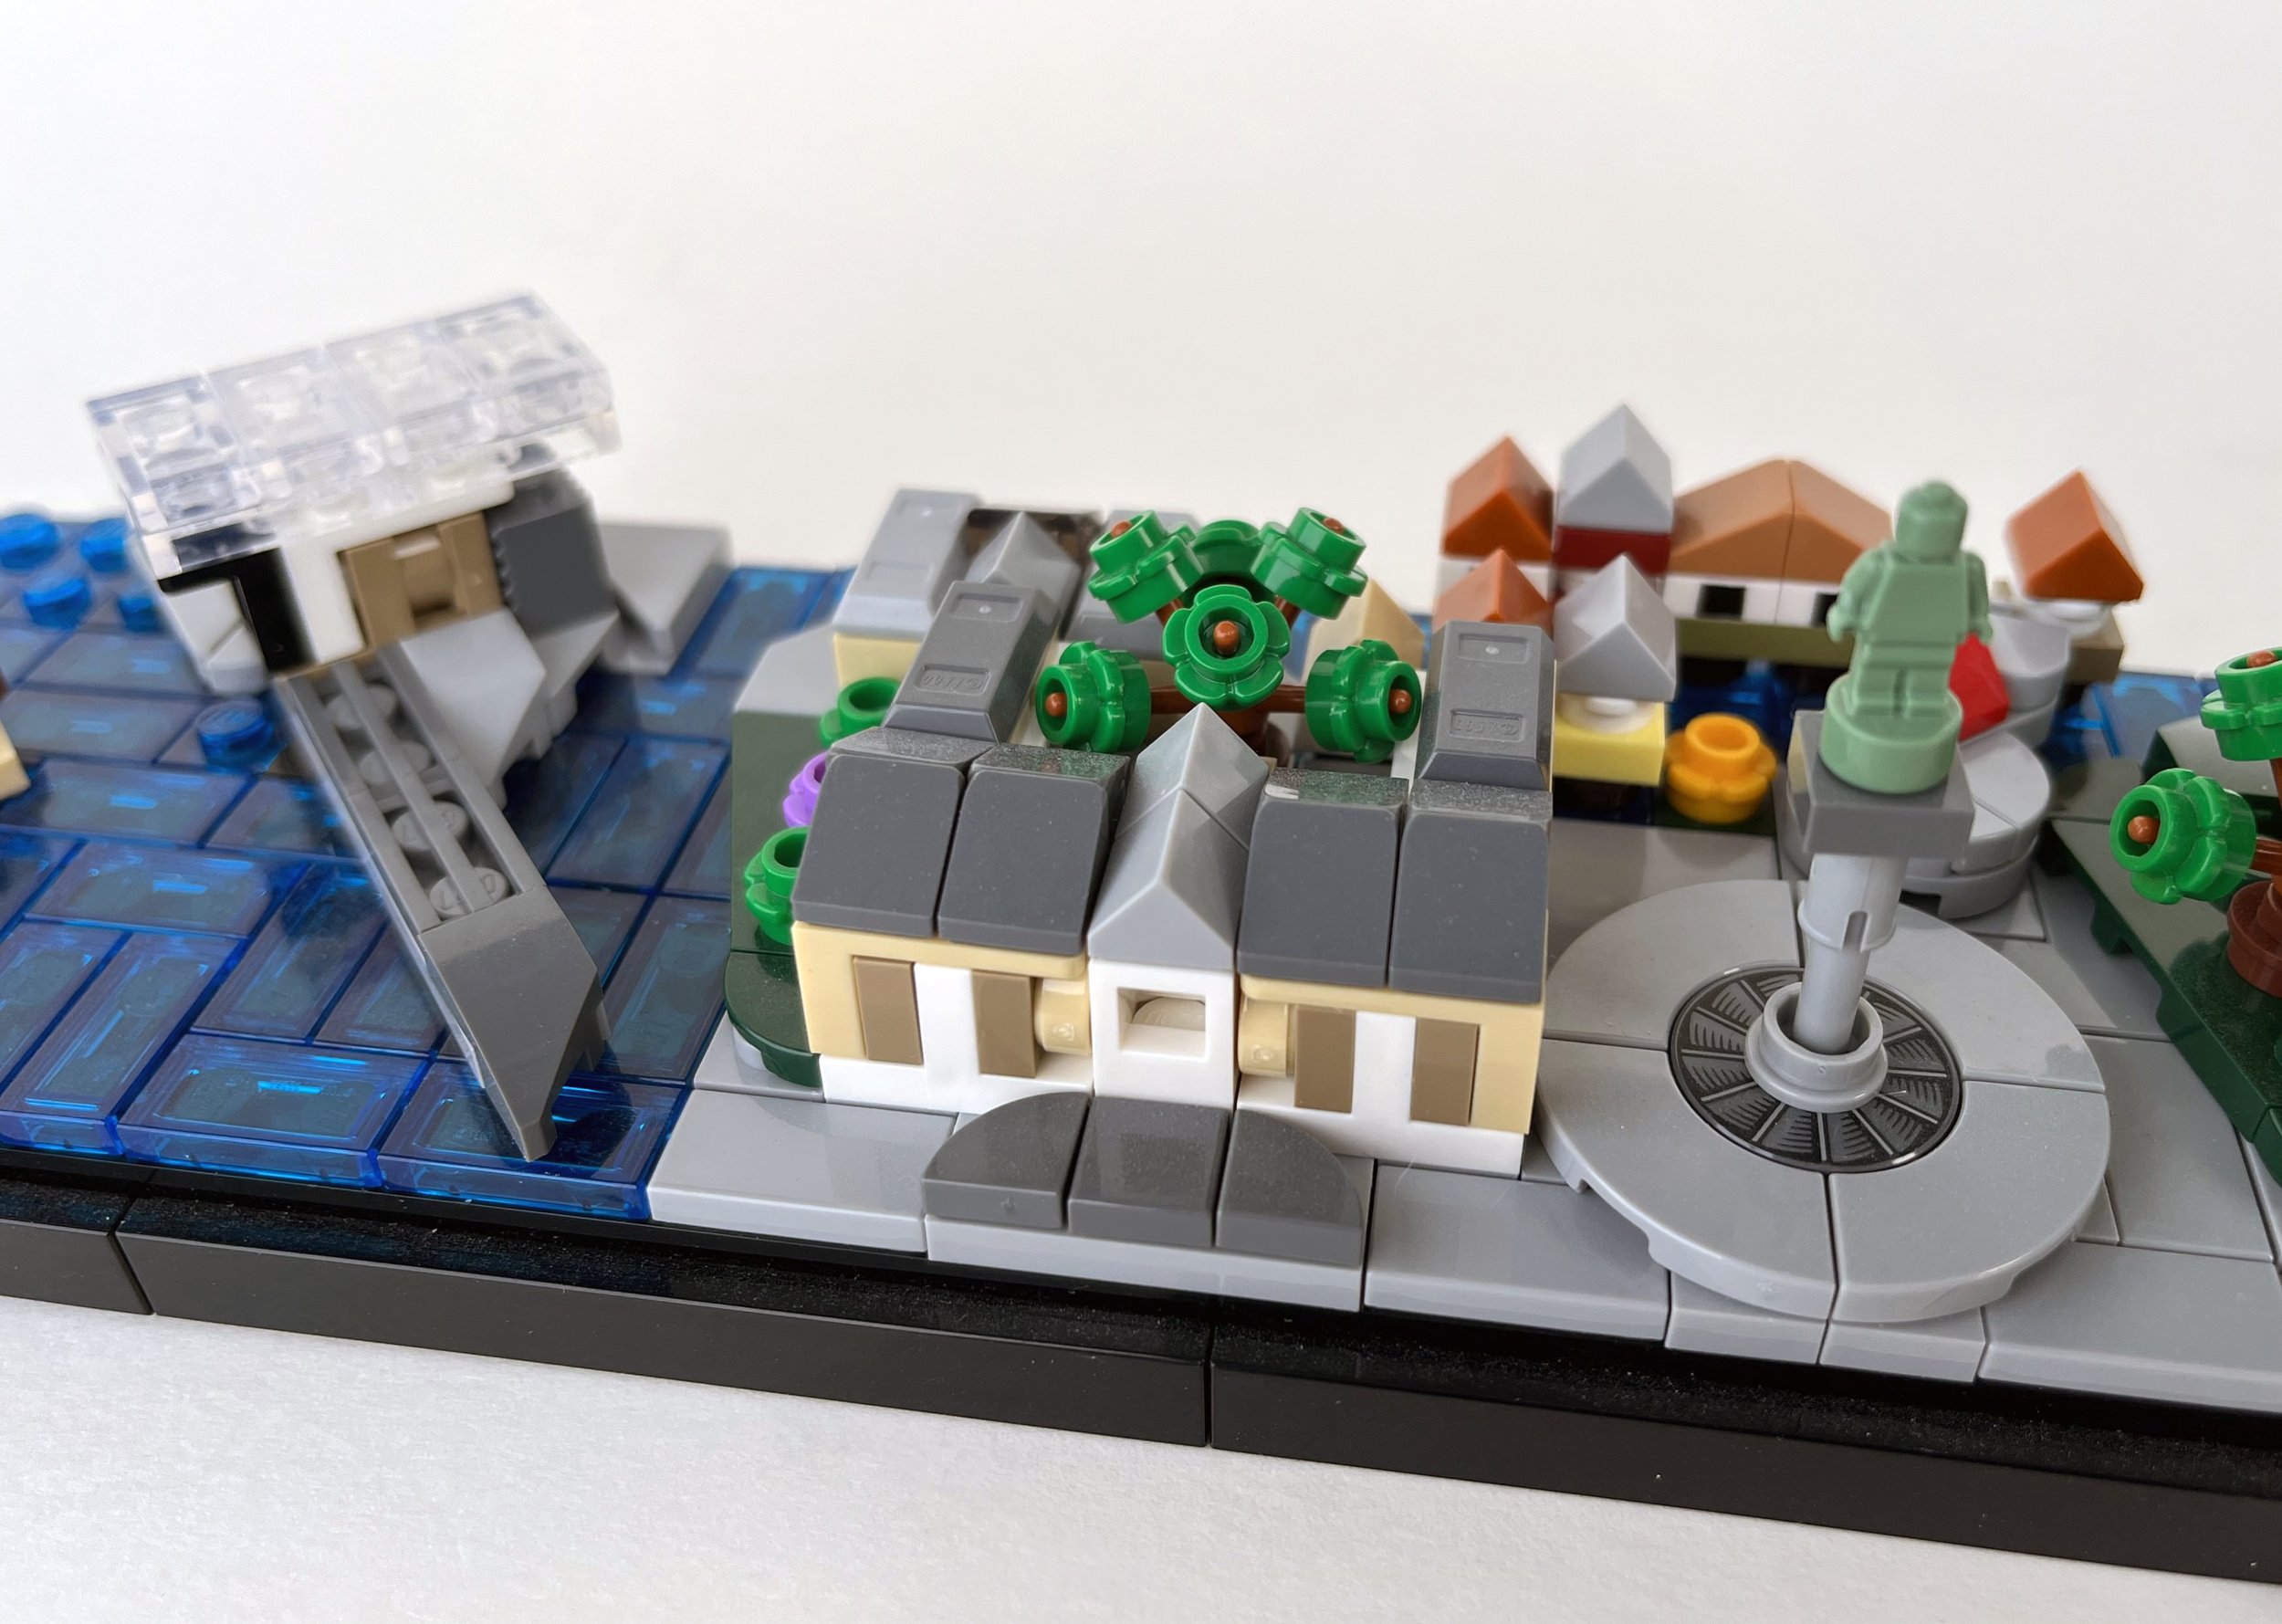
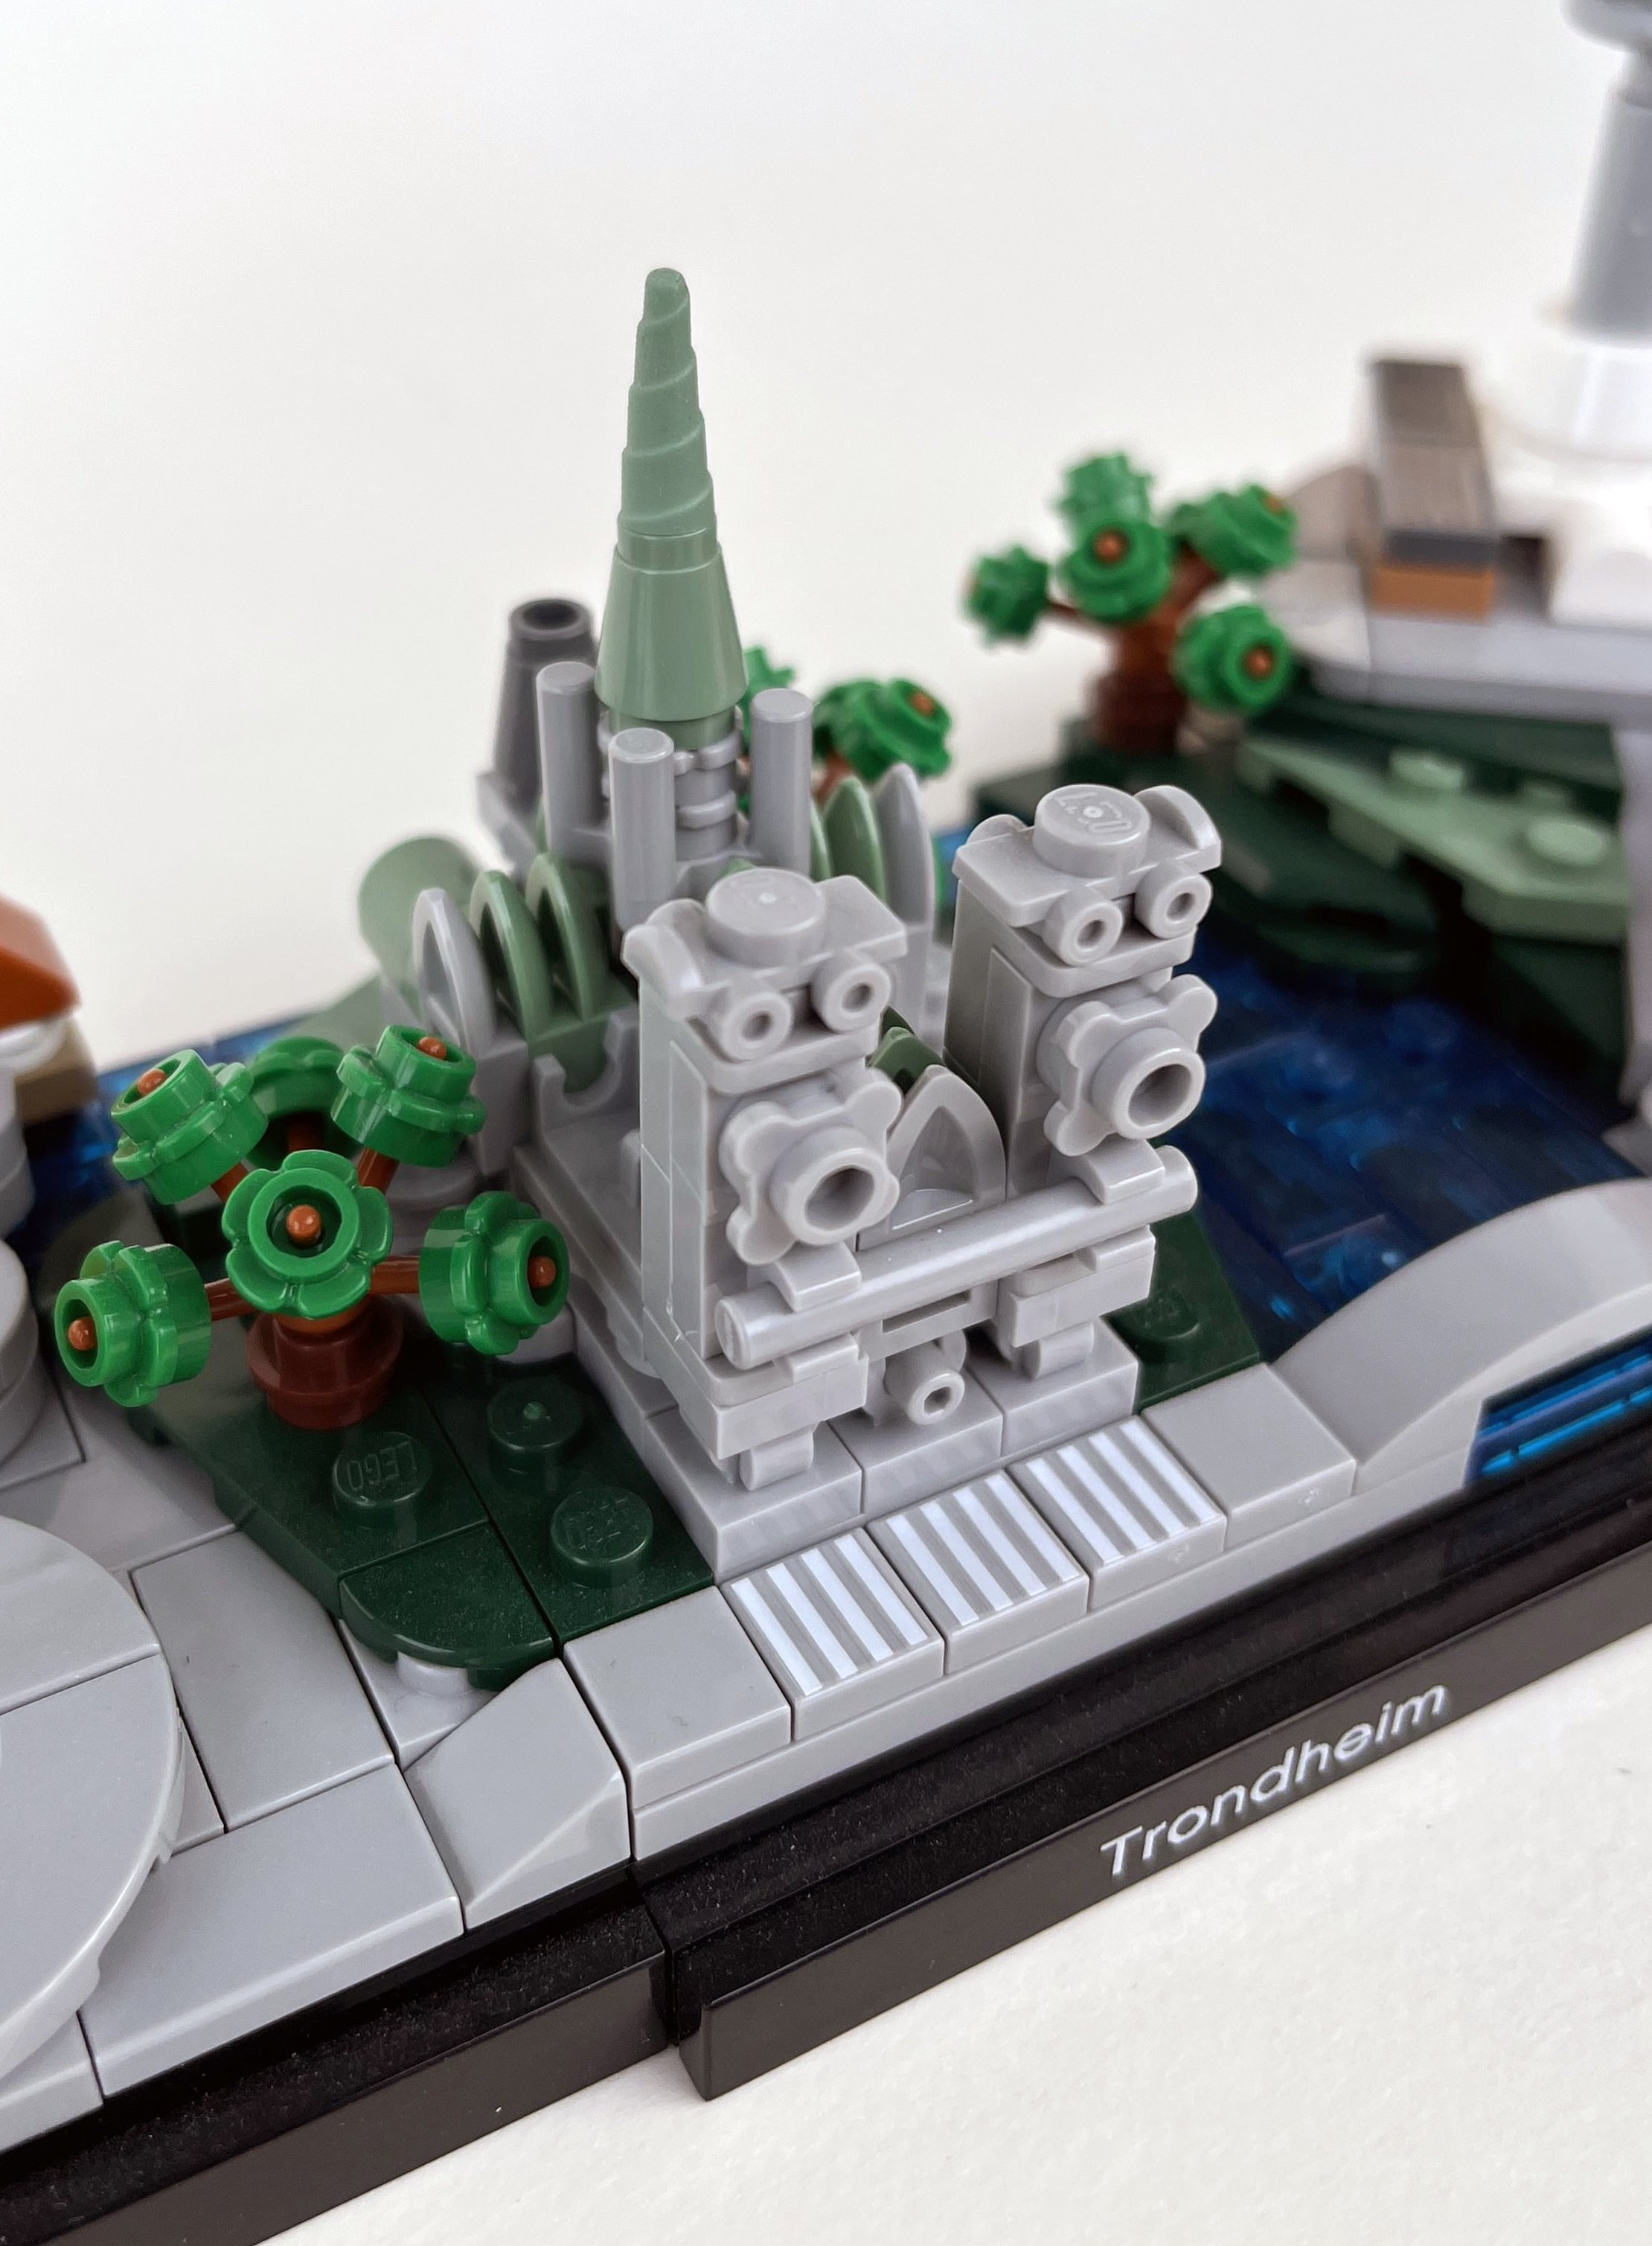
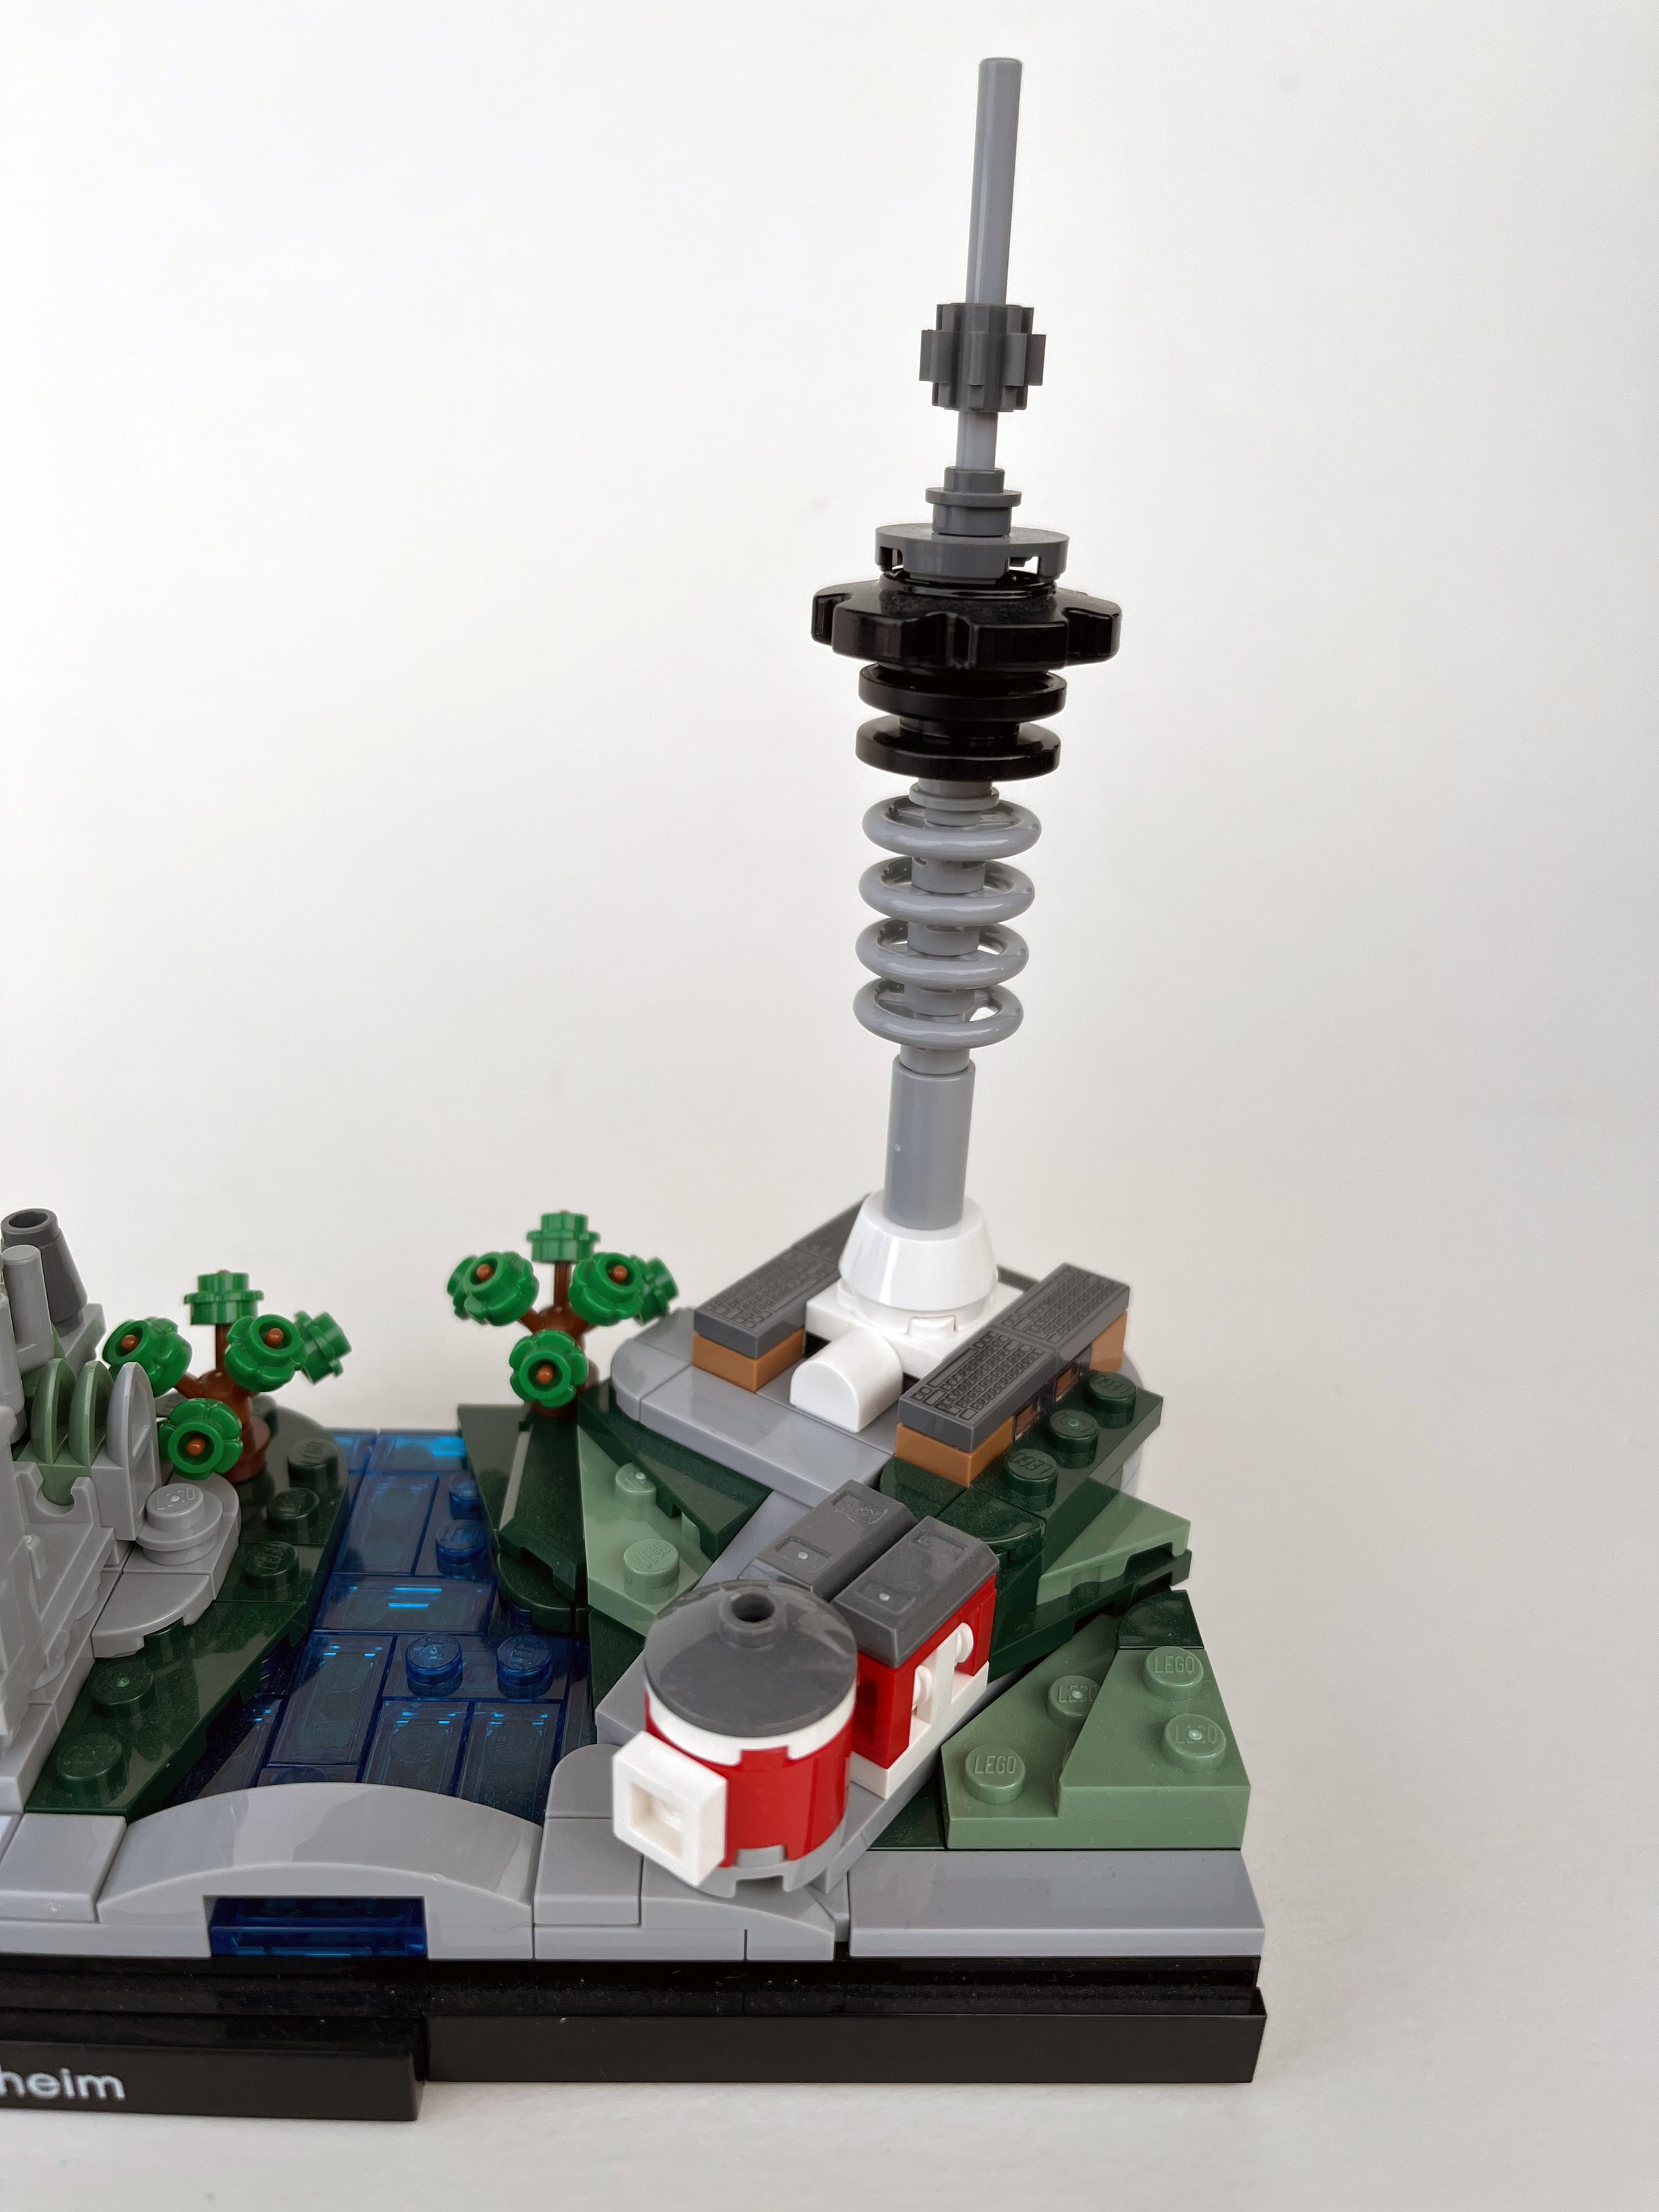
The finished Trondheim Skyline event set design
Now that we had a finished design for our event set, I immediately sent it over to Tim so he could get to work on the instructions. Those of you who have tried making proper instructions for LEGO models will know what a monumental task that can be, especially for a model containing almost 600 pieces and featuring intricate building techniques with tiny details like those Rocco are known for, so I knew he didn’t have plenty of time. But he came through in the most spectacular way, even though he admits below that this brief was a bit different from his previous, smaller Bricks LA event kit instructions.
The Instruction Design Process

Tim Heiderich with two of his previous Bricks LA event kits
“The complexity of this set was something else. I had made instructions for mini sets, event kits that could fit in your hand, but this had a lot more steps and detailed sub-builds, plus some clever techniques I needed to present to the builder in a way that was unambiguous and easy to understand. When it’s someone else’s set, I want them to feel their design is well-presented.”
“Instructions are about clarity and focus. I am trying to direct the builder’s attention to certain areas of the set, so that each stage feels like its own self-contained build, and to keep them from getting lost as the set comes together. What I have been doing more lately is something I noticed official LEGO instructions have done, which is to tell a little story through the build, and here I wanted the builder to feel like they were going on a tour through Trondheim. Hopefully along the way, they experience that “a-ha” moment when you aren’t sure what it is you’re building and it all clicks into place. Half the fun is in building, and I want the instructions to reflect that.”
This is what he was working on. Gorgeous!
“Another challenge is testing my instructions. I can never be sure how they’ll work until I physically build the set. The model could be fragile or disjointed, or confusing in ways I didn’t anticipate when designing in Studio. I had made one step that instructed me to set down a part that wasn’t attached to anything for another three steps, it was just floating there. I never would have caught it if I didn’t test the instructions for real!”
”It was a new experience designing instructions for someone else. I try to understand their thought process and to simplify the steps in a way someone completely unfamiliar with the model could understand. Rocco’s builds are deceptively complex!”
While Tim was busy working his magic, Harald and I got to work on turning the digital file into an actual physical set—after all, we wanted to give our attendees something to lay their hands on!
The Physical Bit
Let me talk a little about numbers: we knew there was a chance we’d end up with upwards of 120 attendees. We were going to charge a bit for the Trondheim Skyline—nowhere near the actual cost of the set, we would subsidise it a lot—but that would probably mean that not every attendee would be interested. Still, we’d need around that number, and then we’d like to keep a few sets as giveaways, part payment to Rocco and Tim for jobs well done, gifts for particularly notable people (I’ll get back to that) and some to save for charity auctions and similar things.
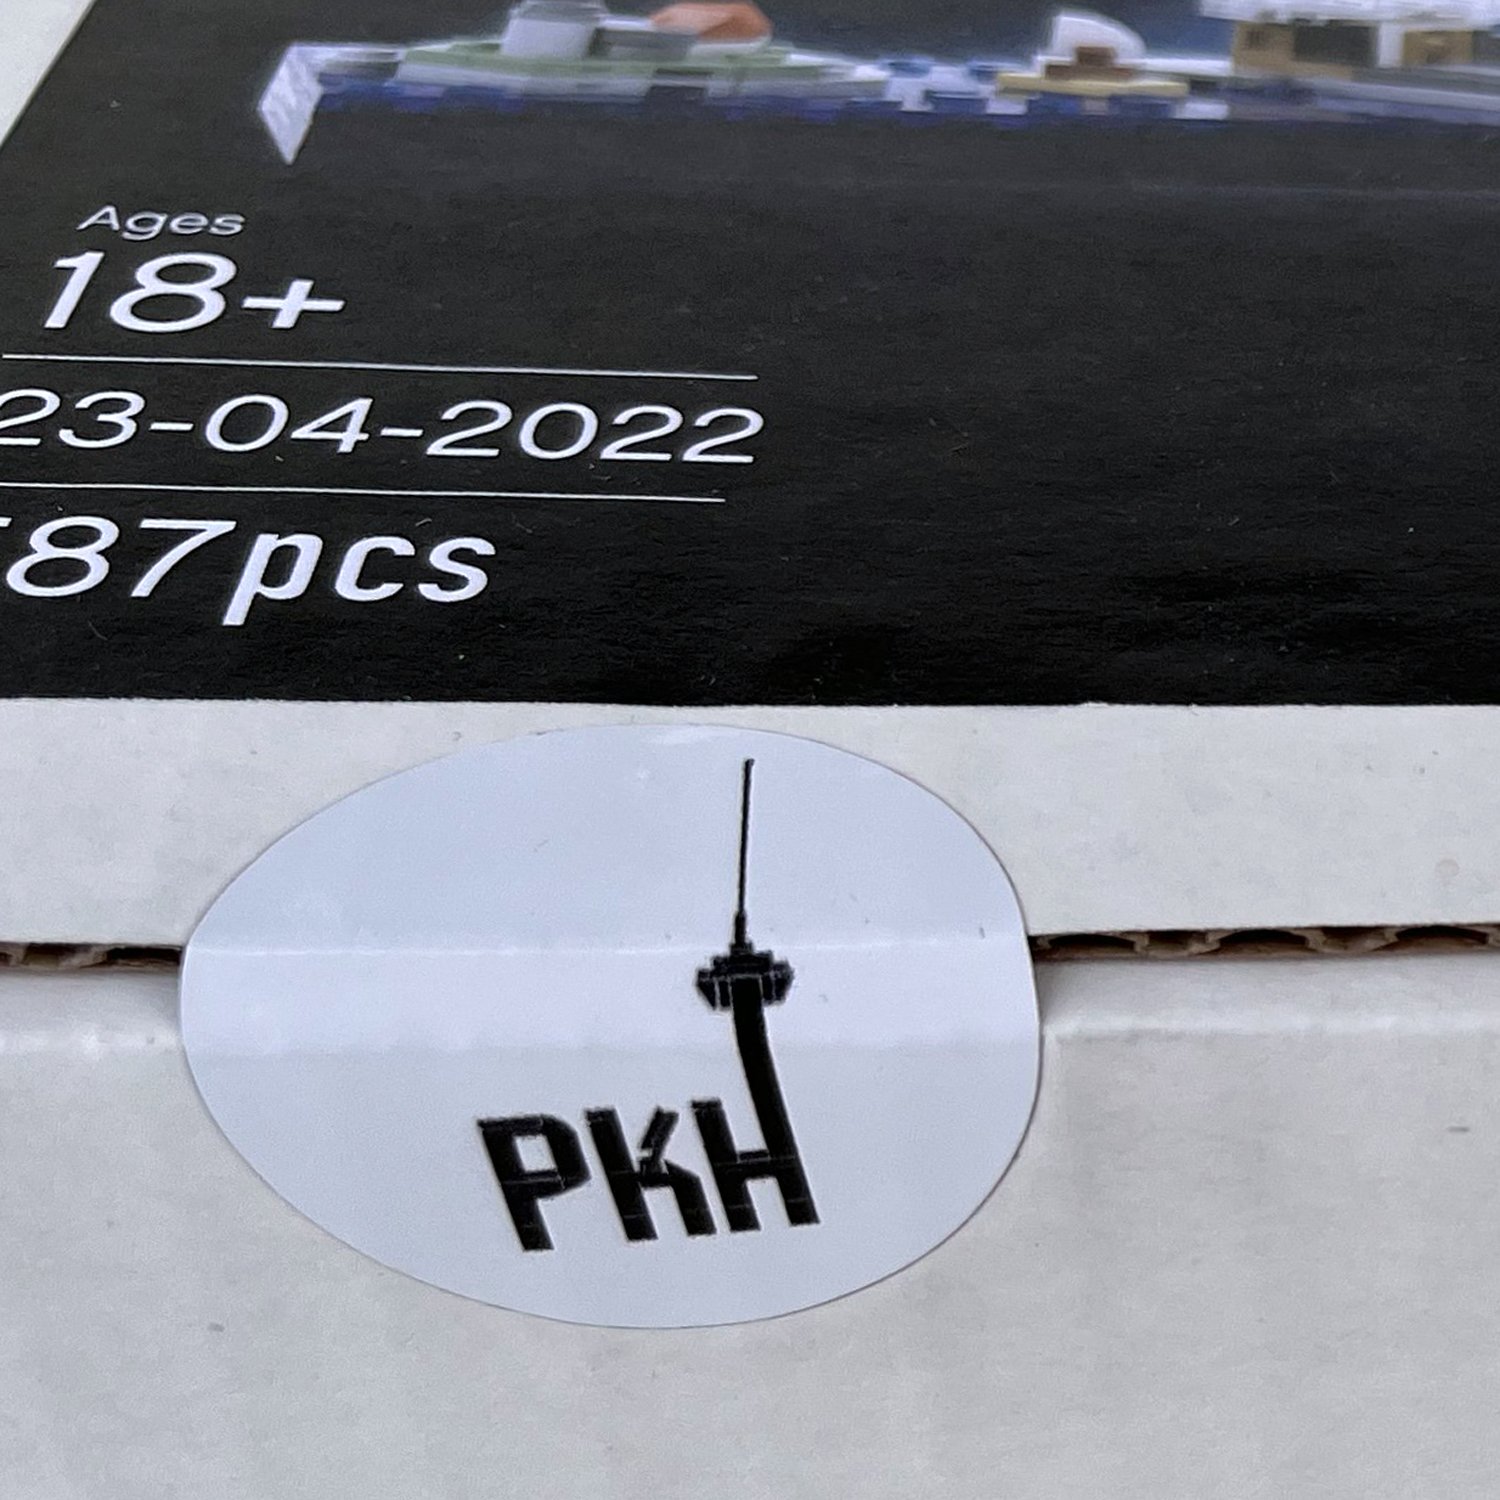
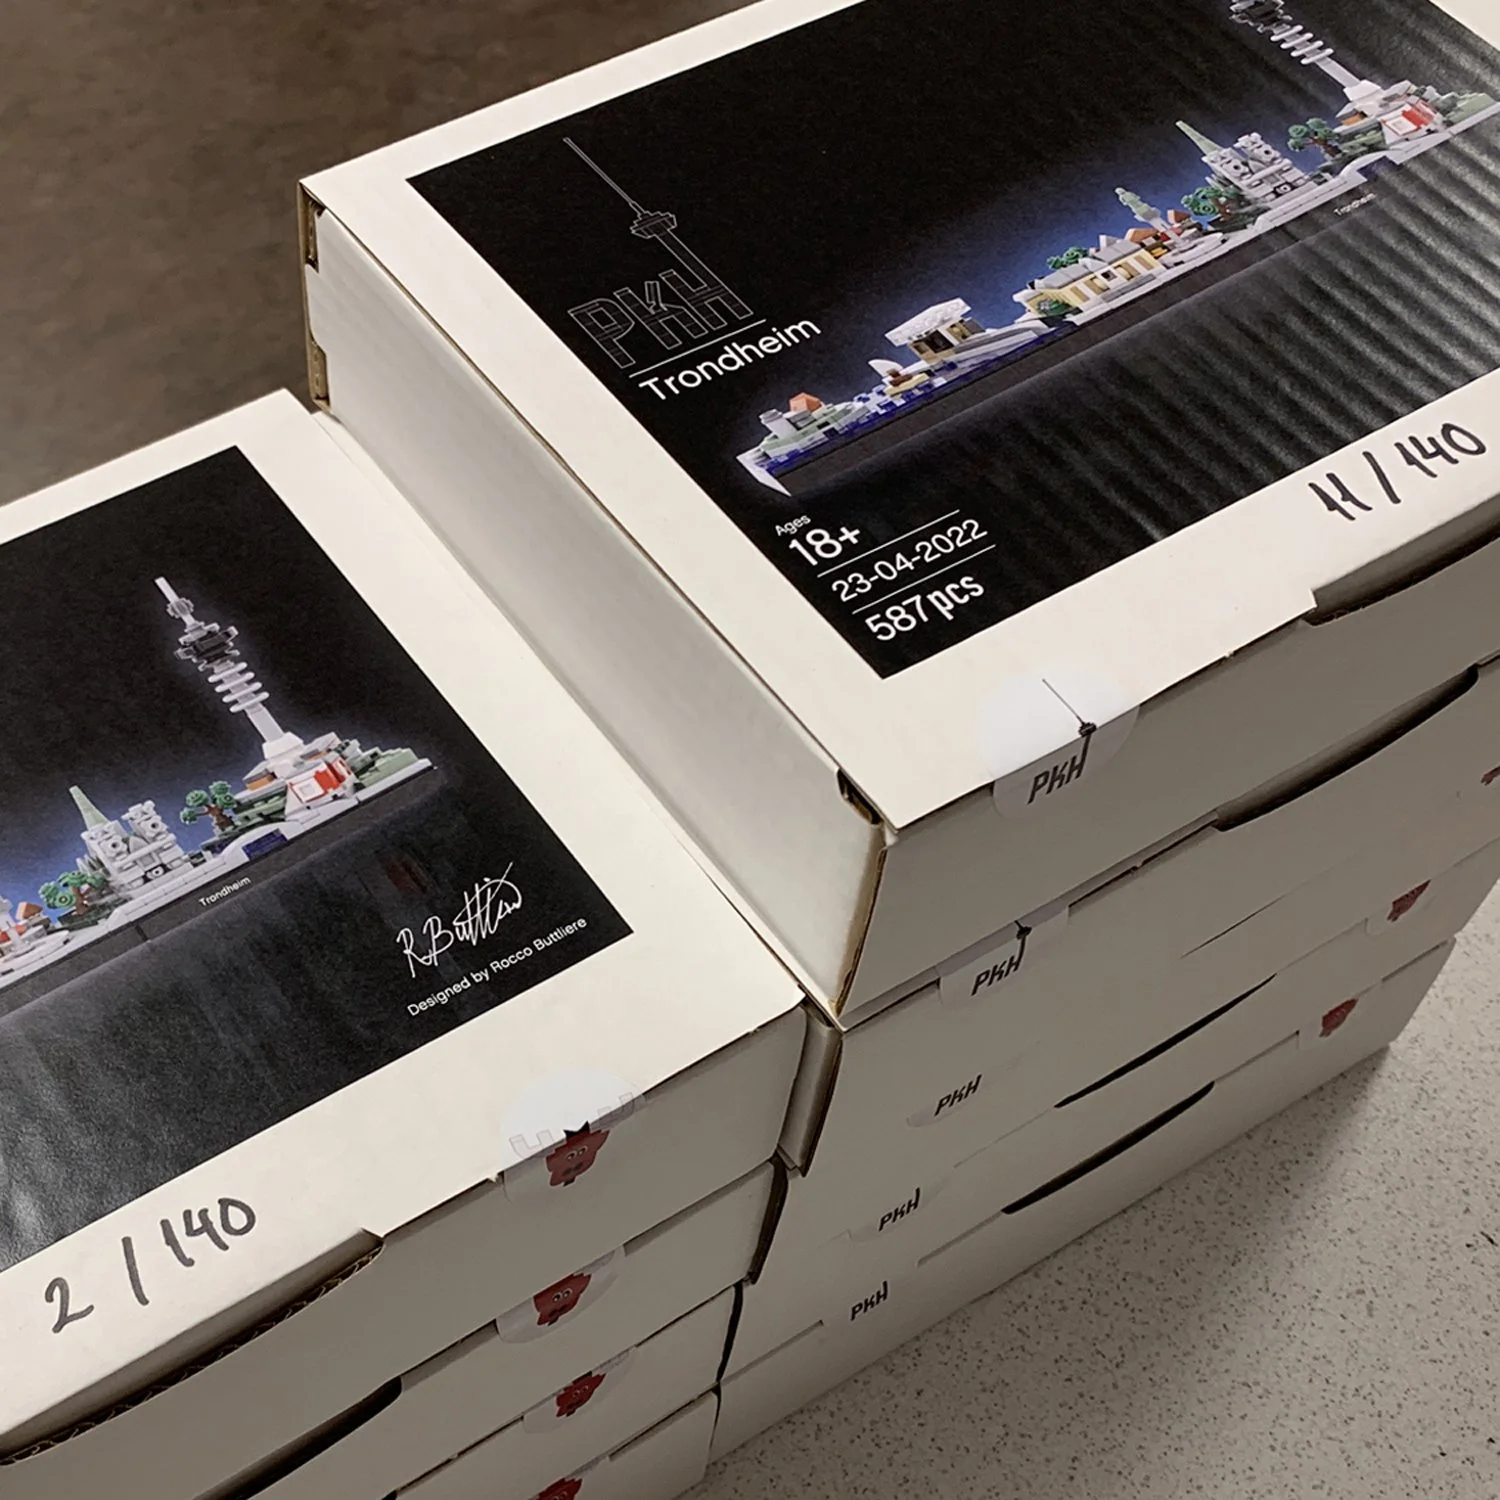
We decided to go for 150 copies, which for practical reasons eventually got reduced to a final number of 140. As every set contains 587 pieces, that meant we had to get hold of more than 82,000 LEGO parts, split between 190 different elements, in order to make the set a reality. Luckily, we managed to find a source that could actually get us most of what we needed at a reasonable cost, but in the end, Harald had to turn to BrickLink (and not just his own store) for the rest.
The parts list, with 190 unique parts. Looks like an official LEGO instruction manual, doesn’t it?
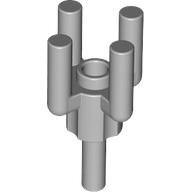
The culprit, also known as 6179187: ASSEMBLY ELEMENT Ø3.2, only available in 75965 The Rise of Voldemort…
“There's always a consideration toward availability of parts” says Rocco. “But that didn't stop me from using new-for-2022 parts which were not yet available at the time of design. Nor did it prevent me from looking backward and using a light bluish grey palm tree top (which only came in a single 2019 set) for the nave crossing of the cathedral!”
While we hadn’t imposed any particular limitations on our set designer, that part was obviously among the ones that turned the parts sourcing into a bit of a job. But by late February, Harald had placed the final orders and we could just wait for them all to arrive... which would turn into more of a nail-biting exercise than we had expected.

The Prototype: 587 pieces similar to those in the actual set, with just enough room left over to fit the gorgeous instruction booklet
Before that, there were still some details left for us to work on, though. We had found a company that could deliver boxes that would work really well for the sets, but the question was what size those boxes would need to be! We didn’t have enough parts yet to compile a prototype version of the set, so my solution was to go through the parts list and pull—from my own collection—either the parts in question in whatever colour I had, or parts that were as close as possible in size to the parts we actually needed. That way, I could test some box sizes, and it just so happened that a box that had contained a recent order from a Norwegian BrickLink seller was pretty much exactly what we needed, so we ordered 150 plain white cardboard boxes in that exact size.
The Final Design Touch
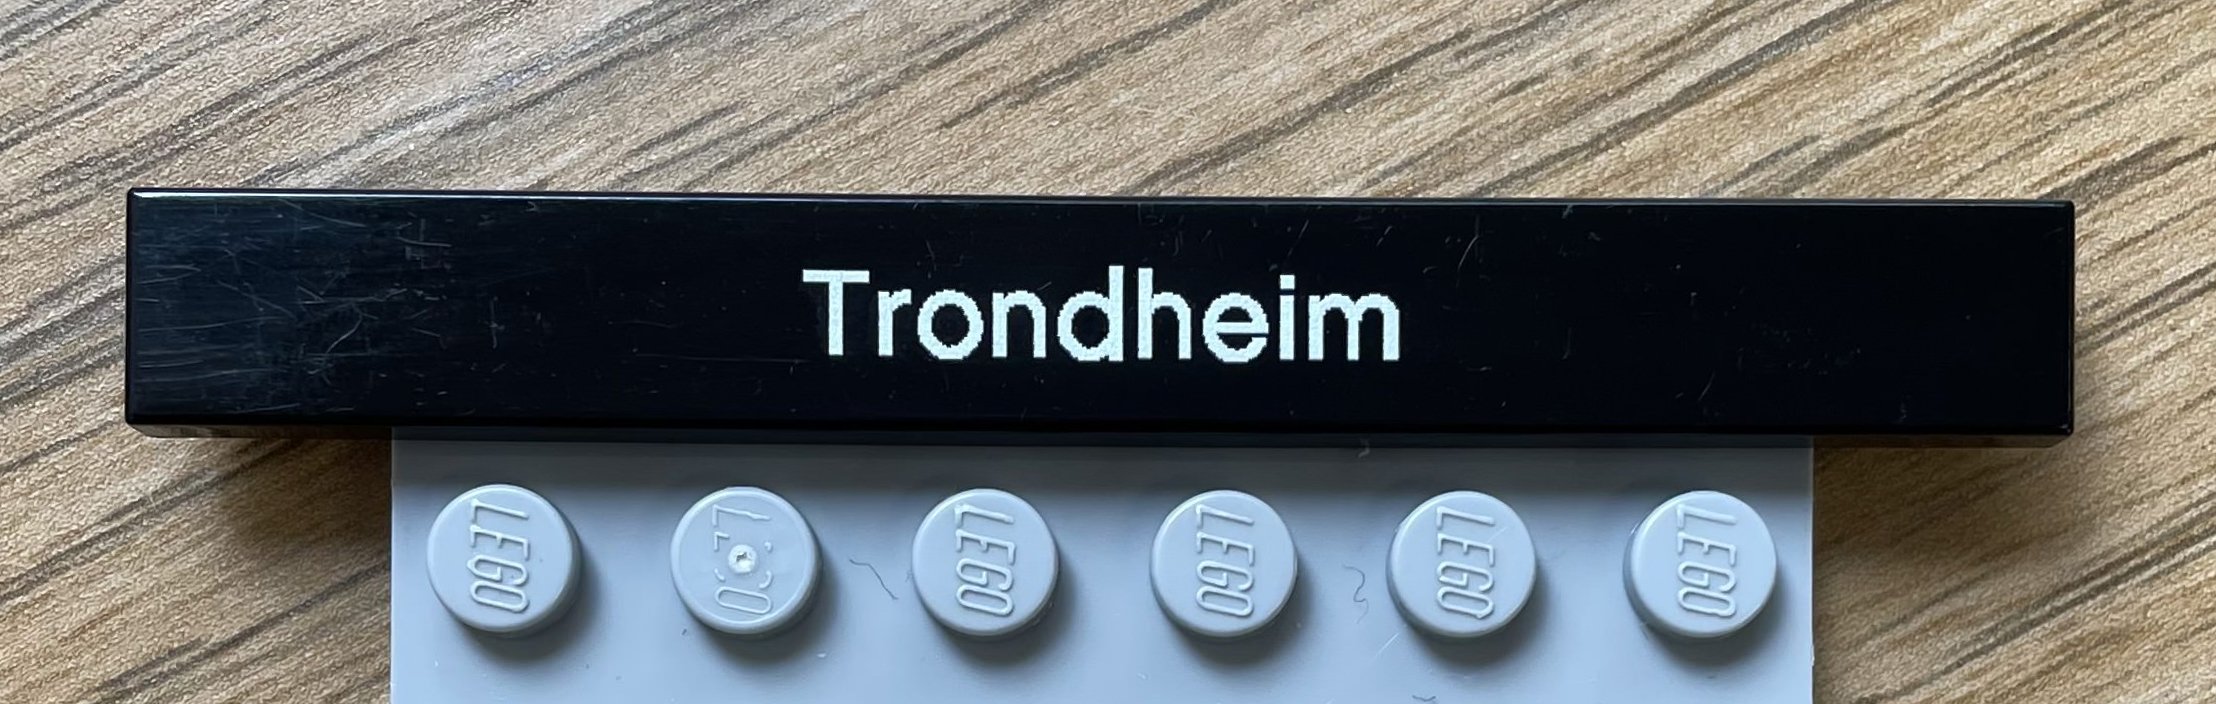
As a BrickNerd reader, chances are you’ll be very familiar with LEGO’s own Architecture sets, and the Skylines series that started with Venice, Berlin and New York City in 2016. Eleven more cities worldwide have followed as official sets, and they all have some things in common: they are designed in microscale, which means certain landmarks or buildings will have exaggerated details in order to make them recognisable; they have been designed with a lot of artistic license regarding the placement of the objects in relation with each other; they are all built on a black, stylish base… and they have a shiny 1x8 black tile with the name of the depicted city printed on it.
Obviously, our Trondheim skyline needed to have the same. For the print job, we chose Fab-Bricks in the UK as I knew their reputation to be very good. Tim had already made a tile design for the instructions, with the same font used by LEGO for the official sets. I sent that file to them, and when I arrived at Fairy Bricks’ Bricktastic event in Manchester in late February, our printed Trondheim tiles were waiting for me there!
Most of the parts for our sets, including the huge order that contained the bulk of it, had landed in Trondheim well before Tim sent me the design for the instruction manual in early April. The final version was delivered on April 7th, at which point I had already made a printing deal with a local shop, so I just sent it straight over and they promised that the instructions, a sticker to put on the box cover, and a couple of custom-made vinyl stickers that we would use to seal the boxes, would be ready for pickup in time for the final assembly of the kits on the event weekend itself.
And so, on April 20th, I boarded my flight to Trondheim, getting ready for a LEGO-filled weekend of fun, friends, festivities… and some very, very tiresome work.
Image taken on the actual descent towards Trondheim—with all eight previously pictured landmarks marked
It’s All Coming Together
When I arrived at Harald’s LEGO store on Wednesday, two days before the event, we were still missing a couple of BrickLink orders. Inexplicably, orders that had been shipped all the way from the US and halfway around the globe had arrived, but orders from mainland Europe were still in transit. (Why is it that if you order some parts that you’re not in any real rush to get, they turn up right away, but when you really need something before a particular date and even think you’ve ordered early, everything gets delayed?)
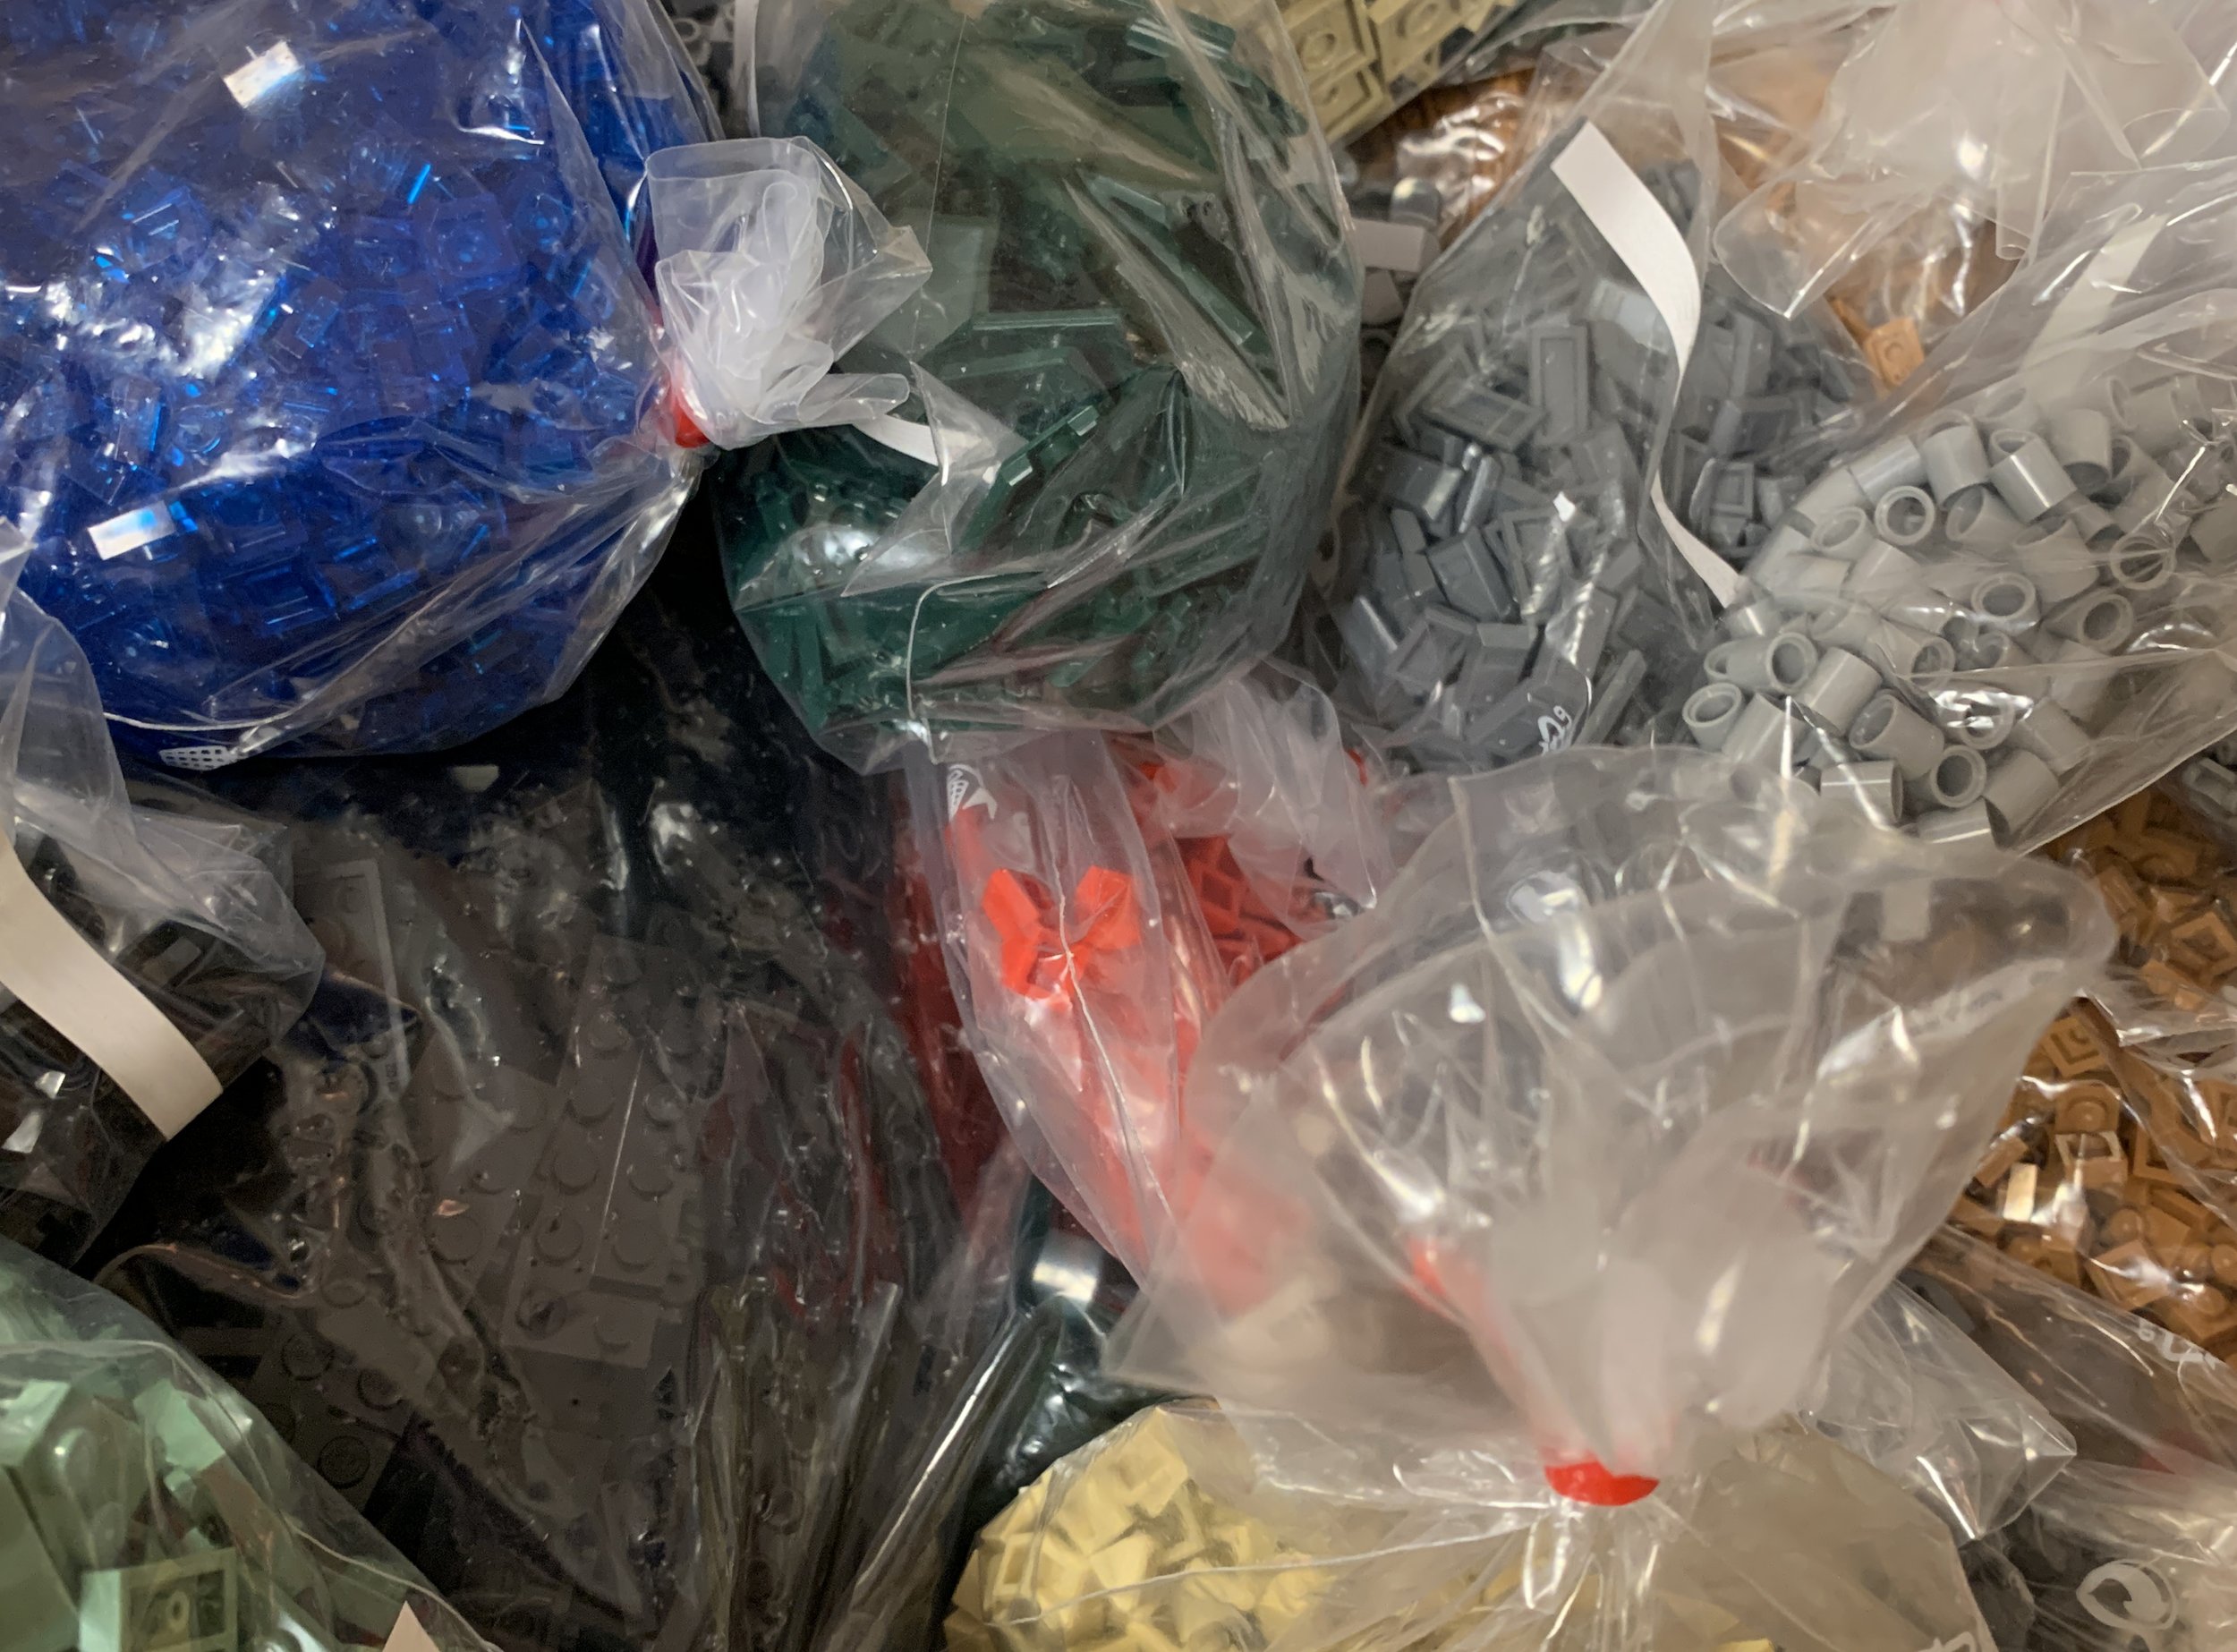
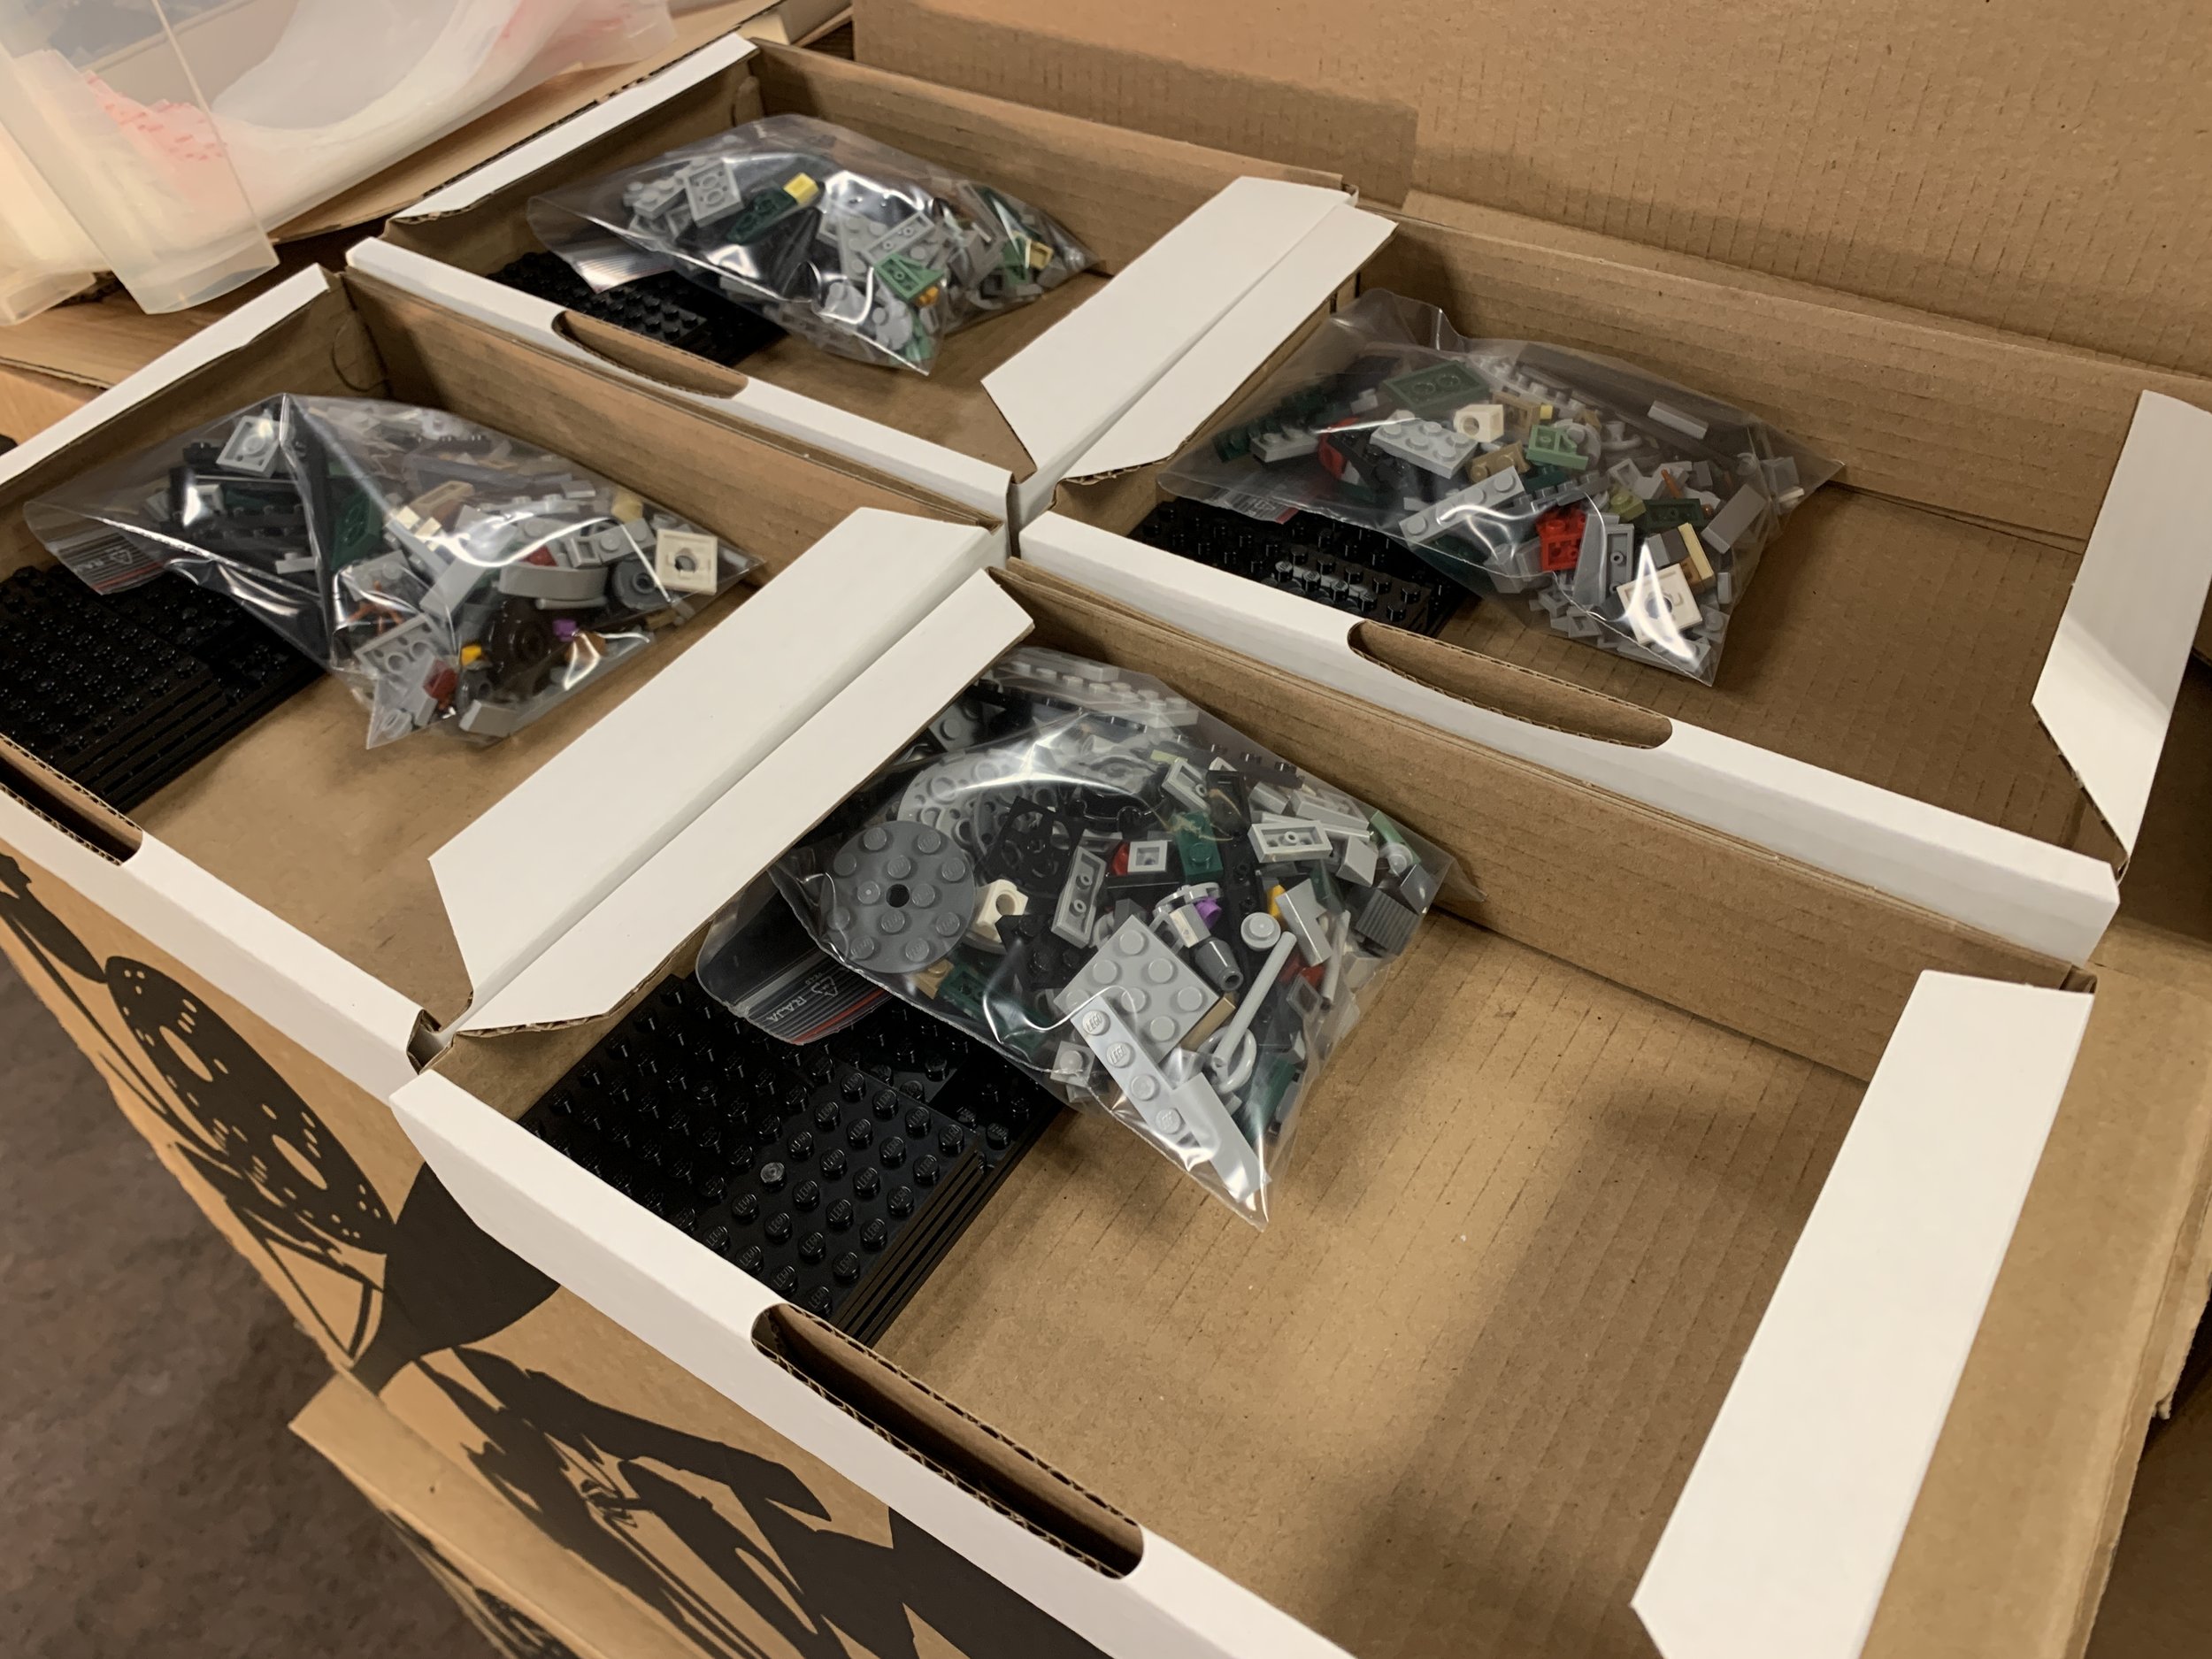
We had most of the parts we needed though, so Harald had already started sorting, and I joined him in the long and back-breaking task (almost literally!) of distributing 82,000 LEGO pieces into waiting plastic cups by hand. We would fill 140 cups, then empty them into 140 ziplock bags, put them into 140 boxes, and repeat the process with new parts sorted into the same cups, new ziplock bags, and so on. All the time while trying our best to keep track of which boxes we had put which ziplock bags into, and not make any mistakes.


After sorting for fourteen hours straight on Wednesday, luckily some trustworthy friends who had arrived early and wouldn’t spill the beans (at this point, none of the attendees yet knew what the event kit looked like) joined us for a couple of hours on Thursday. Adding them and Harald’s parents to the assembly line sped things up a bit. But by early morning on Friday, when we had to make it to the hall and start setting up tables for the event, we were still far from finished.

I’m sorry, Eivind! I’m pretty sure we never told you that we (briefly) used your 65,000-part Millennium Falcon as a shelf

Before that, though, we had one important stop to make: the print shop. Harald waited in the car while I went in to collect the goods, and the messages I sent from inside the shop should tell you pretty much everything you need to know about the quality of what was delivered. Or, it would, if you spoke Norwegian! I’ll translate:
THIS IS SO COOL
OHMYGOSH
I’m just standing here laughing
Can’t wait to see it!

Facial expressions similar to the ones we had upon seeing the instructions for the first time
When I got back into the car, we paged through the whole instruction manual, and if I’m being completely honest, I think we both almost became a bit emotional. It was our final event, we had worked a lot to make this happen, we were the only two people (apart from Rocco and Tim) who knew what it looked like… and it was amazing. I mean, we had hoped and believed that it would be nice. But this!

The Final Stretch
A couple of crucial BrickLink orders arrived on Friday, which meant we knew that in theory—if we had avoided making mistakes!—we would be able to deliver some of the kits completely intact. Those would be given to international attendees, to avoid expensive shipping on the missing parts. Then we would just have to ask all the others to build their sets and let us know if anything was missing. Not ideal, but that was just how it would have to be.
First, though, we needed to finish packing the sets. So after finishing setup in the hall, and a couple of drinks at a local beer place, Harald, myself and my lovely wife returned to the sorting venue just before midnight—where finally, after two more hours of intensive work, all the pieces (that we had, anyway) were in the boxes, and so were the instructions. The boxes had been equipped with the set image from the print shop and sealed with our two little vinyl stickers. We were ready to go!


So when everybody gathered in the hall to get all the essential information on Saturday morning before the doors opened to the public, this moment could happen—164 days after the Rome rooftop meeting, and several years after we first had the event set idea. I’m pretty sure you can tell how Harald and I were feeling just then:
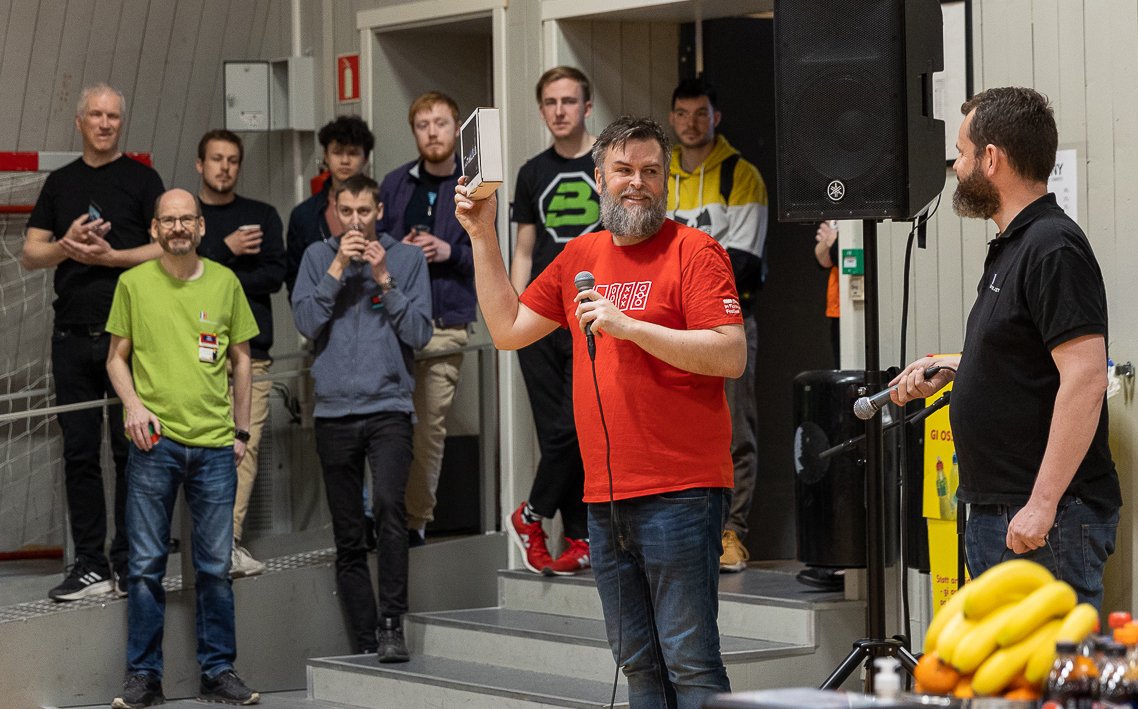
Pardon the beard, It was just a face I was going through. Photo by Joakim hamstad on Flickr
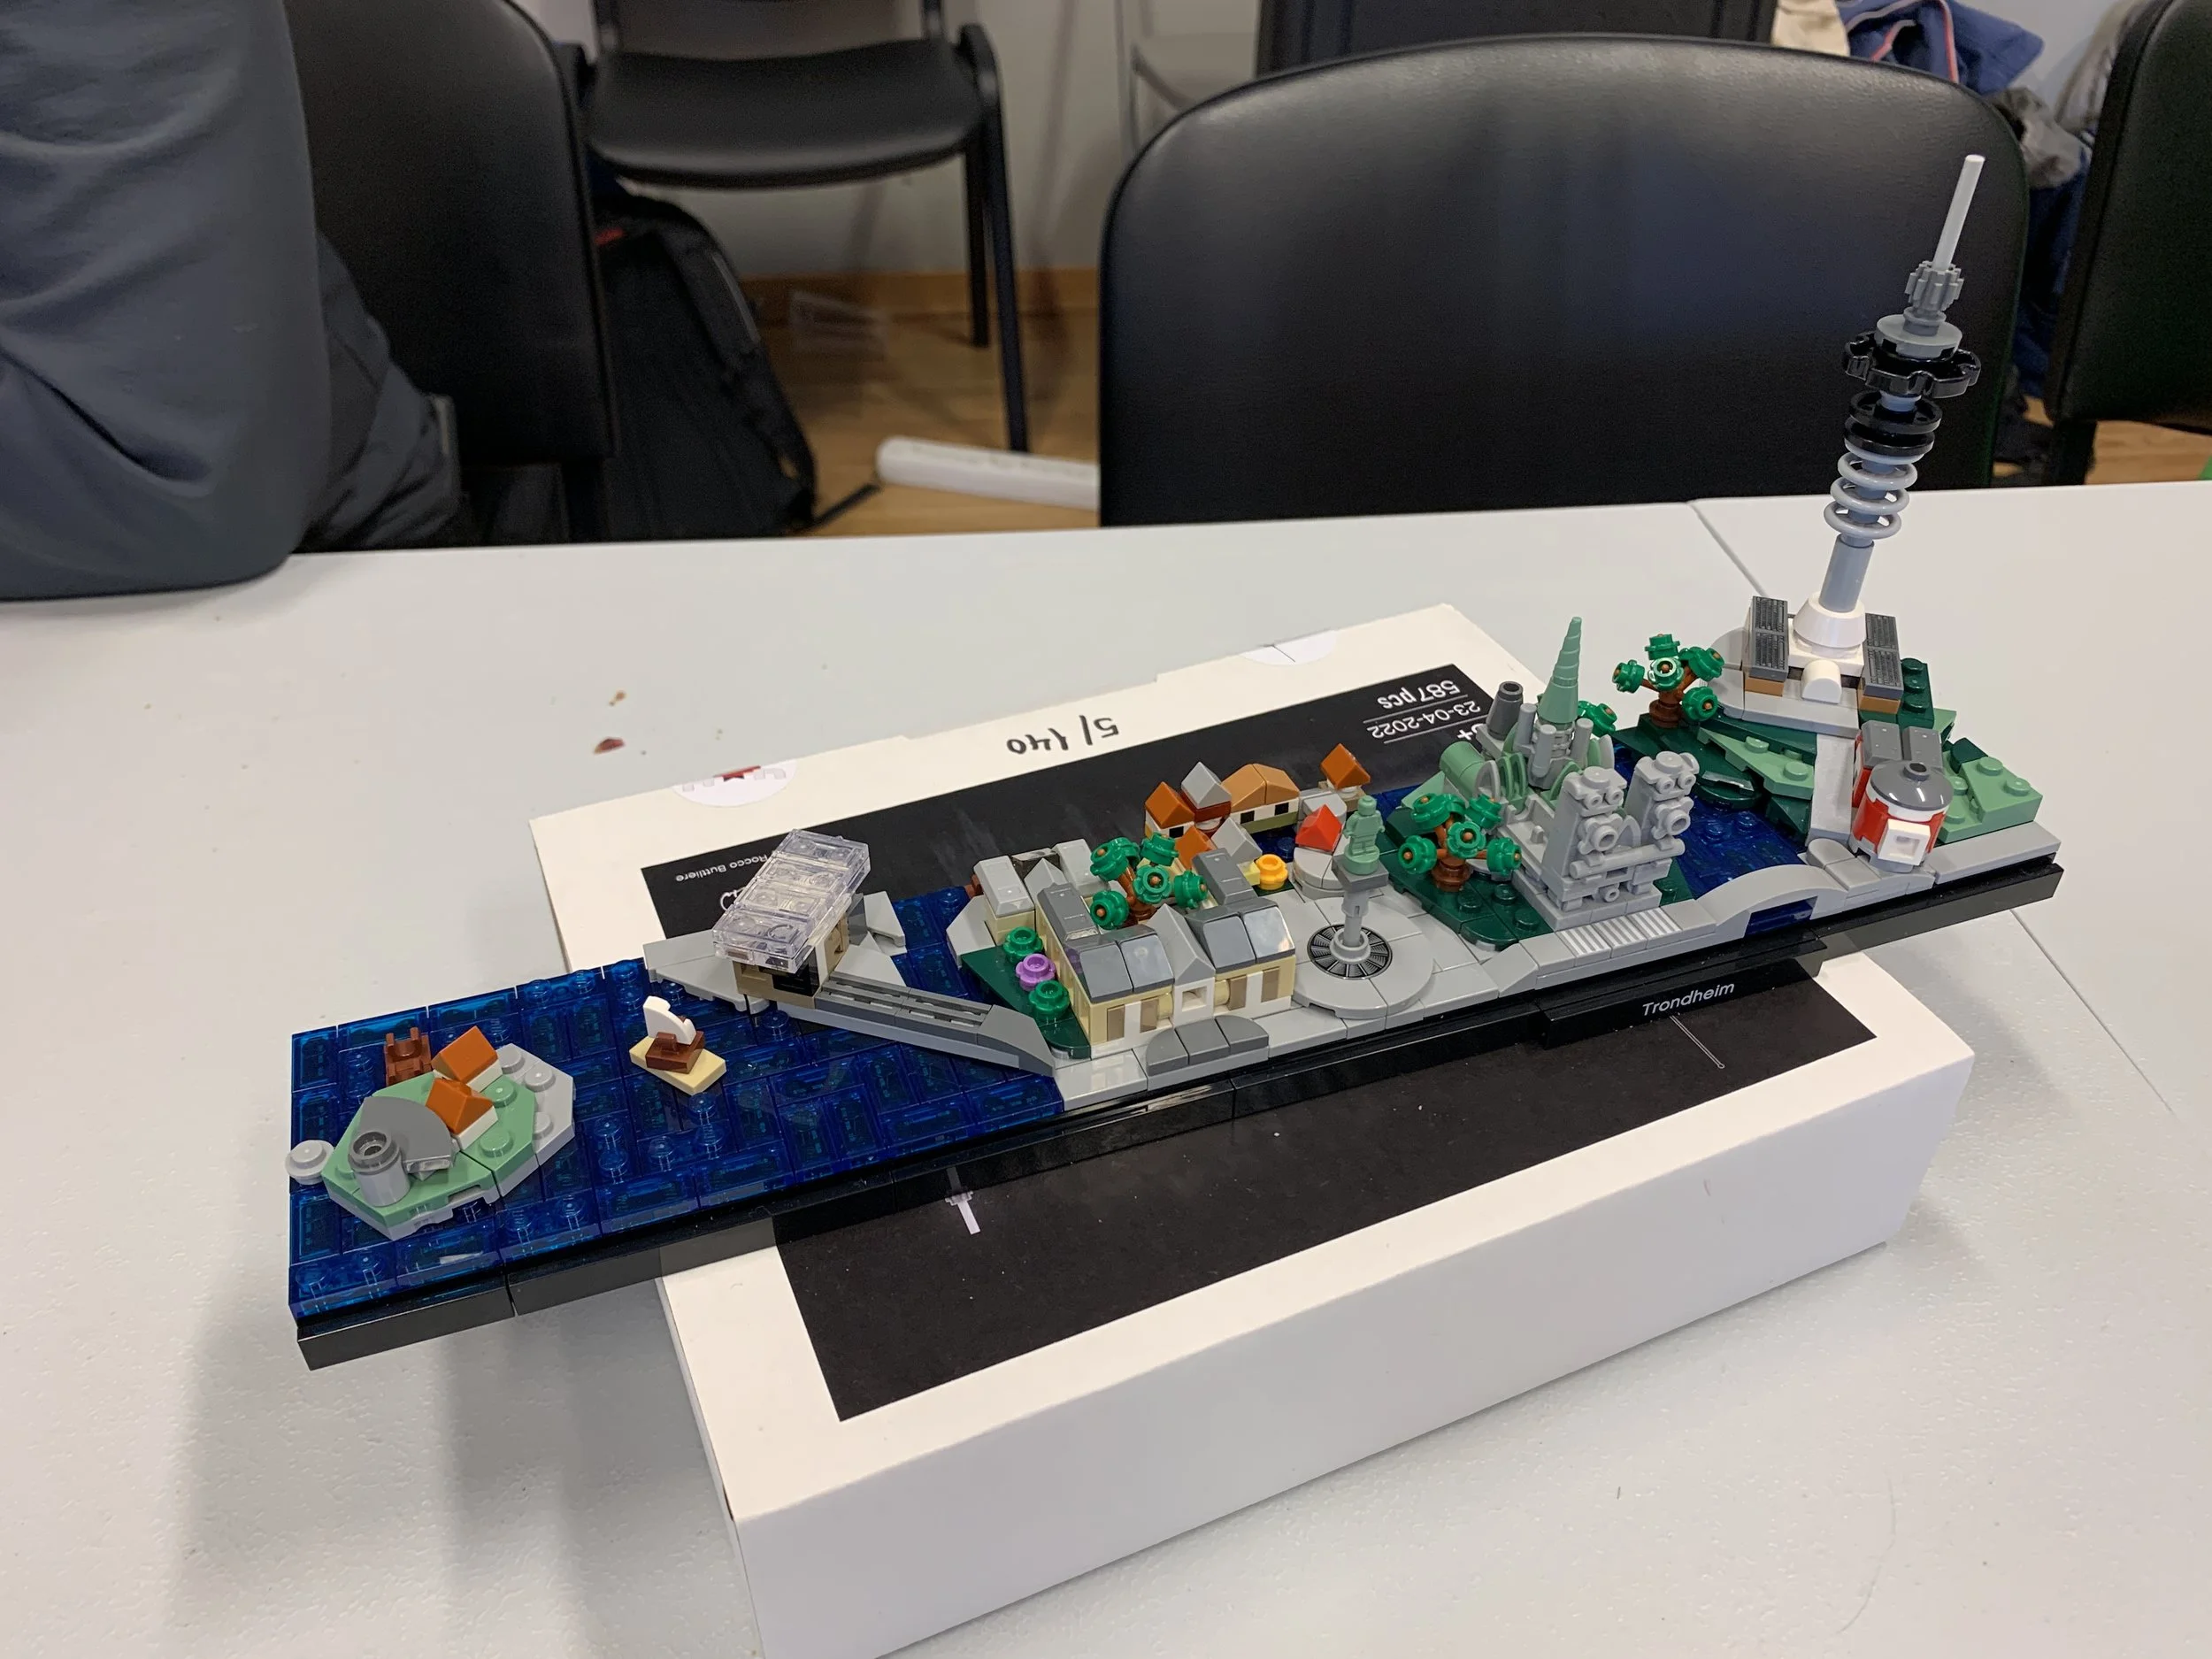
Dave’s set, number 5, was the first to be built
The attendees who had signed up for buying a kit received theirs upon registering at the event information desk, and some people were more eager to dive into the box than others—our resident Nerd-in-Chief here at BrickNerd was present in Trondheim, and as the Architecture buff he is, Dave built his copy the same evening and plonked it on a table in the AFOL lounge on Sunday morning for all to see. That was one of the earliest numbered sets, and he reported that no parts were missing, which was a relief!
Repeating the Success?
So… would we do it again?
Well, we’re no longer running the event, so we won’t have to think about that! But if we did, the quick answer would probably be no. It was a huge amount of work, and along the way we more than once asked ourselves what we’d started. Then again, we could have done a few things to make life easier for ourselves: we could have picked a smaller model, we could have gone for a cheaper and simpler solution for the instructions, we could have started planning earlier, we could have asked for more help… but there were reasons for all those choices. And in the end, it was incredibly rewarding, too, in several ways.
The first thing is of course the reception the event set got. So many people told us they loved it: they loved the way it looked, the way the landmarks were designed, those lovely instructions, the exclusive feel to the whole thing. When our attendees started posting pictures of their finished models online, there were loads of lovely comments, and it was a joy to read them all. Plus, we loved it! I have to say, it really ended up being all I hoped for and more.
A second really nice thing that came out of this was that we introduced Tim and Rocco to each other, which had consequences, as Rocco told me: “This was actually my first time working directly with the instructions designer. Right from the start, Tim was a complete pro; designing the instructions in an experiential way, so that it enhanced and highlighted many of the techniques therein. Since that experience, Tim and I have worked together twice more on two of my own custom kits!”

Finally building my own copy! So rewardinG, after that long process
The icing on the cake, though, at least for me, came a little bit later. I finally managed to put my copy together a couple of months after the event, and really enjoyed seeing the result of such a long time spent planning “come to life” before my eyes! That was also an early set, and there were even a few parts left over, which was a good sign… because Harald and I had set aside one of the earliest sets for a very special person. And when he received his, we got the picture below, which feels like a good way to end this article. (Thank you for reading all the way through, I’m impressed!)

“To Kjeld, from Harald and Are.” I hope you’ve enjoyed the building experience!
Have you designed an event kit yourself? Maybe you created a different custom kit and have a story to tell from that process? Or maybe our plastic cup method reminded you of how you do your sorting? Let us know in the comments!
Do you want to help BrickNerd continue publishing articles like this one? Become a top patron like Charlie Stephens, Marc & Liz Puleo, Paige Mueller, Rob Klingberg from Brickstuff, John & Joshua Hanlon from Beyond the Brick, Megan Lum, Andy Price, John A. and Lukas Kurth from StoneWars to show your support, get early access, exclusive swag and more.