A G12 in Royal Württemberg Colours
/If you’d asked me three weeks ago what a G12 was I would have thought you were playing Battleship. And as for the Royal Württemberg colours… those could have been pink and lime green for anything I knew. But now, even if I were in a game of battleship, G12 would instantly bring this beautiful train model by Pieter Post to mind.

Not only is the train itself loaded with accurate detail, it’s also perfectly presented in a snowy landscape! Building the setting for the train really makes it stand out rather than being a photo of the steam engine alone.
I’m far from crazy about trains, but I do love a good LEGO model, so I wanted to hear more about this one. I reached out to Pieter with a few questions.
Geneva: First, why this particular locomotive and why the Royal Württemberg colors? What's special to you about them?
Pieter: I’m a steam engine fan and a history enthusiast especially concerning my own Frisian roots but also German (and in particular Prussian) history from around early 1900. The steam engines from that place and time are my favorites. In terms of Railway lovers that is Epoche I, the beginning of the steam engine (1835) era up till about 1925. In those days most of the German principalities and states had their own railways, with their own types of engines in distinct colours. I prefer these older engines in dark green, blue or grey a bit over the later types (post WW II) when they all were painted red and black and became more uniform (Einheitslokomotiven).
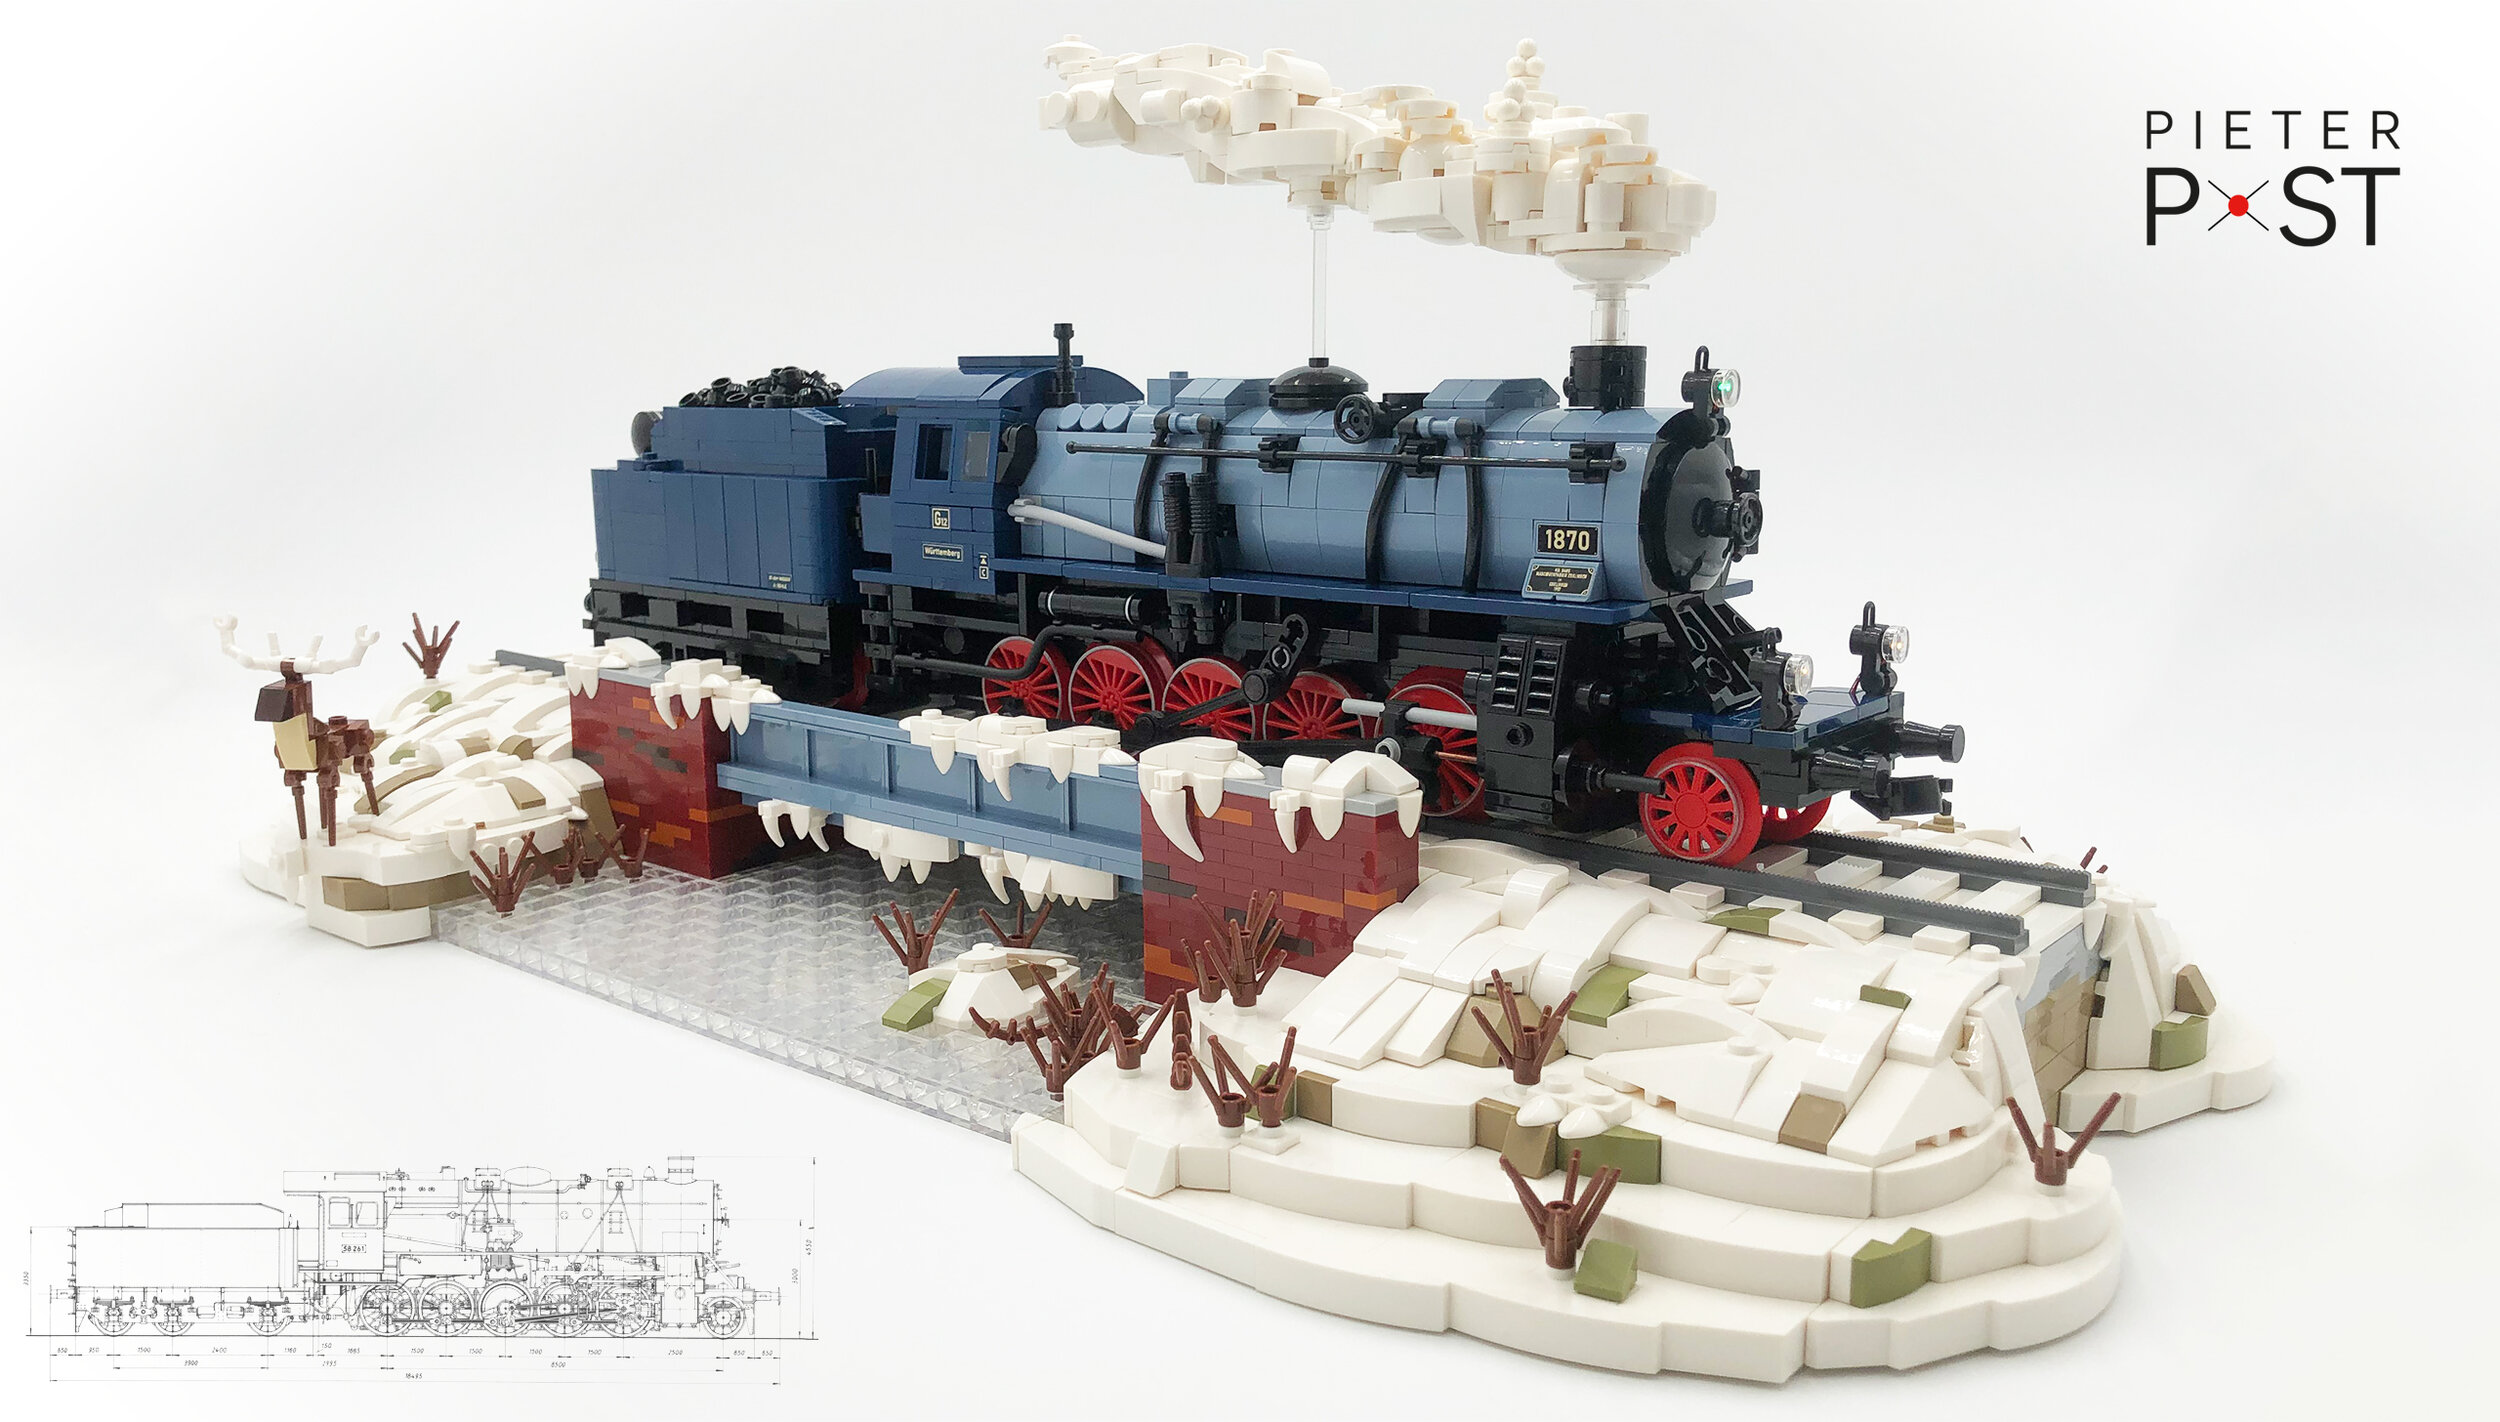
When selecting an engine to build it has to match a couple of criteria for me. First off, I have to like the model of course. Second it should preferably be from Epoche I and if possible a model that has not been done in LEGO too often before. The G12 (where by the ‘G’ stands for Guterzuglokomotiv) ticked all the boxes for me: a lovely model, being from 1917, in use by almost all German states so a wide range of colour schemes available and I hadn’t seen it before in LEGO. I immediately fell in love with the sand blue and black colourscheme with the red wheels of the Royal Württember Railways. In reality, the dark blue that I’ve used would have been schwarz grau (meaning very, very dark grey) but with Dark Bluish Grey being way too light I’ve chosen this as an alternative.

Geneva: The coloring looks very natural like it was meant to be that way—the red wheels really pop too. It seems like you really did your research on this train. Anything else you’d like to share about its history?
Pieter: The G12 (later Baureihe 58) was developed during the Great War. From a servicing and maintenance point of view, it was a great disadvantage for each German state railway to have its own locomotive classes with no standardization. Even spare parts for locos of the same class often did not fit their sister locos. This fueled the desire for a standardized, fast and powerful goods locomotive.
The result was the G12, a 1’E 2-10-0 goods train locomotive. Between 1917 and 1924 approximately 1490 copies were built. With 1.520 HP and a top speed of 65 km/h the G12 was capable of pulling big goods trains.

Geneva: I actually have some Prussian heritage, so the history of this train is especially interesting to me! The level of detail on the locomotive makes me think you spent a lot of time trying to get it just right—how long did the whole build take you?
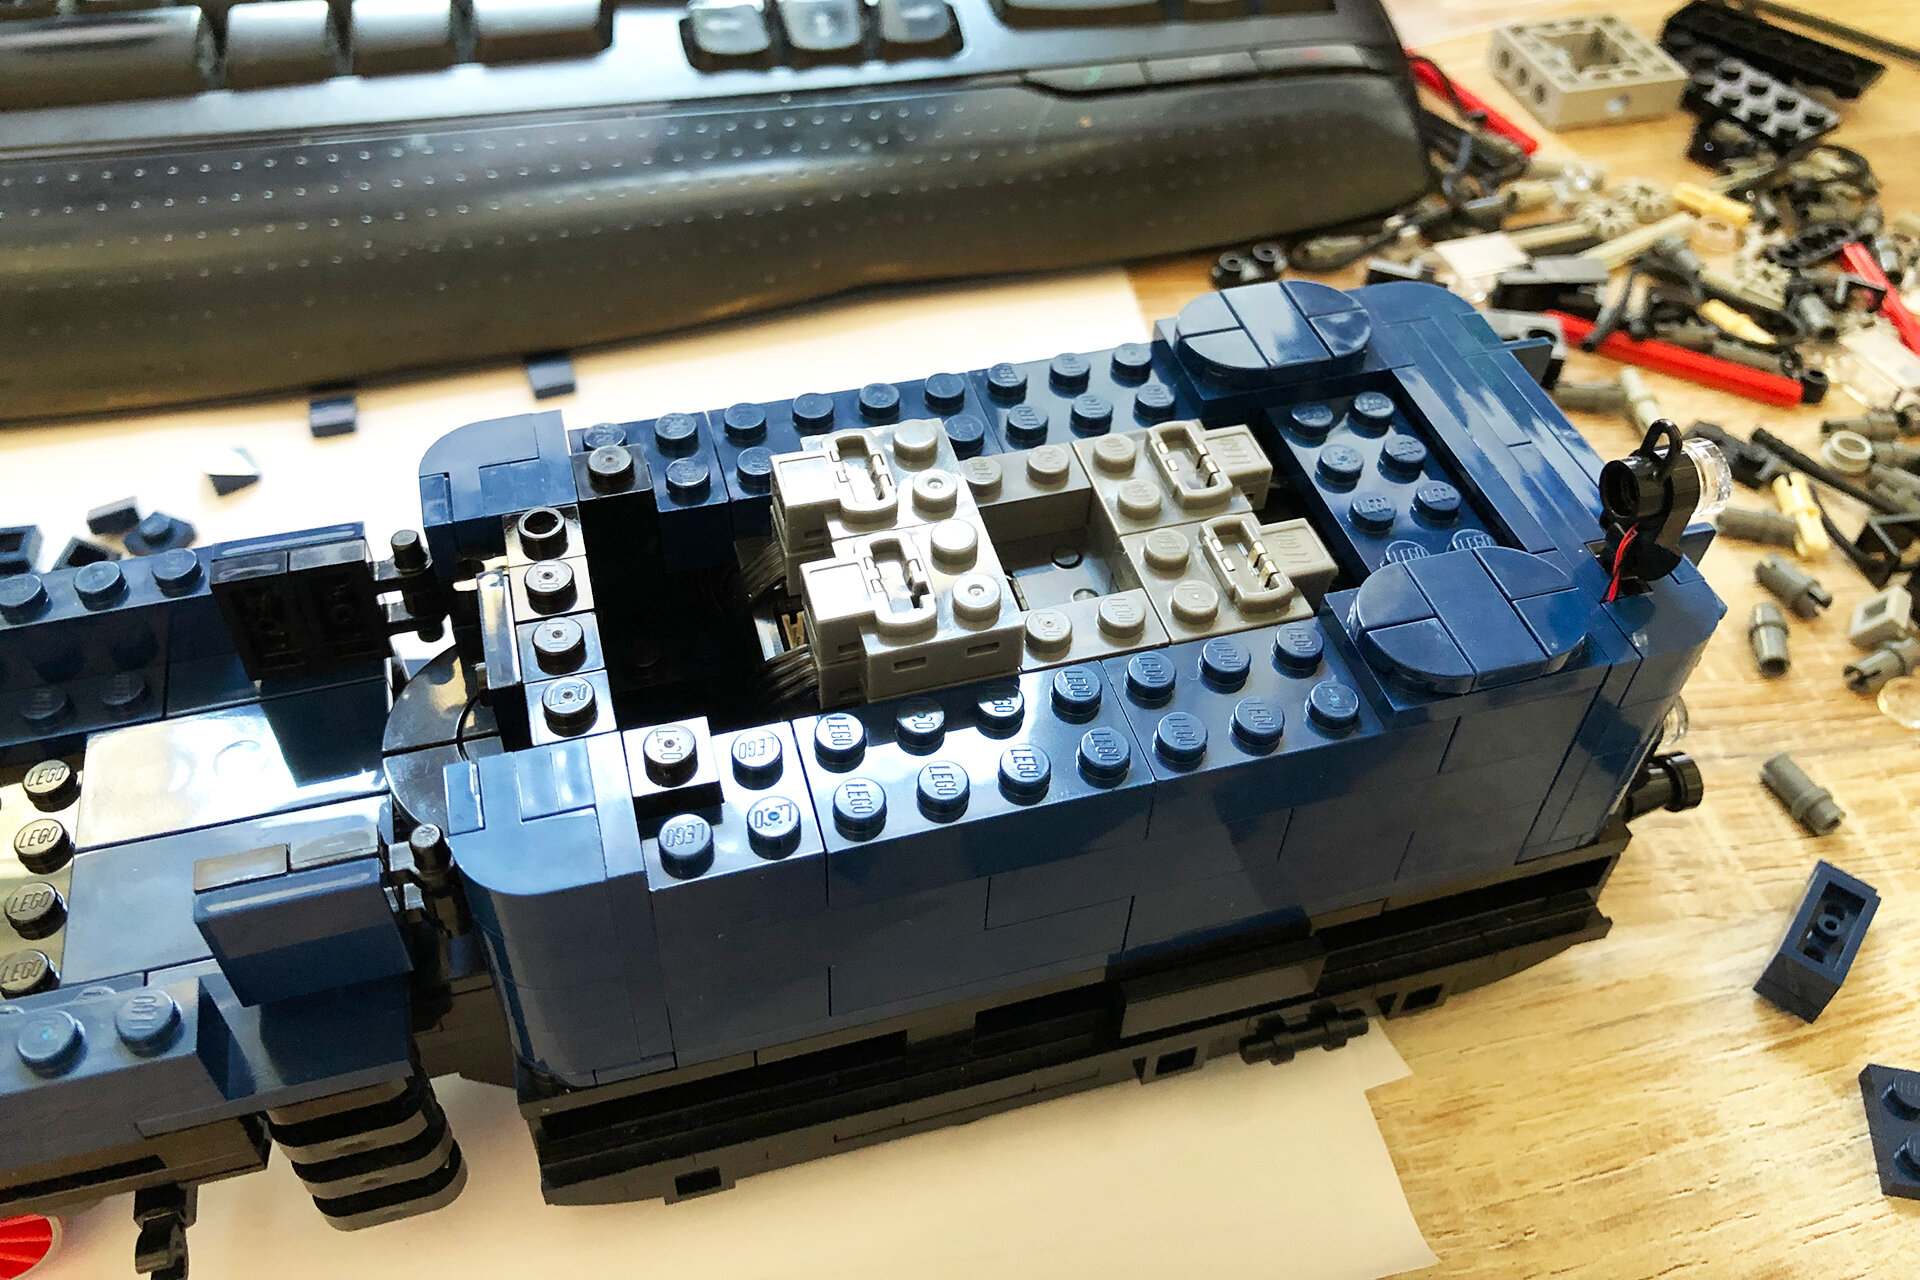
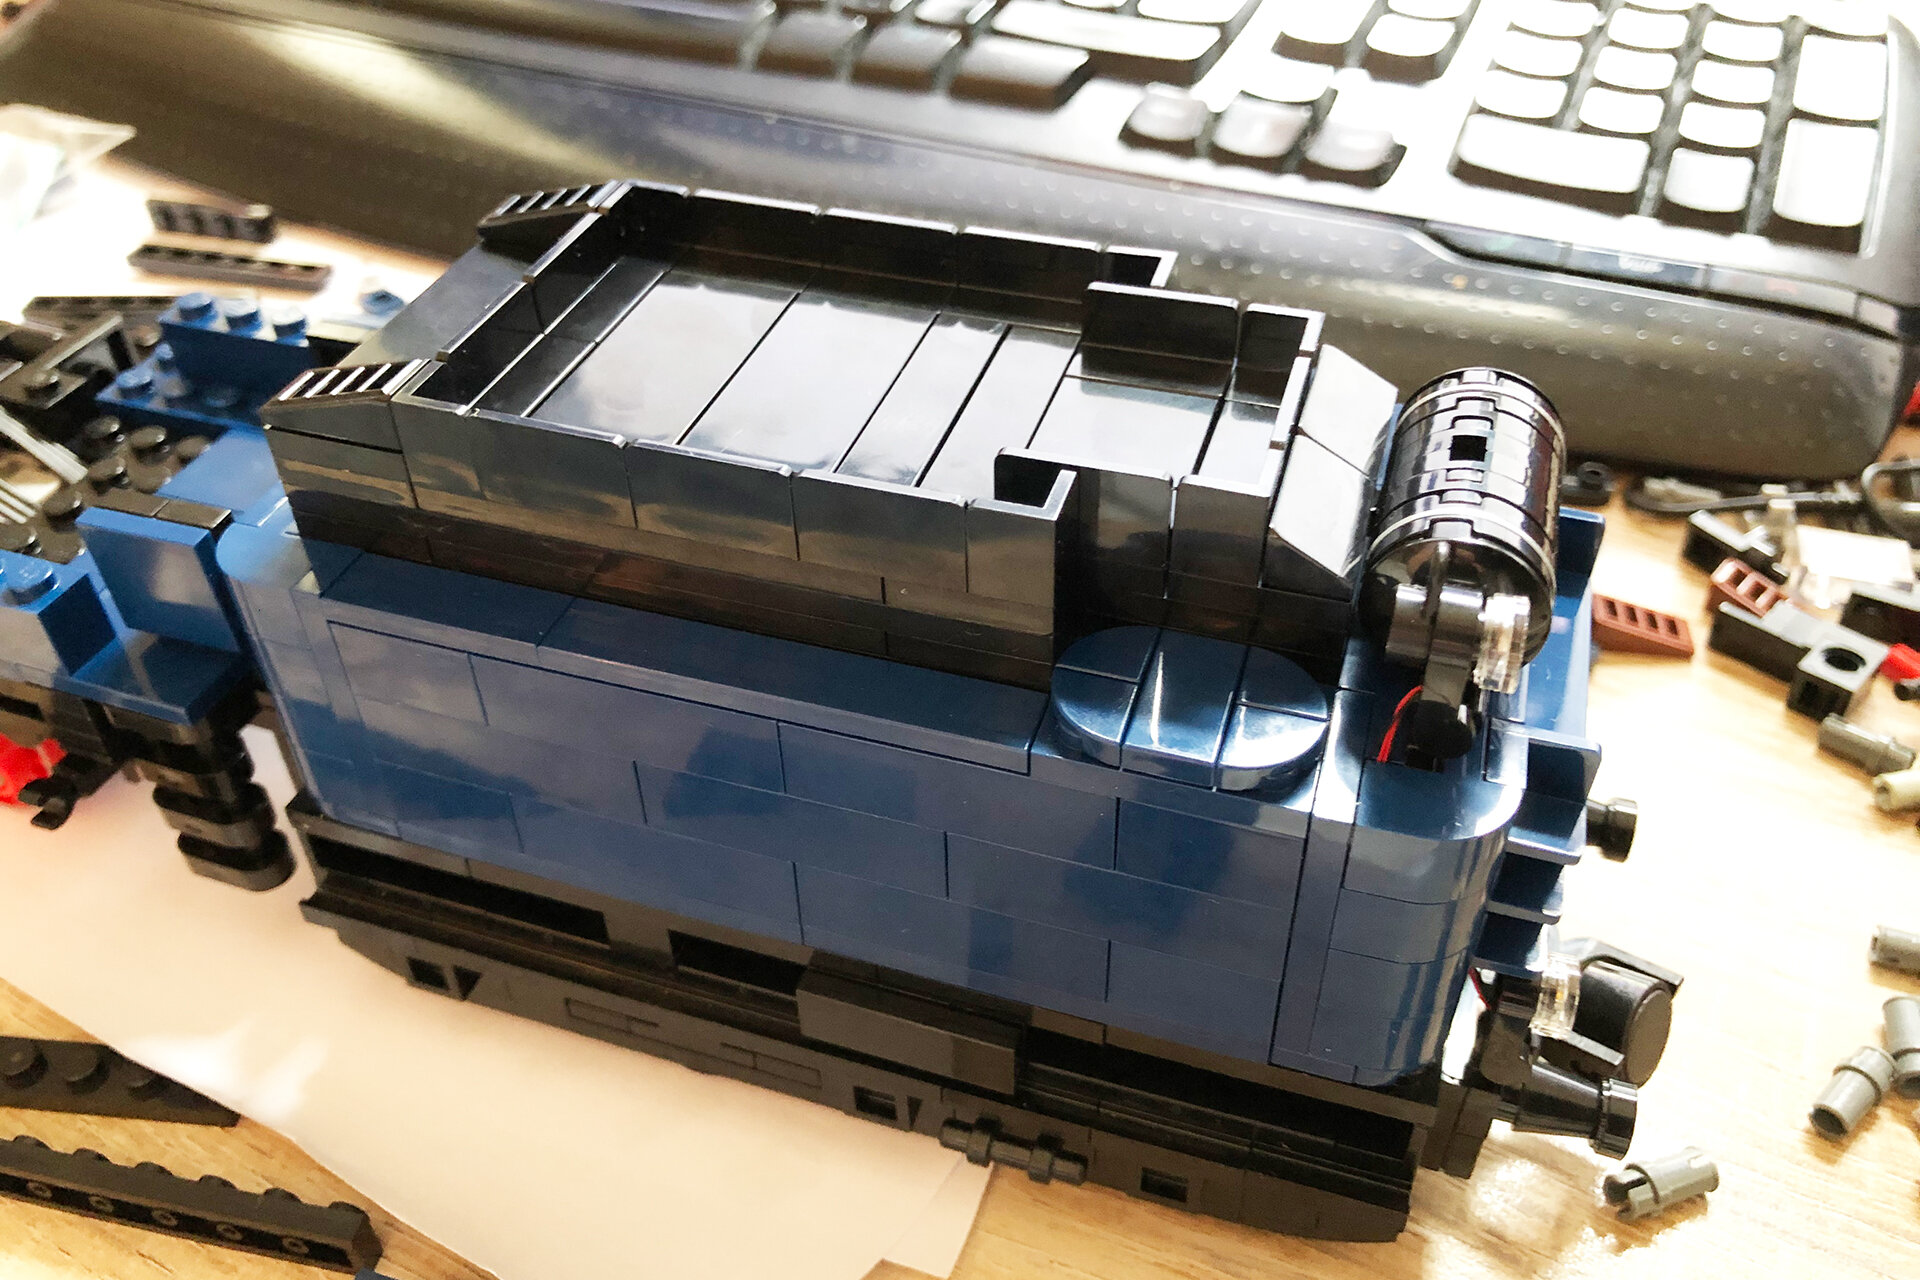
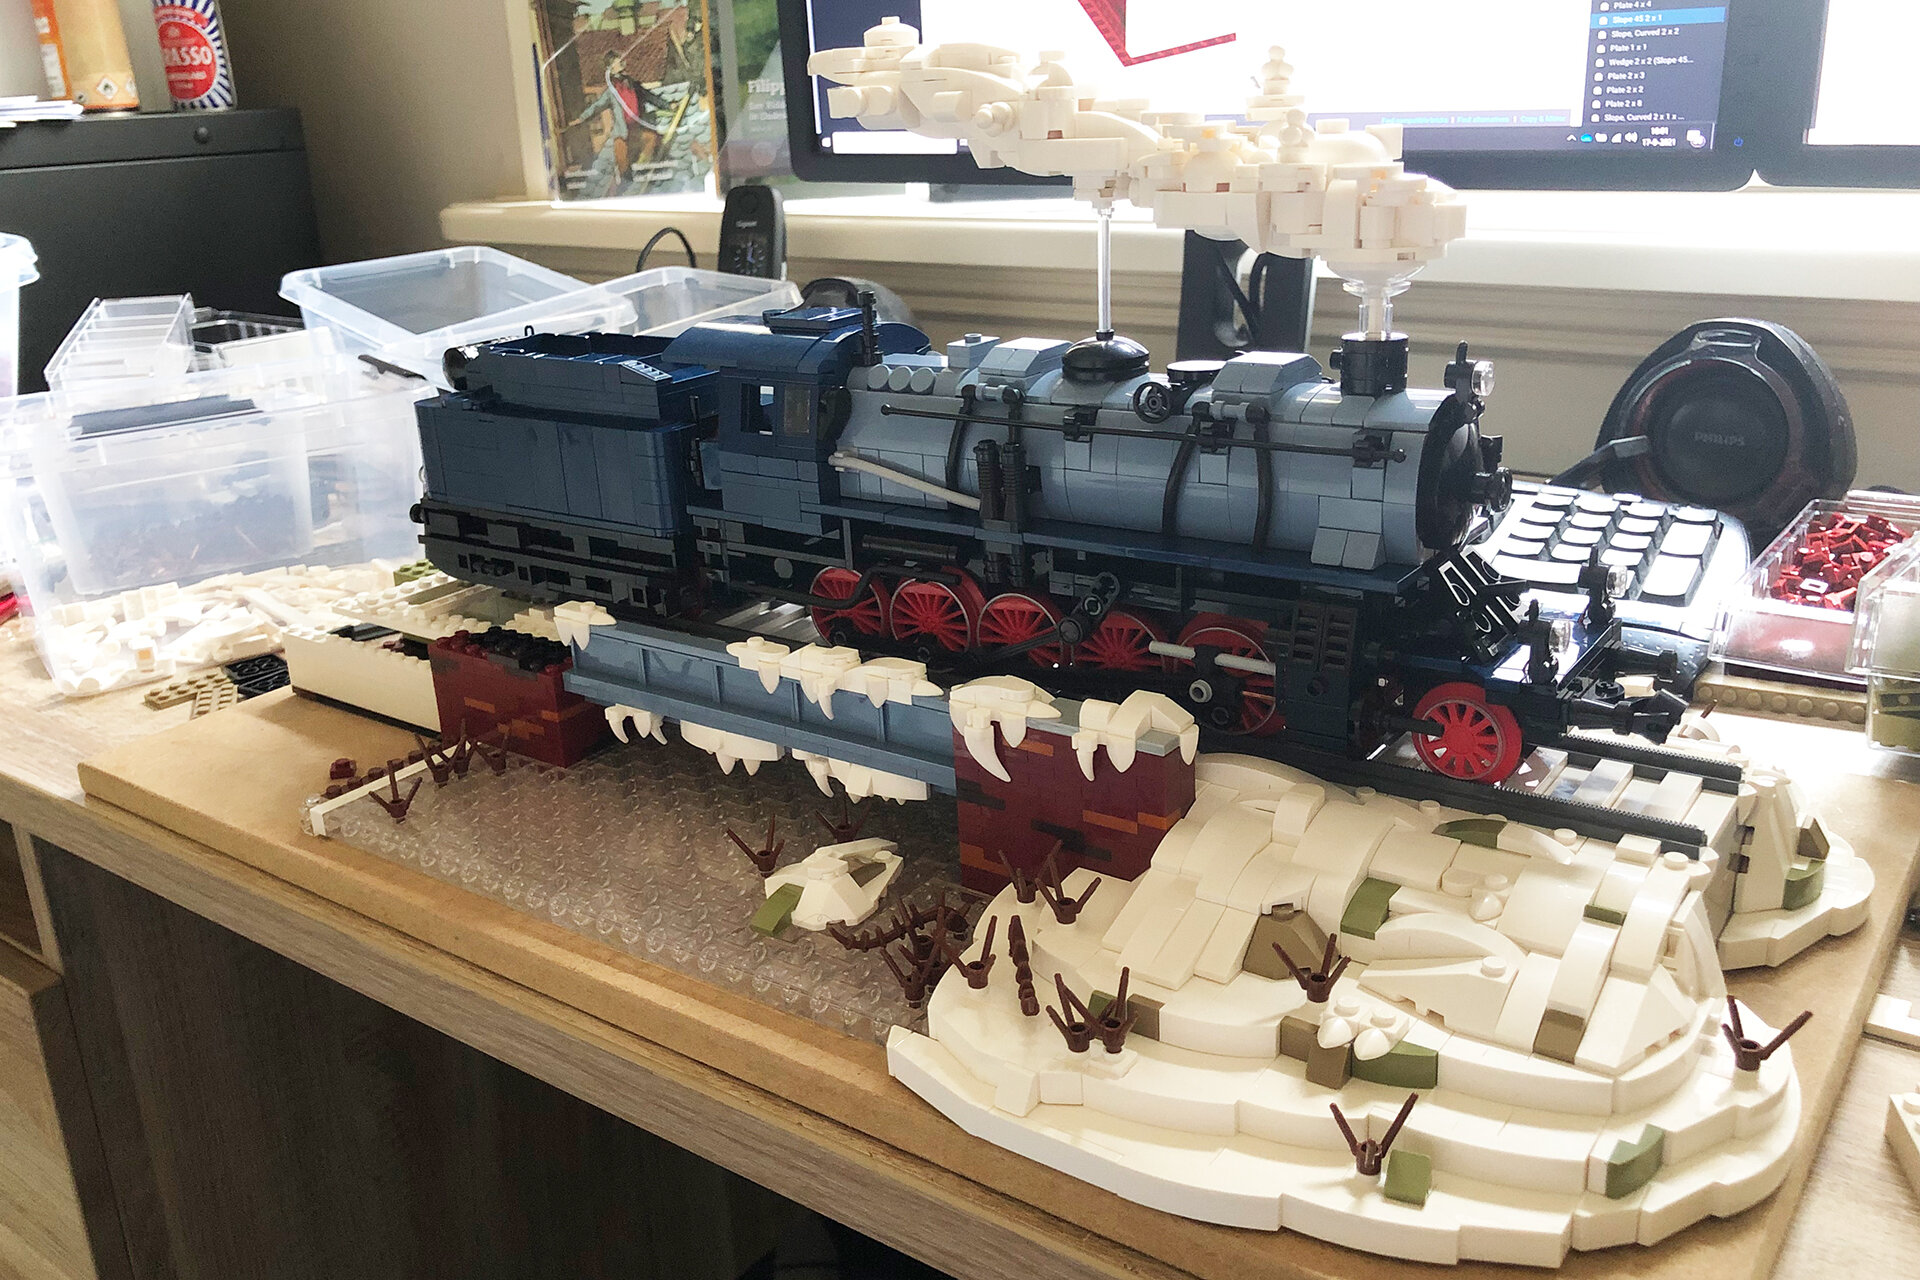
Pieter: A project like this takes me a couple of months. Looking back at the WIP pictures, I started this one in early June. Not working continuously but having the model on my desk and spending a couple of hours per week on it. Sometimes family life or work leaves me without much spare time and sometimes I stop for a while because I run into a design issue.
Geneva: How do you start an ambitious project like this?
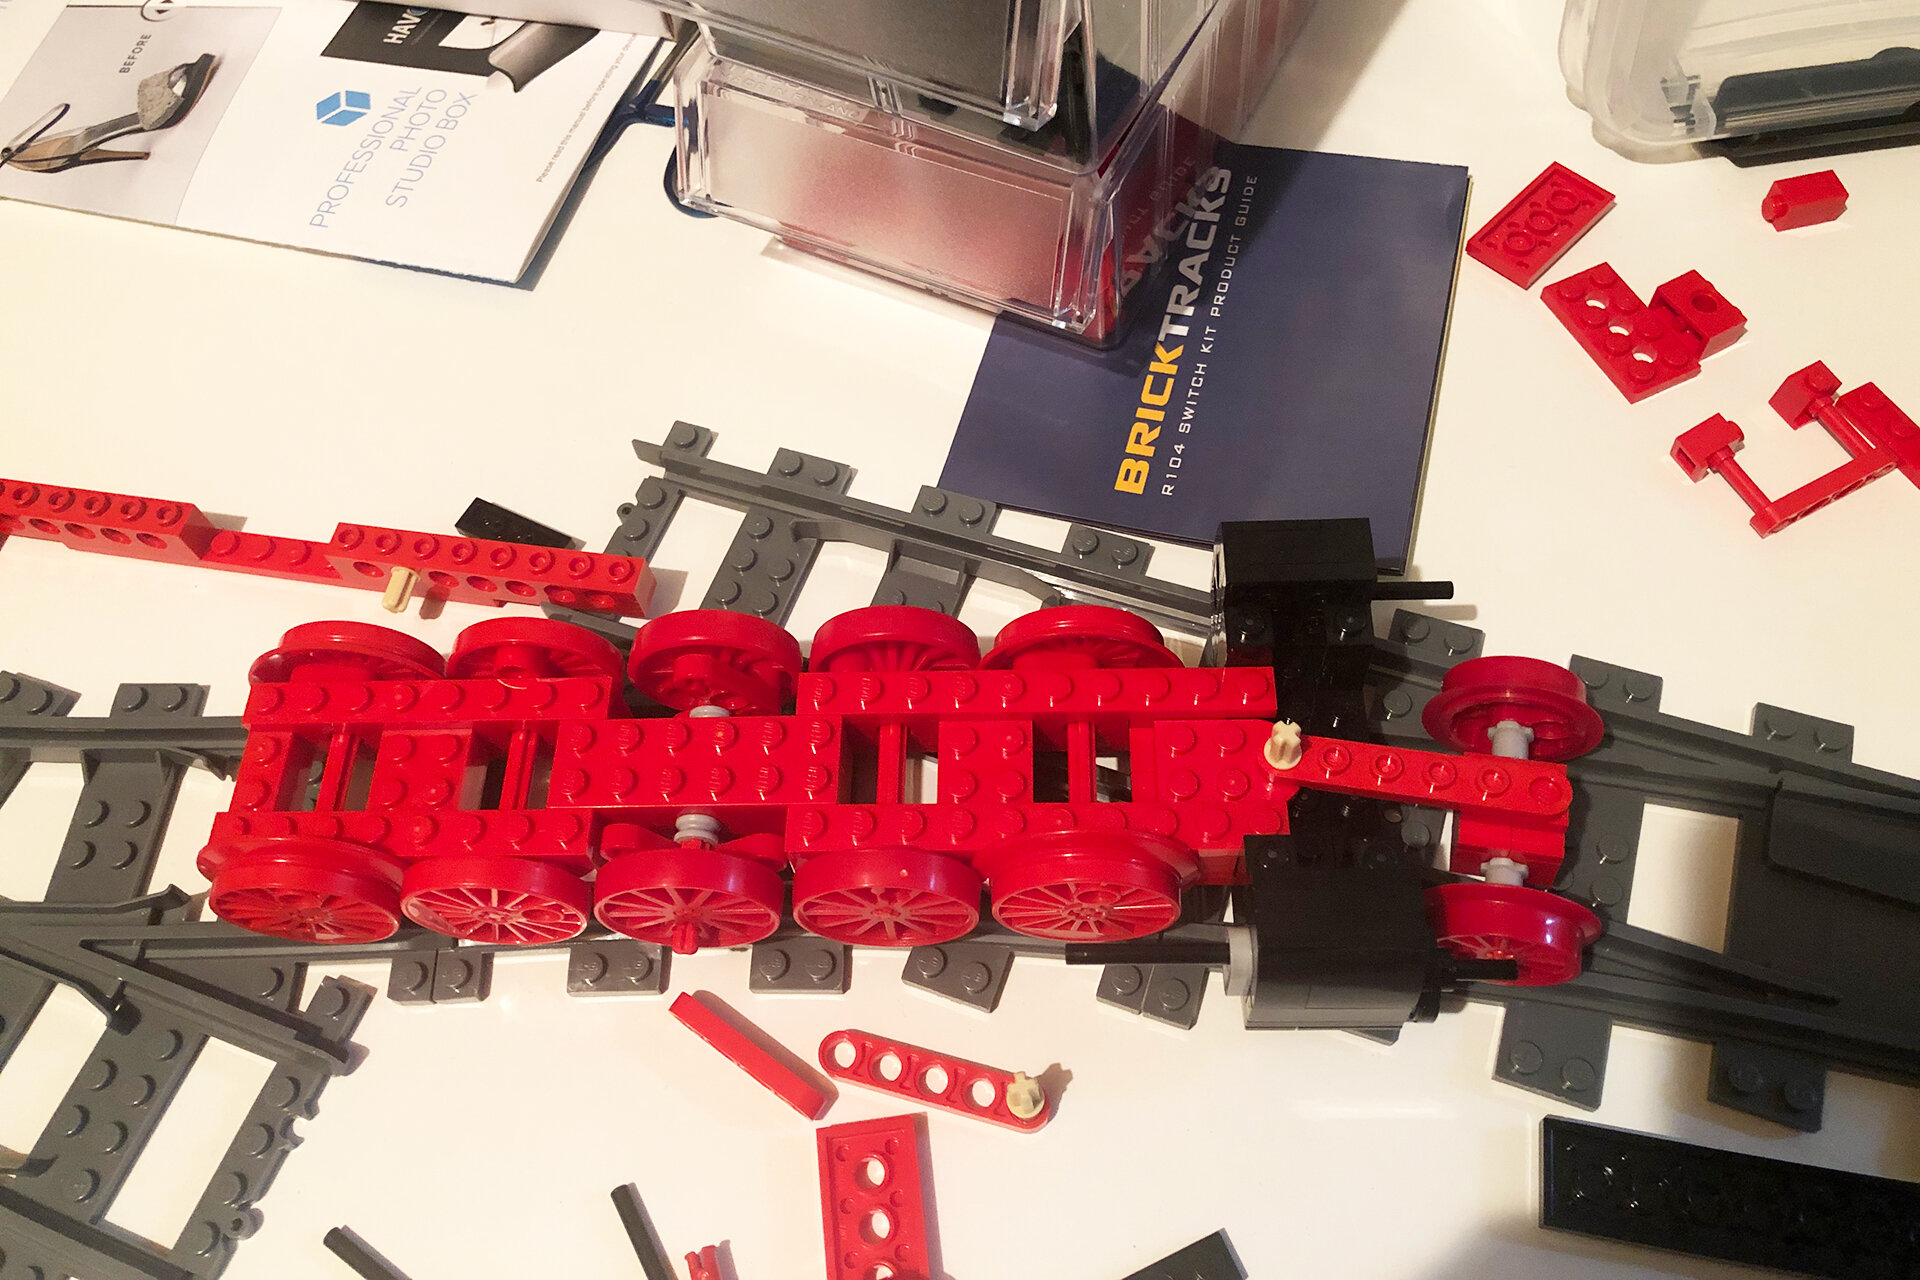
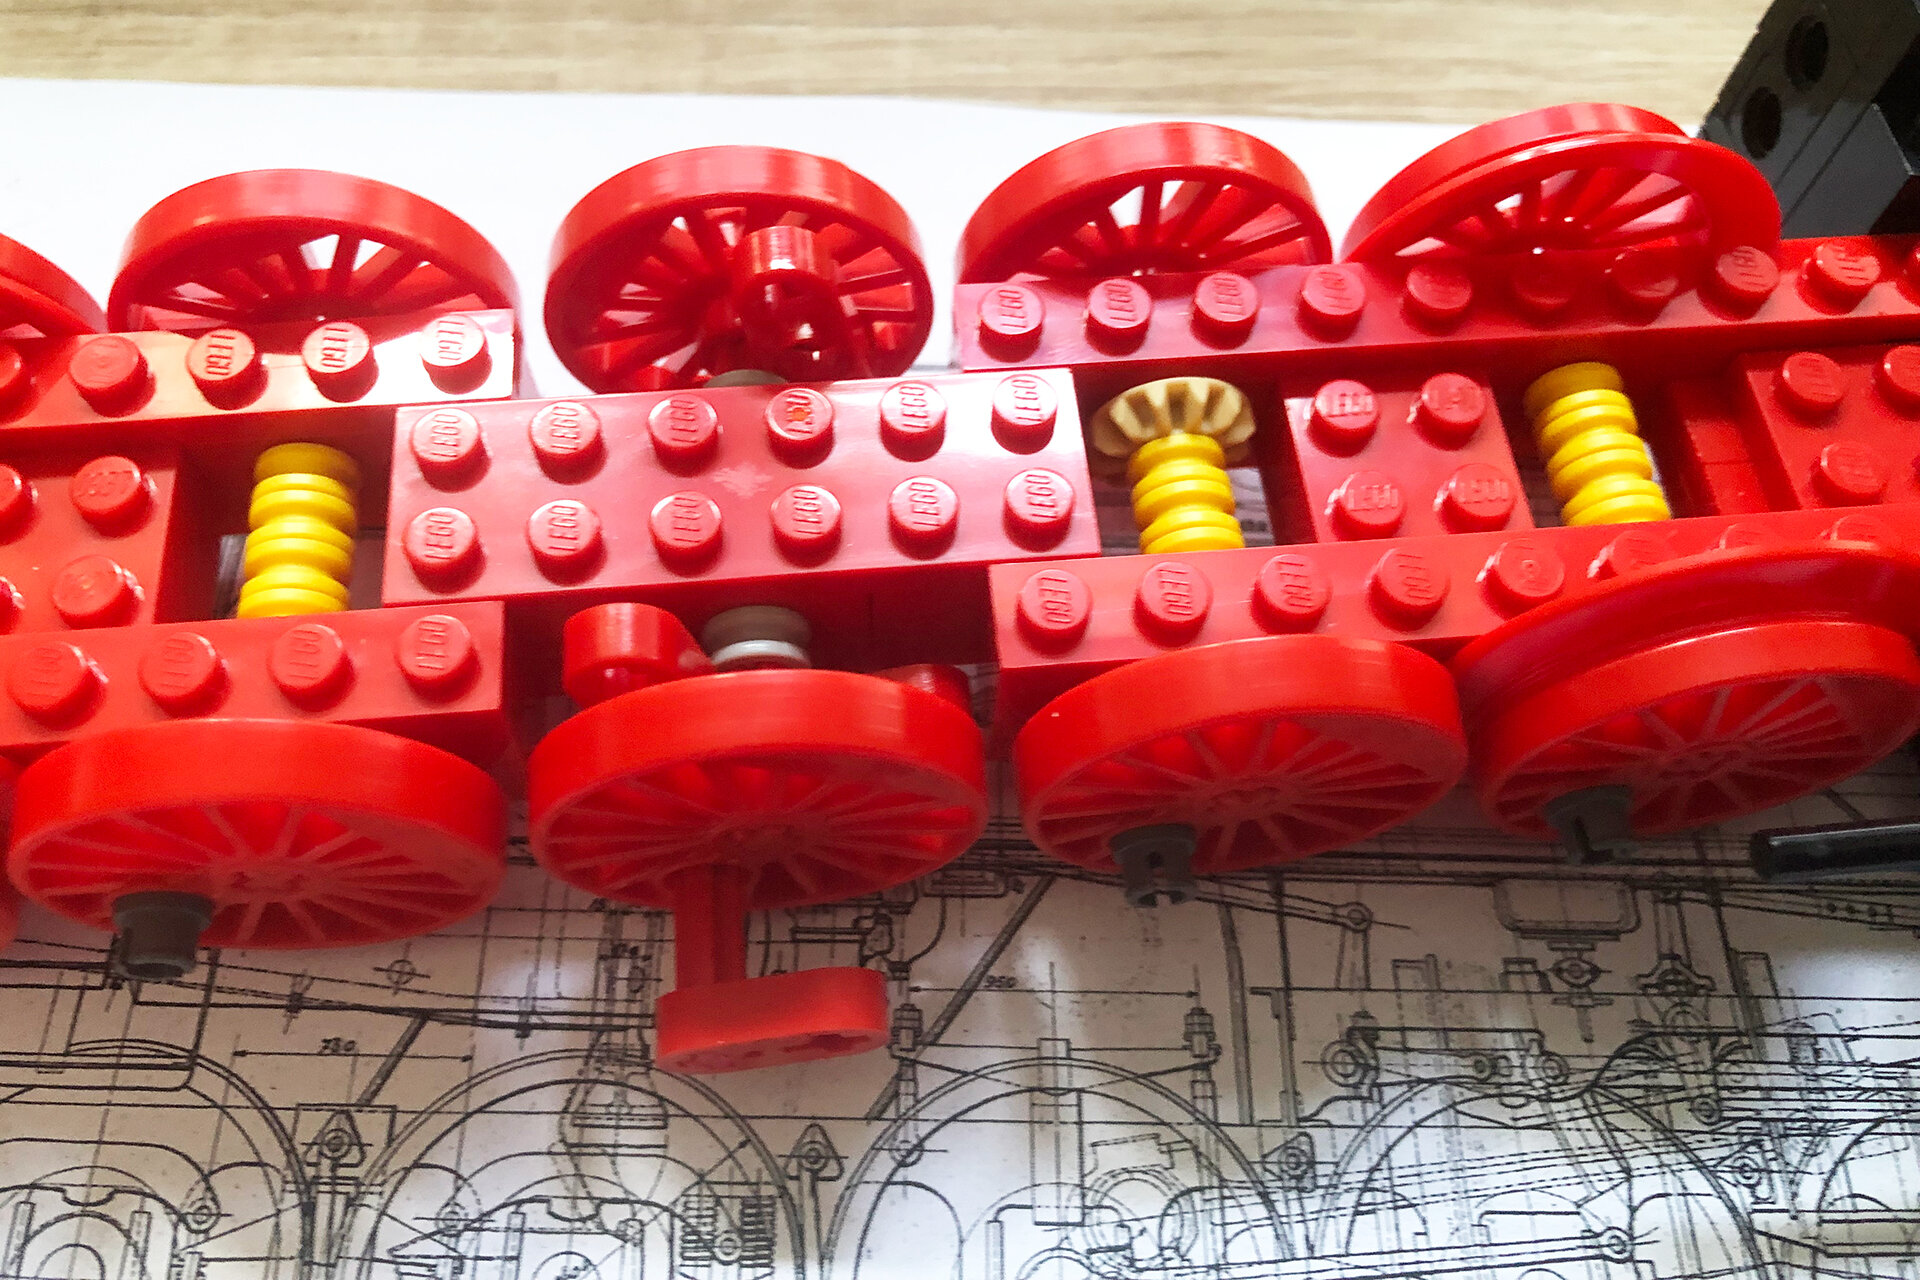
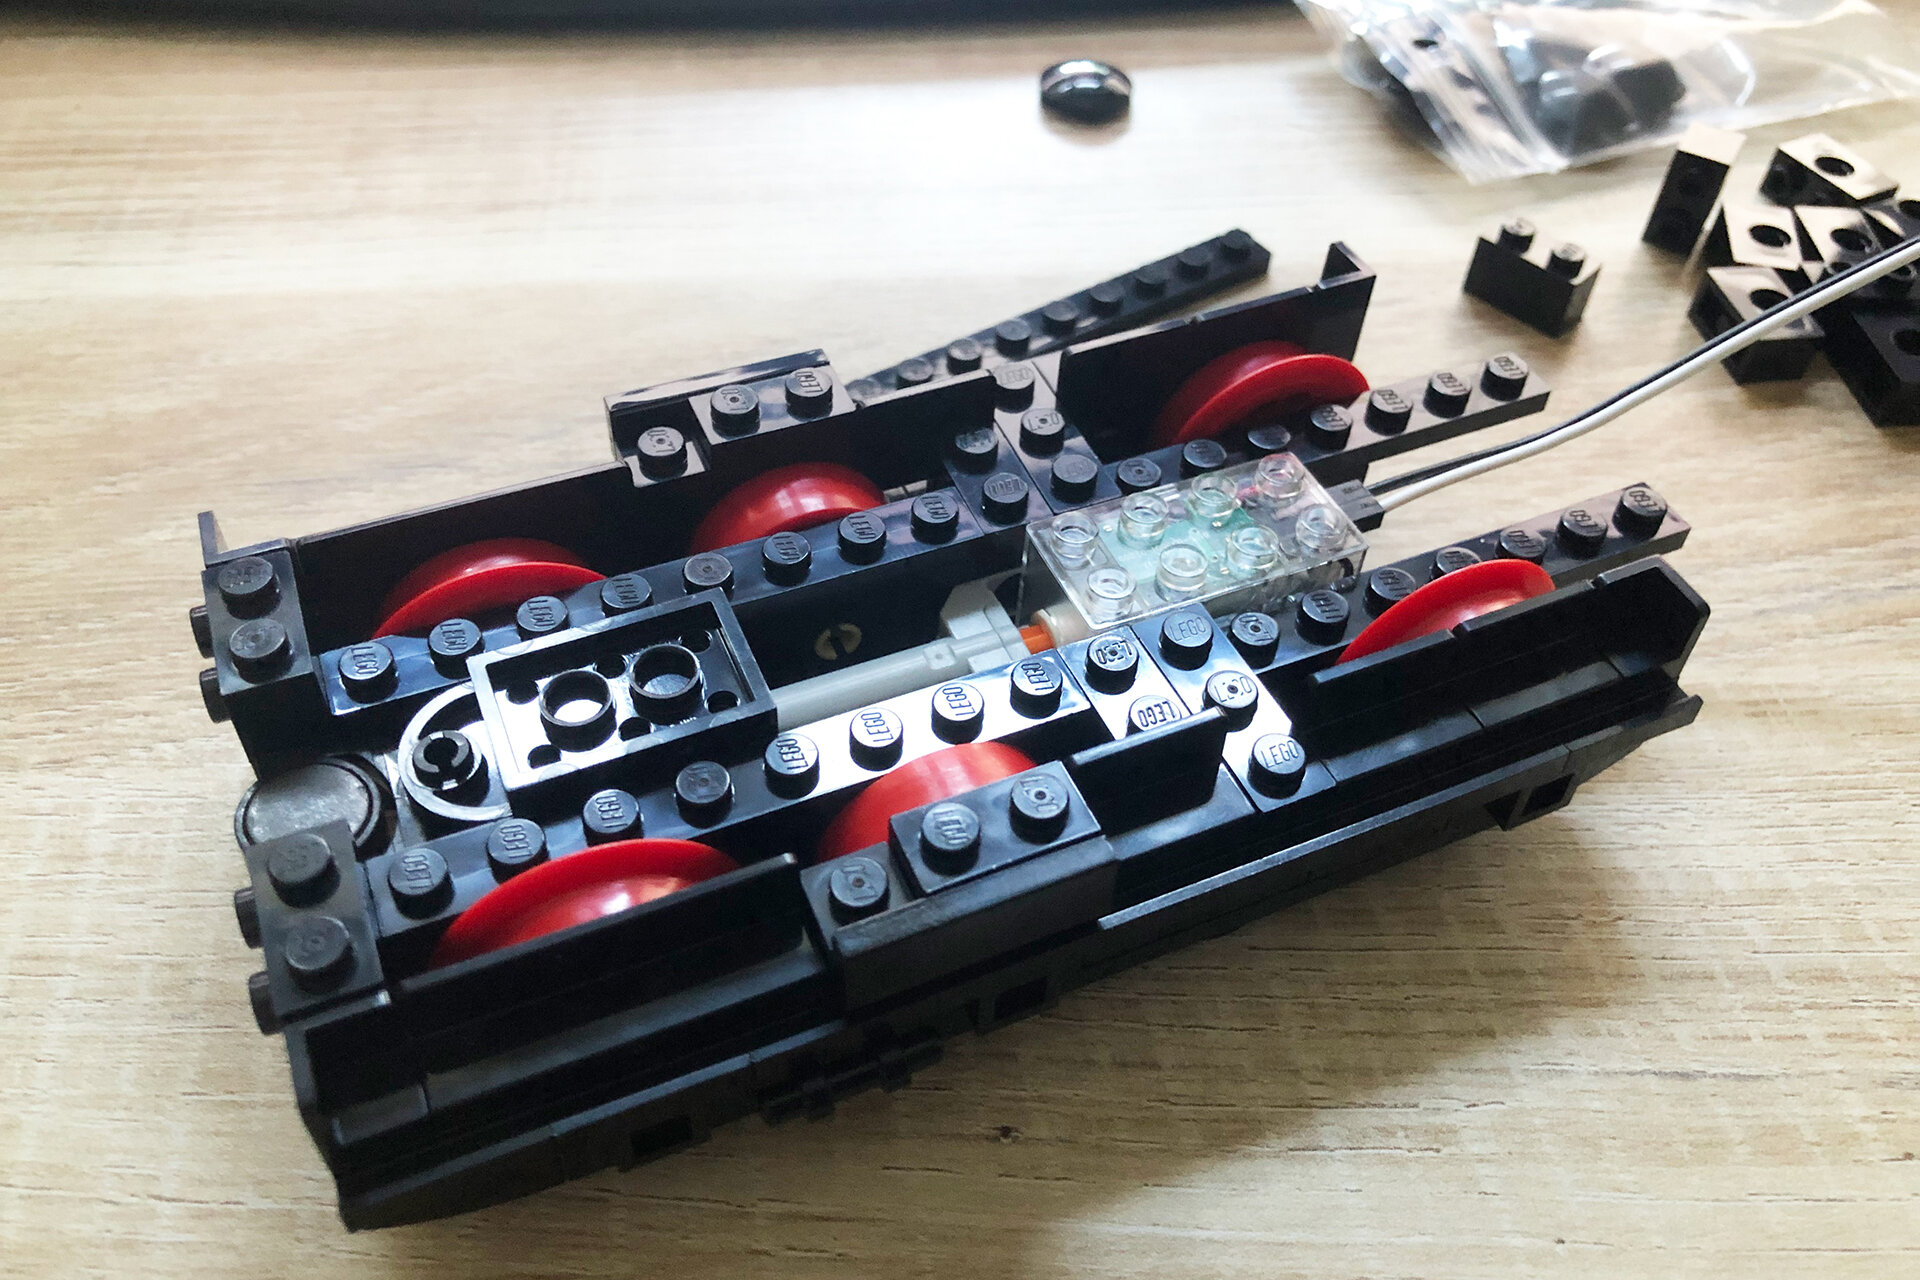
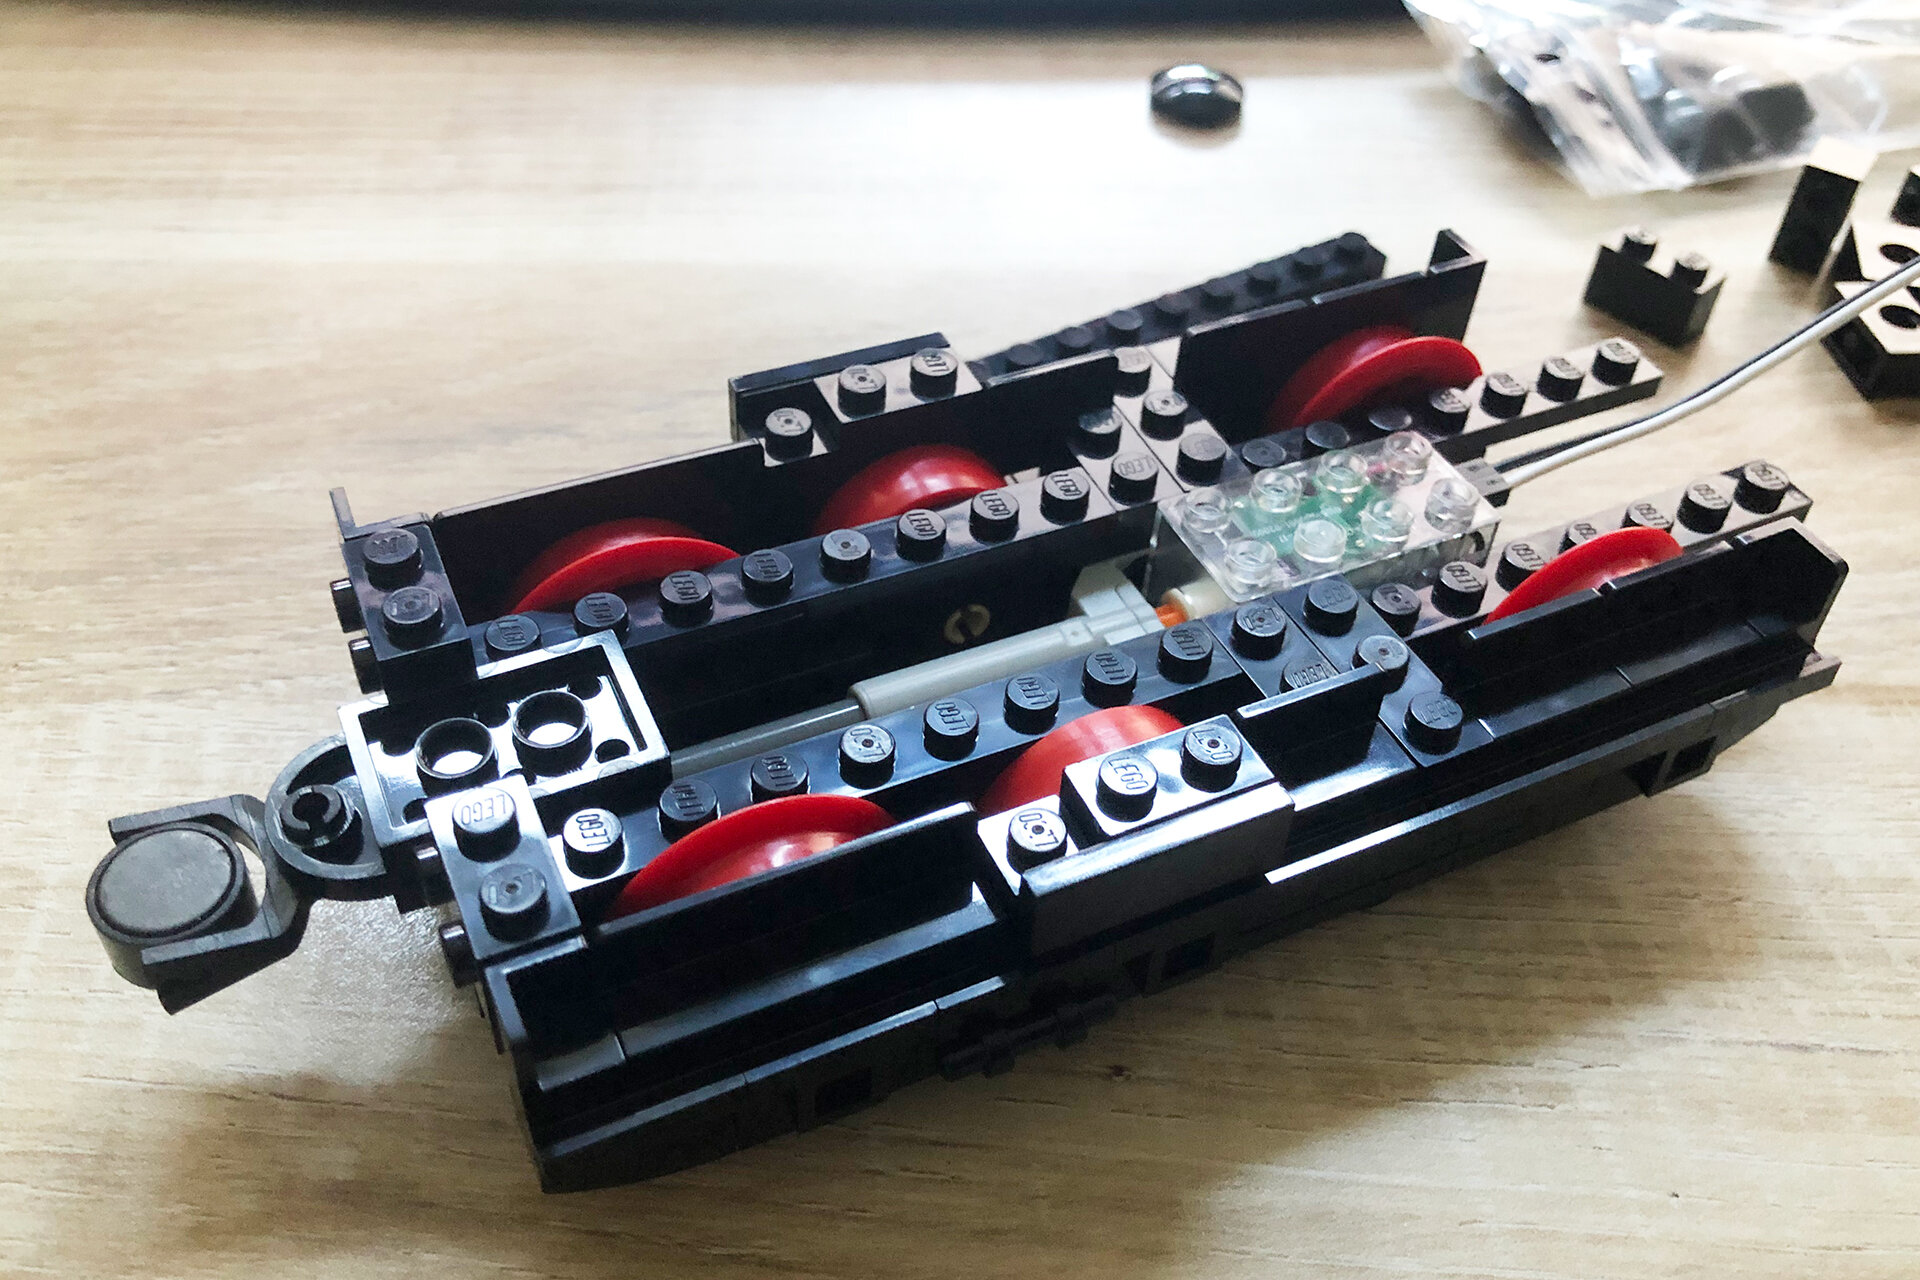
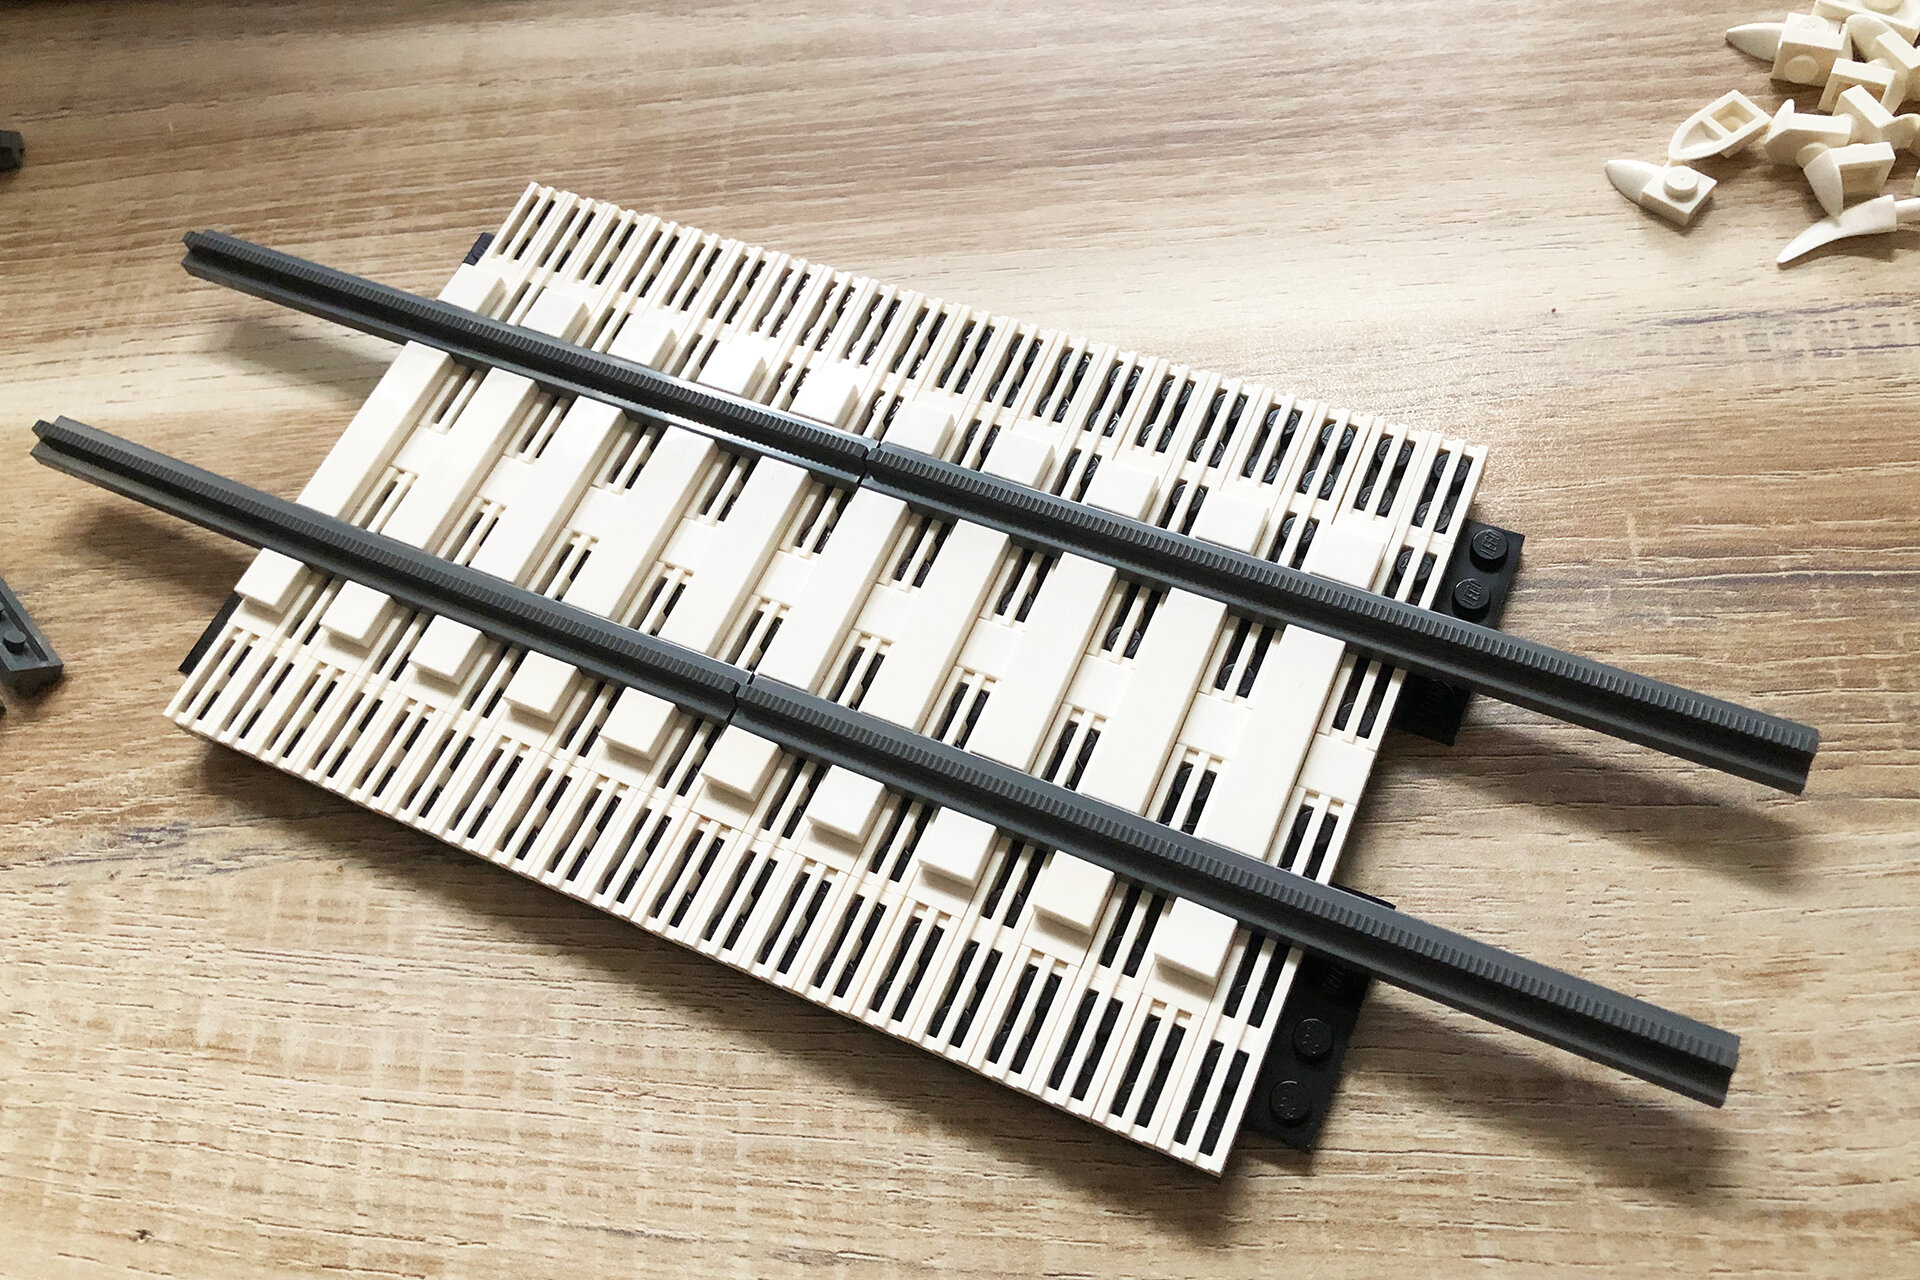
Pieter: A project starts with finding the blueprints and scaling these to 1:45. The next step is making a dummy frame with wheels and rods and getting that to work on curves and switches. Because I’m new to this hobby, I didn’t start with the standard LEGO r40 curves but, advised by my fellow LLMTC members, I’m working with third-party tracks with a radius of r104 and higher (R104 being the minimum curve radius on our joint layouts). This looks a lot more realistic with 1:45 scaled trains and also it’s easier to build.
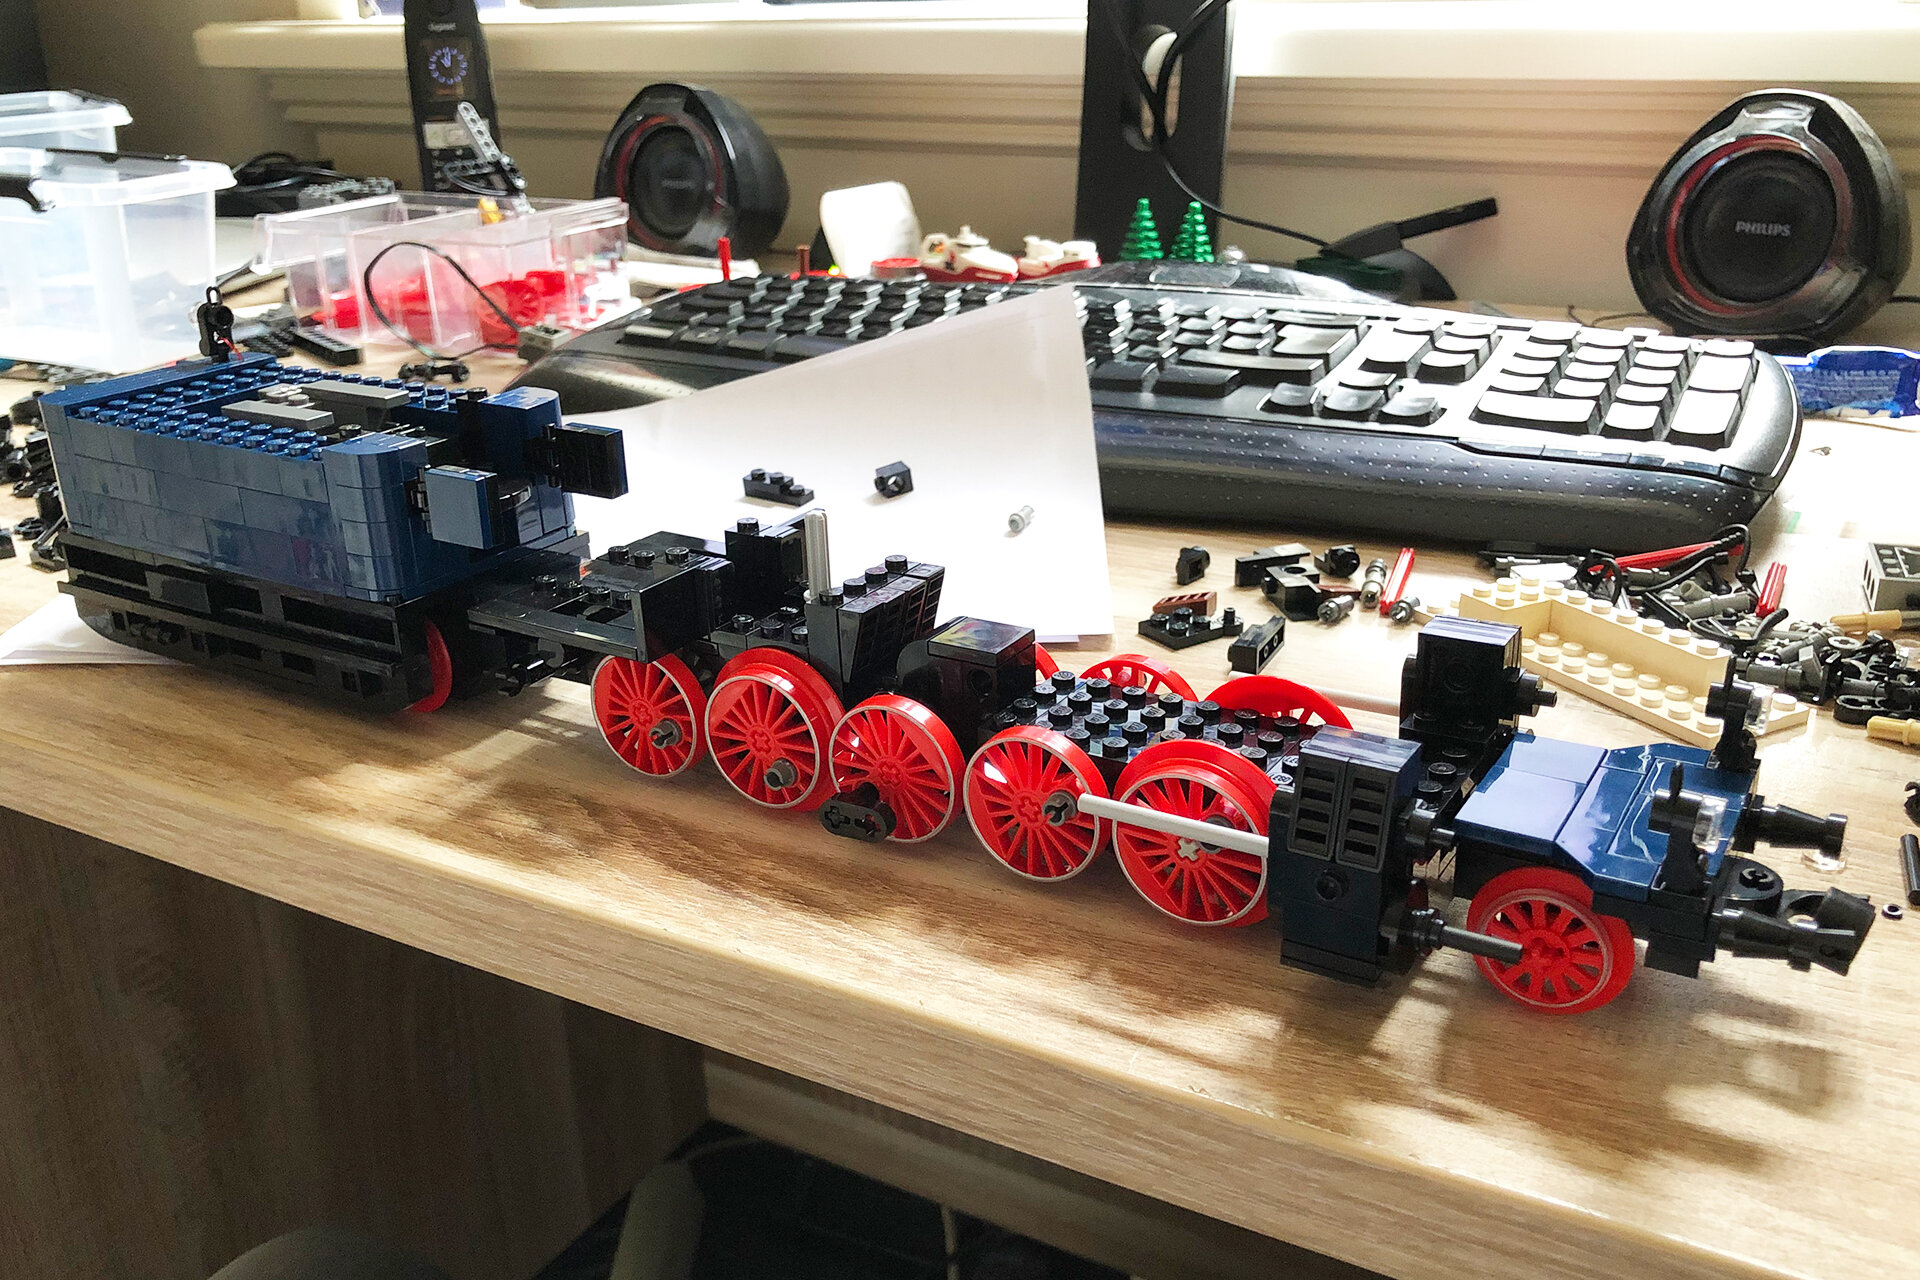
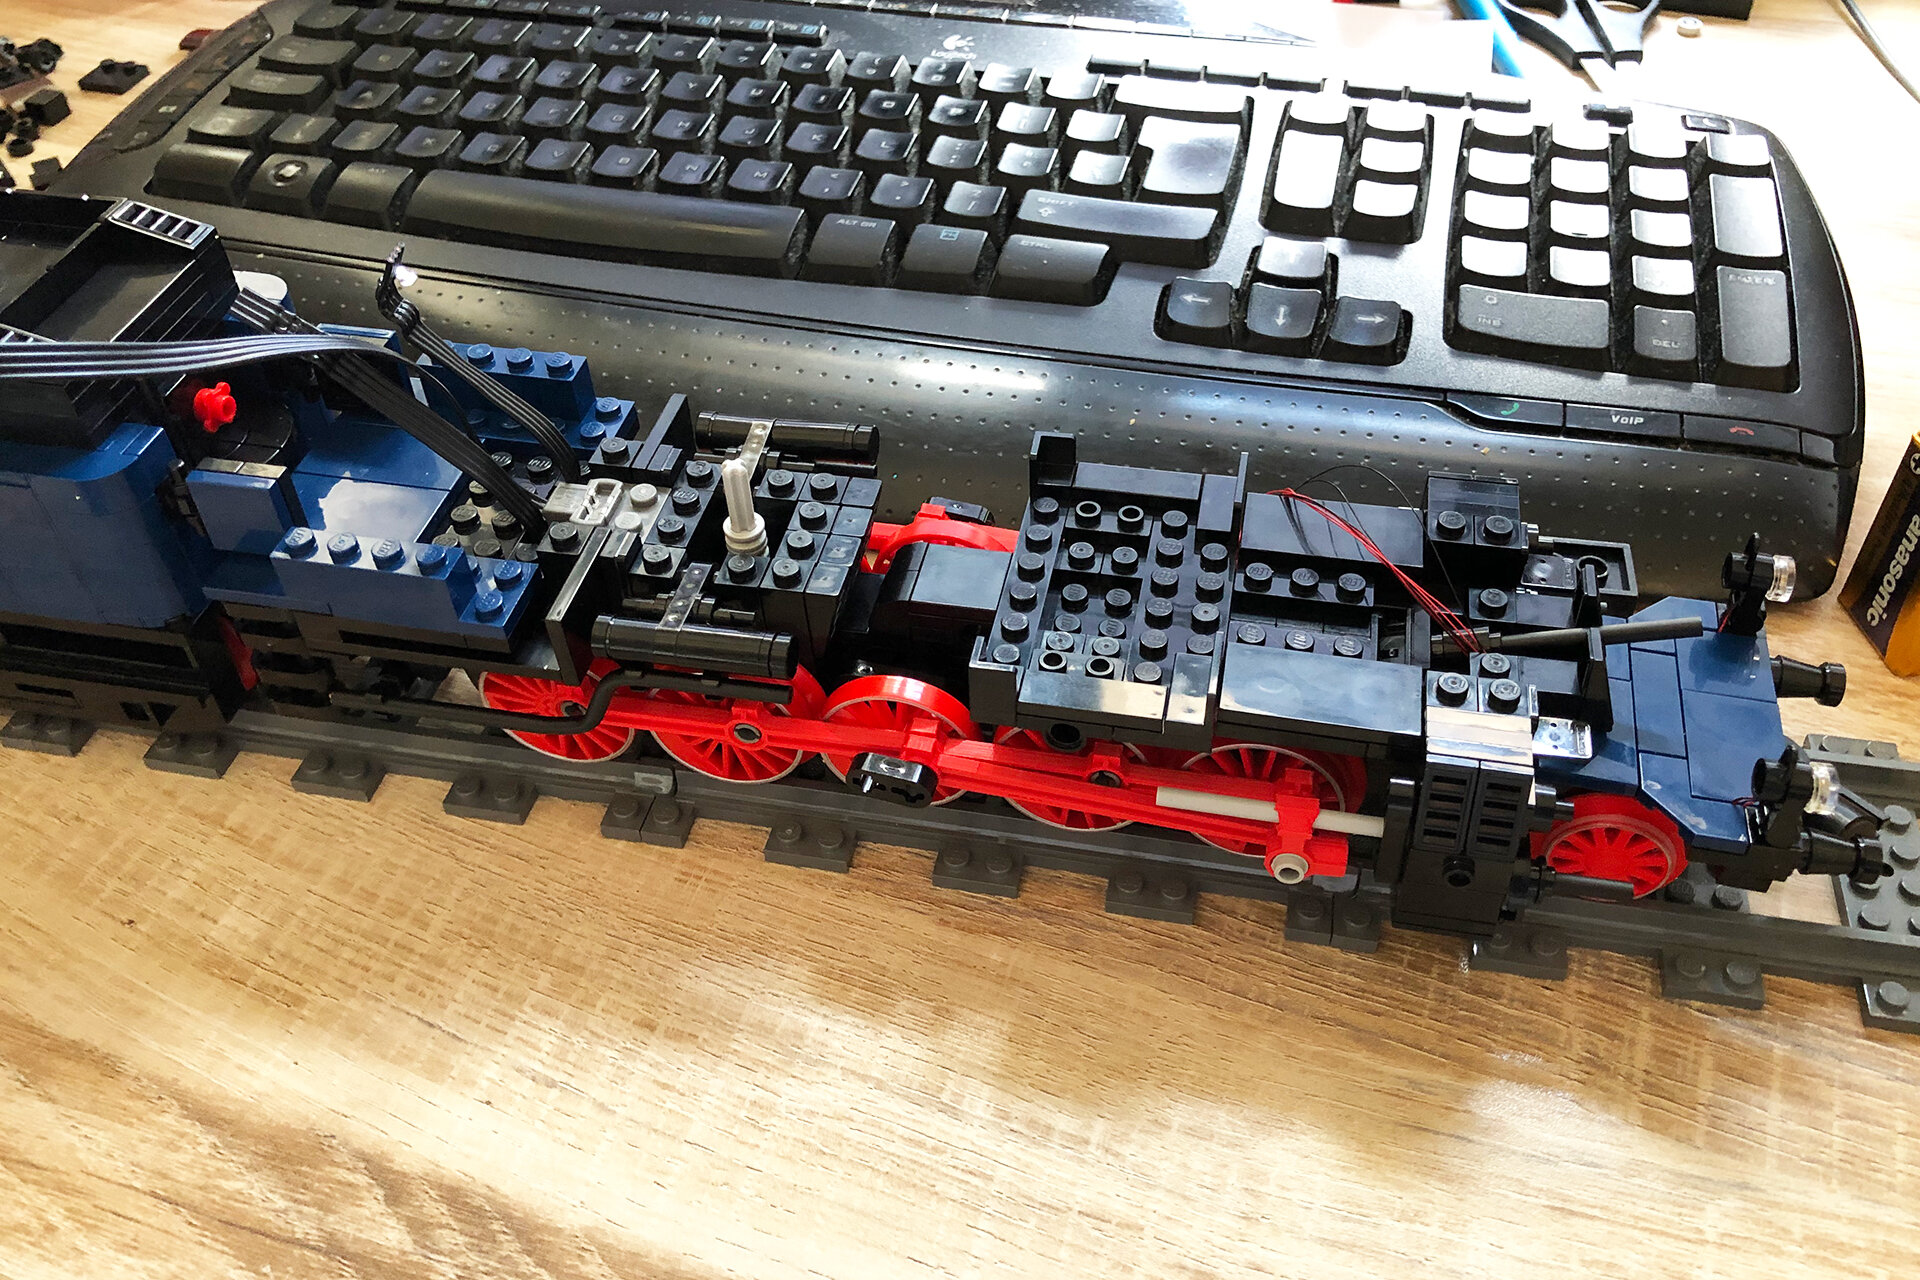
The valve gear I use is 3D printed by Bricks-on-rails.de (who also sell instructions to some of my models) as are the Medium/Small (MS) sized driver wheels on the front axle. The main wheels are the regular LEGO ‘L’ sized train wheels and the tender has medium-sized Big Ben Bricks train wheels. This is all due to the lack of options LEGO offers for train enthusiasts.

Geneva: How do you move from blueprints to focusing on the details?
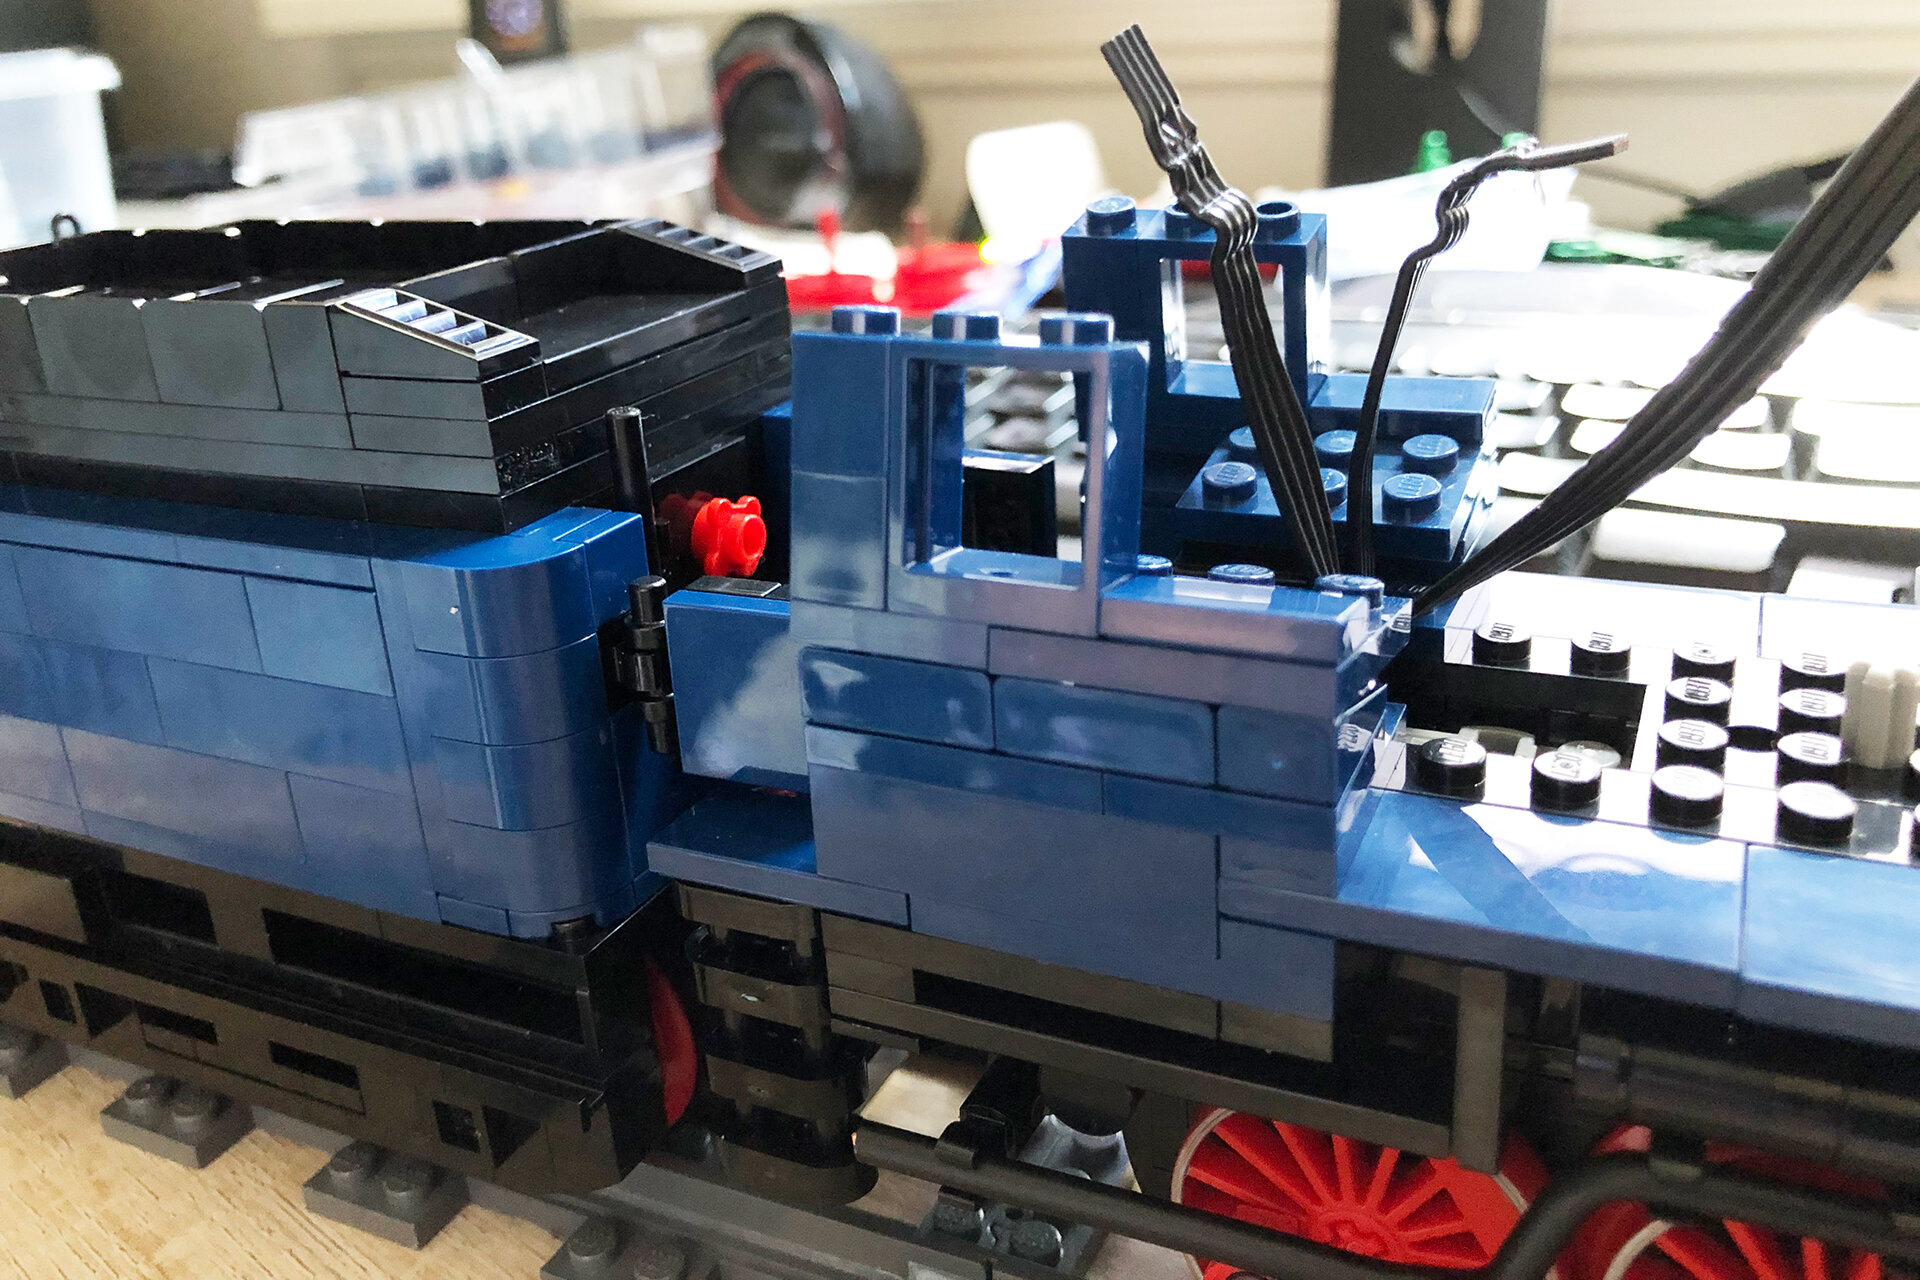
Pieter: Using blueprints and images found online (and if possible I visit the Railway museum that houses the real thing) I continue building the locomotive. I always try to find a balance in the number of details. With the smallest LEGO parts already being a bit out of scale for my purposes adding too much greebling makes the build look cramped and overdone in my experience.
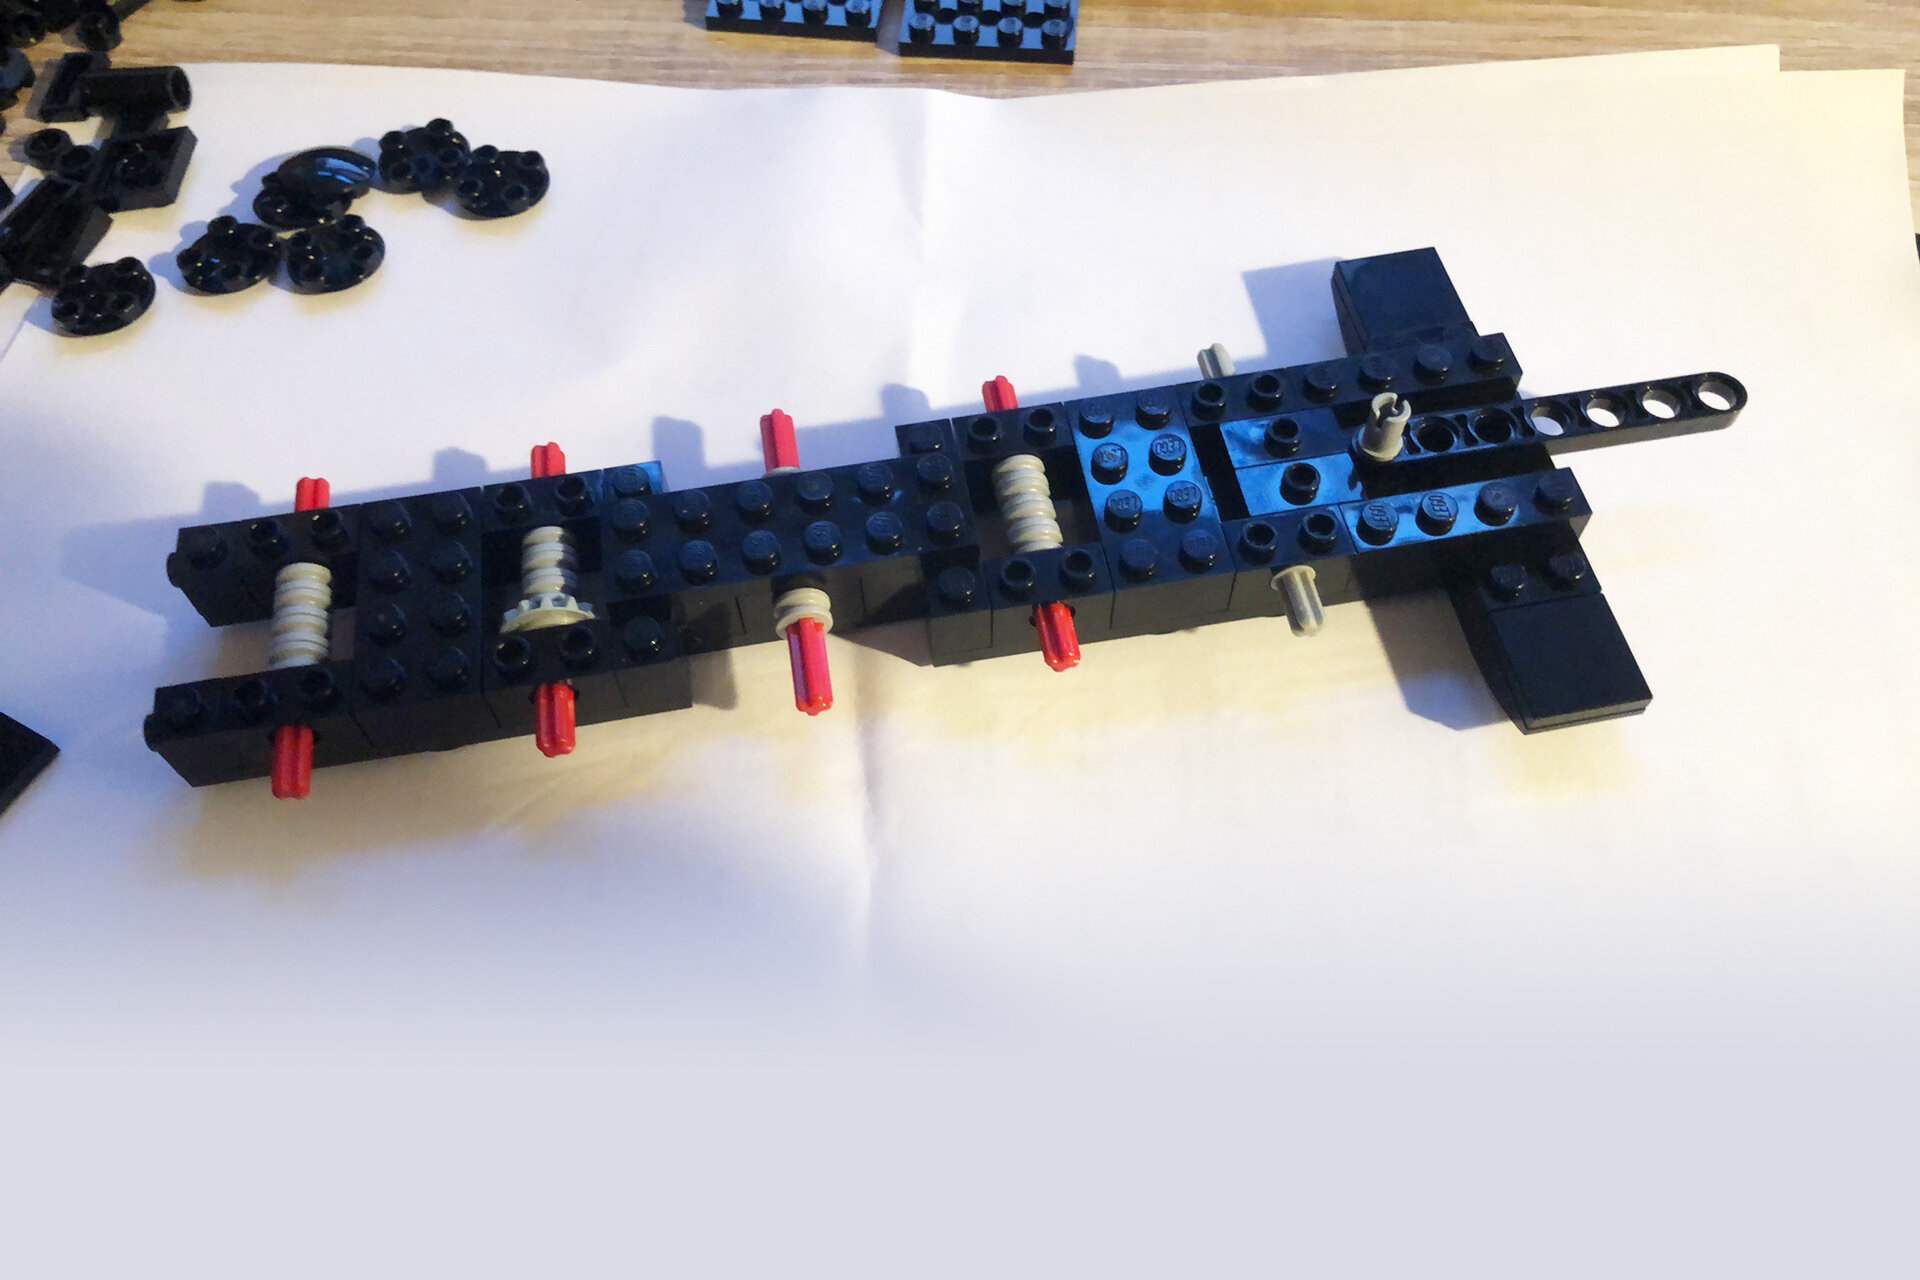
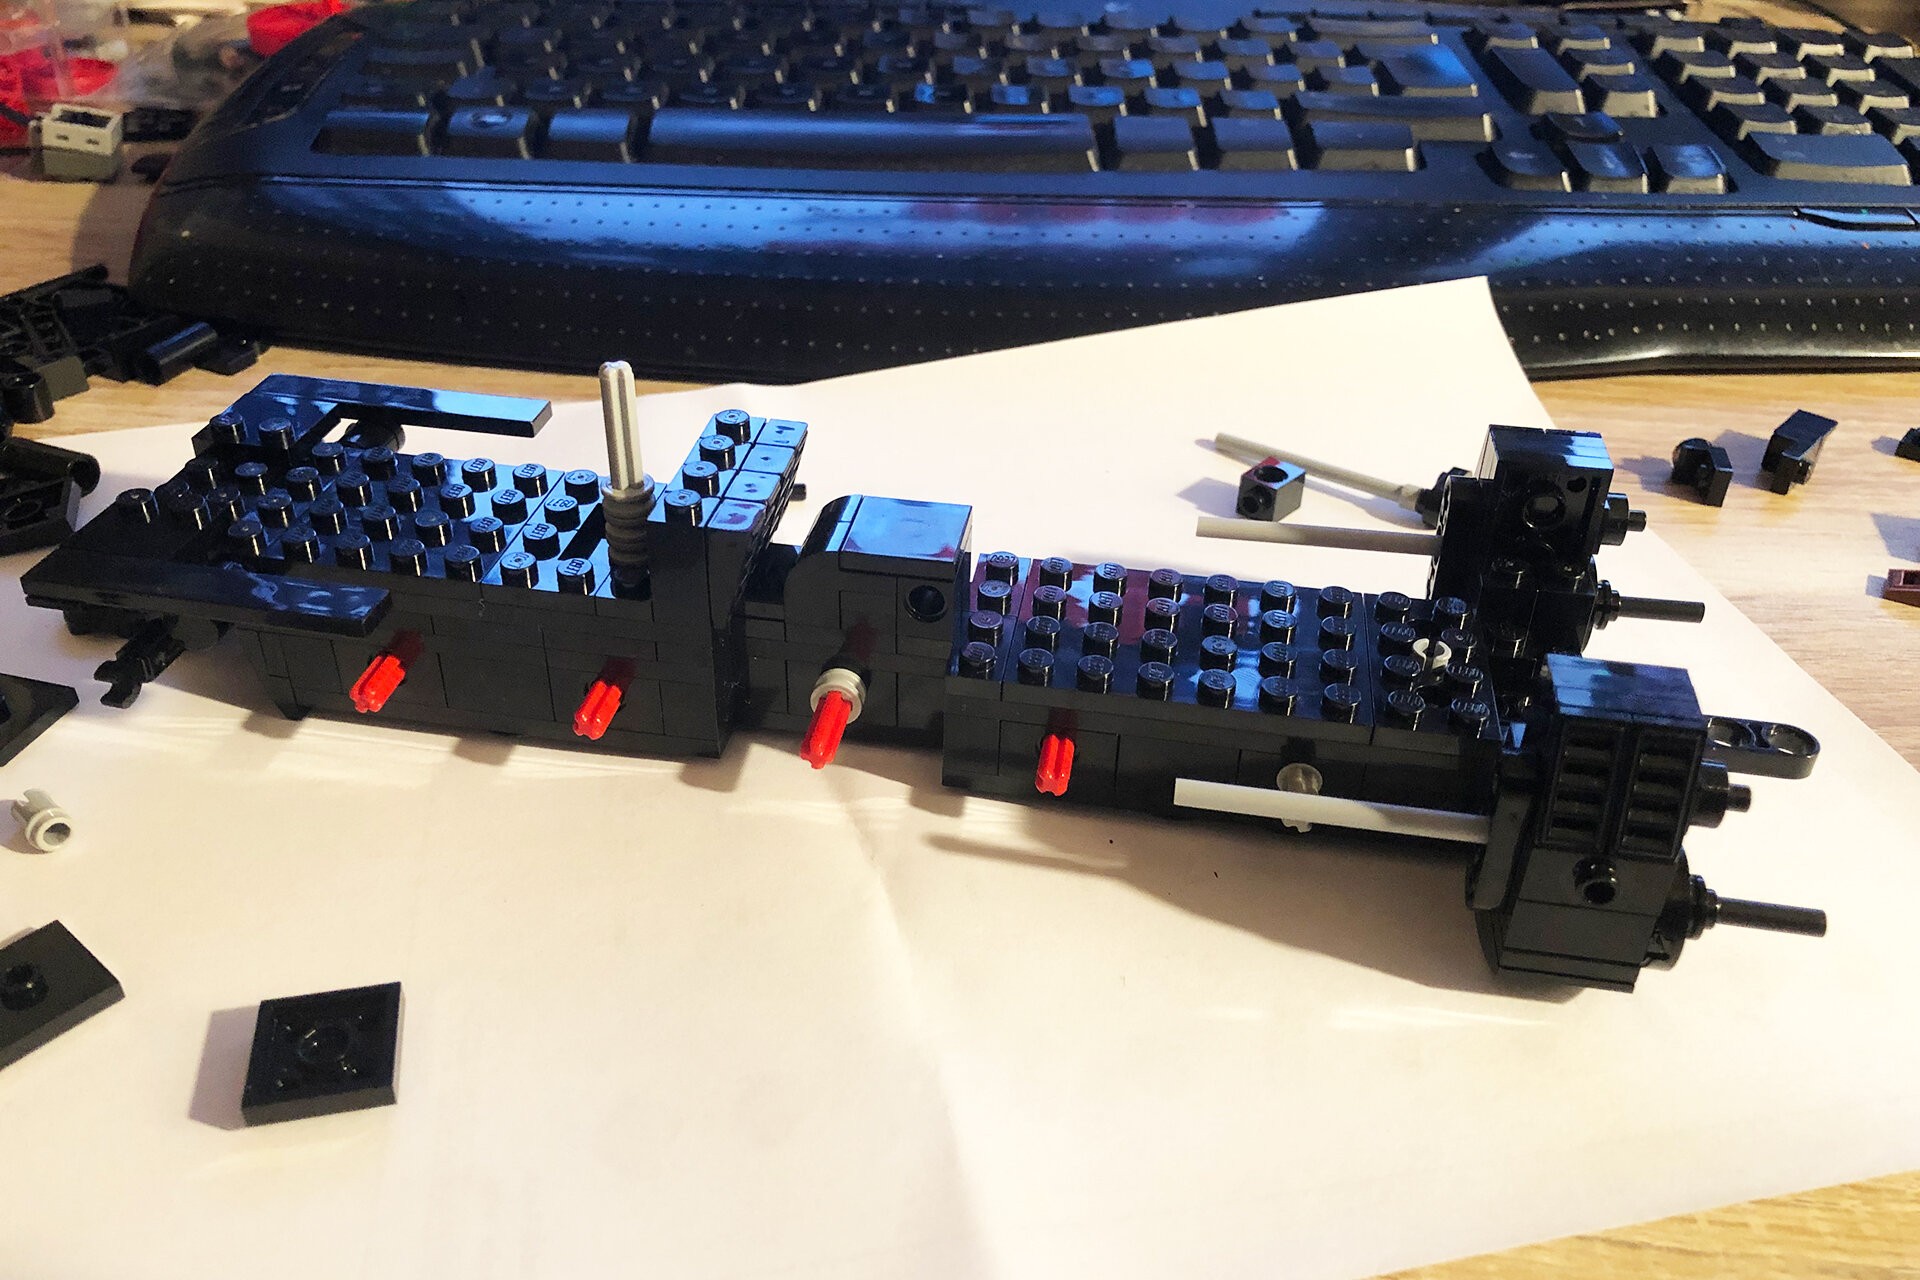
I tend to build with parts in colours that I have available and once I’m satisfied with a section I rebuild it in Studio using the right colours. At the end this allows me to upload the model to a wanted list and easily order the missing parts.

Geneva: That’s a good way to keep track of parts but takes a lot of patience to create a digital version. I’m curious, how is the steam engine powered?
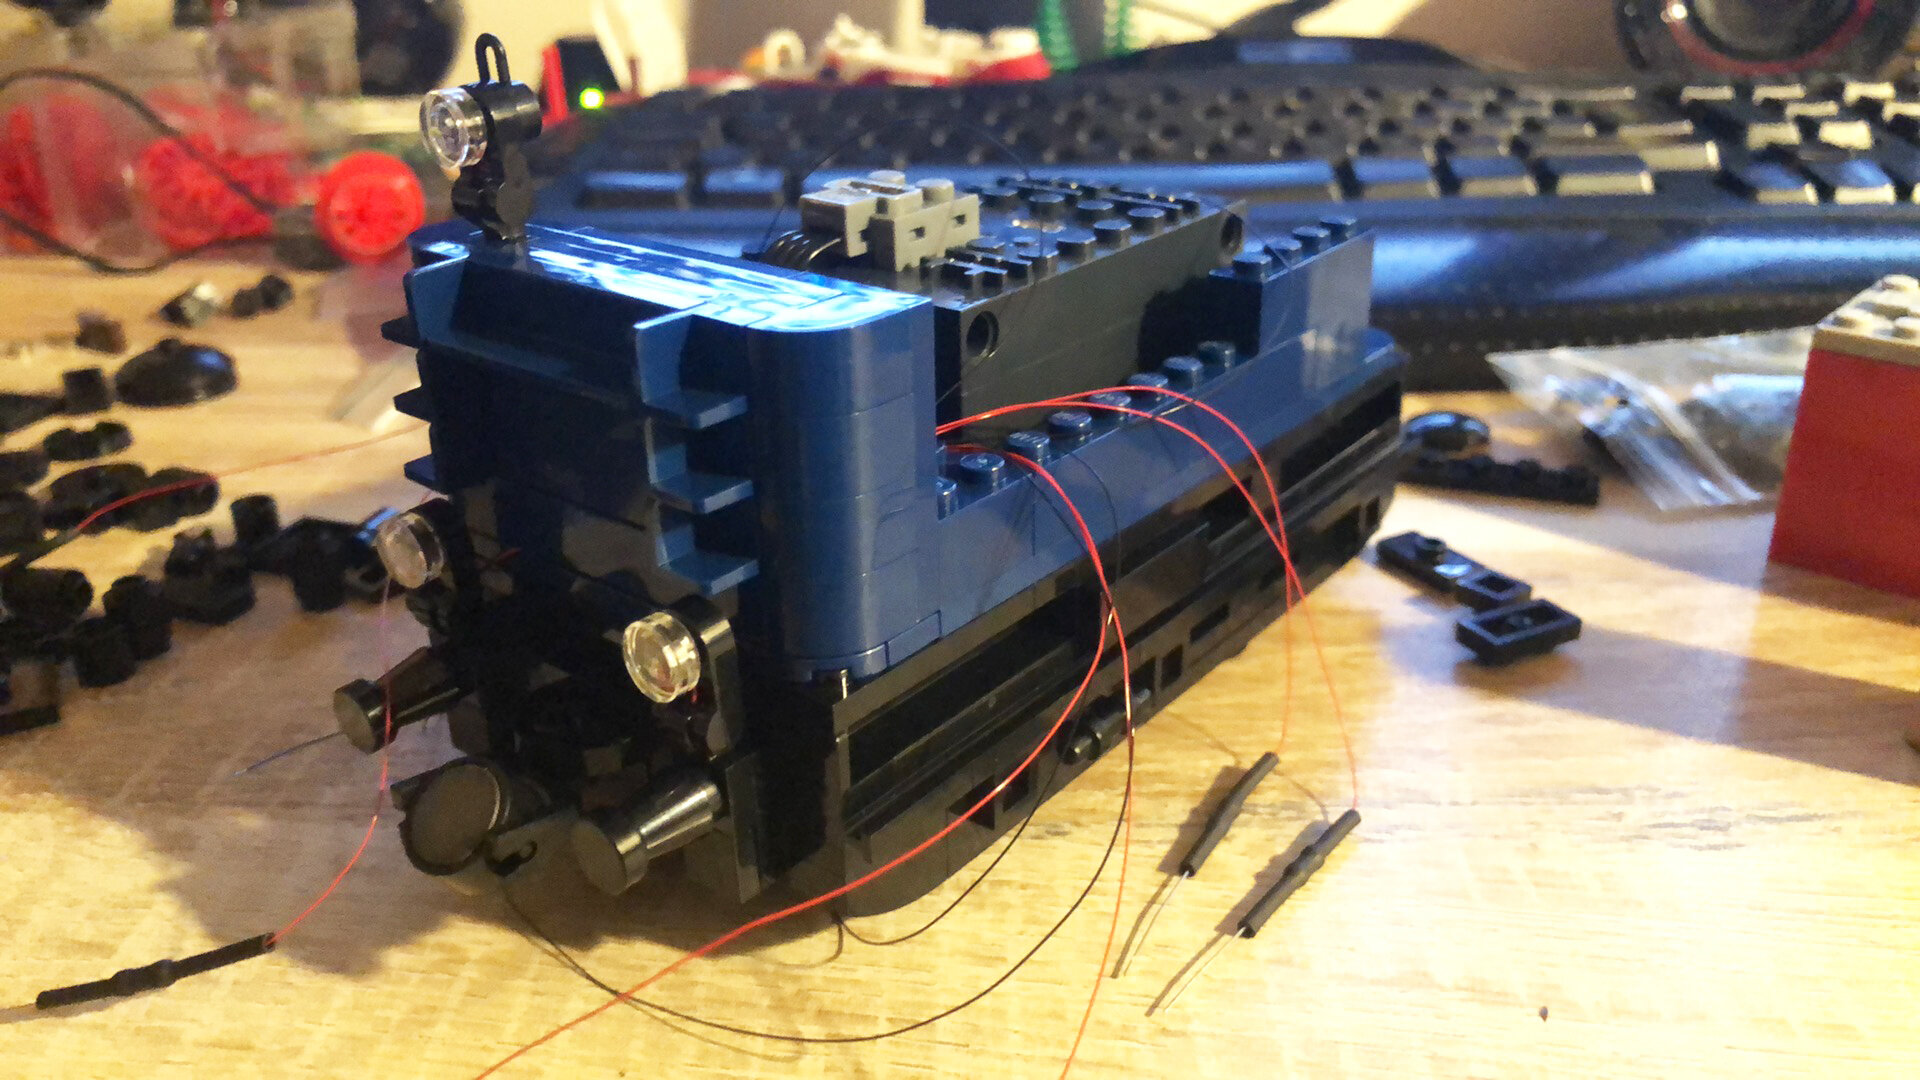
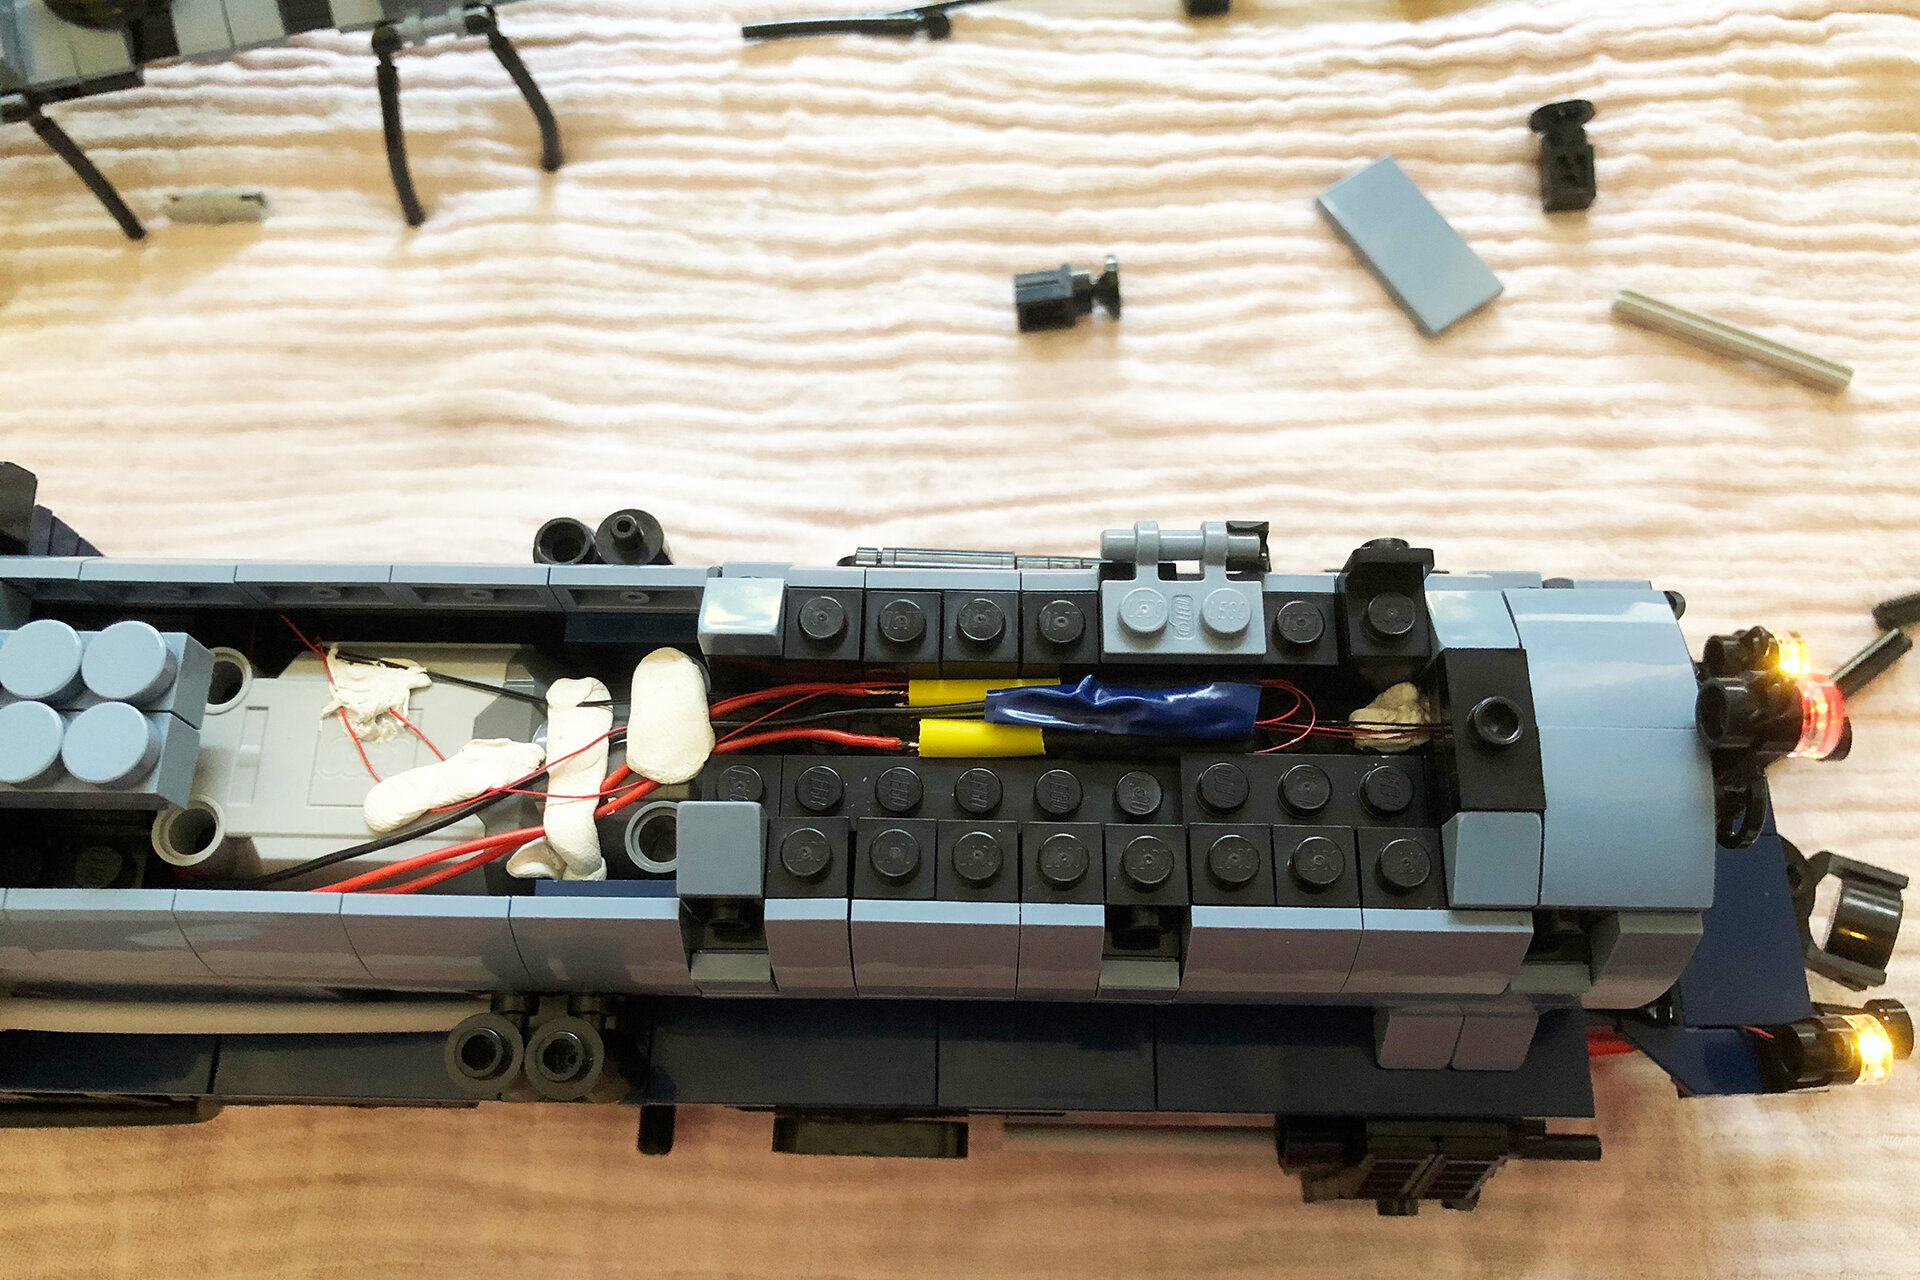
Pieter: The locomotive is powered by a single LEGO L motor in combination with a Buwizz battery and receiver. This is a choice partly based on size and partly based on LEGO no longer offering a rechargeable battery box. The tender has the same decoupling mechanism as my G8.1 powered by a Circuit cube engine. This means that the coupling magnet is pulled backwards under the tender disconnecting the railway car behind it.
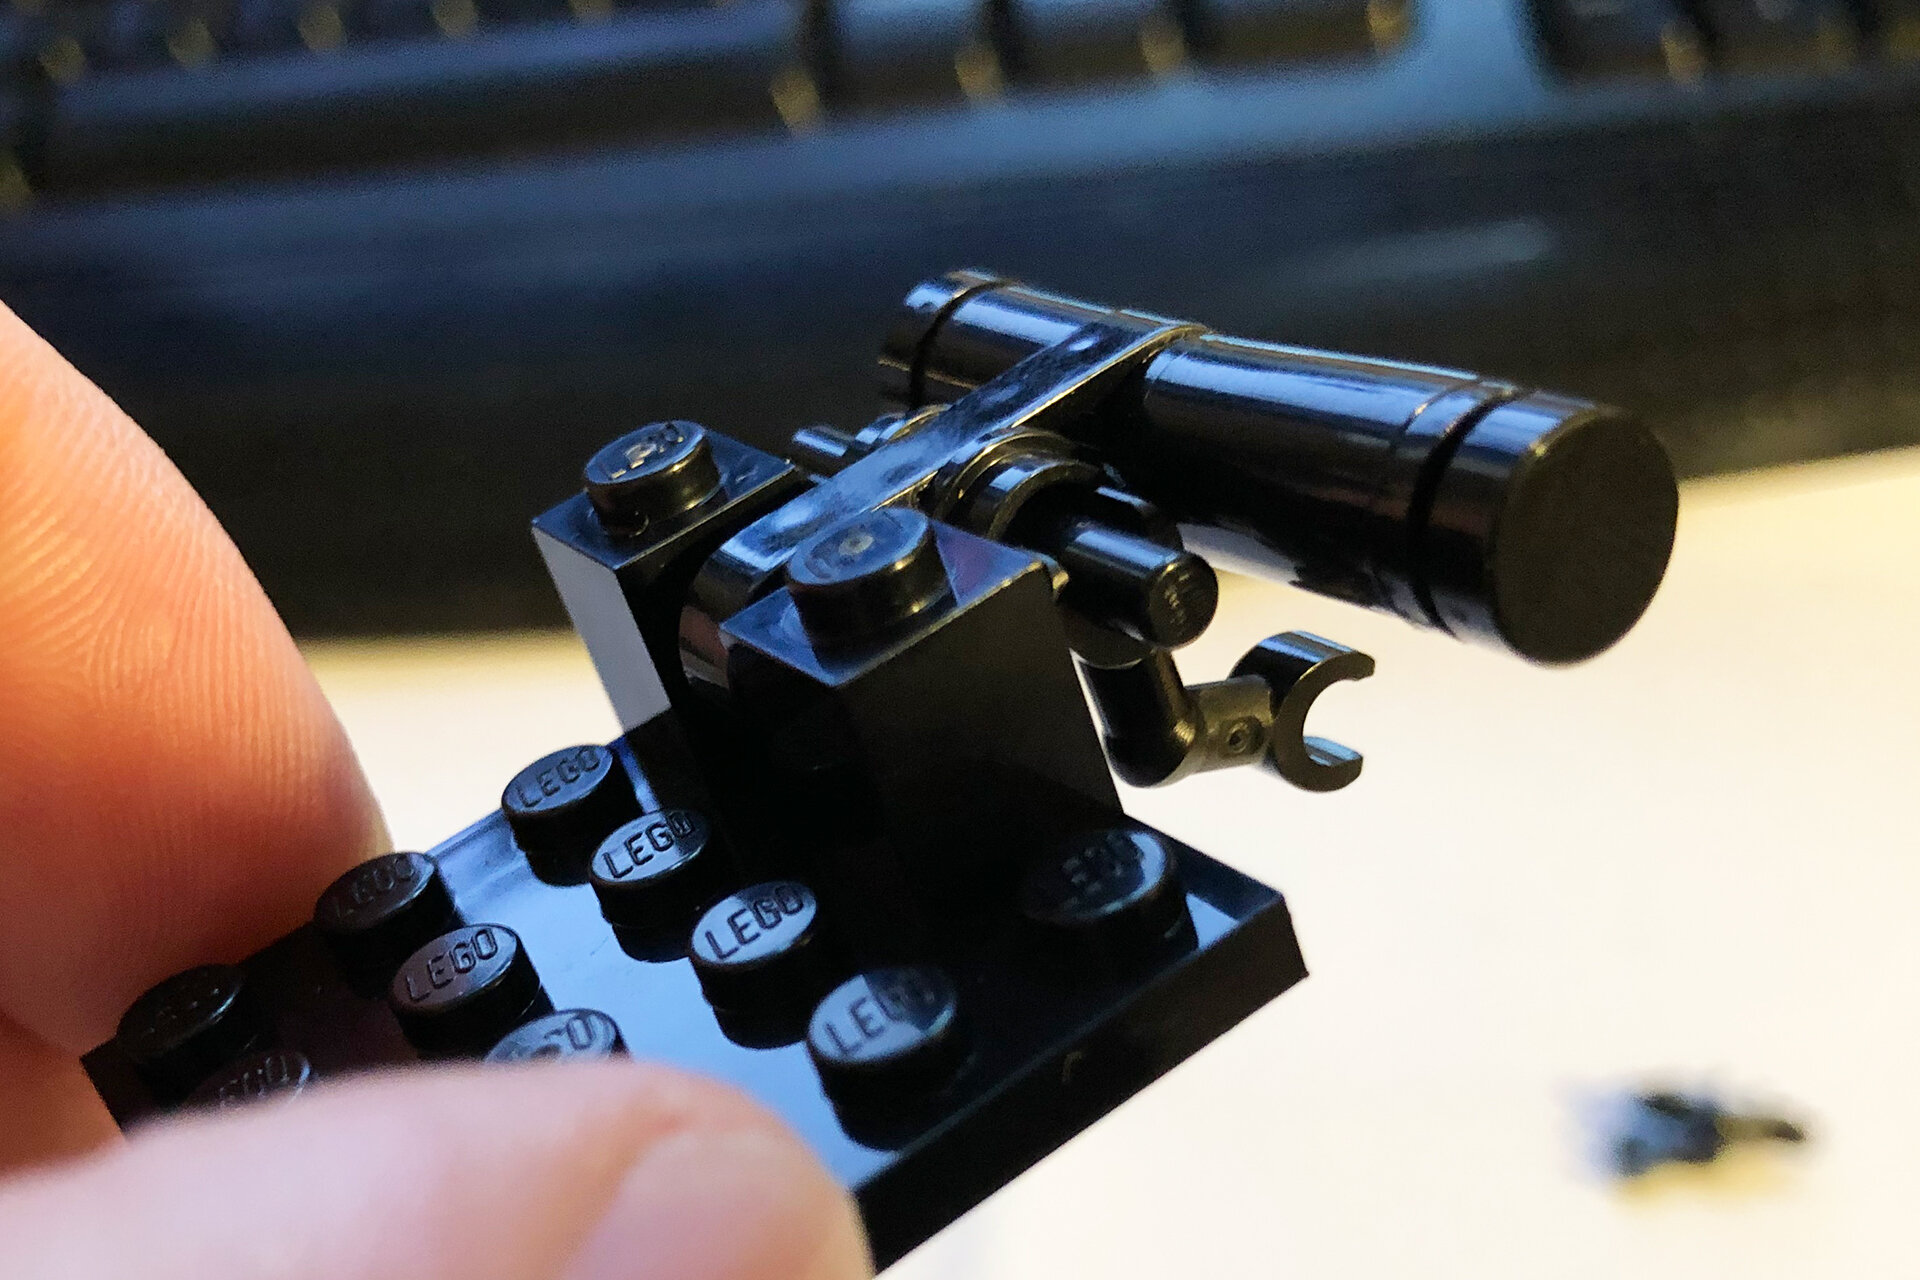
The locomotive has full LED lighting; two front and rear lights and a signal light fore and aft. The colours can alternate between yellow and red depending on the driving direction and the signal lights between red and green. Big thanks to fellow LLMTC member UrbanErwin for making this possible. Finally I start designing the stickers and have them printed. Applying these is the final touch. As you have already noticed with the valve gear and wheels, I’m not a purist. I cut up a lot of hose and I’ve also used antenna parts as a handrail next to the boiler.

Geneva: Can you talk about the base you built to display your locomotive? It really helps highlight the build!
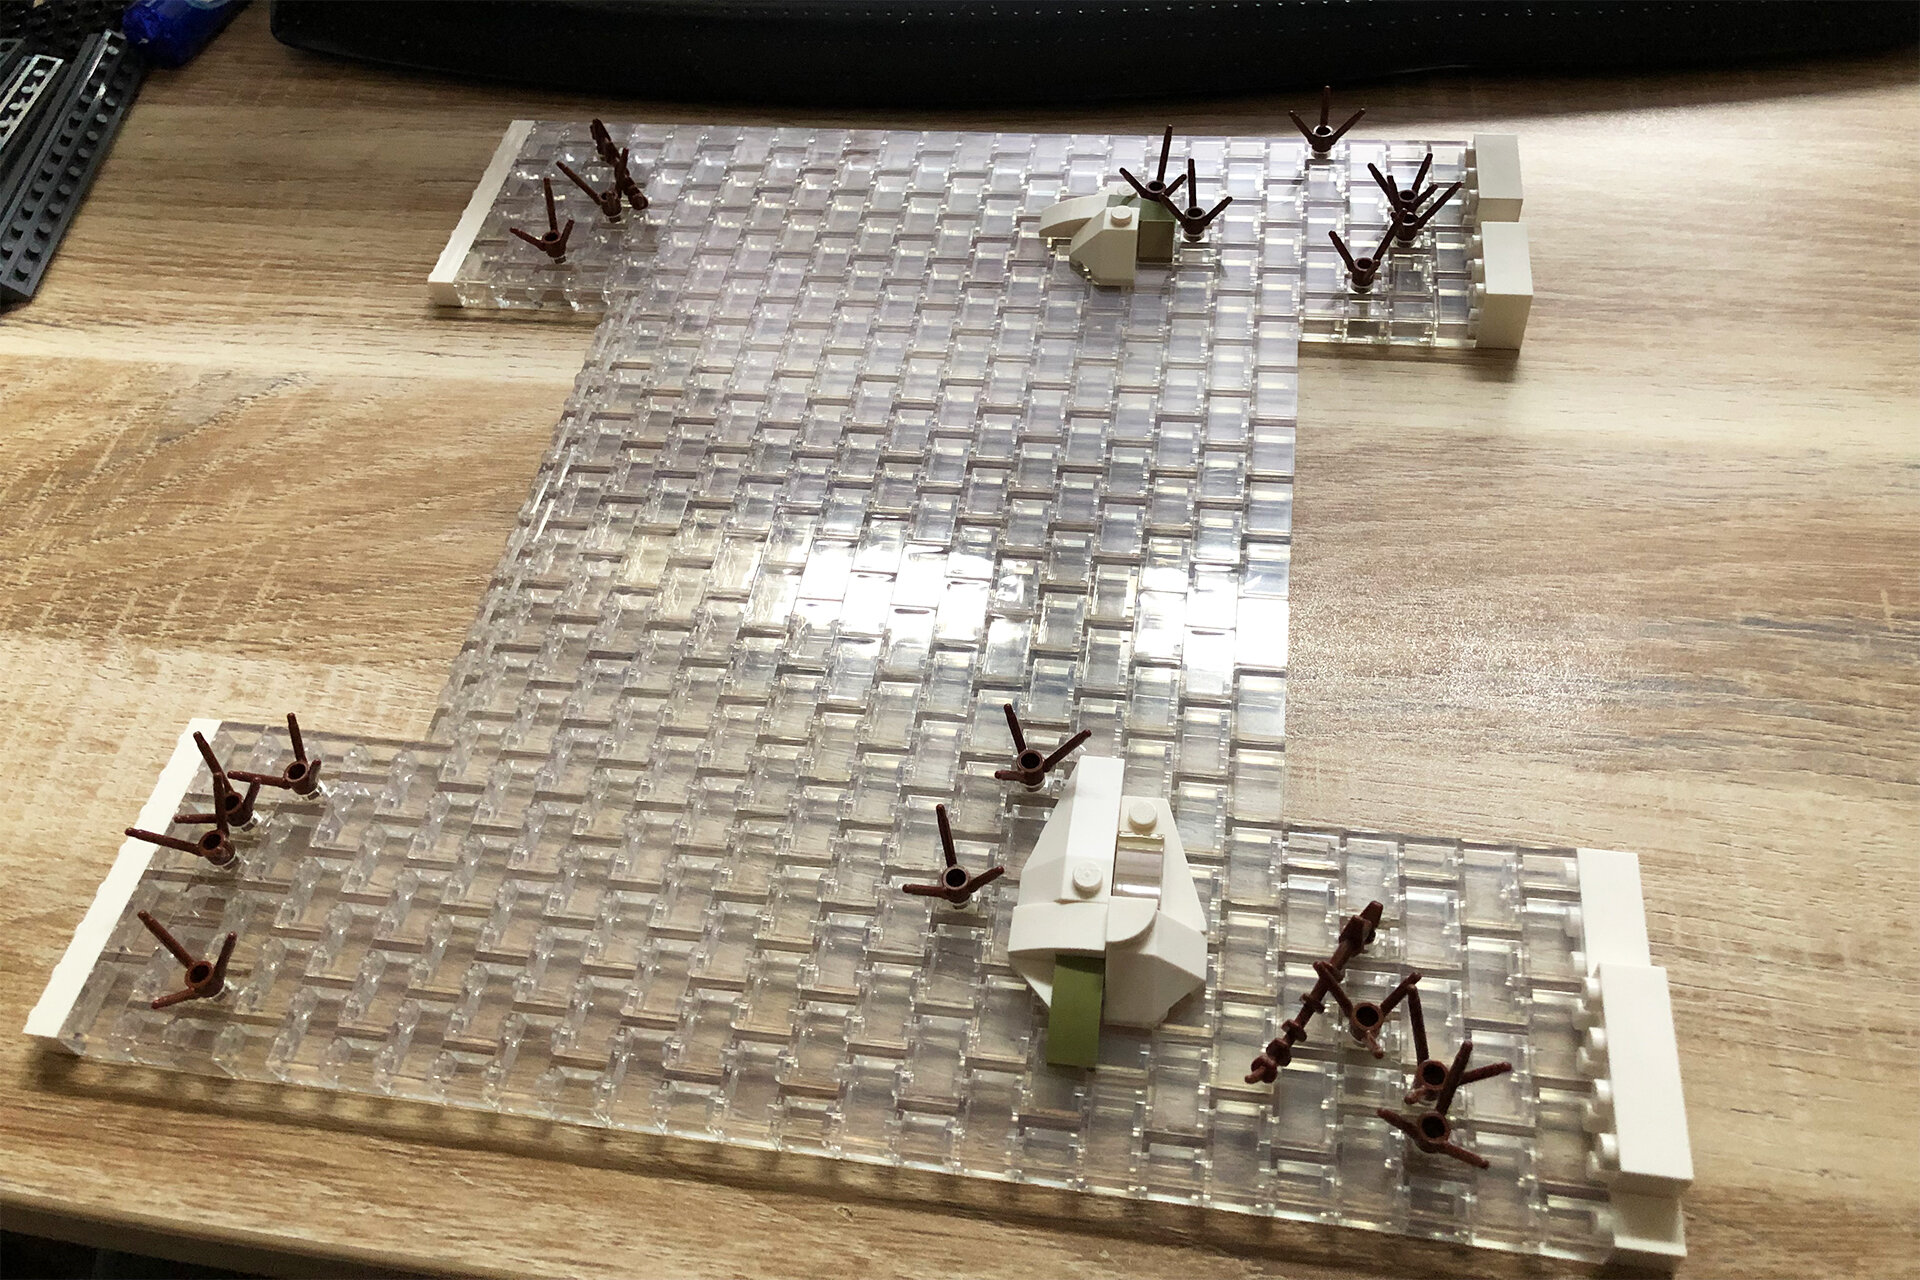
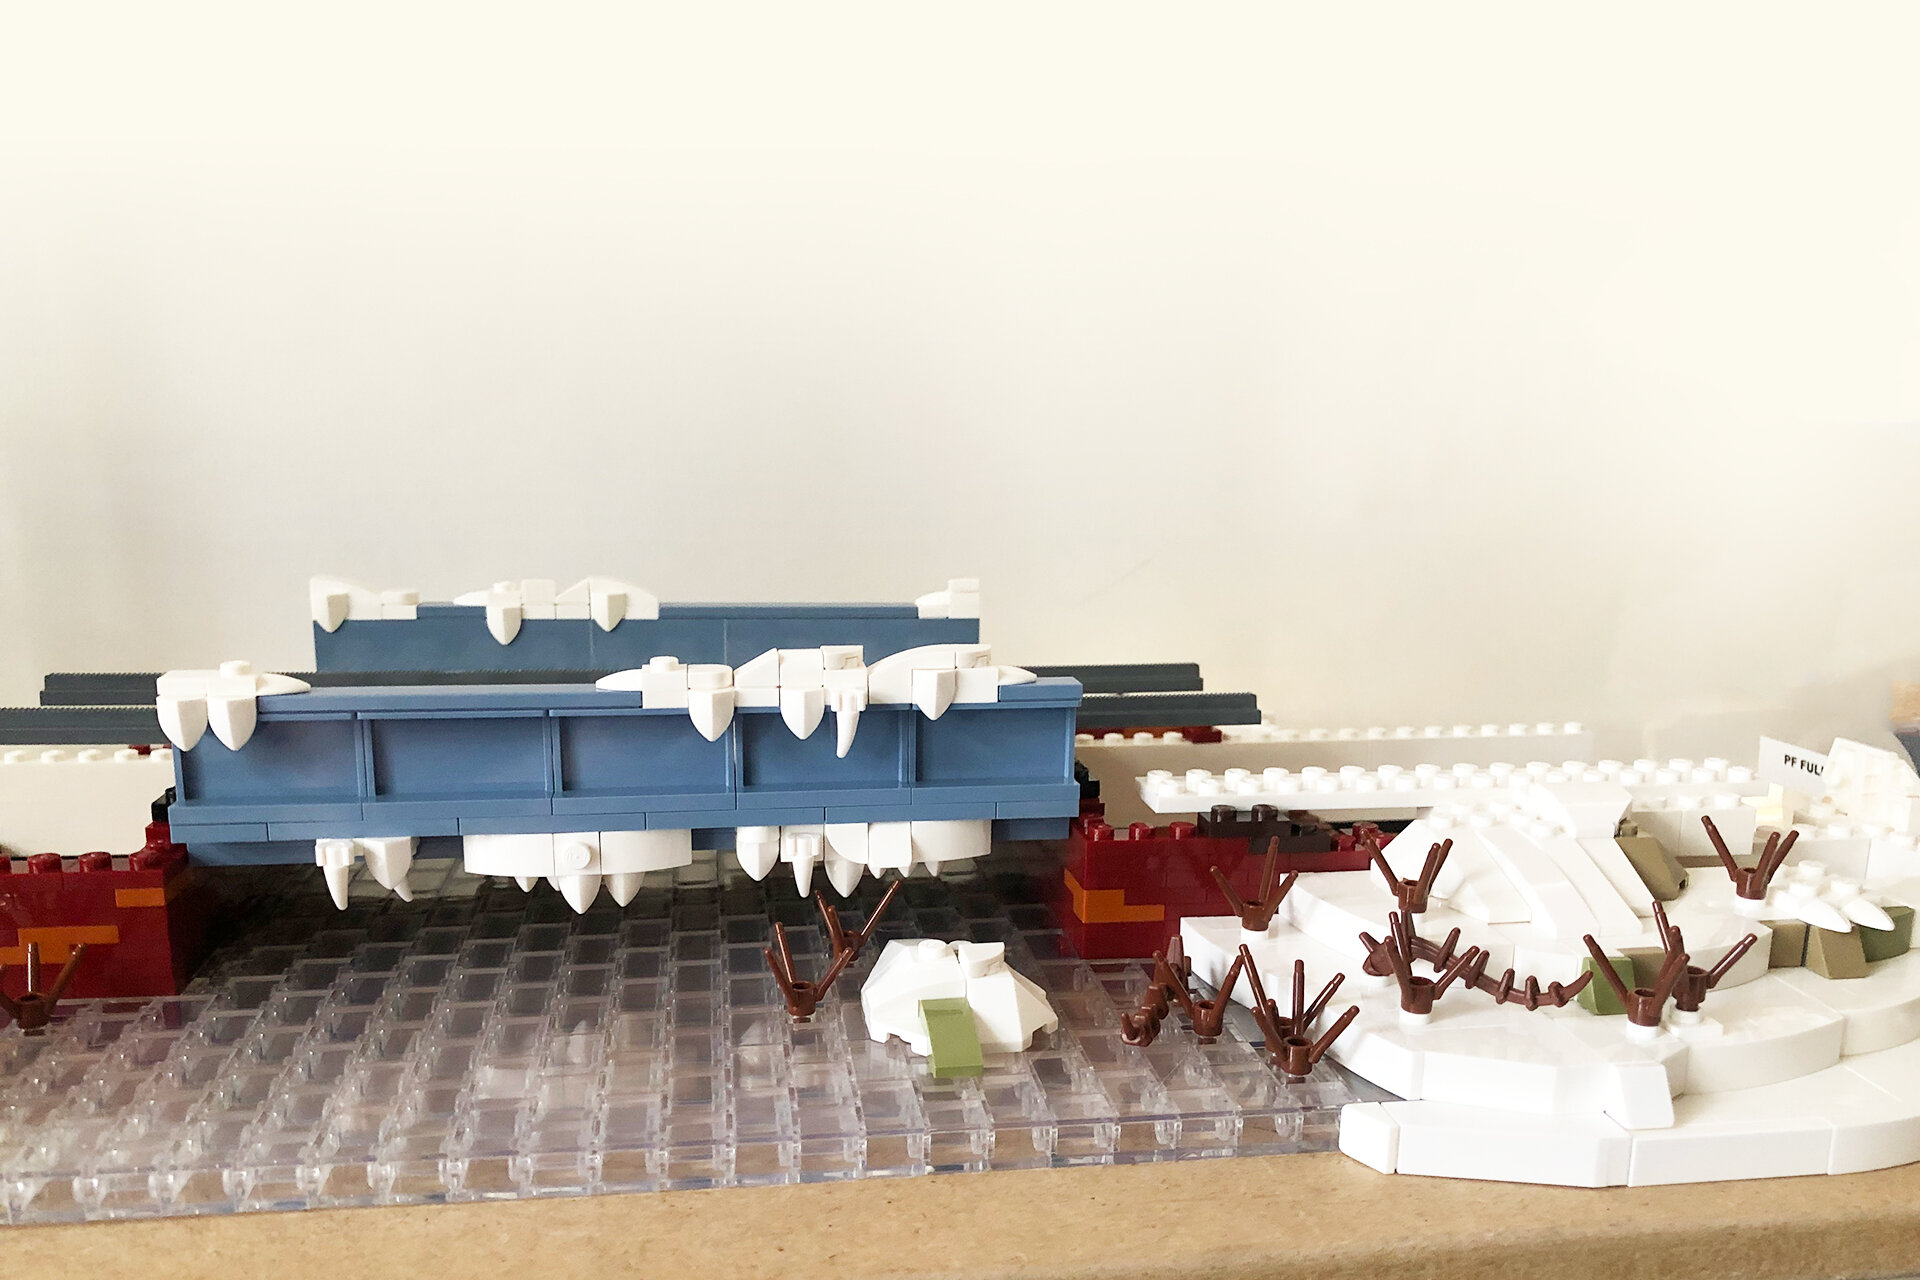
Pieter: When presenting a new model on Flickr I always try to build a little diorama to accompany the model—most of them being a bit square because they are modelled by MILS standards (a standard for LEGO train builders to connect their layouts). For this one I wanted something more organic looking inspired by all the great builds I’ve seen on Flickr. My initial thought was the brick built smoke but a quick search showed me that this had already been done a couple of times, most notably by Owen Meschter. So I needed a bit more to make it stand out and came up with a small bridge crossing a little stream. Looking at the (ice) blue colours of the locomotive the inspiration came to make a winter scene with snow and ice.
Geneva: Thanks for sharing so much of your process with us, Pieter! It’s a beautiful locomotive and I enjoyed spending a little extra time with it! And to our readers—I highly recommend checking out Pieter’s other trains on his Flickr!

Pieter also shared some WIP pictures with us—enjoy scrolling through this gallery to see the progress and his comments on each picture.
Do you enjoy heavily detailed LEGO models like this one? Would you dare cut up antennas to get the right size railing like Pieter did? Let us hear your thoughts in the comment section below.
Do you want to help BrickNerd continue publishing articles like this one? Become a patron like Charlie Stephens, Marc & Liz Puleo, Paige Mueller, Rob Klingberg from Brickstuff, John & Joshua Hanlon from Beyond the Brick, and Megan Lum to show your support, get early access, exclusive swag and more.