LEGO Photo Tips from a Non-Professional Photographer
/Best of BrickNerd: Weekend Highlight — Article originally published September 26, 2021.
A lot of people ask me how to take good photos of their LEGO MOCs, which I generally respond with, “What good photos!?” I am definitely not one of the best LEGO photographers out there—I don’t have a lot of good, or even recent, equipment (my camera is dying, please support my gofundme!) But I do kinda know the basics, a lot of which was taught by my brother and what I learned along the way with the many people in the community helping. Hopefully as we all grew up, we got better at taking photos.
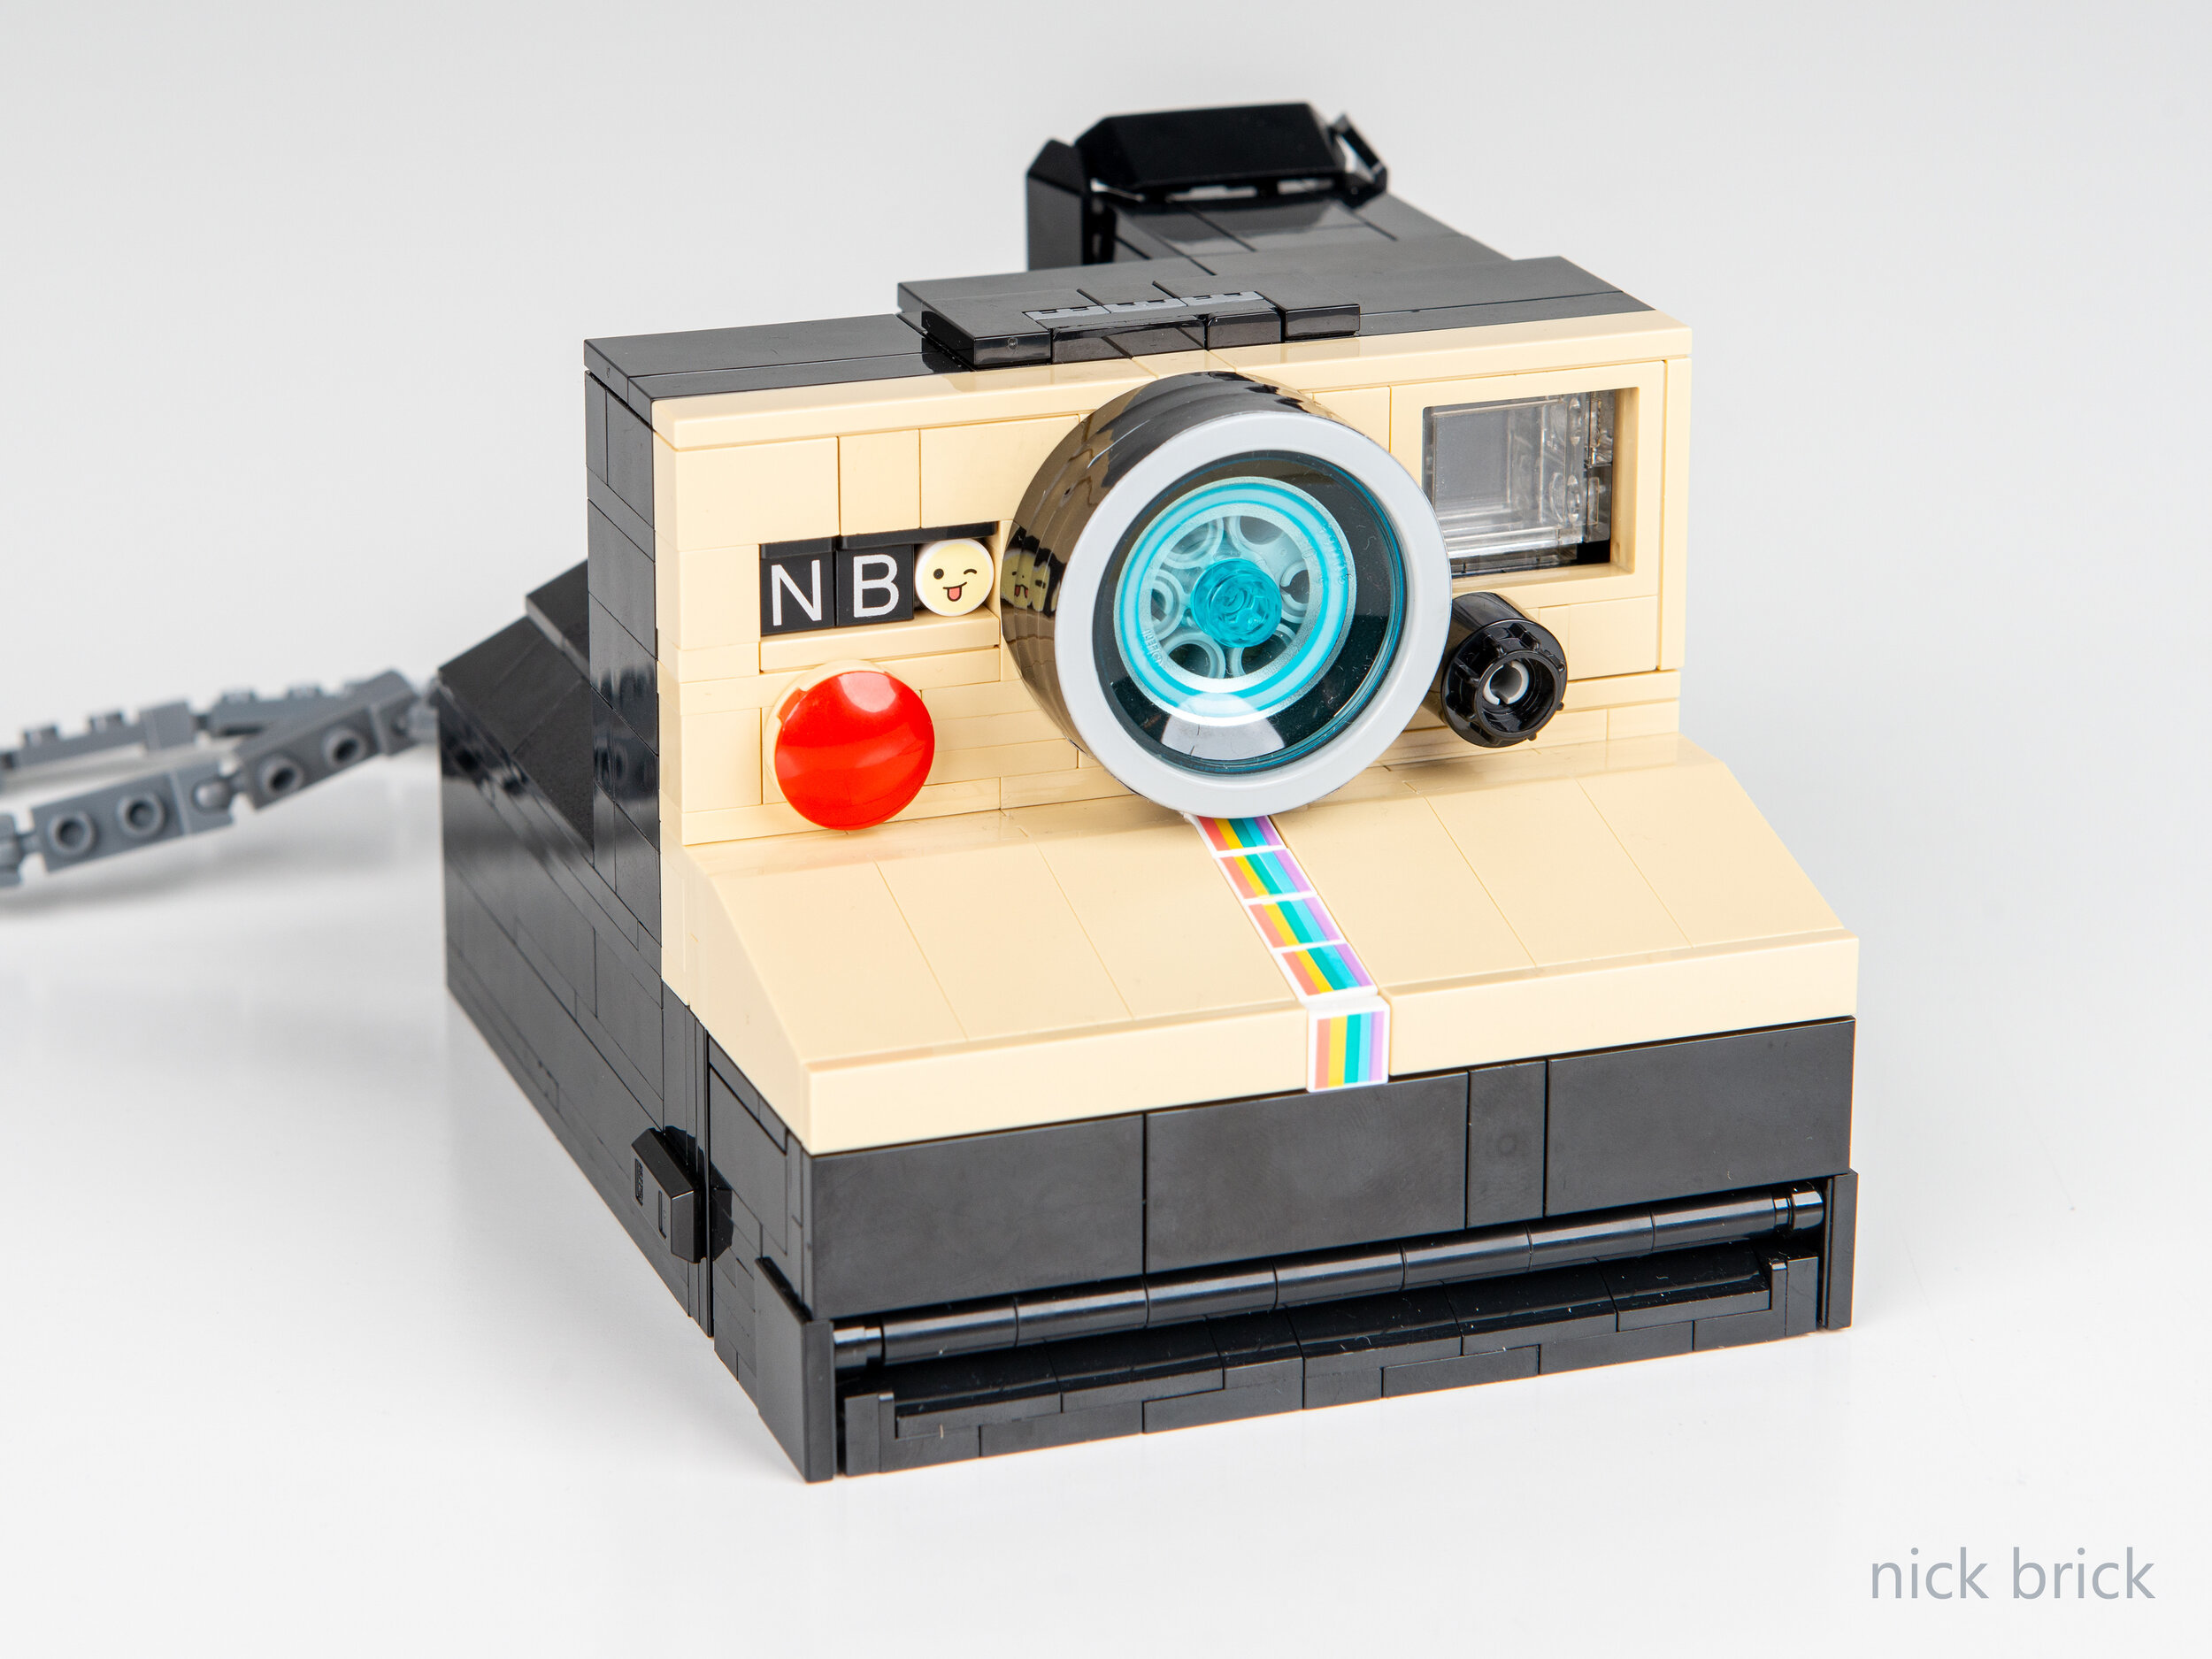
Polaroid Land Camera OneStep - Nick Jensen - harkens back to the old film days
It’s not overly hard to learn how to take good photos. I have a friend who I won’t name (guess in comments!) who took pretty basic pictures and set out to learn how to take better photos. In a couple of years, they ended up being a professional photographer for a while, so yeah if they could do it, anyone can!
So this is what I learned. With bonus TLDR (a summary that stands for “too long, didn’t read” for those of you unfamiliar with Reddit lingo).
This article will mostly focus on actual cameras. For those that take pictures with your phone, I apologize as a lot of this may not really apply since a lot of manual settings aren’t exposed natively. Some phones have a “pro” camera made that may grant you more options to fine-tune. That being said, I do shoot my videos with my phone (remember me saying how old my camera is?).

Jack and the Beanstalk - Grant Davis - Fluffy cloudy days are LEGO photographer’s favorite
One last note before we begin, I see a lot of builders always talking about going outside and waiting for overcast cloudy days for optimal LEGO photography. To be honest, I have never taken a photo outside (I’m not a vampire despite the rumours), as I have never needed to. The argument for photographing outside is to get bright and good diffused lighting. The latter I agree with, the former I do not… and let me try to convince you why.
Lesson 1: Know Your Camera
Every camera is different, so your mileage may vary, but regardless of type (D-SLR or point and shoot) there’s generally a ‘M’ or Manual setting—learn how to use this! (Phones may or may not also have some of these customization settings).
Now your camera might have some presets, but there should always be a way to set it to full manual. Because once you have full control, there’s no reason why you need bright lights—you can always adjust your camera to capture the native lighting in your room.
TLDR: Use Manual mode and to set your ISO, your shutter speed and aperture to avoid always needing the perfect lighting conditions.

How you set this is greatly dependent on your camera, for D-SLRs this is usually easily and quickly set by dials on the camera. For a point and shoot, you might need to open up the menu and adjust yourself—this takes more time, but trust me it’s worth it.
But I hear you asking, “What do ISO, shutter speed and aperture mean?” Read on!
Lesson 2: ISO
Low ISO with less noise
What is ISO? To be honest, I don’t know. (I told you I wasn’t a photography expert!) But the term did come from the pre-digital age, where you had these film rolls you has to develop and they were rated with different ISOs which gave you essentially more control over the sensitivity.
Each type of film with a different ISO required a different amount of light to hit the film to capture the image. The higher the ISO, the less amount of light is required. Lower ISO requires more light.

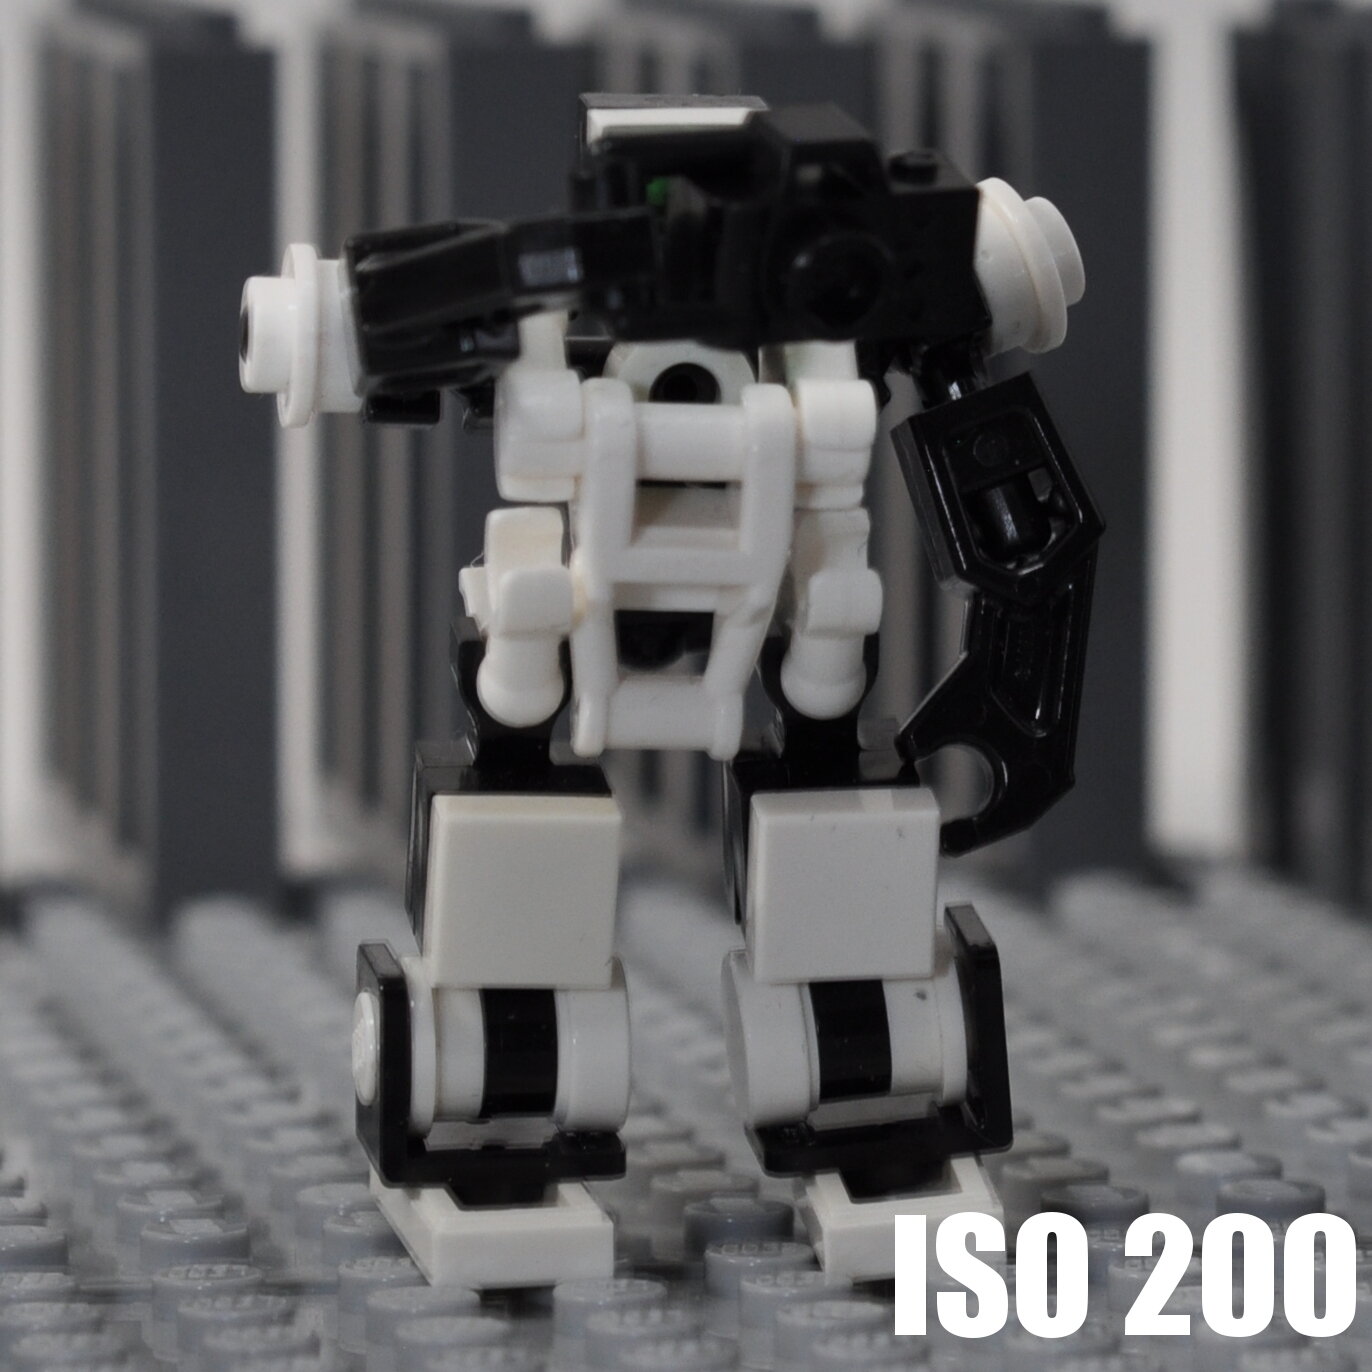
High ISO with More Noise
So how does this affect LEGO photography? Well it’s a trade-off. The lower the ISO the less ‘noise’ in the image, but you also need more light to leave a ‘sharp’ image (and a longer shutter speed) to not have the final photo look blurry or muddy. Compared to a higher ISO, the photo would have more noise but you would have been able to snap a quicker picture.
For LEGO photographs, you don’t have to overly worry about speed (unless your MOC is moving). Your LEGO is static and doesn’t move (at least when you’re around) so you shouldn’t need to worry about how much light you need to get on the sensor.
For example in these two photos, if you zoom in close you can see the ISO 3200 image has some more noise compared to the ISO 200.
TLDR: Set your ISO to the lowest setting in your camera. And hardly ever change it.
There should be no need for a higher ISO as you should normally be photographing static objects—inside or outside, it doesn’t matter. If your image is too dark, you can adjust the settings to get it brighter. Which brings us to the next lesson.
Lesson 3: Shutter Speed
This one is pretty basic. Shutter speed determines the amount of time the light is being projected onto the camera sensor. How does this apply to LEGO photography? Simple! If your image is dark, set the shutter longer. If it’s too bright, make it shorter. Nearly all digital cameras have a display—check it frequently and you will be able to get a good sense of if you need to adjust to make your pictures perfect.
There are a few caveats: if you start having longer shutter speeds it also means that you can’t move. As humans, we’re unable to be steady long enough to hold a camera still. So get a good tripod or way of holding your camera STEADY. In fact, if you have an unstable tripod, even pushing the button to take a picture may shake your camera when you have a really long shutter speed. So you should also learn how to do a self-timer (AKA Daddy group photo mode as I call it). When taking MOC photos, I routinely set this to a one-second delay, just so I get that extra sharp picture.
TLDR: Shutter speed controls how bright your photo is, so adjust it up and down as you need. Movement is your enemy so get a tripod! And set a timer to not wobble the camera.
Lesson 4: Aperture - Depth of Focus

F 1.8 Aperture
Setting the aperture depends on the type of photo you want to take and this is the most important setting. The aperture controls the size of the ‘hole’ that the light goes through in the camera. (I could try to explain the science behind this and how it impacts the so-called depth of focus but in layman’s terms it essentially controls what is in focus.)

F22 Aperture
For LEGO photographers this is the most important aspect as it allows you to determine how you want to photograph to look. Crisp focus? Blurry background? This is where you want to play around with the F-Stop settings.
The general rule of thumb is that the higher the F-Stop, the smaller the hole, which means the more of your model is in focus. This also means you have to set your shutter to be much longer. The smaller hole means the camera needs more time to let light through.

Take for example the photo on the side where the little robot photographer is standing on a 16x32 base. You’ll see in the top photo, the tall 1x5x6 pieces around the sides are spread every other stud. With this high F-Stop (F22) you can clearly see most of the build is in focus.
This is the setting you want when you have a large build and want to photograph it all, be it a SHIP (for those taking their pictures for SHIPtember) a sprawling layout, or even large buildings. (Though note that you will most definitely need a tripod and a very long shutter. This photo was taken with a 1.6-second shutter speed.)

On the flip side, the lower the F-Stop, the larger the hole is, which means the smaller area of your build is in focus. This also means you can use a faster shutter speed, in this case, 1/125ths of a second.
The blurry background effect is also called ‘Bokeh’—this out-of-focus blurry background creates a more natural feel which a lot of minifig photographers love. (For SHIP builders, far less!) But for scene builders, it depends on their preferences—sometimes you want it immersive and natural, other times you want to see every detail, but you get to decide!
TLDR: Use a high F-Stop to get more things in focus. Use a lower F-Stop to have one part in focus and the rest blurry.
Lesson 5: Lighting
But wait, there is an extra lesson!? What about that defused lighting you mentioned or lighting setups? Well, if you understand the lessons above, you should never have a problem with amount of light as you can always adjust your camera to capture more by changing the aperture and shutter speed.
But that doesn’t actually solve the light diffusion problem. What is light diffusion? Simply put, it’s about how to reduce how ‘harsh’ the light is. If you shine a really bright light (or worse use your camera’s flash) you’ll notice either really bad shadows or reflections and a whole bunch of side effects you might not like.

This was actually harder to do than I thought
That’s why the classic trick is to go outside and photograph under clouds as it ‘diffuses’ the light —instead of a direct ray you get more of a glow so your build is evenly lit without some of those harsher shadows or reflections.
While you can certainly go outside and do this, you can also easily do this inside. You could buy a light box (or create one—check out our BrickNerd article to find out how). Or you could add paper (or even a PAB cup lid!) in front of your lights. Or you could even point your lights AWAY from your builds and reflect the light off your walls/ceilings.
As you can see from my example, there are some bad reflections from the flash in comparison to all the above shots that used diffused lights via my light box. You can see that it instantly takes the ‘life’ away from the photo.
Sometimes you might not feel like there is enough light to take a photo, so remember YOU control how much light is captured in the camera. So even if it feels dark, it should be enough for you to take a bright picture.
TLDR: Never use flash and never point harsh lights directly at your builds without something in the way to diffuse it or bounce it off another surface.
TLDR: LEGO Photography
Set and keep your ISO as low as possible.
Turn on your lights (and make sure they’re diffused by reflecting the light off something or having something in between).
Set your F-Stop as you desire based on the focus and type of photo you want to take
Start taking pictures and adjust your shutter speed until you find a nice bright picture.
Do you have any photography questions for an admittedly non-expert photographer? Feel free to ask in the comments below.
Do you want to help BrickNerd continue publishing articles like this one? Become a top patron like Charlie Stephens, Marc & Liz Puleo, Paige Mueller, Rob Klingberg from Brickstuff, John & Joshua Hanlon from Beyond the Brick, Megan Lum, and Andy Price to show your support, get early access, exclusive swag and more.