LEGO Rockwork Techniques: Let´s Get Rocking!
/Best of BrickNerd — Article originally published January 26, 2023.
Welcome back beautiful people, it’s time for another LEGO technique spotlight! The last time I did a waterfall technique spotlight I believe I promised you all a look at rockwork. It´s been a bit of a wait (sorry, I blame LEGO Masters…) but the time has finally come. So let´s have a look at some beautiful and creative ways to build… well… rocks. (And cliffs I guess, but that didn´t really have the same punchline-feel to it!)

Below I´ve gathered some different types of techniques you can use when building rockwork with LEGO. Because let´s be honest, a lot of things look a lot cooler when they are standing on a big cliff.
Slippery Slopes
Let´s start off with the basics: slopes. Slopes come in a variety of angles and colours and are the most common way to build rockwork. There are an insane amount of examples from around the community so let´s have a look at a few of them.
First, we have a build I made for the Summer Joust contest last year. It uses slopes in a few different directions which is an easy way to make things a little more interesting for the eye.

Next, we have an example by JS_Ninjnerd. The builder integrates the rockwork very nicely blending mountainous cliffs into a textural base. They use a mix between normal stacking of slopes as well as mixing in a few snotted ones which add a lot of variation—a technique that works well in my opinion.

Next up we’re headed to the top of a mountain. Using slopes of different lengths and widths, BrickNerd’s own Garmadon has created this lovely cliff that supports a small monastery with a stone bridge perilously spanning a chasm.

Speaking of monasteries, here´s one I made a while back with uses slopes to create an island, which works to frame the whole build in a simple but fairly effective way. You can see how using some slopes and some inverted slopes help to add a bit of textural realism to the rockwork. The key takeaway is to try and avoid using a repeating pattern since those are so easily detected by the eye.

And if you don´t have all that many angled slopes laying around, but instead have a bunch of plates and still want that jagged look, you can always do what Anuradha Pehrson did and create some very cool structures by simply stacking them.

Something Slightly Smoother
Luckily there are so many more pieces that can be used for rockwork besides angled slopes. Mixing slopes with curved wedges creates very smooth transitions and angles, captured very well here again by JS_Ninjnerd. The rockwork flows a bit more, looking like it has been eroded and smoothed over time.
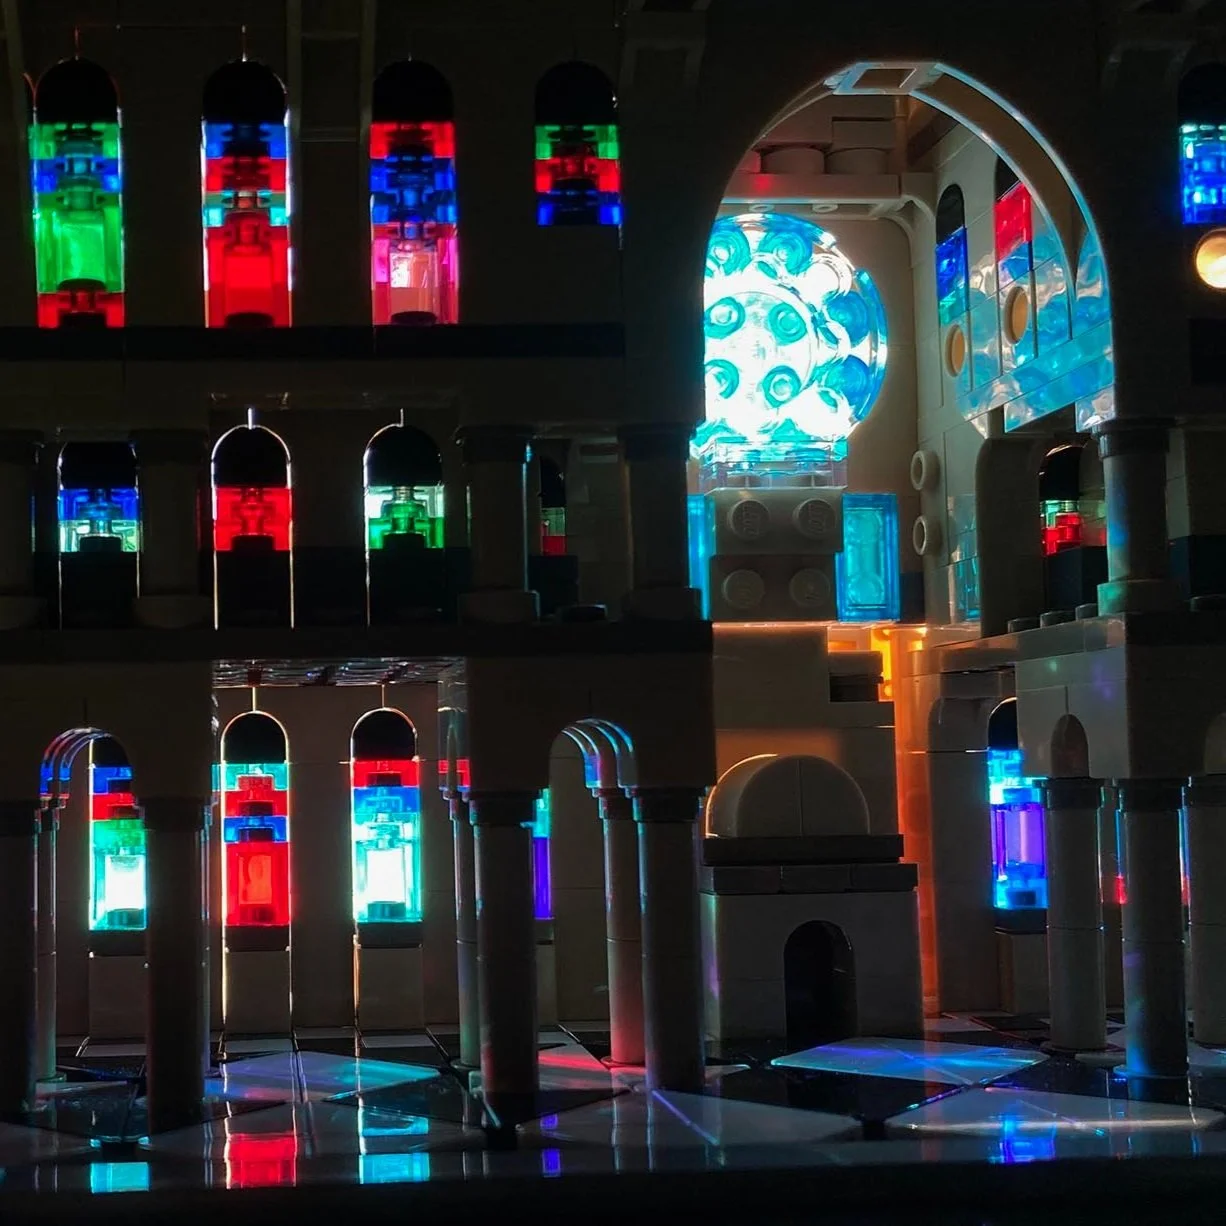
Here is another great example of a similar technique by First Order Lego. Leaving more exposed studs gives it a bit more rough look which works very well in this darker scene. The curved pieces also catch the light, adding a bit of depth and life to the mostly monotone scene.

This awesome cave by ForlornEmpire uses slopes and curved slopes placed on the side in a very clever way. It gives a stunning layered effect that looks like striations of rock or layers of shale that work wonders together with (as usual) great lighting and lovely details.

Using some more varied rounded pieces, as well as adding foliage, can work well when building cliffs and rockwork that you want to look even more natural like in this bridge scene of mine. An added benefit of foliage is that it can hide any gaps in the rockwork too.

The example above was definitely influenced by this stunning build by First Order Lego (let´s face it, to better yourself at your craft, you should steal as much as possible from the talent around you). He manages to capture some amazing shapes which all feel very natural. The vegetation really adds realism to the cliffs surrounding the pagoda and the color changes add to the visual texture and believability of the scene.

Using a similar technique, W. Navarre has gone a similar route using more striking variations of colours to create this beautiful scene. The colours capture the eye and create lines and color blocking which really elevate the overall look and make it more realistic.

And who’s to say you even need to connect all the bricks to make rocks, anyway? Why not just use loose bricks as rocks themselves? That’s what I did in this Tatooine microbuild, also using the same technique of layering colour on the mounds for a fun effect.

Scaling the striation technique up a bit and using more curved slopes (along with insane talent), ForlornEmpire shows off his skills in this hilarious and beautiful Star Wars-Western mashup. The colours of the rockwork go a long way to framing the scene and directing the eye, though I wonder if all those layers are attached together or if gravity is doing all the heavy lifting.

Going A Little Crazy
Here are a few examples with a little more (some of them a LOT more) advanced techniques. First, we have a build from Gus that uses a variety of pieces to create some truly crazy angles. The use of slopes together with curved wedges of different types (even a few inverted ones in there) gives it a very realistic look. I can´t even imagine how long it took the builder to match everything as perfectly as this though I suspect that ball joints are used to achieve all that organic shaping.

I´m not even going to attempt to list all the different types of elements in this next build from LittleJohn, but let´s just agree that there is some serious NPU going on here. He uses quite a few large and somewhat “clunky“ pieces extremely well and takes full advantage of their large and slightly weird shapes to create a beautiful piece of rockwork that fits great with the cottage.

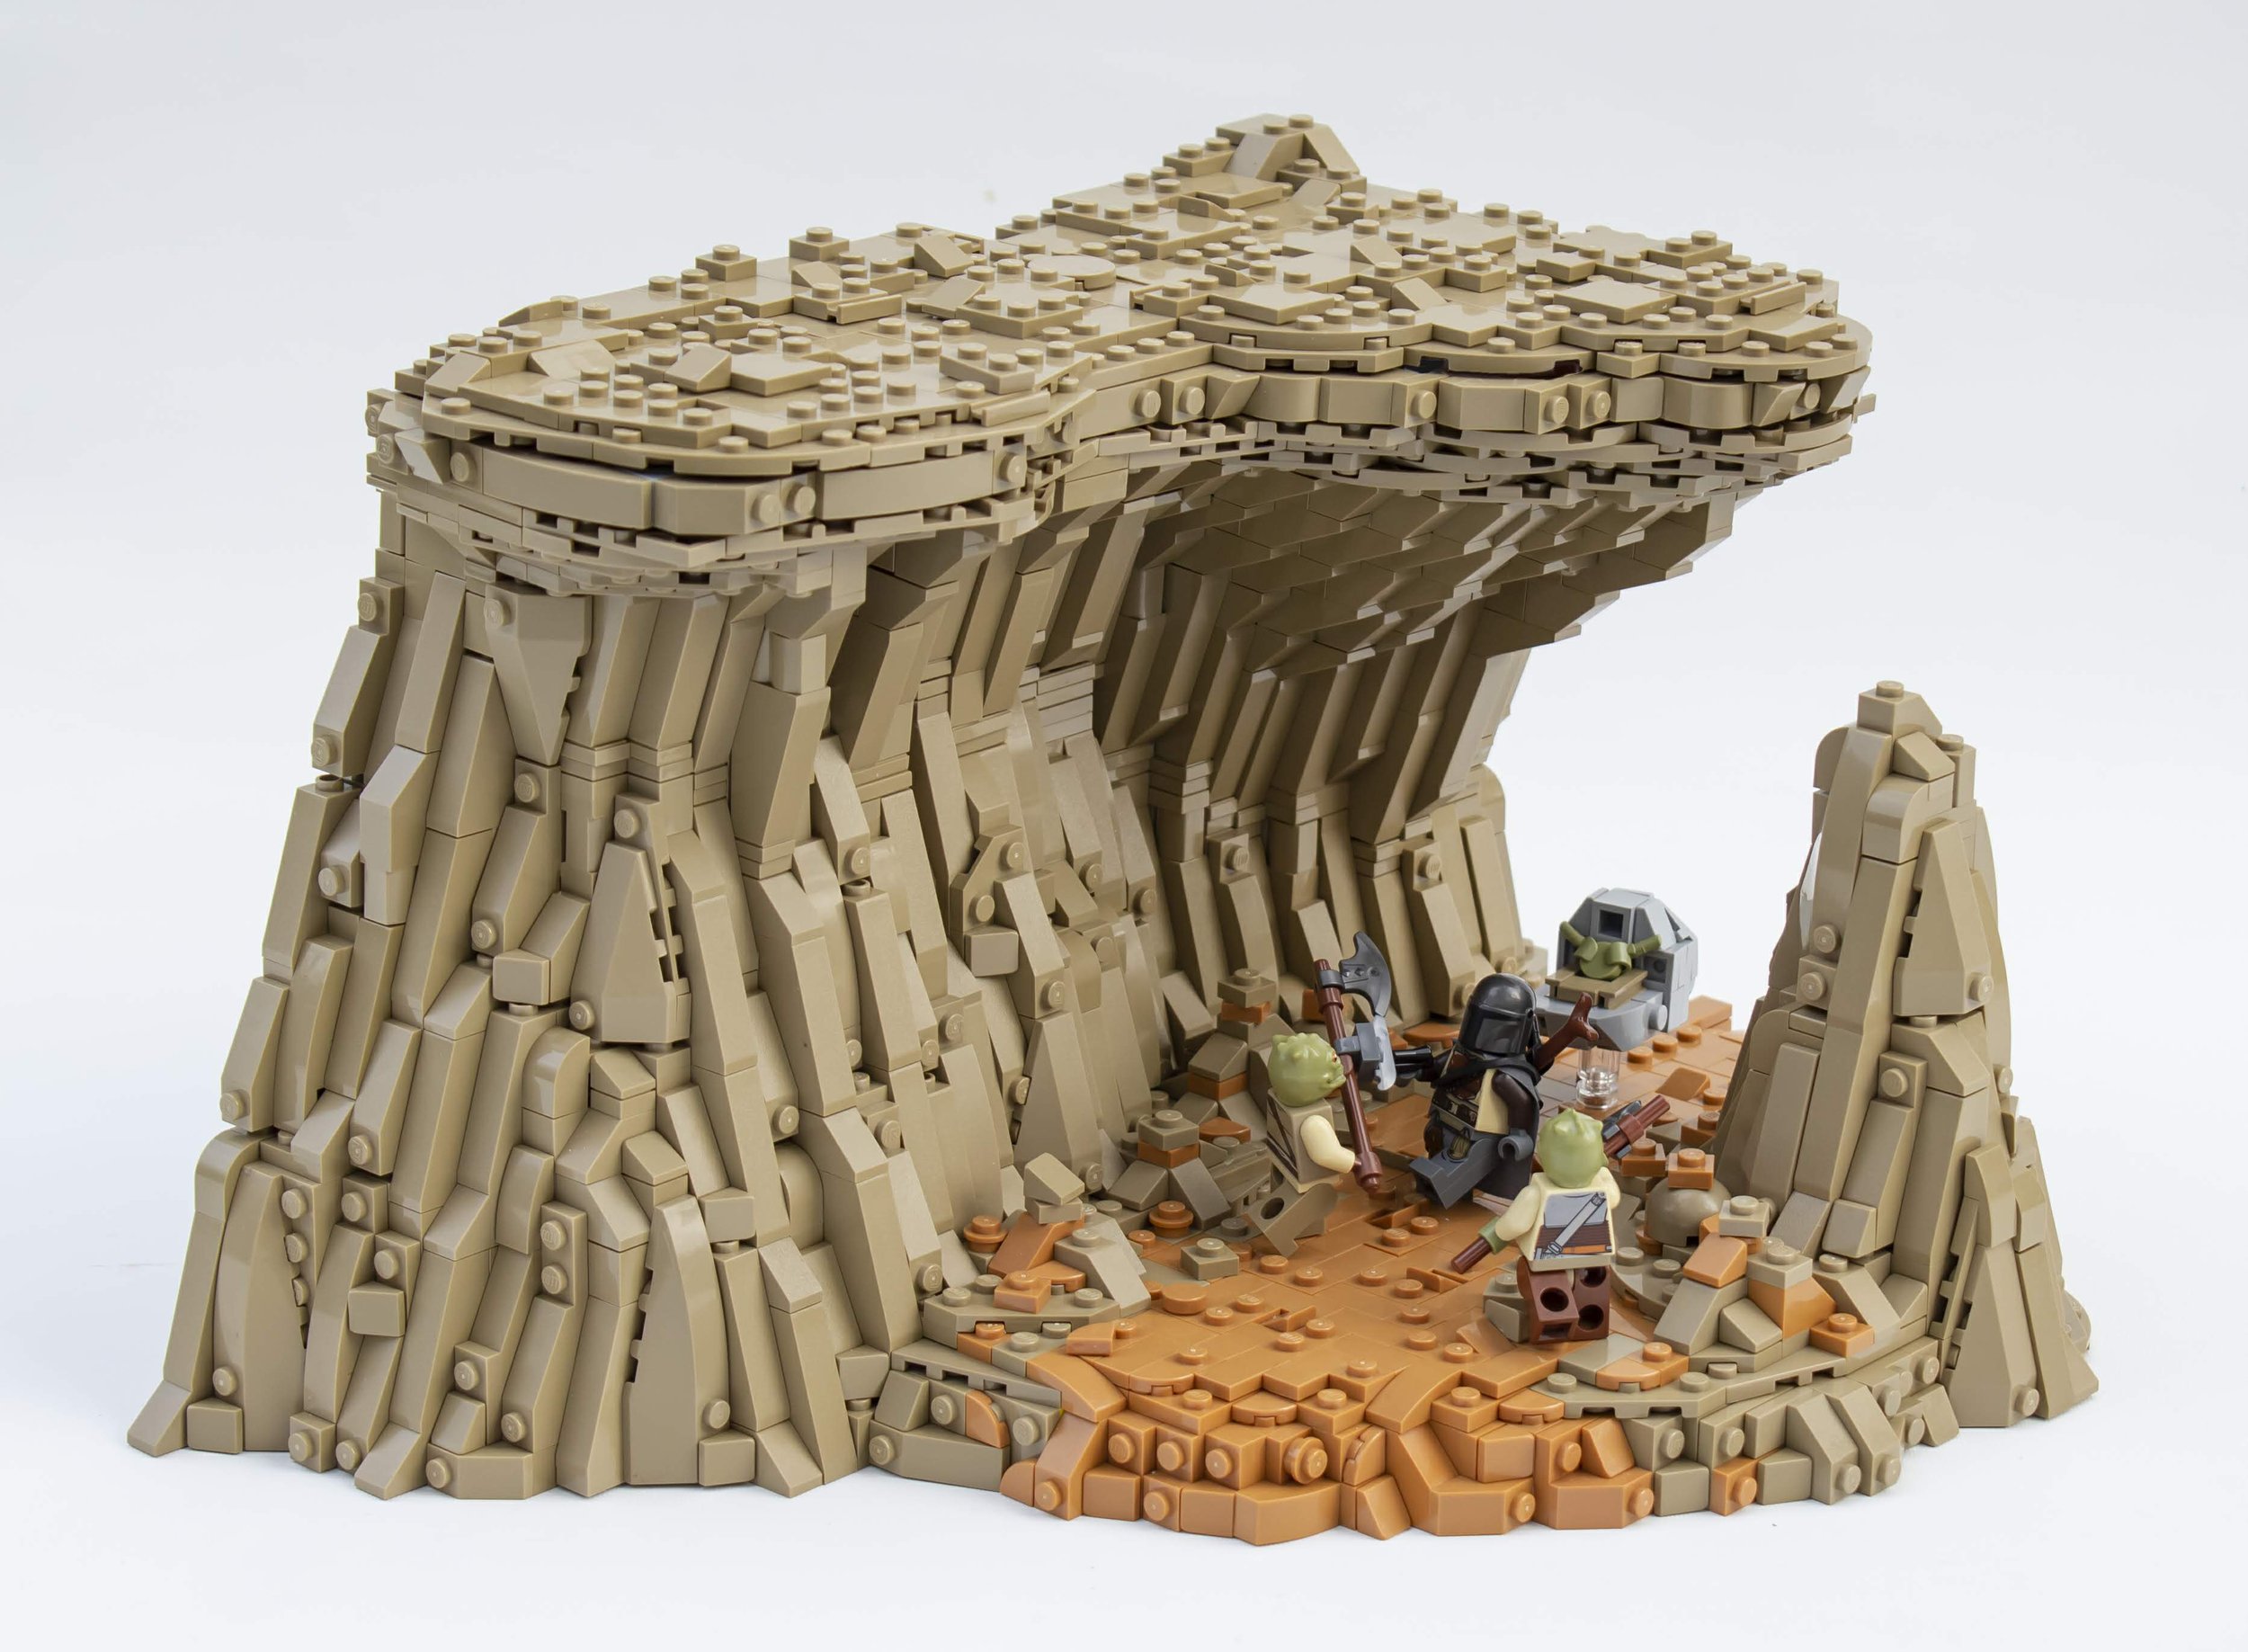
If you don´t have the patience to match large pieces perfectly through hours of painstaking trial and error, you can always just flip a Jabba upside down and throw some elephants behind it. At least that´s what I did! ;)

To round things off I just had to include this stunning build again, our first technique spotlight repeat MOC. We´ve already covered the clever techniques used in the waterfall but what really drew me in the first time I saw this build was of course the rockwork. Grant Davis makes use of everything from the smallest tile to the largest wedge to create this masterpiece. I highly recommend you take a moment to really look at how each piece fits perfectly with the next to create a cohesive look that at least blew my mind.

And speaking of Grant, he also made this mountaintop shrine that features some really creative rockwork made from boat studs, round tiles and the edges or rods. What might seem like an idyllic scene from the front shows its true colours (and genius) from behind.

In his tour of the MOC on YouTube, Grant reveals the technique of securing the rockwork elements in place with a lattice or rods and clips, affixing the pieces in place so firmly he can even turn the entire creation upside down without a piece falling out of place.

With that craziness revealed, I think it is time for our rock-climbing expedition to come to a close. Thanks again for stopping by—I hope this technique spotlight has given you some inspiration and useful tips when going about building your next rocky masterpiece.
Did we miss any examples of LEGO rockwork that you love? Let us know in the comments!
Do you want to help BrickNerd continue publishing articles like this one? Become a top patron like Charlie Stephens, Marc & Liz Puleo, Paige Mueller, Rob Klingberg from Brickstuff, John & Joshua Hanlon from Beyond the Brick, Megan Lum, Andy Price, Lukas Kurth from StoneWars, Wayne Tyler, Monica Innis, Dan Church, and Roxanne Baxter to show your support, get early access, exclusive swag and more.