Playing With Scale: Upgrading the Up-Scaled LEGO Minifigure
/
The Up-Scaled LEGO Minifigure (40649) (aka Maxifig) has started popping up all over LEGO channels. And I can say it is definitely an awesome set worth all the attention. But, rather than a standard set review, if you are like me, there is a compelling force to modify this big-little guy. So, I wanted to give you my efforts as an example as well as several things I learned through the process. Hopefully, reading this will encourage you to grab your own set and help you transform it towards your vision!
Up-Scaled Merchandise

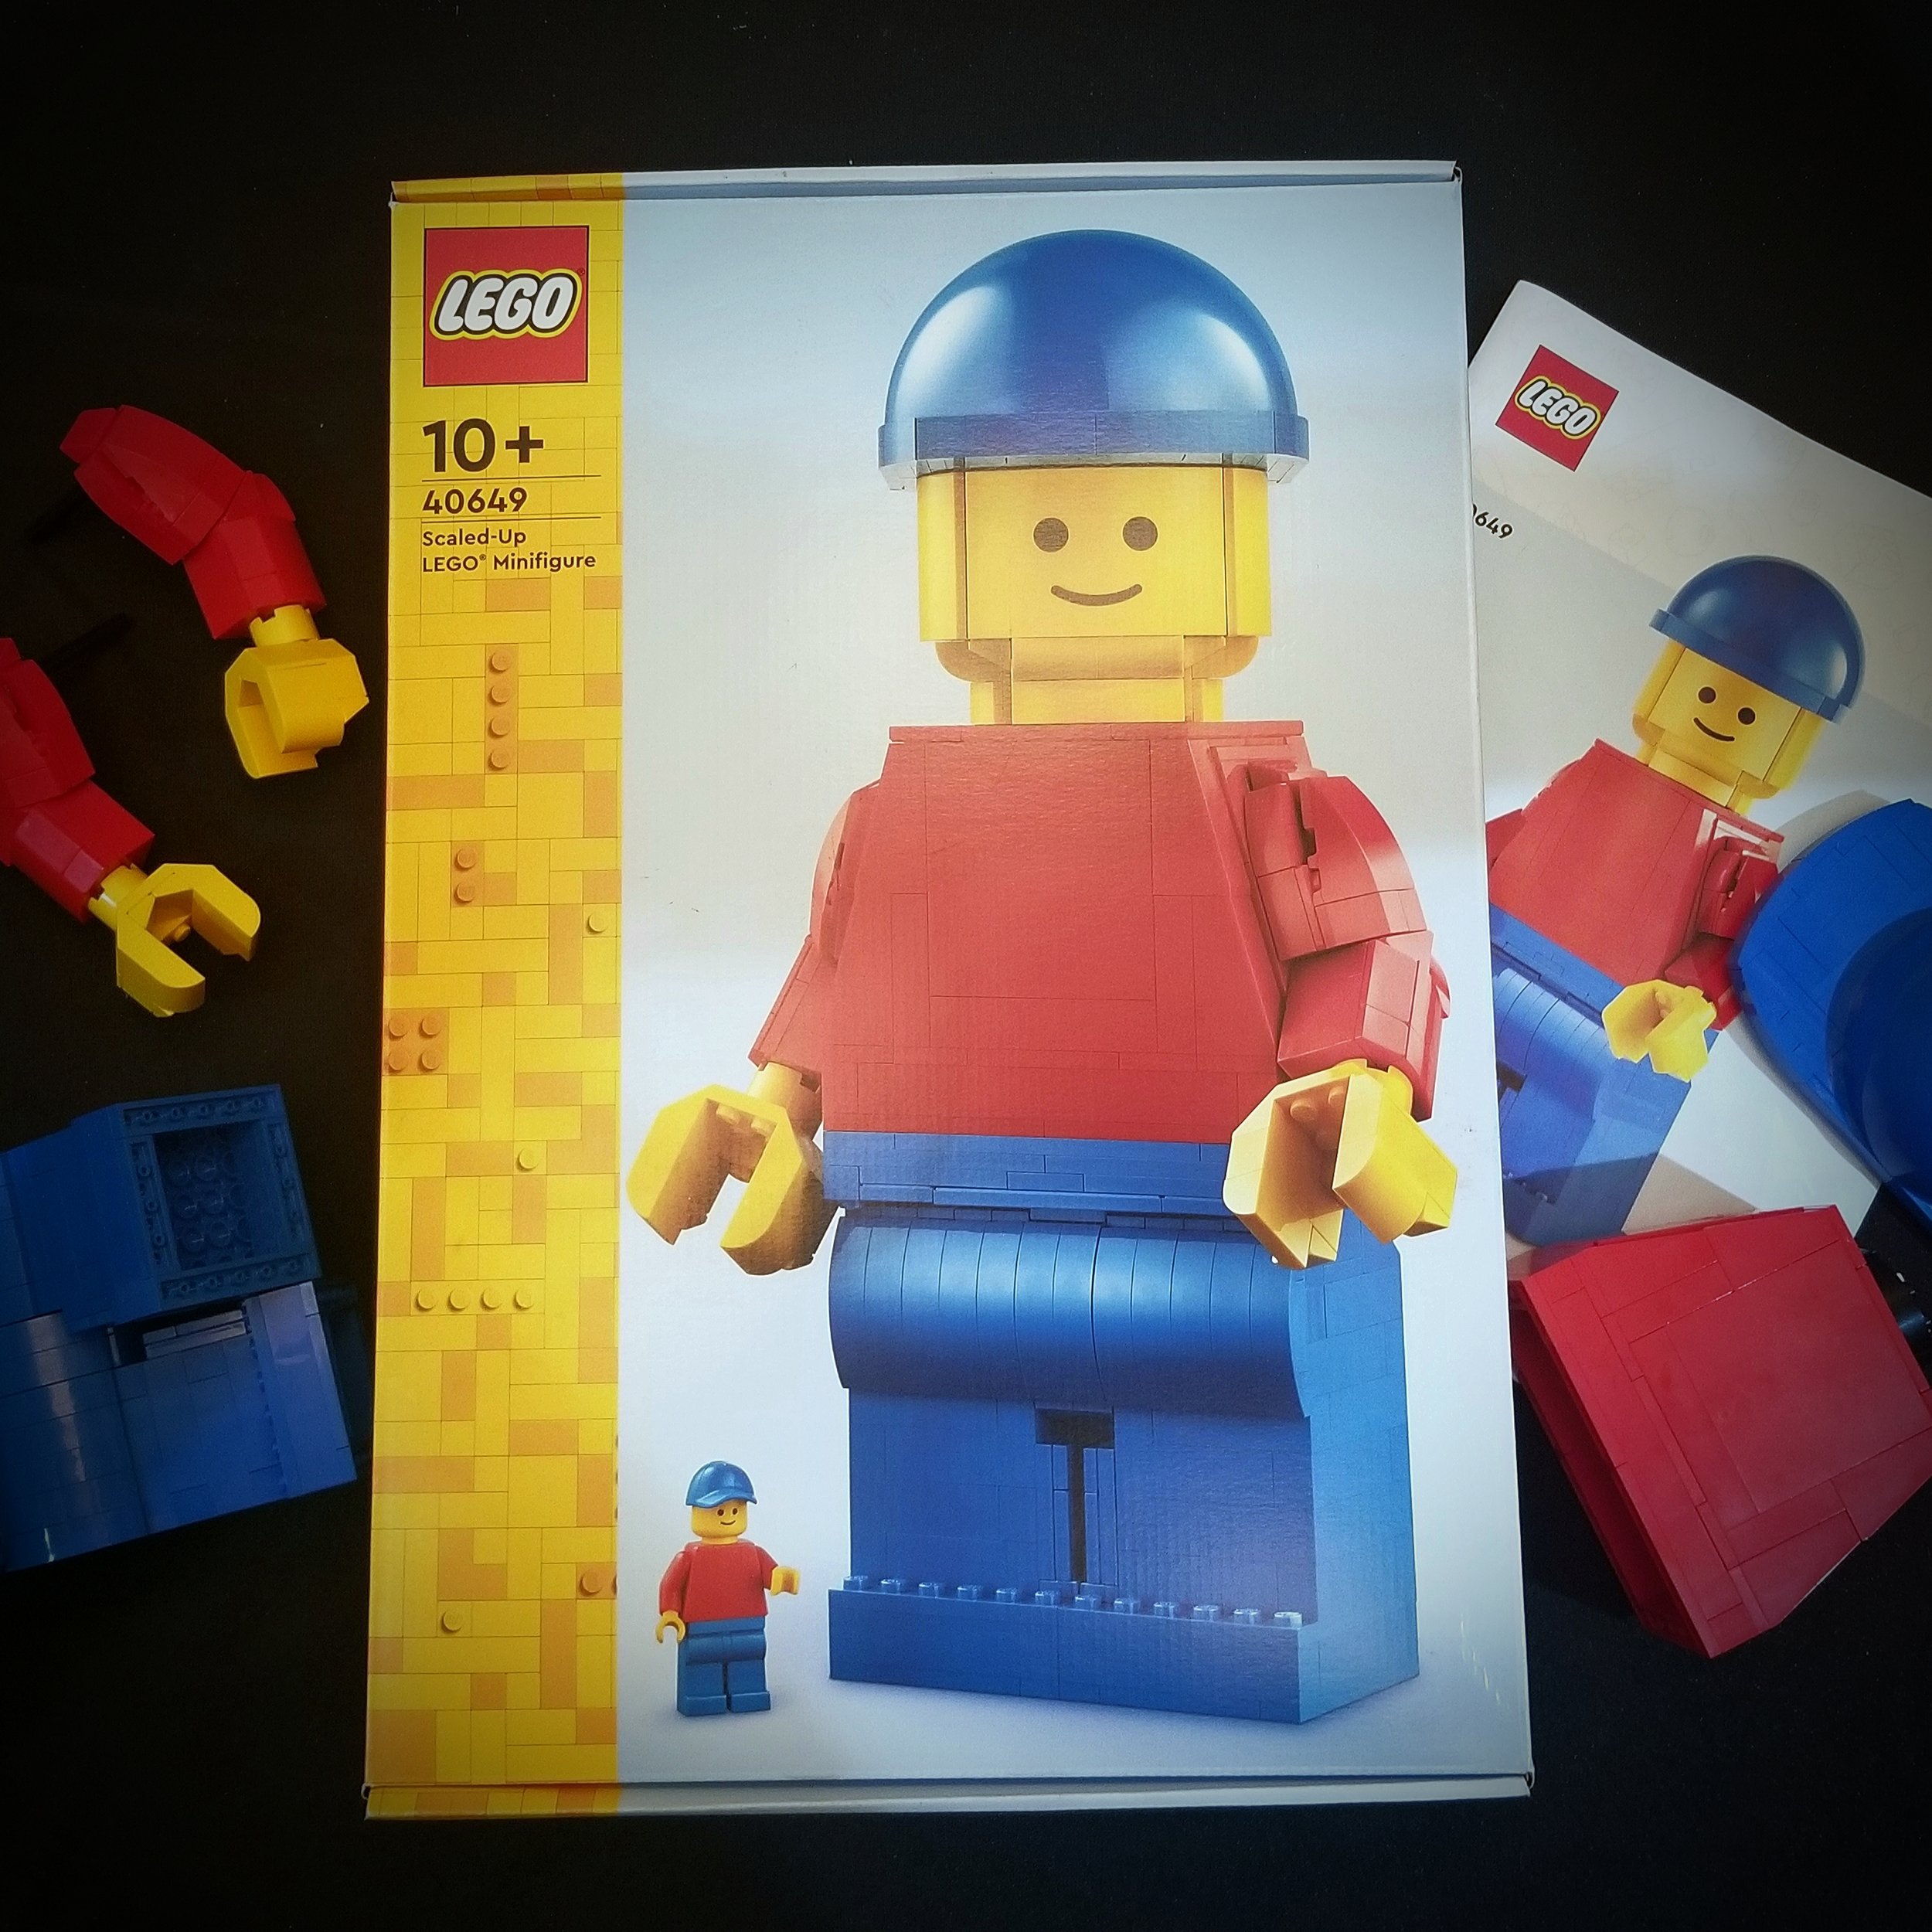
“For the ever-loving scale?!” LEGO has produced many larger-than-standard minifigures, parts, pieces, wall decor, shampoo bottles, etc. It can be a fun rabbit hole to get lost in, just finding the oddly satisfying oversized items you never knew existed. That said, the scales are always changing… Even in this picture of LEGO trinkets and bobbles I have built or collected, we find half a dozen totally different scales! So what is our Up-Scaled LEGO Minifigure set actually scaled at?
I will explain this without getting my digital calipers and providing you a mathy chart for every measurable dimension of a minifigure, and how they ratio up or down. Quite simply, he is roughly “6x” the size. By this, I mean a 1x1 miniature footprint is now a 6x6. A single stud is now a 4x4 round. Fortunately this is pretty standard when people make upsized bricks and pieces. However, the remaining question is then, what is now the diameter of a rod? A 2x2 round or a 3x3 round…

Spare The Rod…
I hand-picked some of the elements that fit with our main set’s scale. Most of the closest pieces match a 3x3 round rod. But let's take an additional look and see how this might compare to the Up-Scaled Minifigure’s hands.

Mathematically, and as seen above, the rod size is closest to a 3x3 round. Unfortunately, those are awful parts to source. There just aren't too many options for that sized cylinder. On the other hand, 2x2 rounds are so prolific comparatively that most scales choose to fudge as much as they can to keep them relevant. But, as it is not impossible, here is an upscaled part I created which stays in the same scale as our set, but uses 3x3 rough rounds as bars.


Going forward, as much as I appreciate the math, I still chose to stick with the smaller 2x2 round rod size. The quantity, part types, and color variety available are simply unmatched. Also, to me, many standard scale items and utensils are overbearing when attached to a minifigure, so if they shrink a smidge in the larger scales, I feel that they tend to not overwhelm your main character. So onto my next task! Finding the connection for a rod to a hand. With six exposed studs in each palm, I assumed this would be easy. It is not.

Let’s Give LEGO a Big Hand!
These were my first three initial attempts. They each seemed pretty natural, and I simply assumed they would all work, and I could simply pick my favorite. Then, I started running into problems. Before I get too deep into nitpicking the hands, I want to say something important about the set overall. Although this is not a set review, this set is truly amazing. For how simple it appears on the outside, the inner workings, range of motion, friction, and stability, make this set a true building experience. I give the leg assembly, head, torso, and arms, all a 10 out of 10! However, the hands make me sad. The hat could be cleaner at the back as well, but I digress. Back to the hands, they were quite frustrating to get work for me. Perhaps I am missing something obvious, it has been known to happen. So, let’s take a deeper look.

The four deeper recessed studs seem almost irrelevant. Any held bar starts bumping into the higher two studs, so you have to build it up. But, If you build the connection up too much, our figure is now holding the item with just his fingertips; if however, you don't build up it enough, then you have half-stud connections. I honestly was almost okay with the half-stud connections, as they just about gave that slight angle all LEGO minifigure grips have. But it turns out it is in the opposite direction. “Well then, let’s flip the hand.” I figured. This only resulted in it becoming far more fragile than it already was. This was NOT where I thought my building process would get hung up. At this point, I hadn’t even touched the head or torso…

Ultimately, this photo represents my final, hopeful wishes as I scrawled them on a tiny piece of torn, tear-stained paper. There they lay, placed at the end of my many minutes and hours of fiddling with something I thought would be simple. So, I moved on. Again, I may be missing something, but for this build and my sanity, the Technic brick was my hero.

This is what I ended up sticking with. I liked that you could choose to have the studs be up or down. I found that this setup landed the rod more toward a center grip. It also sometimes utilized the newer half cylinders which is fun, and lastly with the four unused studs, I was able to add some “yellow double cheese slopes” to smooth out the hand’s inner curve. What other solutions may you have found?
Hats Off to The Minifig!

The next fear was ANY headpiece. Maxifig hair is like the new tedium of brick-built rockwork. And while most of the visors LEGO has created are probably impossible, I wanted to make an attempt at a helmet. As a castle guy, I wouldn't really have to worry about a visor. As someone who also loves LEGO Space, I figured that just proving a visorless Benny as an option is worth the effort. I hope this helmet side tangent and some LEGO circle math blesses someone.
Nice ABS!

Onto the torso! The first step in my process was to pull out any color in which I had 8-12x of the taller slopes creating the torso’s main angles. Those are the color-limiting pieces. As an example, I would have made a green Forrestmen but did not have any of those slopes in green, let alone a minimum of eight. So, while I did not end up changing the base color, keep that in mind. After several table scraps at trying 1-2 brick-deep chest plate add-ons, I found simple to be best. SNOT on some plates and tile in the detail. The SNOT attachment points were simple enough to add in.
Caped Crusader

Capes! Who doesn't love capes other than Edna from The Incredibles? So, I had to make a cape. Grabbing an online cape stencil, I screencast it to a projector and traced it out onto some heavy cloth. Our scale translated to the vertical dimension being 10 inches. The one shown was roughly 11 inches and is a little too large. Using a wood burner, I cut it out while heat sealing the cloth edge from fraying simultaneously. With that finishing piece, I was ready to put my mod together!
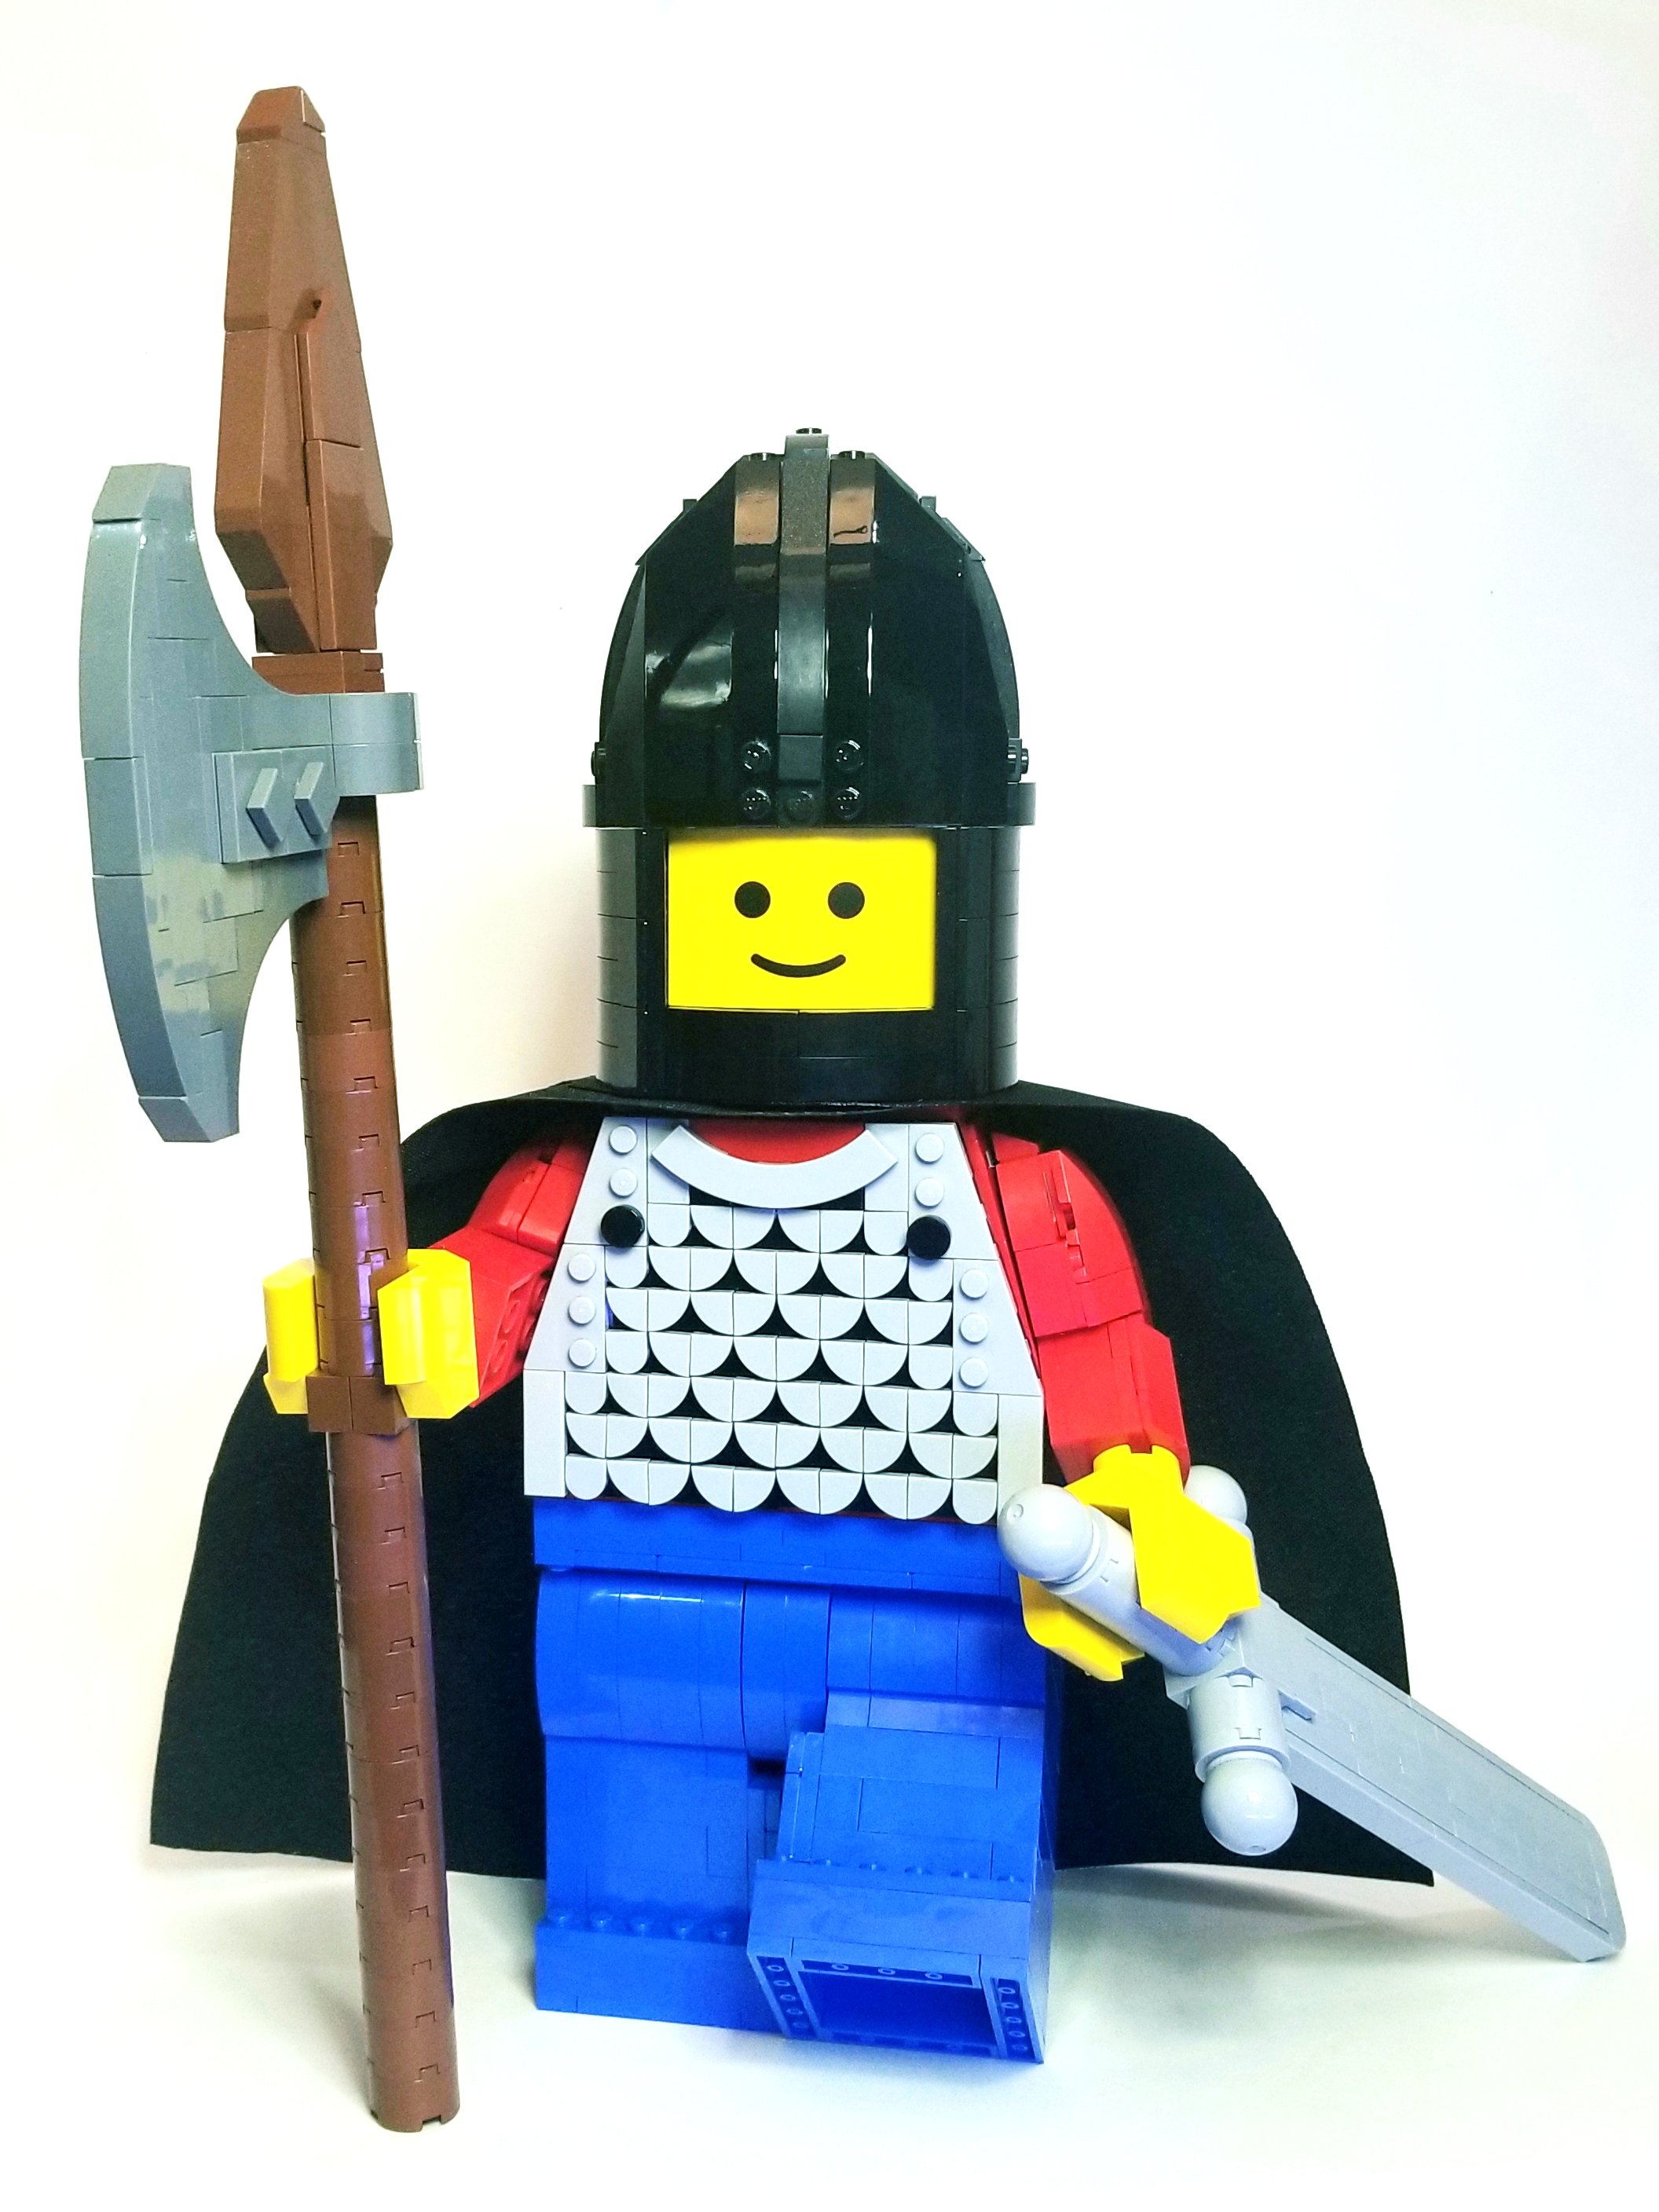
Growing up with some of the earlier castle factions, the medieval minifigures have always had a special place in my heart. So, building this Up-Scaled figure to mirror some of those beloved knights was a blast! But I don't want to simply end this article with something I made. With the countless beloved minifigures, let’s check out a few creations others have made to personalize this up-scaled set!
Up-Scaled Round-Up

In fact, we’ve written about some of them here on BrickNerd before, including the Pirate Captain and Harry Potter Up-Scaled Figures. Check out John Coopers fantastic article here.
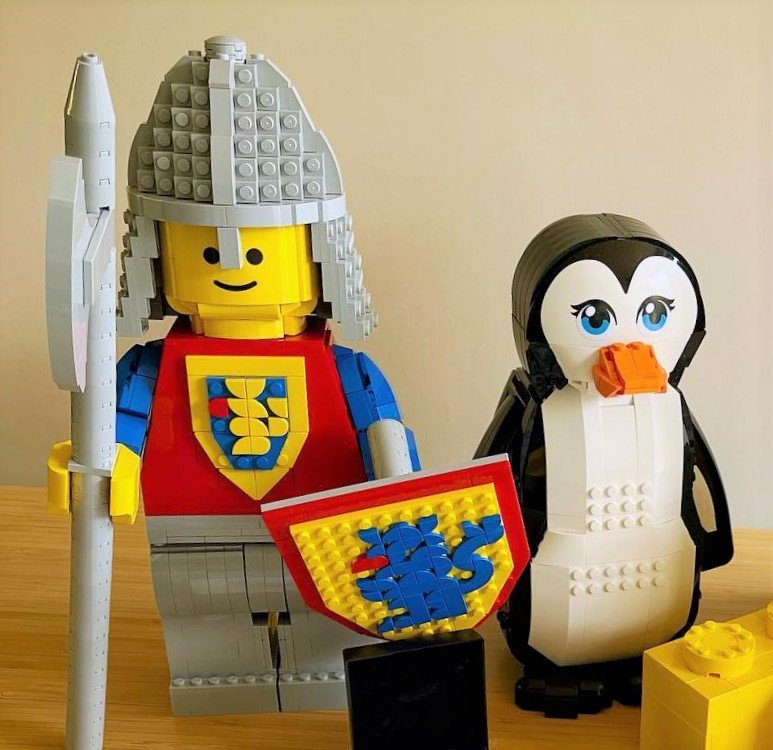
Here is a super cool modification from Marin Stipkovic, next to a Markus Rollbühler Penguin!
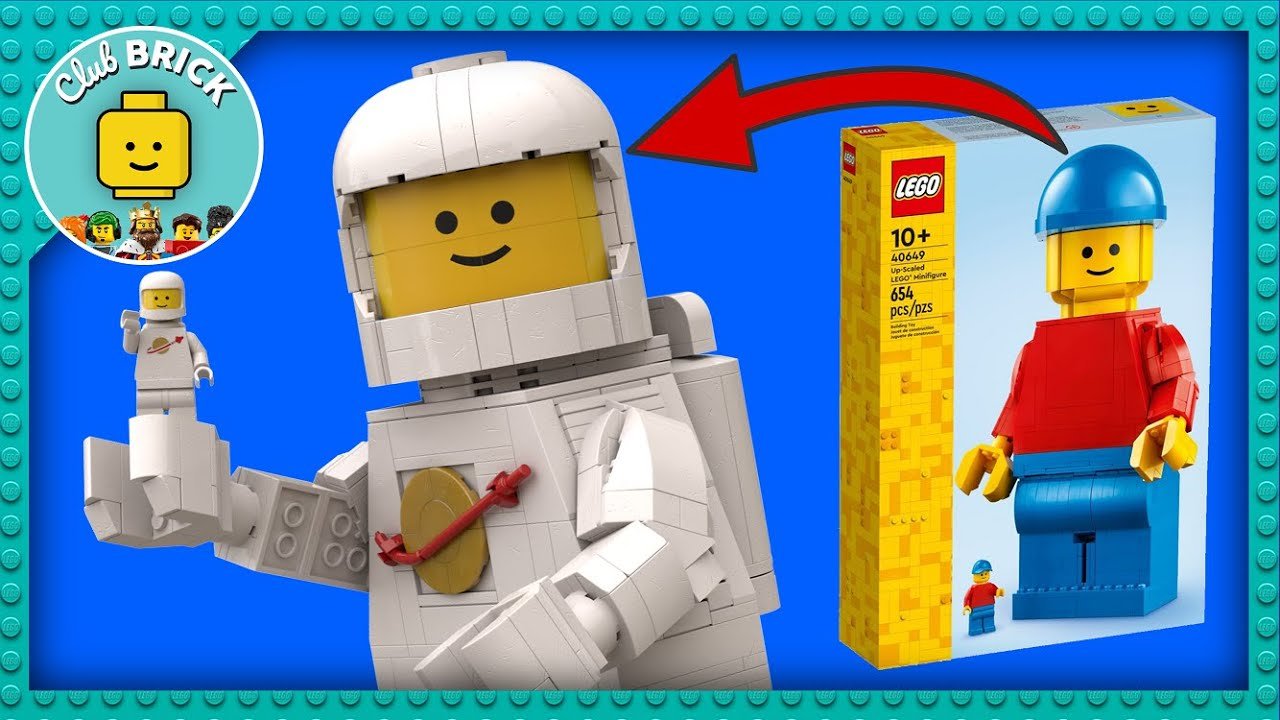
Club Bricks also posted a cool video showing their transformation of this set into a classic spaceman!
Even stickering will be big, I’m sure. Some of the minifigure designs will honestly probably look best with some custom stickers. It will be cool to see the various modifications made to embellish this epic set. With so many options, what would you make with your Up-Scaled LEGO Minifigure?
Where would you start with customizing one of these Up-Scaled LEGO Minifigs? Let us know in the comments below!
Do you want to help BrickNerd continue publishing articles like this one? Become a top patron like Charlie Stephens, Marc & Liz Puleo, Paige Mueller, Rob Klingberg from Brickstuff, John & Joshua Hanlon from Beyond the Brick, Megan Lum, Andy Price, John A., Lukas Kurth from StoneWars, Wayne Tyler, and LeAnna Taylor to show your support, get early access, exclusive swag and more.