
Brick-Built Patina: My Experience Distressing LEGO Vehicles
/
What is Patina?
Patina is defined as “a surface appearance of something grown beautiful especially with age or use.” Have you ever picked up a partly green coin or penny, or seen the Statue of Liberty? Those have a patina from oxidation, for example. There are many different patina shades you can achieve.
A weathered car is another example. This could be as subtle as fading, or as extreme as rust and decay. Worn or otherwise unrestored vehicles are very popular among enthusiasts. There are a few different reasons why people leave their cars like this. It’s more costly to prep, prime, & paint a metal surface than it is to leave it alone. It’s also been said that not repairing the worn look gives the car more personality, and shows its history. Some people preserve the outer decay and prevent it further by coating their vehicle in clear paint.
Why Patina?
Perhaps a ridiculous question, but I don’t think so! Distressed surfaces need their time to shine, even if they don’t…shine, per say. Like many, I believe that the surface of an object can be beautiful when exposed to the elements for years. I’ve always loved the look of vehicles that have been virtually untouched on the outside over the course of a long time, so why not give it a try with LEGO?
With the basics out of the way, let me tell you a little bit about how I got started, and explain my process!
Pondering Patina
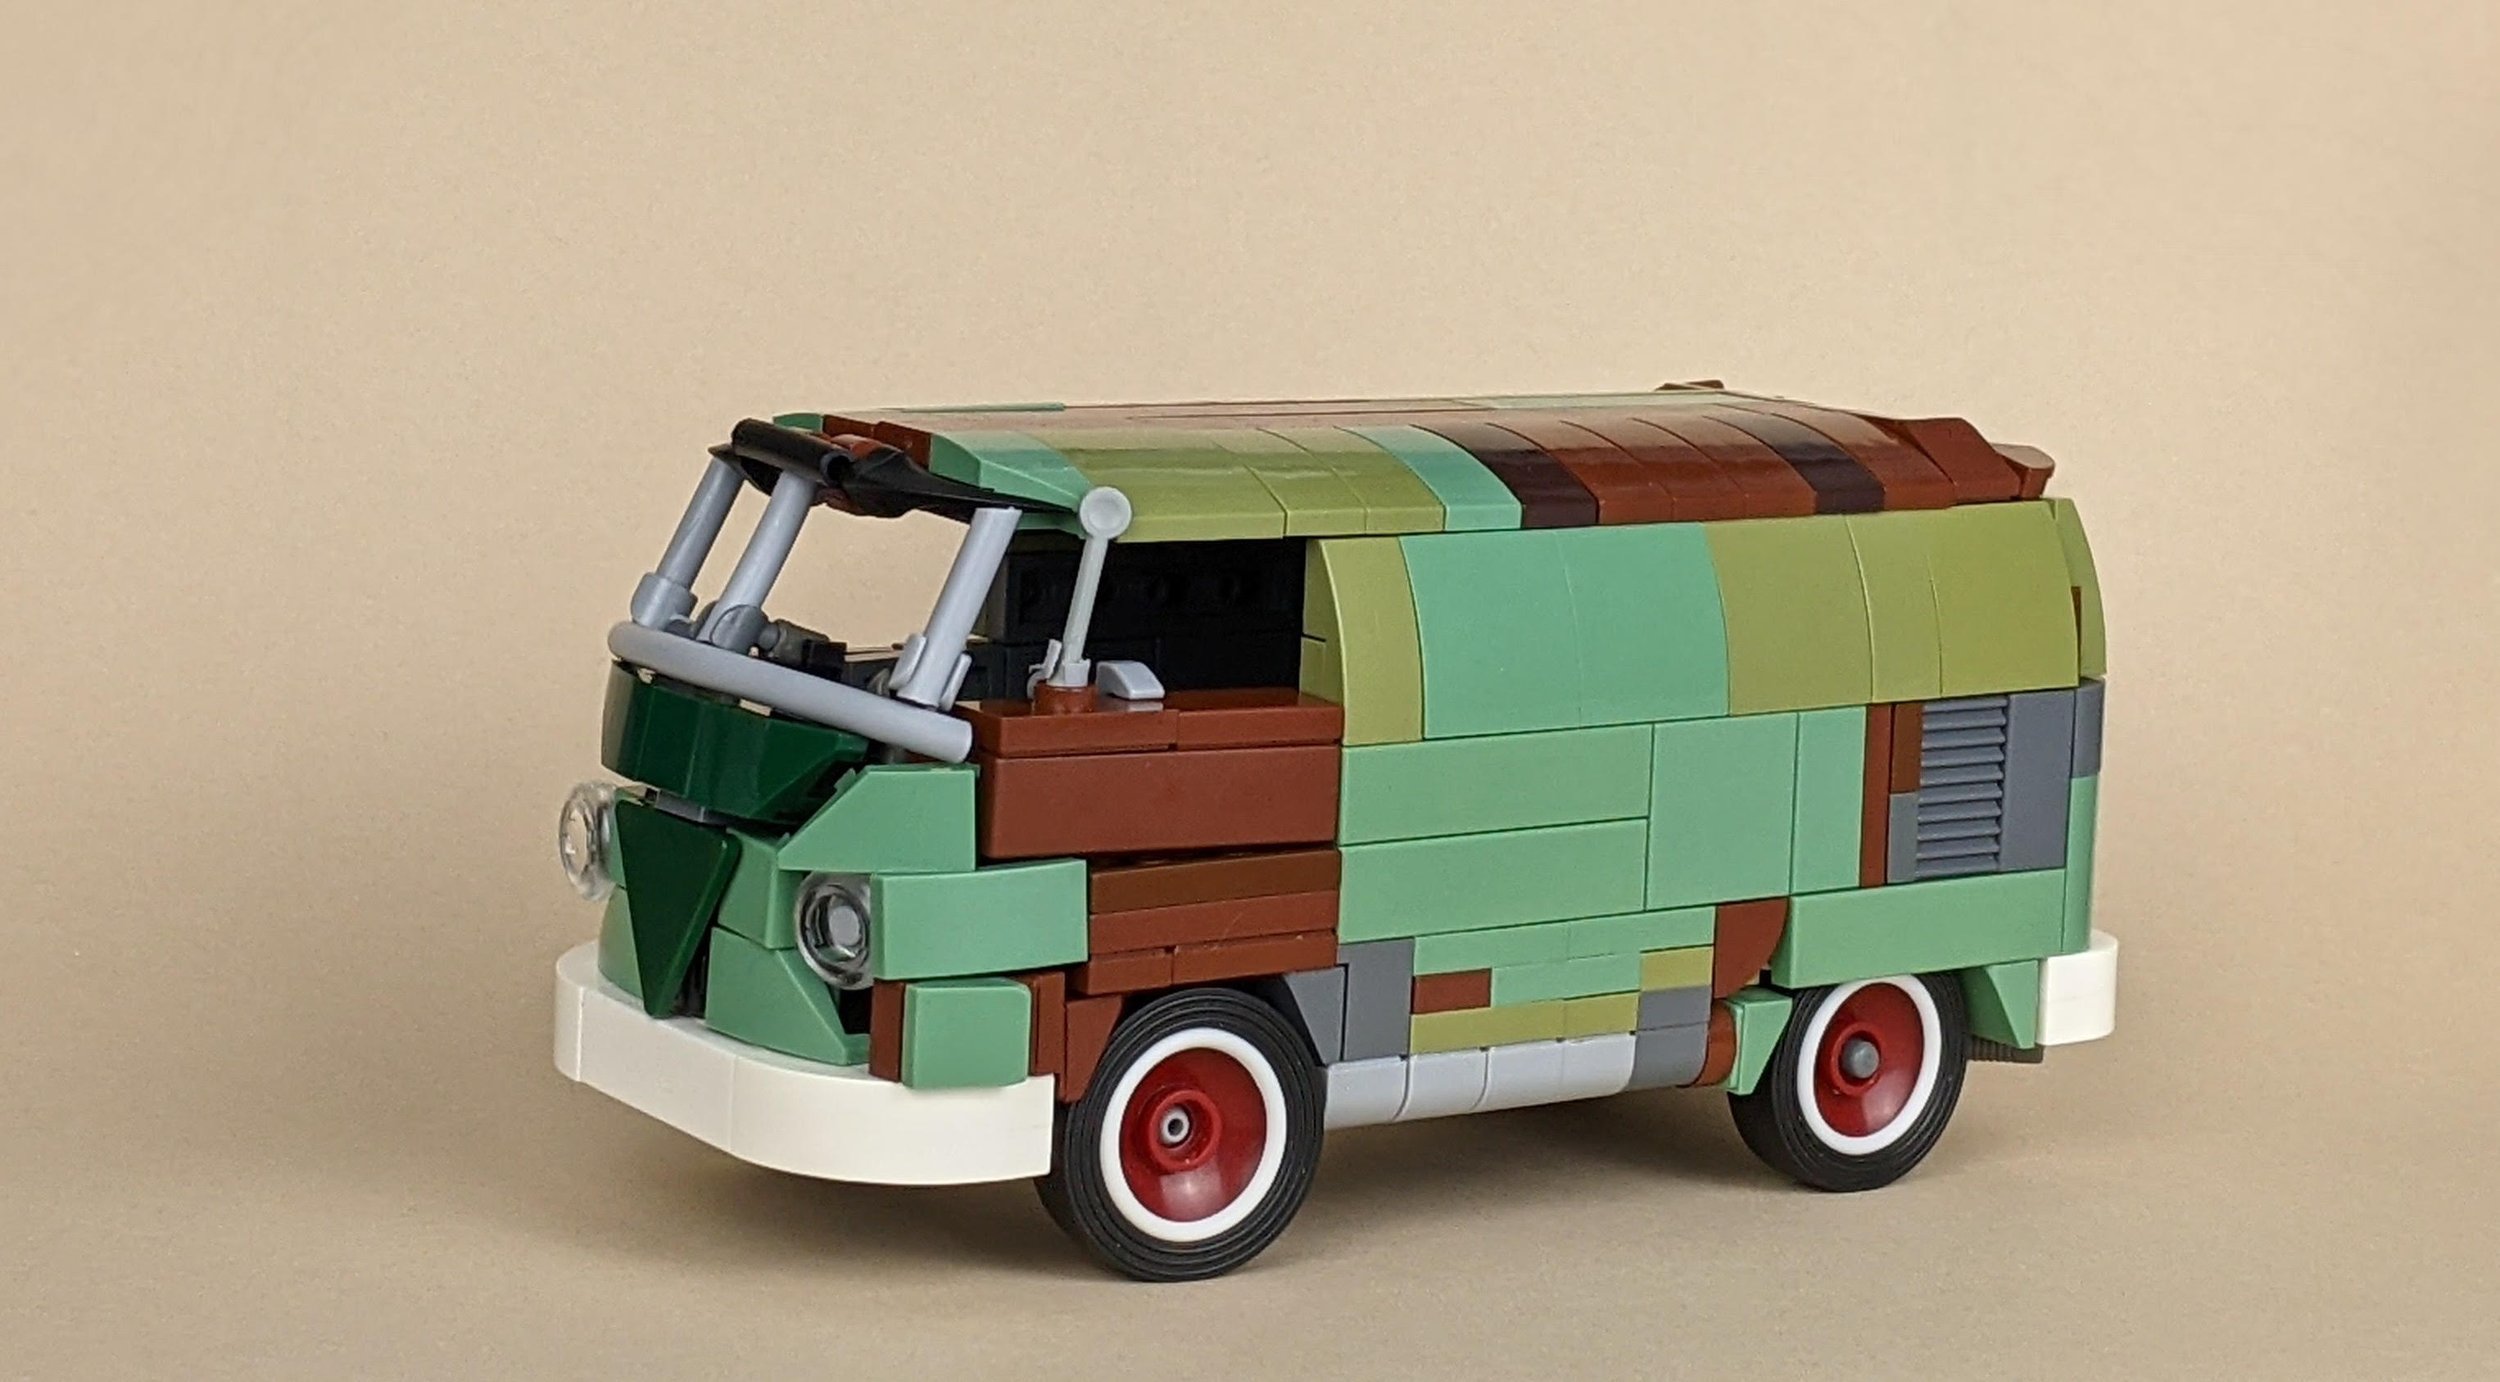
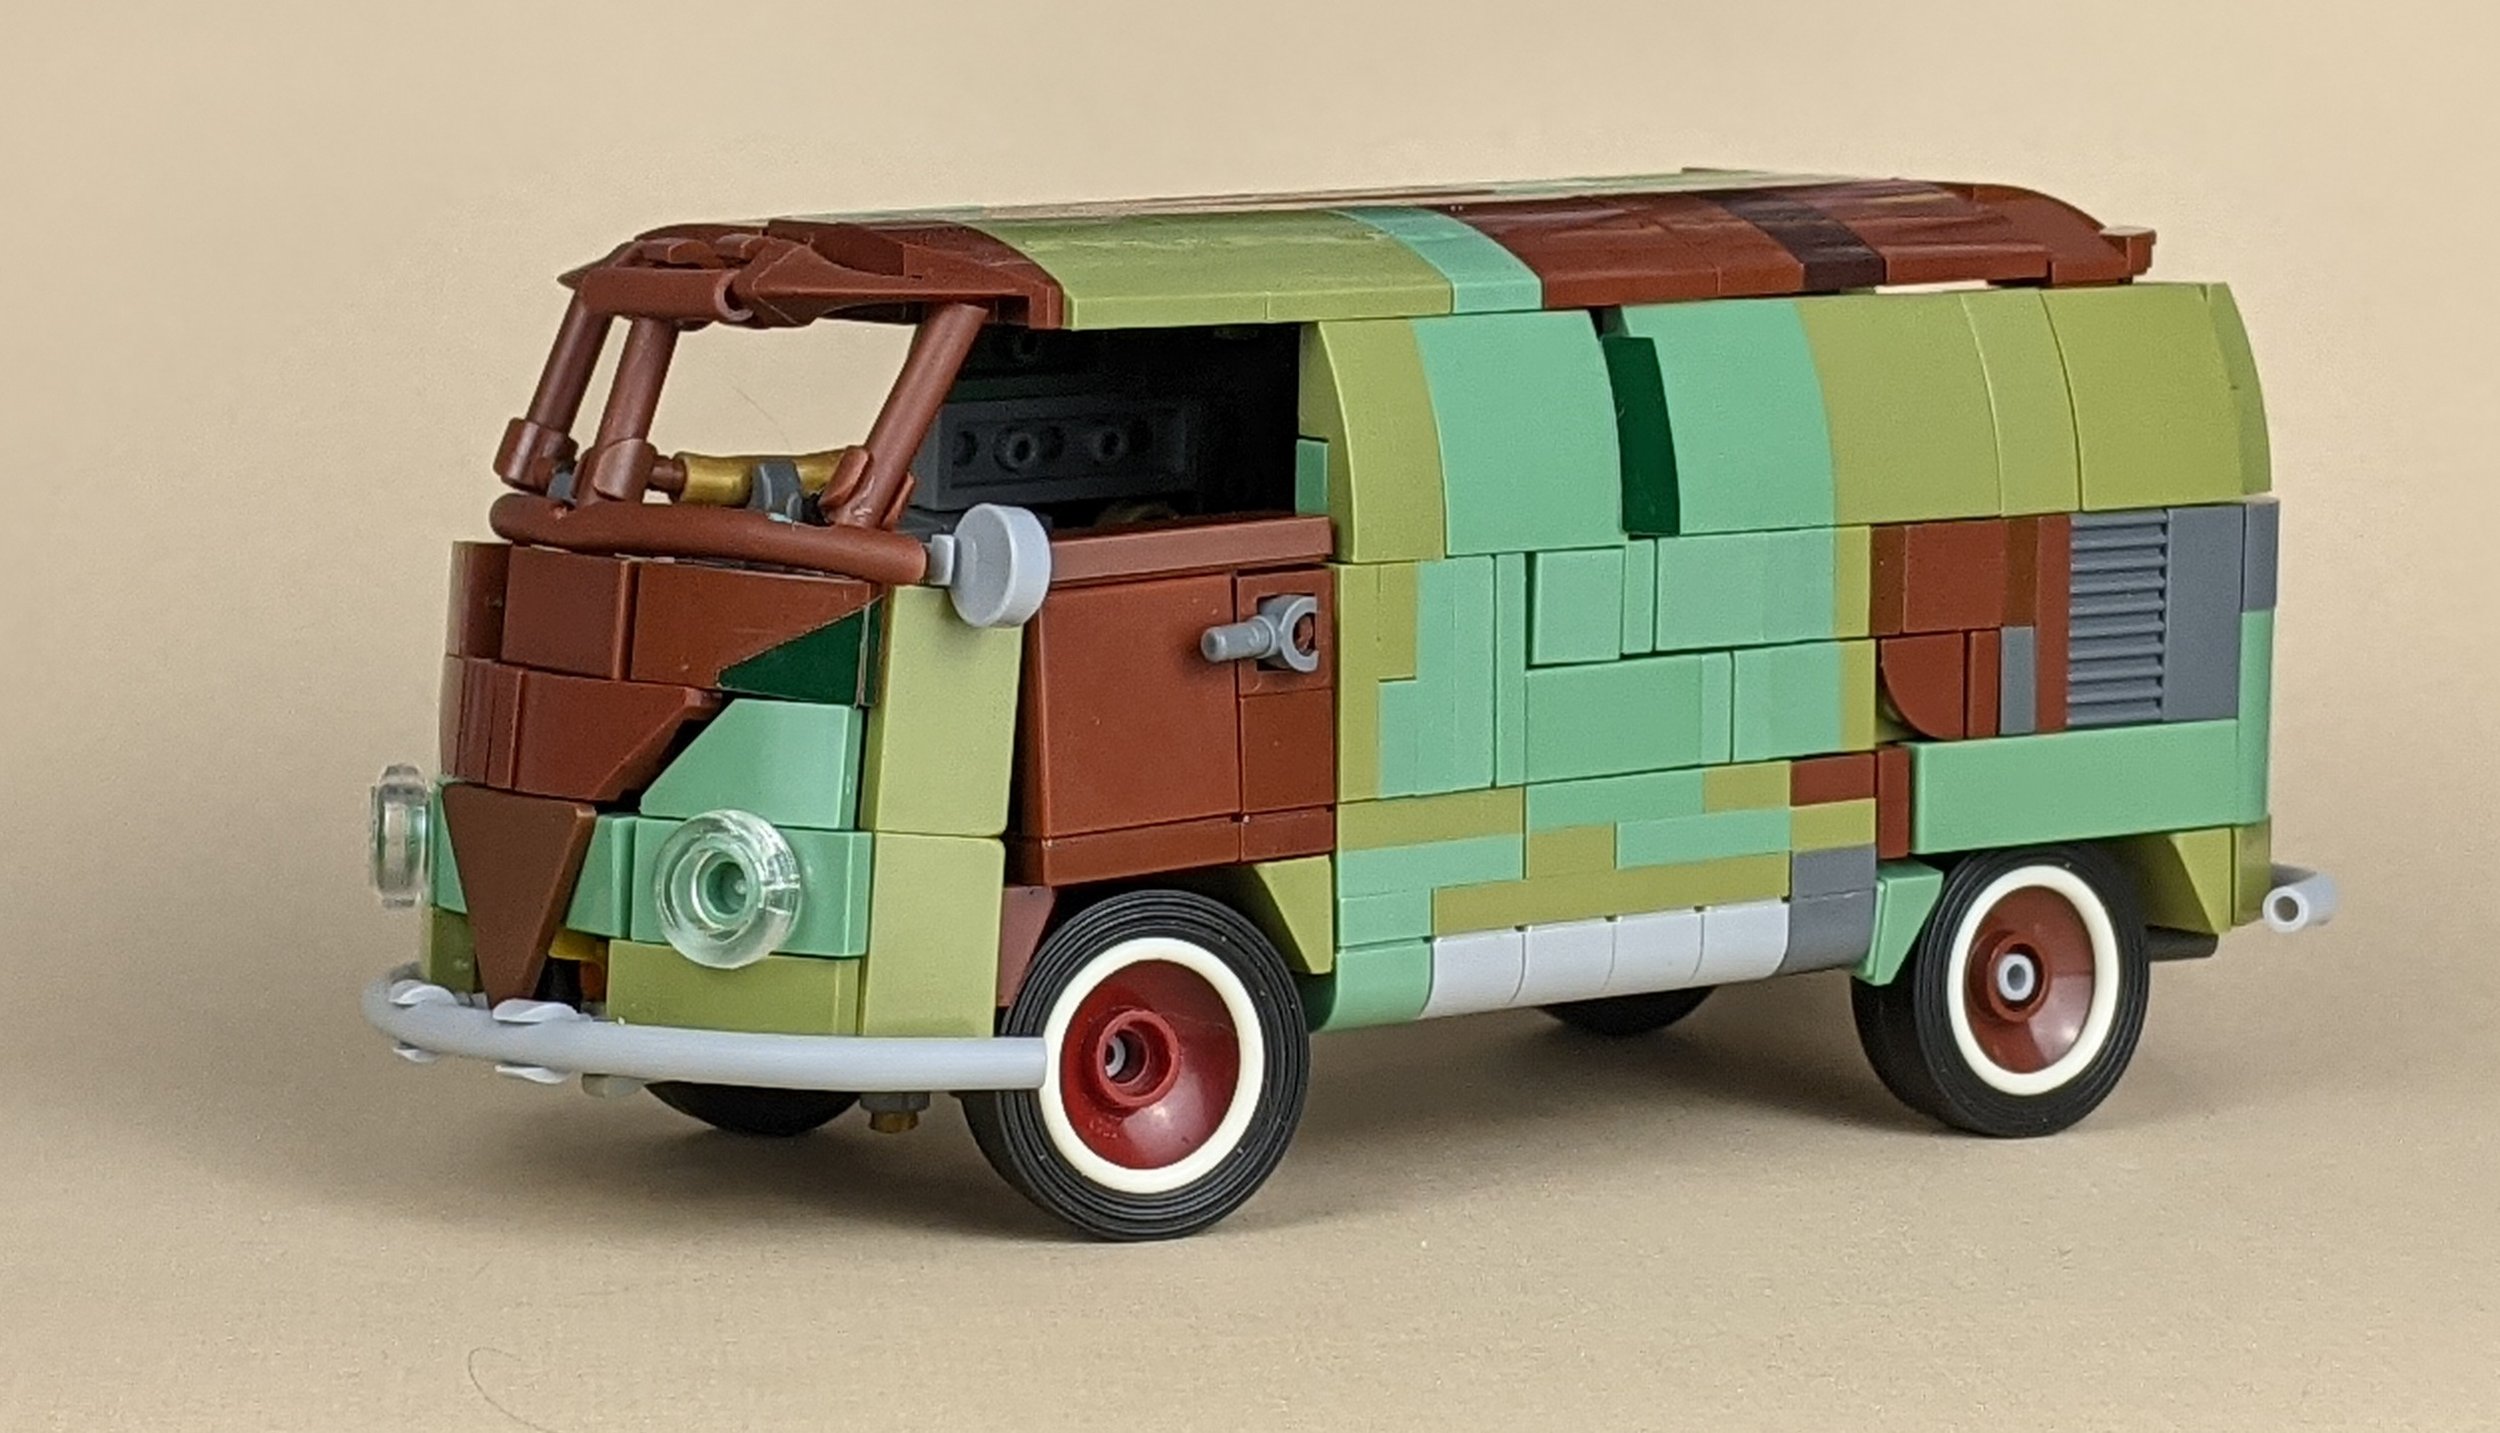
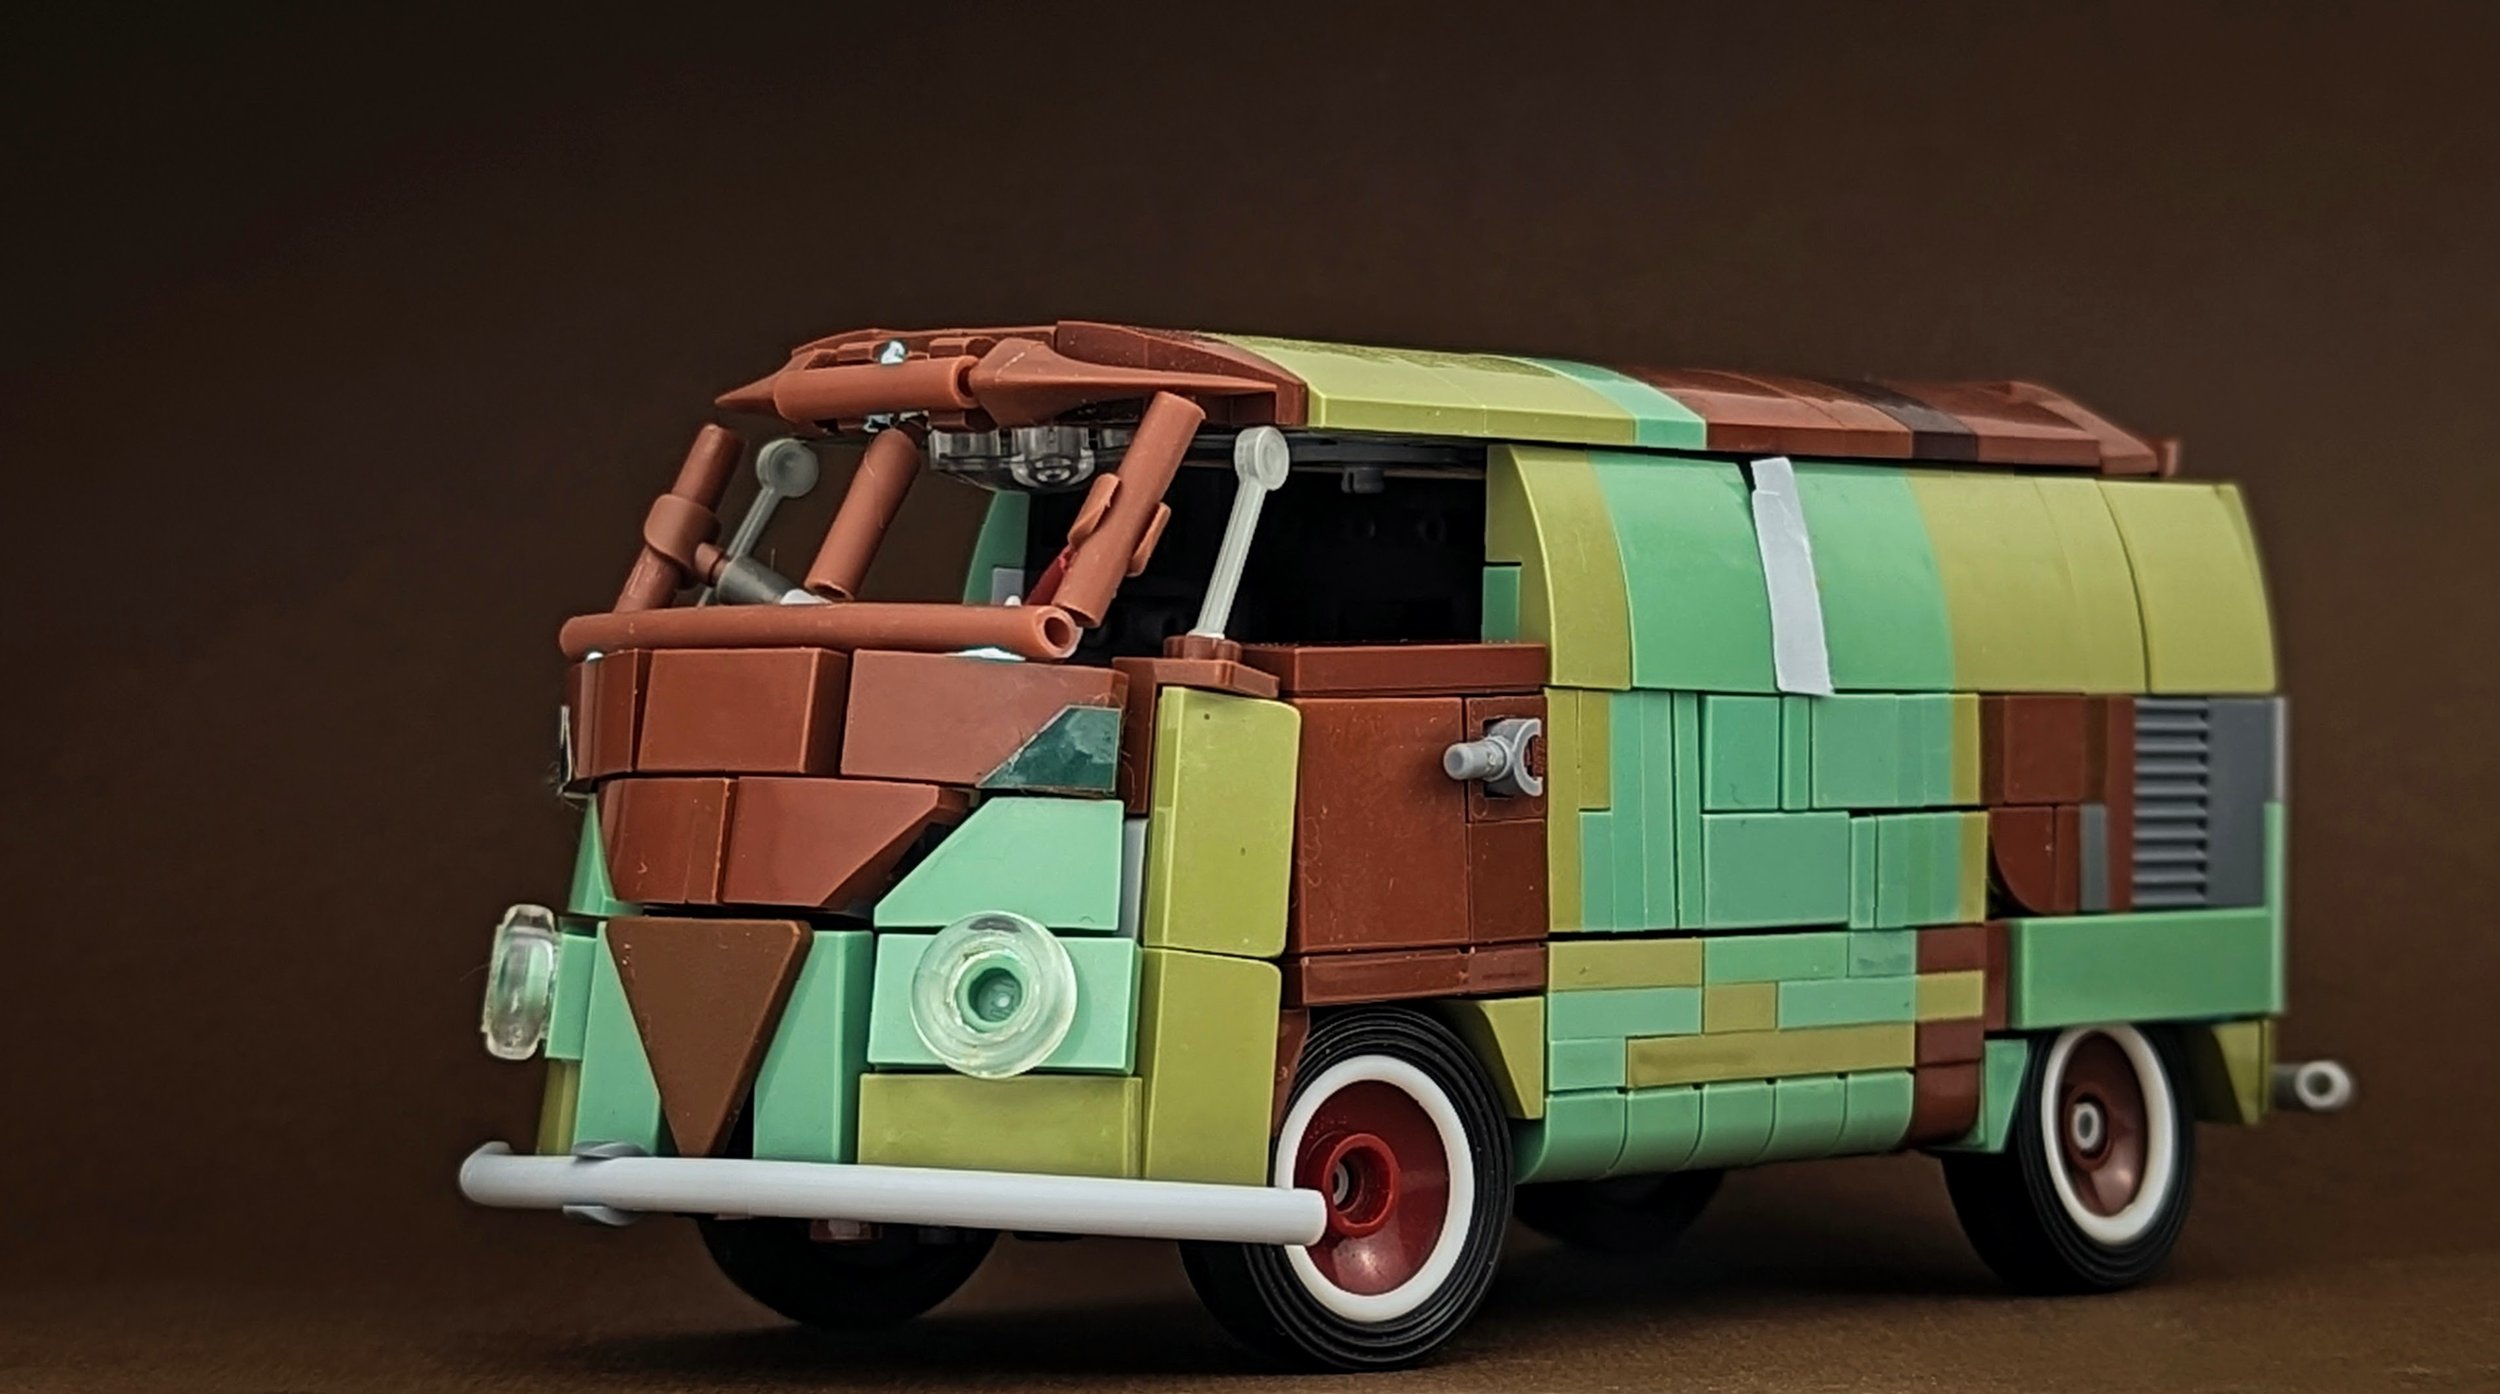
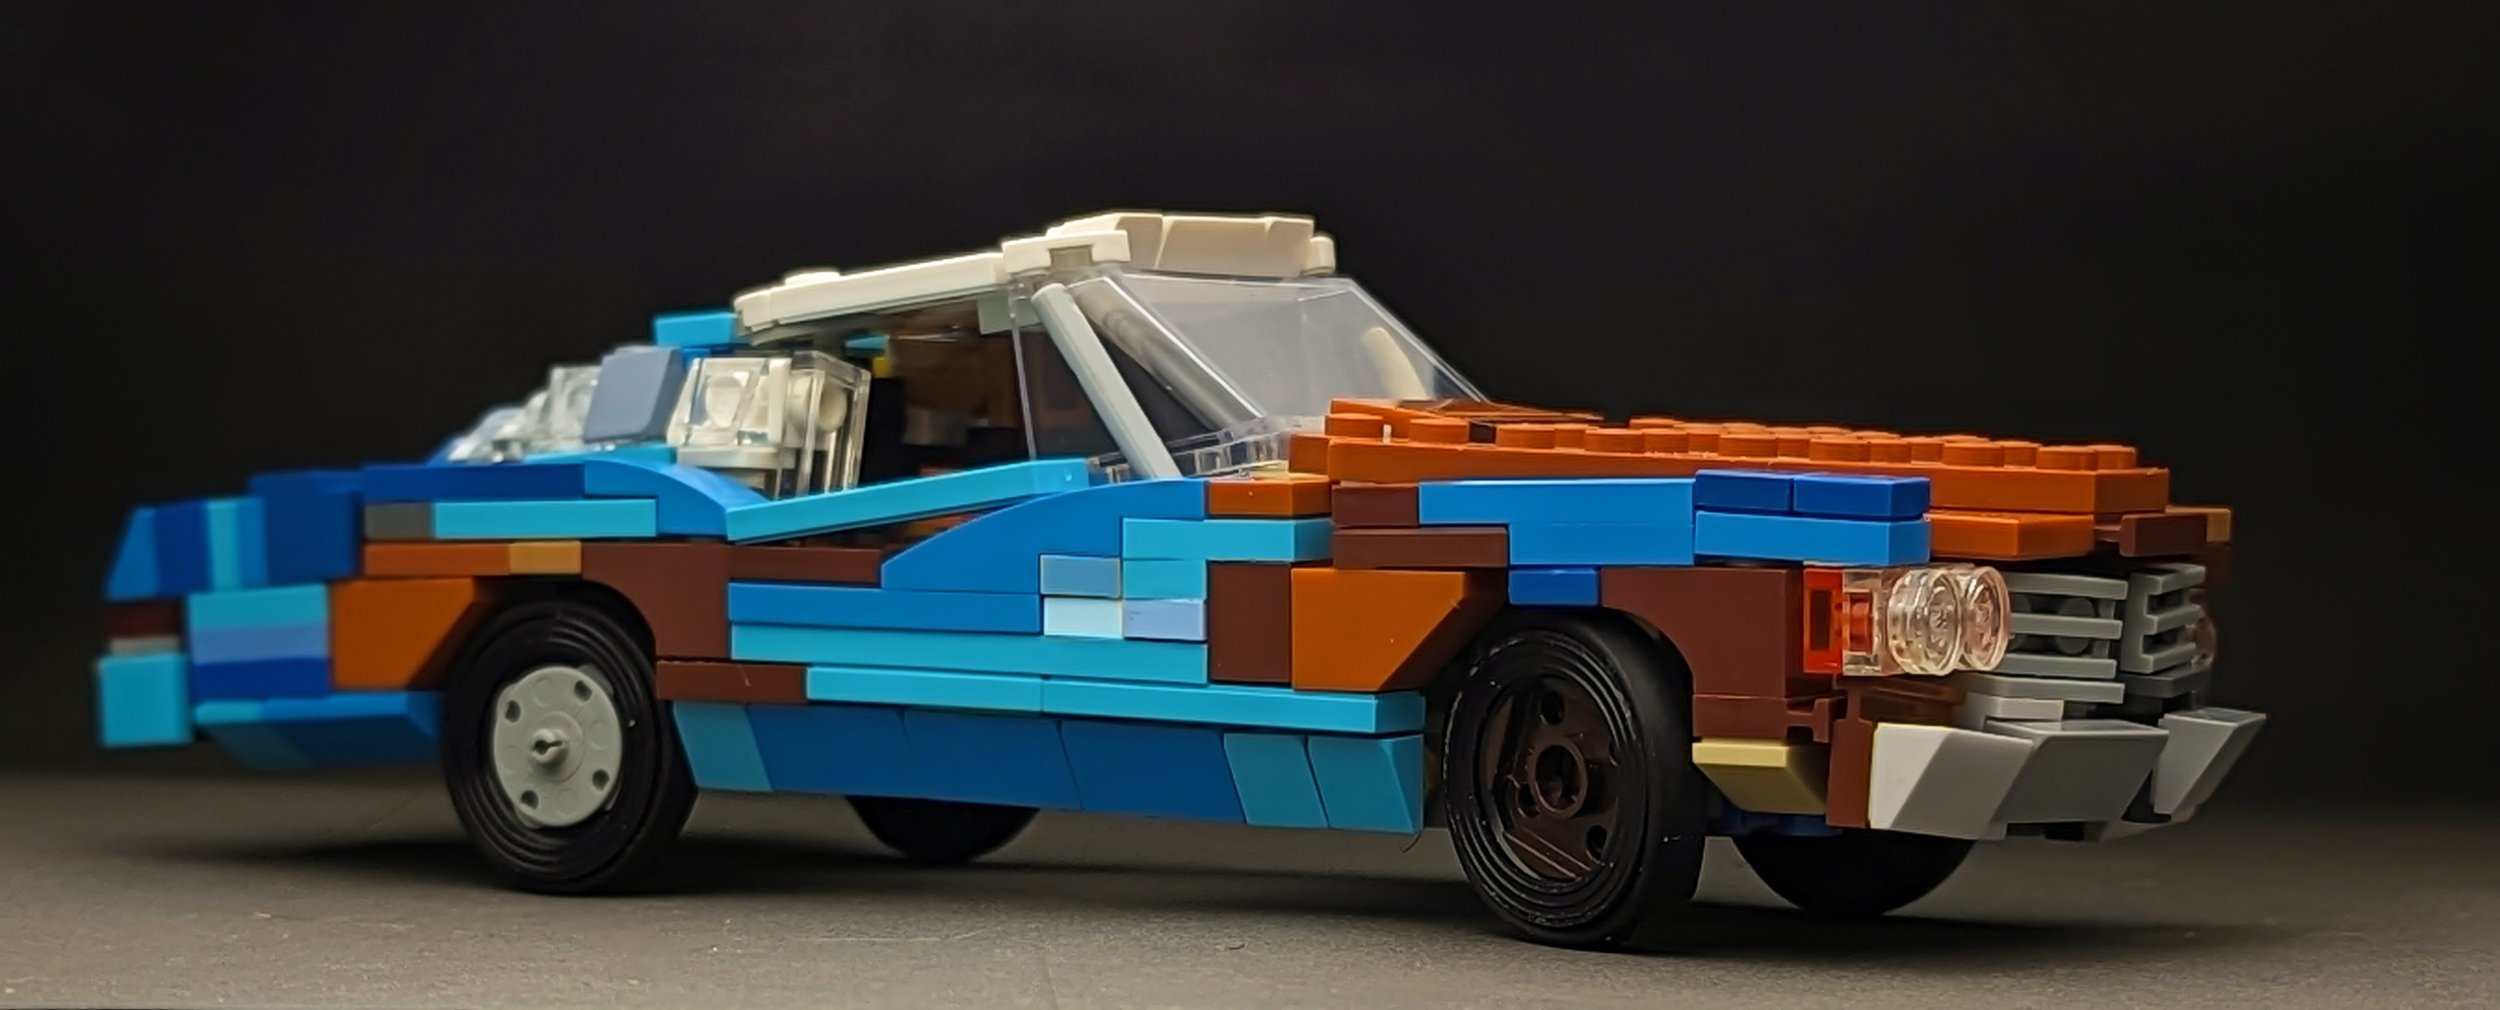
My journey with LEGO patina began back in August 2020, when I got the idea to build a distressed version of my red VW T1 that I started in May of the previous year. I realized that I wouldn’t be focusing on building techniques per-se, but rather coloring. I wasn’t quite sure how to go about it, so I reached out to versatile building machine Simon Liu and he gave me some fantastic advice after learning a little more about it himself.
There are some questions we considered:
What colors to use?

Firstly, we discussed color. A color that gives the immediate impression of a rusted or worn surface is Dark Orange, and could be accompanied by a few others for variation: Reddish Brown, Dark Brown, and Medium Brown, for example. My patina VW doesn’t have any dark orange elements, but rather the aforementioned shades of brown.
Is the “rusty” surface showing all around the vehicle?
Or more specifically, does the vehicle have sections of faded paint in addition to the rust? When starting my VW, I knew that I didn’t want the entire model to be shades of brown or gray (though some gray snuck through in the end). I settled on Olive Green and Sand green as my base colors. In some areas I used Olive Green as more of a transitional color between the browns and Sand Green. This adds a little bit more dimension.
How do you choose where to put rusty spots?
Simon said something that gave me a great start to modifying my 1st version, and I went from there. He suggested it’d be more logical if we thought about the different parts of the van that are different pieces of metal; the front door, for example. Making it brown would help it stick out, and using more browns and greens would help the build overall. I began my journey of what would come to be various versions of this van.
As I built and iterated on it I thought more about how patina looks on real vehicles and used some reference imagery to help me understand the randomization and patterns of rust. Overall, the goal for me was to make it look less blocky, and also random, but not too random, or it’d just look like a bunch of tiny spots. In the end, I focused on a few key rusty areas (at least for this side): The door, the roof, the front “V”, and a section near the rear wheels.
As I stated, I didn’t really want the entire build to be shades of brown, so I made sure to mix in the different shades of green to help. It took until January of this year, but I finally filled out the lower row of curved slopes in Sand Green - something I had been waiting to do for awhile! I kept a little bit of grays in the final version as well. They key for me was to add not too many colors, but not too little, either. Finding a balance can be difficult!


Here’s a slideshow showing how the outer coloring evolved after taking Simon's initial advice.
Other Examples
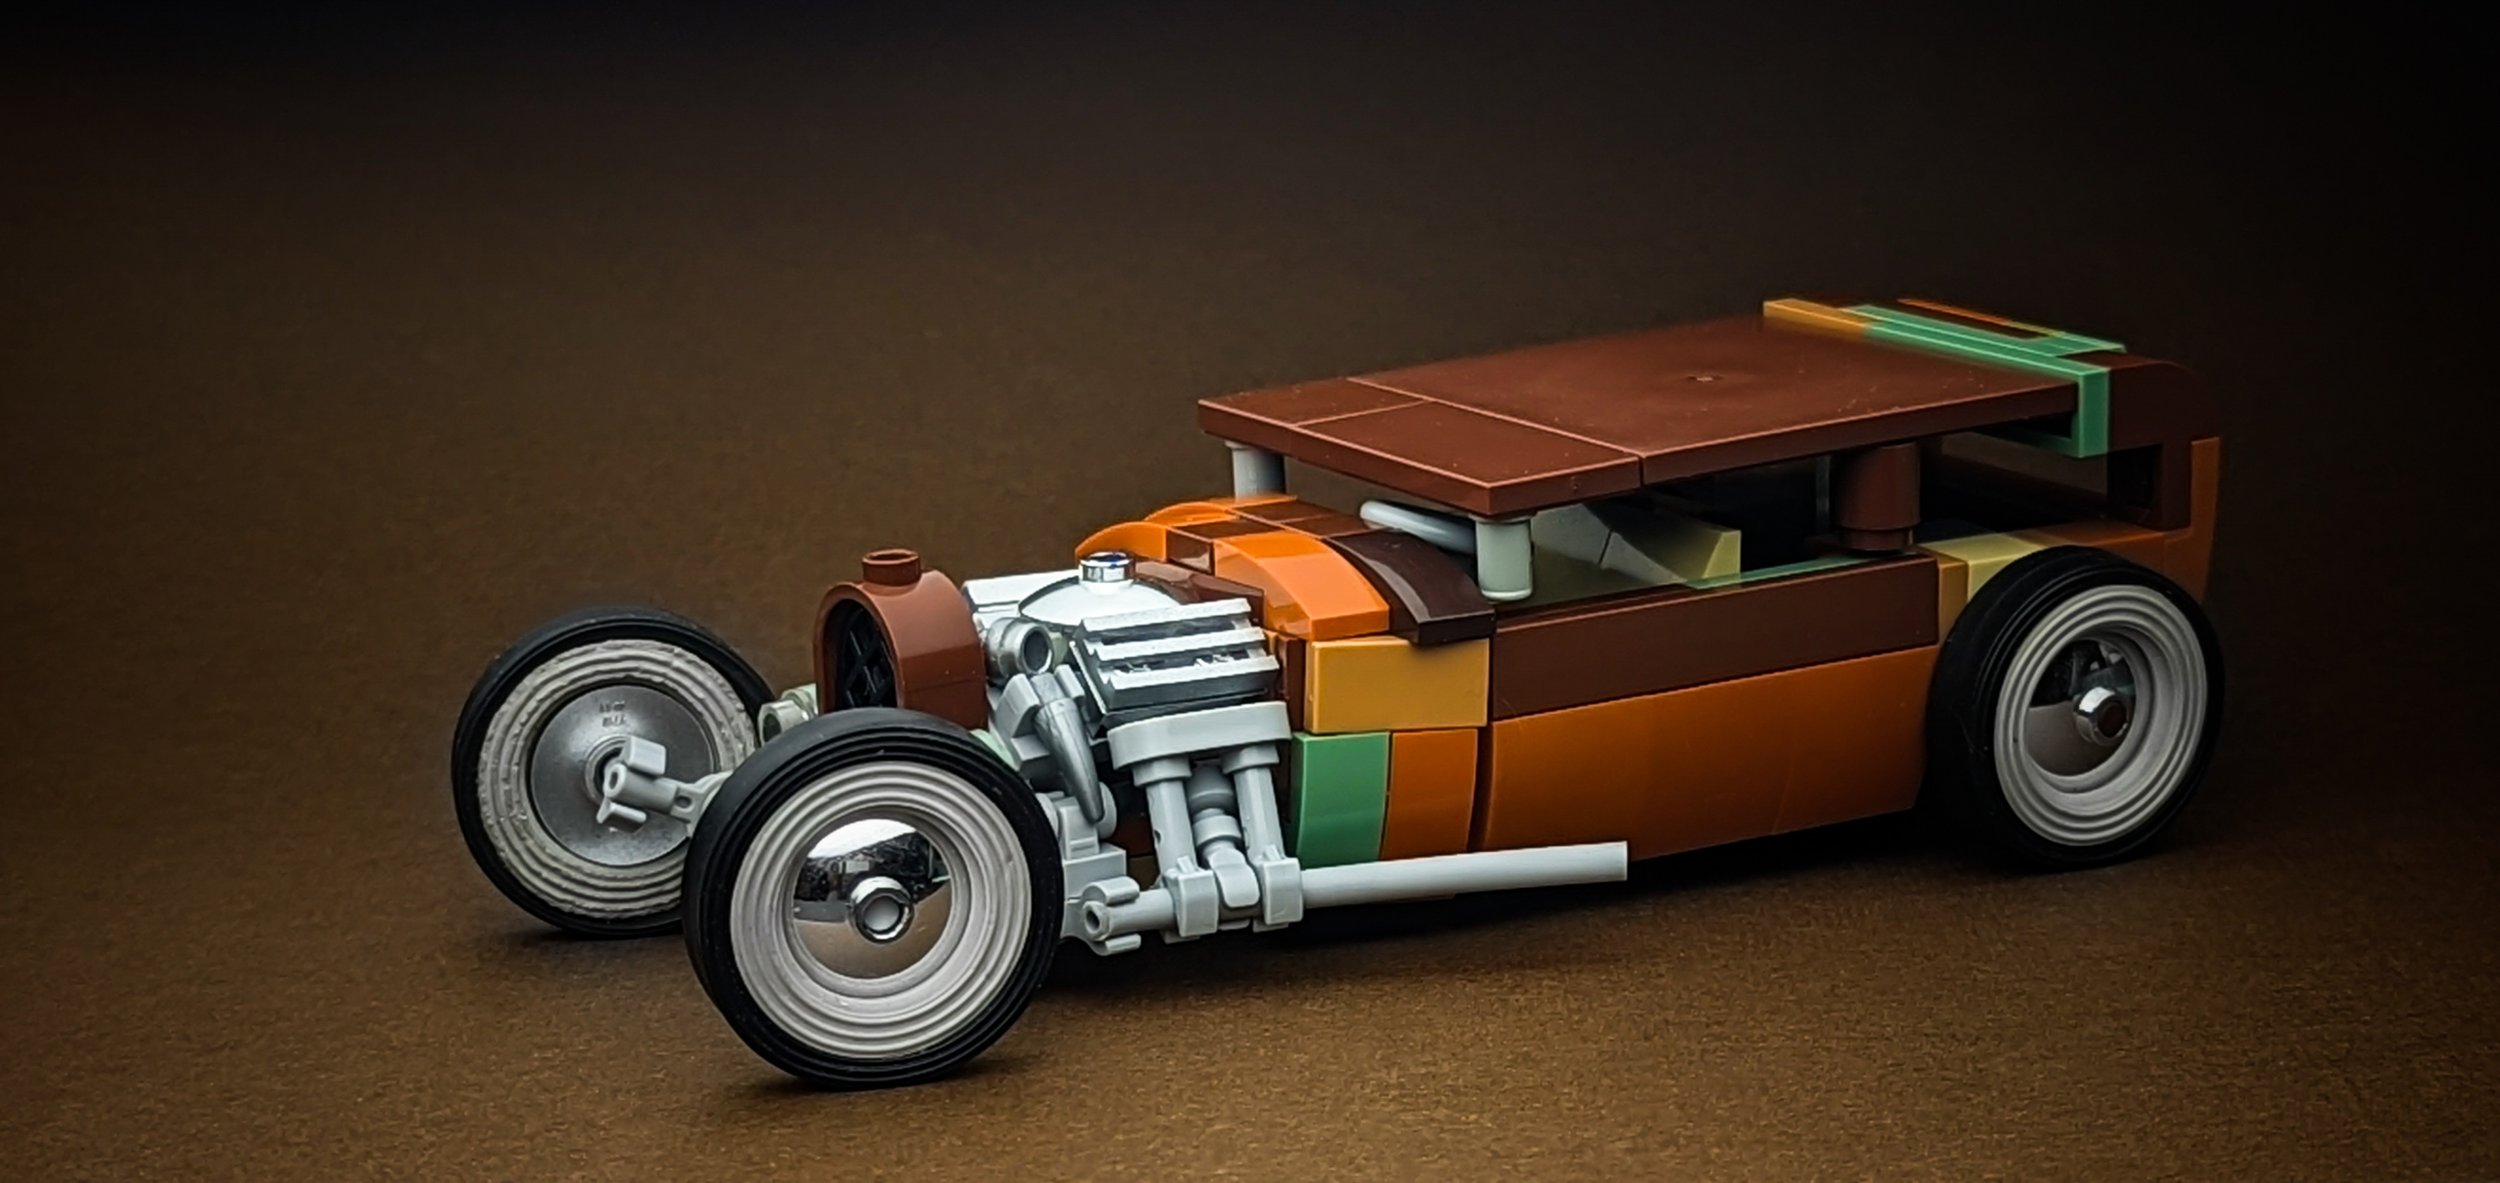
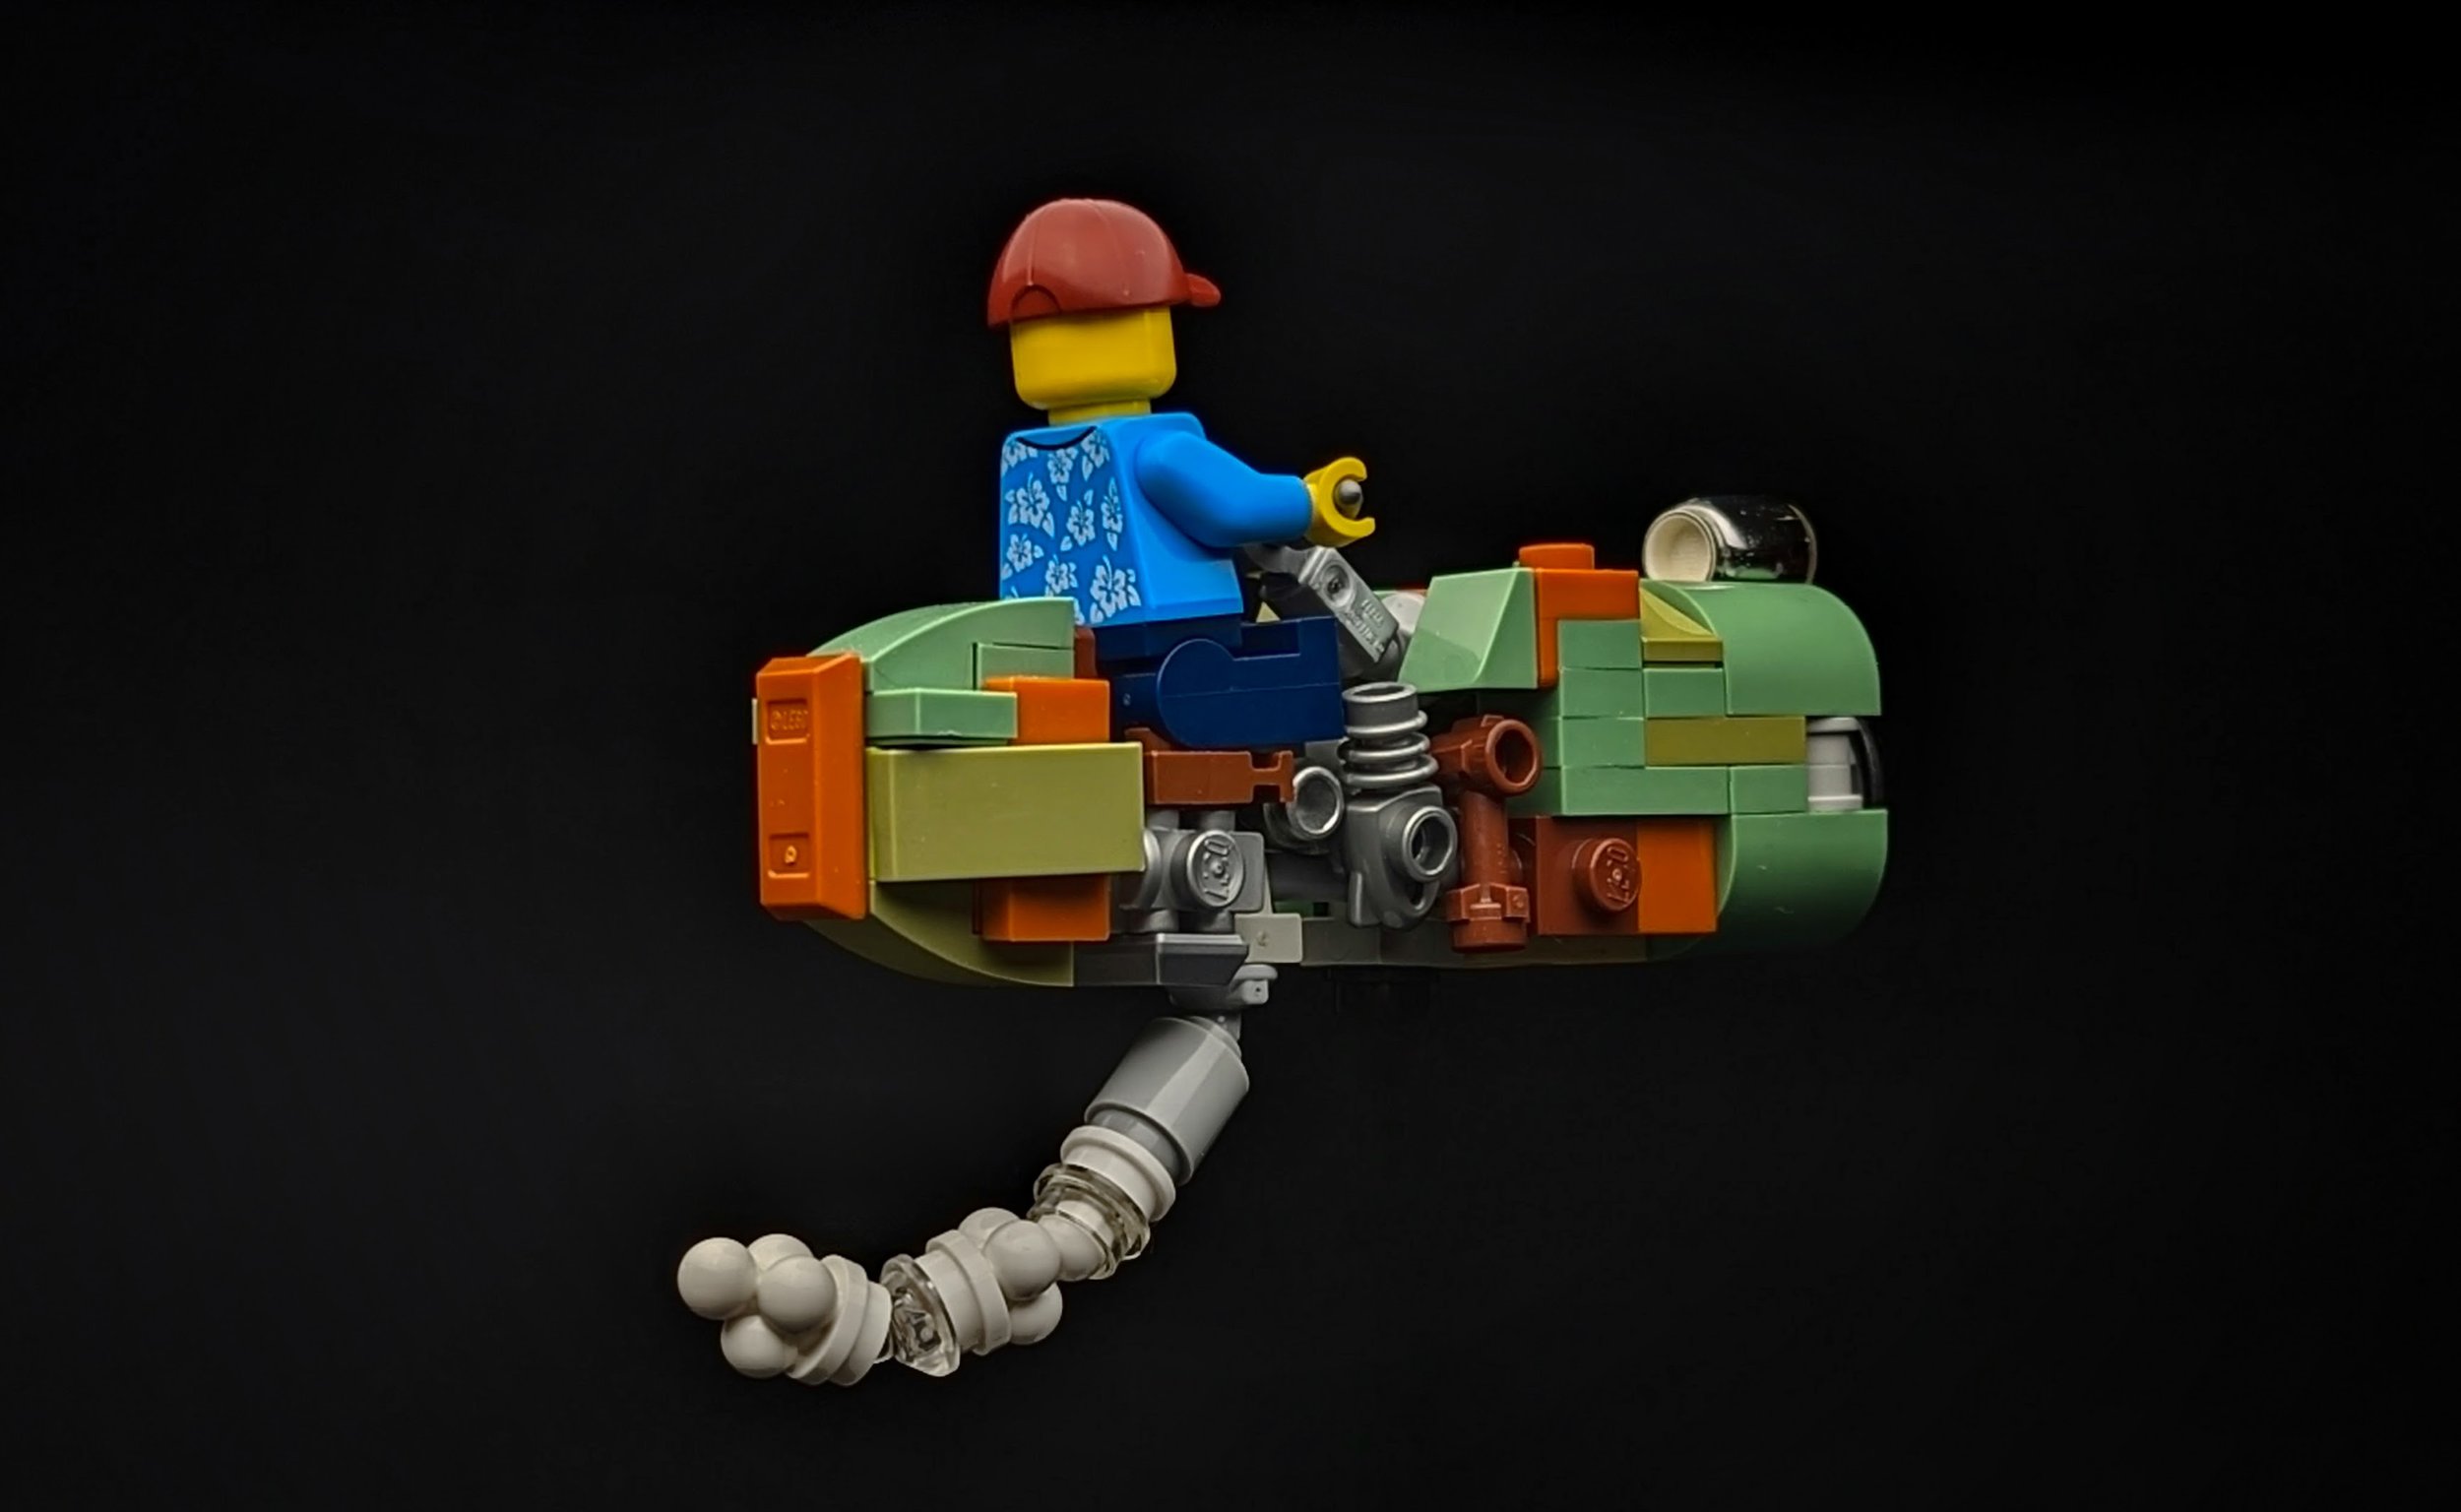
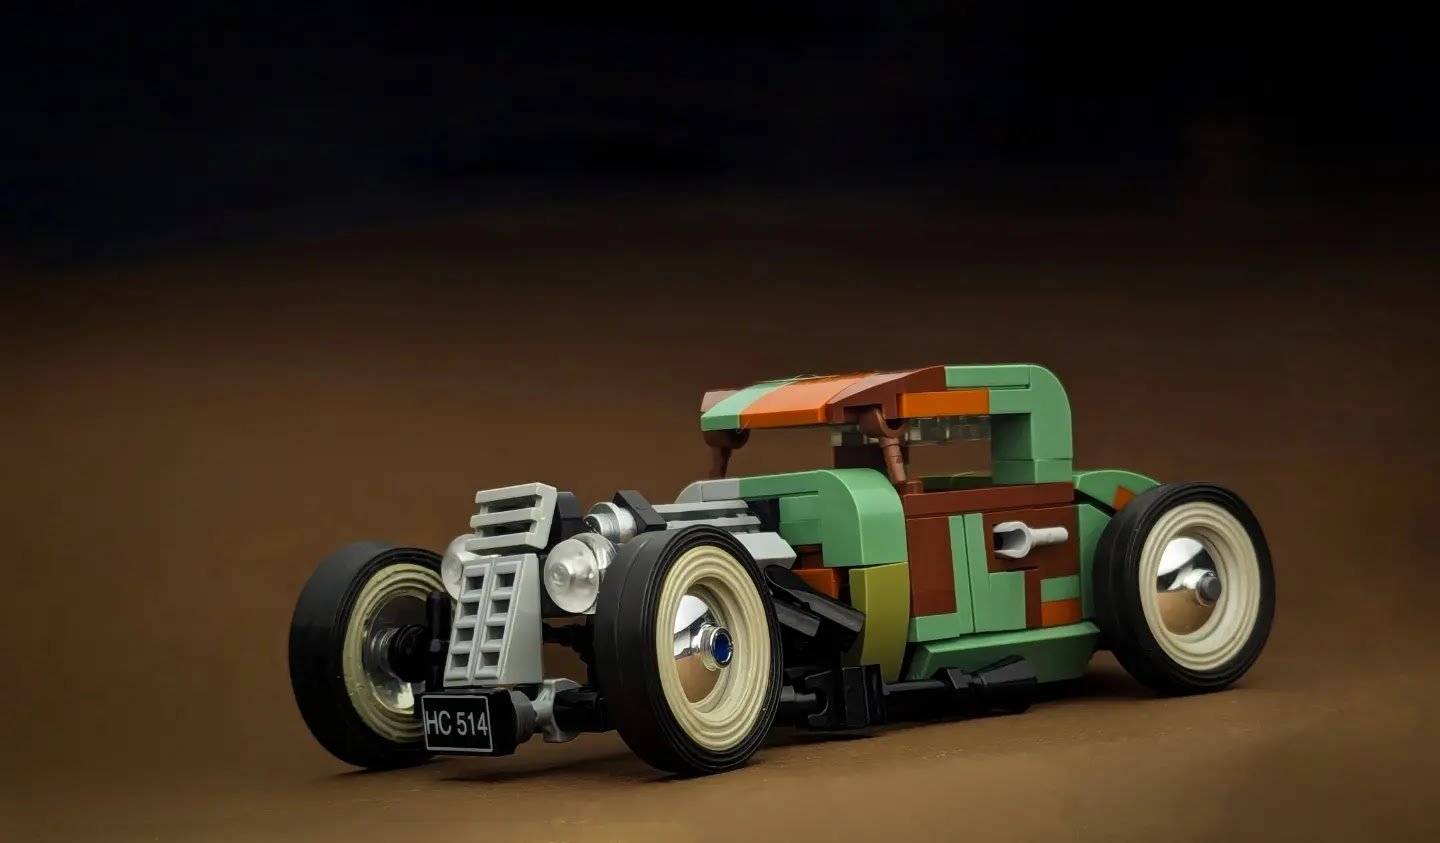
Above are a few more examples of vehicles I’ve built using these techniques. Hover over the images to read a little more about each build!
An Inspirational Loop

Simon Liu is an inspiration to many, including me. It meant a lot to me that he was also inspired by me approaching him with questions about something neither of us were too familiar with. You may have seen the Patina Truck he built a few years ago!
Overall, patina is something beautiful that can add character to a LEGO build of a vehicle or anything with a simulated metal surface! I hope you try it out!
What would you build? Let us know in the comments below.
Do you want to help BrickNerd continue publishing articles like this one? Become a top patron like Charlie Stephens, Marc & Liz Puleo, Paige Mueller, Rob Klingberg from Brickstuff, John & Joshua Hanlon from Beyond the Brick, Megan Lum, Andy Price, Lukas Kurth from StoneWars, Wayne Tyler, Monica Innis, Dan Church, and Roxanne Baxter to show your support, get early access, exclusive swag and more.


