Buildable Backgrounds: Backdrop Options for LEGO Photography
/The process of photographing your LEGO creations has so many intriguing aspects, but one for me stands out the most: choosing the correct background. There are so many options when it comes to “setting the stage” to present your MOCs or minifigures. There are a few classic options like craft paper or fabric, but setting the scene for your MOC can make all the difference.

"Roll along covered wagon, roll along, To the turn of your wheels I sing a song, City ladies may be fine, but give me that girl of mine, Roll along covered wagon, roll along".
Today we are going to look at all the different types of backgrounds you can use to take your LEGO projects to the next level, give the scene more character, and explore which options are best for specific occasions.
Brick Built Dioramas
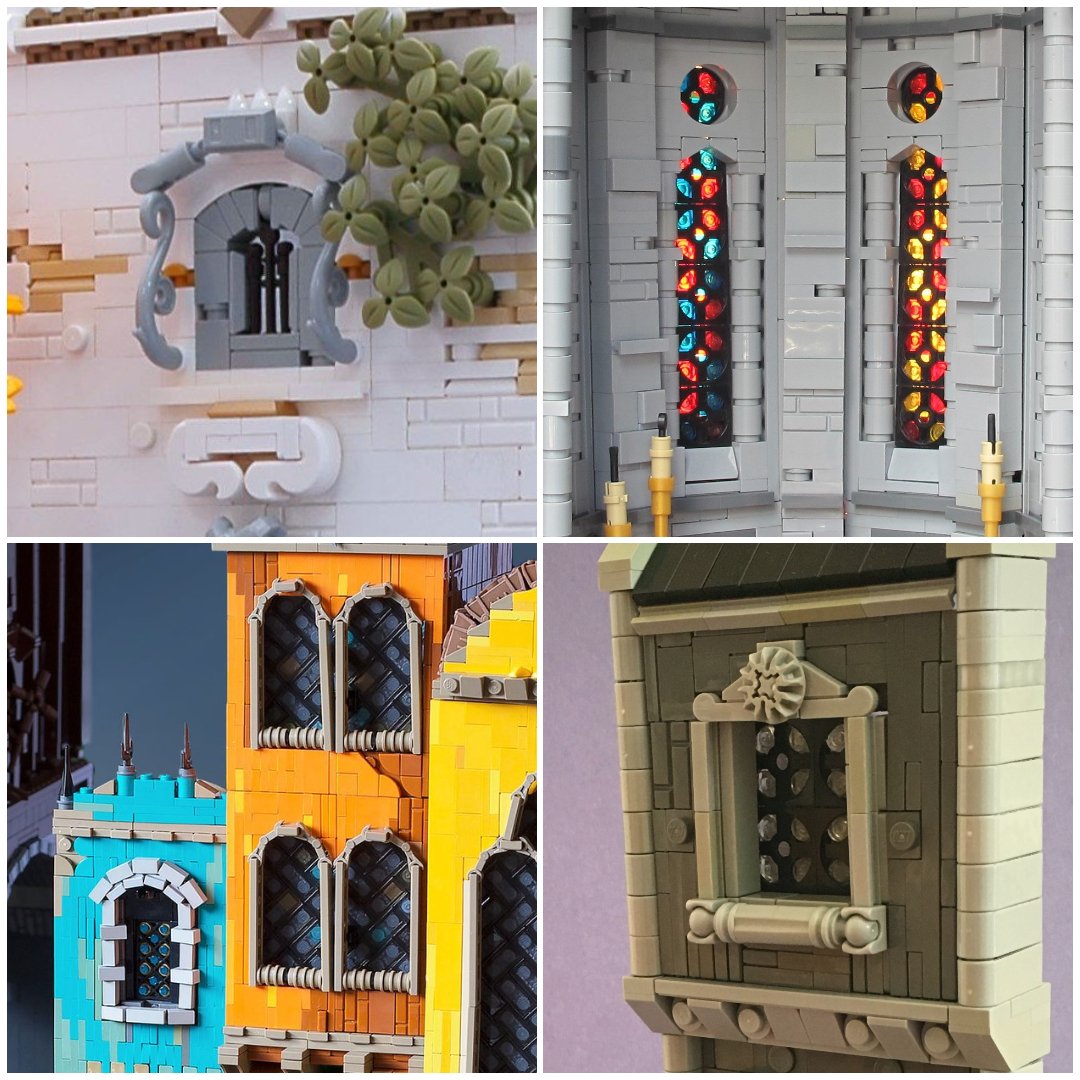
Perhaps the most common background is the one you don’t need because it is already inseparable from your creation. This includes rooms with a back wall, close-up shots of an intricate build, or the interior of a vehicle or mech. When the creation is built in the format of a diorama, you can easily go on to the shooting process without any additional decorating efforts. A well-lit picture is often optimal for the diorama as it will show more detail, make sure to keep some slight shadows in order to save the feeling of perspective.

"I'm just checking your orthography..."
From there, you can brick-build a sky, a sunset, the stars in the void of space, distant mountains, or a forced perspective of a faraway city.
Handmade Dioramas
Next up, you can customize your setting for whatever you need. Transform the different materials you have on hand into an improvised background and all of a sudden you’ll have unlimited options. You can use a variety of crafting techniques to create your environment: cutting paper, gluing things, or even… sewing?
"Perfect combination"
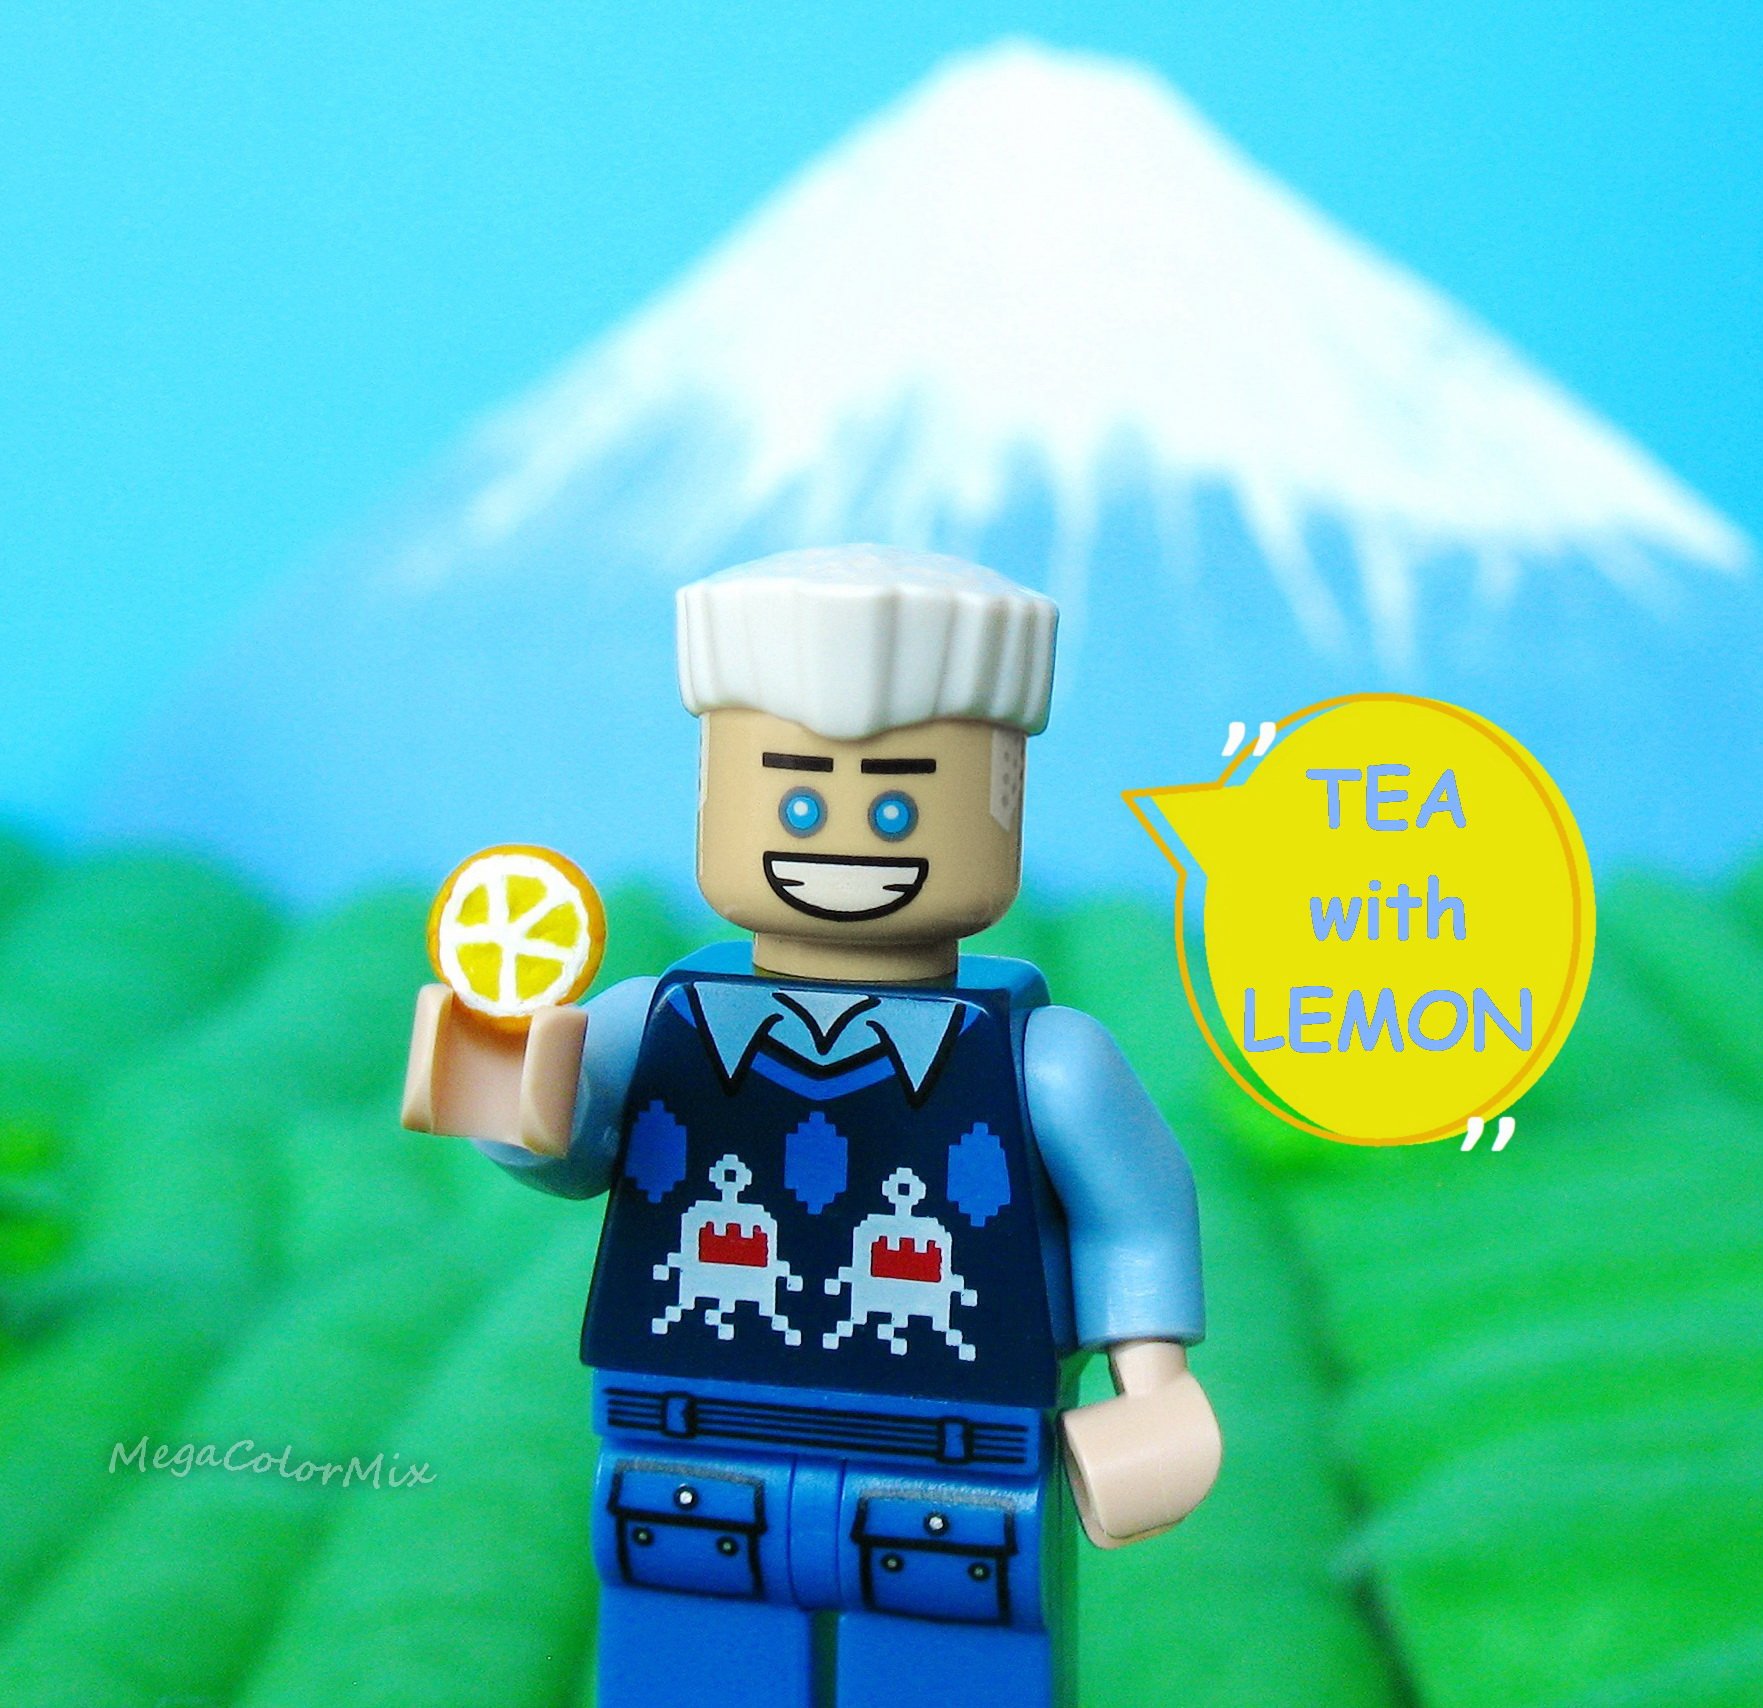
Yes, even though it sounds like you’d be combining things that don't mix, sewing and LEGO can go together! Let me share with you a quick tutorial of how it can happen with a trip to Japan to take some memorable photos of the sunny green lands and rolling hills.
Sew the leaves
In this “natural” scene, you’ll notice the fields of green are actually simple fabric sewn into rows by hand. You don't even need a sewing machine. Take any textile material for the lower layer, then cover it with some fluffy cotton: the thickness of the cotton layer depends on how much you want to increase the relief of your rolling hills or rows of tea leaves.


The top layer is made of soft green felt. Put all the layers together and sew some rows with green or dark green thread and all of a sudden you have a tea plantation! (In my opinion, dark green is much better because it matches the lines of the plantation when it becomes a blurred background when photographing minifigures.)


Pencil mountain and paper leaves
Besides the technical preparations and playing with the camera, there is one more artistic task. I painted the mountain and set its position behind the scene so that it would be on the right level with the ground.

Finally, we can make some magical leaves fly by decorating the scene with all the things you want to photograph. Don’t worry about seeing supports or any other trans-clear parts—you can easily edit those out and remove them digitally later.
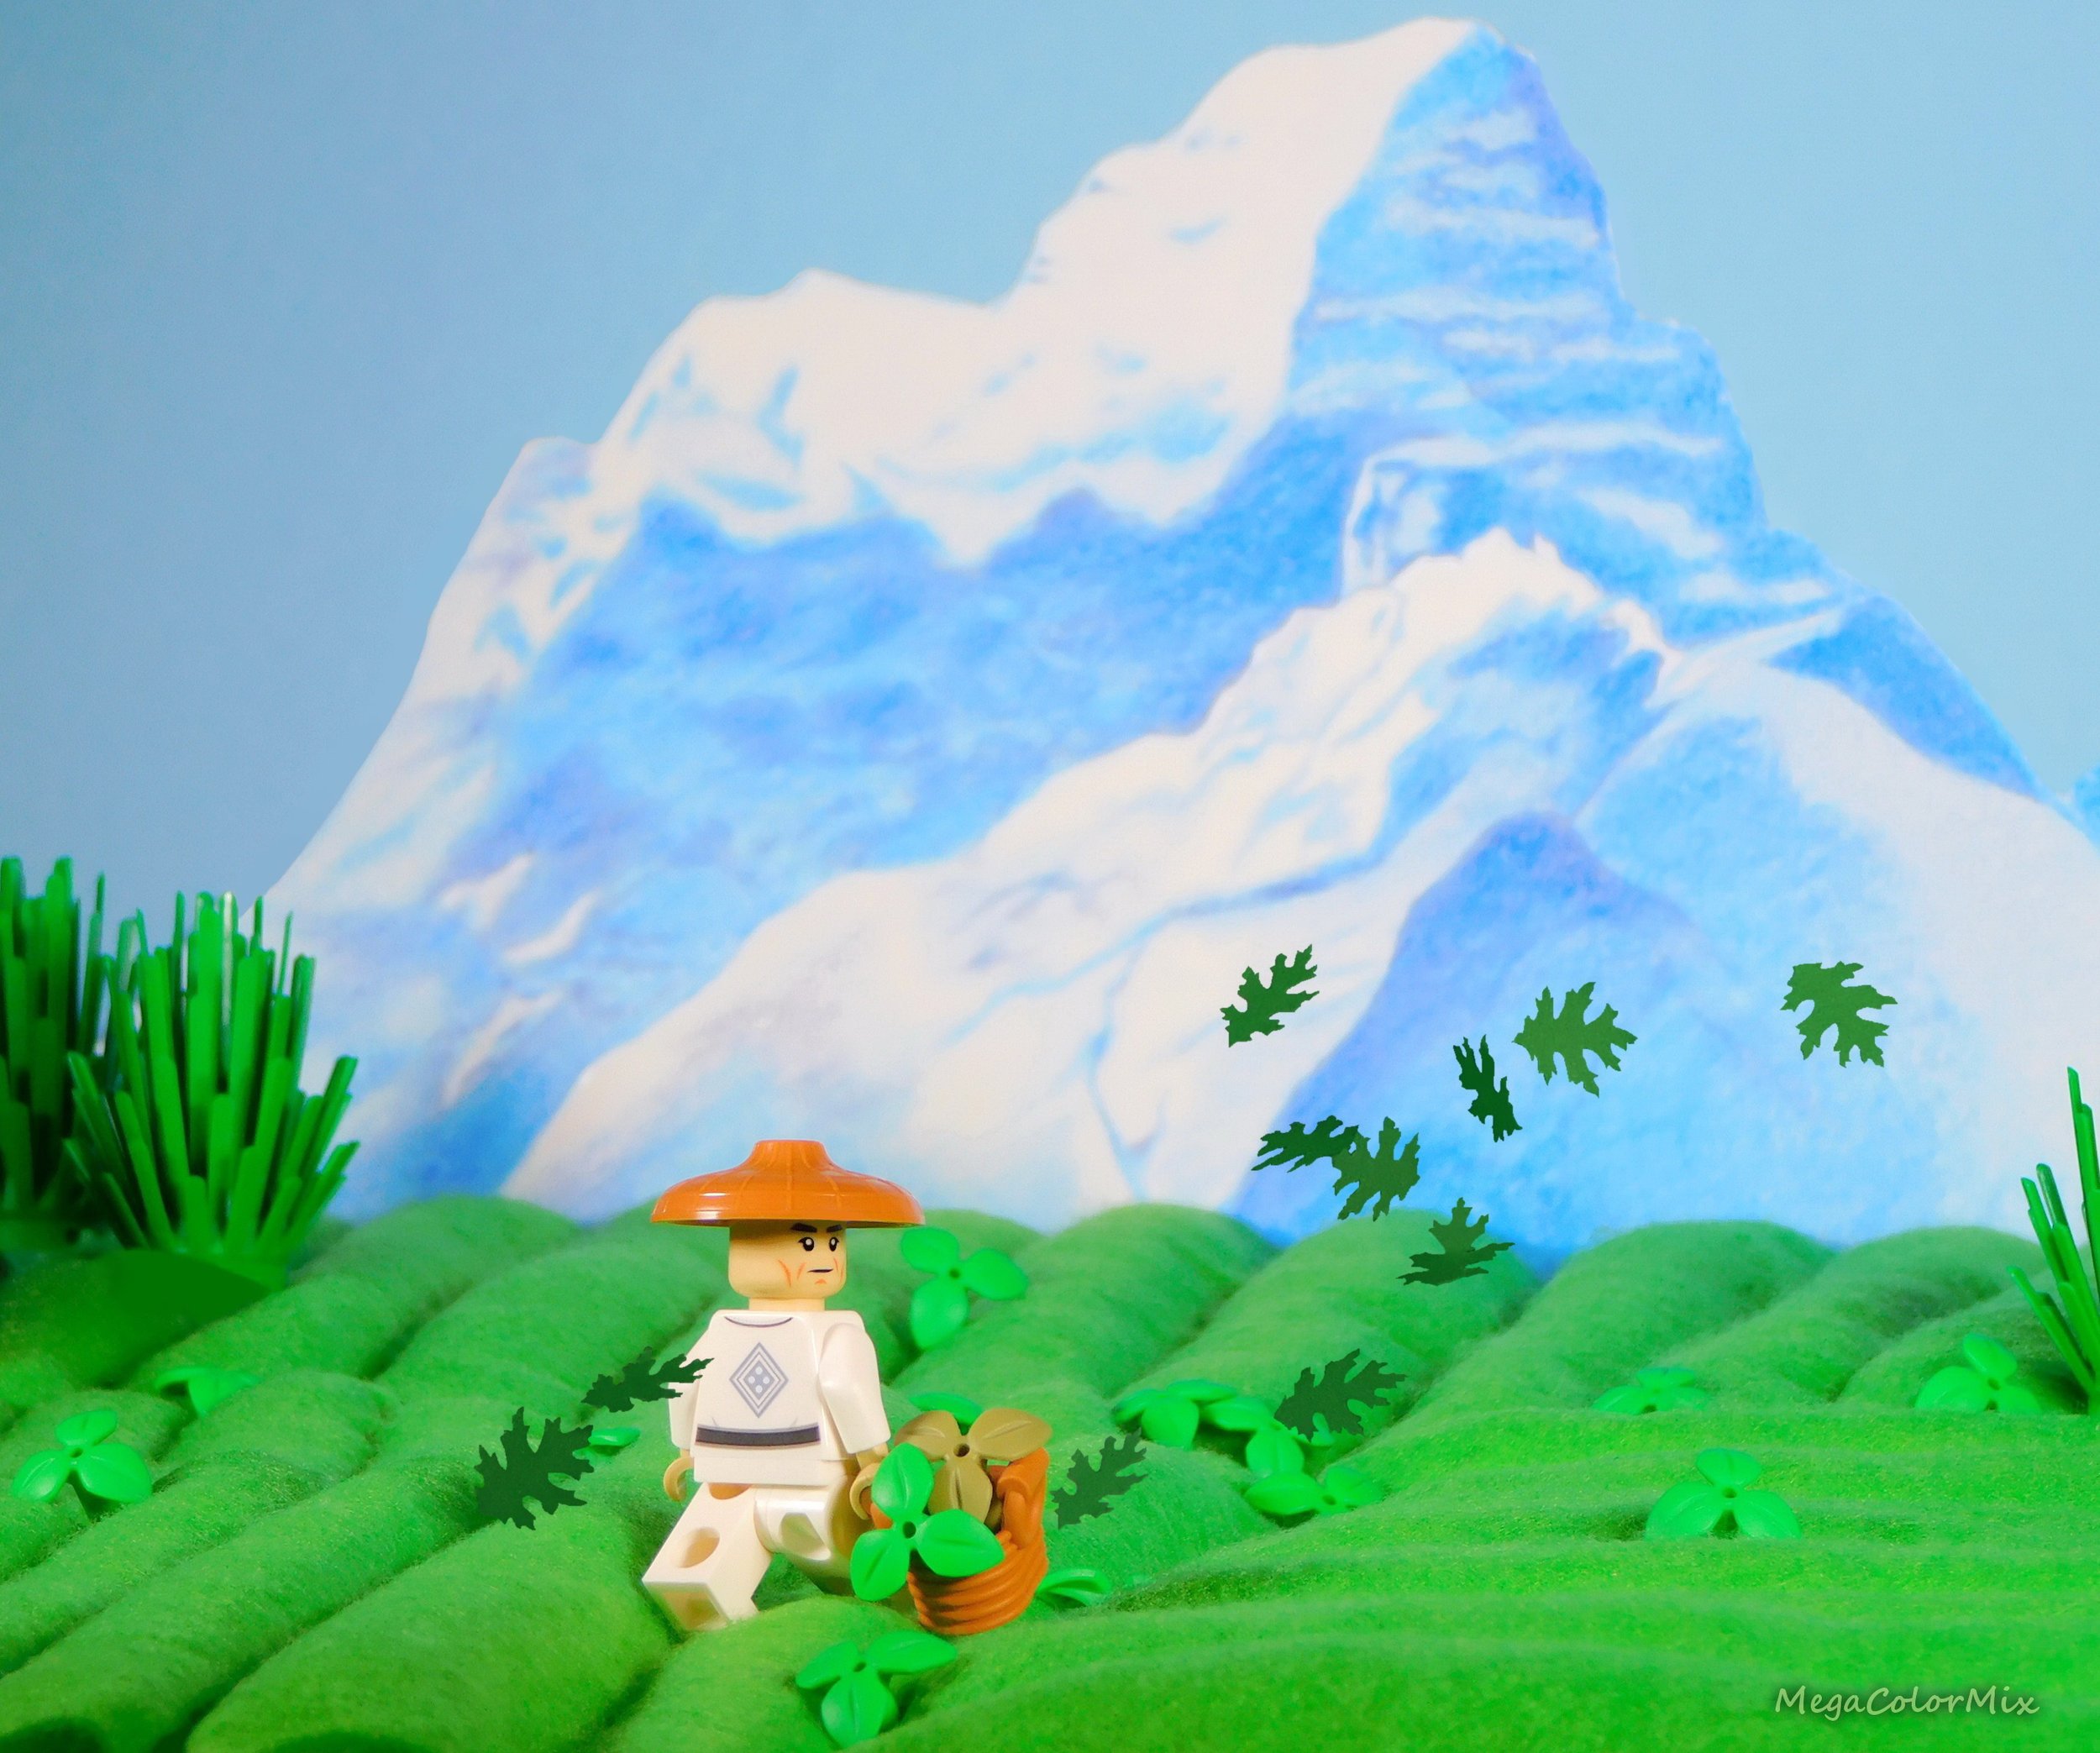
I tried a few different colors for the leaves: I also made them darker as an experiment but they looked too heavy in comparison with such a sunny view. So the leaves became even brighter than earlier, and it really worked. Now we can enjoy the natural view of our mountain farm, along with leaves caught by the wind.

The green plantation rises with sun and gives you the best tea you've ever tasted.
Using Darkness as a Background
Are you afraid of the dark? While this technique is simple at first sight, using darkness as a background has considerable artistic power and becomes a perfect instrument of storytelling with minifigures. In the scene below, the slightly lit space on the detective and some shadows on the paper constitute the only source for the spectator's impressions. The darkness gives thoughts, causes feelings and finds so much from nothing.

"Come in, Mr. Holmes... shed the light on this mystery. One step - and you will see everything."
Natural Backgrounds
When we can find a beautiful place for outdoor photography, nature does almost everything for us. The setup is easy and you just have to nail the natural lighting. Adding LEGO to a natural scene also provides contrast and works as a commentary on modern life. (All else fails, you can always photograph a set in the woods behind your house…)

The photo model was afraid of LEGO mushroom, and even some treats didn't reduce the intensity of the plastic phobia during the photo shoot...
Generally, official LEGO sets and builds offer many creative situations for playing outdoors: the more photographers shoot the same object, the more unique scenes they get. Also LEGO boxes tend to depict a set in action in the elements! The natural area is also perfect for minifigure photography if the setting matches the character's portrait and mood. The picture below represents both the set and the custom character in a cinematic scene. I wouldn’t want to be there!

The English Patient (1996)
Digital Backgrounds
More and more, people are using the tools they have on hand for backgrounds, and computer monitors, TVs and smartphones are many people’s go-to tools to nail the perfect backdrop. But beware. Taking photos in front of a light source has some drawbacks:
Dark lines appear on a screen after taking a photo: generally, the shutter speed of the camera and the refresh rate of a monitor are different, and if the camera is winning in speed, you can set a longer exposure time in order to make a clear view.
The brightness of a digital background can sometimes get in the way. A monitor often loses much color and details in comparison with a front object and studio lightning, so you should reduce the brightness of the screen and play with the balance between the lightning of both objects.

"Color, sound and flavor of a sunset"
Solid Color Backgrounds
Single-color craft or butcher paper is frequently used for the background of brick-built creations. This kind of a photo looks eye-catching and simple at the same time, placing the focus on the LEGO. When it comes to photography of this type, we have to focus on all the details of a build rather than on a dramatic aspect of the photo. You’ll need to make sure everything is in focus using a background like this.

Ancient castle in Scotland
Cardboard and Printed Backdrops
Lastly, you can always print out a background and use that as your backdrop. It's interesting that this technique of mixing paper and bricks has its origins in official LEGO sets. The first Harry Potter product line released in 2001 included cardboard backdrops that extended the set. The picture below is the backdrop with the print of a stone wall in Hogwarts castle that came in set 4722 Gryffindor House.

"Hi, Sir Nicholas!"
History has a way of repeating itself because the new Harry Potter school banner sets have 3D backgrounds on cardboard again!
Unlimited Options
This list of backgrounds wouldn’t be complete without mentioning creating them digitally. Photo editing programs are becoming more and more popular to the point that they are also used for MOCs presentations on LEGO conventions (BrickNerd Patron Wayne Tyler shared a great tutorial on how to make LEGO convention photography pop.)
All of the background options I’ve mentioned fall into two categories: 1) photography (backgrounds that accomplish an artistic function along with multiple LEGO objects), and 2) presentation (simple backgrounds that let the build speak for itself, often without a narrative element). Each of these categories requires a different investment in time and editing, but can both be worthwhile at the right moment.
In my photo examples throughout this article, hopefully you can see that I've mixed these two categories up, playing with photography, composition and presentation. What you put behind your LEGO build will depend on your personal vision, but the backgrounds can sometimes make all the difference between a good build and a great one.
What are your favorite types of backgrounds that you like to use in your LEGO photographs? Leave your thoughts in the comments below.
Do you want to help BrickNerd continue publishing articles like this one? Become a top patron like Charlie Stephens, Marc & Liz Puleo, Paige Mueller, Rob Klingberg from Brickstuff, John & Joshua Hanlon from Beyond the Brick, Megan Lum, Andy Price, John A. and Lukas Kurth from StoneWars to show your support, get early access, exclusive swag and more.