Building with Purpose: Designing MOCs for Photos vs Display
/In a decade of MOCing, I’ve learned many things—new techniques, better ways to use color, and more effective NPU. But if I could go back and tell myself one thing, it’d be this: always remember what you’re building for!

Lights, camera… convention?
Of course, that advice could be taken in a profound way, diving into goals and ambitions, but just now I mean it in a more practical sense. Every MOC has a history, and a big part of its history will be the place where it shines, whether as part of a well-curated photostream, maybe catching the eye of fan sites or winning community contests—or displayed at a LEGO convention then on a shelf, periodically dusted and eagerly pointed out to interested guests.
Where you plan to showcase your MOC will affect how it’s viewed: colors, layout, size, and perspective often show up differently in a photo than in a live display. Some tricks work great for the camera but are messy in real life; other builds look splendid on a table but are simply confusing through a lens. For best results, it’s crucially important to take into account, at every stage of building, what you plan to do with your MOC and where it will find a home.
Let’s dive into the similarities and differences between building for the camera and building for display. We’ll see if I can write down some of what I wish I knew ten years ago.
The Basics
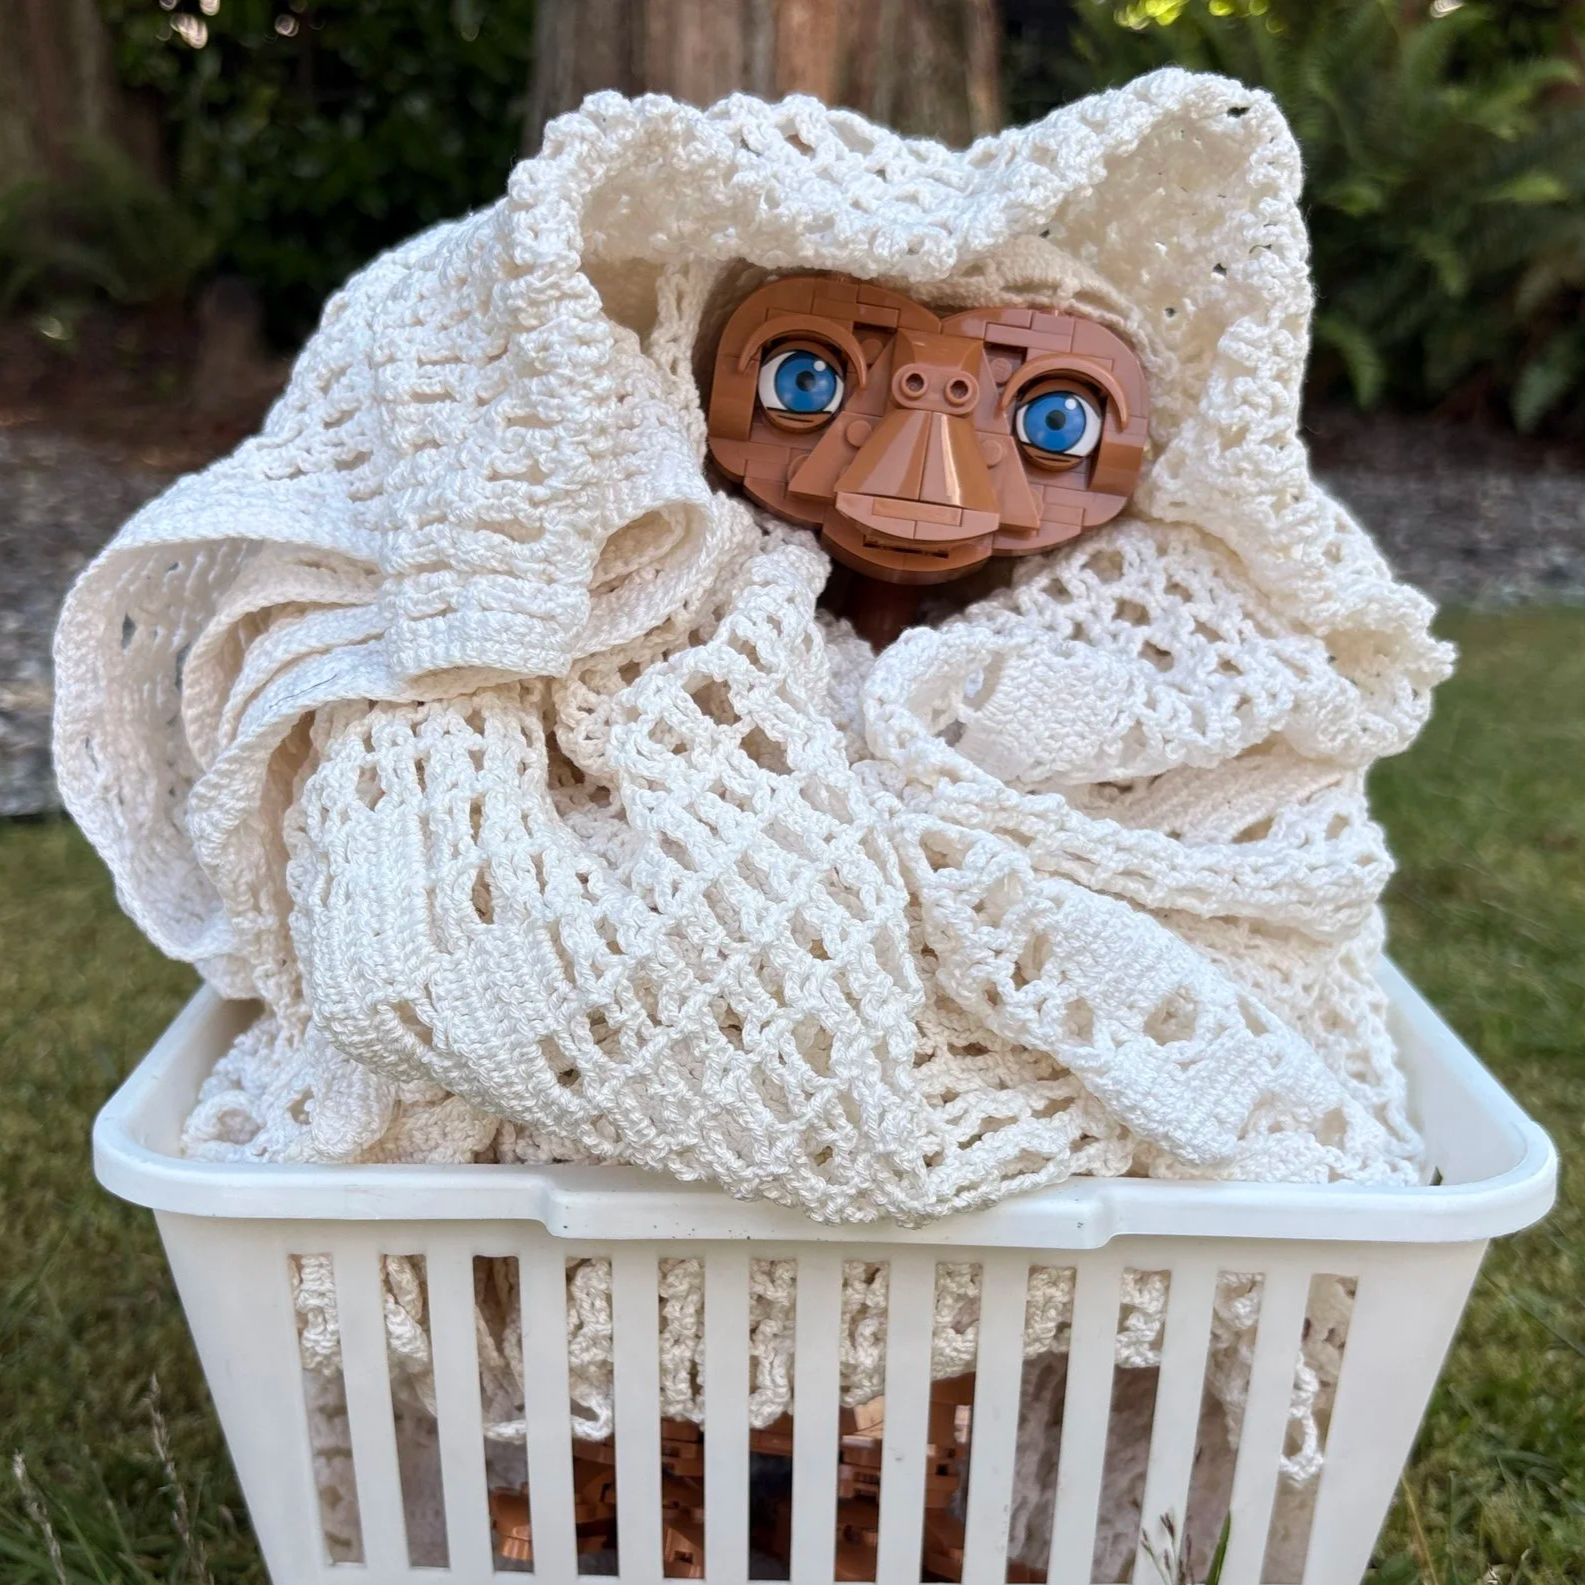
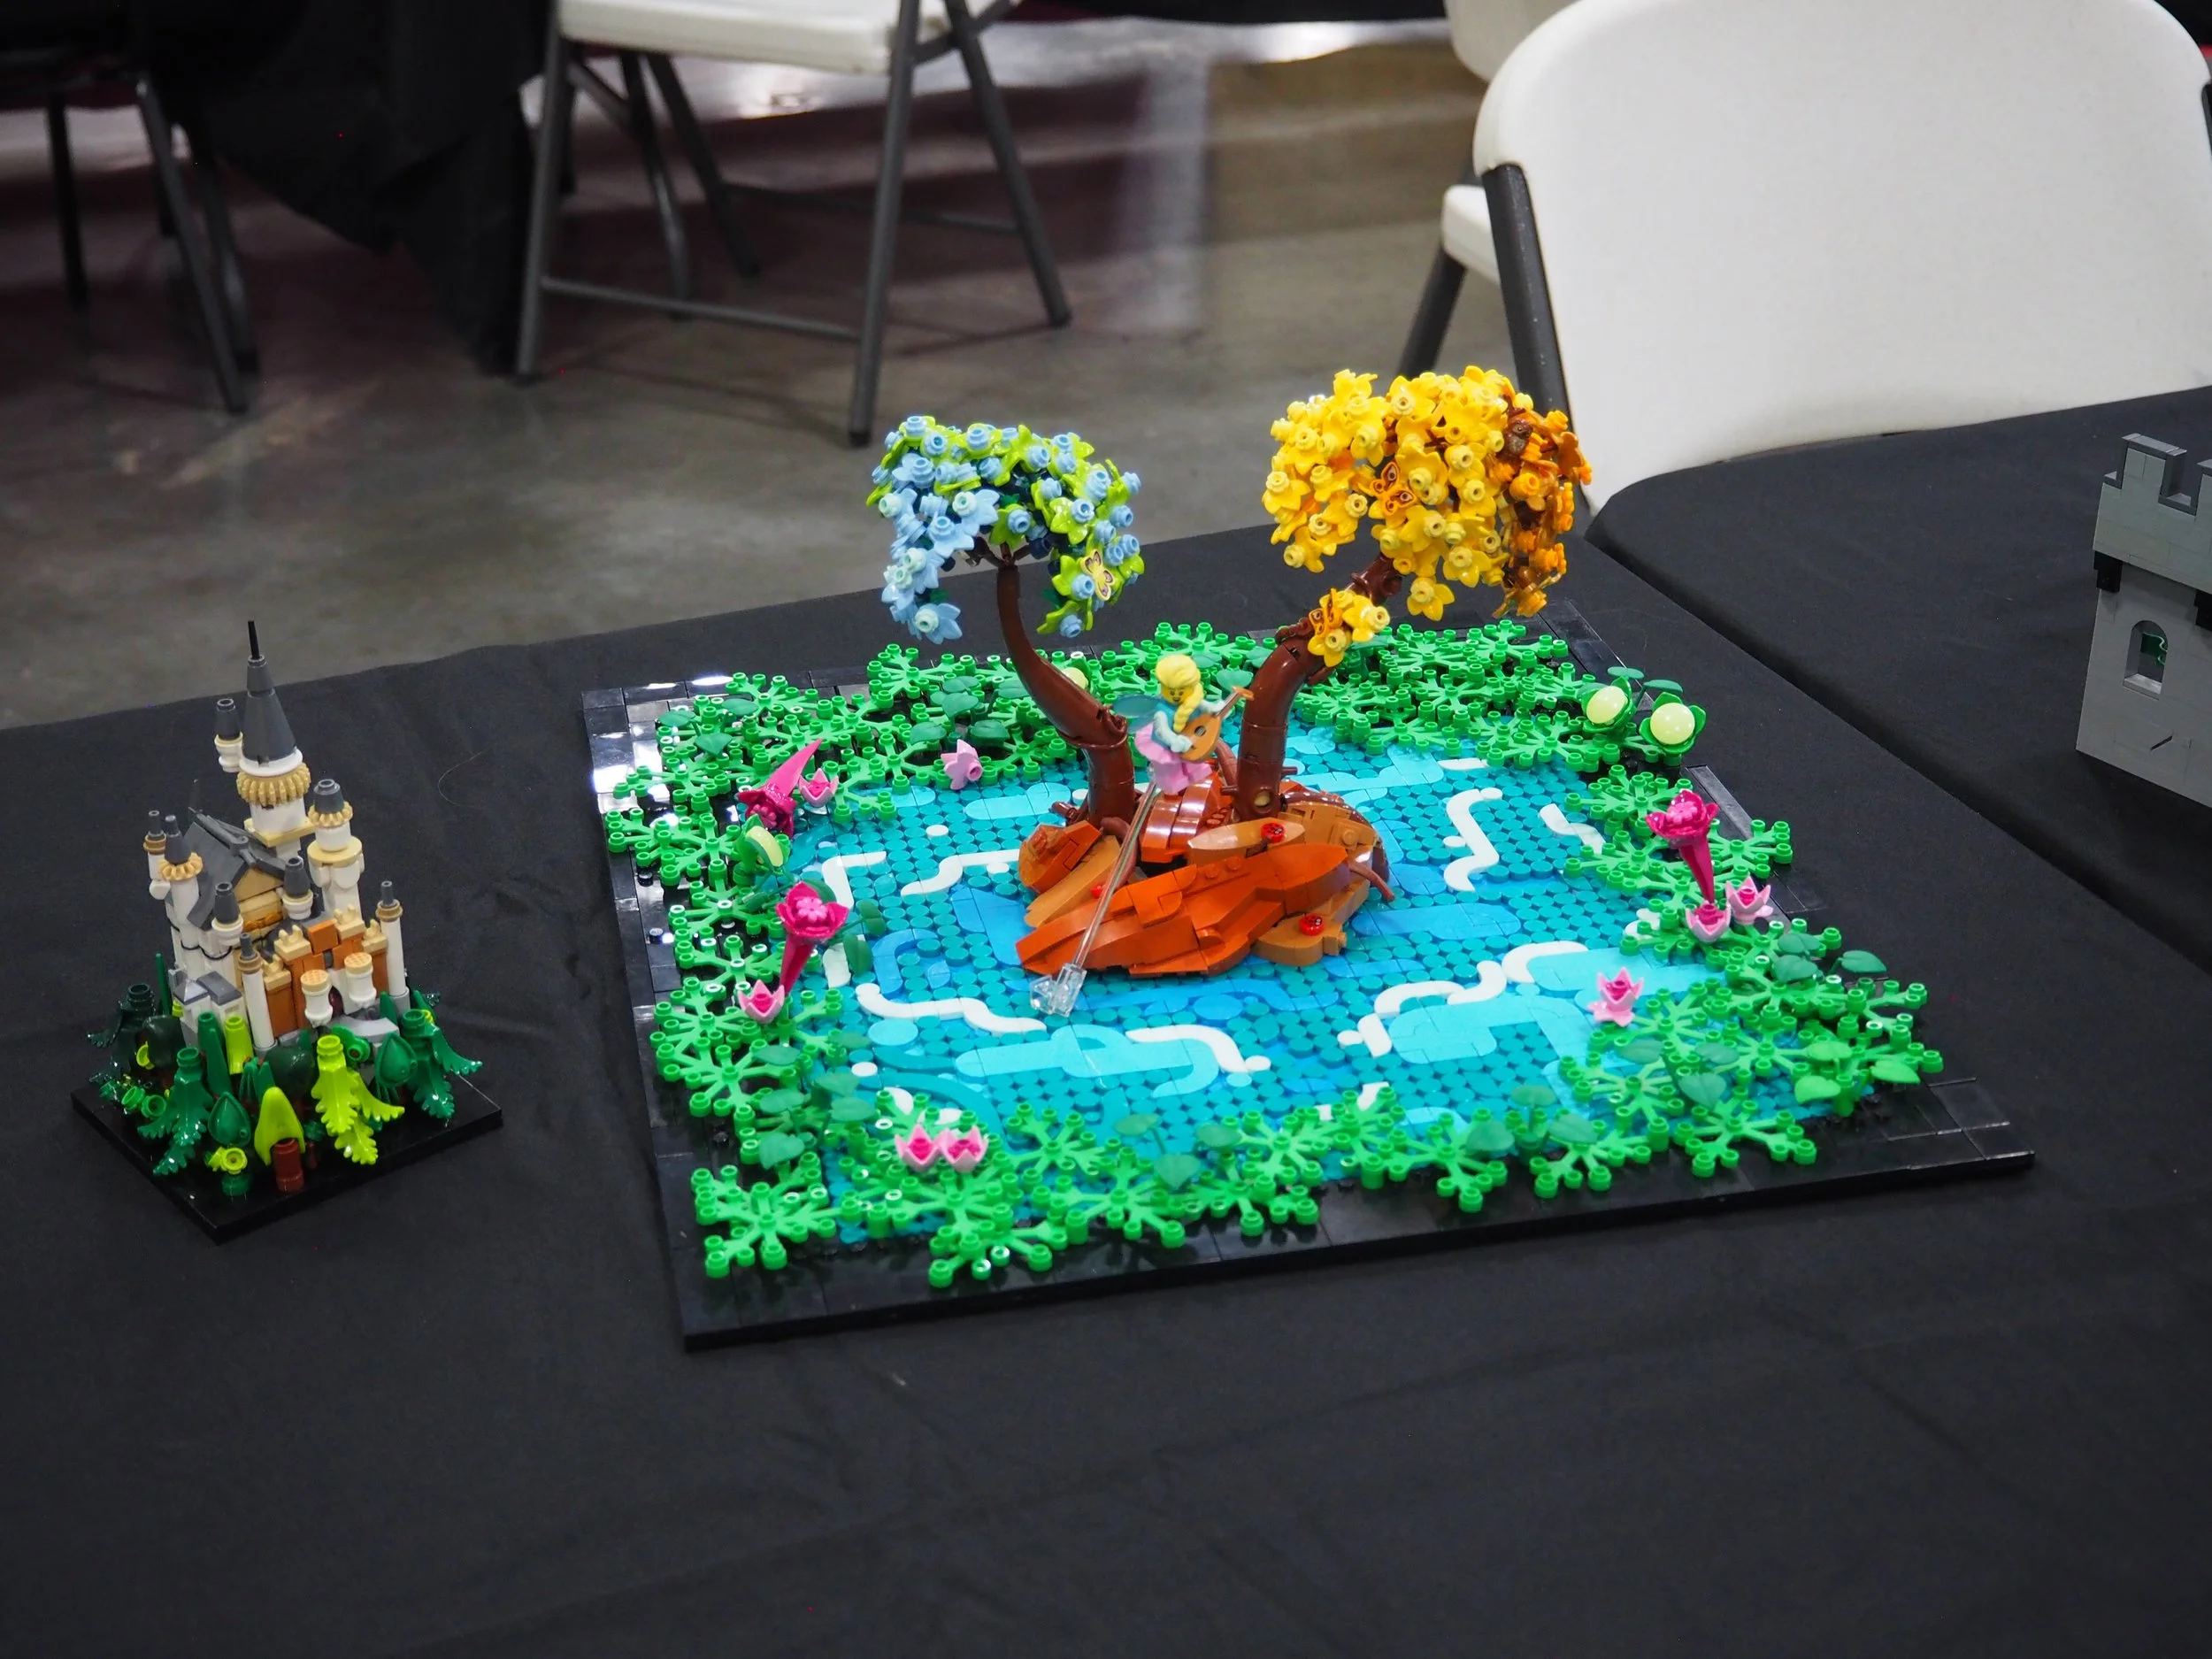
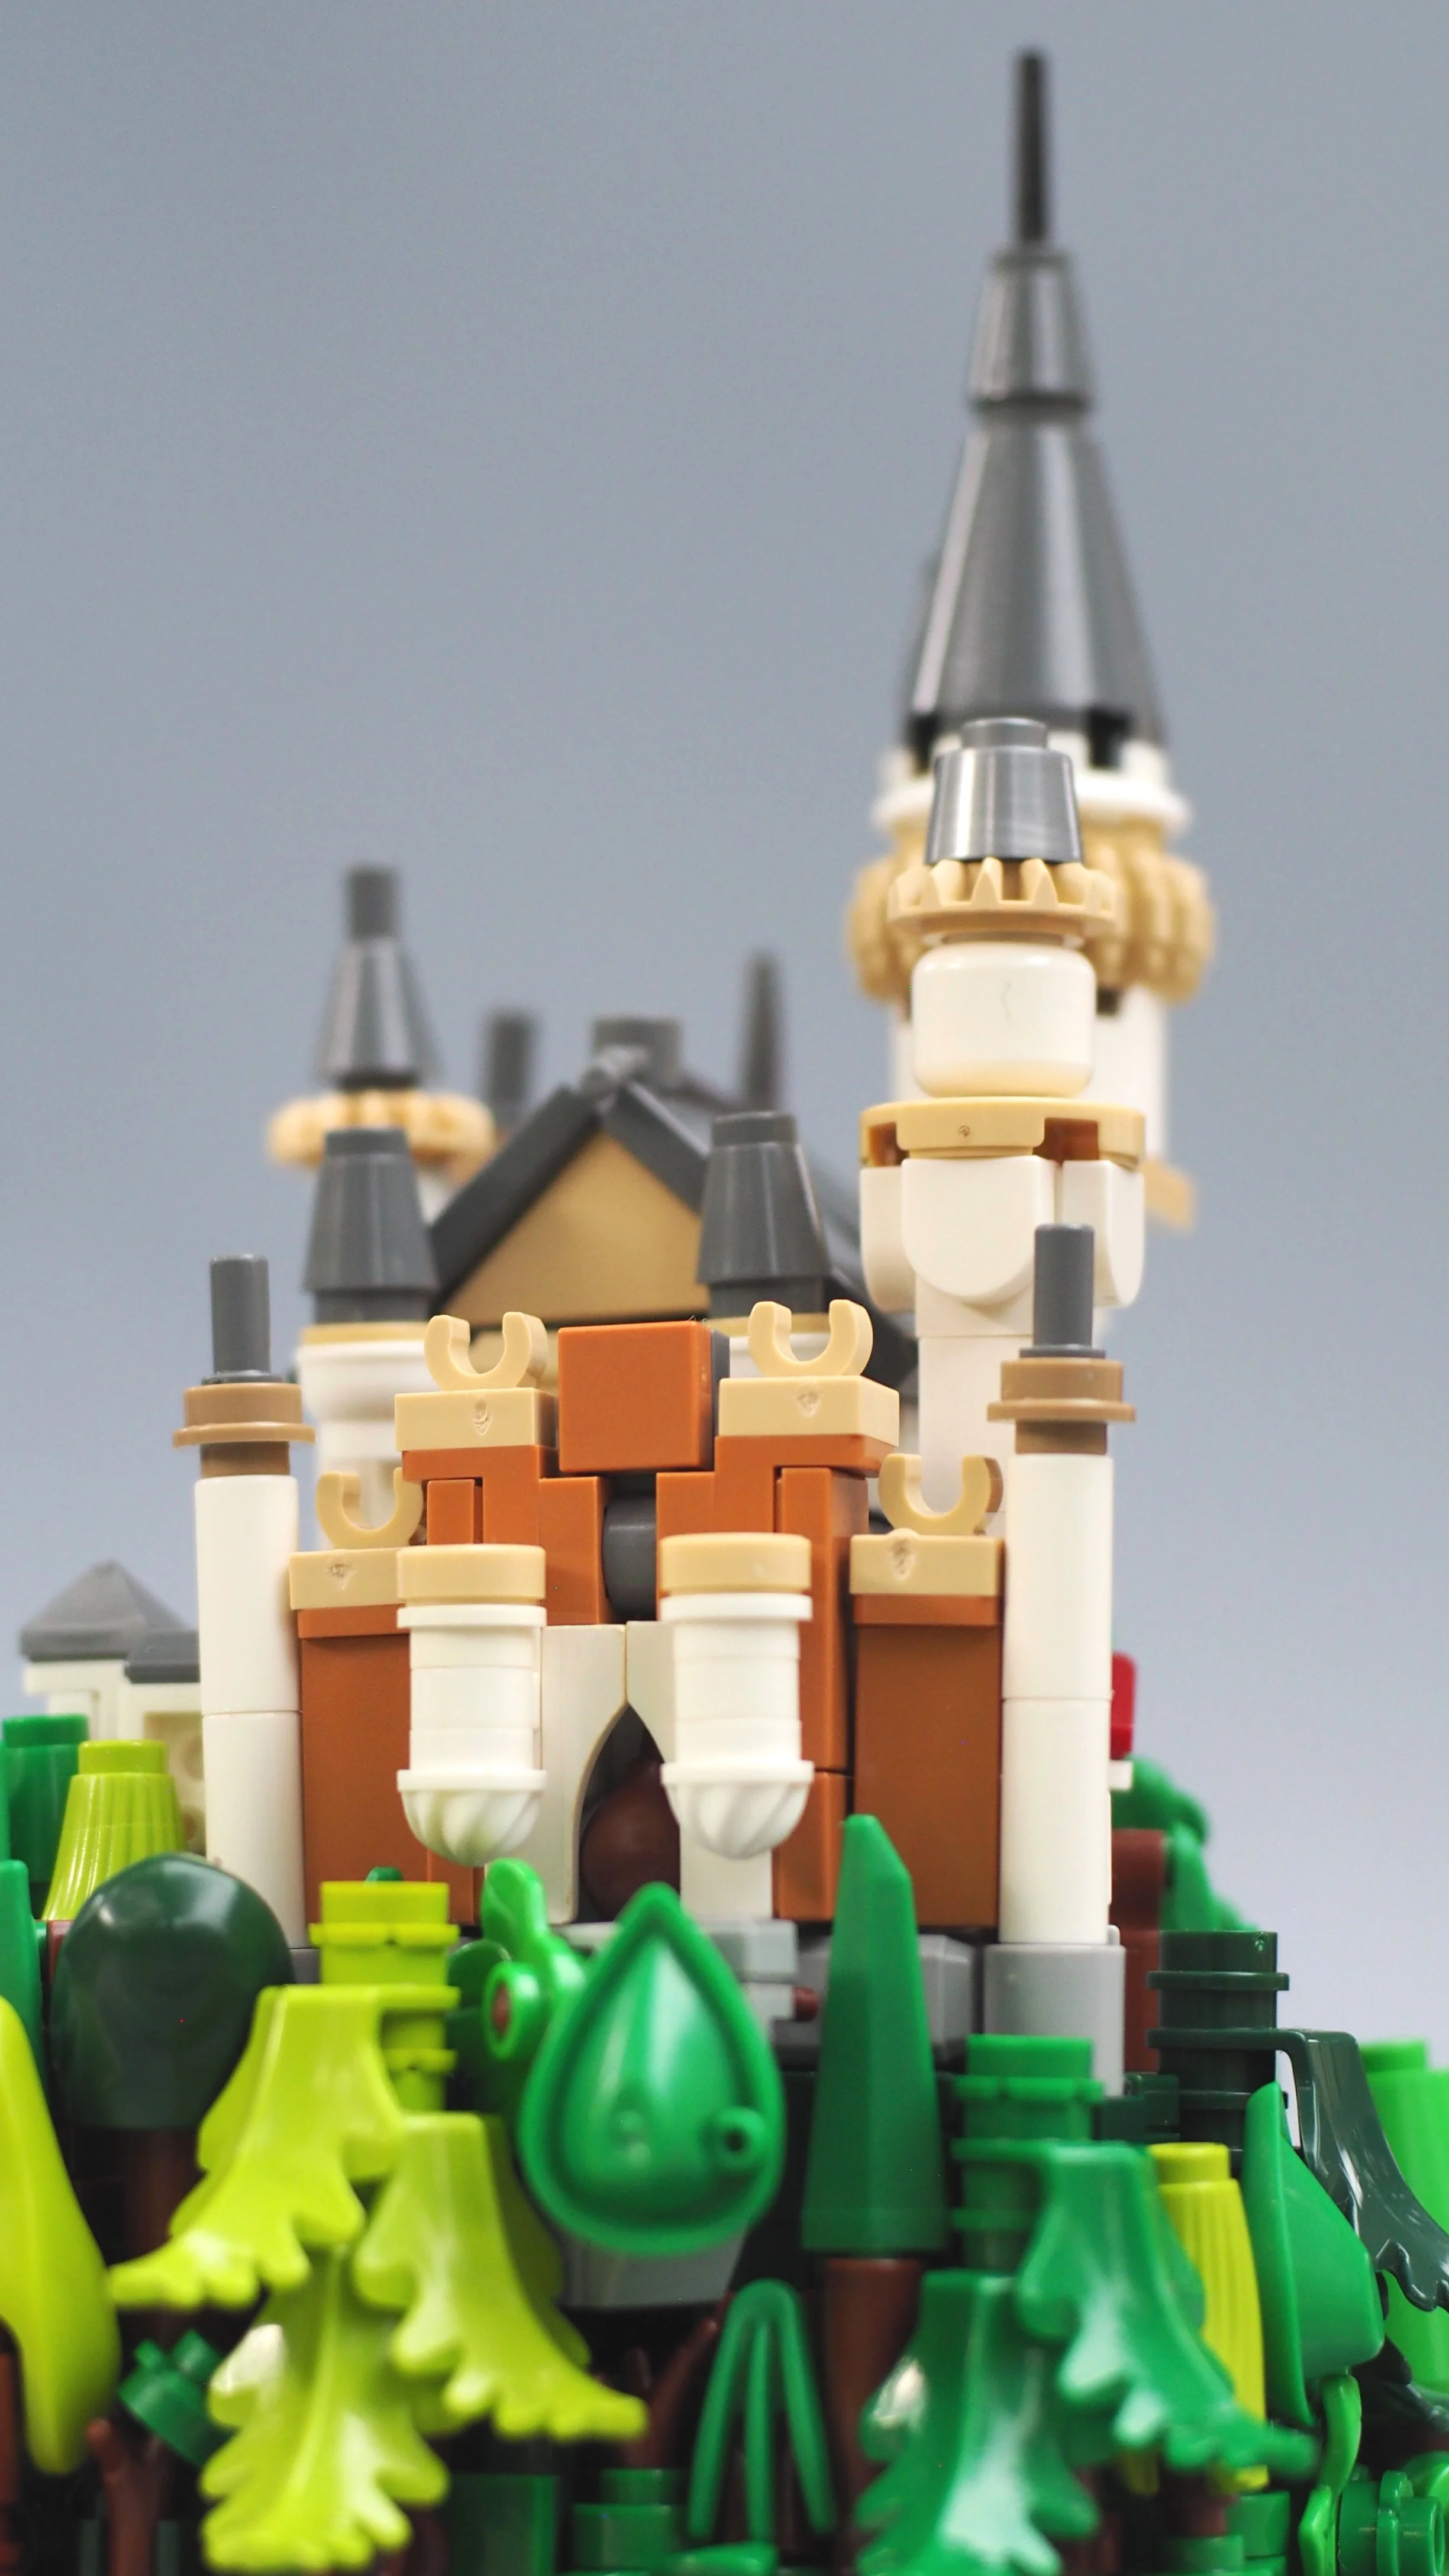
To start off and establish some parameters, let’s take a look at some simple MOCs that display well both on a shelf and a screen. Unfortunately by the nature of this article you’ll only get to see one side of the equation, but take a moment to imagine what this micro version of Neuschwanstein Castle would look like on a shelf: colorful, spiky, barely bigger than the palm of your hand. It doesn’t catch your eye across the hall, but it does reward you delightfully for a moment of closer inspection.
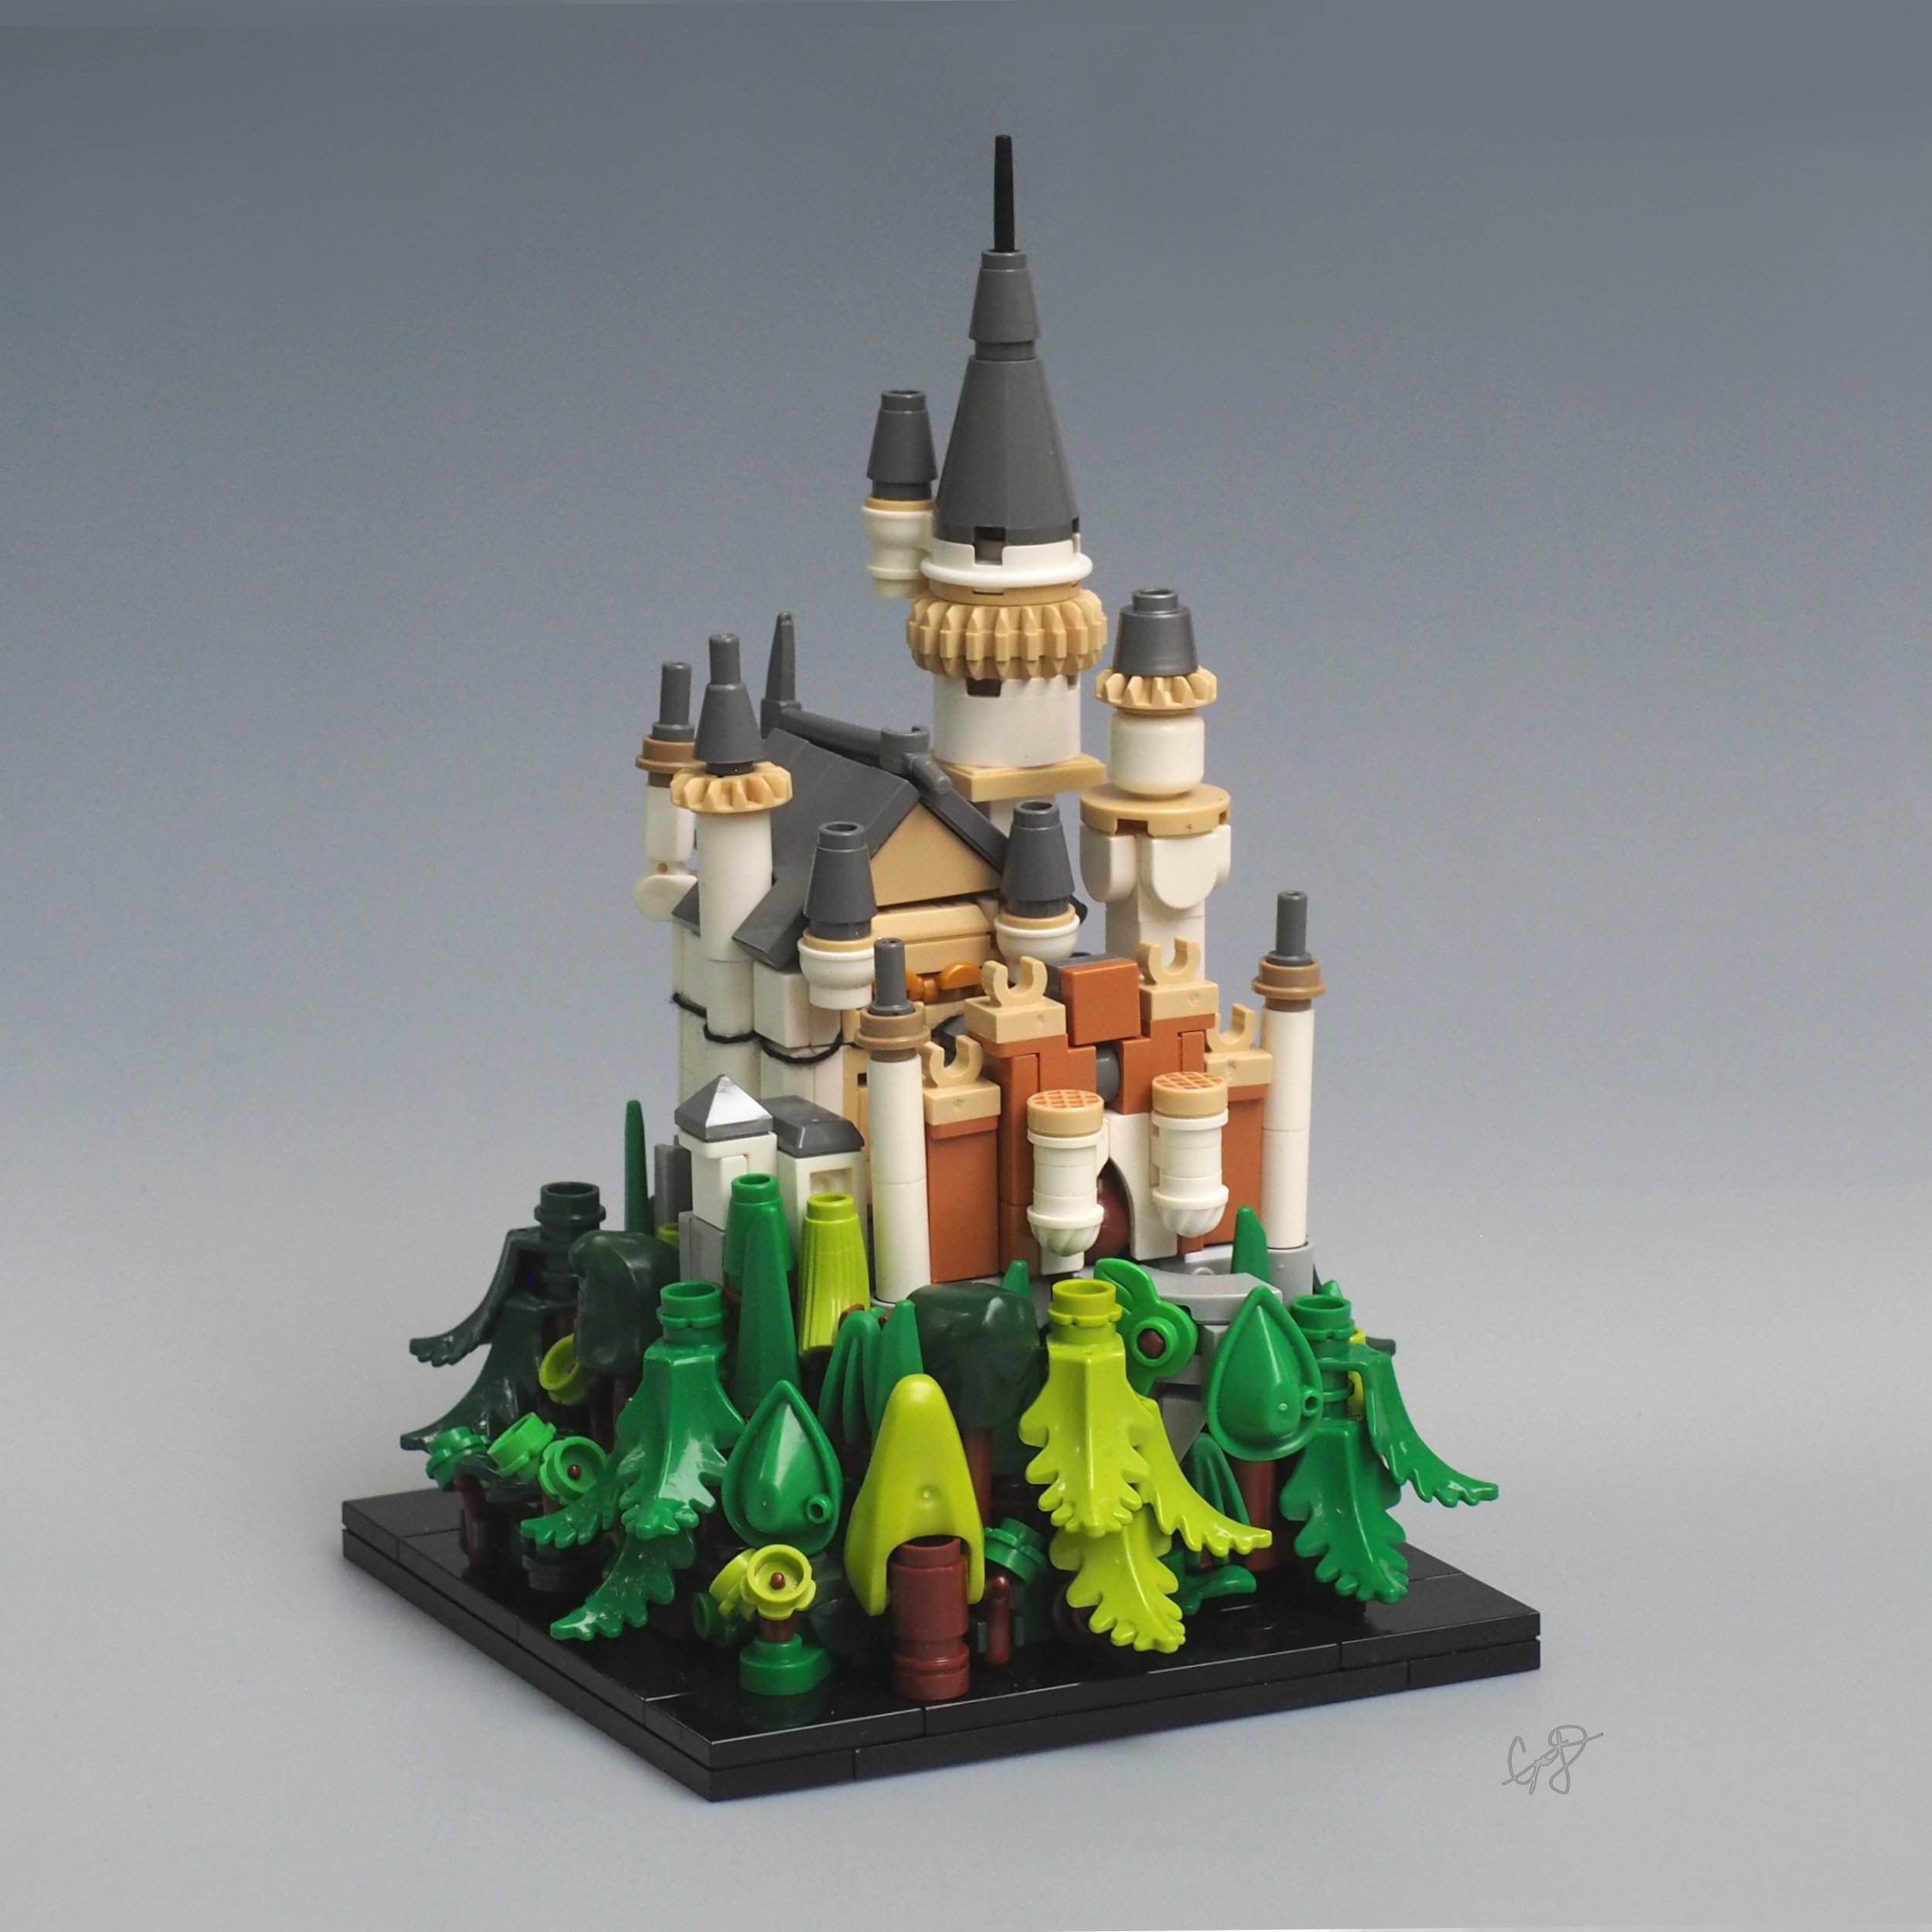
The vignette photographs well, too; a bit of visual clarity is lost due to the difficulties with depth perception inherent in a photograph, but it’s small enough that your eye can quickly decipher the overall shape. The colors are striking, and the vignette presentation looks classy and uncluttered.
These next examples continue the same trend. A little larger, they’re still both very self-contained builds, with striking, balanced color schemes and strong silhouettes. They’re conceptually simple, but I didn’t have to compromise between camera and display on either of these.

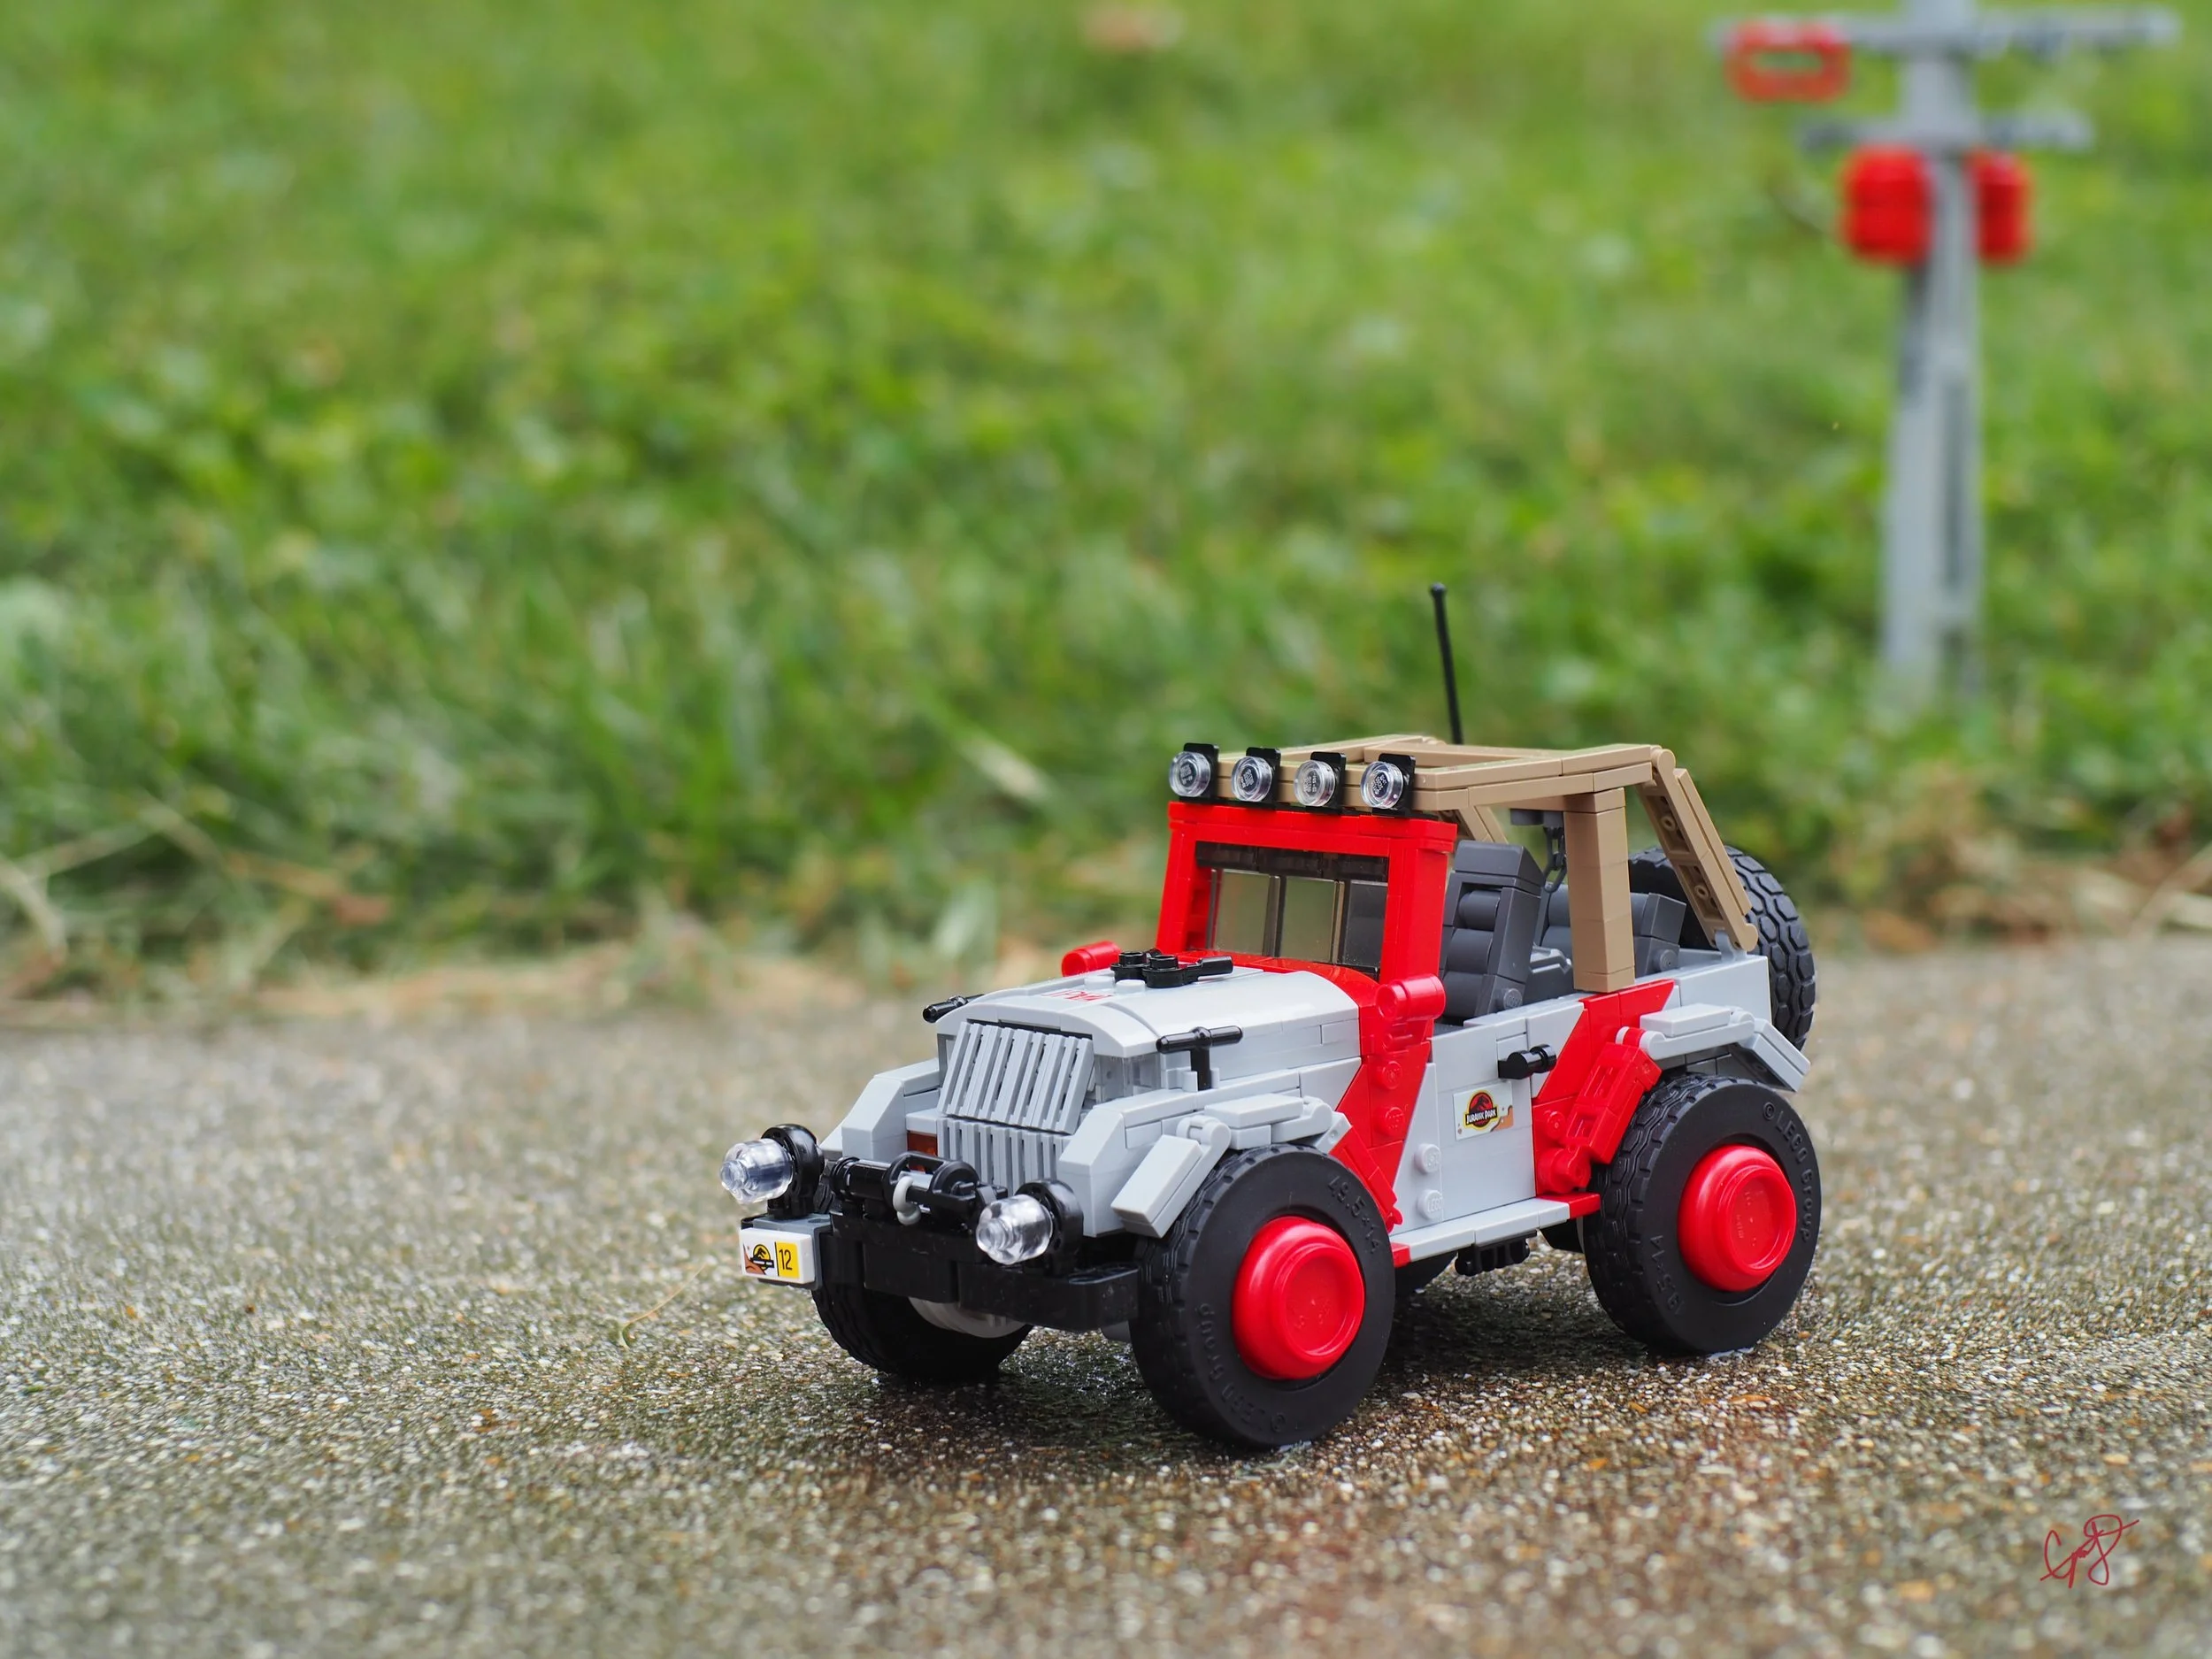
So those are the basics for a MOC that will look good anywhere: the subject matter needs a concept that’s intuitive and self-contained, presenting a good silhouette with well-chosen colors. Now, where can we take that in camera?
Camera MOCs
Most of us who build a lot for the camera have figured out benefit #1: you can cut corners—literally. There’s no reason to build every corner of a MOC meant for online posting. You’ll just annoy yourself photographing every angle and then trying to decide how many pictures to upload. Actually, the ideal camera MOC only gets one photo. Yes, you can post more, but your audience is liable to be bored, your photostream will get cluttered, and ultimately it’s like painting the same picture from slightly different angles: you should have gotten the best of everything in the first picture.

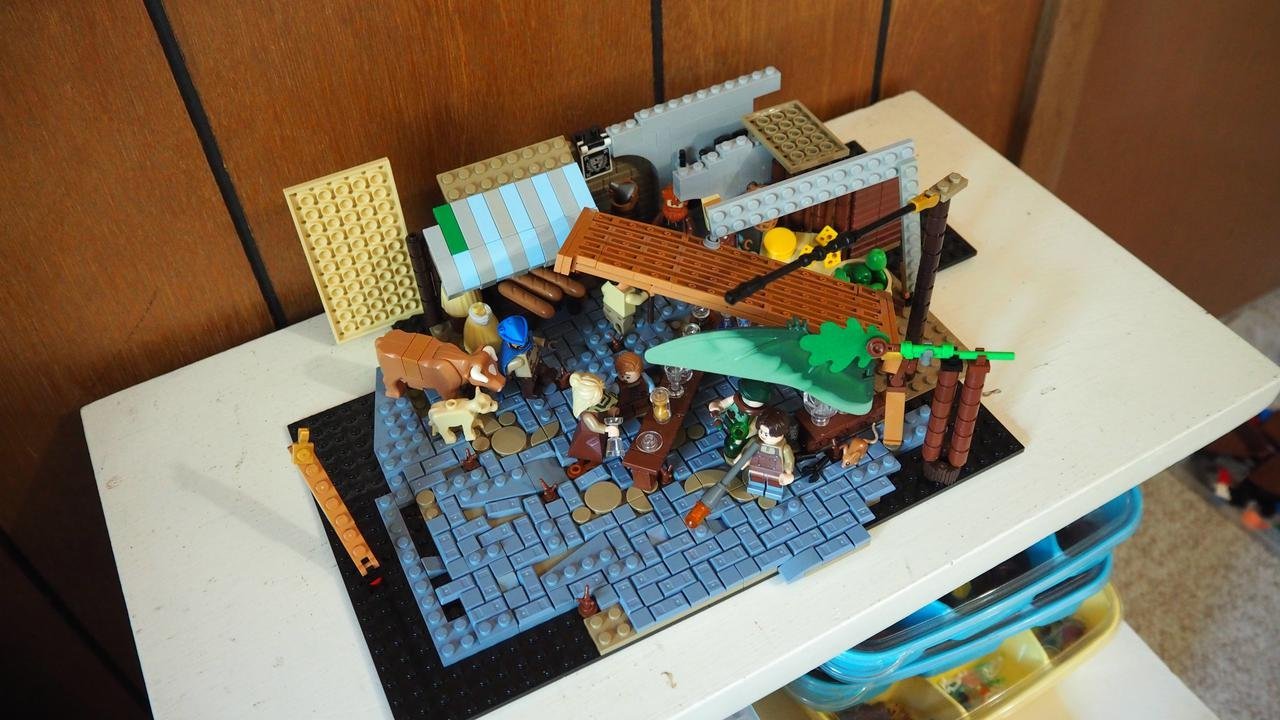
So the classic made-for-camera MOC looks like this one above—unfinished edges, thin facades. It’s very much like a movie set. To me, the unfinished edges even have a charm of their own; a scene like this is a WIP putting a brave face on the matter and calling itself done, showing the world its triumph and keeping its trials courageously to itself. I actually enjoy seeing how close I can cut the edge and how messy I can make the back… pretty messy, as you can see.


And anyways, it’s just plain easier to build an entire city this way.

Of course the grand thing about this, as opposed to those nice little self-contained builds that we were talking about earlier, is that these scenes tell a story. It’s much easier to use minifigures effectively in a large build if you can control the viewer’s angle and focus.
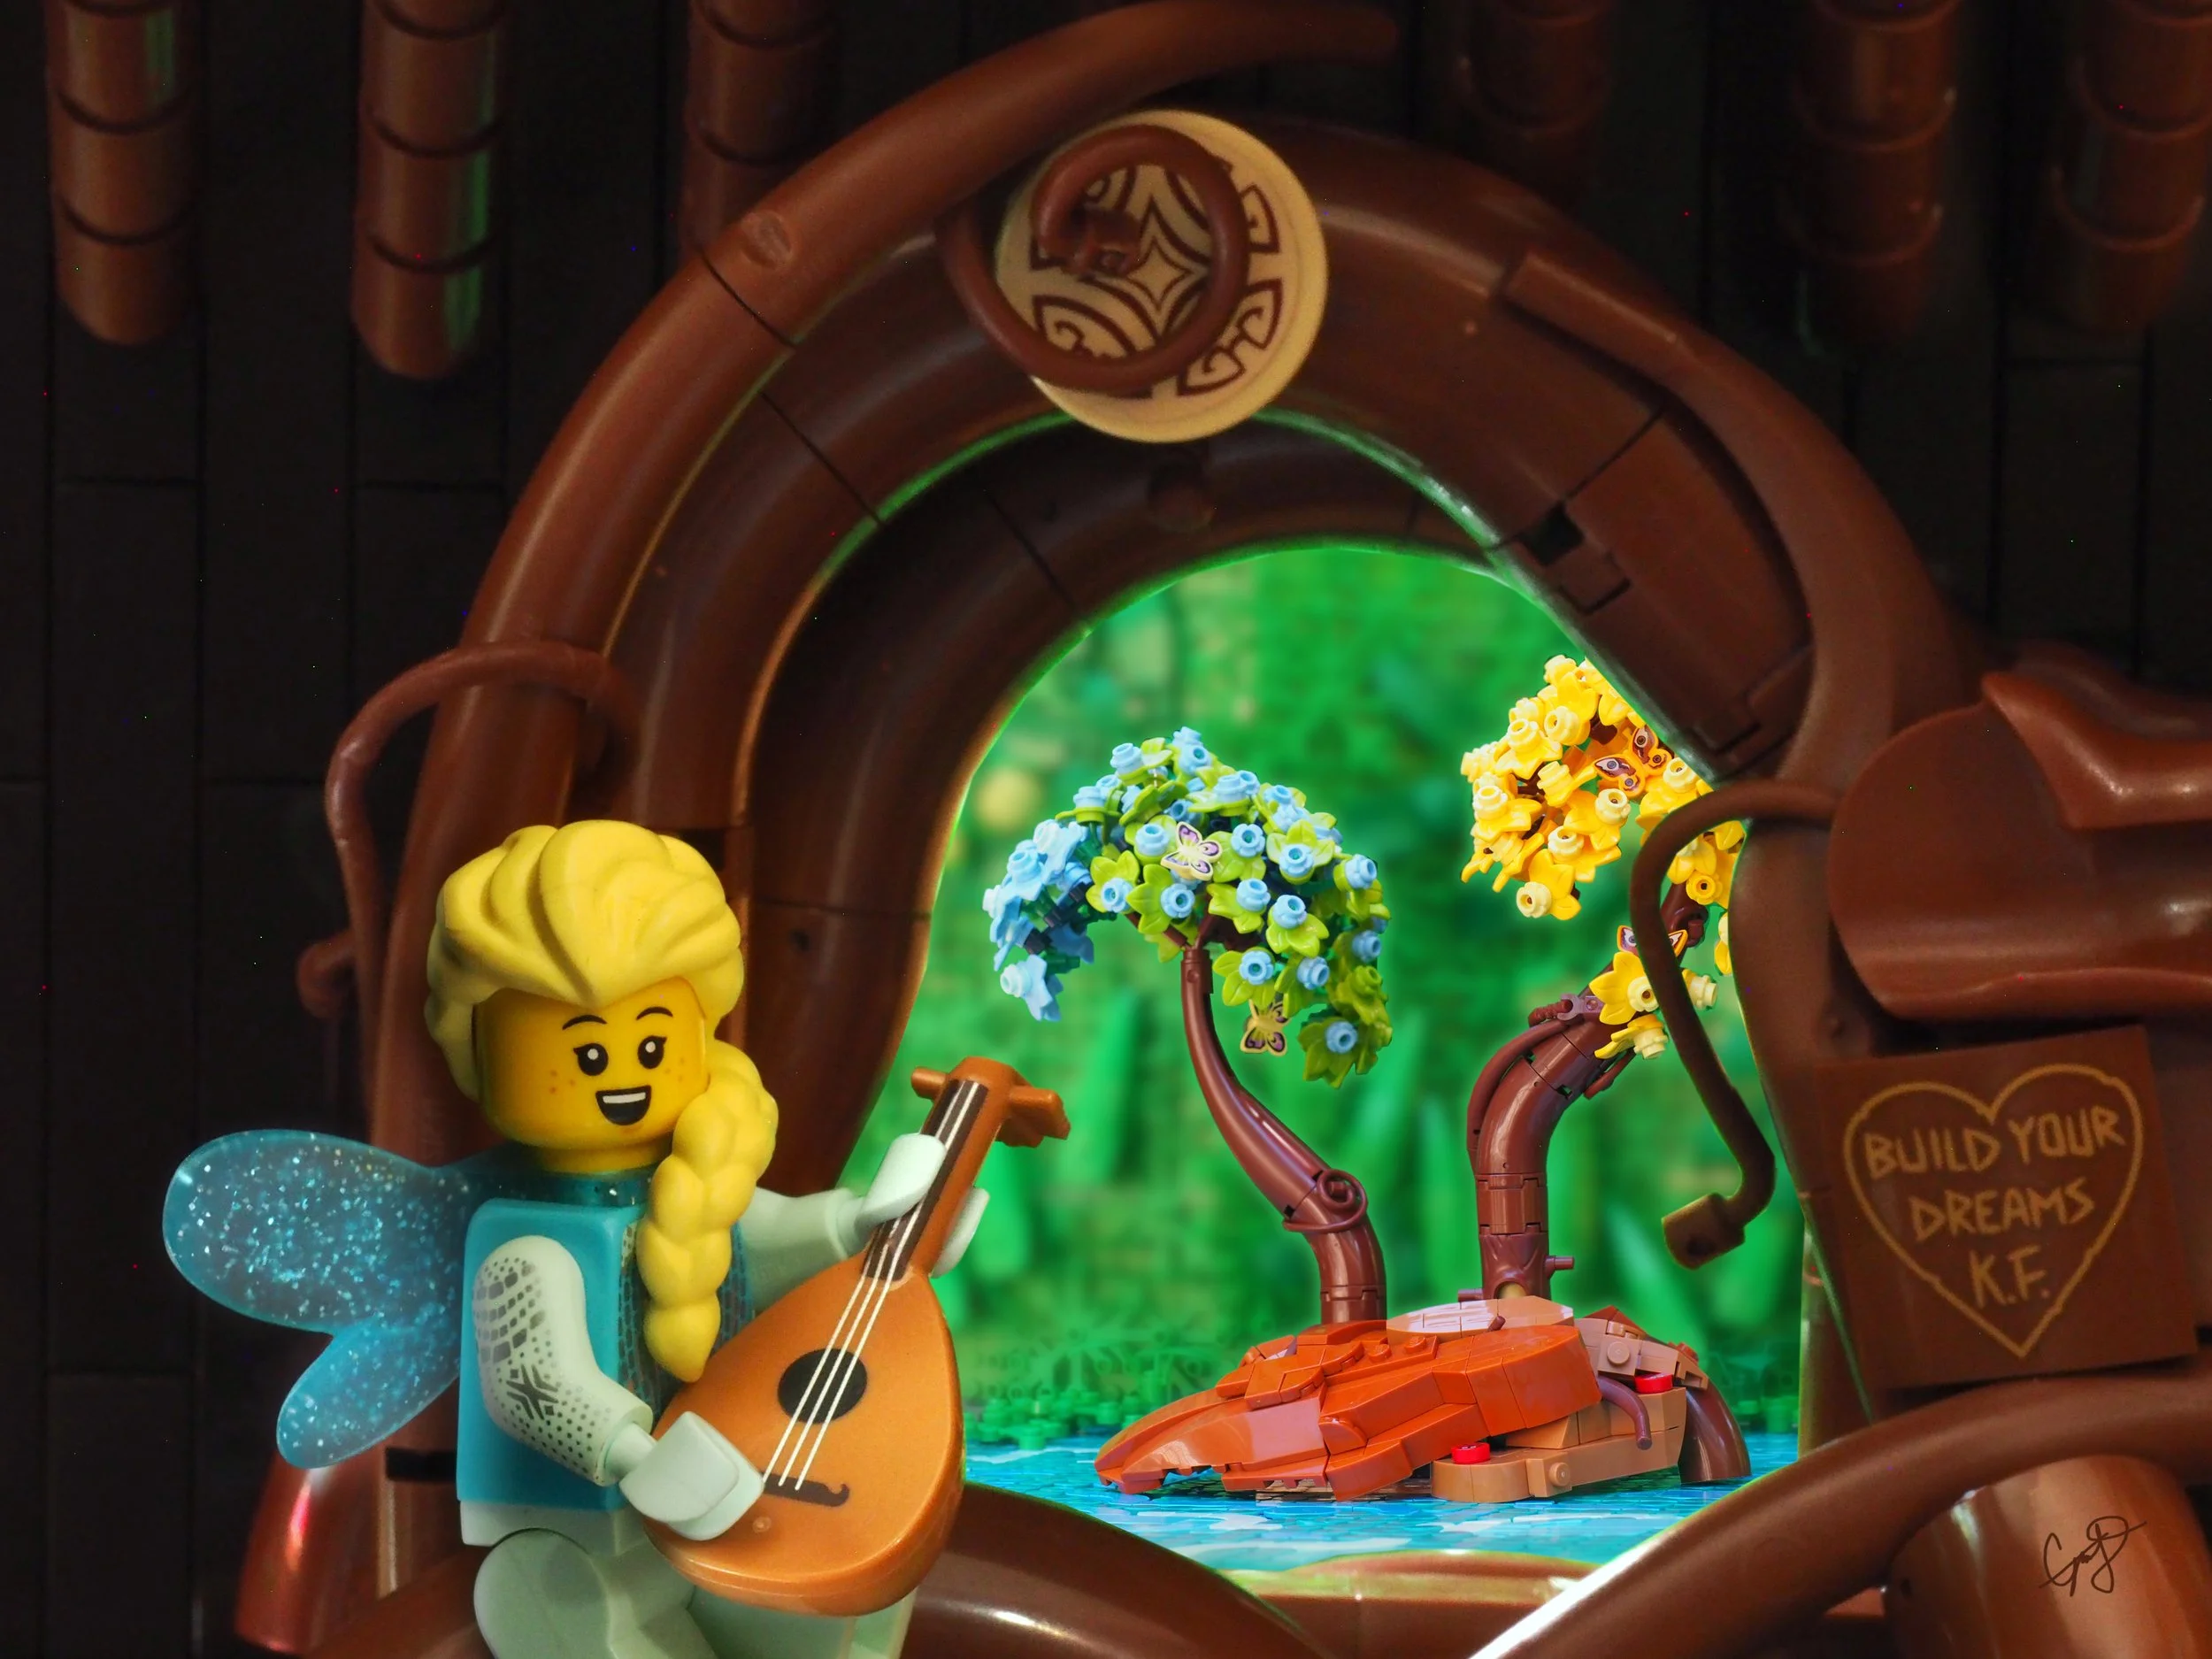
For the most efficient use of your time, it’s important to keep a camera handy and look through the lens as you go along. Ideally, you’ll leave it in position on a tripod and move it and the MOC around as little as possible during the building process. Not only will that keep you from building invisible corners, it’ll also help you balance the composition. Colors and clutter need to be strategically placed to keep your scene from descending into chaos. I built the scene below almost entirely in camera, and as far as composition goes, I consider it one of my best. You can swipe to reveal the behind-the-scenes view.

Of course, cutting corners isn’t the only way to build scenes. Sometimes, you’ll want to get a second angle—or even more. Once I was enjoying a scene so much that I “finished off the edges” in a desire to get a whole self-contained MOC. It got a little out of hand. On the left is the scene, on the right the “edges.”


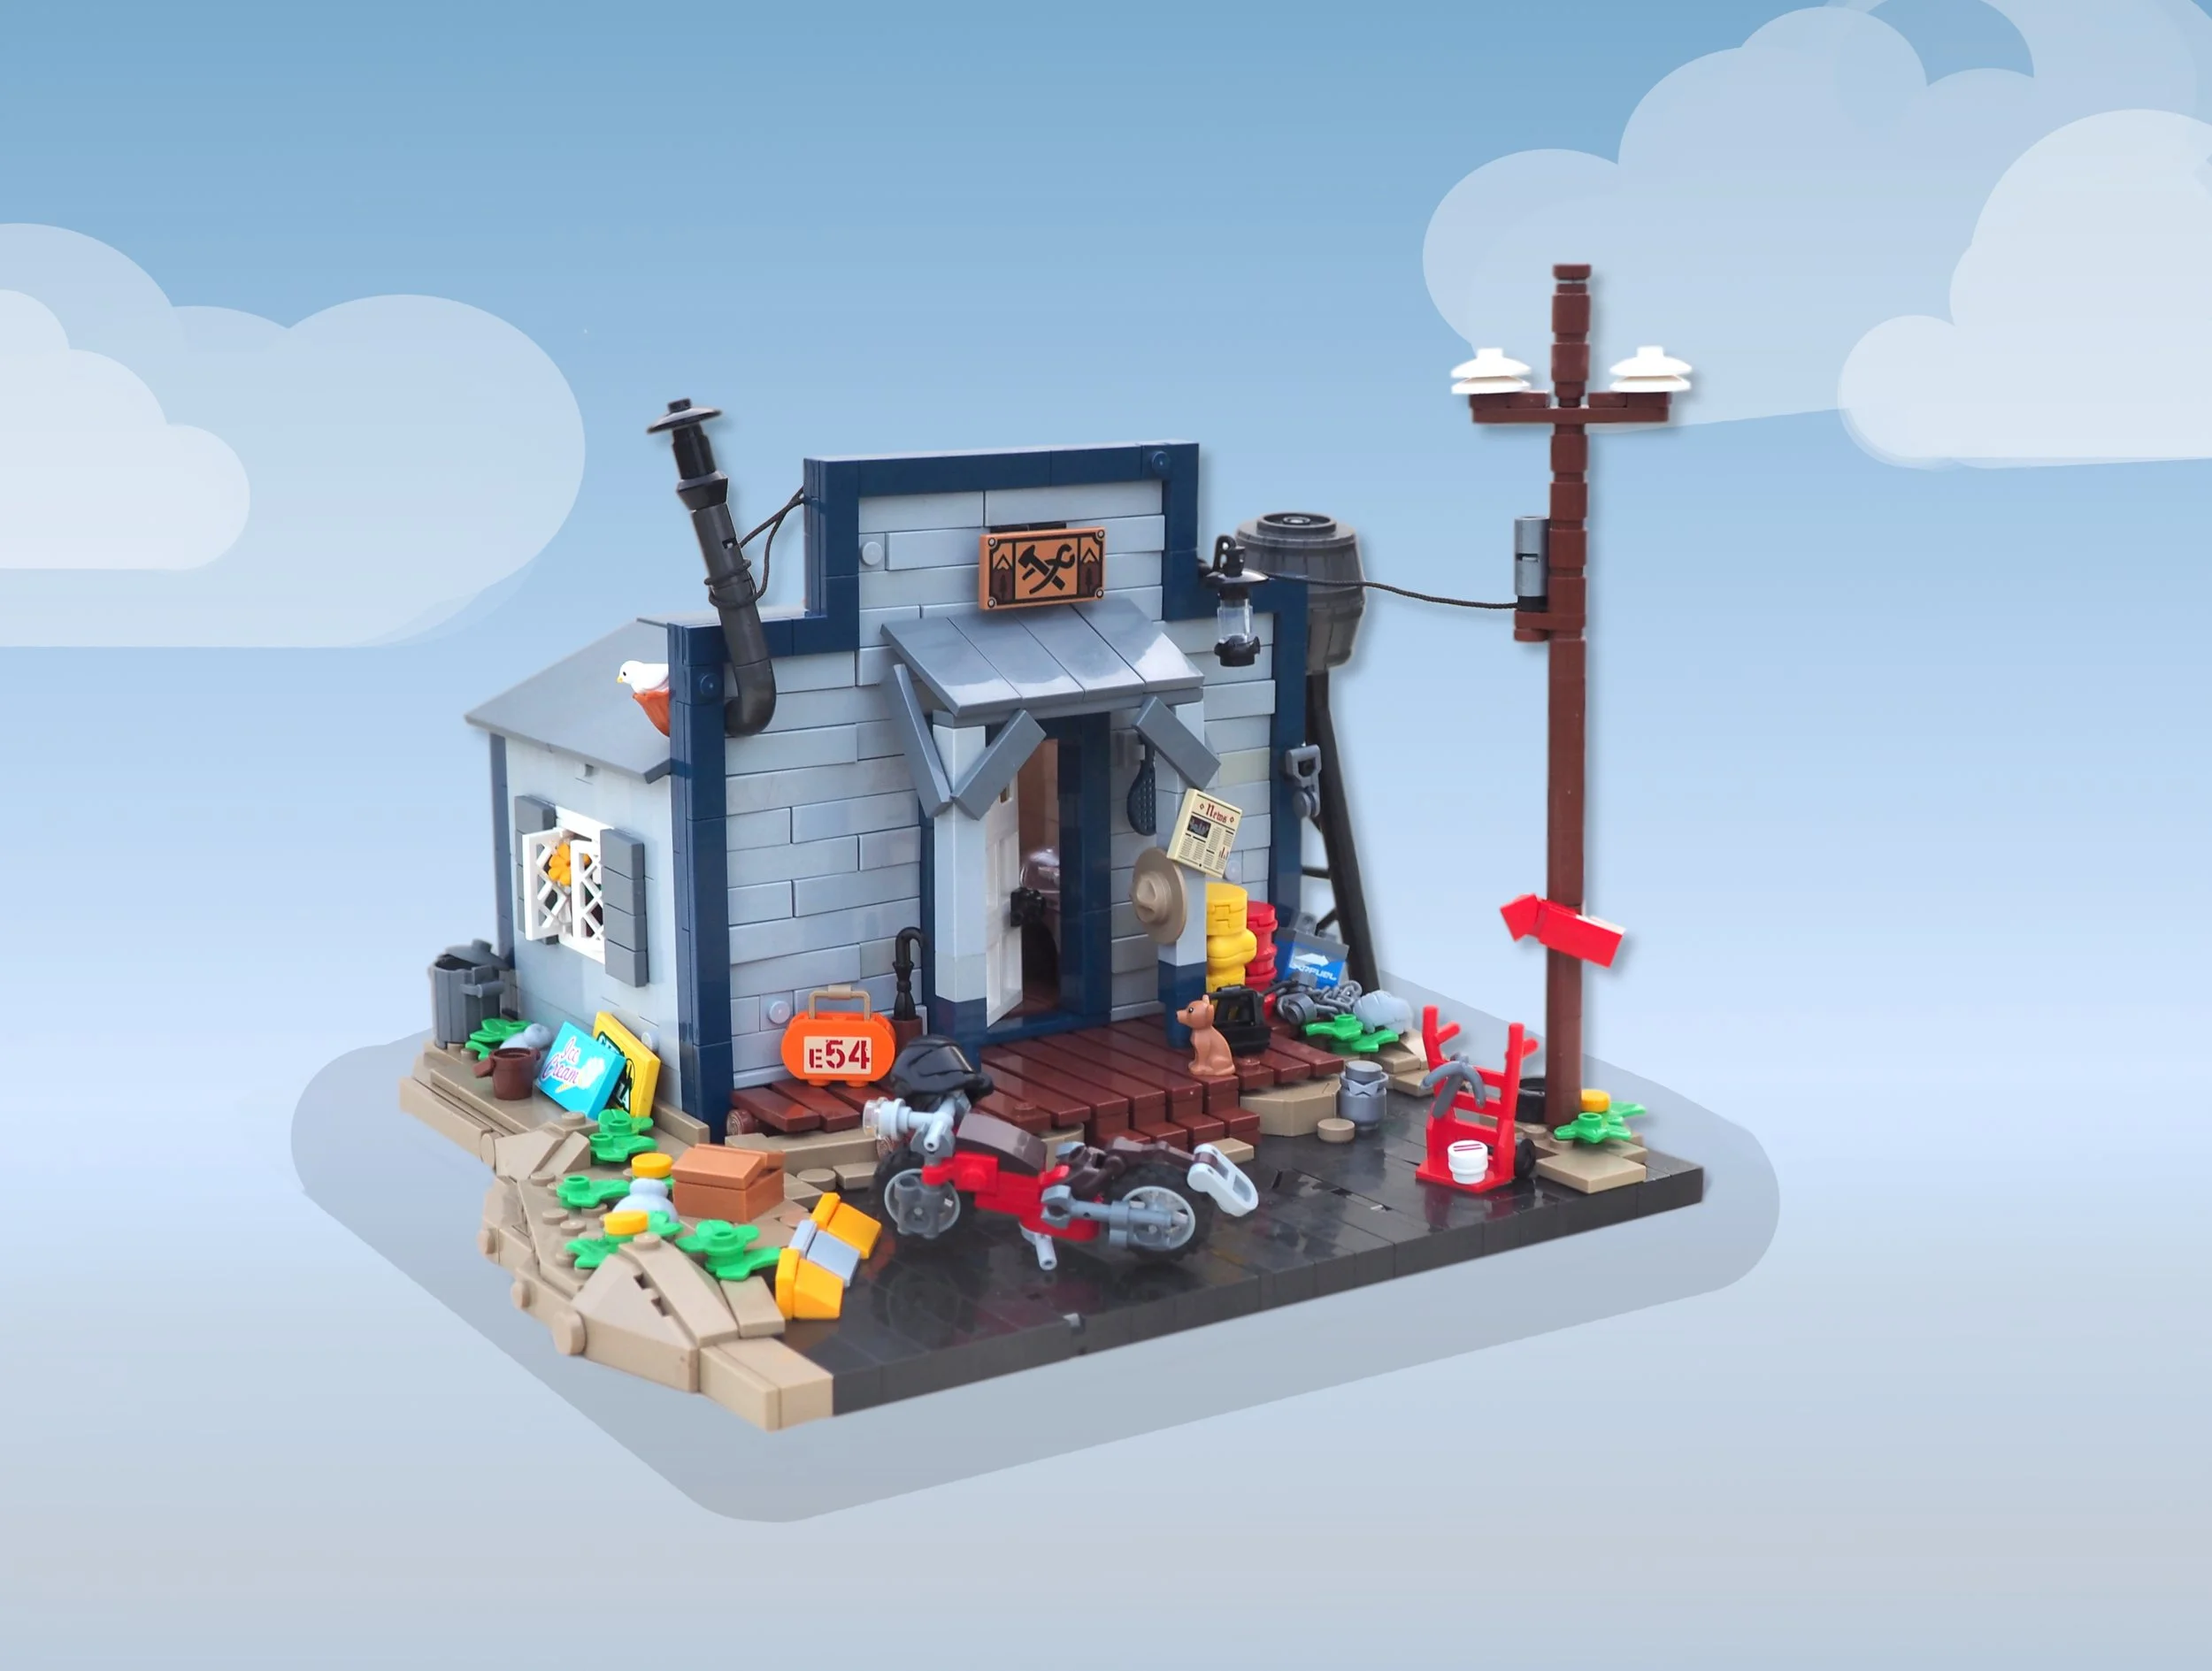
While immersive scenes are the obvious case of camera MOCs, other MOCs can also benefit from the advantages of a controlled angle or focus. Take this hardware store for instance; not only did I save myself bricks (and time—this was for Vignweek after all) by building for a specific angle, I also was able to get some light inside the store by leaving off half the roof to light up the tiny bit of interior detail and make the place feel lived-in.

There are some other advantages to camera MOCs. Structural integrity is not super important, since transportation is not an issue, allowing you to do some delicate things, as well as build faster or use less parts. Less purist advantages include digital editing to duplicate elements or change their colors.
Transition
If I were trying to be chronological to my own development, I should have talked about building for display first, before bringing cameras onto the scene. LEGO sets are always meant for display (though as a general rule they also photograph well, being self-contained as we discussed), and that’s where most of us unconsciously start. Even if we only take photos and tear down our creations, it comes naturally to look at them as display pieces, rather than to plunge right into the advantages of controlled angles and focus that building for the camera offers. (This is why I wish I could tell my teenage self some of this stuff—I spent a lot of time building display MOCs for the camera!)
However, I chose to begin this article with camera MOCs in order to discuss the transformation process: what if you want to do both? How hard is it to turn the same basic MOC from camera-specific to display-specific or vice versa?
I find it far easier to go from a photo scene to a display piece than the other way around. It’s easier to finish edges than to give up on some favorite details, because they actually don’t enhance the composition in camera. It’s easier to balance colors for the camera in the first place—you can be sure they’ll look good in real life—rather than change something afterwards that looked nice to your eye but photographs poorly (black, anyone?). It’s easier to design a layout carefully so that parts of the build don’t block each other when looked at from the right camera angle than to come to a build with all kinds of cool things everywhere and realize that it just looks like a cluttered mess in the camera. If nothing else, it’s usually really obvious what needs to be added to a camera MOC in order to make it displayable, but much harder to decide what to change when going the other way around.
So, on the whole, I think it’s challenging to adapt a build designed for display and modify it for photography, especially if it doesn’t naturally look good in camera to begin with. However, I’m entirely in favor of taking MOCs originally built for online posting—whether that’s for a competition or something else—and transforming them into convention display pieces. I’ve done it several times and always found it rewarding.
camera

display
What needs to change above all is the layout, since you no longer are in control of the angle of view; it has to make sense to the viewer from every angle of approach. Built-in lights also shine better on a display table than in a photo, and sometimes the second iteration ends up better than the camera version, even in a photo.


2.0 for display turned out way better
When it comes to adding stability to a MOC originally intended for the camera, I recommend using sticky putty to keep minifigures and other items in place. You never know who might bump the table and turn your busy city street into a plague-stricken village!
Display MOCs
So if self-contained MOCs are great for both screen and shelf, and if scenes and stories tend to work better in camera, what unique strengths do display pieces have?
For starters, building for display is more intuitive. As I mentioned earlier, it seems to be what builders naturally do first, which makes sense—you’re looking at a physical MOC with your own eyes, seeing it under a variety of lighting conditions from constantly shifting angles. You don’t have to continually return to a specific angle to ensure everything looks just right.
Another huge advantage is greater flexibility in layout. You can place different sections of your MOC in ways that hide other sections, and as long as a hint comes through, that will encourage builders to look closer and check it out from other angles, allowing you to create a bit of suspense or surprise, far more difficult to achieve in camera.

Both examples above and below use horizontal layers to invite viewers to change their angle and consider them from multiple perspectives. Interestingly enough, that’s part of the meaning behind both these MOCs: a lush paradise hidden beneath the snow, and a sewer beneath the palace. They photographed okay, but the effect was, in my opinion, largely lost.

totally impossible to show this MOC properly in one photo
You also get more bang for your buck with a large MOC if it’s on display than in a photograph. There’s something about physically being in the presence of a big LEGO creation that brings a wow factor that a photo simply can’t achieve. Most of us who have had the experience of seeing someone else’s creation in a photo first and then in real life have been a little surprised by its size.
Speaking of size, that offers some good opportunities to stand out as a physical display. While small MOCs are great for displaying on your shelf at home or giving away as gifts, it’s much easier to stand out at a convention if your creation is easily distinguishable from at least five feet away. But that comes with a trade-off—larger MOCs are much harder to photograph!
I think one of the clearest instances in my building history of a MOC (or series of MOCs) that looked totally amazing in person but didn’t all show at their best in photographs was my family’s “Pilgrim’s Progress” Brickworld collab a couple of years ago. Spanning nearly three tables, it was just plain difficult to get the whole display in one shot.

Even creating a collage of the MOCs has its drawbacks; they all end up looking much smaller than they are. In fact, this scale is generally difficult to appreciate in photos. We’re used to judging the size of a creation based on the minifigures in it, but the brick-built figures here are 5x minifigure size.

Special effects also generally come across better in person. The convention photo of the celestial city below shows off its lights much better than the photo from the official photo session—and the effect was even more striking in person. And neither photo could capture the moving lights behind the entrance. This is also a good example of how much harder it is for me to transition from a display piece to a camera build—I didn’t even know where to begin remodeling this, so I didn’t try.
Let me count the things that needed to change: the asymmetry looked much better IRL… you can barely distinguish the angels in the photos… the video door is obviously useless, and the screen was so reflective I had to edit it out. The lights appear tiny, and the whole thing feels flat and 2D; the roofs are gappy and full of studs. Yet in person, it was good enough to get an award.


this moc looks so much less alive in photos
One generally accepted difference between builds intended for display and those intended for photography is the need to finish the edges and create a piece that is 360°-viewable. But if you’re willing to embrace a bit of structural unsightliness, people will actually enjoy seeing that at a convention (and if there’s room on the table that needs to be filled anyhow, why not?). And often the backside of a creation will hardly be visible anyway, so 360° is really not a necessity.
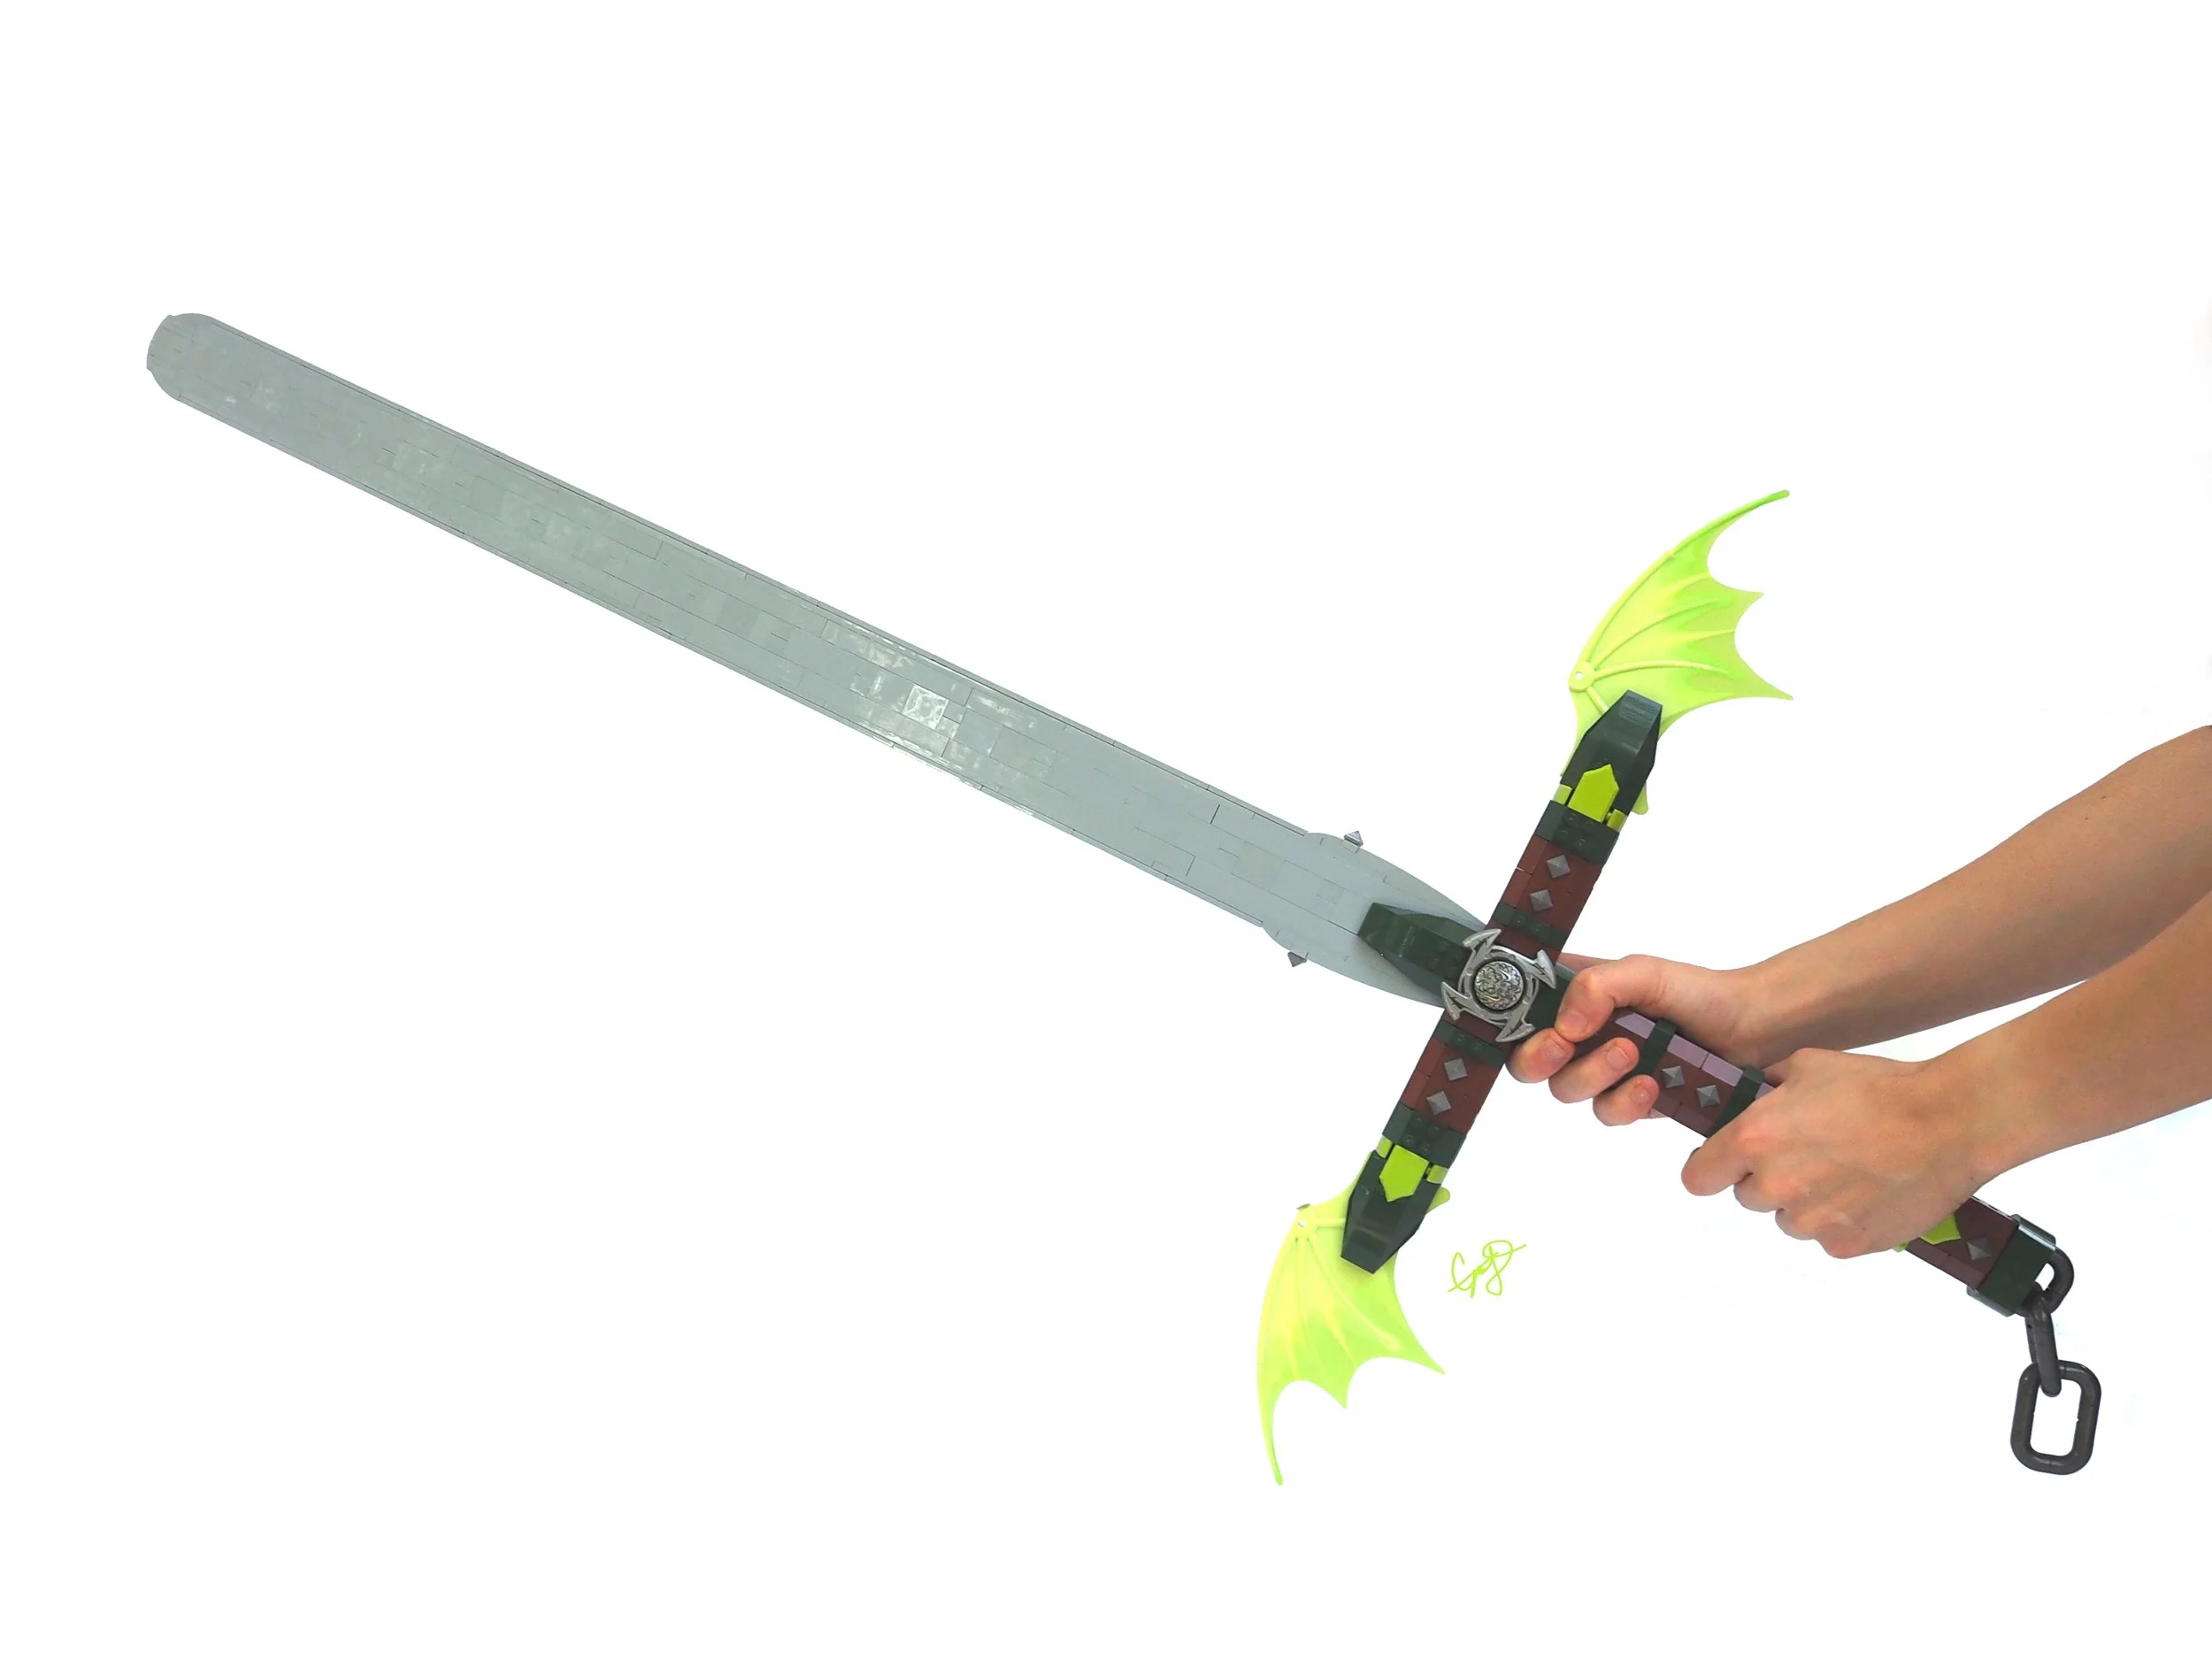
Eowyn vs. the Witch-King is a fun example of a build obviously meant for photography, but it’s also entertaining to see it hanging out on a display table.


It’s also possible to creatively solve the problem of angle, if you’ve built something (like an optical illusion) meant to be seen from a specific point of view. BrickNerd’s own Simon Liu has been known to build physical viewports/eyeholes so convention-goers see his Escher-inspired creations from the best angle.
That said, there is something incredibly rewarding about building a MOC that’s 360 viewable. It feels finished, worthy of being stared at, gloated over, and put on public display. For this kind of MOC, display is better than a camera because it taps into our natural curiosity. It entices viewers to lean in, peer around the sides, and look closer—a much more entertaining, because much more personal, process than scrolling through all the photos someone else has chosen to post.

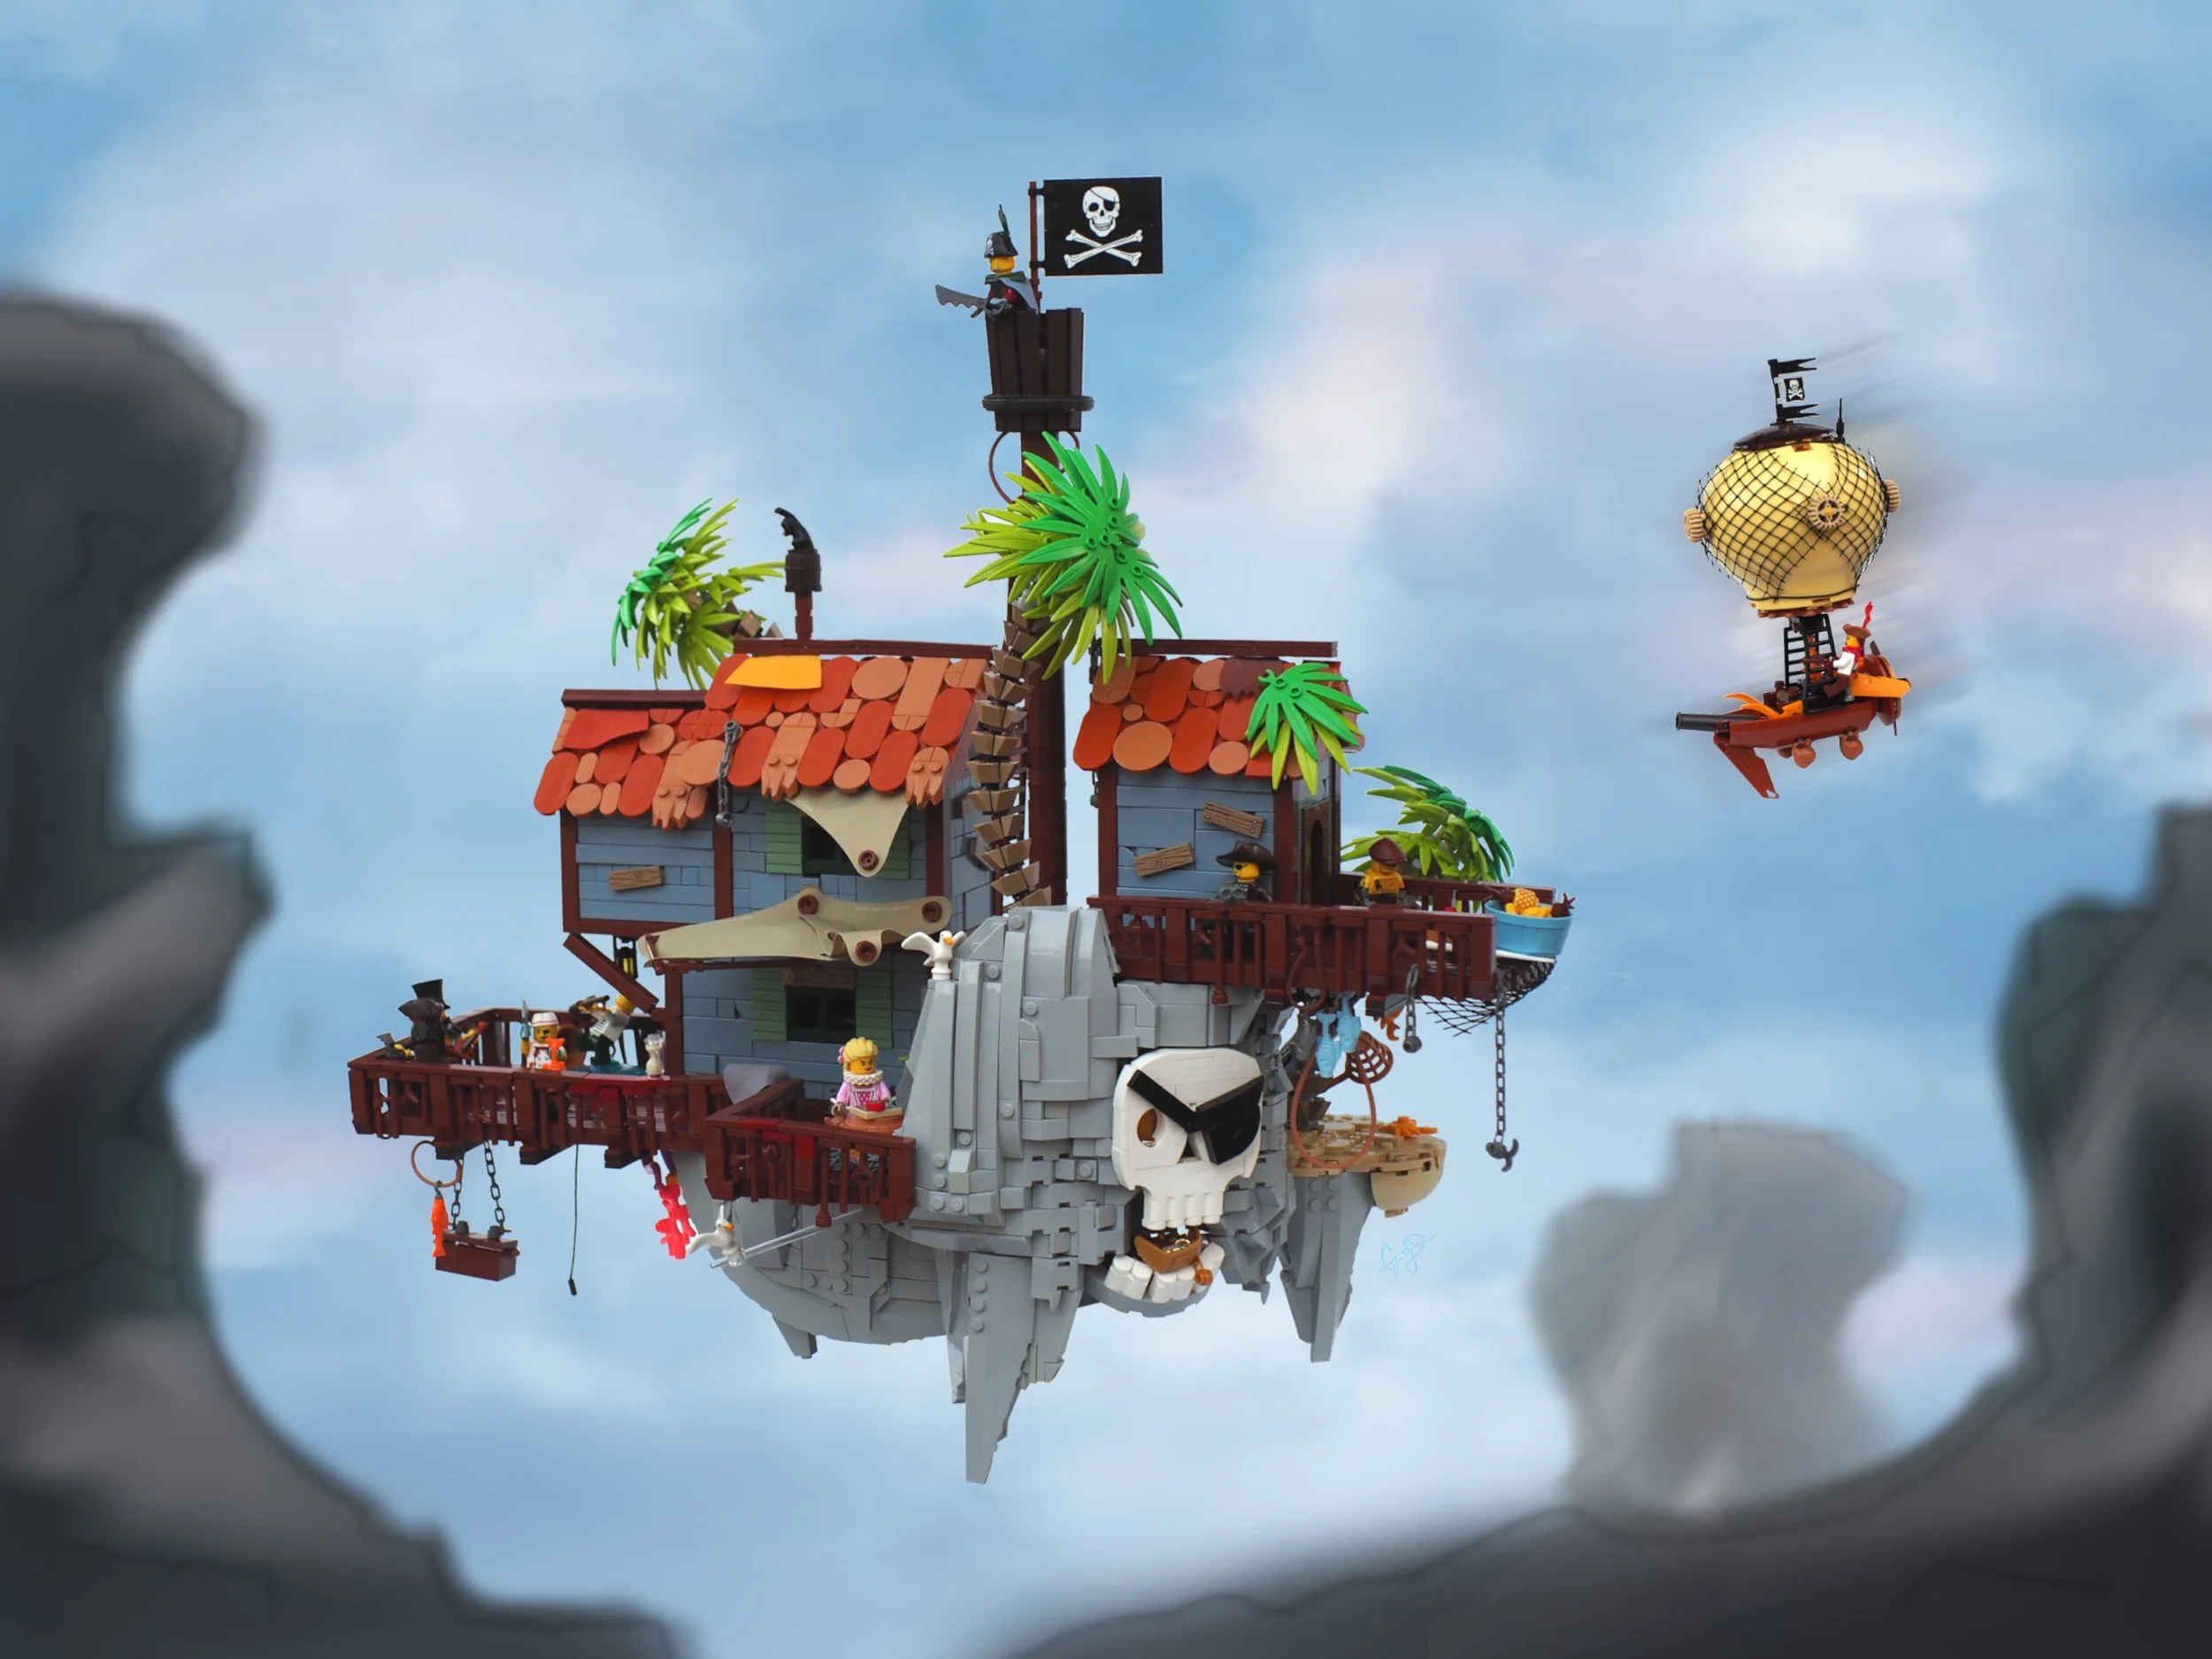

Pirate isle was always a hit at cons.
Conclusion
It took me far too long to realize the obvious: if you’re building for a camera, look at your build through a camera. If you’re building for a convention, look at it through the eyes of a convention-goer.
There’s no one-size-fits-all answer as to which is better. Each alternative allows you to give your build a different slant: cameras let you choose your own angle and focus, allowing you to control how you tell the story; a physical display, on the other hand, lets your viewer interact, explore, and become part of the story. That’s why it’s great to know ahead of time how you plan to present your build—you can lean into it and you’ll build more compelling, more eye-catching MOCs as a result.
It’s always a good habit to pay attention to what you’re doing, and building is no exception. Hopefully, slowing down to take a look at building for the camera versus building for display will help us do better at both. However you build, play well!
Best of BrickNerd - Article originally published March 28, 2025.
What do you build MOCs for? What changes do you see in your building habits based on your intentions for that MOC?
Do you want to help BrickNerd continue publishing articles like this one? Become a top patron like Paige Mueller, Rob Klingberg from Brickstuff, John & Joshua Hanlon from Beyond the Brick, Megan Lum, Andy Price, Lukas Kurth from StoneWars, Wayne Tyler, Dan Church, and Roxanne Baxter to show your support, get early access, exclusive swag and more.