LEGO Lighting Lessons: Making Sets and MOCs Merry and Bright
/Earlier we took you on a tour of all the LEGO-related lighting products we could find. We called it our “LEGO Lighting Compendium” because it covers hundreds of options at a high level. With many people across the world having just opened presents of LEGO or lighting kits, I wanted to dive in for a bit more of a hands-on look at lighting as a late Christmas present from me to you, our legion of avid readers!

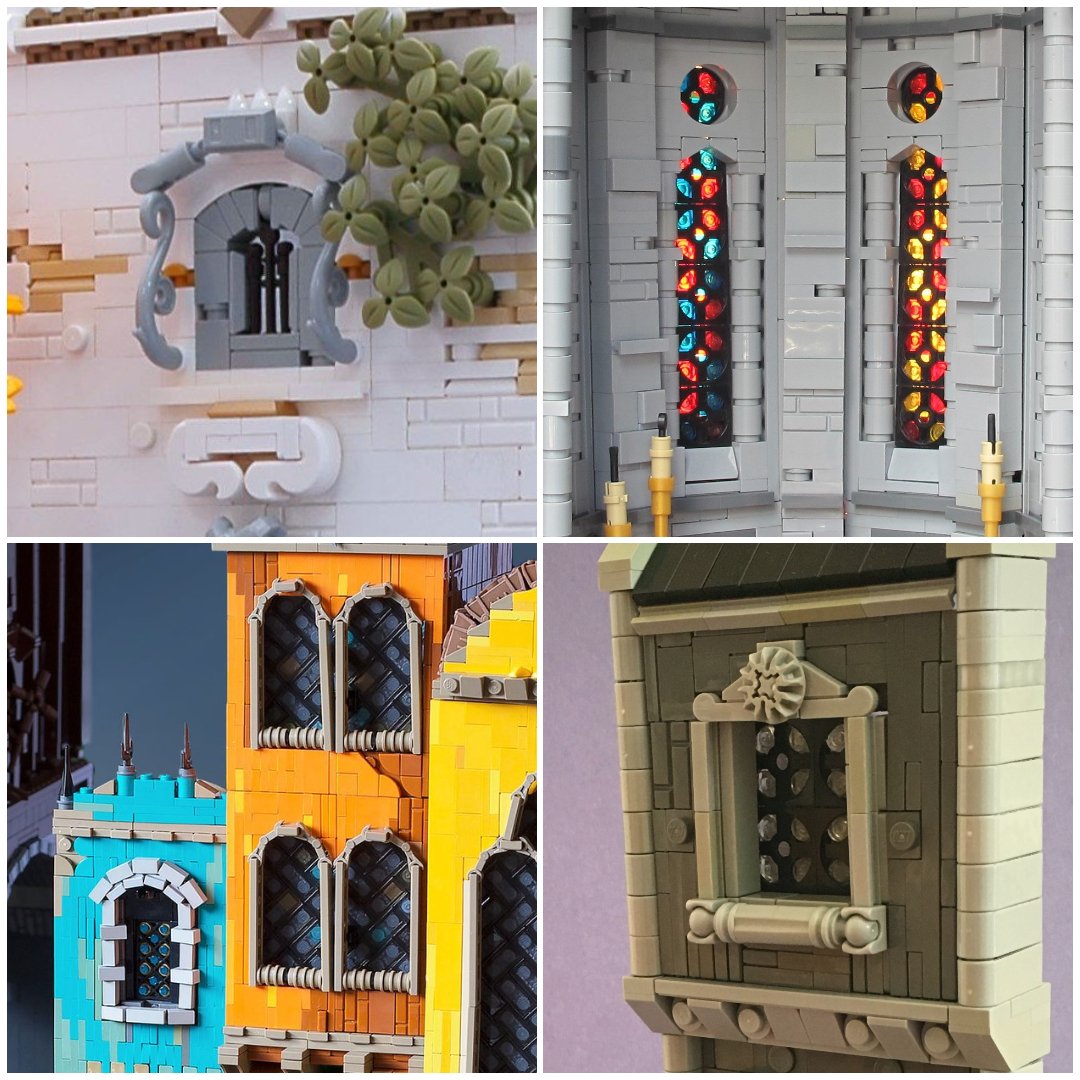
Lighting up the Bugle!
To be fair, I won’t be able to cover all lighting products by most companies as the breadth of offerings is so great. So what I’ll do is give you a hands-on overview of what it is like to install a lighting kit for a LEGO set. The ones I am looking at today were provided by Lightailing/Briksmax which I believe are representative of a large percentage of the products out there on the market—i.e. most of the companies I listed in the compendium offer products of this similar form factor and types of lights. I’ll talk about using the lights themselves in The Daily Bugle set, the experience of installing/uninstalling them, and my thoughts on using them in MOCs. So come on down to lighting town, and let’s get going!

“Light me up buttercup!” …That’s one of Daredevil’s Sayings, I’m quite sure.
As you may recall from the prior article, I wrote about three types of lighting “kits”:
Set-based kits with bundled lights that are built into bricks and strung together. These are custom-made to fit perfectly into a particular set and are as easy to install as you can get. The reusability is a bit hampered by that prescribed nature, but creative types can reuse them.
Set-based kits with individual parts that are assembled into the set with a little elbow grease. These are a lot more parts, but think about the reuse! You now have your very own set of components to do with what you please in the future.
Starter kits which sometimes are meant for a specific set, but at least ensure you have a decent little pile of parts to reuse later.
These three product types are going to be the focus for today, as I received types one and two from Lightailing/Briksmax, and I bought a starter kit from them to get a second small battery pack for my Hells Angels build (and of course to get a few more lights for my collection).

The kit fully installed.
Since it wasn’t initially obvious to me, I should mention that the Lightailing brand is used to offer the Type 1 lighting kits I mentioned above that are specifically pre-built assemblies. That makes shopping for them pretty straightforward since you know what you’re going to get without any digging. So what did the Daily Bugle lighting package contain?
Three pre-built assemblies of lights of various types ending in a USB connector.
Two big battery packs.
USB splitter.
A few assorted LEGO System parts for installation (1x1 round plate, clips, etc.), all of which appeared to be LEGO-branded elements.

All the kit components.
This took maybe a couple of hours total to install. Without any context, I’d say it was a reasonable amount of time to spend adding lights to a LEGO set. By comparison… it felt like light speed relative to the intricate and painstaking process of threading the wiring for each and every LED in the Briksmax kit. More on that in a bit.
I liked that there was no need to twist or braid wiring—the lengths were appropriately measured so that all you had to do was clamp them down behind decorative exterior elements. Granted there’s an art to getting them to stay still just right, so I cheated and had a little more wire showing than in the images provided in the instructions. But still, you take a step back and the teeny wires really aren’t visible, these parts integrate fairly well.
As for plugging into power, it couldn’t be simpler with the strings ending in USB connectors. Happily, there’s no need for sticky pads or tape because the lights are built into LEGO parts which connect in-System as they should. This gives the kit a more robust feel.
Is it Sacrilege to glue lights in bricks? THat’s up to you, but it makes it darn easy to install!
Here’s one of those lights installed under the fire escape (there is one for each level). Attaching via a LEGO System 1x2 plate is as easy as it gets.

The light Attaches easy schmeezy! That is until Blade slices through it whilst destroying vampires.

The Briksmax kit installed! Again… sorry I broke the 2nd floor Ceiling lights extension cable :)
Per my comment above, similar to how the Lightailing brand is specifically for pre-built assemblies for sets, the Briksmax brand is used to exclusively sell individual lighting parts which can be combined and together make up the lighting kit. So what did the package contain?

The briksmax kit parts laid out all fancy-like.
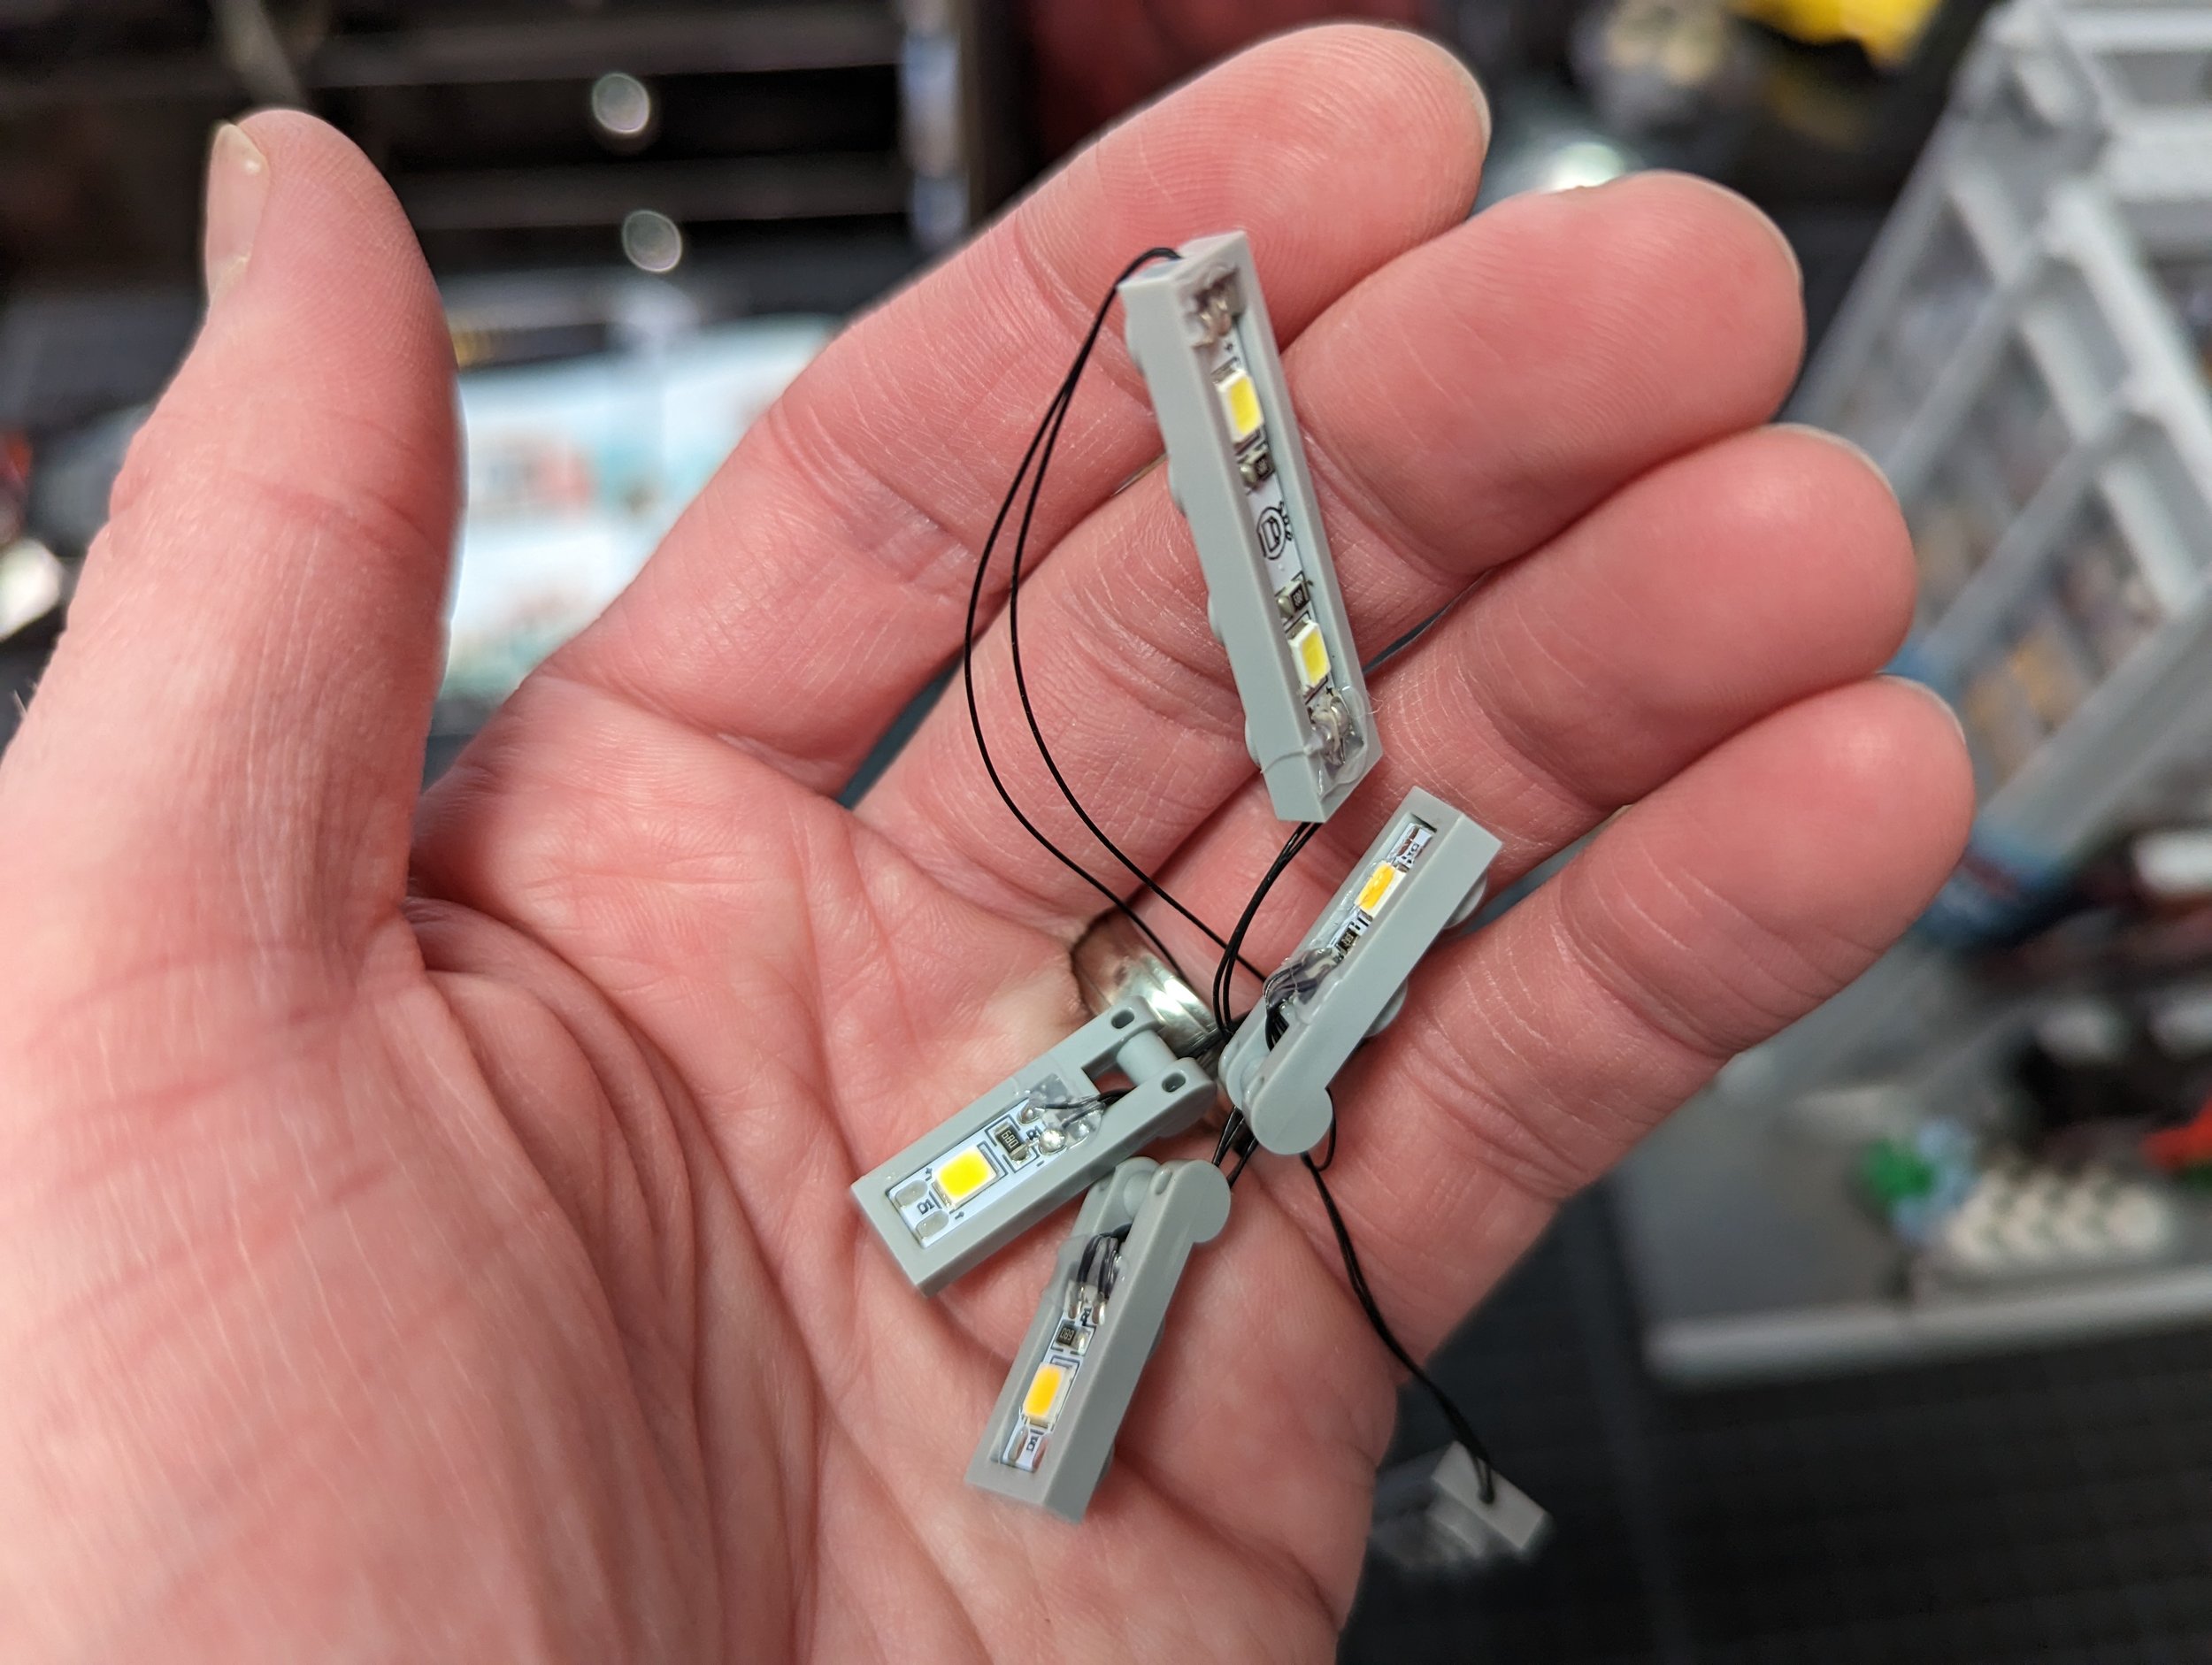
Lots of parts: 101 lights, connecting cables, expansion boards.
Big and small battery pack.
Assorted LEGO parts for installation (1x1 round plate, etc.)—all appeared to be genuine LEGO except strangely a 1x2 plate w/clip that seems like maybe it was a knockoff brand.
Tweezers: these are suuuuuper useful and not too sharp like the other set I bought on Amazon.
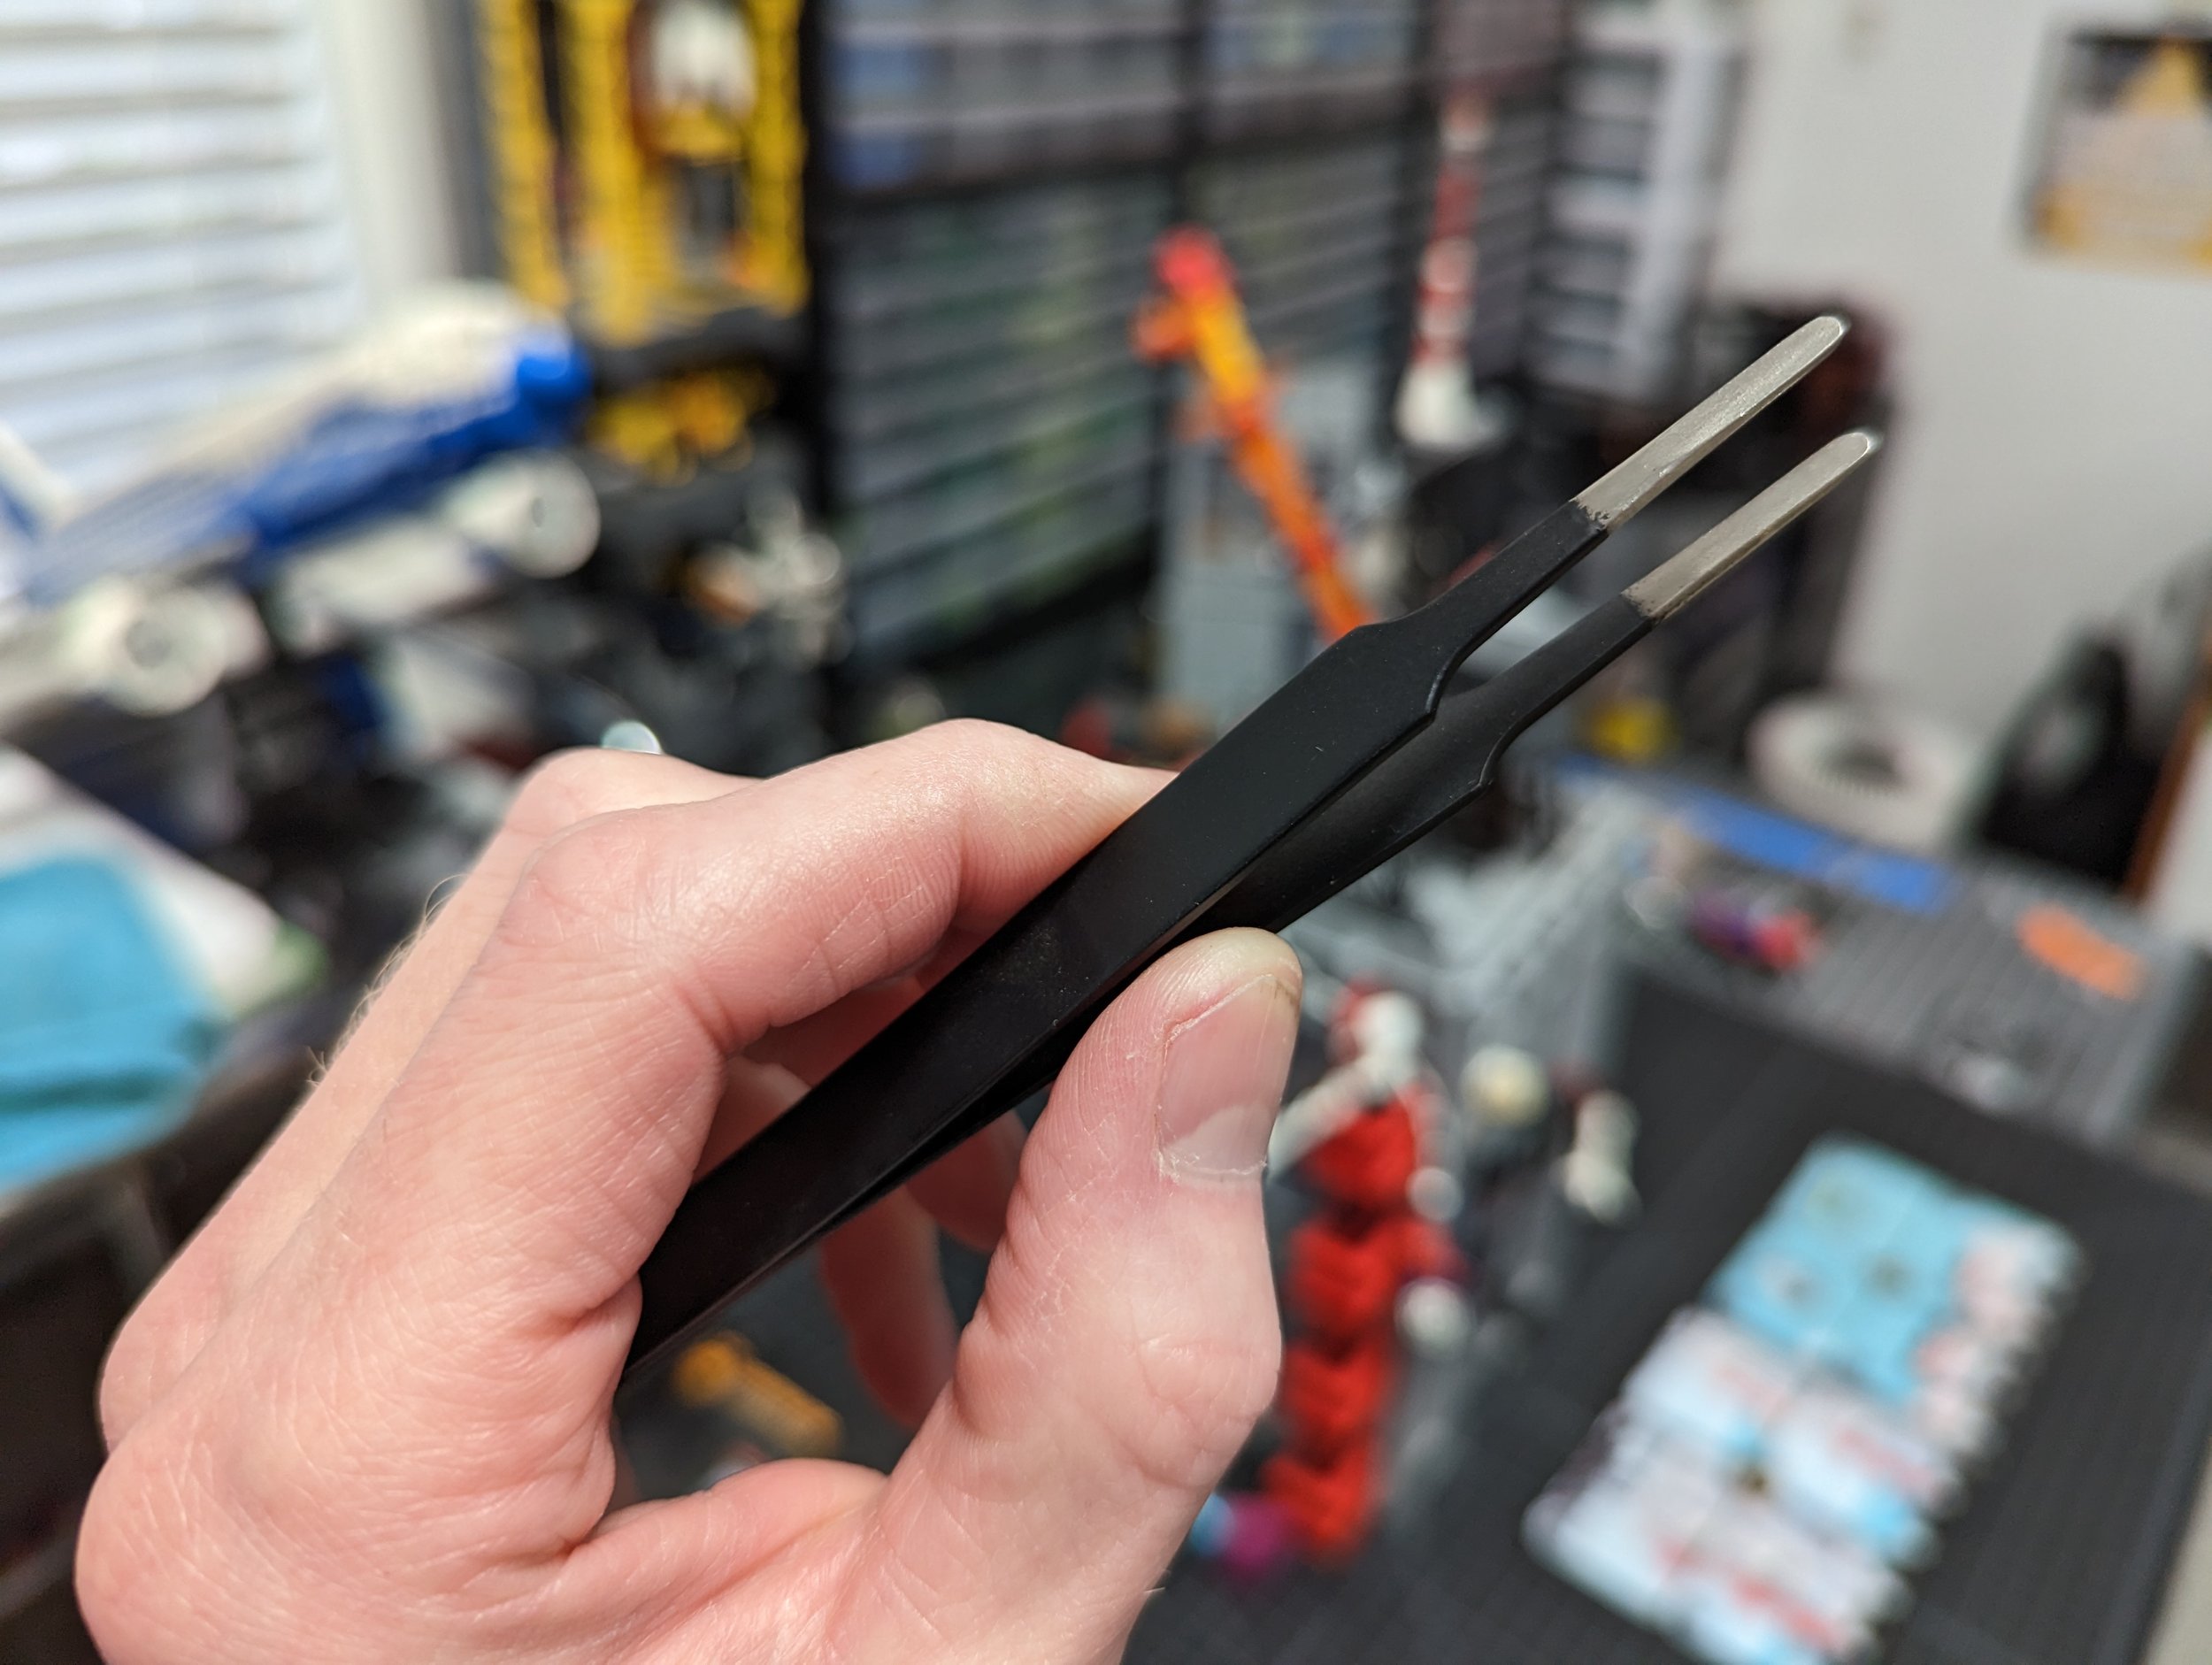
Tweezers oh glorious Tweezers!
Installing this kit took a long time—hours so numerous that I didn’t think to count when I started in on it. On the plus side, uninstalling it all was just a couple of hours tops. The instructions were quite lengthy to enable careful deconstruction of the LEGO set to allow wiring to pass through or to get to LED placement spots.

Instructions and parts and stuff
A repeated theme throughout the build (and I imagine when using these lights in MOCs) was twisting/braiding the wires to make them easier to use in the build. This is the suggested method to avoid a rat’s nest of wires and works pretty well. To be fair, the wire routing was easy but just takes time and patience.

Clusters of braided wires feeding an expansion board
Keep in mind that the connectors are tiny and not always easy to tell which direction to put into the socket which can be a bit annoying. I think that’s one of the main tradeoffs for getting the flexibility of individual parts—you have to deal with the consequence of flexibility which is complexity.

You get better at it… but at first I got the orientation wrong as often as I do for USB-A/B pluGs.

Obviously zoomed in like 100x so it’s easy to see the orientation… but with normal human eyeballs it’s a bit tough.
I should also note that unplugging the wires from the expansion board is a bit tricky without pulling on the wire itself which might damage it—you need to pull with fingernails on the sides of the connector. I sadly broke one wire by pulling on it which is why the second story of the building isn’t lit up in the photographs I took!

Whoops!
For strip lights that don’t have any inherent way to attach on their own, they provide sticky tape to attach to the underside of plates. If you want to avoid using the more permanent sticky pads I suggest simply taping them onto the provided bricks with scotch tape. It lasted months without falling off and is super easy to remove if you want to attach it to a different type or color brick later. It may not be “legal” but neither are the lights!

Scotch Tape still crushing it.
One thing I’d have to check with other manufacturers is that I noticed these lights have black and white wiring and the extension cables are all black which helps tell things apart. That is a nice touch I thought! Also helpful is that the LEDs are labeled so you can re-sort them later with ease. Otherwise, you’d never know what color they are.

Label on one side, LED on the other.
Type 3: Briksmax Police Car Starter Kit

The kit for lighting a car.
This was a starter kit that I never installed in a police car. Instead, I bought this one for the battery pack, and as a bonus, now I have a few more LED options including some flashing lights. The battery pack went into my Hells Angels MOC to power the zeppelin fire lights which worked perfectly.

Yay lights in my MOC! I think it’s a sum total of one battery, one expansion board, and two LEDs.
General Lighting Notes
Ok, that’s all the kit-specific notes I have, so let’s talk generalities about these lights.
The teeny form factor of this lighting system with the super thin wiring is actually quite easy to thread in and around LEGO builds. I love that I’m able to literally pass it between bricks—the gaps are visually minimal and don’t totally destabilize the build for this kit. I don’t know if that is true for all LEGO sets and how they would affect the bricks over time. That said, these very thin wires are decently durable, and as I mentioned above, I only broke off one connector so far.
On a positive note, I like that the USB power packs are very easy to use, and can be supplemented or replaced by larger non-LEGO-related offerings as desired. Keep in mind that to connect the power to the lights there are two methods: for the pre-built Lightailing assemblies they have a USB plug attached so that connects straight to the battery pack (see the next picture a little below). However, for Briksmax and any other brands that have individual lights with the micro connector form factor, you’ll always need to use an expansion board to plug the light into one socket and the power into another other. So the minimum you can have is [power source] + [board] + [light].
Overall these LED lights are plenty bright for such teeny little things. I don’t have a proper BrickNerd-level of measurement here but my impression is that they’re a little brighter than the LEGO brand Power Functions lights.
But I should definitely remind you not to forget to test out the lights before installing them! This is a caution listed in the manual of the kits and I think it’s incredibly important not to skip it. Do you want to spend hours installing lights only to find a key element is broken and you have to tear your build apart to get to it? Heck no! Neither do I.

Test twice, Build once! Or something like that.
That gets us through the general thoughts on the parts, so then let us talk applicability of using these types of kits:
For Sets: The pre-bundled and specialized kits with fewer connections and wires are 100% the way to go. If you’re looking to light up your amazing LEGO set purchases ONLY, then you have your answer—less time and cost for the win.
For MOCs: The kits of individual parts are 100% the way to go. Every MOC is different, and having a variety of options available is the only way to be sure you’ll cover your bases. I also can’t imagine being lucky enough to have the exact number and type of lights on a pre-built string match up perfectly with a MOC design. Sure you can make it work in a pinch and hide extra lights you don’t need without too much light bleeding through etc. But it’s going to be a lot of work, and that application simply won’t use the parts to their full capacity. So buying the individual parts on their own one by one is fine, or getting Briksmax kits or other competitors’ similar offerings is a great way to get a spread of individual parts with the needed power components packaged together. (If needed, Brickstuff can also work with builders to create custom lighting solutions for MOCs providing the individual elements in needed lengths and configurations—a service that doesn’t scale up on the industrial scale of Lightaling or Briksmax.)
Another thing to consider is which requirements your MOC may have that weren’t thought of by the lights designers—and how to adjust accordingly. For instance, I found that the longest available light string of ~30cm can be a limiting factor. If you stay with the pre-made parts, you’ll need to use an expansion board and extension wiring to cover a longer distance, but in some cases that may be hard to integrate or hide. In my case of making a descending aircraft from a spool, I couldn’t include expansion boards which would muck up the mechanism. I simply went with the longest light string available and that choice set the maximum length I could hang from the spool.

RBG cables weren’t all that long… but still it works!
I used some of the RGB parts (multicolor capable parts that use a remote to choose a color) for the descending aircraft example and found that it really wasn’t the right application. It happened to be what I had available, but in reality a single color light would have been far preferable. I found that the RGB board shuts off after a few minutes of inactivity so it’s not a good solution for something you want to be on for hours at a time (I kept having to turn it back on during the convention show). Plus I didn’t need the RGB functionality as it was a static light display… so I think while this is an example of how you can be crafty and use lights for purposes they weren’t originally meant for, you need to understand the drawbacks as well!

The RGB board and battery strapped in for a wild ride! Back to back Like indy and his dad in the last crusade!
So what’s the lighting lesson here? Know your parts! Play with them before committing to a MOC, learn how they work and don’t work, and what quirks they may have. And then if you have to compromise you know what you’re in for. And more likely, you’ll make the right call for your situation and be happy moving forward. There are so many lighting companies, kits and parts that can really light up your life! Ok, that’s super corny, but hey, as I overheard someone say on a podcast my wife was listening to: “Americans love lights and put them on anything they can” so I’m wholeheartedly buying into the trend of my home nation!

lights lights lights! They otally improve everything.
Finally, remember my comment above: it’s just as important to check your lights are properly functioning before installation on a MOC as it is for installing on a set, so don’t you go forgetting now y’hear! I don’t want to see any half-lit MOCs at the next “Lights Out” hour at a LEGO convention!
Lights Out
Ok, that’s the story, my friends. In my short time playing with the Daily Bugle set and incorporating a couple of lights into my Hells Angels MOC, I learned a LOT. But you’ll learn more when you play with some lights yourself—and when you’re MOCcing you’ll find situations you never dreamed up. Never fear—the principles of advanced planning and attention to detail will get you through! You’ll be lighting your sets and MOCs magnificently in no time, and when you do, we look forward to seeing the spectacular results on Instagram and Flickr!
Best of BrickNerd - Article originally published December 26, 2022.
Questions? Let us know in the comments below!
Do you want to help BrickNerd continue publishing articles like this one? Become a top patron like Charlie Stephens, Marc & Liz Puleo, Paige Mueller, Rob Klingberg from Brickstuff, John & Joshua Hanlon from Beyond the Brick, Megan Lum, Andy Price, John A. and Lukas Kurth from StoneWars to show your support, get early access, exclusive swag and more.