A Spaceship on Wheels: The New Hashima Cybertrain
/Today’s New Hashima takeover article comes from Blake Foster (Instagram/Flickr), a sci-fi builder from Brooklyn. While primarily a spacecraft builder, he enjoys venturing into other corners of science fiction. His most recent detour brought him into the world of LEGO trains and the trials and tribulations that come with it.
All Aboard!
I am not a “train guy.” As such, it was a bit out of character that, when I was invited to join New Hashima, the very first thing I began building was a freight train. I found myself in that position because, while I have a long history of building sci-fi, I have not historically been a cyberpunk guy either, and I reasoned that building some small vehicles would be an excellent way to get the hang of the aesthetic. I also wanted to contribute something substantial enough to be one of the (many) focal points. A train offered a good balance because while the cars are relatively small, they chain together into something much larger, and the motion naturally draws attention.

Being new to train building, I fell into several pitfalls, but being unaware of the usual guidelines and conventions also forced me to think outside the box. I approached it like a spaceship on wheels, starting with the engine. I am a habitual user of complicated SNOT/SNIR geometry and densely packed greebles, and I didn’t hold back here.
The greebling and funky geometry both inflated the part count substantially and often simultaneously made the models extremely fragile. That fragility was a major concern–one piece of foresight that I did have in my inexperience was that the train would need to withstand constant vibration. So every odd angle or offset would need enough reinforcement packed in to survive the extra wear and tear. That, in turn, inflates the parts count further… well beyond what one would guess for the size of the train cars.
Going Round the Bend
Taking a look at some of the insides of the train cars, it’s crowded in there!


The train cars are large as well as dense. I discovered early on that it would be difficult to cram the level of detail I wanted into a six stud wide train. The engine started at eight, which expanded further to more than ten in places on some of the cars.

The minimum clearance required for the enormous train cars to make the corners, which I shared with Simon so he could ensure it didn’t collide with anything in the train cubes.
With the length and height scaled proportionally, the train cars are enormous compared to most LEGO trains. The size and weight were the first two pitfalls to get me.
The length became an issue because, using even the longest standard train base, the wheelbases had to be elongated so that the magnets would extend past the ends of the cars. Those elongated wheelbases couldn’t rotate quite enough beneath the train base on the curves, leading to friction and derailments. I discovered the problem midway through building my second car, the flatbed.
To work around it, I had to take it apart and reconstruct it on a brick-built frame. That resolved the turning issue but compounded the weight problem even further.

You’ve Got the Power

I do not normally use any digital tools for designing my MOCs, so I can only usually make a wild guess at the actual part counts in my builds. New Hashima offered some rare exceptions, as even though I didn’t design anything digitally, I had to reconstruct some designs in BrickLink Studio to share with other collaborators.
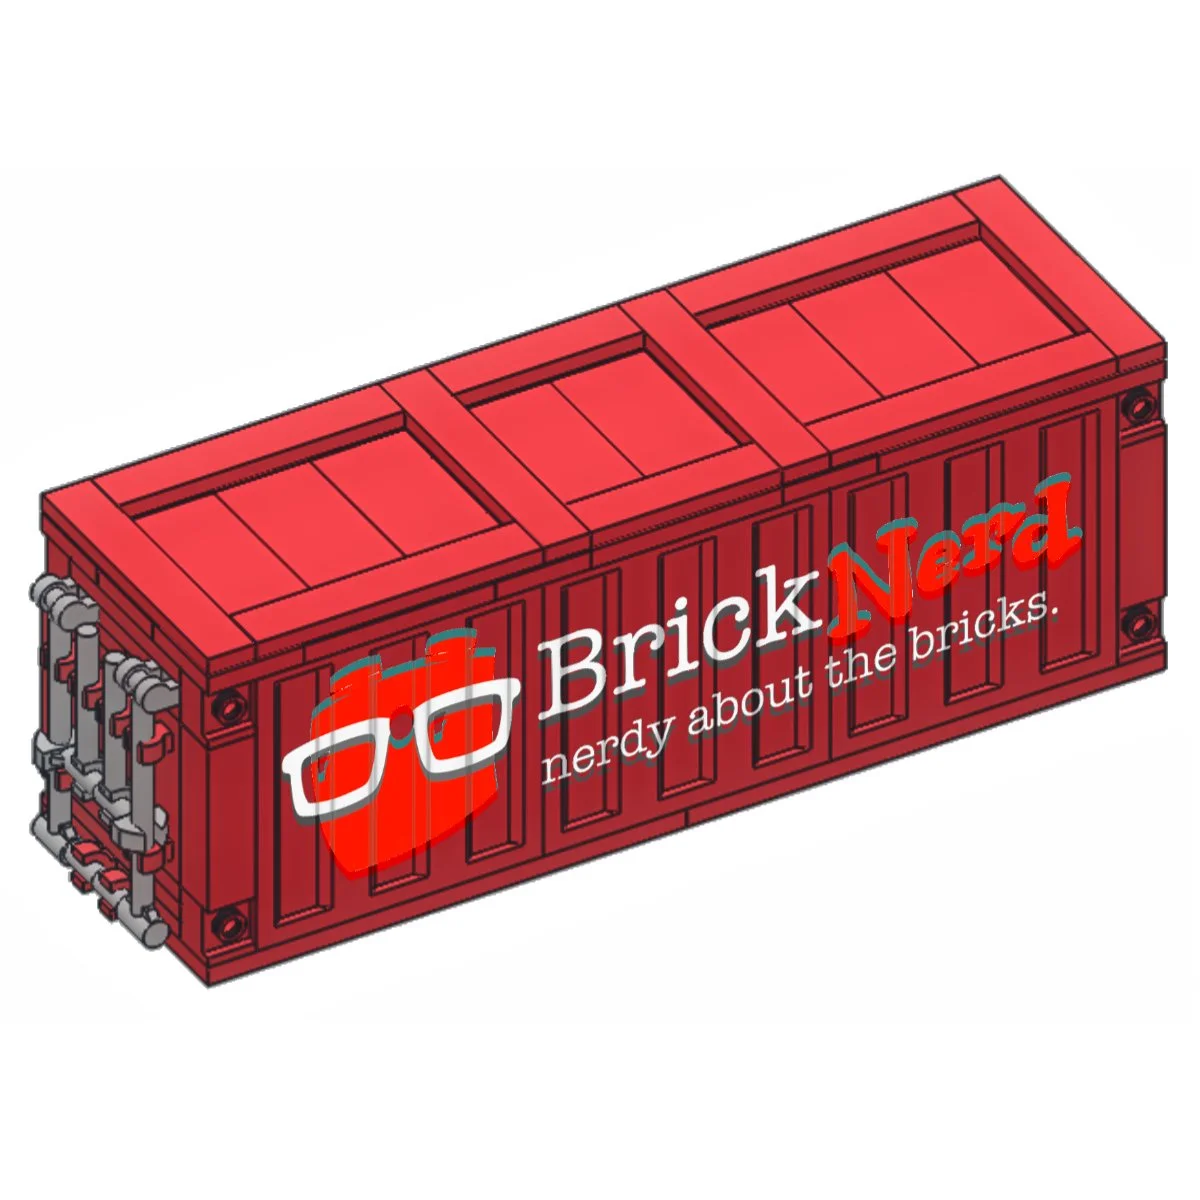
The aforementioned flatbed carries a cargo crate that happened to be one of those shared components. From the digital model, I know that the crate alone has over five hundred parts. I would estimate that it comprises about half the parts in that car, which would put the total over a thousand. Multiplying that by six, the train would be comparable to three full modular buildings on wheels by parts count.

I discovered just how big a problem the resulting weight would be when I tried a test run on a nine-volt motor. The engine by itself was able to run without issue. But if I added even one additional car, the motor would overheat and stall within half an hour or so of running. My third completed car, the tanker (inspired by both the 4537 Twin Tank Transport and the Factorio fluid wagon), is the smallest and lightest of all, and even that and the engine were more than a single nine-volt motor could handle.
The newer Powered Up train motor fared better. I ran the first four cars of the train all day at an ILUGNY show on just one. However, it consumed so much power that the batteries only lasted about 45 minutes. Getting the battery case out of the engine requires some disassembly, and I had no desire to take it apart to replace the batteries hourly at Brickworld. Thus Powered Up was not really a viable option even if it could move the weight.

I resorted instead to adding more motors. This also presented some difficulties, as the motors were shorter than my extra-long wheelbase, and the magnets did not extend far enough. The fourth completed car was a particularly problematic case. This one was intended to be a box car, though it earned the nickname the Chicken Car due to its cargo of live chickens. (Mutant chickens, specifically–I had to brick-build crude approximations of chickens for a LUG show and then left them because the idea of selective breeding making chickens ever weirder fit well in a cyberpunk world).
The parts required to create the patterns and angles on the Chicken Car made it the heaviest of all at the time of its completion. However there is some tricky geometry at the base that makes it difficult to move the holes for the wheelbases farther apart, and so my heaviest car was left unable to accommodate motors. The tanker car did not have room for motors beneath, and the engine only had room to accommodate the one motor it already had.
Fine, I’ll Do It Myself


My sole option for adding additional motors was, at the time, the flatbed. Thanks to the brick-built frame, the wheelbases were farther apart and didn’t need to be so long, allowing for motors to be swapped in easily. This solved my motor-overheating problem but overtaxed the speed regulator instead. The load was so great that I lost half the voltage inside the speed regulator itself. Faced with no other choice, I found a third-party variable voltage power supply that could provide sufficient current. I took apart an old track power connector (which had no insulation left on the wires anyway) and rewired it to connect to that power supply.

This configuration could keep the train running for an extended period without stalling, albeit with little headroom. Having established that one motor per two cars was not enough, three motors for four cars was, at most, barely enough. But it would run for at least a few hours without stalling as long as I kept the speed low. At that point, I went on hiatus from train cars to work on a couple of cubes. I set a stretch goal of building at least one more car that could accommodate double motors, so I returned to the train when I finished my cubes with time to spare.
Practice Makes Perfect
My fifth car, the hopper, was inspired by concept art by Paul Adams on ArtStation. Having completed all my commitments to the collab, this and its sister stretch car received the most attention to detail of any part of the train. Being built after my cubes, I also started with considerably more practice at the cyberpunk aesthetic. The result is that they are by far my favorites.
While the extra attention to detail made the hopper prettier in my eyes, it also compounded my weight problem. The hopper stole the title of the heaviest car at approximately two pounds. I designed it to carry two motors from the beginning, which brought me back to one motor per car. I’d established that this ratio was probably safe but not enough to alleviate my concerns about running the train for an extended period.
My LEGO room looks out on the entrance to the Brooklyn Bridge in New York, so I was reminded of the wisdom of its architect, John Roebling, who famously designed the bridge to be six times stronger than he believed it needed to be to ensure it wouldn’t collapse. Finding myself with still more time after completing the hopper, I began work on one more car, again carrying double motors.

This car began by following, roughly, my original unused plan for the hopper car. Inspired by Ted Andes' suggestion of having some sort of robotic caboose, I repurposed the design from a hopper to the base of a large robot arm. This was a particularly tricky engineering challenge because the arm cannot support its own weight while stationary, let alone while being rattled around. There are several joints along its length held together by two cheese graters each.
Attaching the arm only at the implied base would shake it to pieces. Instead, each of those loosely connected sections needed to have its own attachment point. There are few places along the length of the arm that are stable enough for that extra support to make a difference and be hidden. When all also failed, I camouflaged the supporting structure with greebles.

There isn’t much holding the segments of the robot arm together.
Is It Getting Hot In Here?
With seven motors running six cars, I achieved enough headroom to have hope that the train would run through the whole convention, but I faced one more engineering challenge. The train pulls a lot of electrical current—several amps—and that high current means that, due to Ohm’s Law, I lose far more voltage at the track junctions than a typical nine-volt train. This created hot spots at the power connections and insufficient voltage at the farthest points. Making additional track power connectors could have been an option, but I only had one other damaged connector to sacrifice, and running the requisite number of wires through the layers of the city up to the tracks would have been a nightmarish ordeal.
My fear was that, with the train being nearly half the length of the loop it runs on, when any given motor was on a hot spot, another wasn’t getting enough power. I was not confident that this intermittent overstressing of the motors would have a positive effect on their life expectancy, so I set out to make the voltage as even as possible without having power connectors all over the track.

The current flows through the full loop of track no matter where a motor is. For the more technically minded, what we actually have here is a series-parallel resistor network, and the math is more complex than simply adding up the resistance of the rails and junctions. There would be some variation in track resistance around the loop even if, hypothetically, the resistance of each rail and junction was perfectly uniform. But the difference between the extremes becomes much smaller, and for the length of the loop we were using did not cause significant variation in voltage.
I solved the hot spot problem by separating the positive and negative power connections. Since I disassembled and rewired them, that was a simple matter of not passing the wire for one connector through the other. With the wires decoupled, I put the positive and negative track power connectors on opposite sides of the loop. In this configuration, there is still voltage loss at every track junction, but the current needs to flow through the complete track loop to get to a motor no matter where it is located.
Assuming the loss at each junction is about the same, this keeps the voltage far more even anywhere on the loop. The difference this configuration made was enormous. Before, the train would slow down significantly when too many motors were far from the power connections, and there was a minimum speed below which it would just stall at those points. With the voltage evened out, I was able to run the train at a crawl continuously.

The lowest possible speed was exactly what we wanted for multiple reasons. As this is a freight train, running slowly is natural and enhances the perception of scale; it is easier to see the details I pulled my hair out over; and, perhaps most importantly, it reduces the risk of derailment. One disadvantage of running multiple motors was that the train would not stop if one motor derailed. Any portion that separated and remained on the tracks would keep going until the train rear-ended itself, leading to a six-car pileup. In that situation, it seemed probable that at least some of the cars would fall down into the void in the middle of the docks where they would be inaccessible until teardown on Sunday evening.
Am I A Train Guy Now?

Toasting the completion of my final build, with the majority of my dark orange on the floor next to me from the claw car.
I was nervous about the train going into Brickworld. Despite all the engineering effort, I could not simulate days of running almost continuously, nor did I want to actually try it and subsequently go into the con with motors that had already been subjected to the resulting wear and tear. So I crossed my fingers and was pleasantly relieved when the engineering paid off. I turned the train off for the few hours per day that I was asleep or while installing walkways over the tracks due to the risk of falling parts. It otherwise ran continuously once the track was set up.
I am still not a train guy. While I thoroughly enjoyed my brief foray into the world of LEGO trains, I’m now excited to take the grittier cyberpunk style that the cars progressed into in other directions, both in future contributions to New Hashima and in my own projects. (I do not intend to build another modular city on wheels in the foreseeable future.) But solving the engineering problems required to make the train move, and seeing the end result run smoothly in such a remarkable setting, was a truly rewarding experience.
Read more about New Hashima in our series of takeover articles, and stay tuned for more to come soon!
Could you build a spaceship on wheels? Let us know in the comments below.
Do you want to help BrickNerd continue publishing articles like this one? Become a top patron like Charlie Stephens, Marc & Liz Puleo, Paige Mueller, Rob Klingberg from Brickstuff, John & Joshua Hanlon from Beyond the Brick, Megan Lum, Andy Price, John A., Lukas Kurth from StoneWars, Wayne Tyler, LeAnna Taylor, and Monica Innis to show your support, get early access, exclusive swag and more.