
Lighting New Hashima: Letting the Cyber City Shine
/New Hashima takeover week on BrickNerd continues with an article by contributor Chris Roberts about the efforts required to light up the cyberpunk LEGO city.
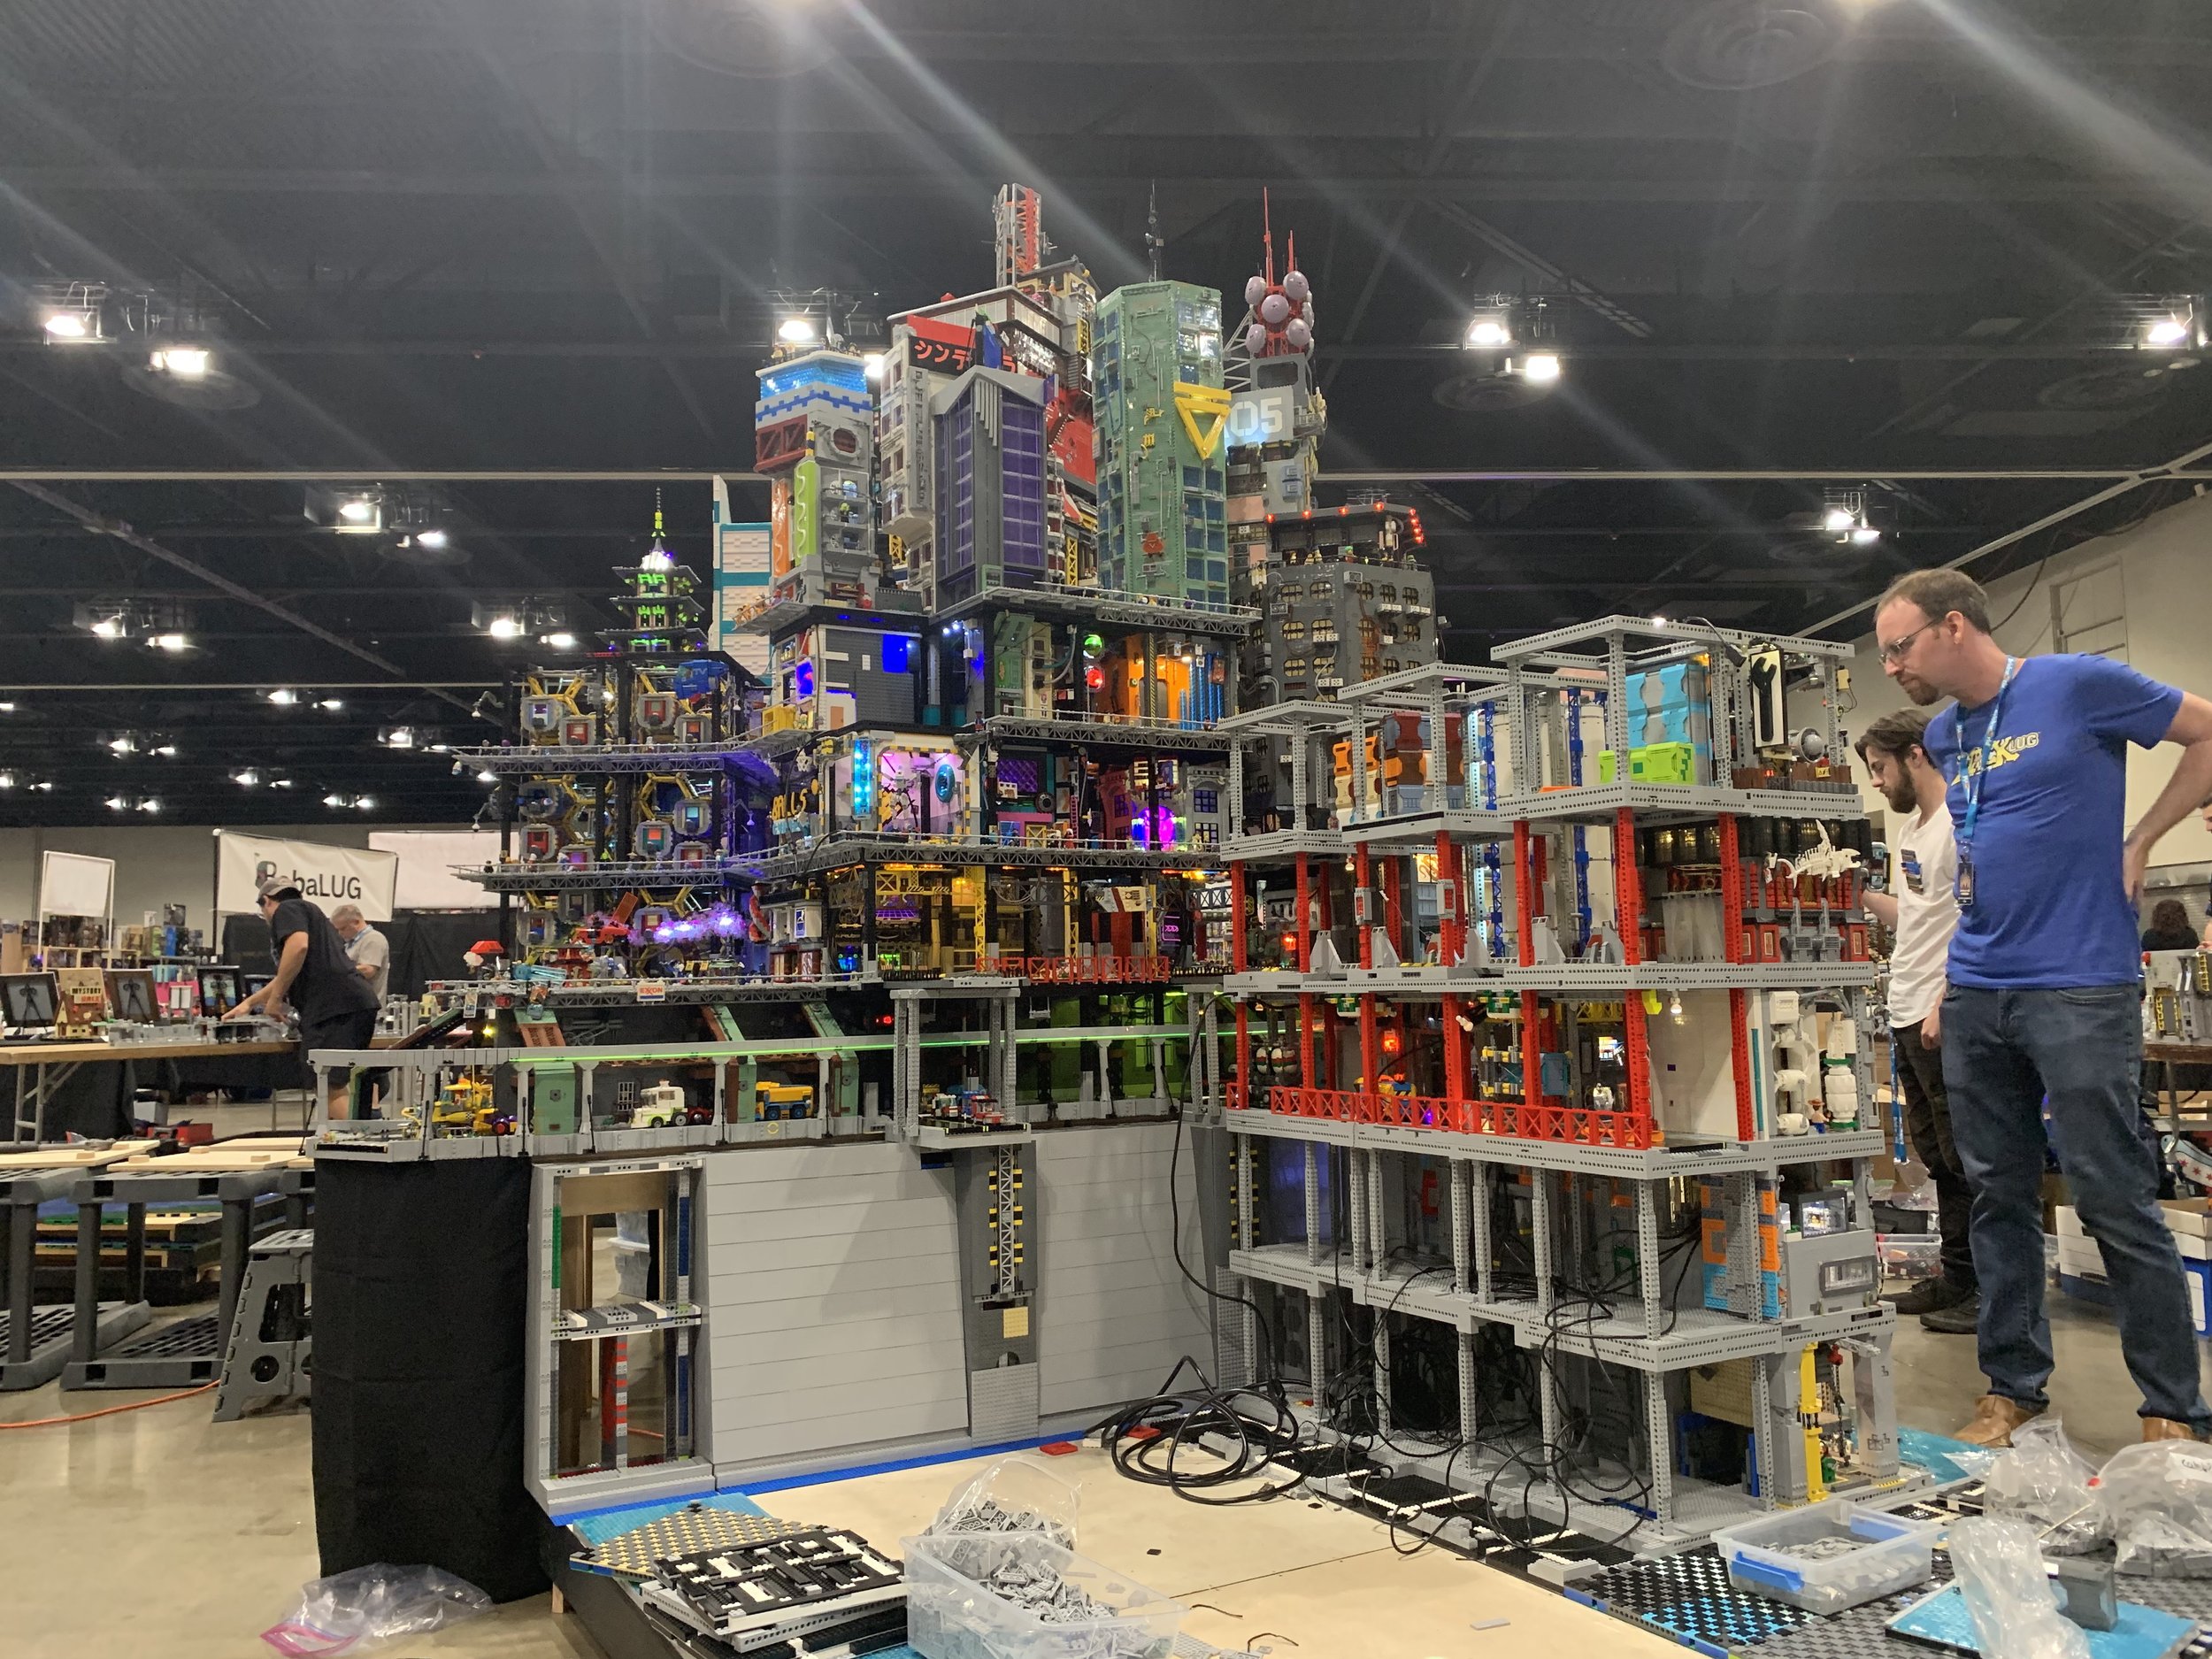
Welcome to New Hashima
A massive 160-square-foot, 13-foot tall cyberpunk city built entirely out of LEGO would be awe-inspiring on its own. But that wasn’t enough for Stefan and the New Hashima Daemons. We needed lights. And not just a few here or there, oh no—we needed thousands of blinking, flashing, glowing, and pulsing lights! Brickworld Chicago is famous for its Saturday night World of Lights event where the entire convention hall goes dark for a few hours to let the MOCs shine. Making the most of those hours of darkness was the specific goal and the focus for all the lights that went into the city. The lights brought New Hashima to life and gave it a soul.
Electrical Infrastructure
Routing power cables within a MOC can be pretty challenging—you want to make sure the wires don’t stand out and detract from the design. Lighting is meant to accentuate the LEGO creation, and wires running everywhere would stand out in a bad way. Now take 60 people’s worth of lit-up cubes and toppers and make sure to get power to each one. That was the task that the New Hashima Daemons faced, and what a task that was.
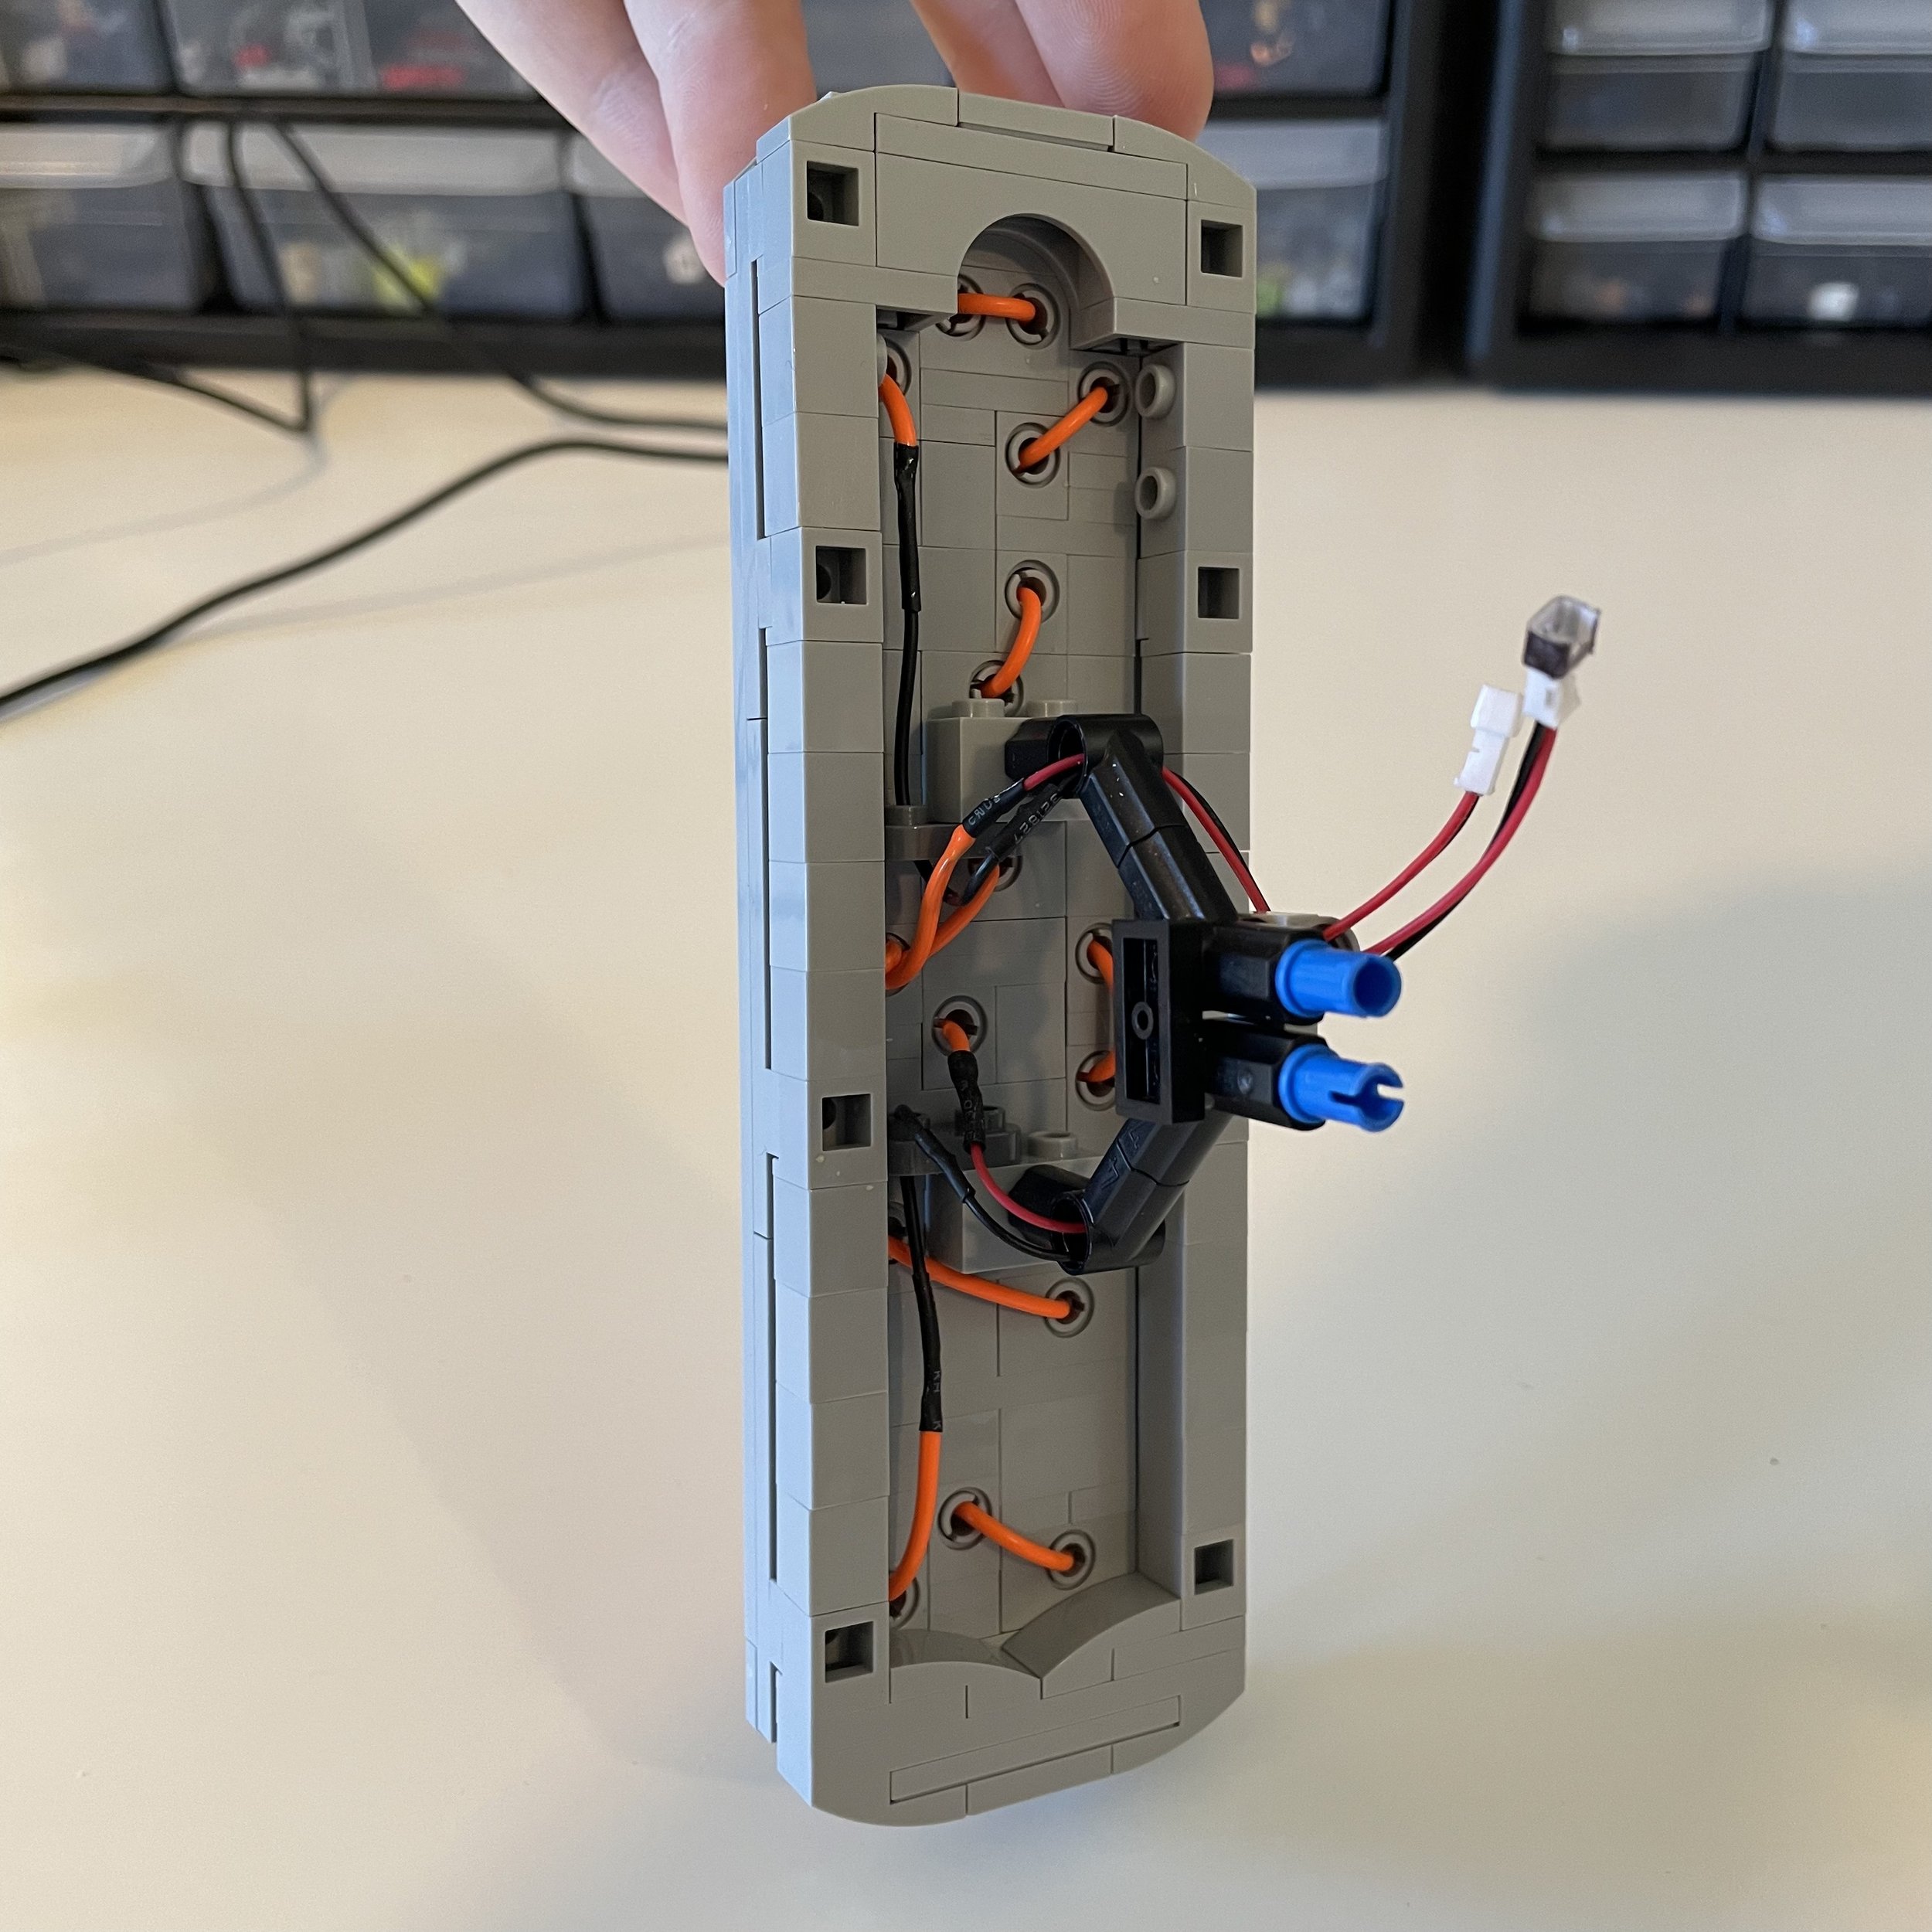
The standard cube design that the entire collaboration was built on took this into account, including a hole at the bottom to let USB extension cables pass through as seen in the image below.
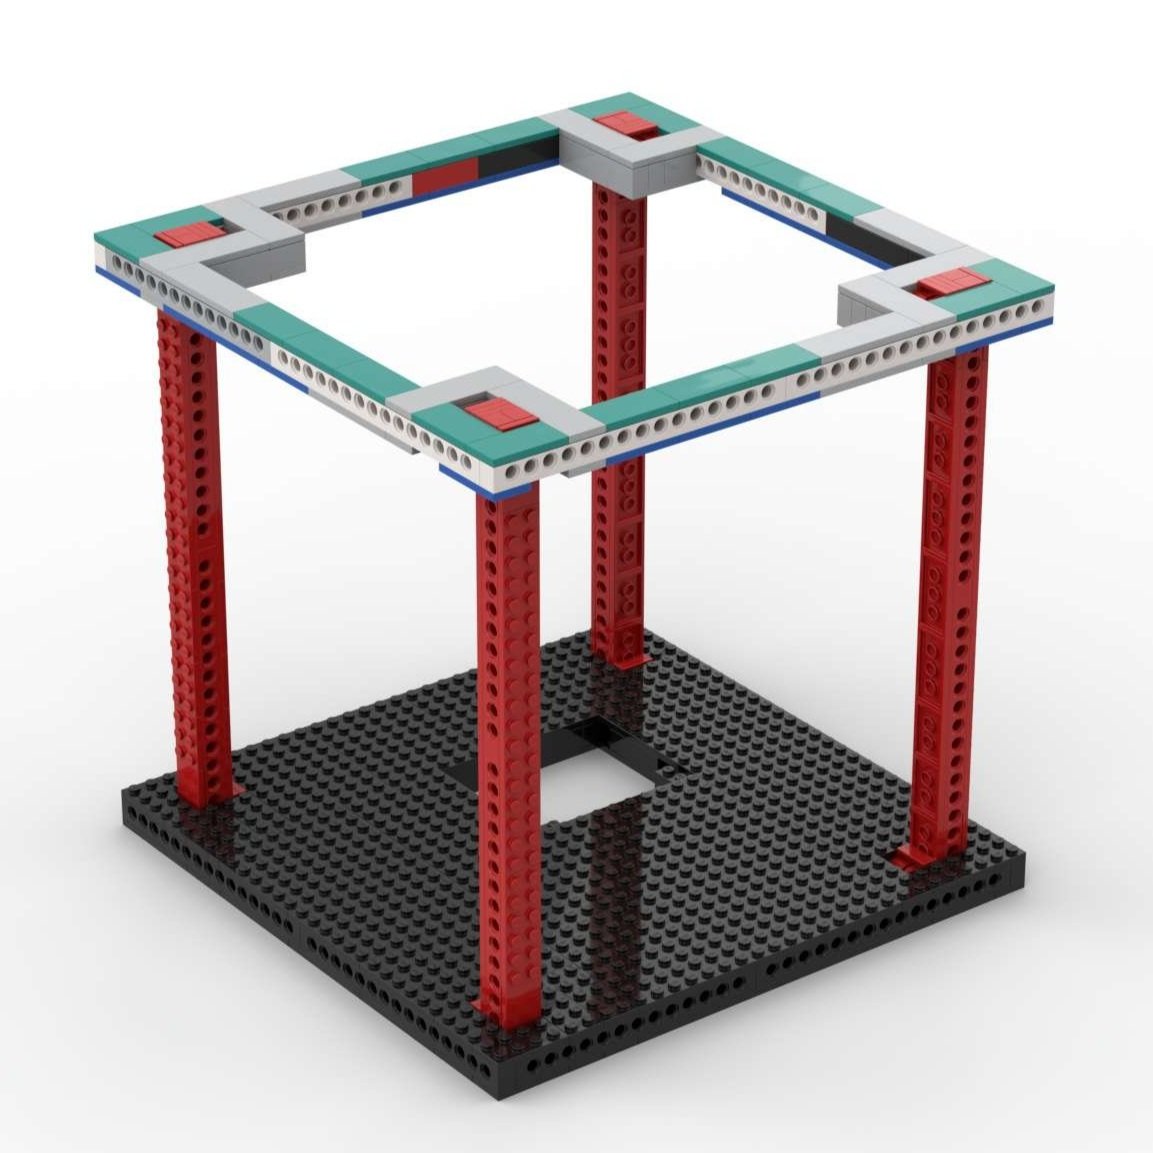
New Hashima Standard cube with wiring hole
The other major addition to the standard came with the decision that each wired cube should expose one or more USB Type-A connectors. This allowed large USB power hubs to be used along with USB extension cables to connect power to all of the cubes and toppers. There were a few outliers to this method, namely those that had battery packs to provide power and the few additions that required more current draw than the USB hubs could supply. Those either had a single cable connected to a more powerful USB adapter or took an AC power cable in and did the AC to DC conversion inside the cube or topper’s allotted space.
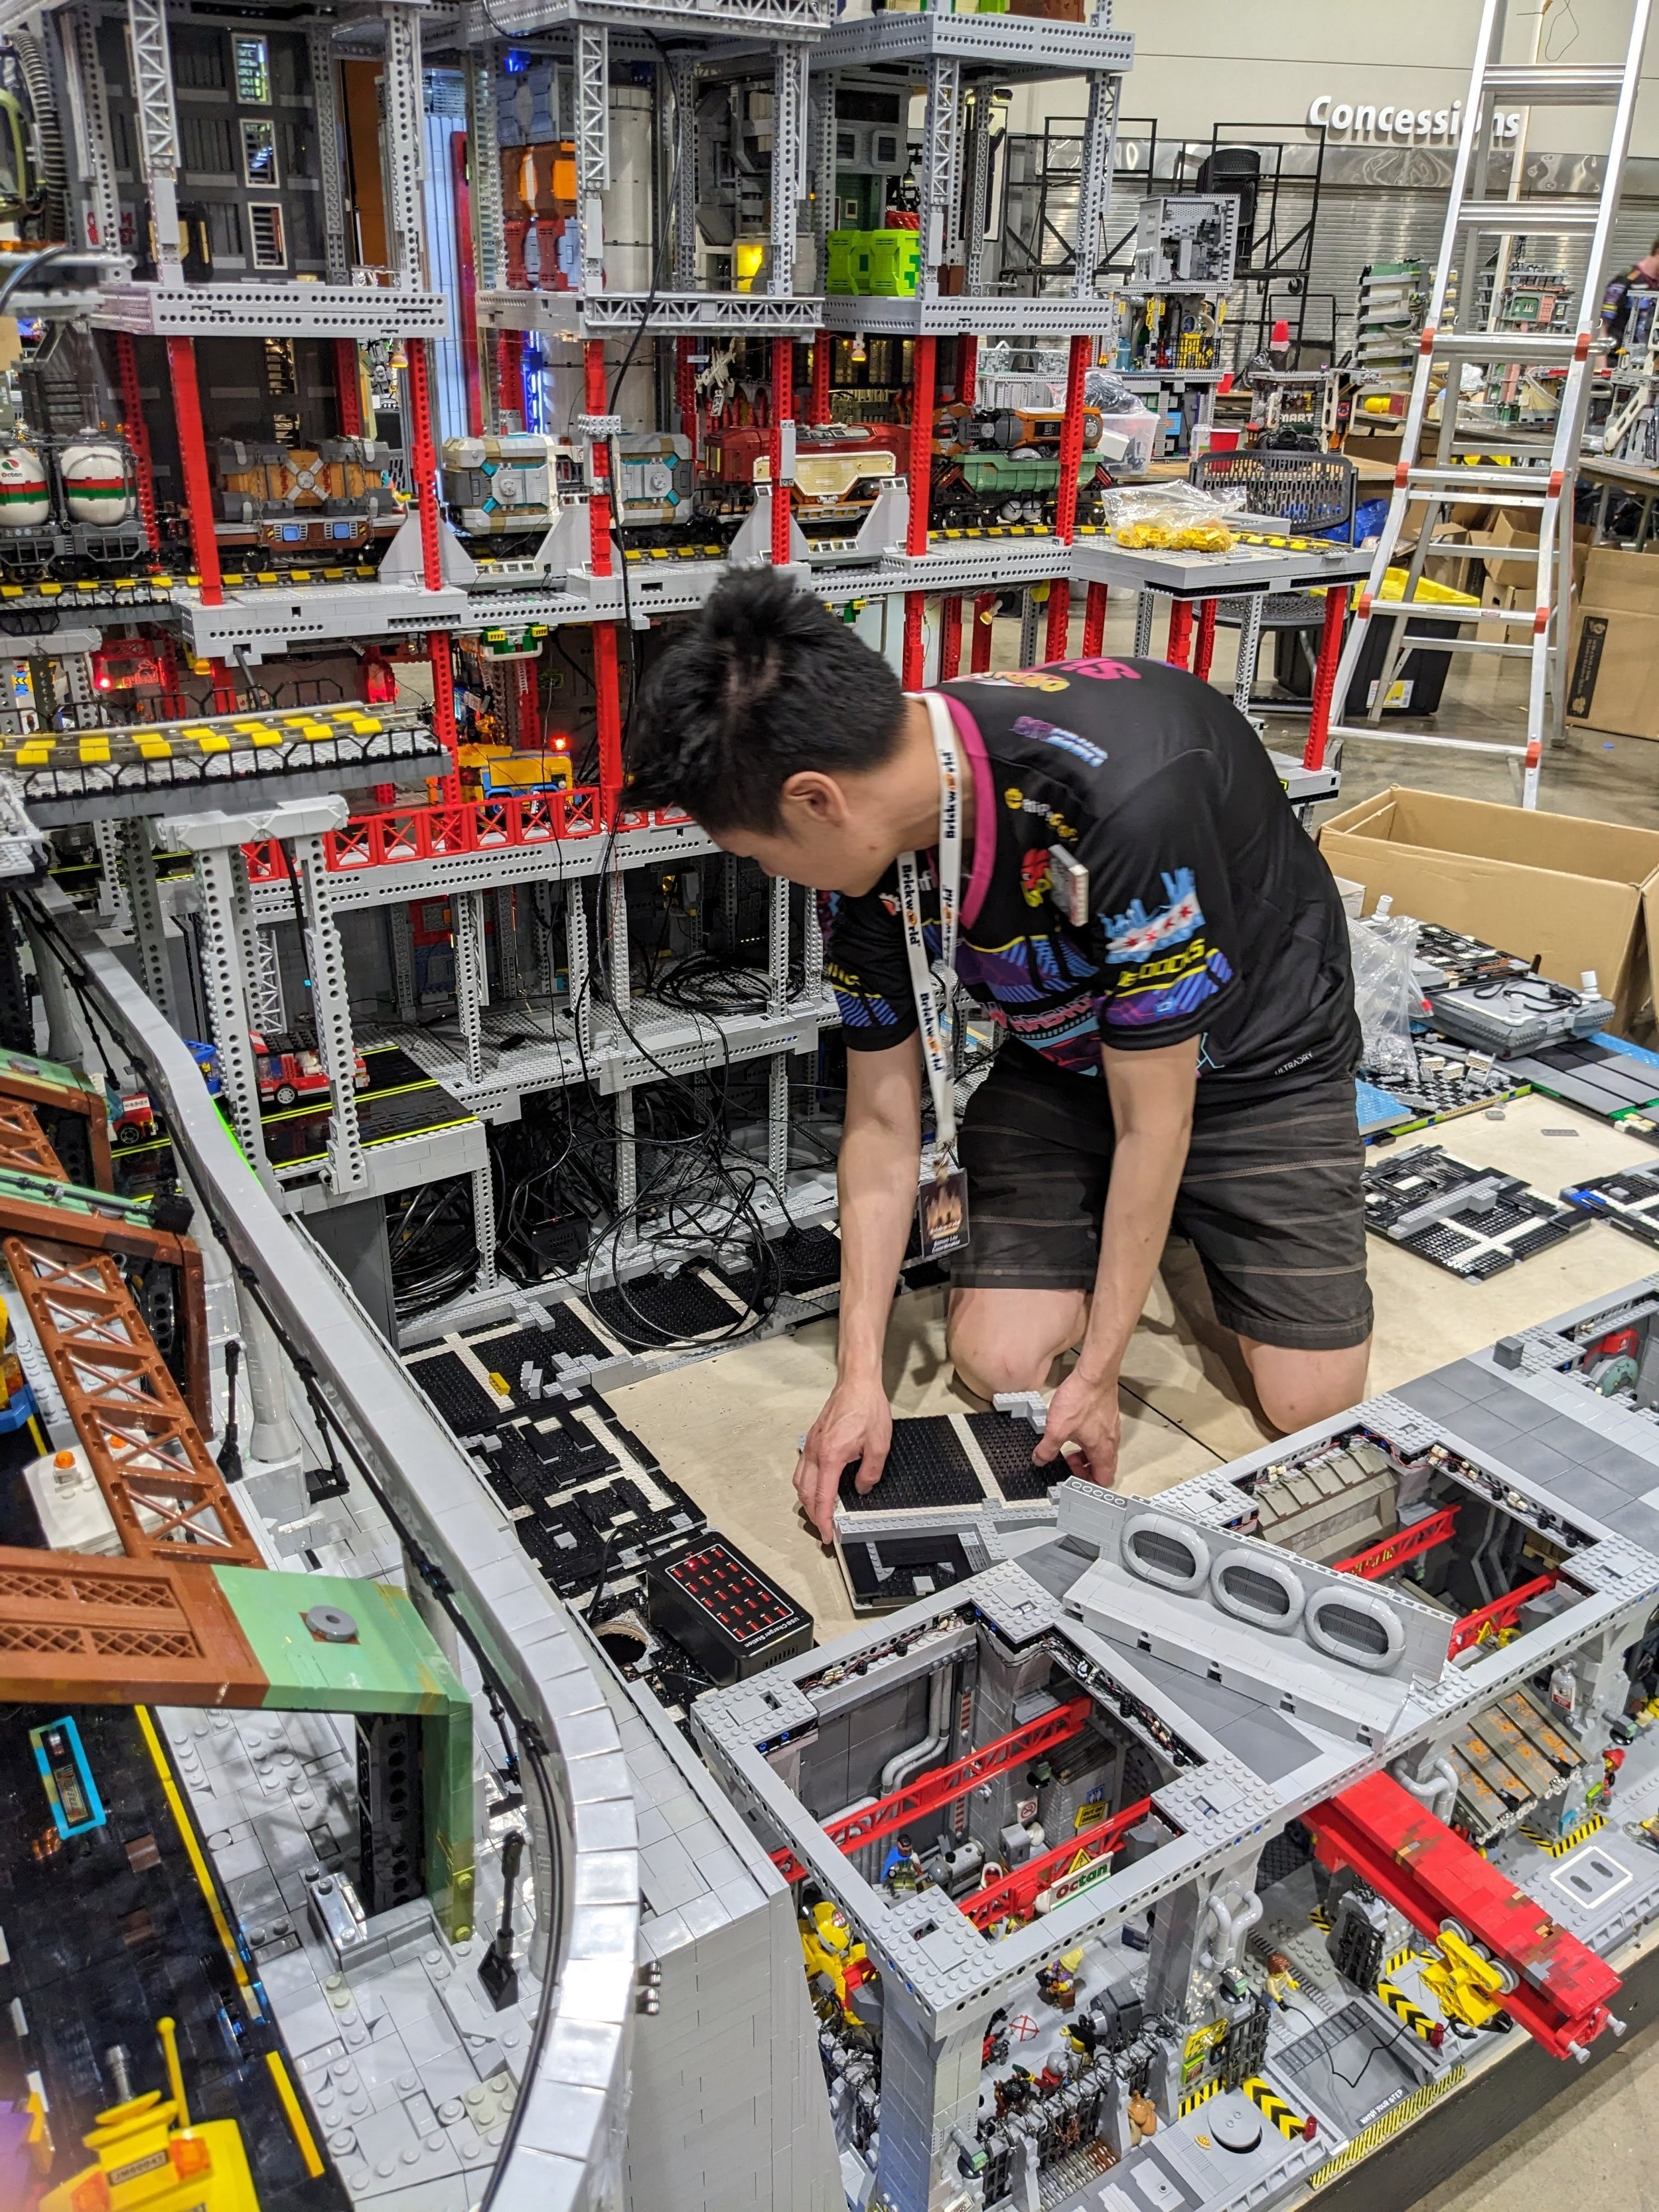
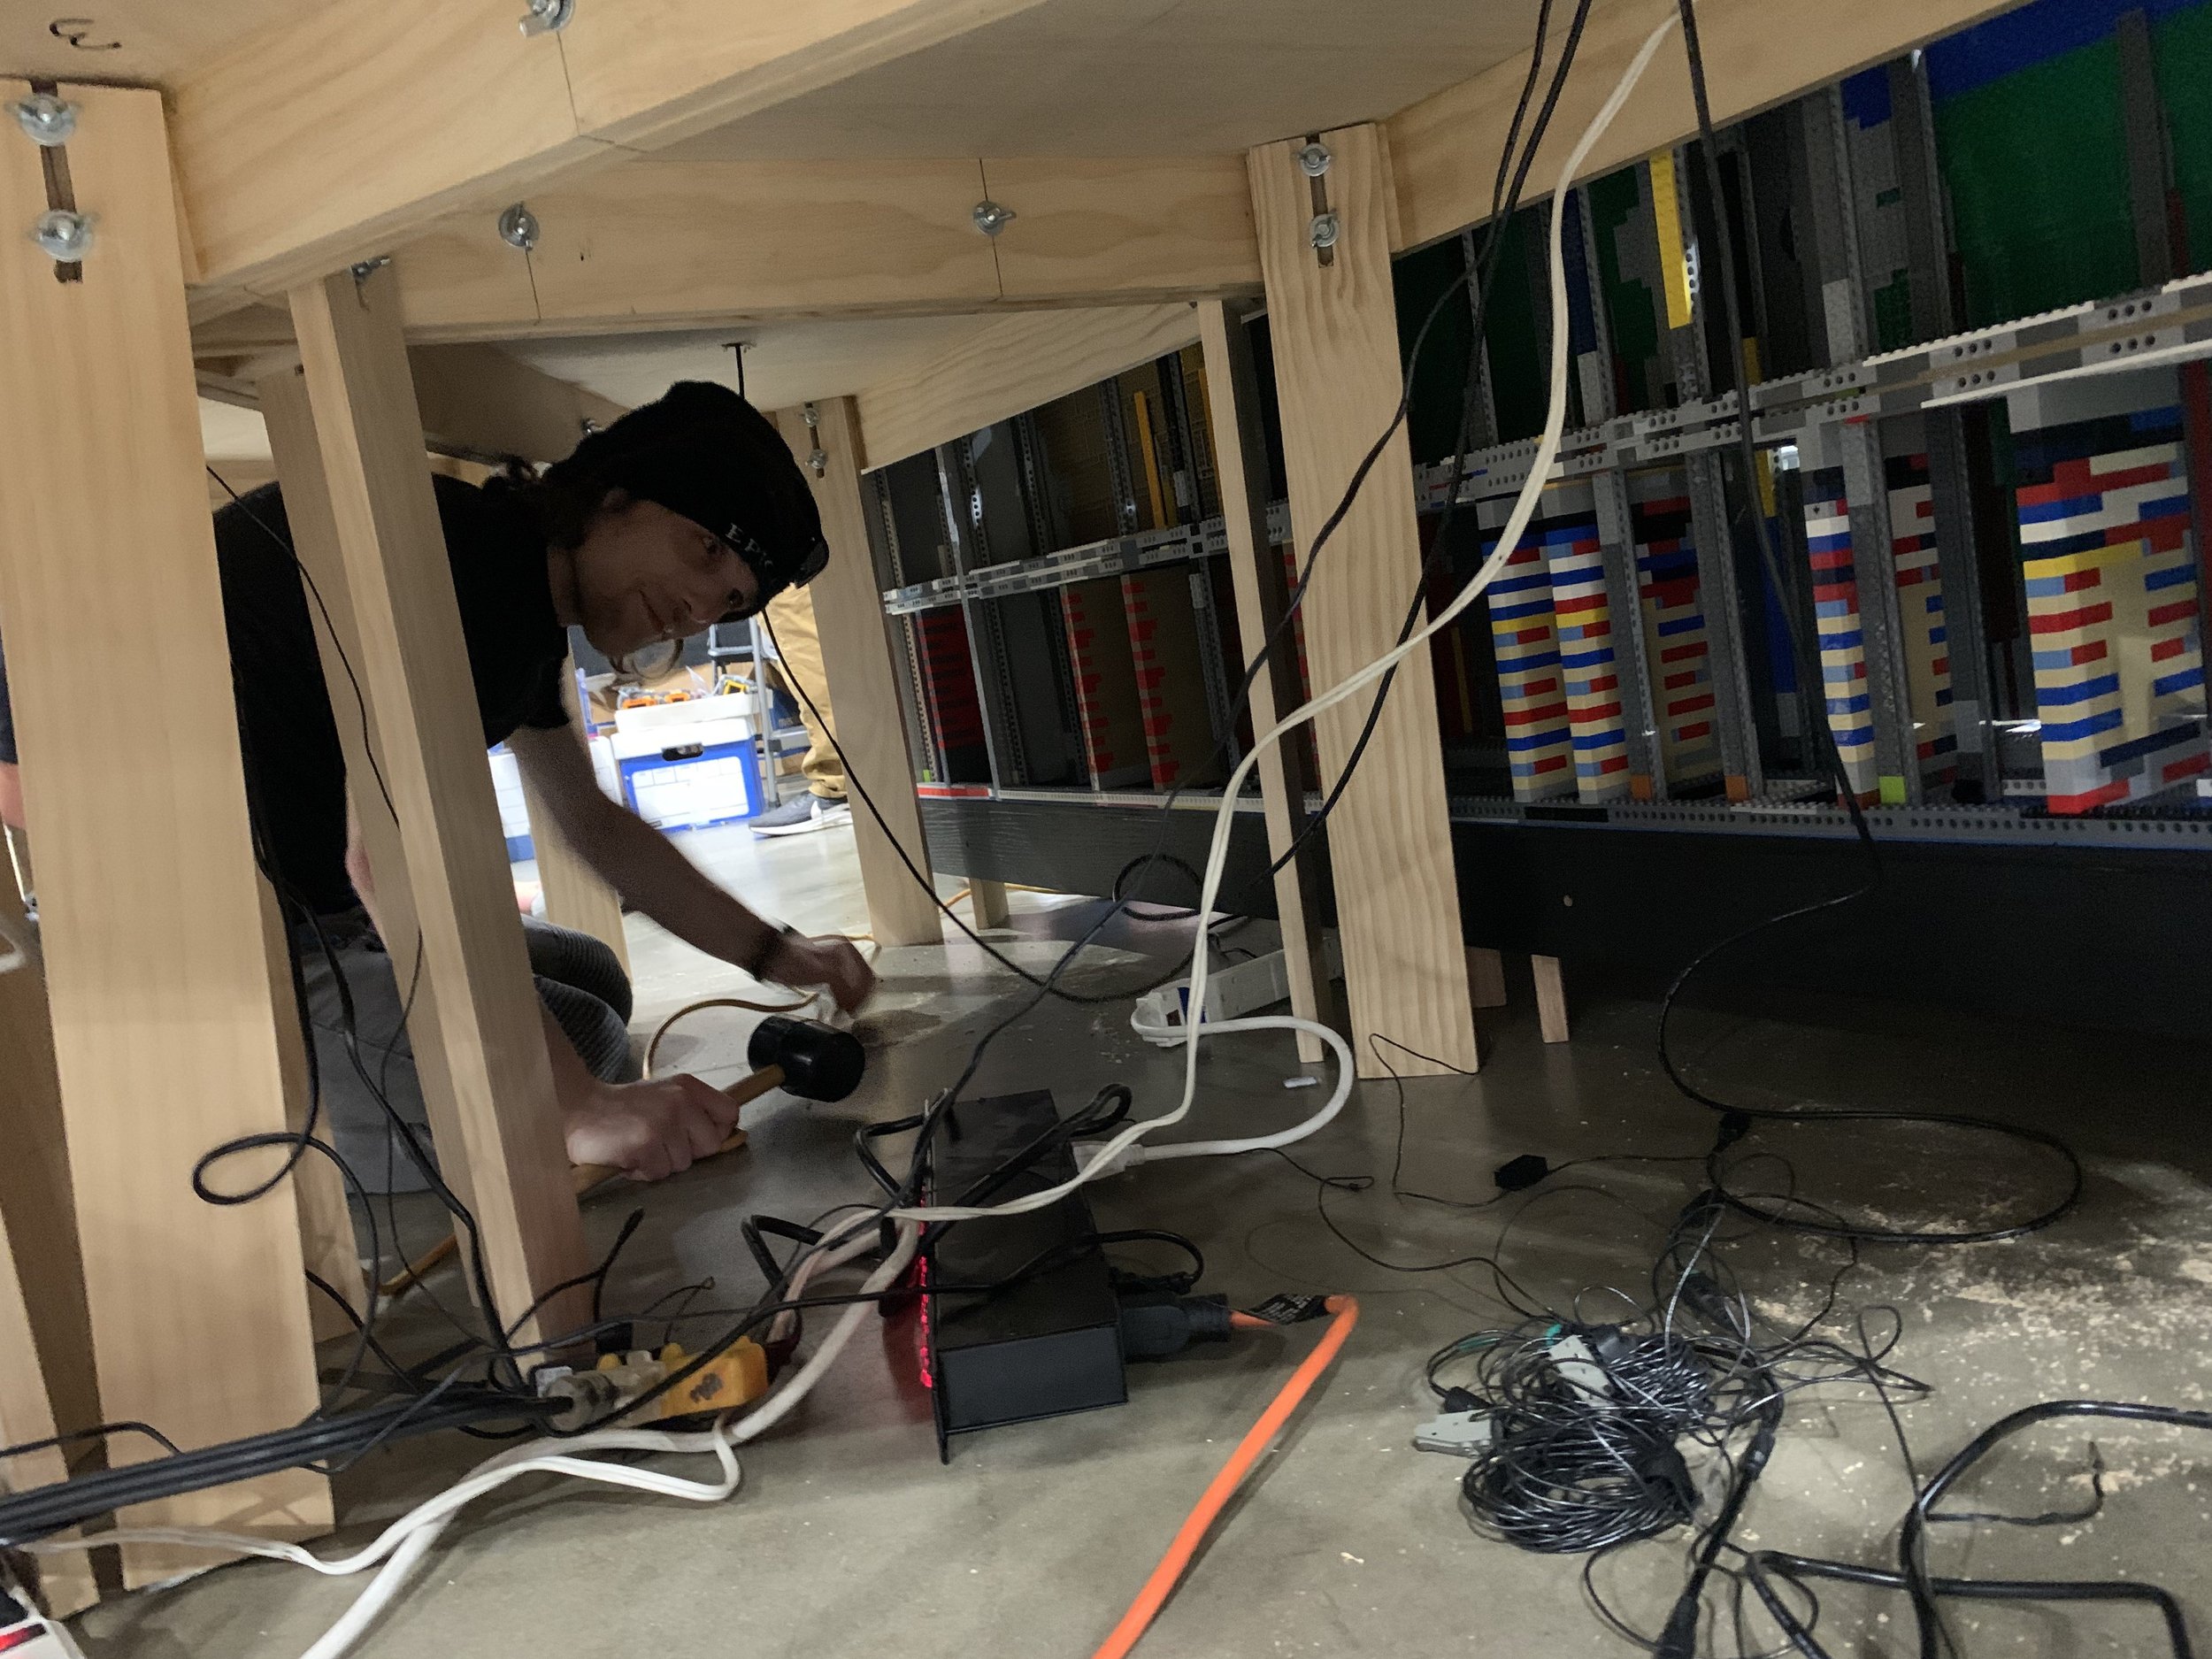
Each sector was very similar in how the USB extensions were powered. I will be using Sector 6, the Docks for our infrastructure case study today. The following slideshow of photos gives a detailed look into the unseen core of the docks, both the hidden structural cubes and the wires running within them. The first photo shows one-half of the docks in progress with all of the USB cables required to power each cube and topper snaking their way to the bottom where the large USB hub sits. The second photo shows many of those same wires and the empty USB hub that will be used for the second side of the Docks. As more cubes went on, the space to work got tighter and tighter, as shown by the third photo. And finally, the last photo shows the space under the table, where the main power cables entered and split off to each location.

Because the USB hubs were connected to power already when we began, each cube lit up as it was placed and connected to its USB extension. It truly looked like a city being constructed while the finished parts were already in use and lived in! This method also helped us troubleshoot any sections that did not light up when placed.
One side effect of covering the entire custom-made table in baseplates is that there was no way to run power from below the table without cutting a hole right through the plate. A large circular drill was used to cut through the baseplate and into the table. Though my soul still hurts and I had to turn away while it happened, it sure was effective! The rightmost photo below shows one of the USB hubs used to provide power to so much of the city.


Not everything went to plan, but we prepared for that! A whole slew of tools and equipment was onsite to help repair and fix anything that may have broken in transit or needed to be updated onsite. Fortunately there were enough people with the skills required to get things back up and running like Blake here with some last-minute soldering work.

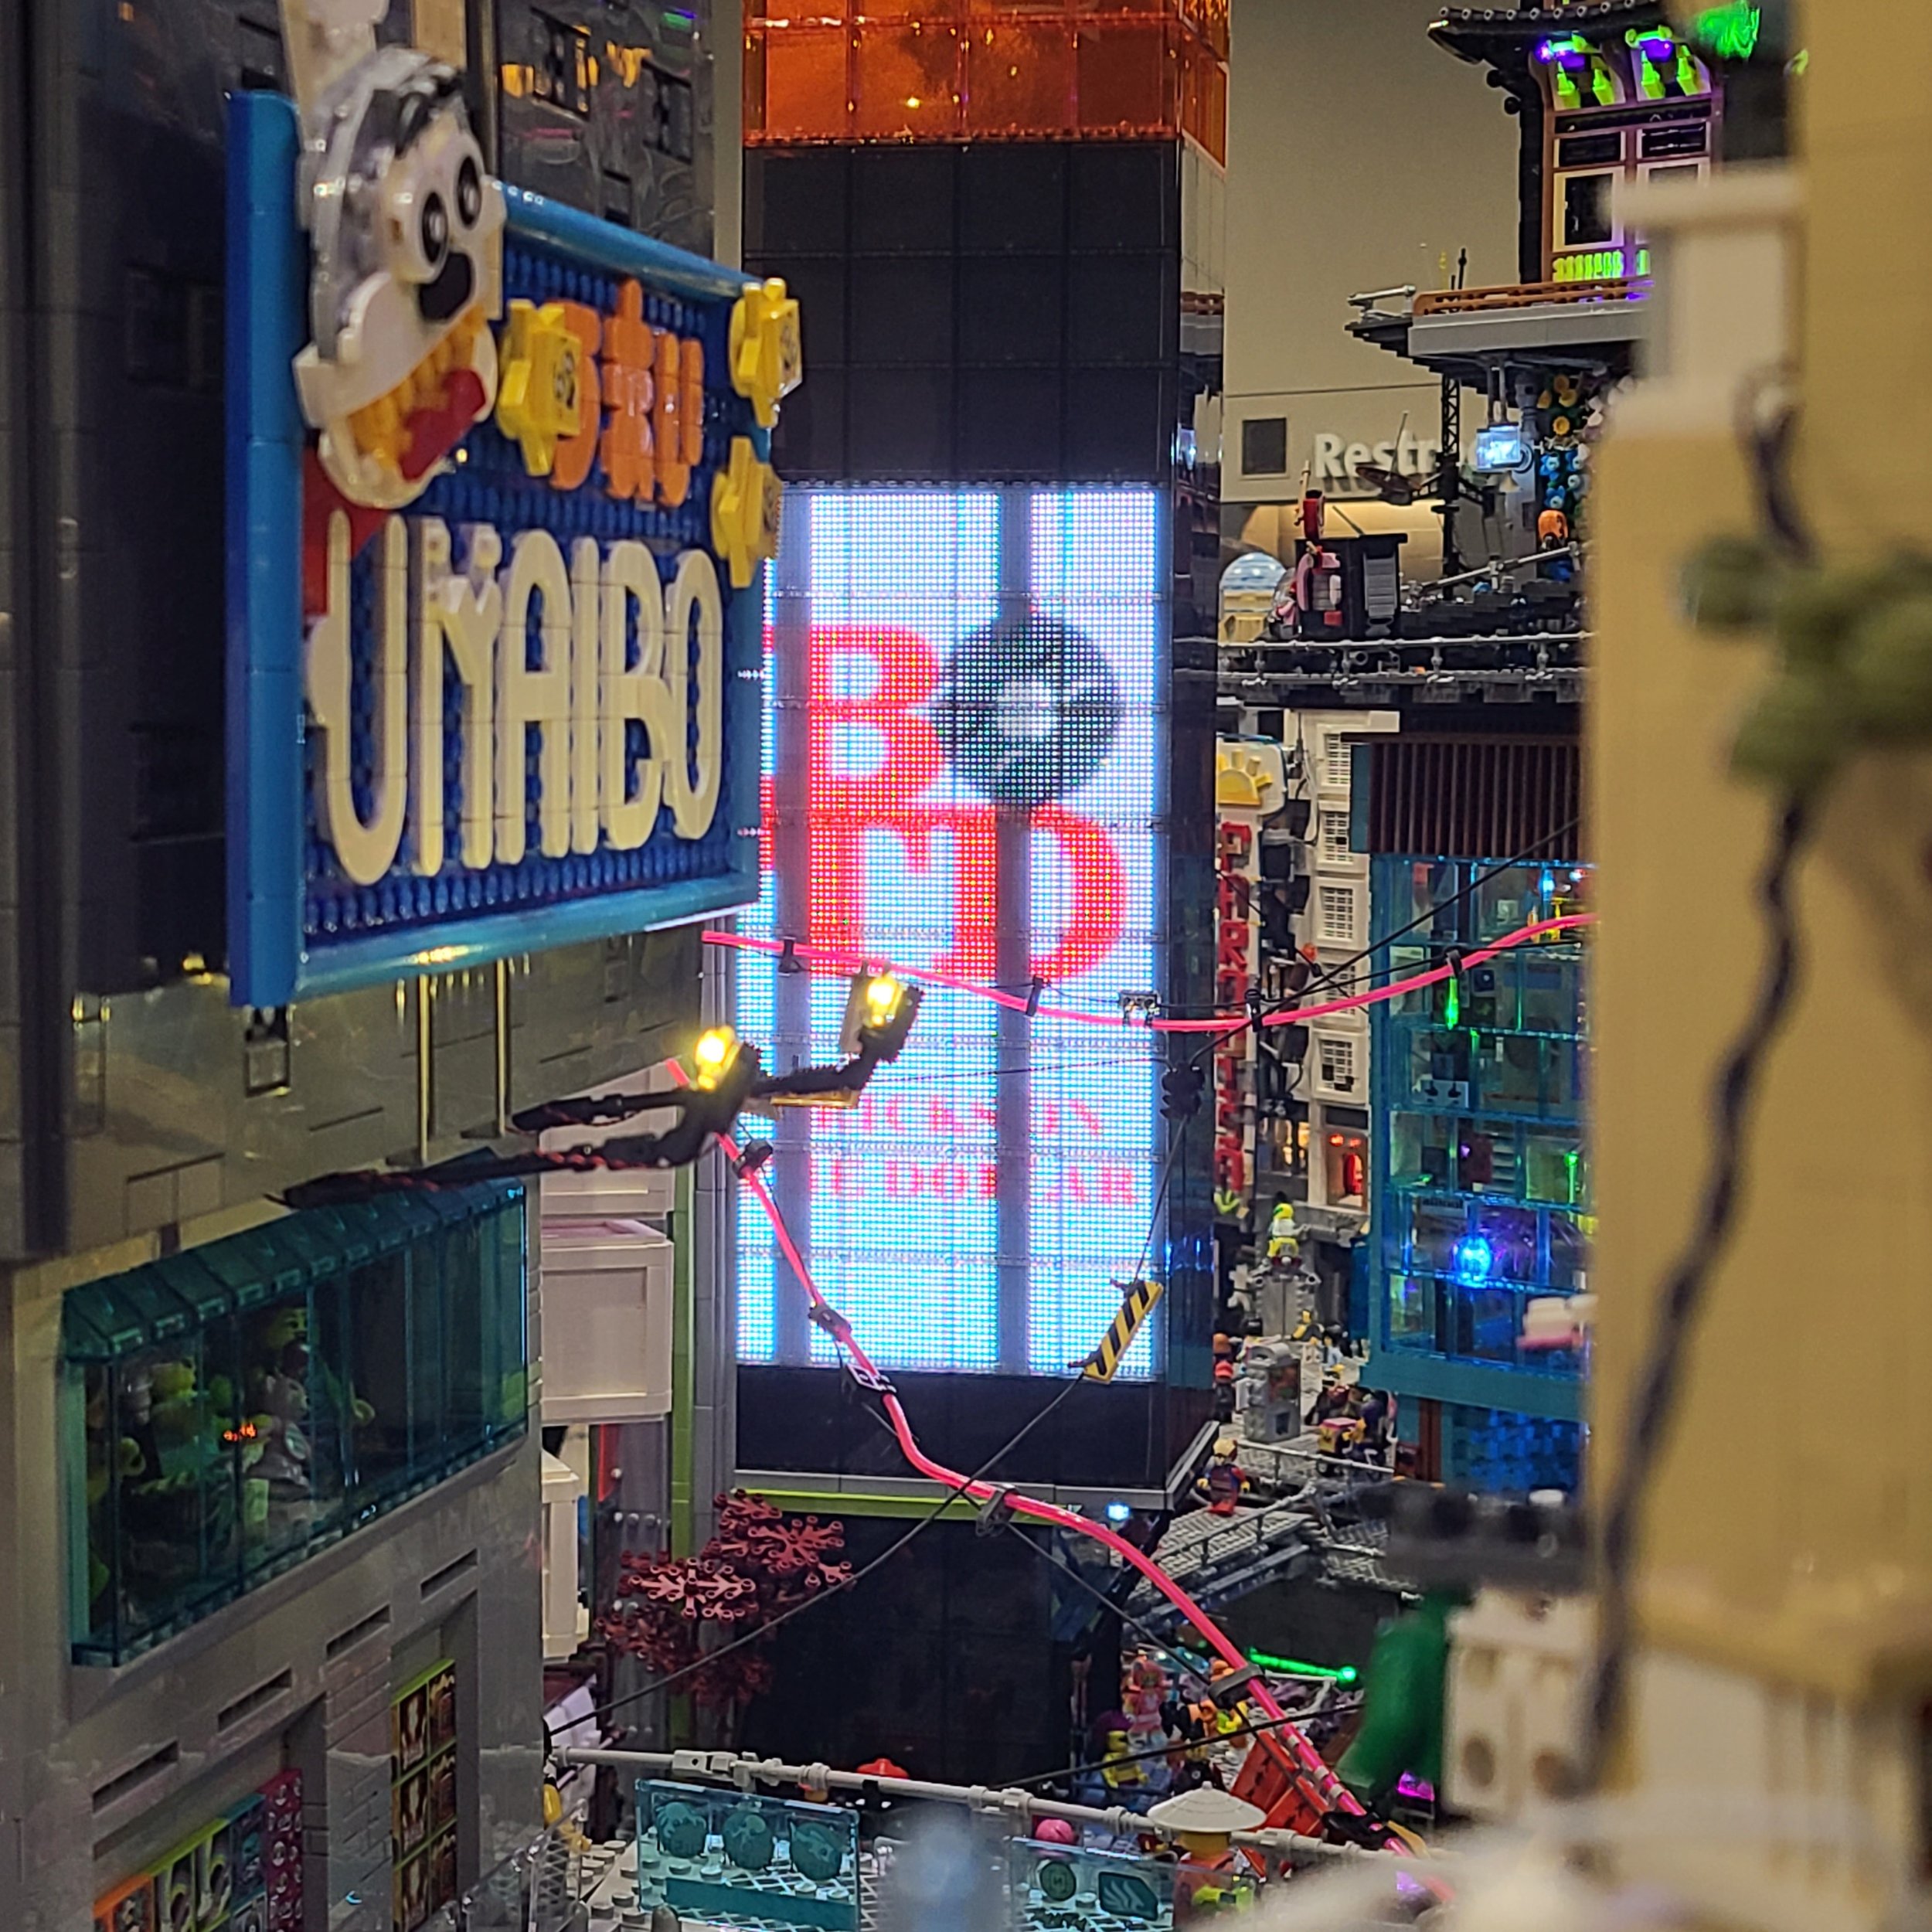
Screens and Advertisments
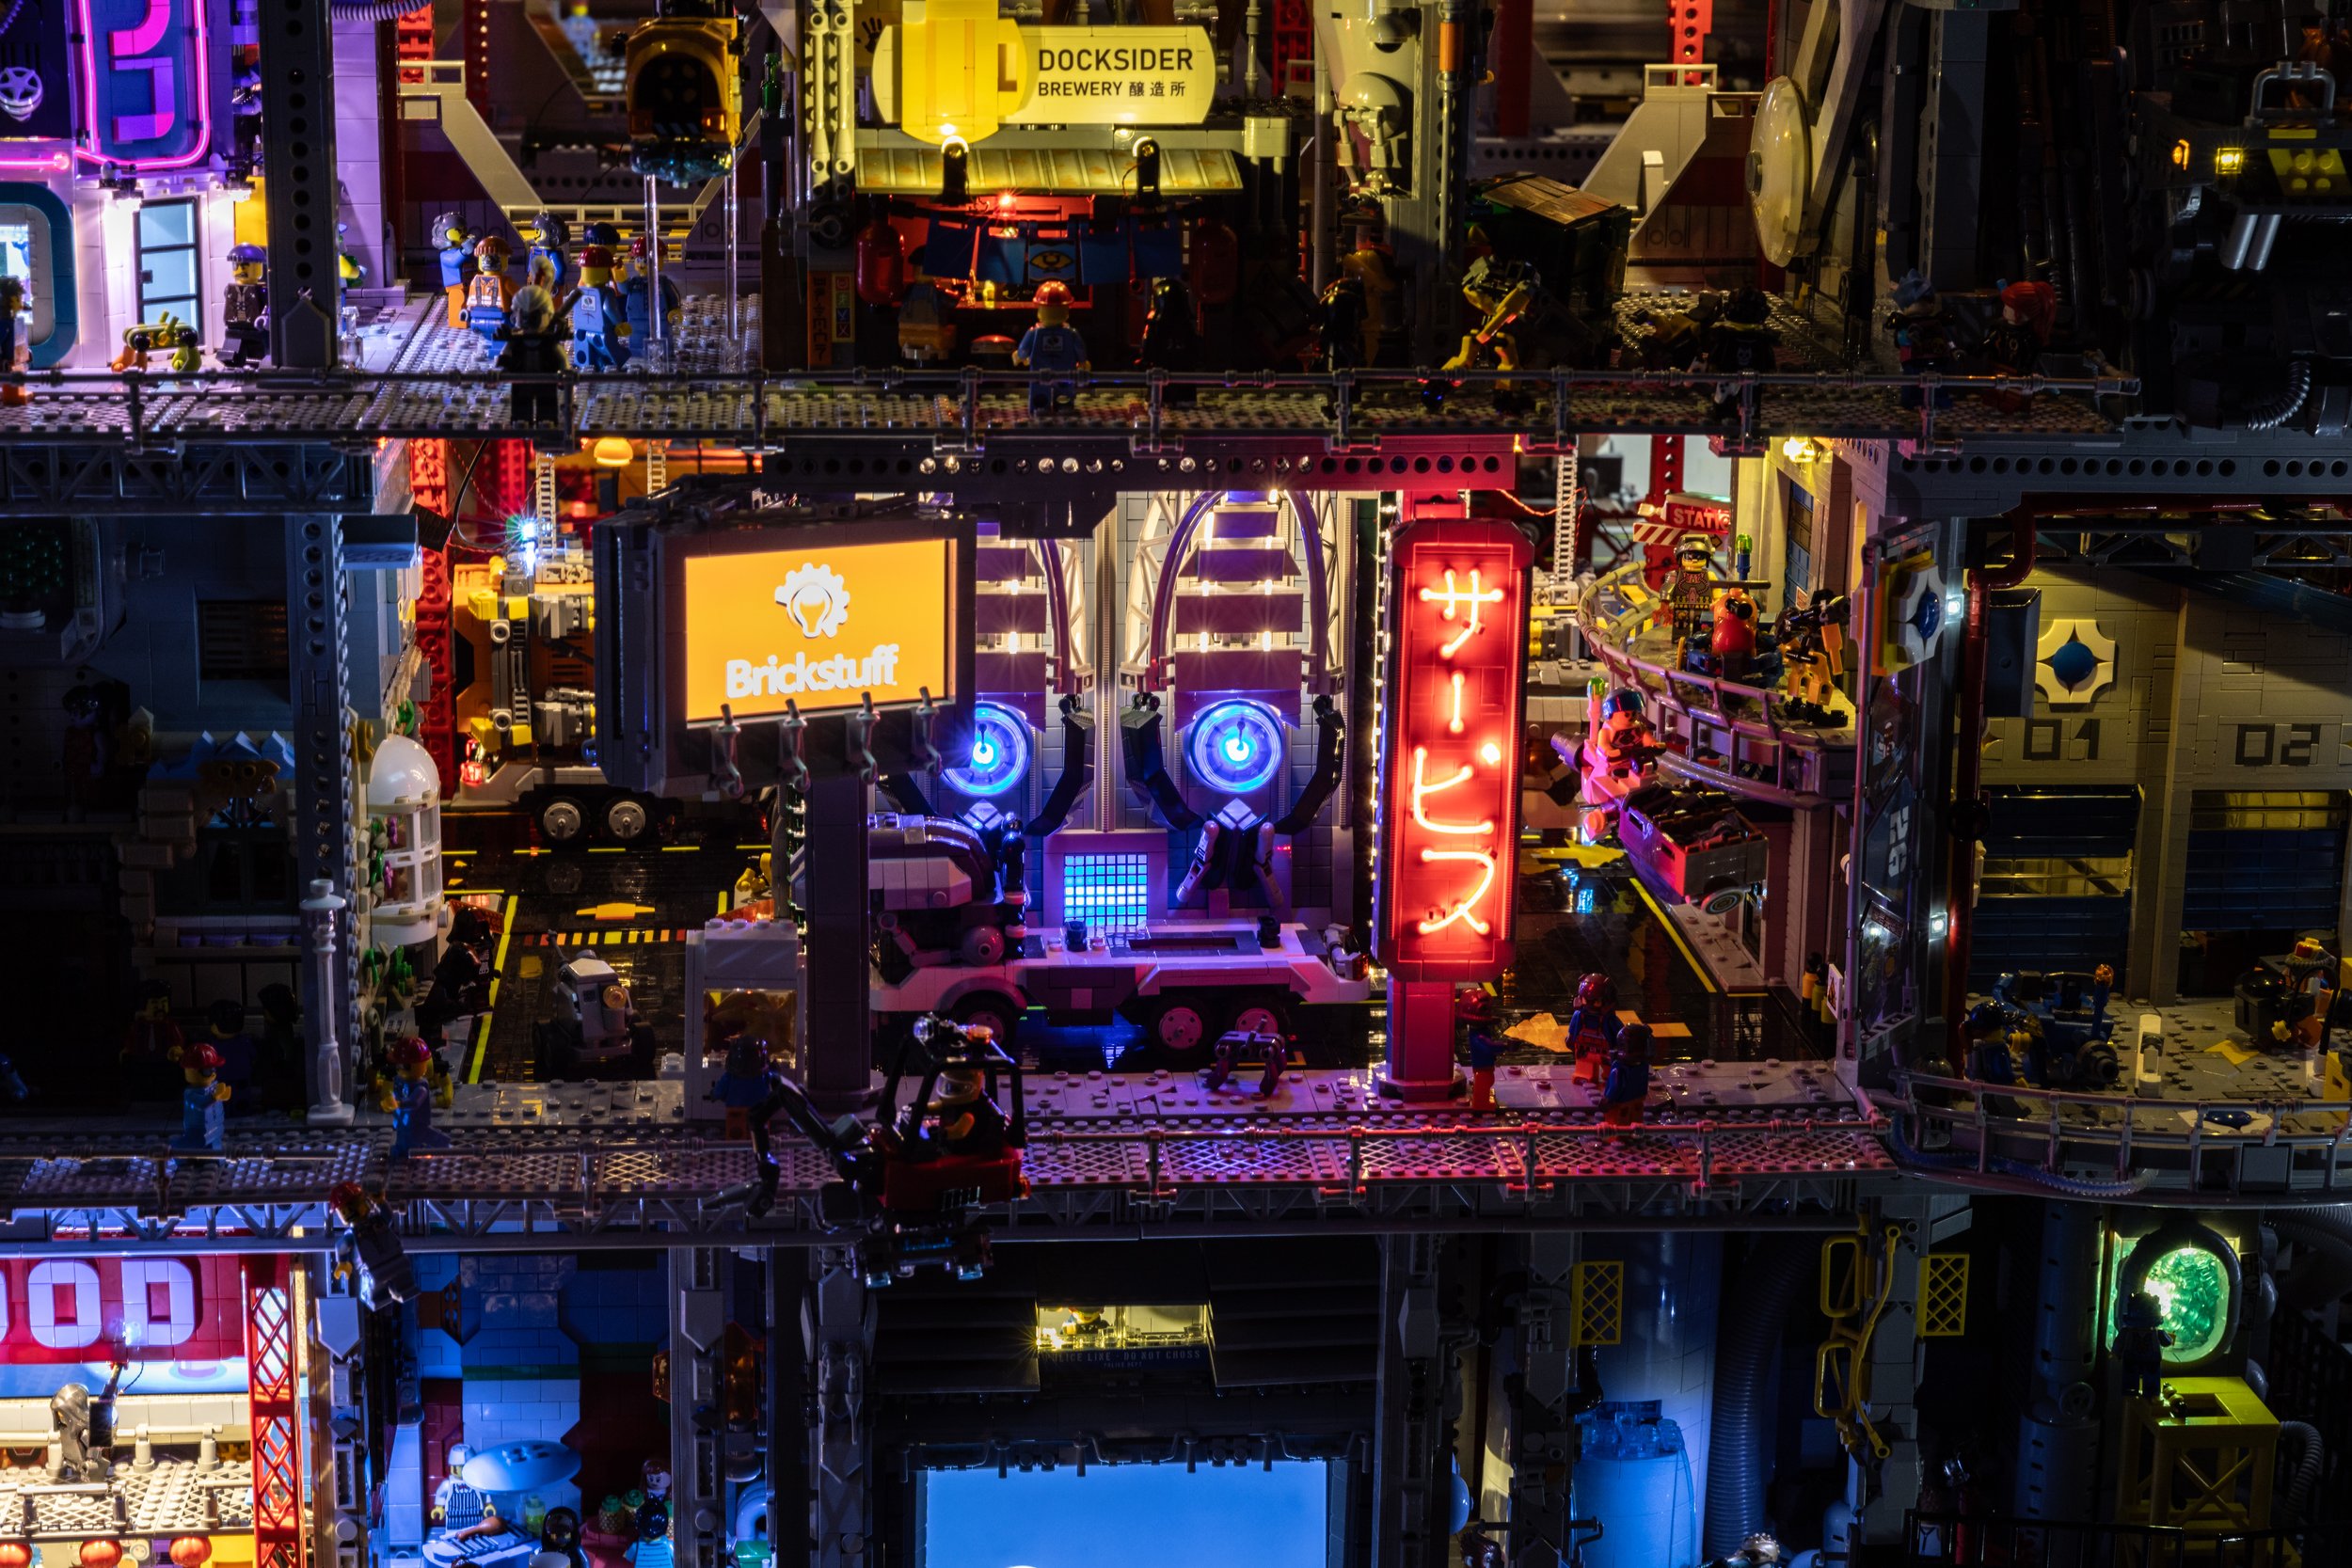
Lights themselves can add a whole lot of life to a scene, but something more was needed in a cyberpunk city like New Hashima. Something like screens and billboards of all sizes running everything from food advertisements to spaceport schedules. Brickstuff generously donated a total of 25 screens ranging from four inches to ten inches to anyone who wanted to incorporate them into cubes and toppers.
The screens themselves are fantastic, but what really made them stand out and feel cohesive was the large number of advertisements and videos created by various contributors. These included custom adverts for in-city shops like the Docksider Brewery, LEGO stop motion animations created specifically for the largest screen, actual adverts for real-life products like BrickStuff, and many more. (You can get screens for your own MOCs from Brickstuff, believe me, they have been battle tested!)
Light ‘Em Up!
Before we flip the switch and share some amazing night photos, I wanted to call out a few builders who did amazing things with lights in the cybercity.
Joseph’s double cube is a fantastic apartment complex. Contained within is one of New Hashima’s more ingenious lighting solutions. Here is the cube by itself with the lights off.

Joseph’s double cube in the light
During the night, the residents turn on their lights and get a sneak peek into their lives though the curtains!

Minifigure shadows on the windows
The solution to this lighting effect is remarkably simple, with just a row of lights behind the figures with a sheet of wax paper or something similar for the shadows to be cast onto inside the window panes. The following photo shows the lighting Joseph used. It’s mounted to lattice plates so the light could also shine to the other side of the cube.

Lighting solution for shadow figures
Another interesting lighting solution came from New Hashima’s main creator, Stefan. First a little background on the types of lights he used here. EL wire, or electroluminescent wire, is a small wire that glows when alternating current is applied to it. It is fantastic for making neon-looking signs but has a few unfortunate downsides, the most prominent of which is that doing anything beyond just turning it on or flashing it is fairly difficult. Stephan’s solution to this was to create a system of relays, which can be controlled by a microcontroller and can turn on and off the EL wire and use them to create more patterns with multiple lines of various EL wires.

It might look like a fire hazard but it sure is effective!
That beautiful rat’s nest of electrical goodness works together to create this. Each wire is individually controlled by the relays and is used to create a light-chasing pattern as the wires turn on and off in sequence. It made the “neon” turn on and off and flicker throughout the build.

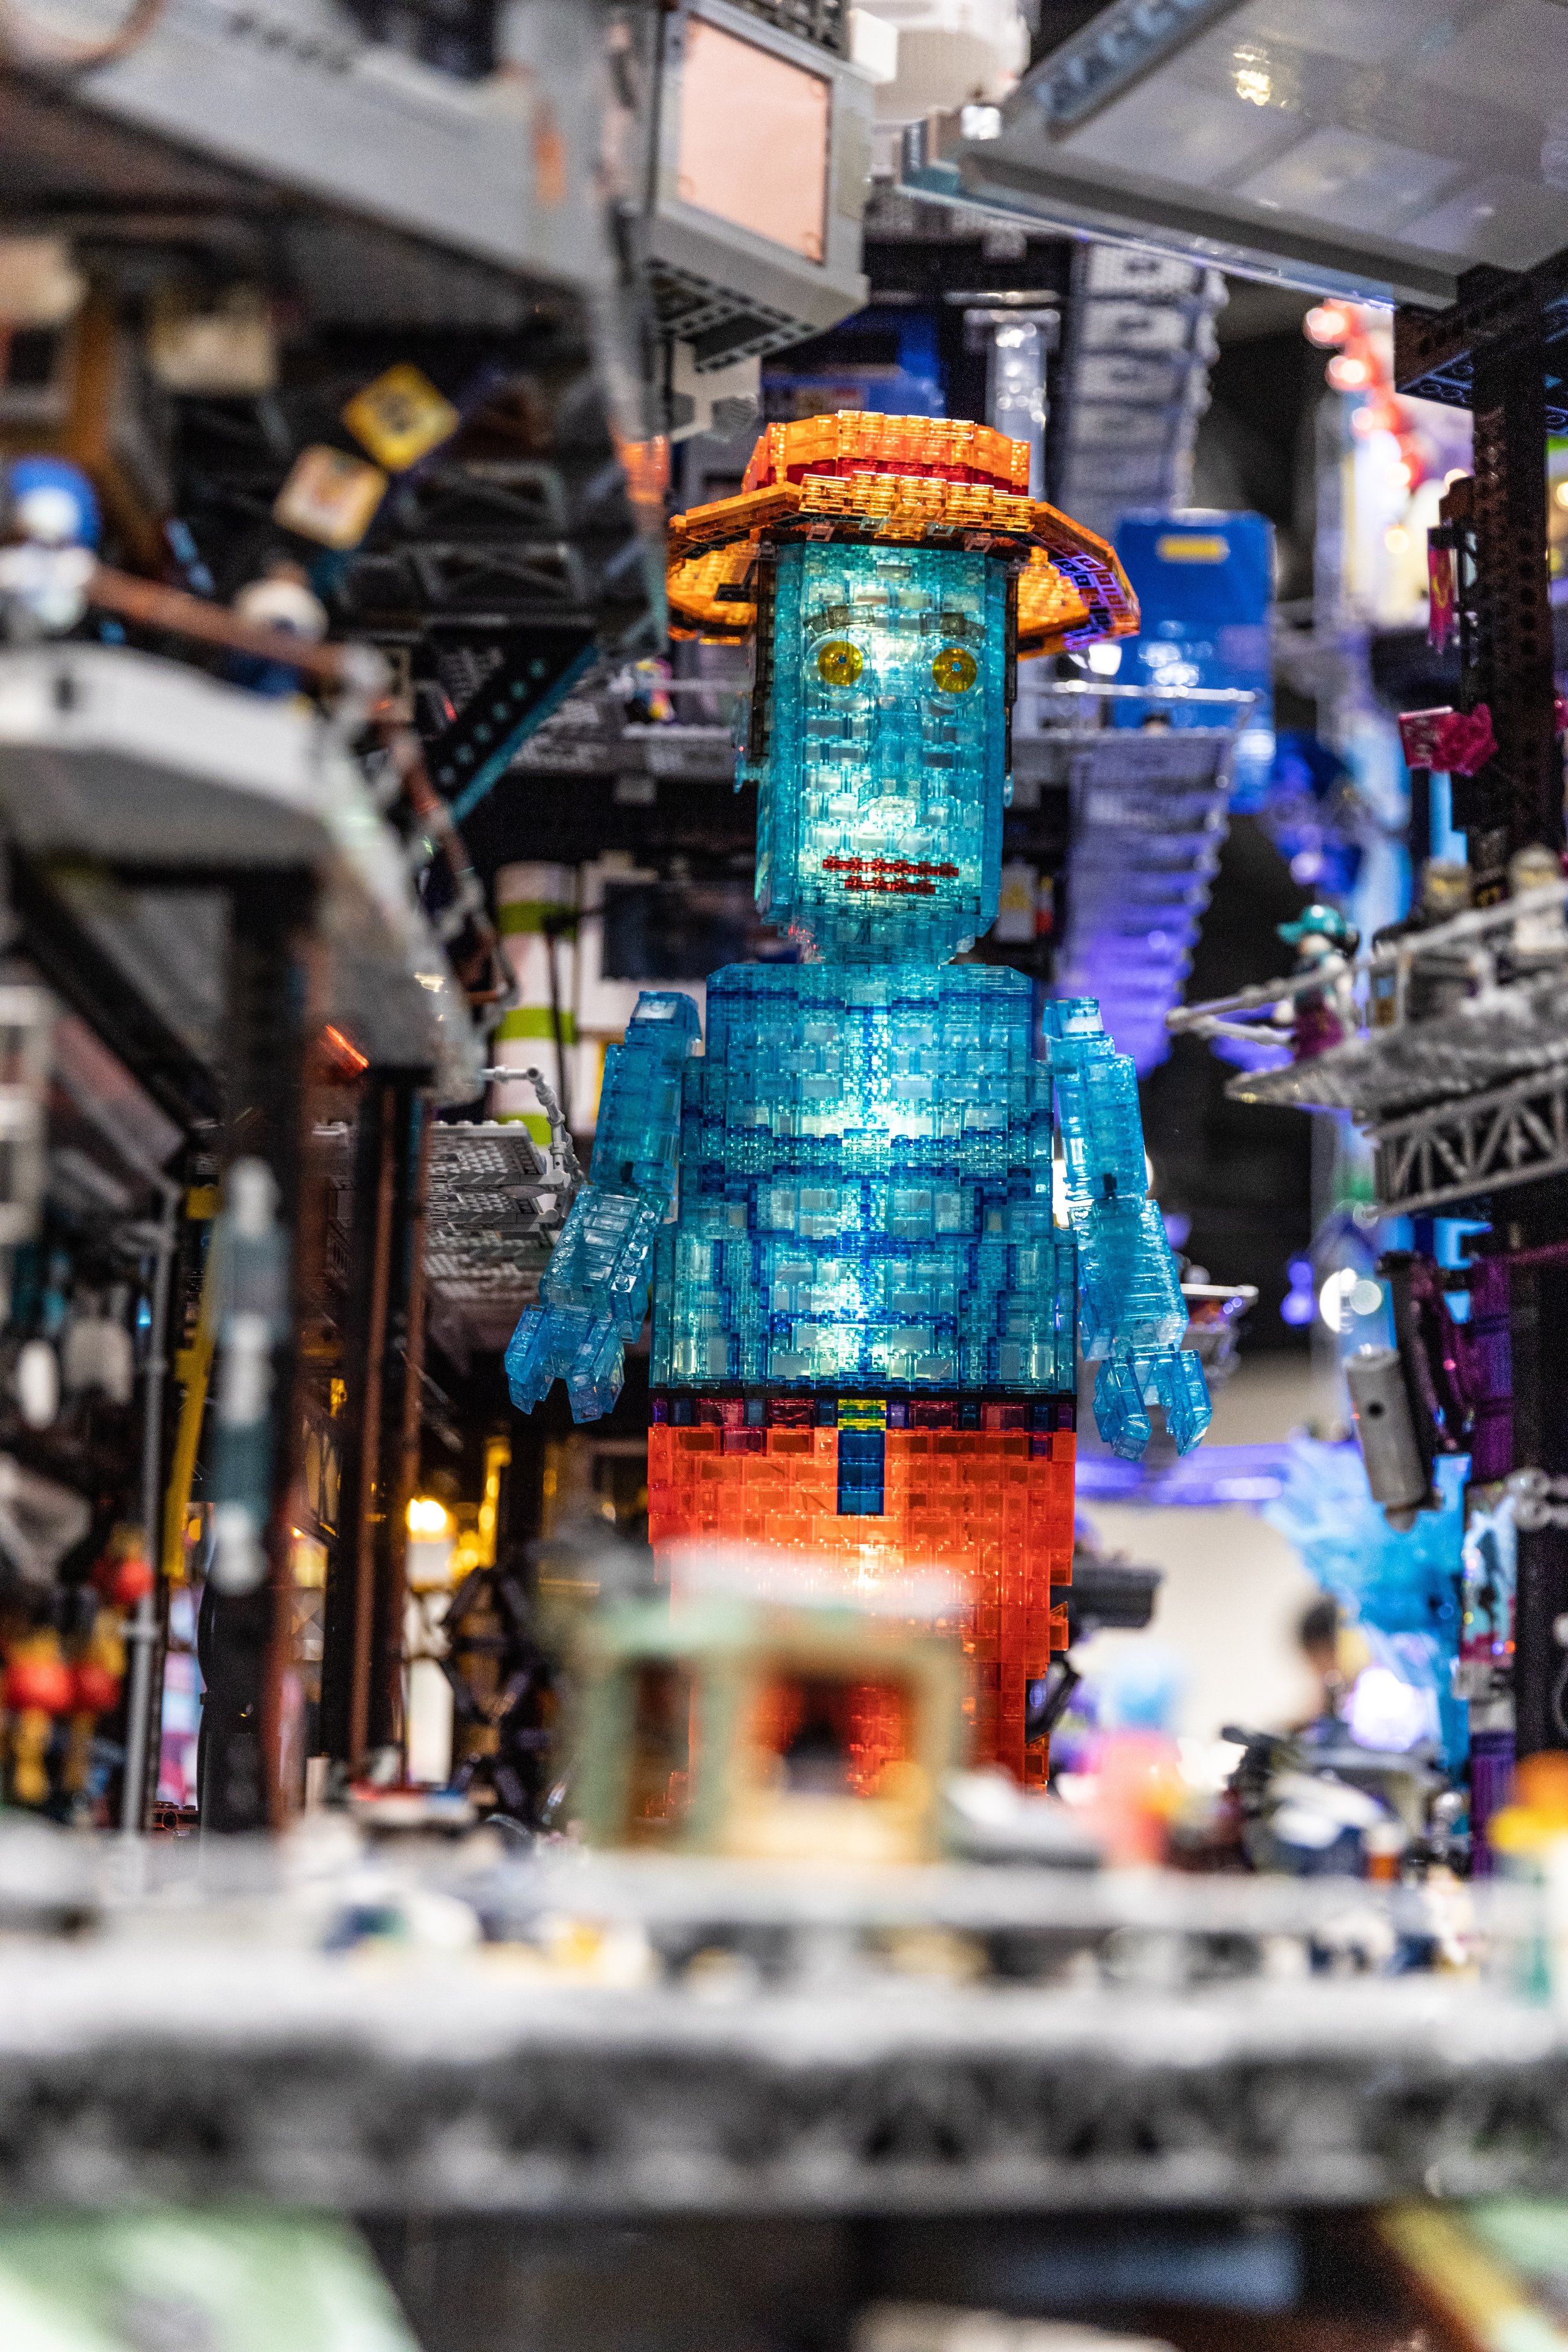
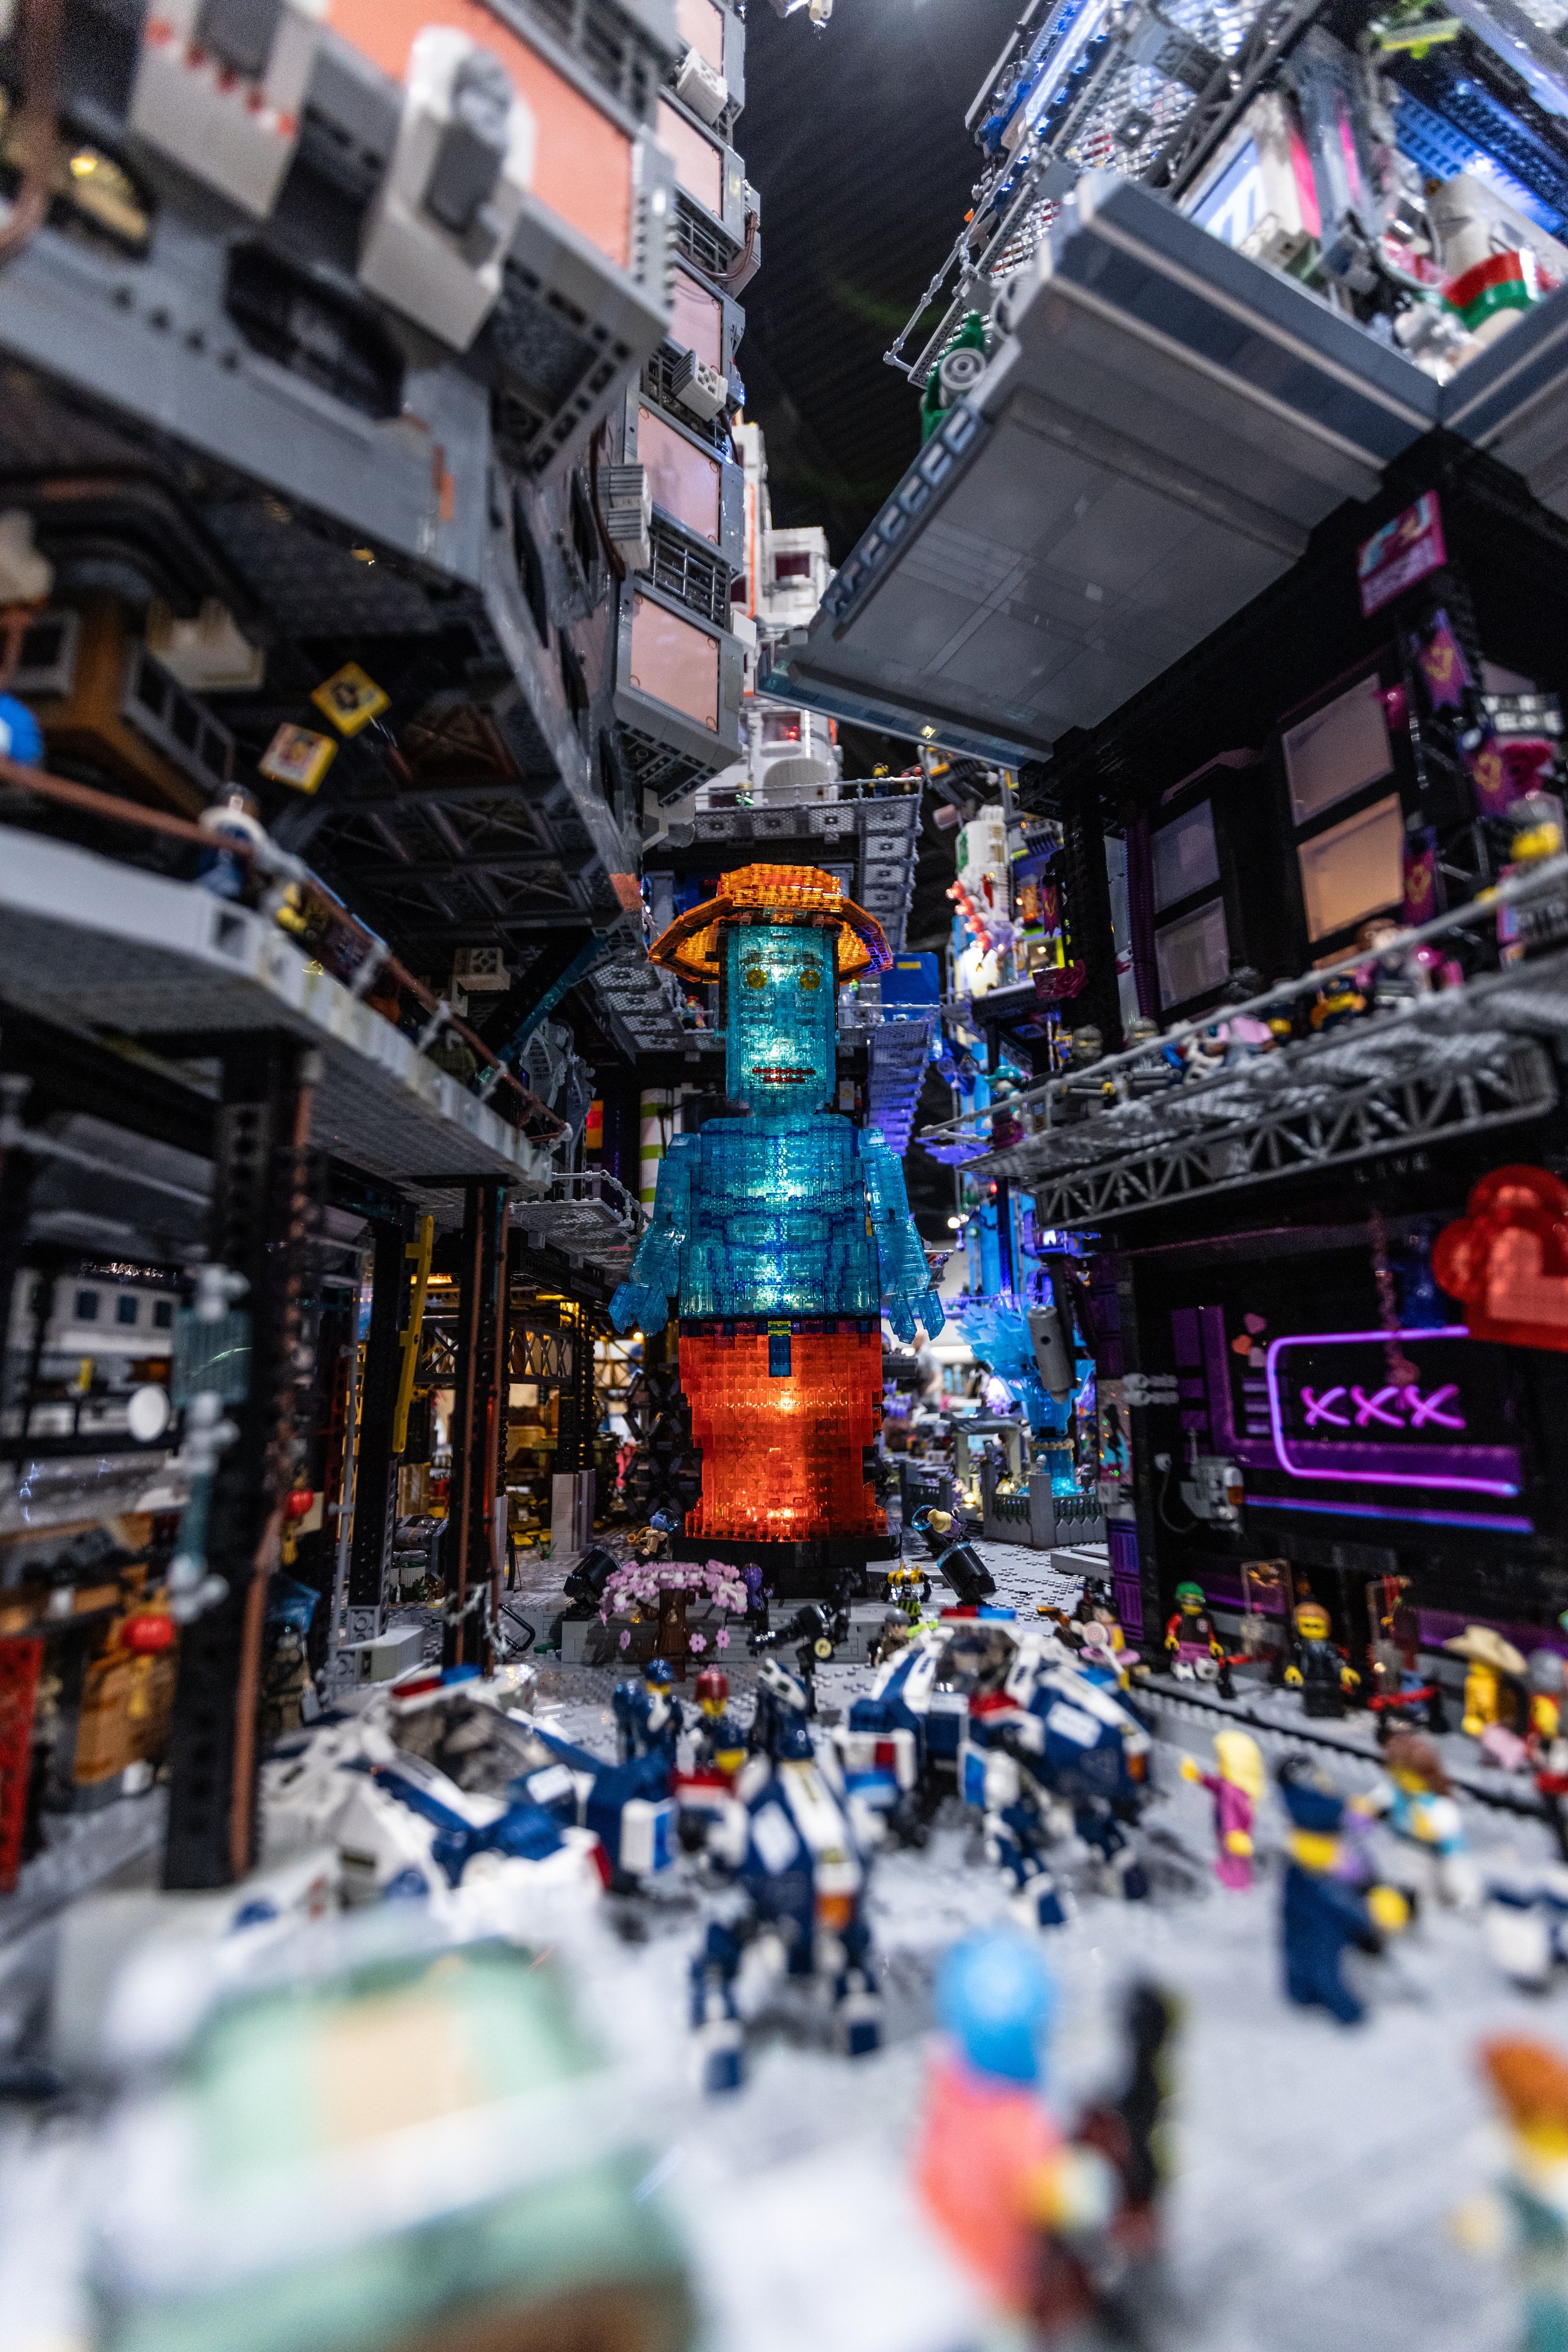
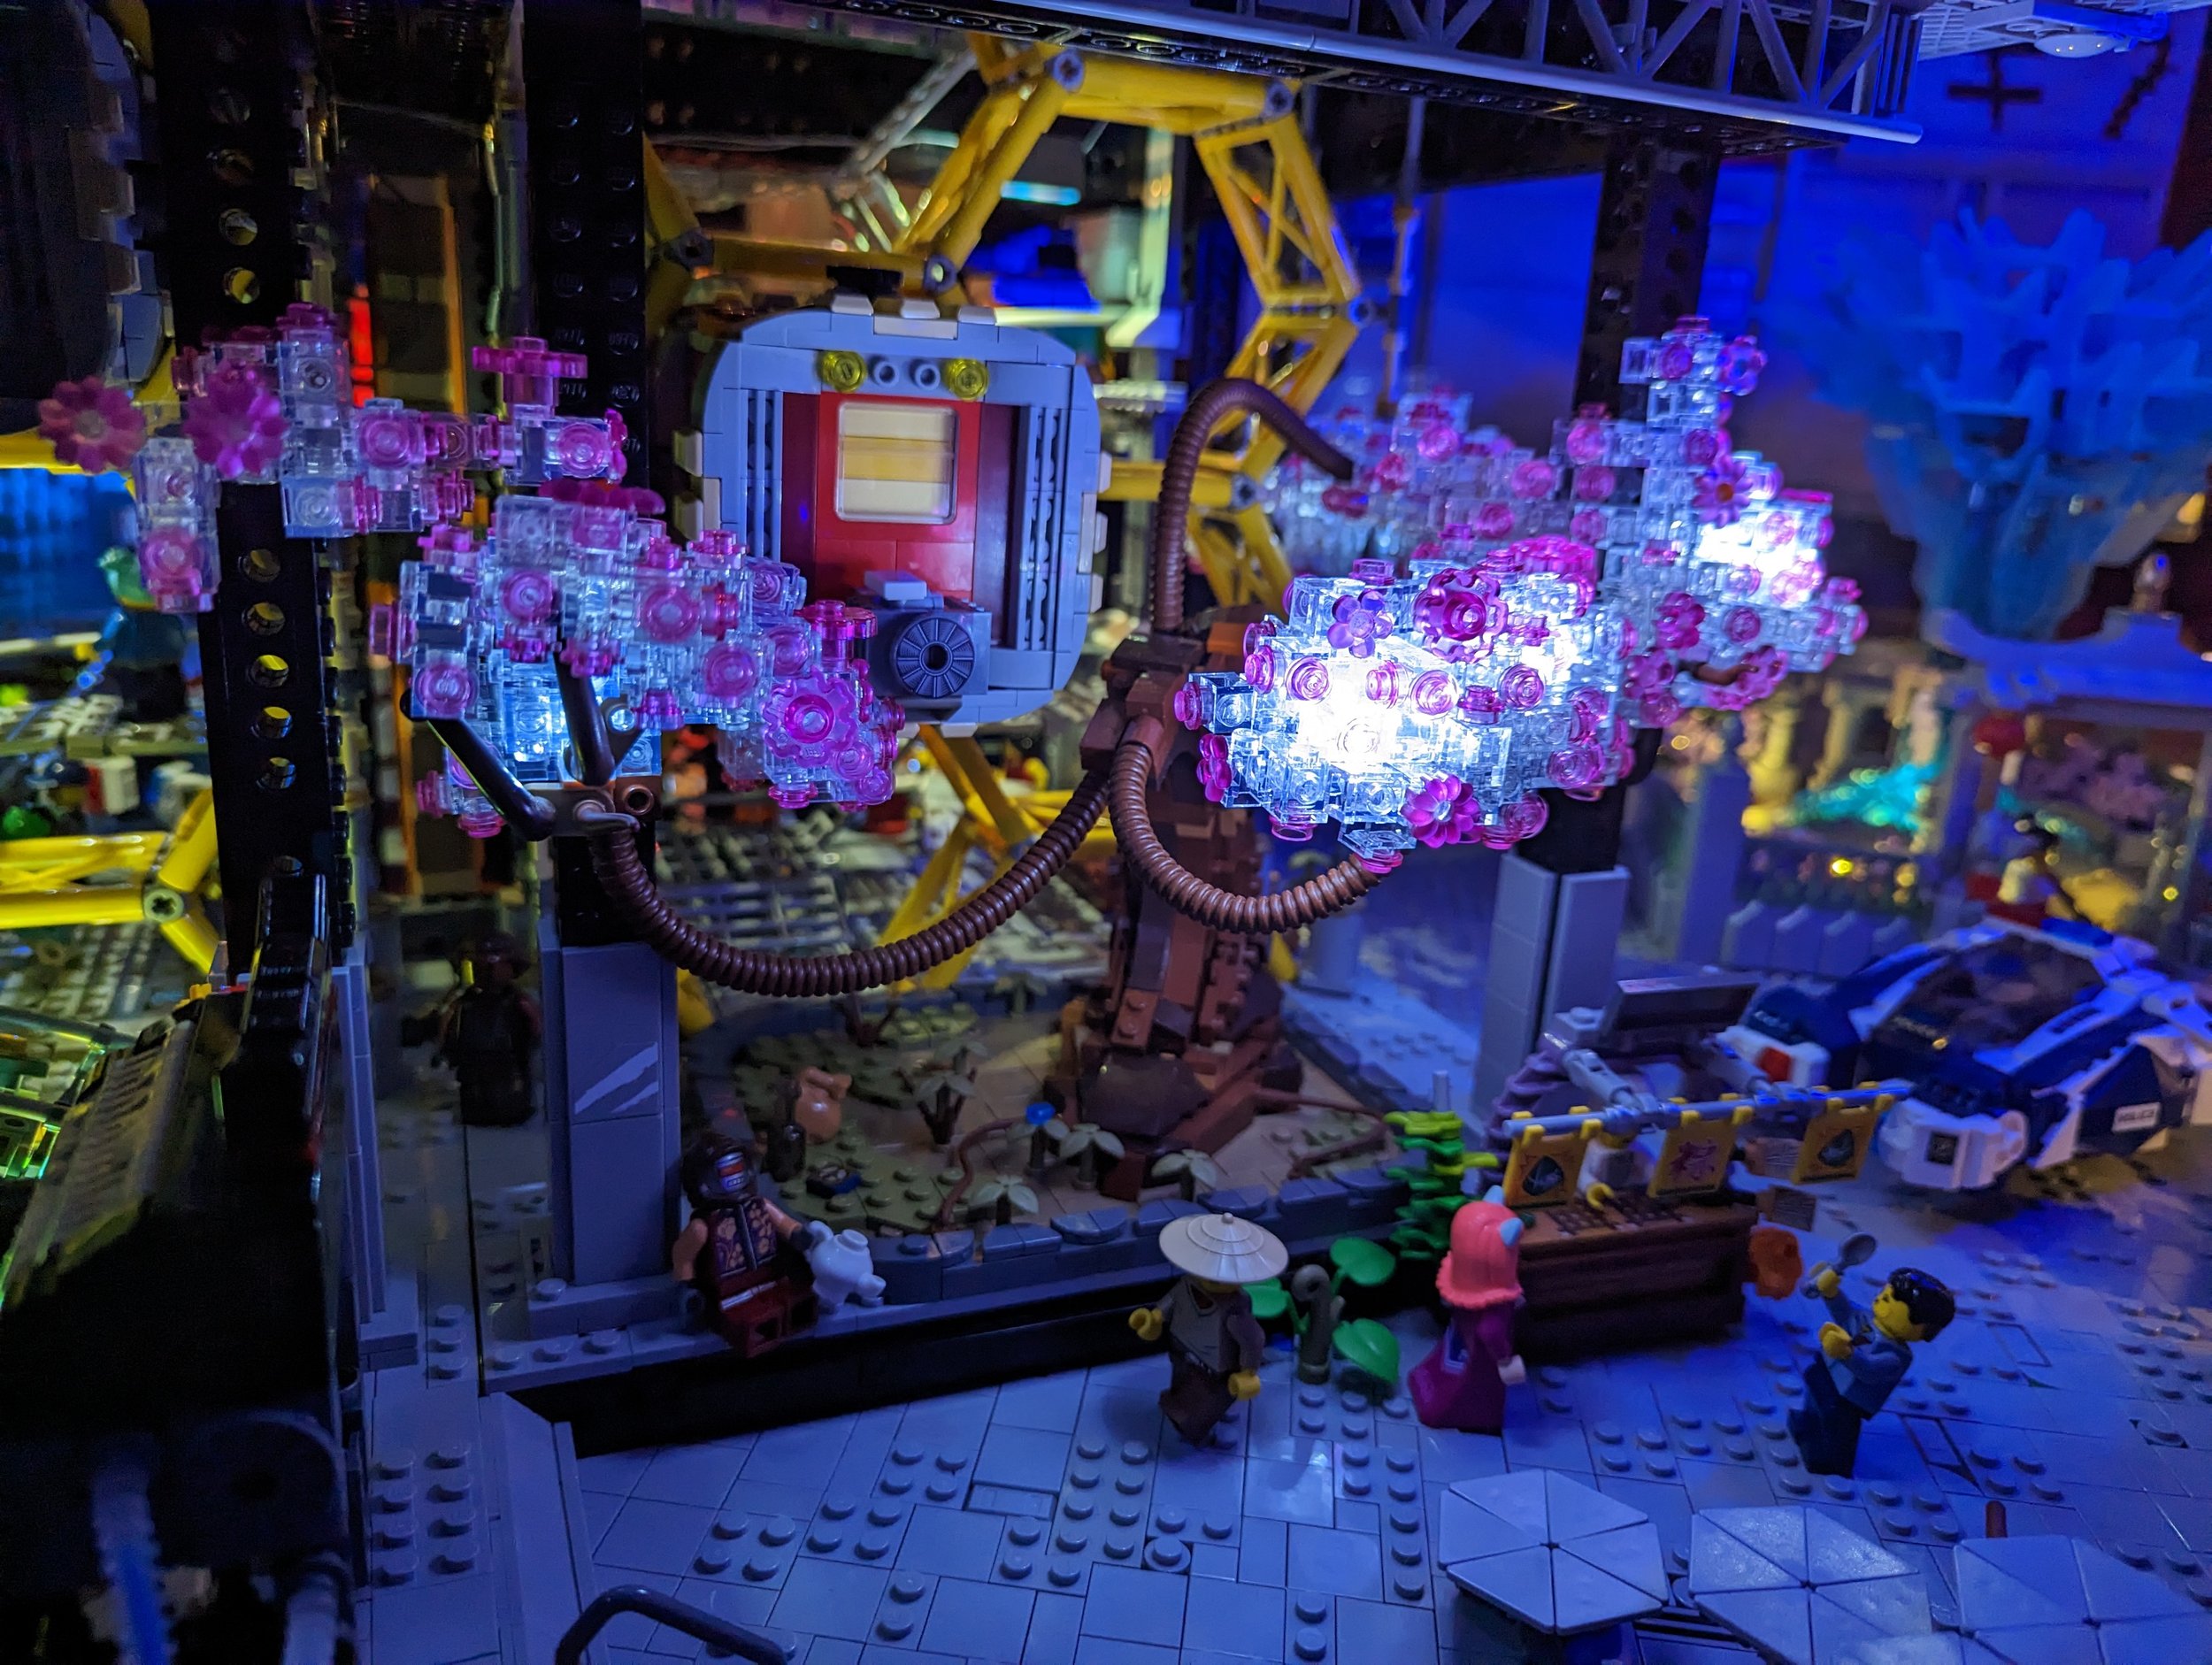
Sometimes just simple lights are able to take an already amazing build to the next level. Joe has created this Cyber Woody in full transparent elements and with the lights inside give it a wonderful holographic feeling.
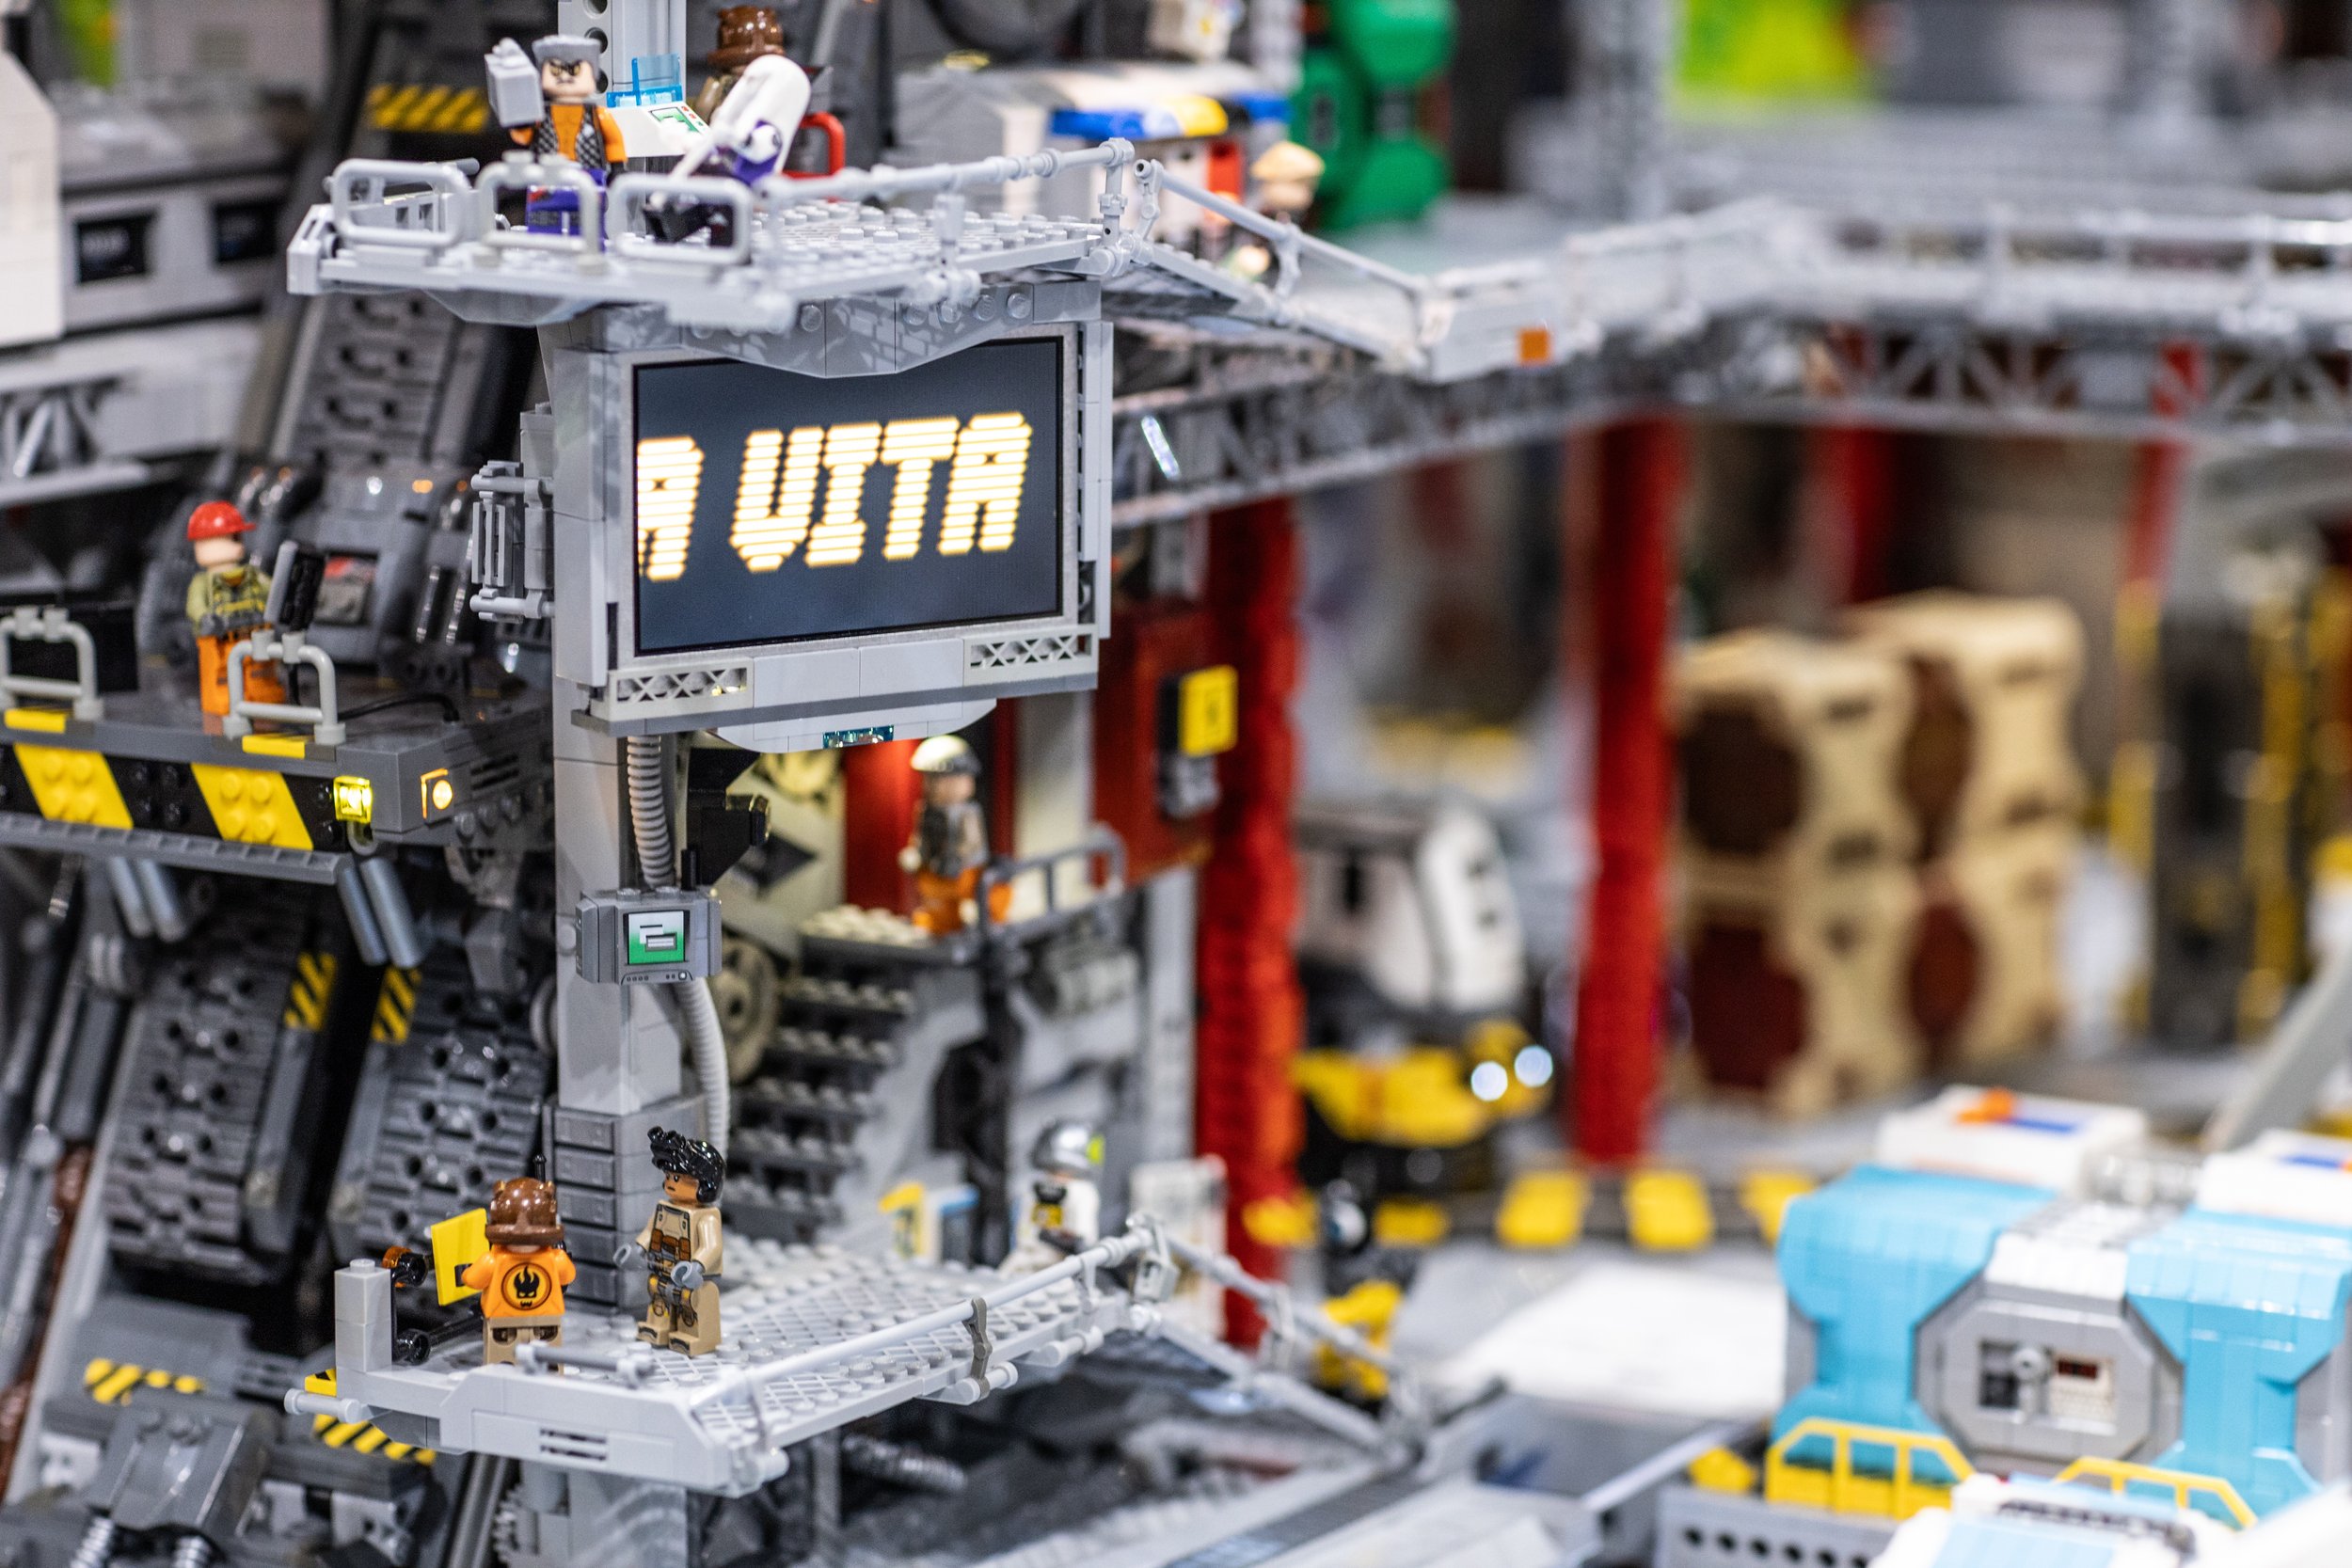
Taking a closer look at some of the “neon” signs around the city, you can see these were created using the aforementioned EL wire as well as LED filament woven through bricks to create the symbols needed. One good example of the filament version is the sign on my own cube from the Docks which spells out “Service” in Katakana. This uses two LED filament strands and a fully brick-built frame to control the flexible filament and bend it into the right shapes. Because I used multiple LED filaments instead of EL wire, I was able to make the sign fade in and out as well as flicker a bit like real neon would. Below you can see what it looks like unlit from the front and back, followed by it lit up in the display.

Chris’s Neon style sign during world of lights
The majority of the lights within New Hashima came from Brickstuff. Rob, the owner, was active in our Discord chats helping with lighting questions and ideas.
The scale of this project allowed contributors to branch out a little and experiment with lighting that might not make it into a normal MOC. Take Stefan’s relay control for his EL wire from above or my LED filament with a custom driver. These and many more were sourced from all over, including Amazon like Joseph’s lights, AdaFruit, and other electronics stores.
World of Lights
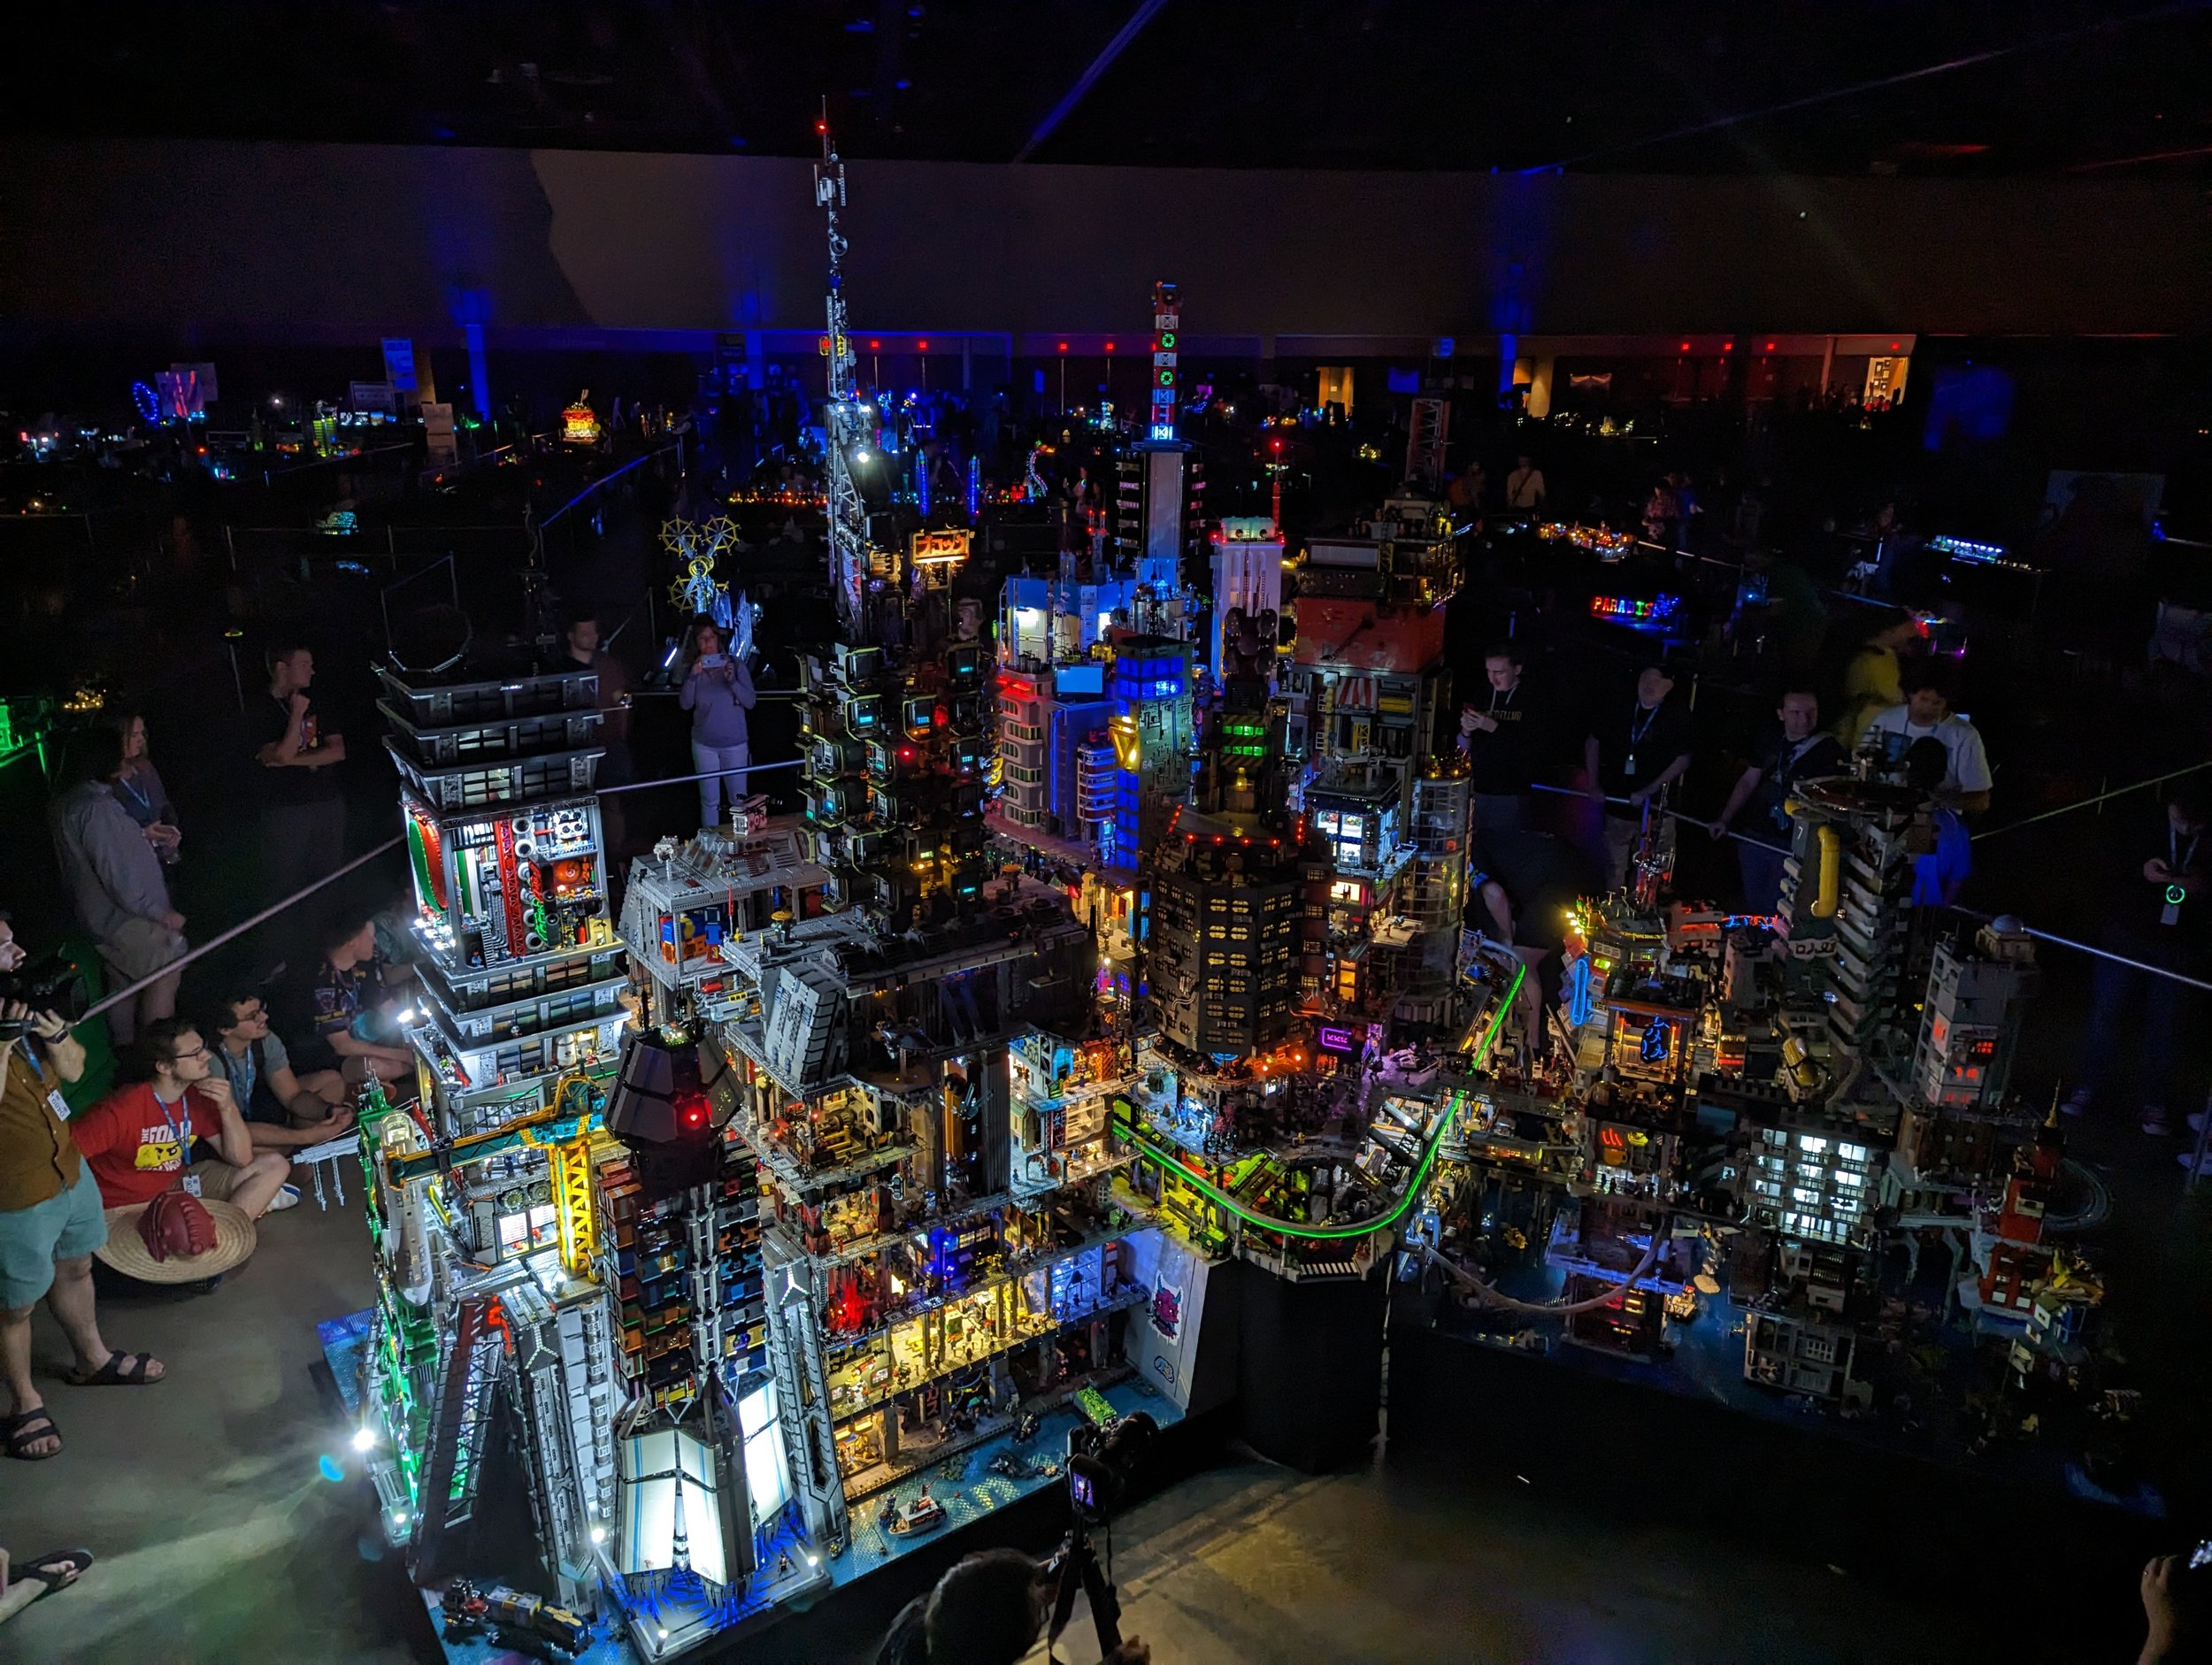
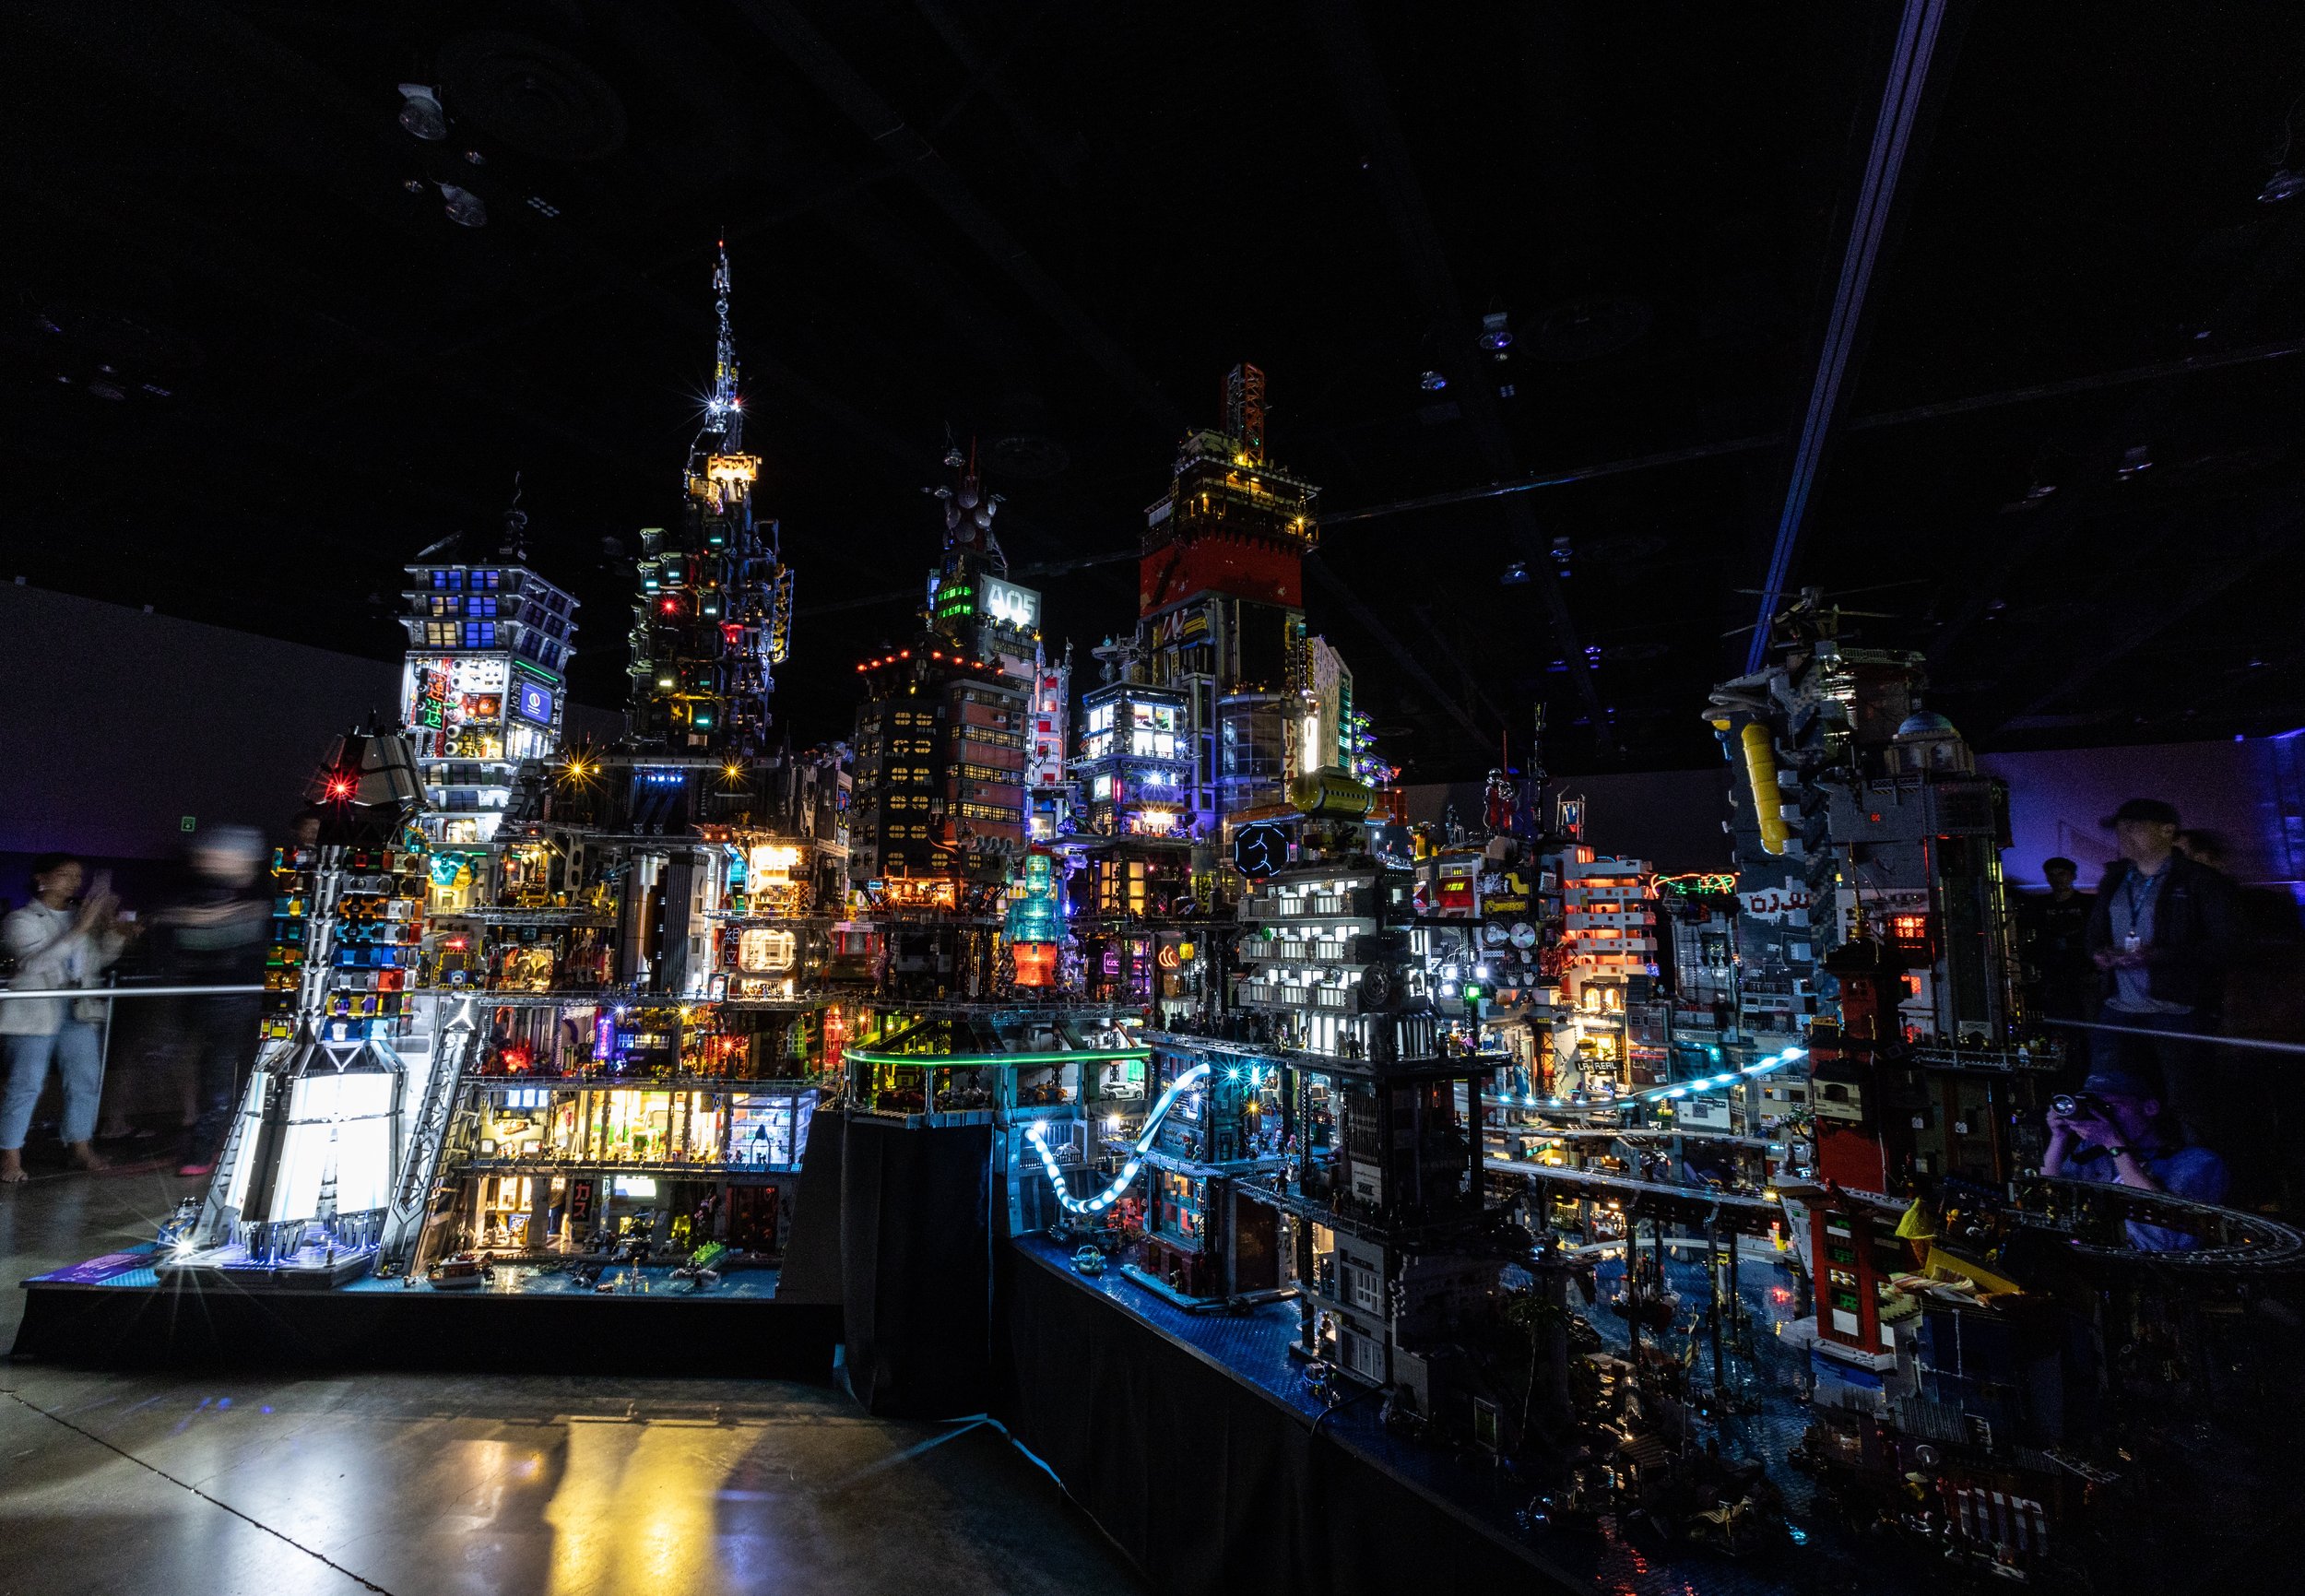
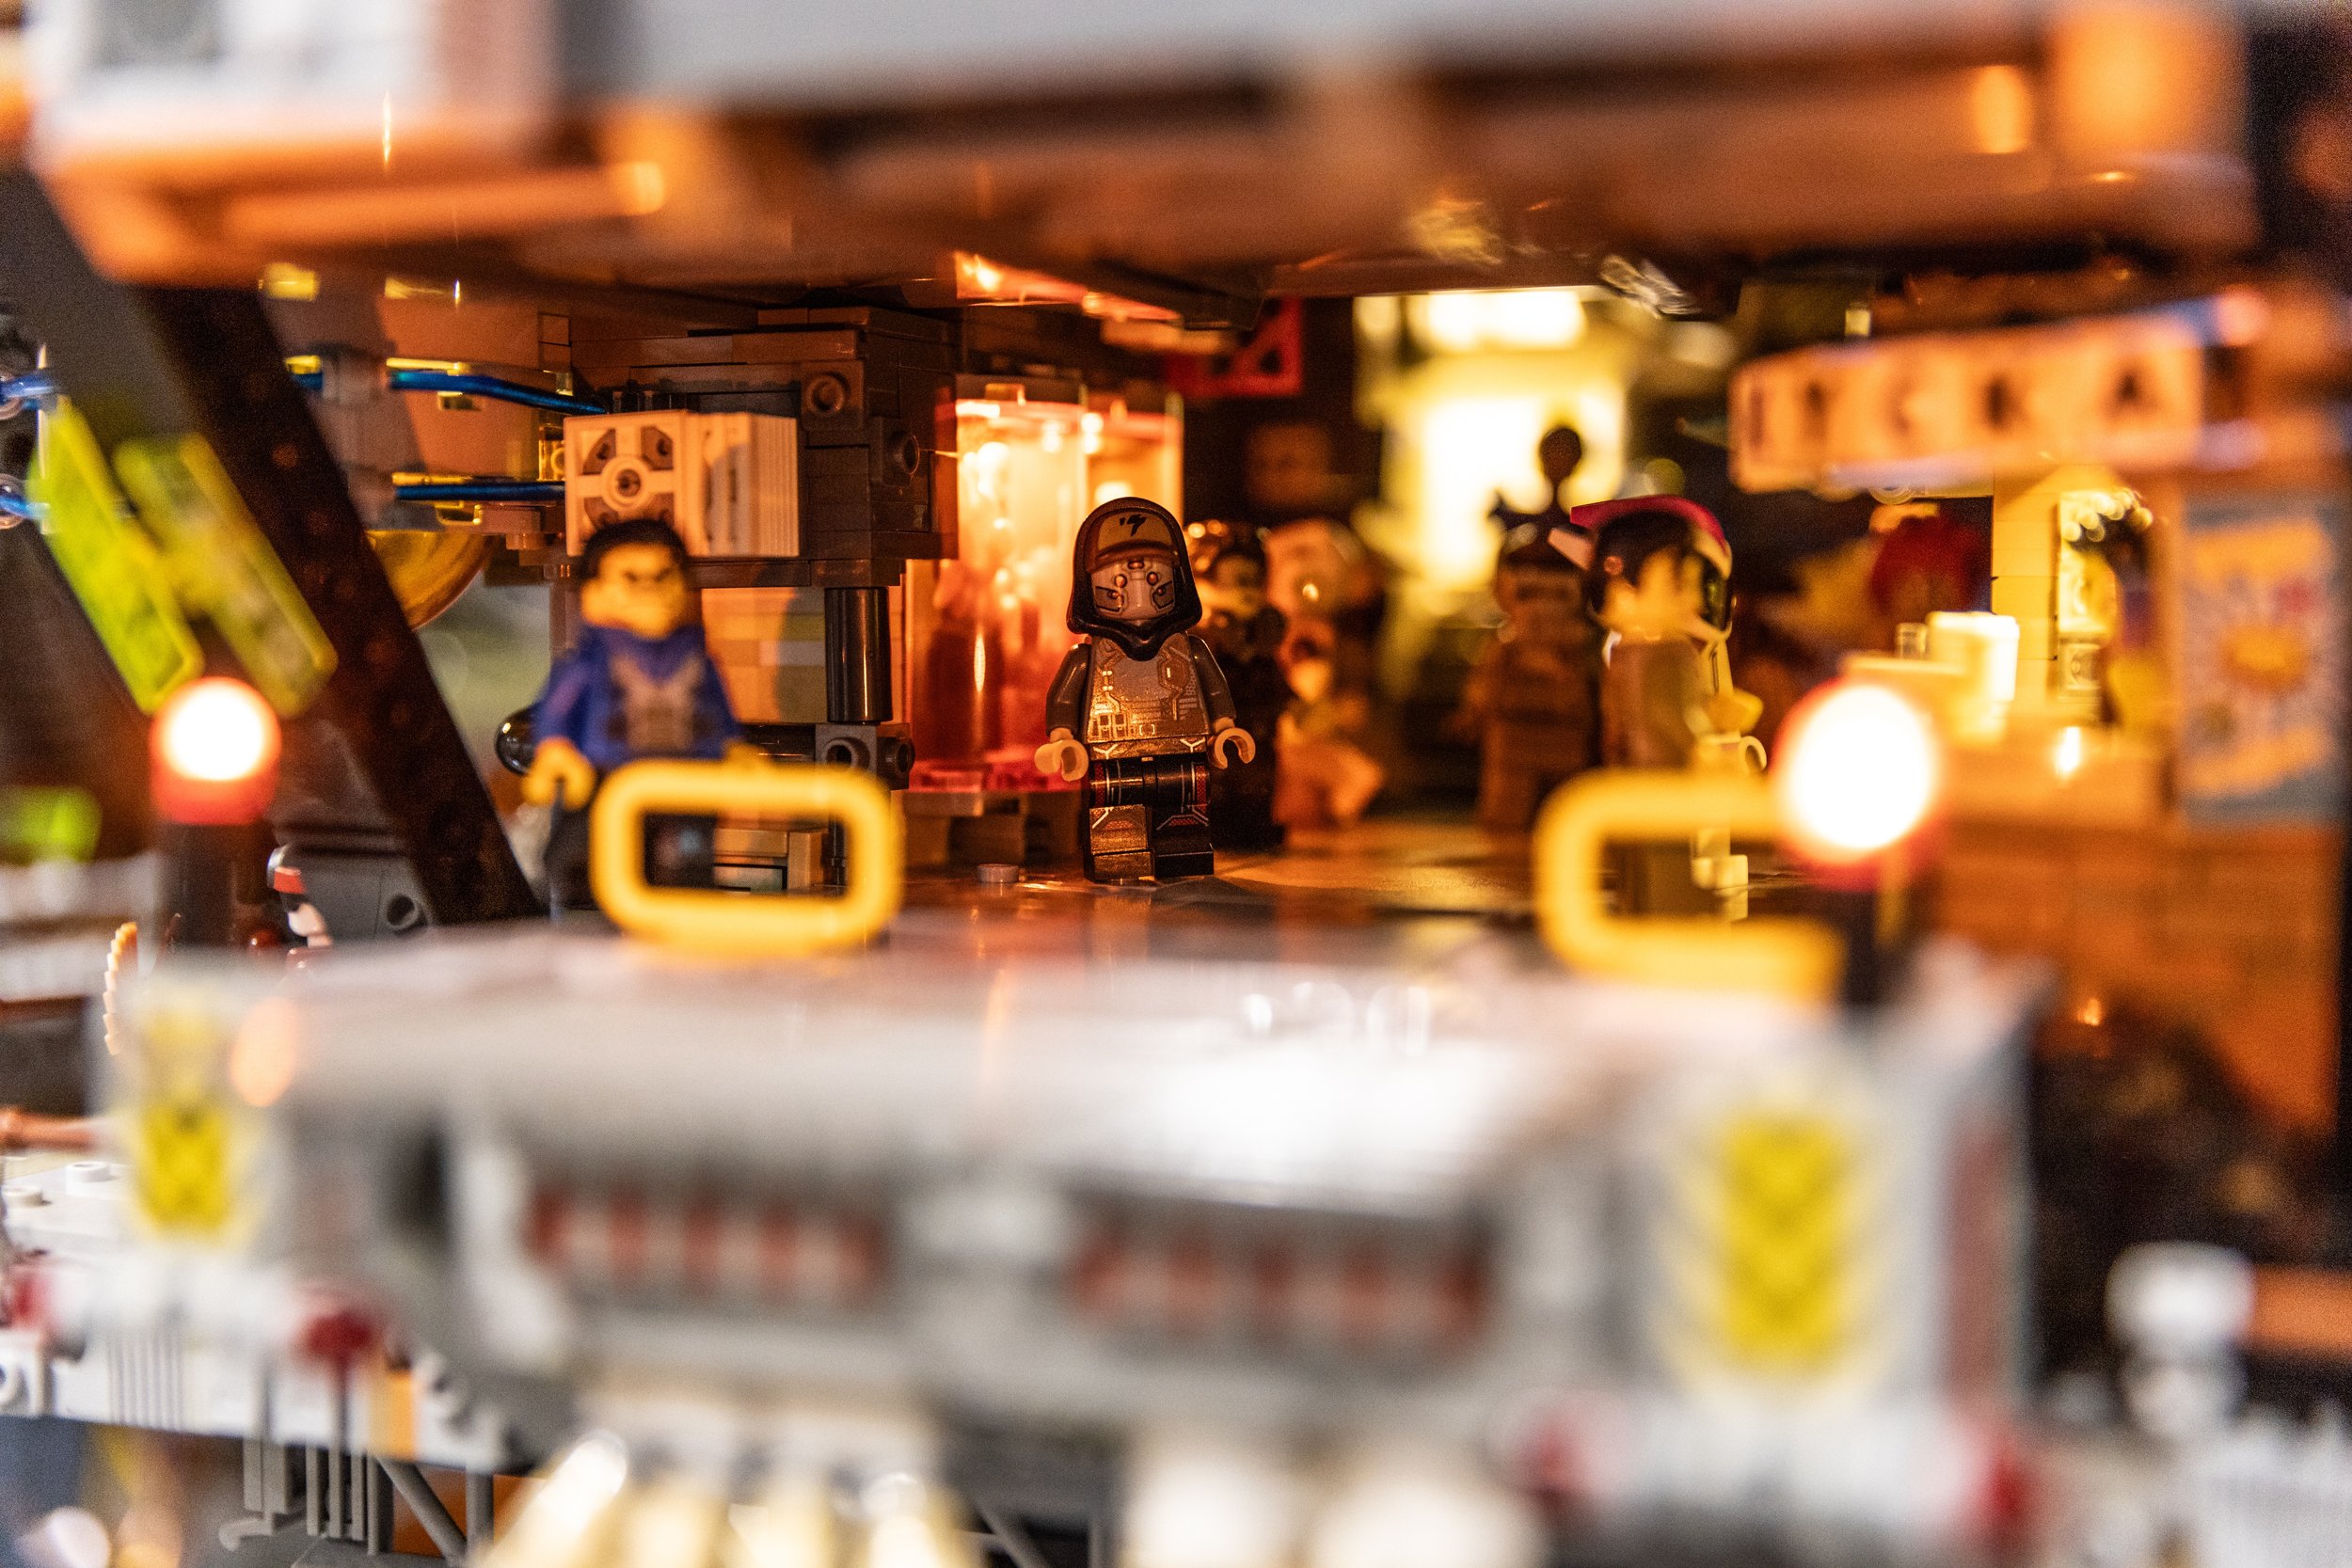
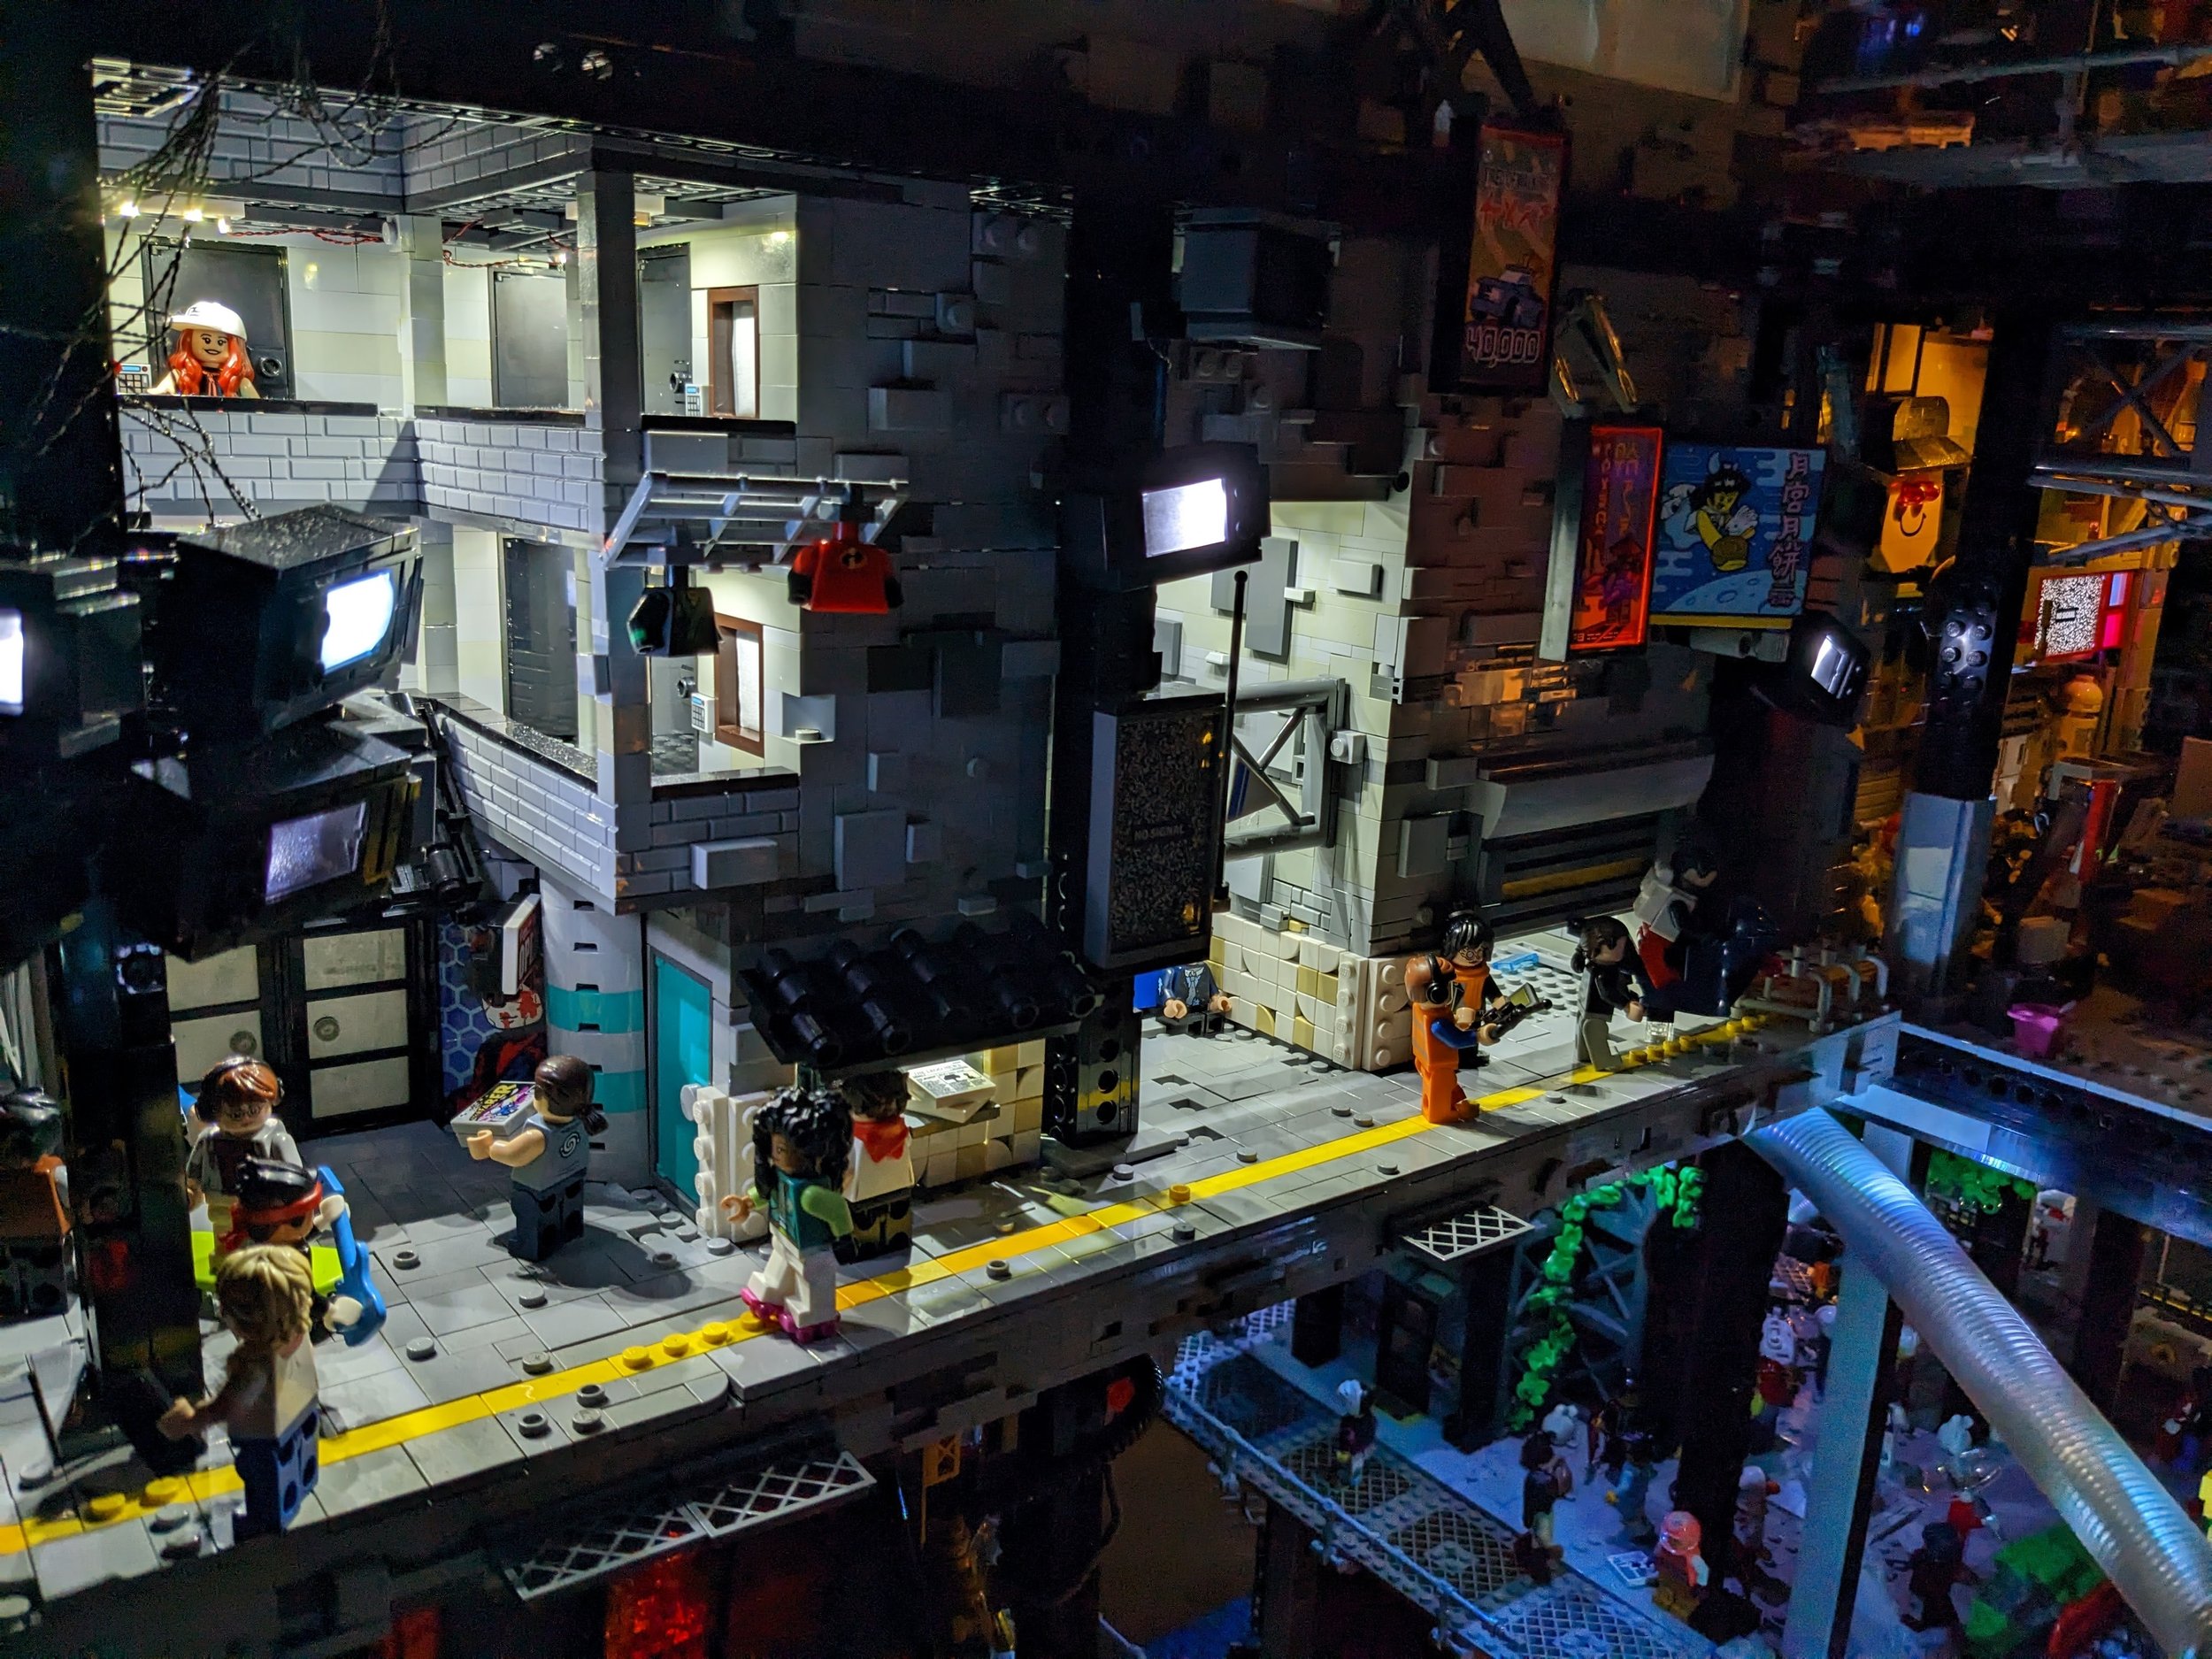
All the lighting effort paid off. Seeing New Hashima lit up in the dark was an experience many of us will never forget. AFOLs from all around the massive exhibition hall flocked to the display and spent HOURS looking at the details. It was a beacon of life and a shining symbol of the colossal community effort it took to make it a reality. Combined with the perfect background music, we all sat on the ground around New Hashima, gazing up at it in wonder and awe, some of us fighting to hold back tears as we let the feelings of completion and pride overwhelm us.
This was it. This was what we’ve been building towards. And it was time to sit back, relax, and bask in the glow.

New Hashima with a crowd during World of Lights
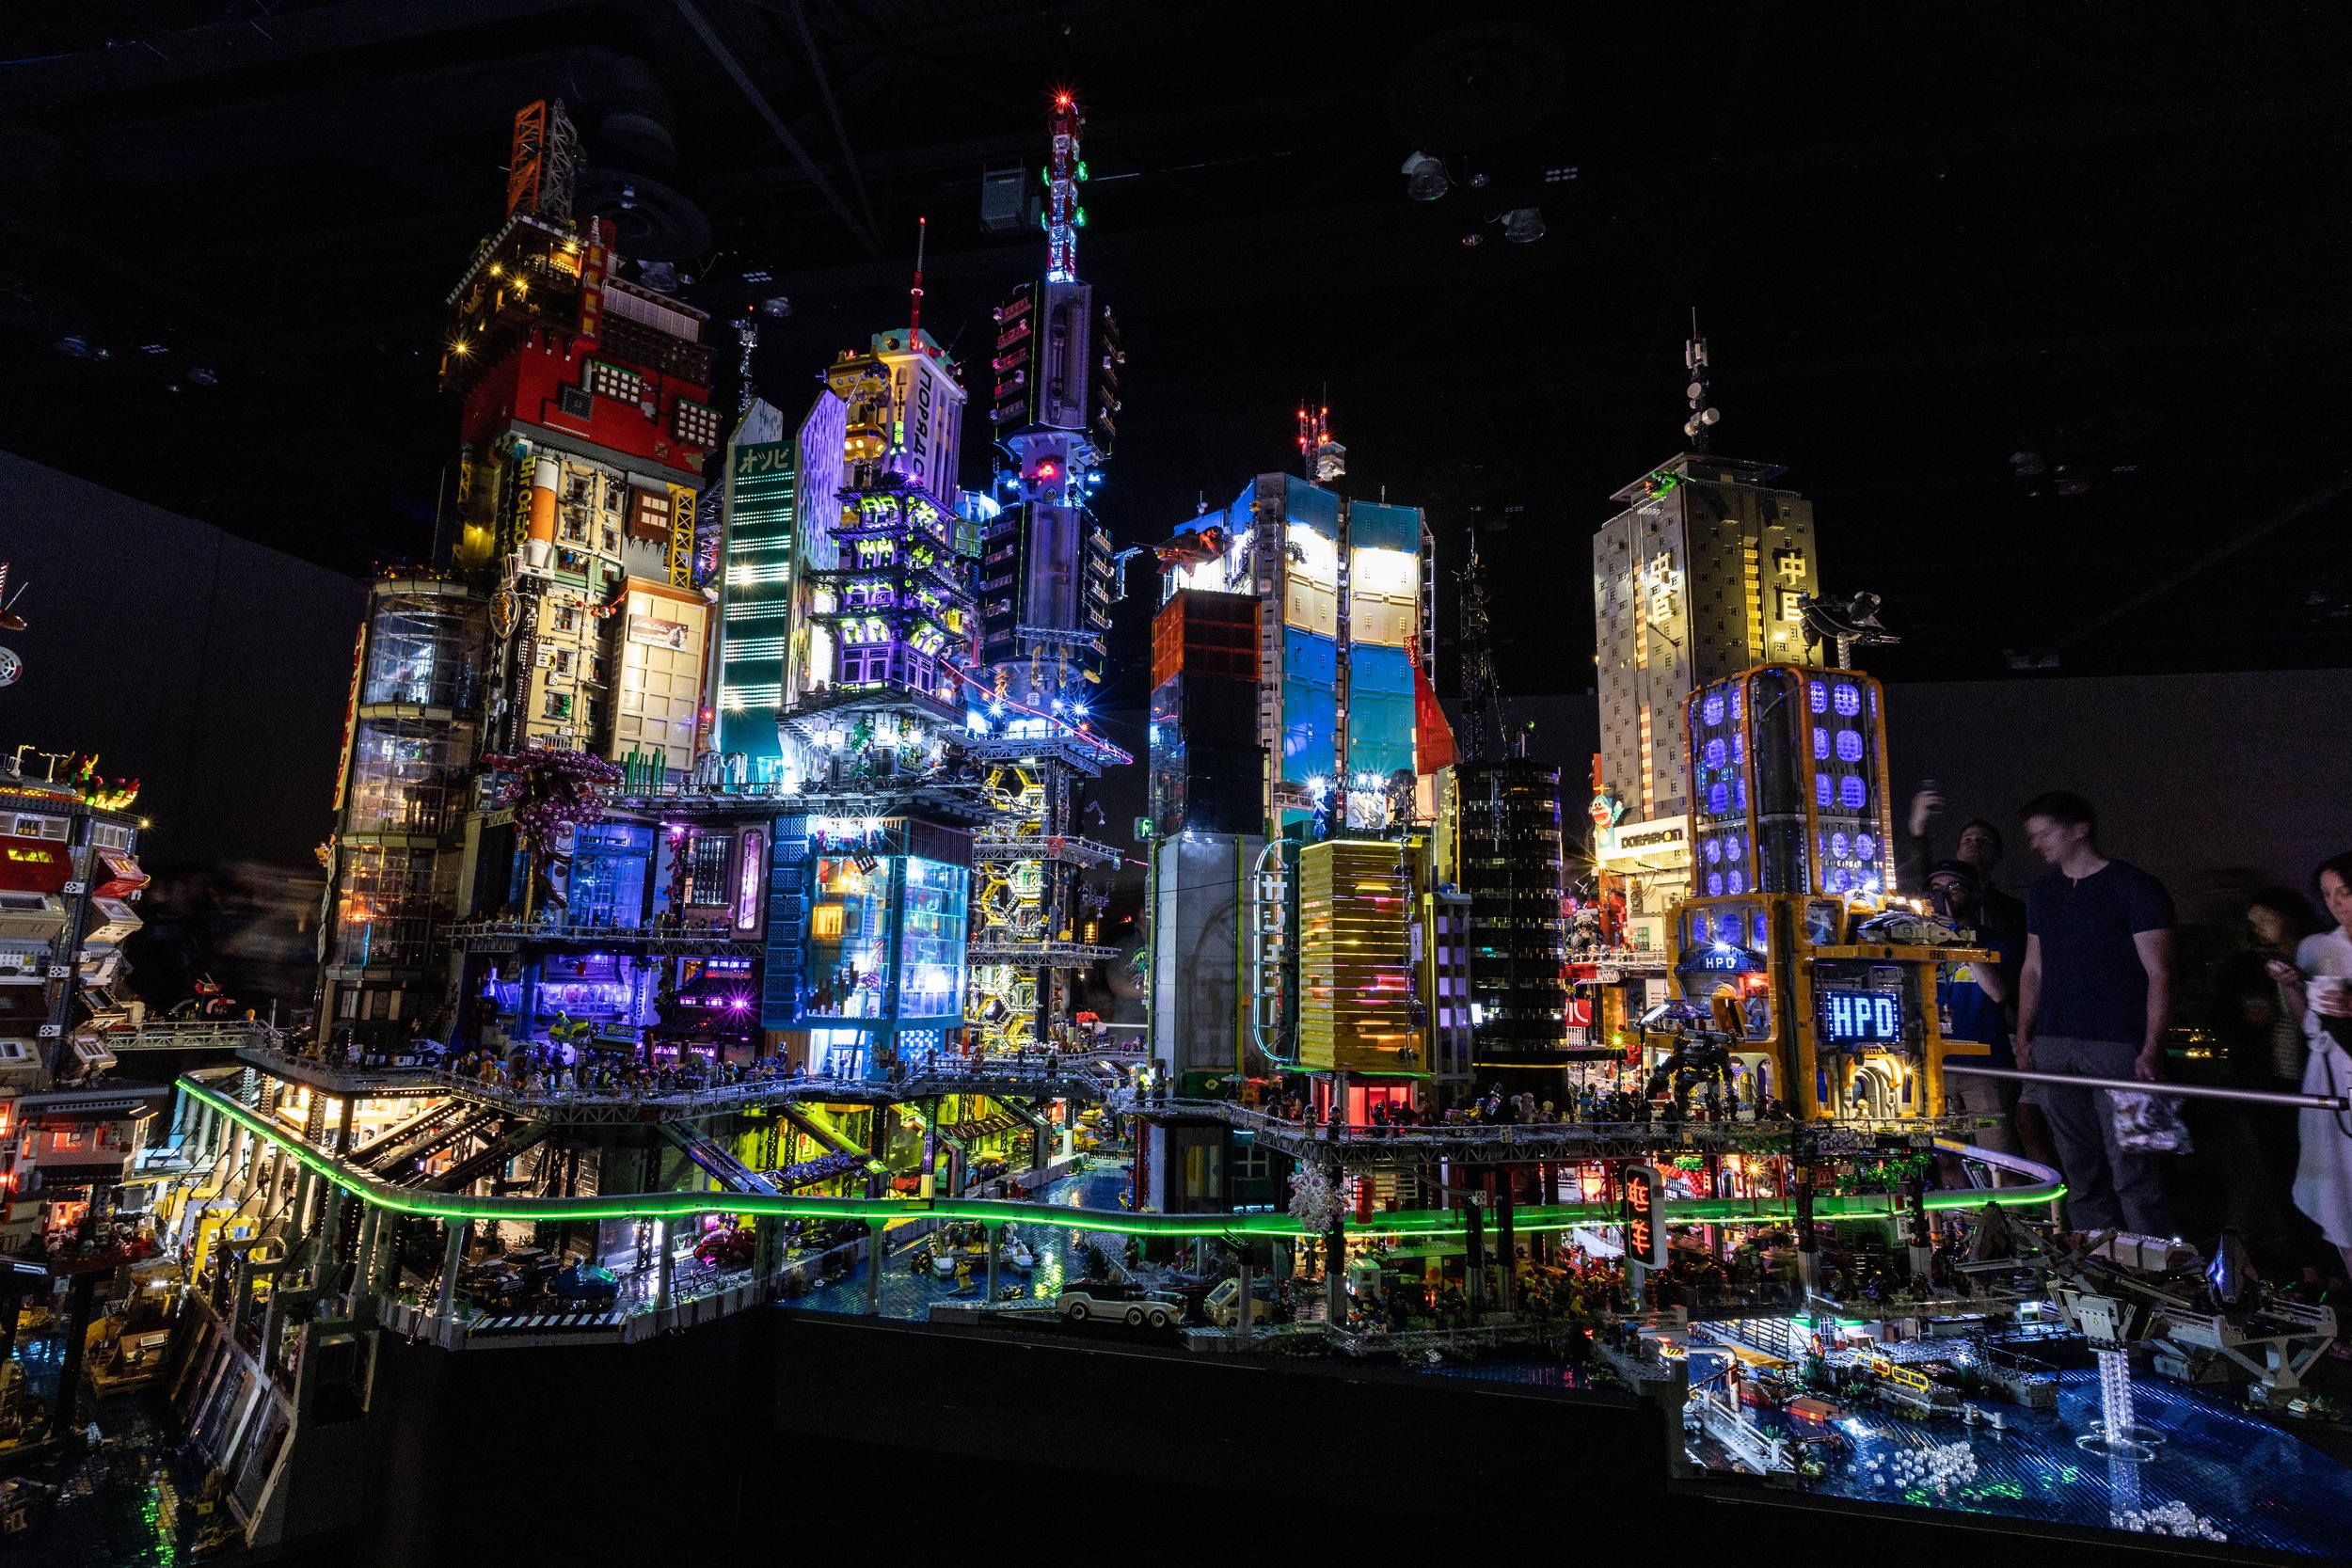
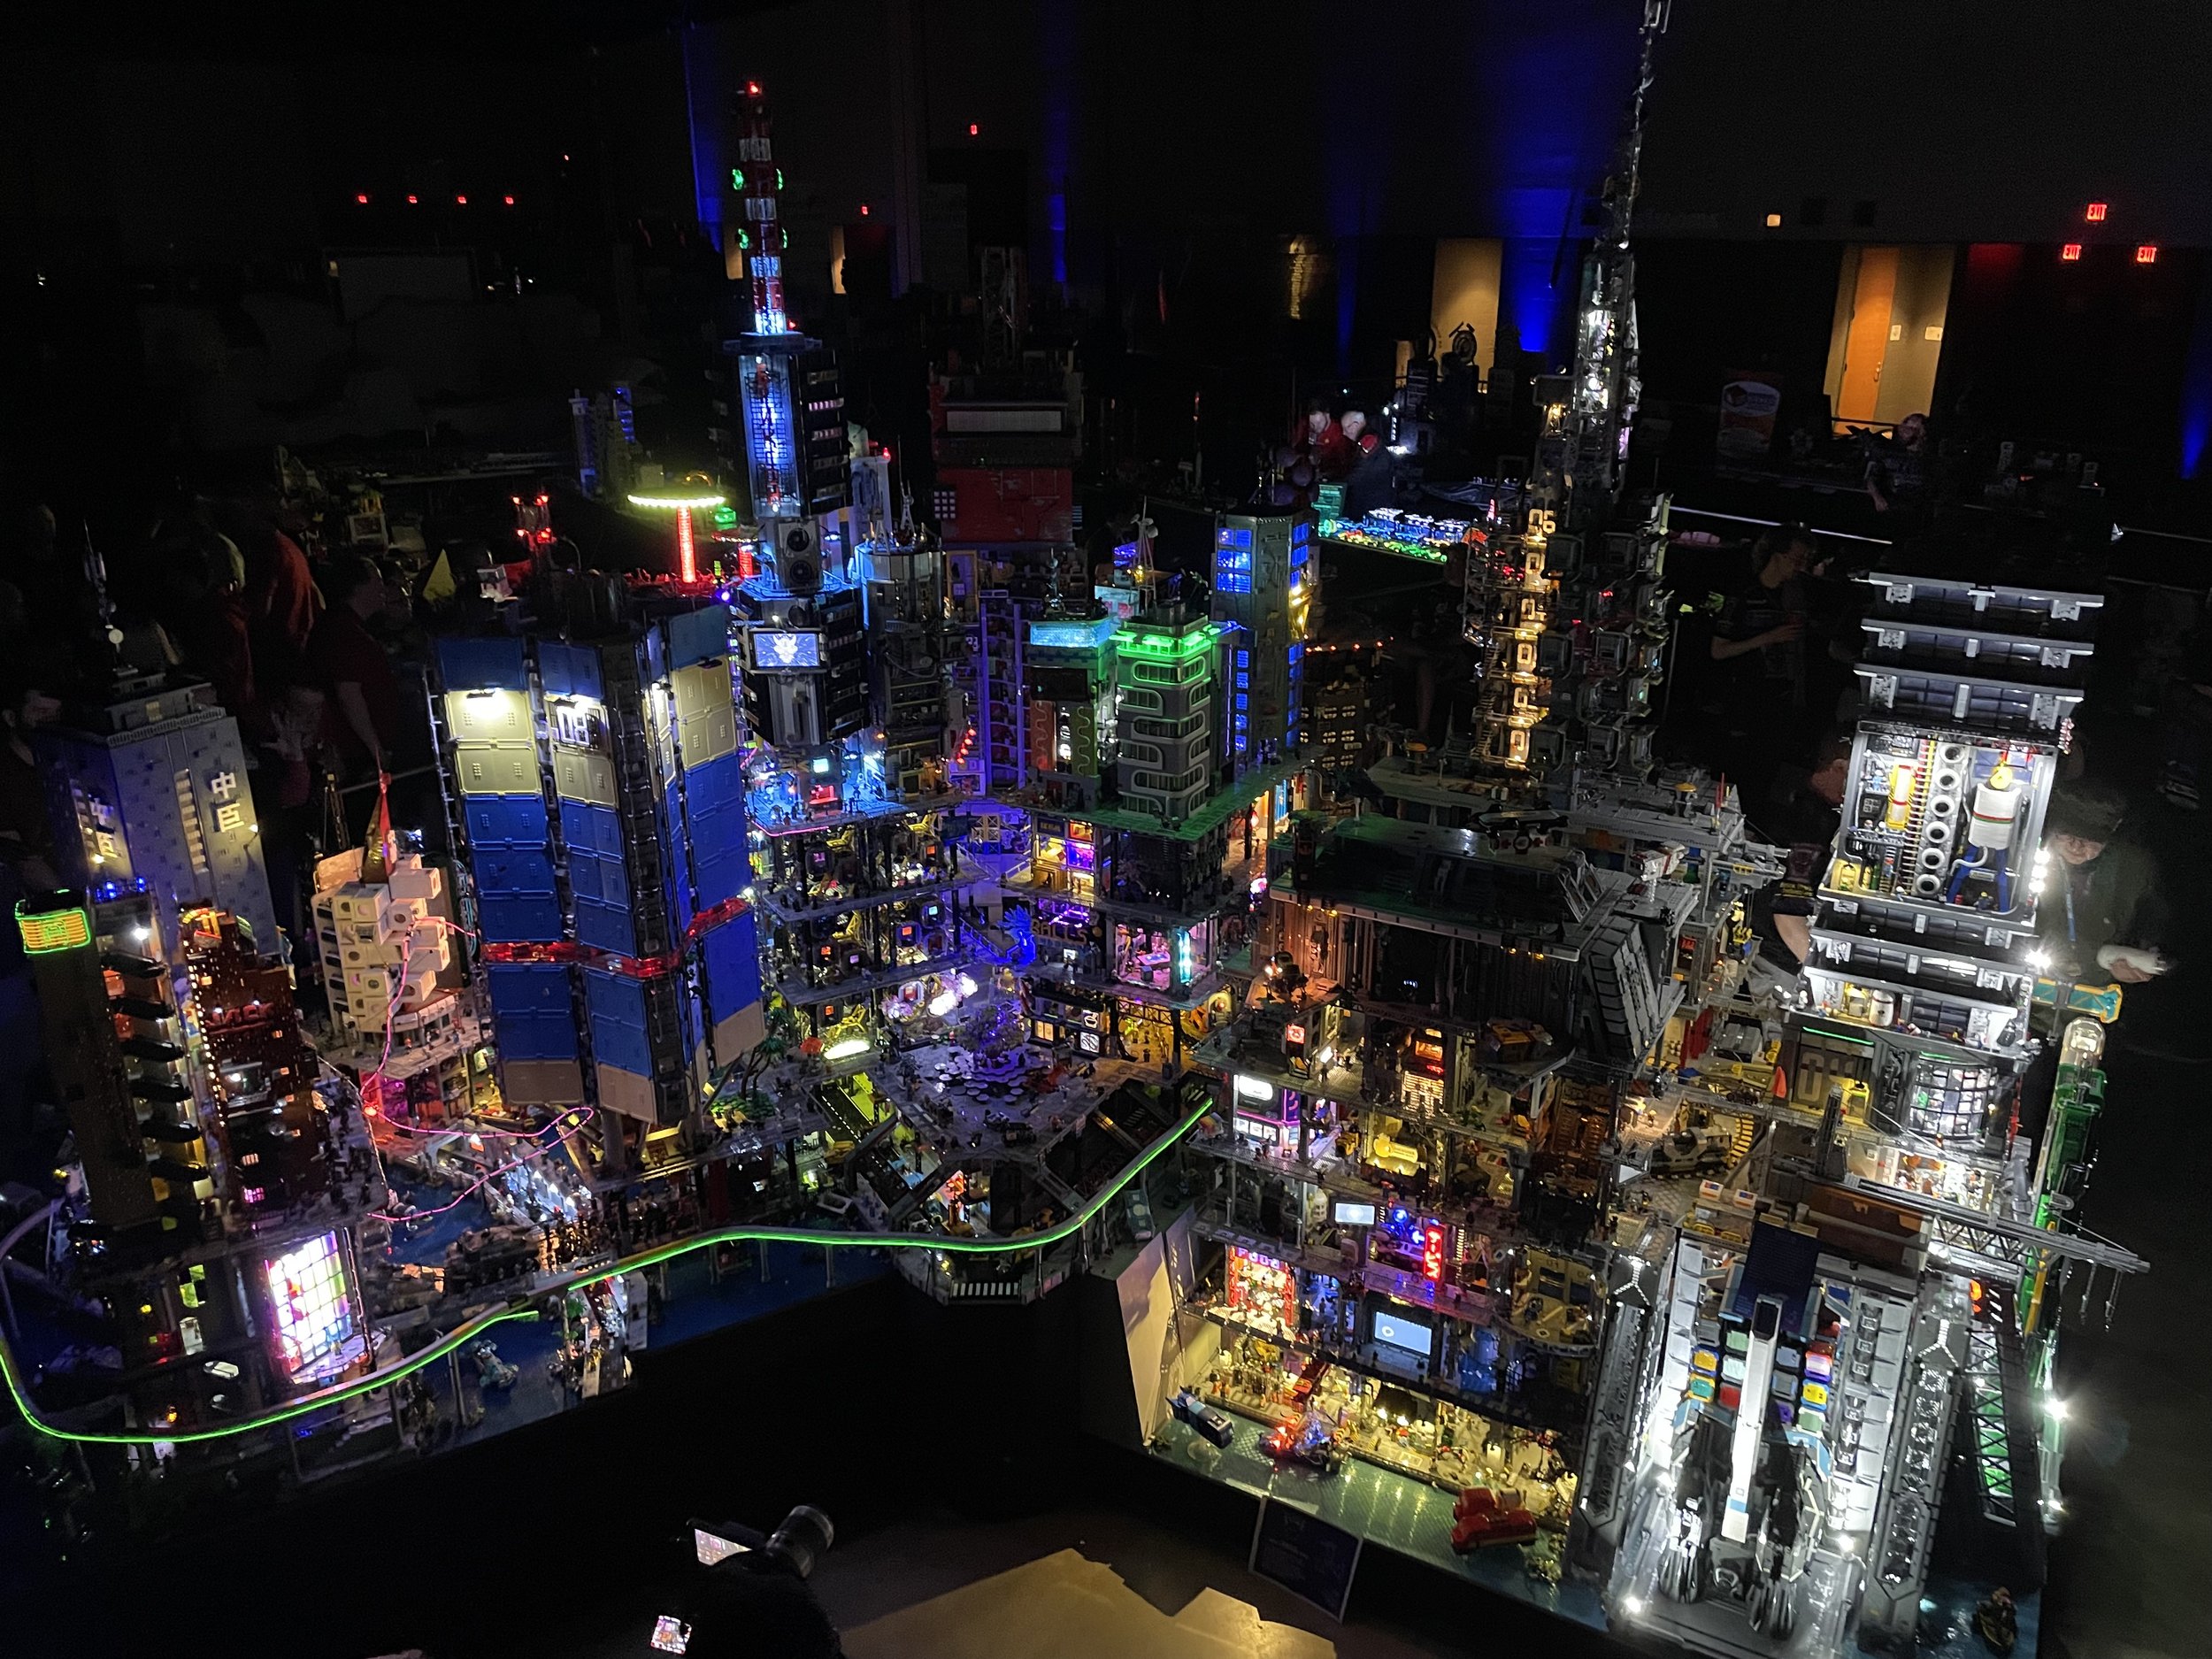
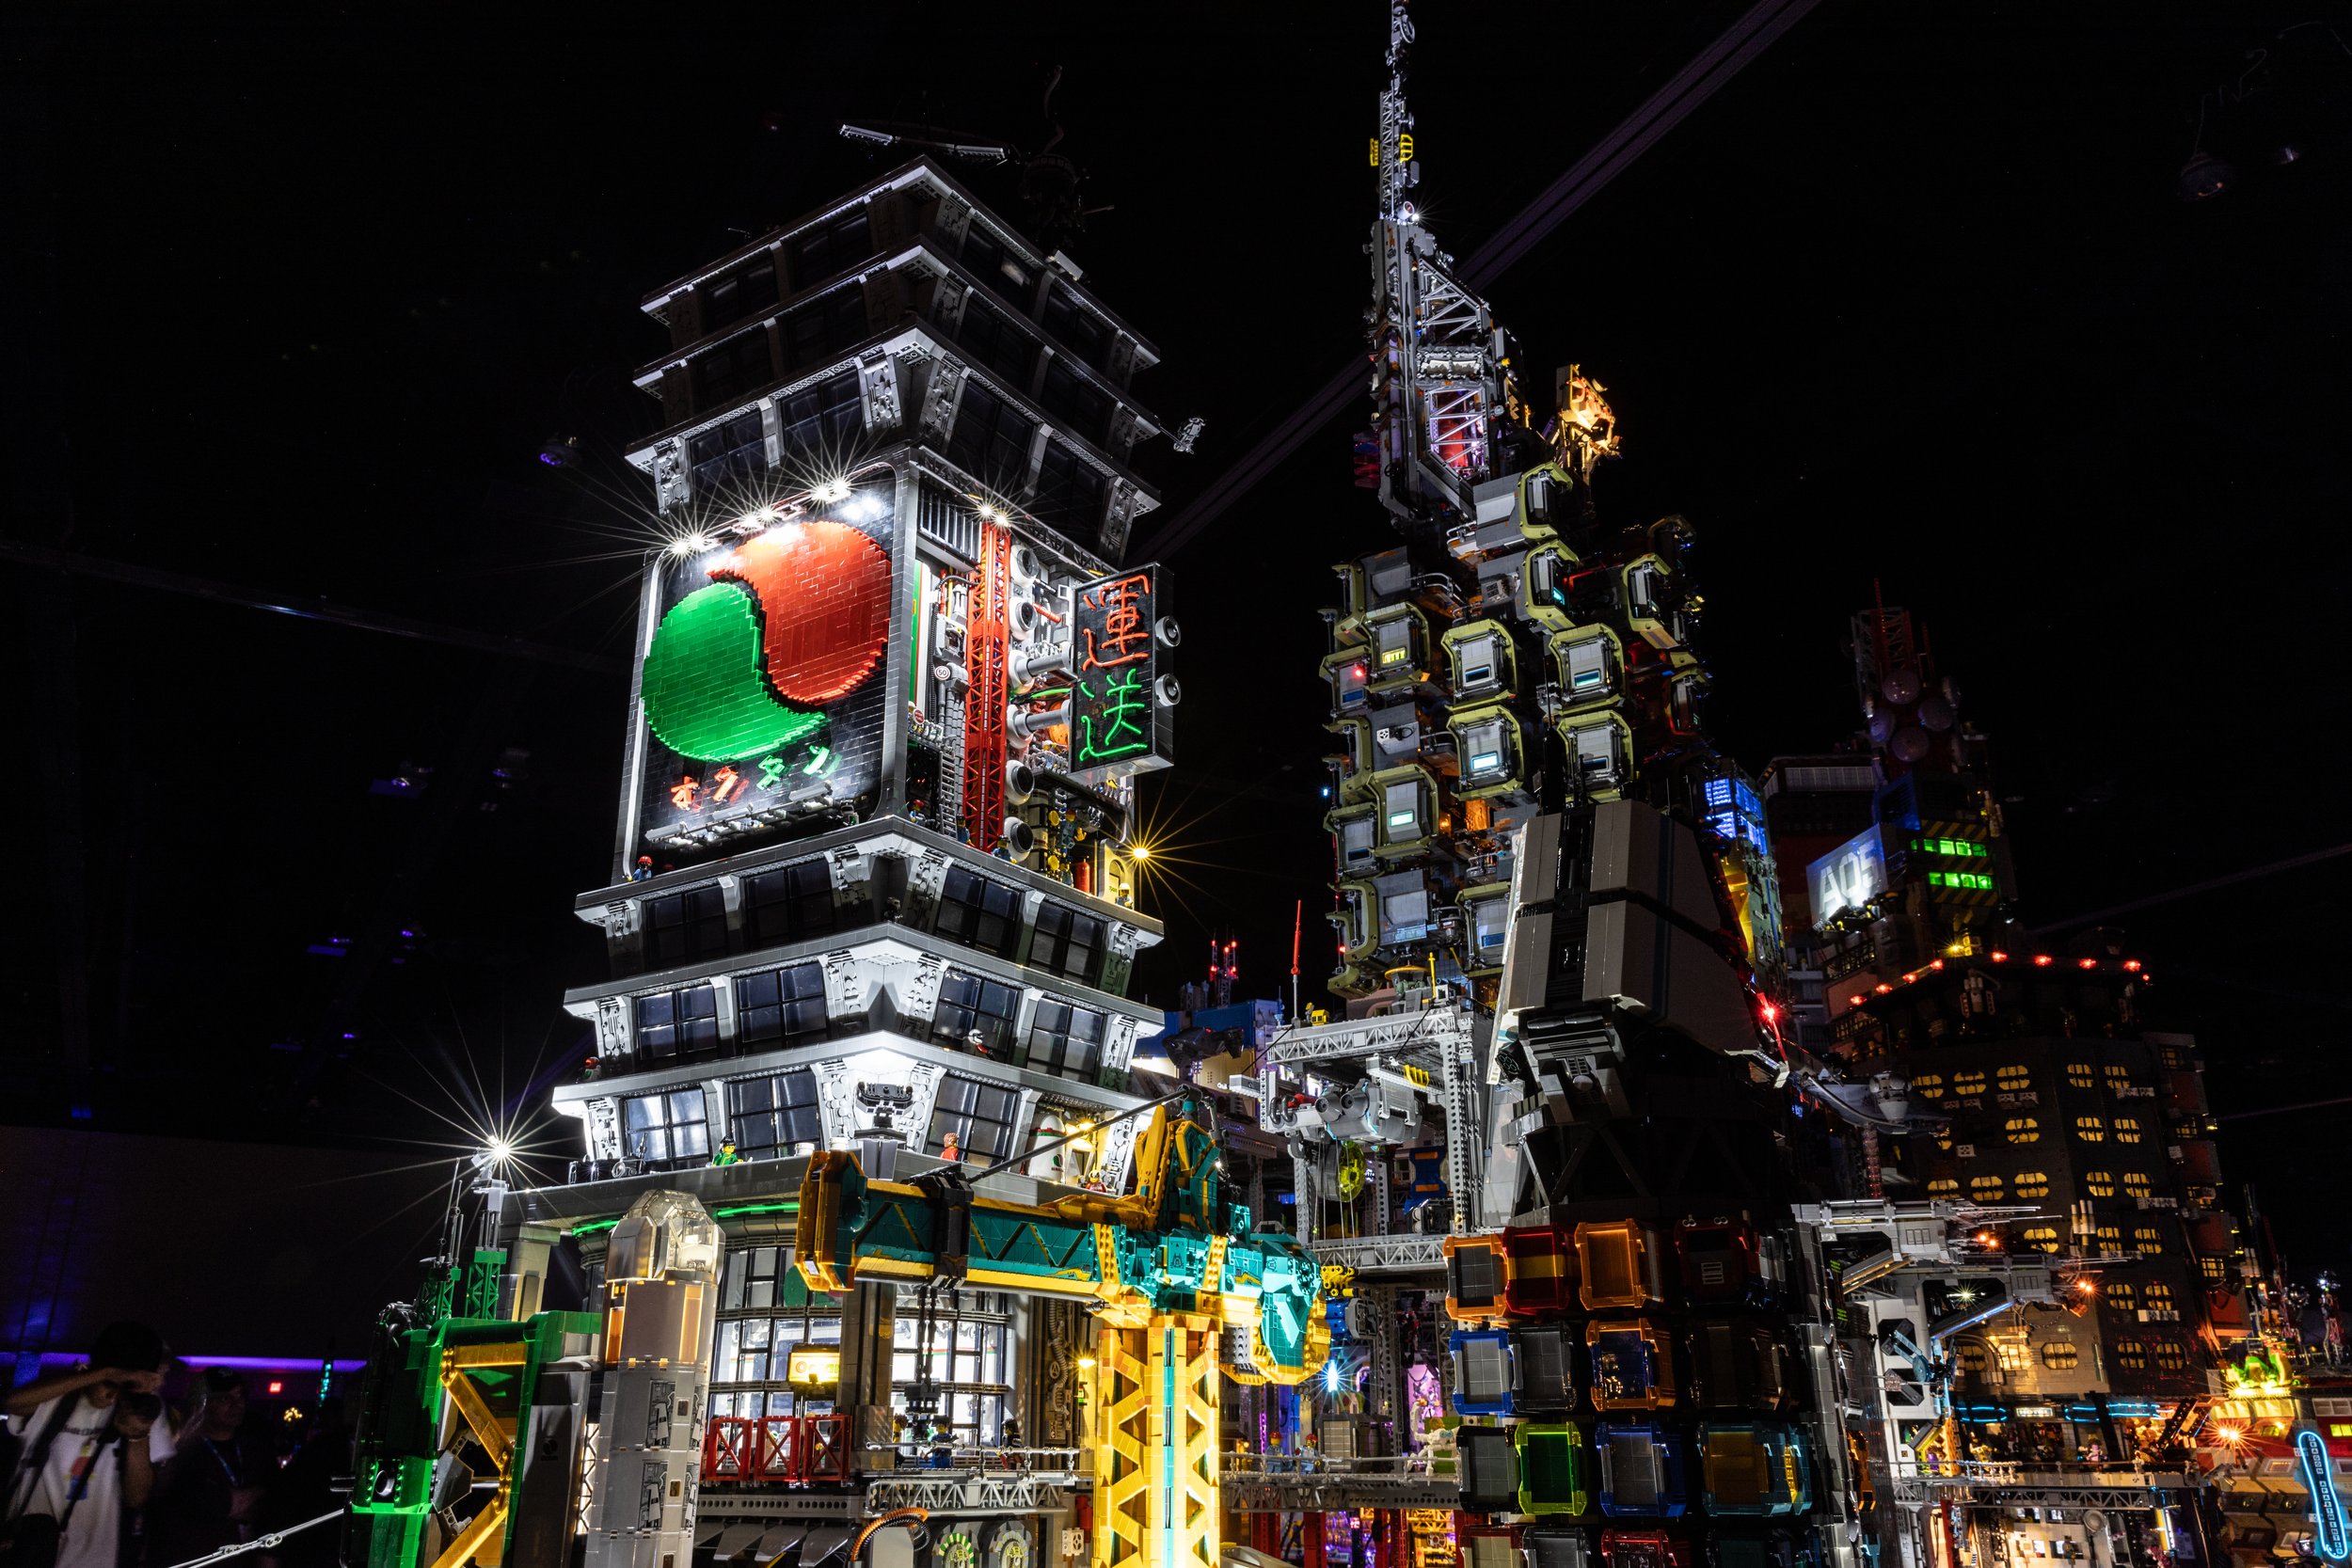
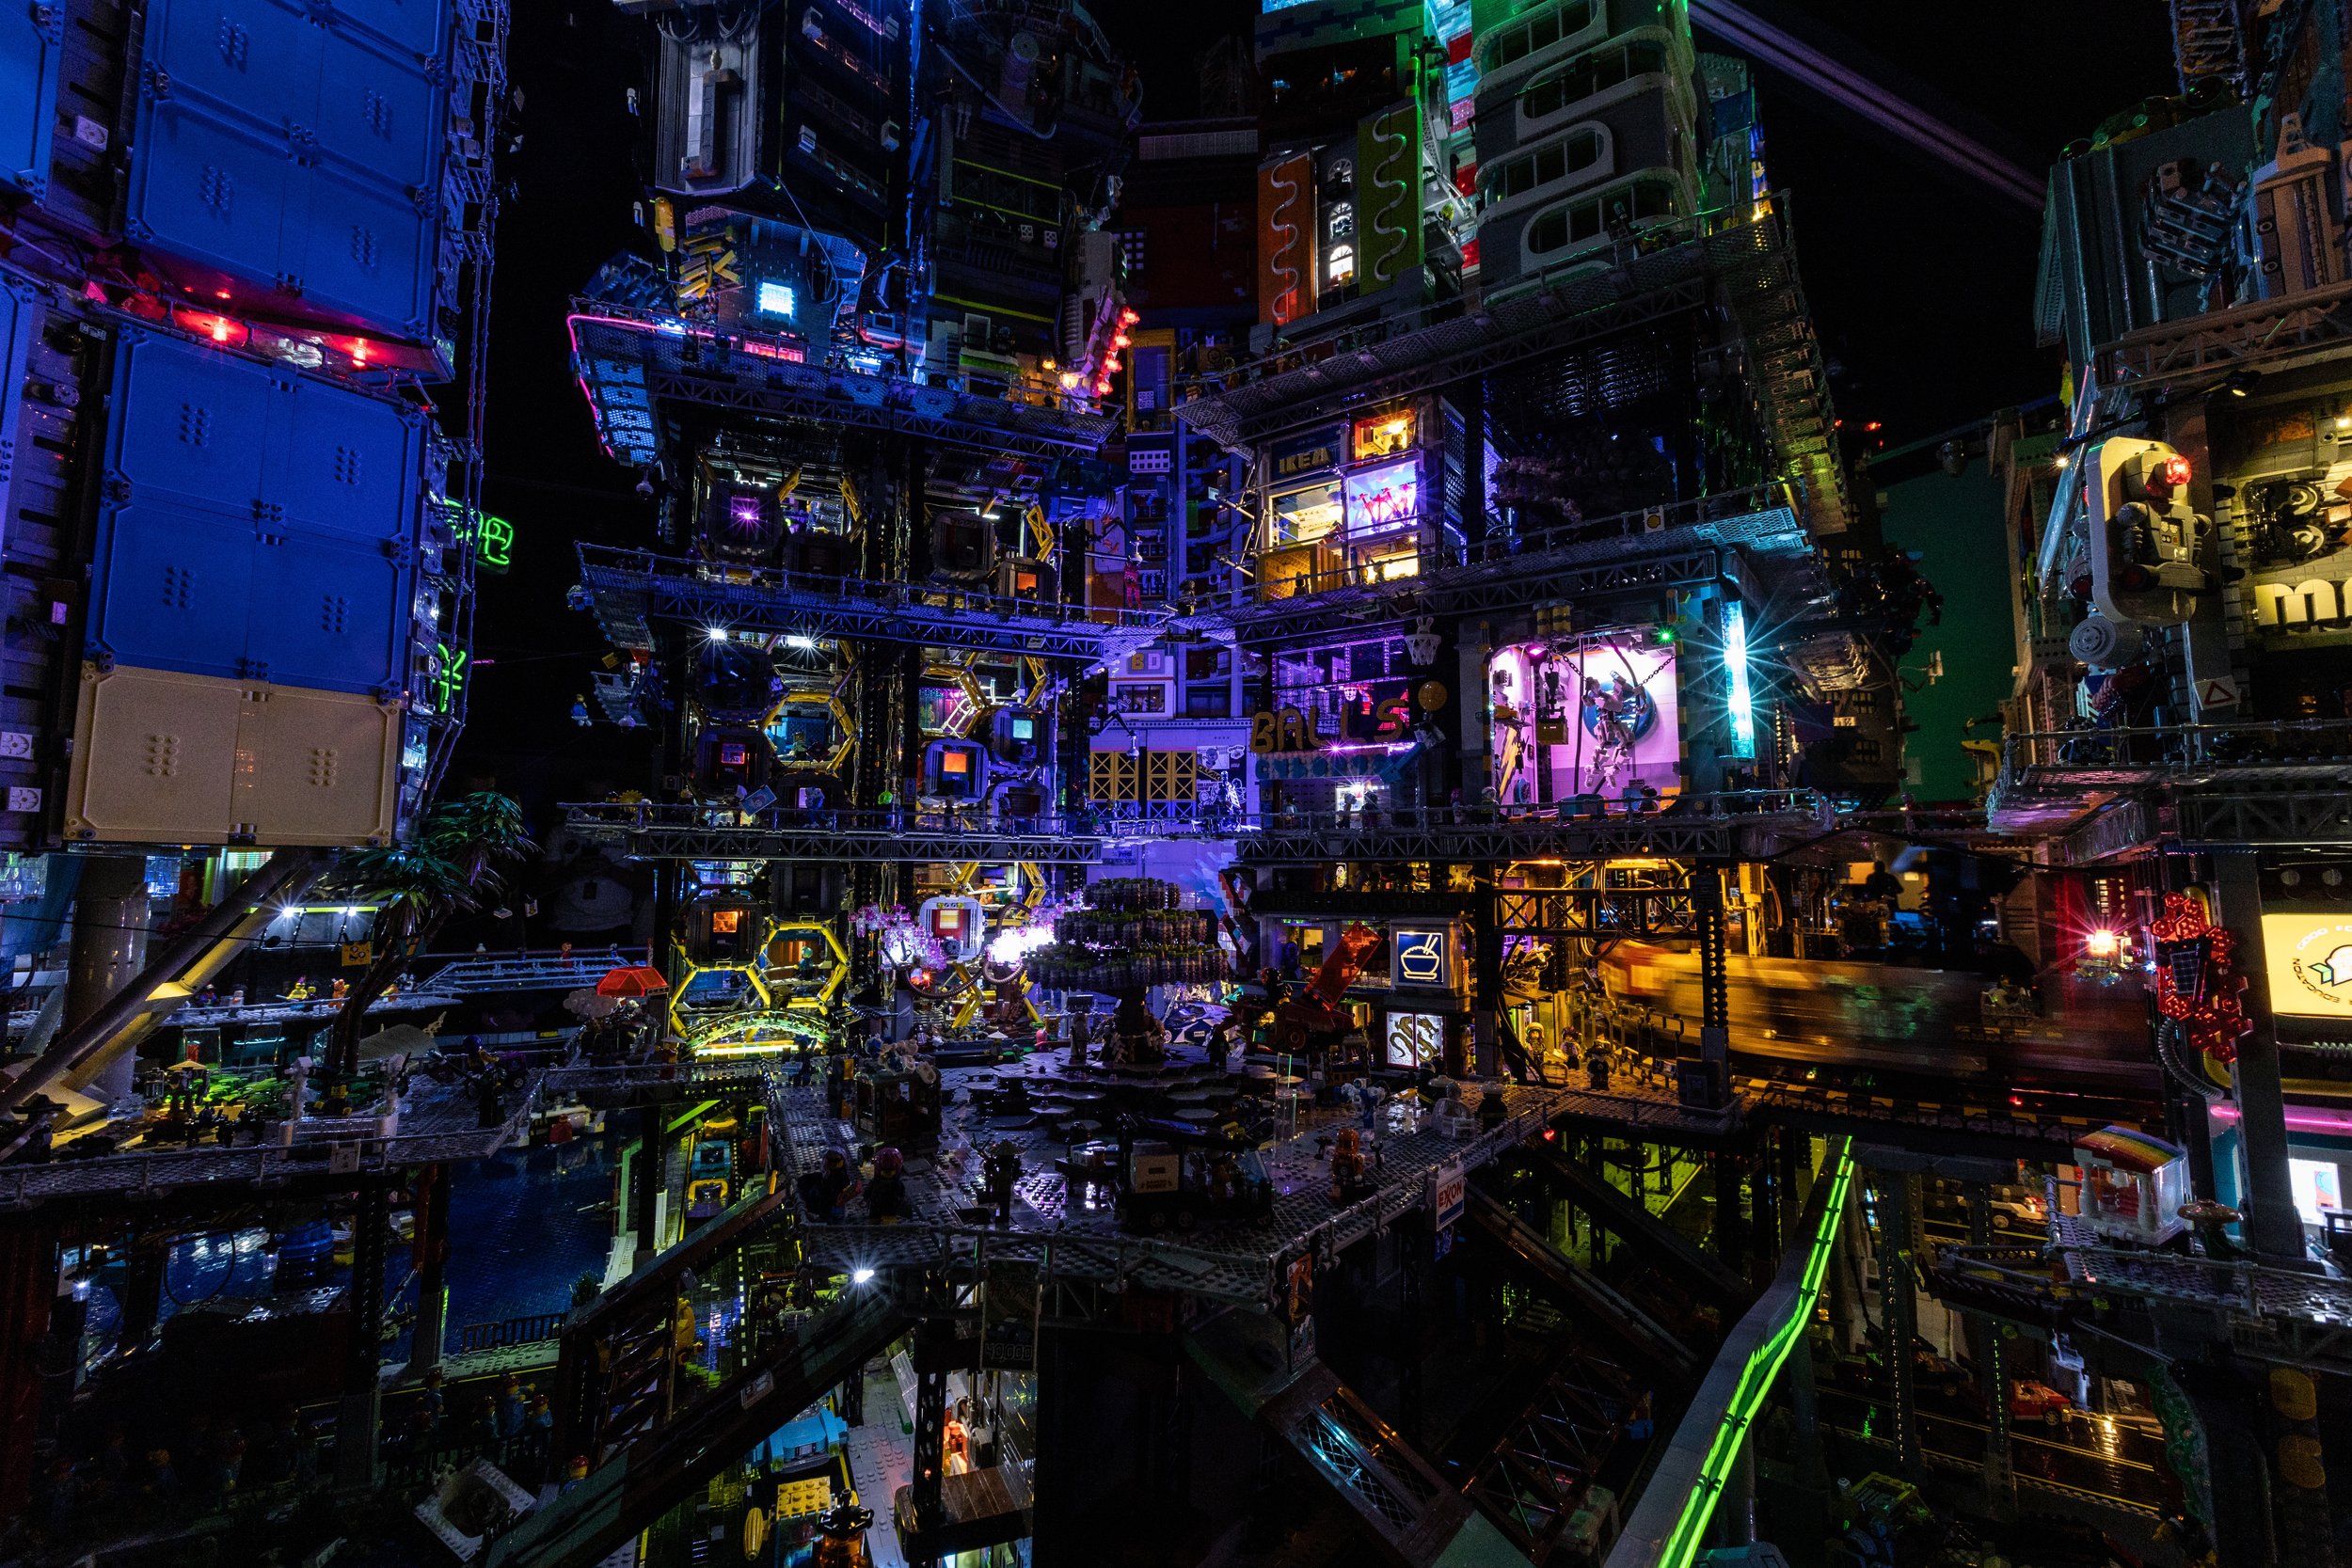
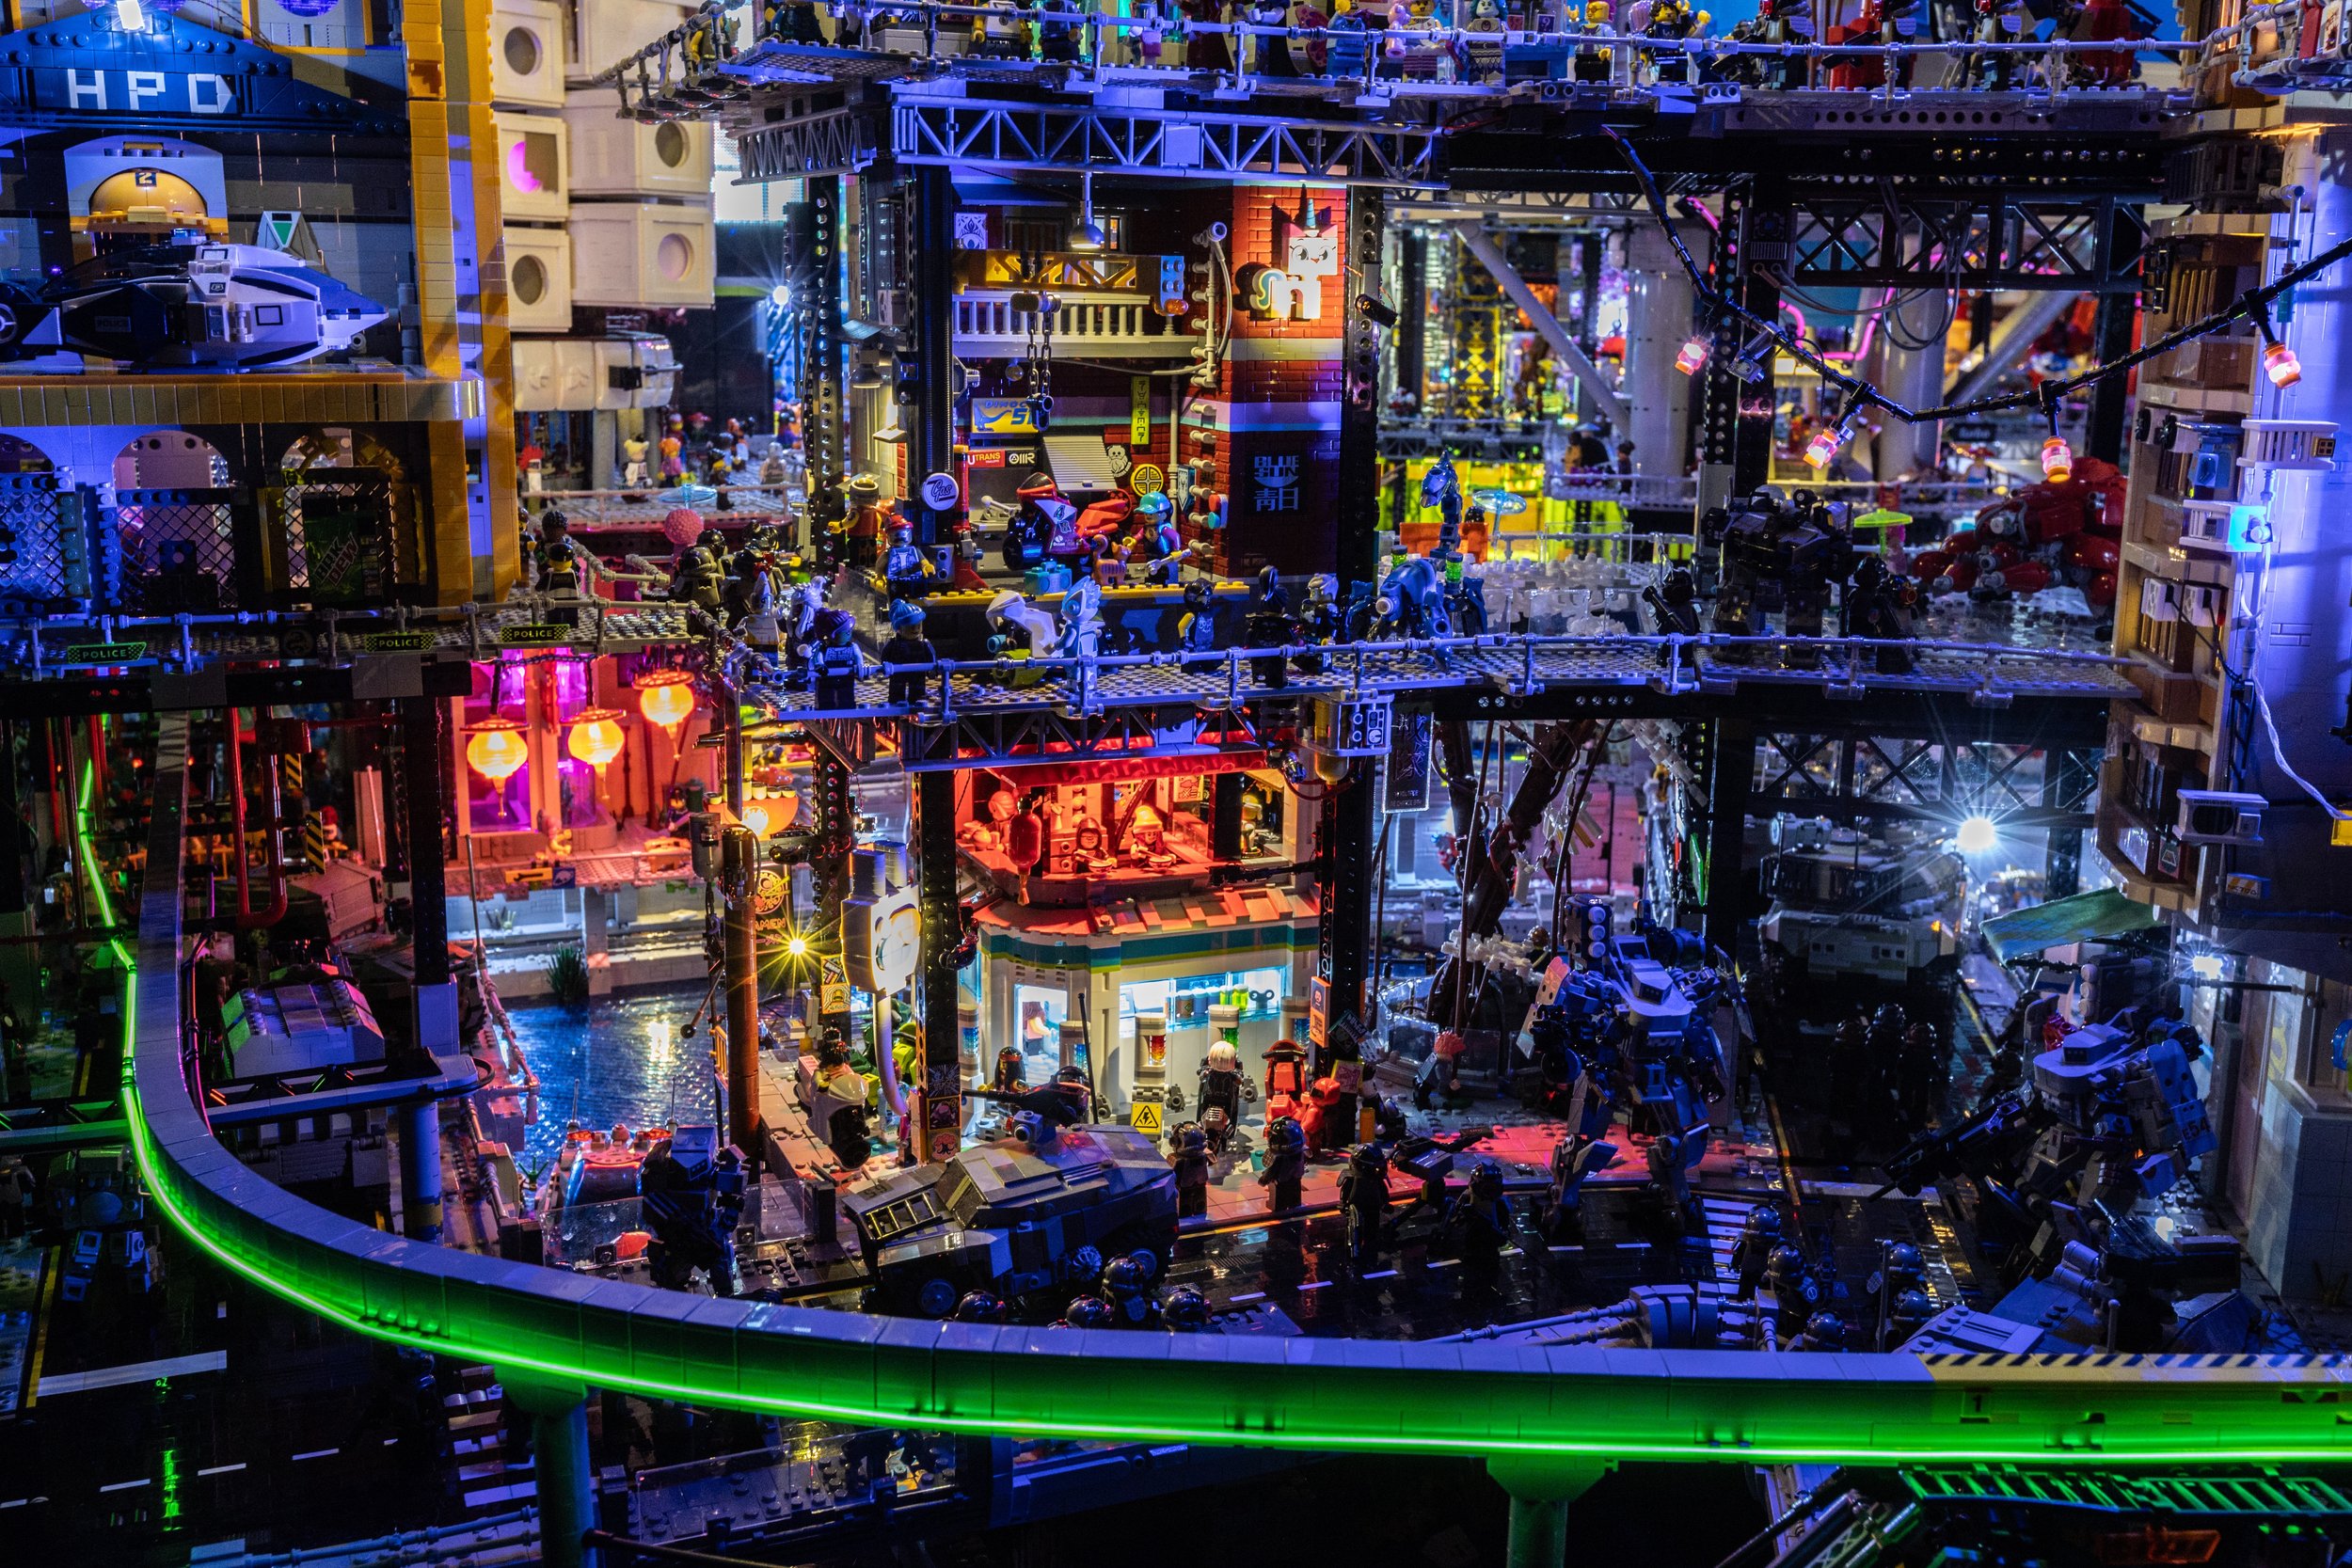
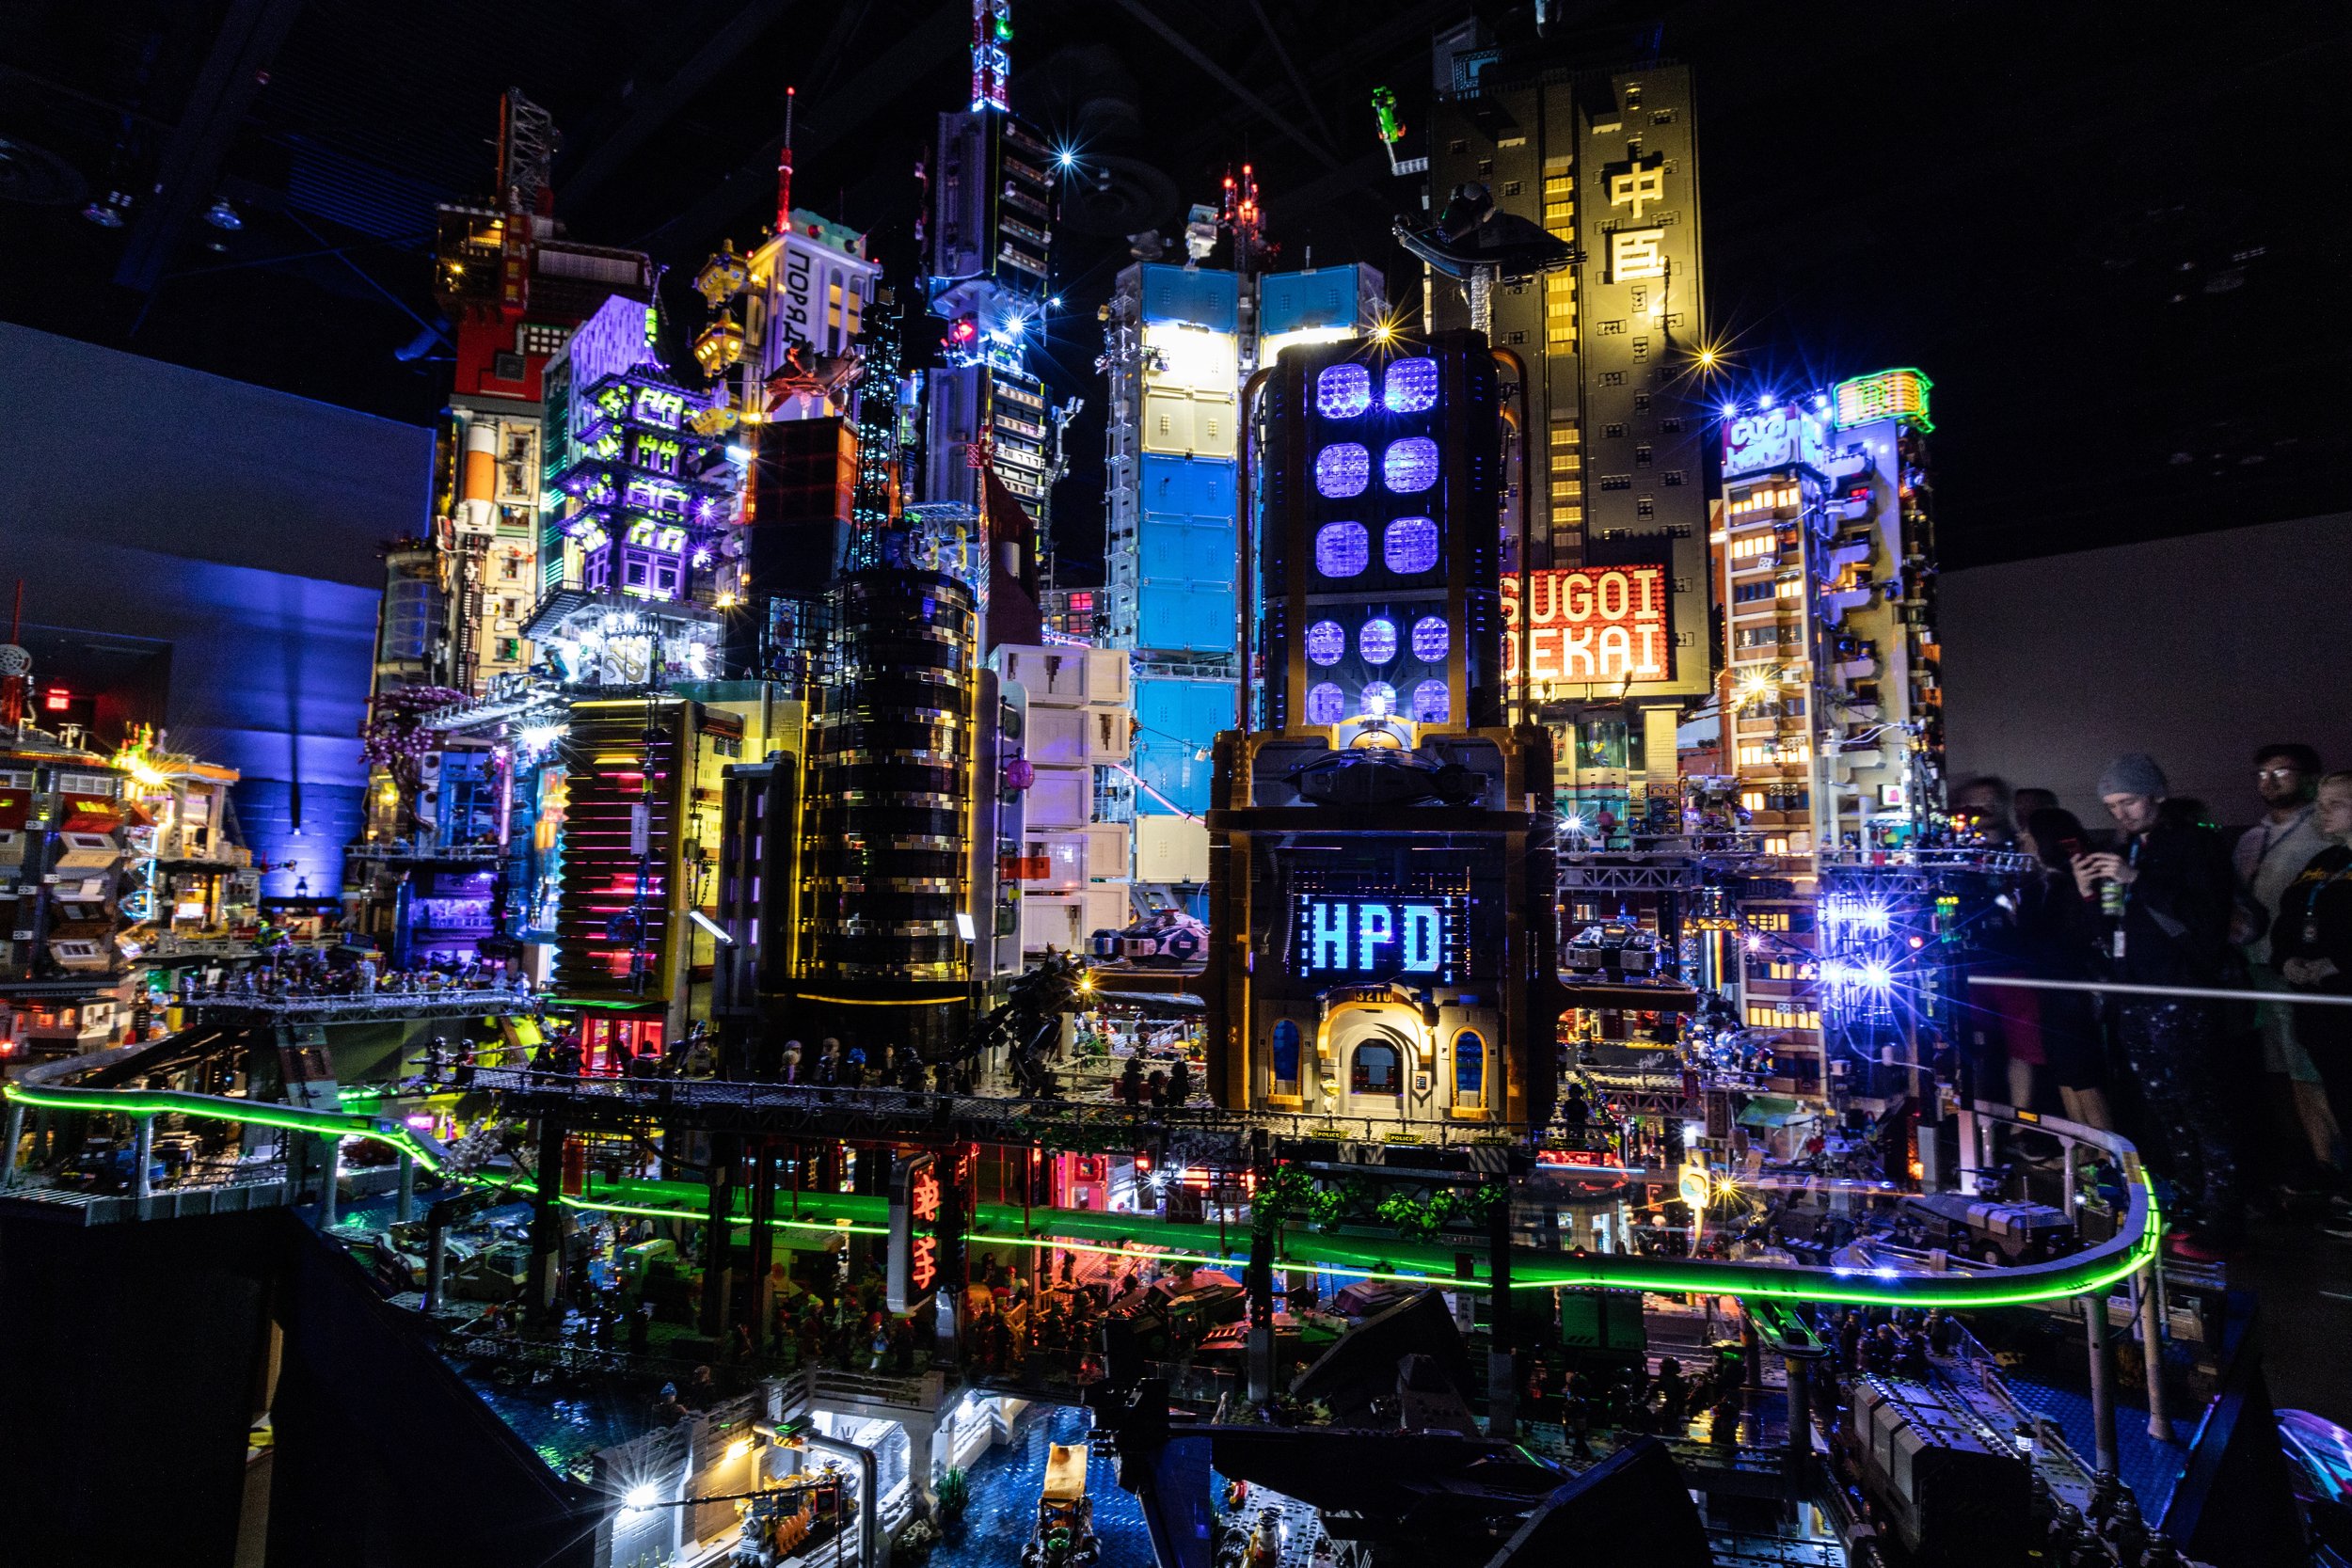
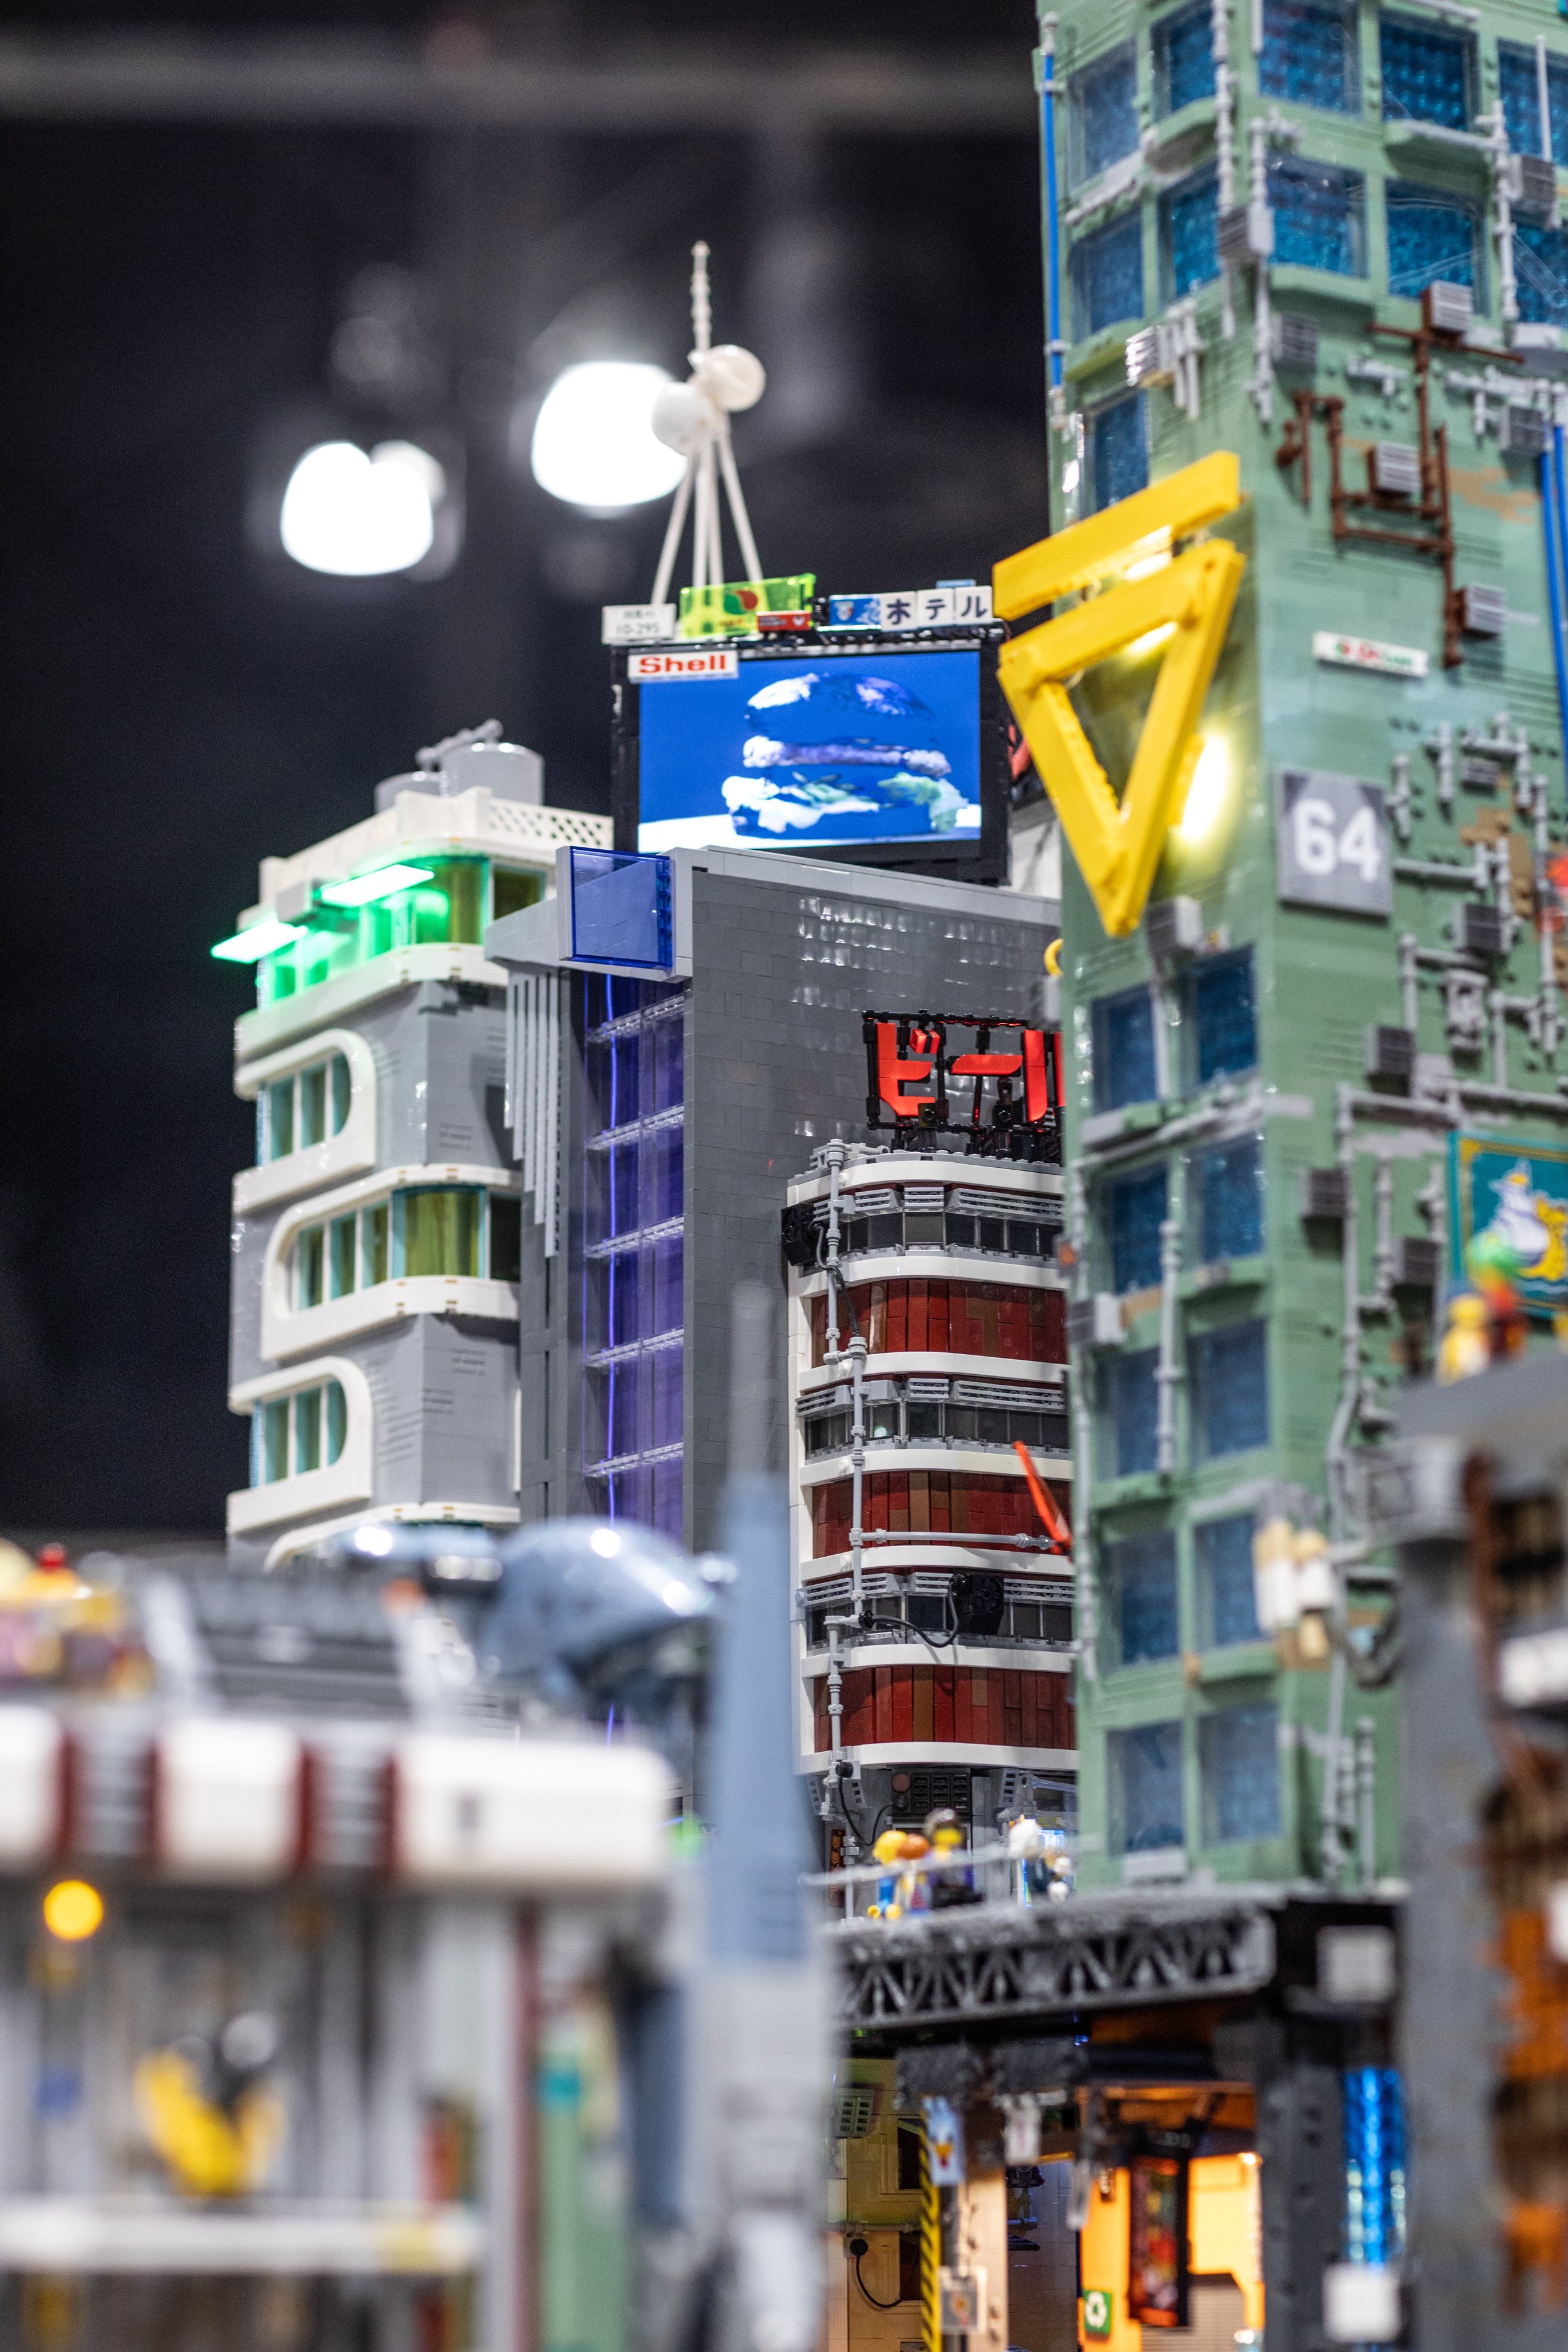
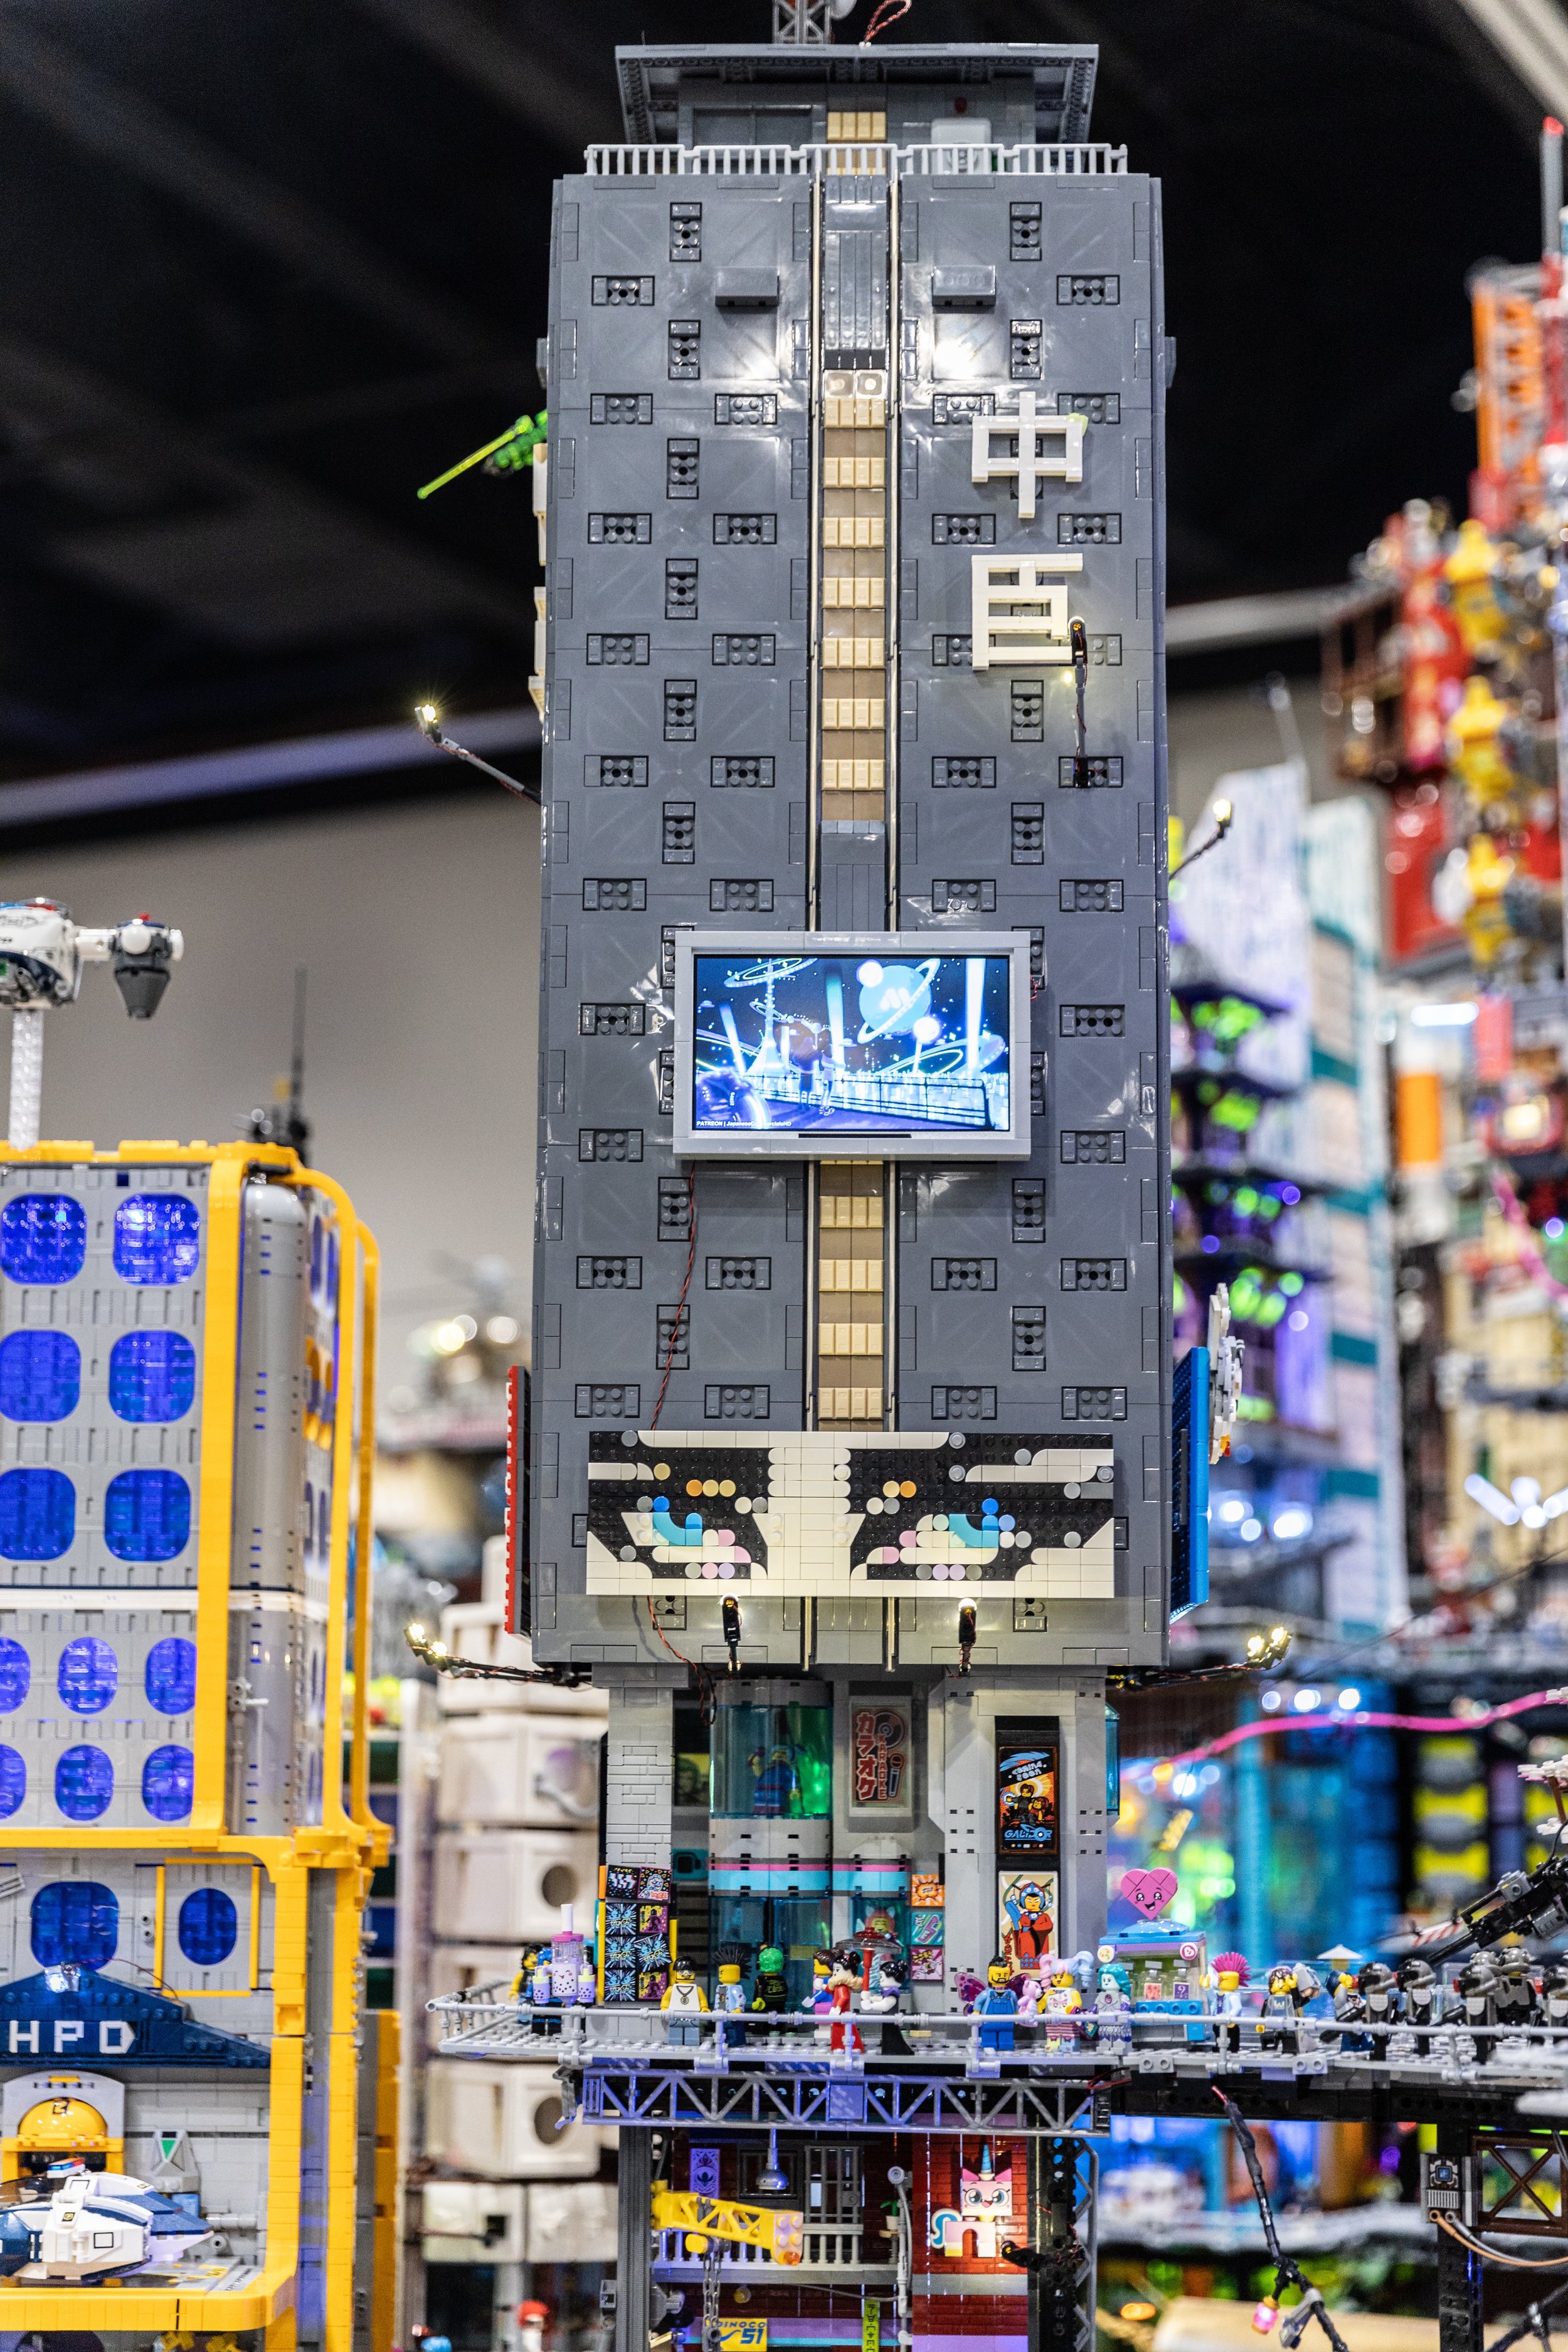
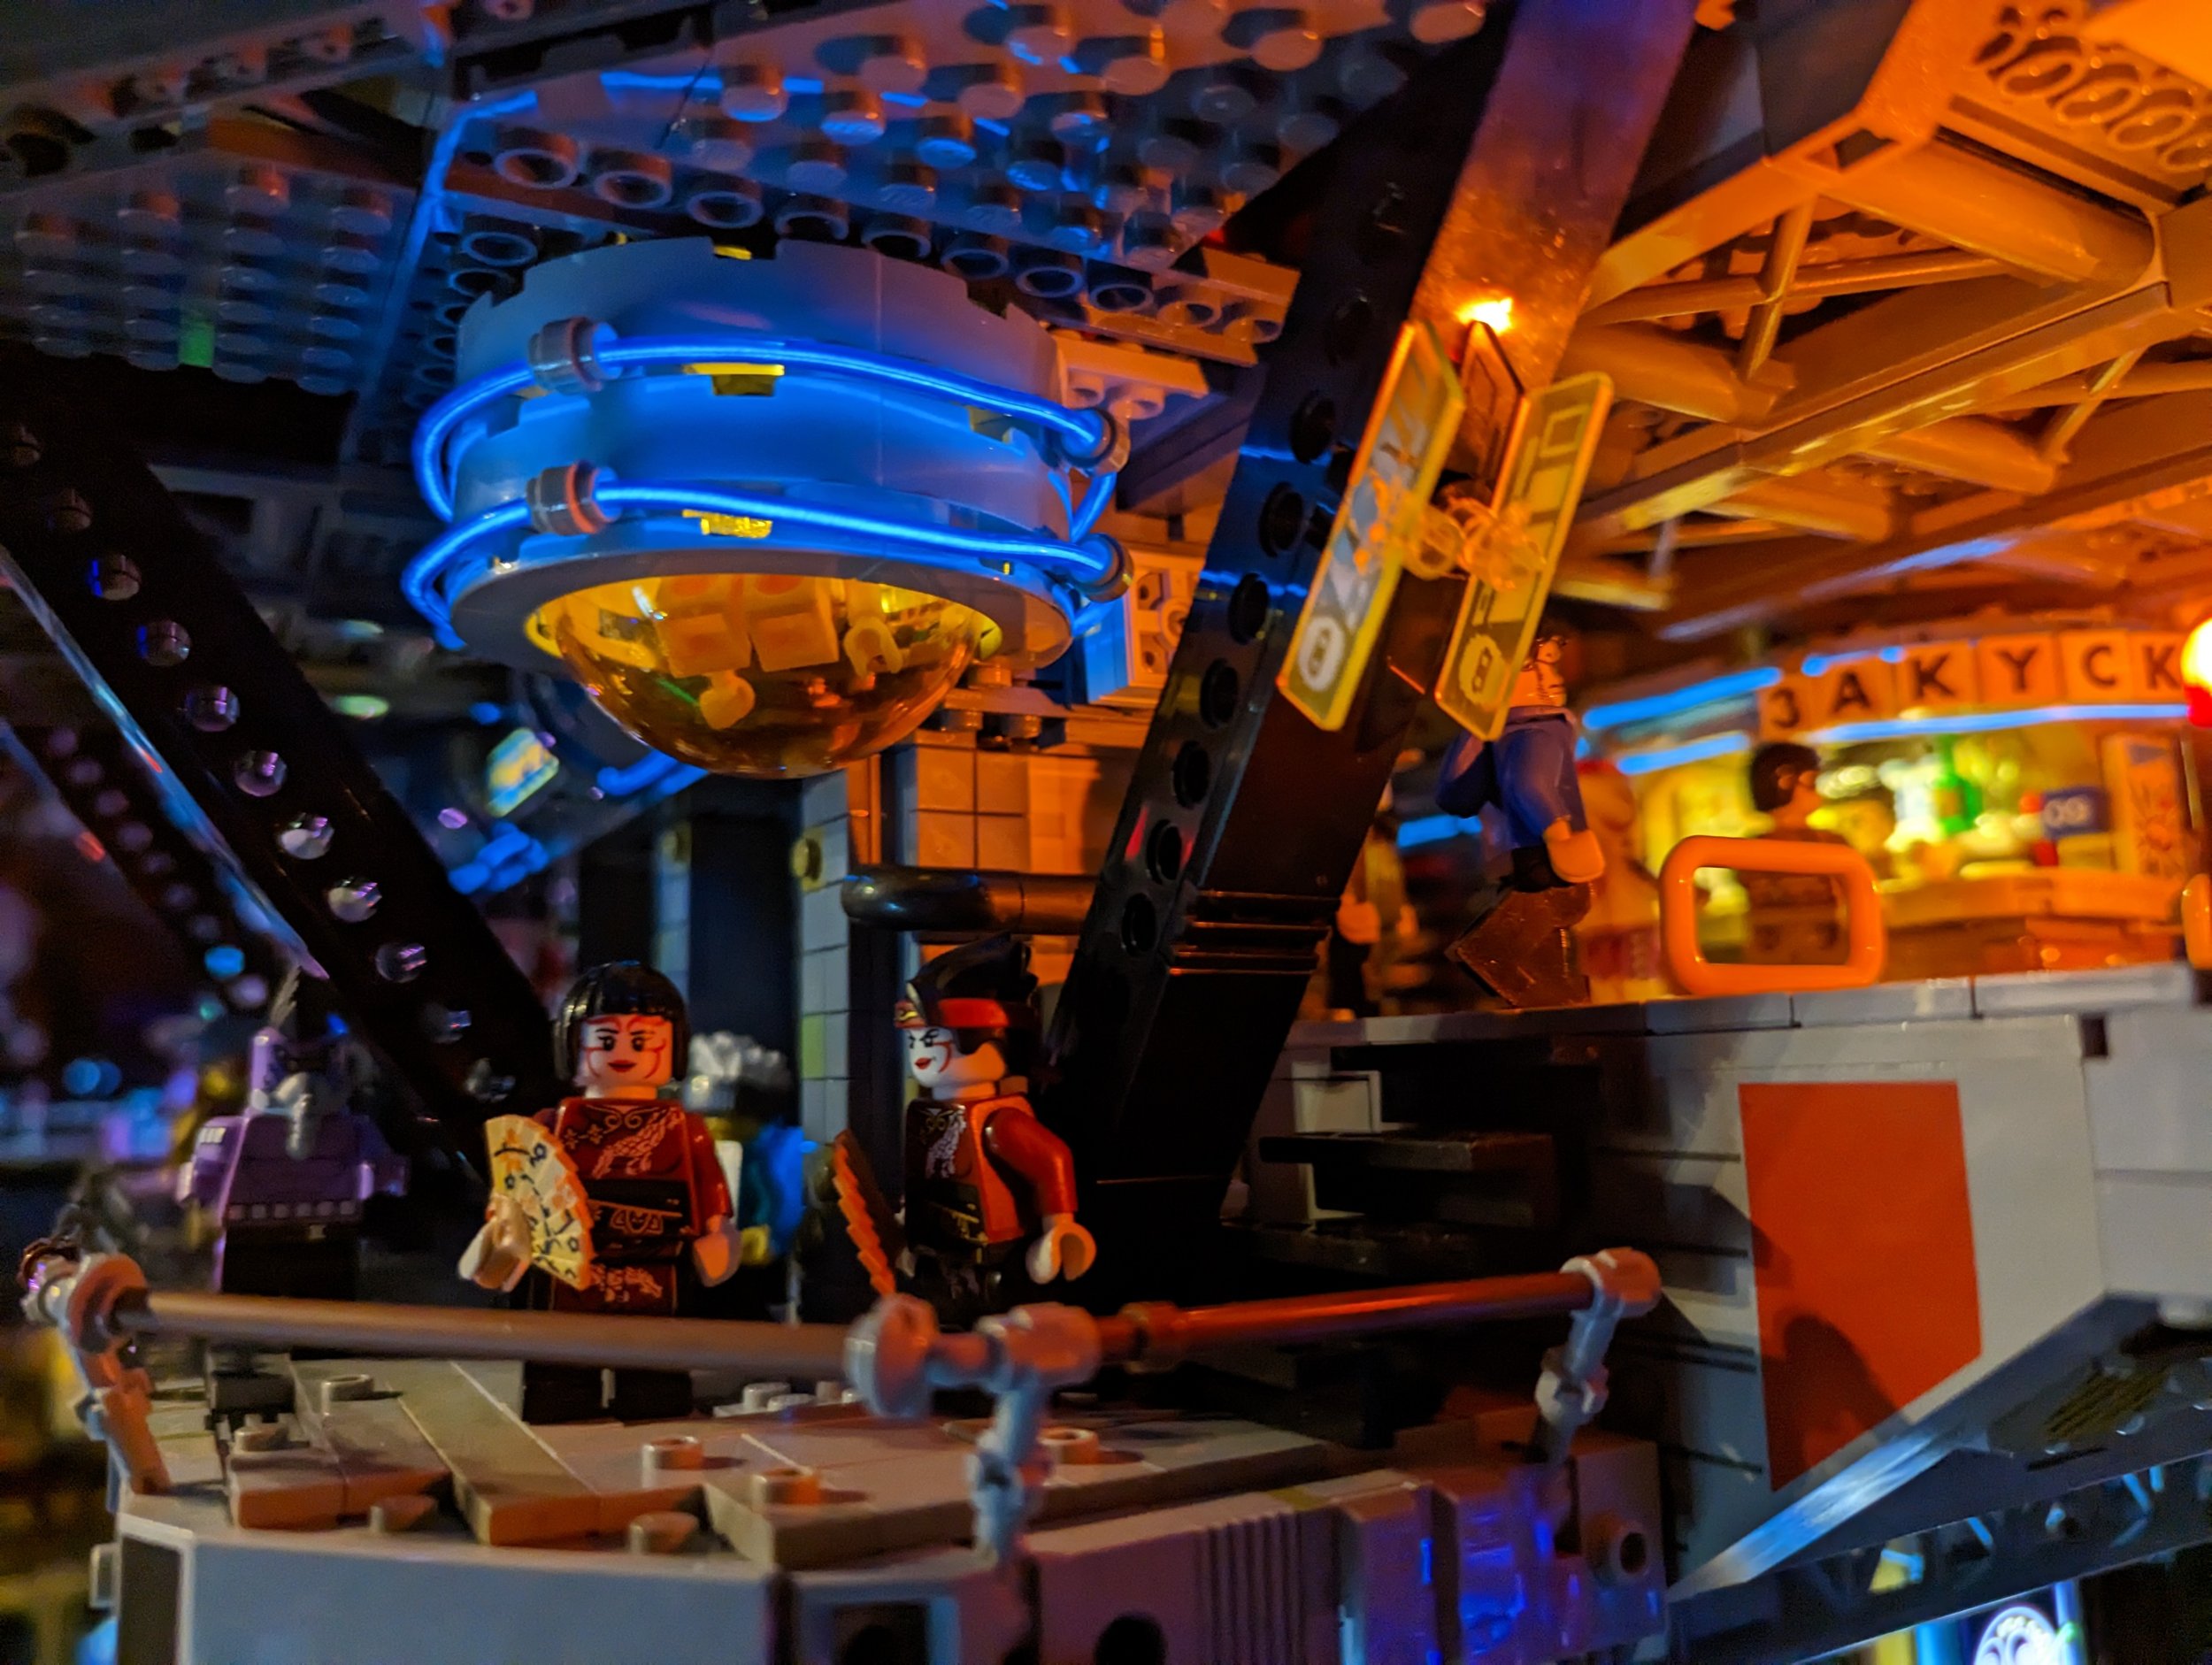
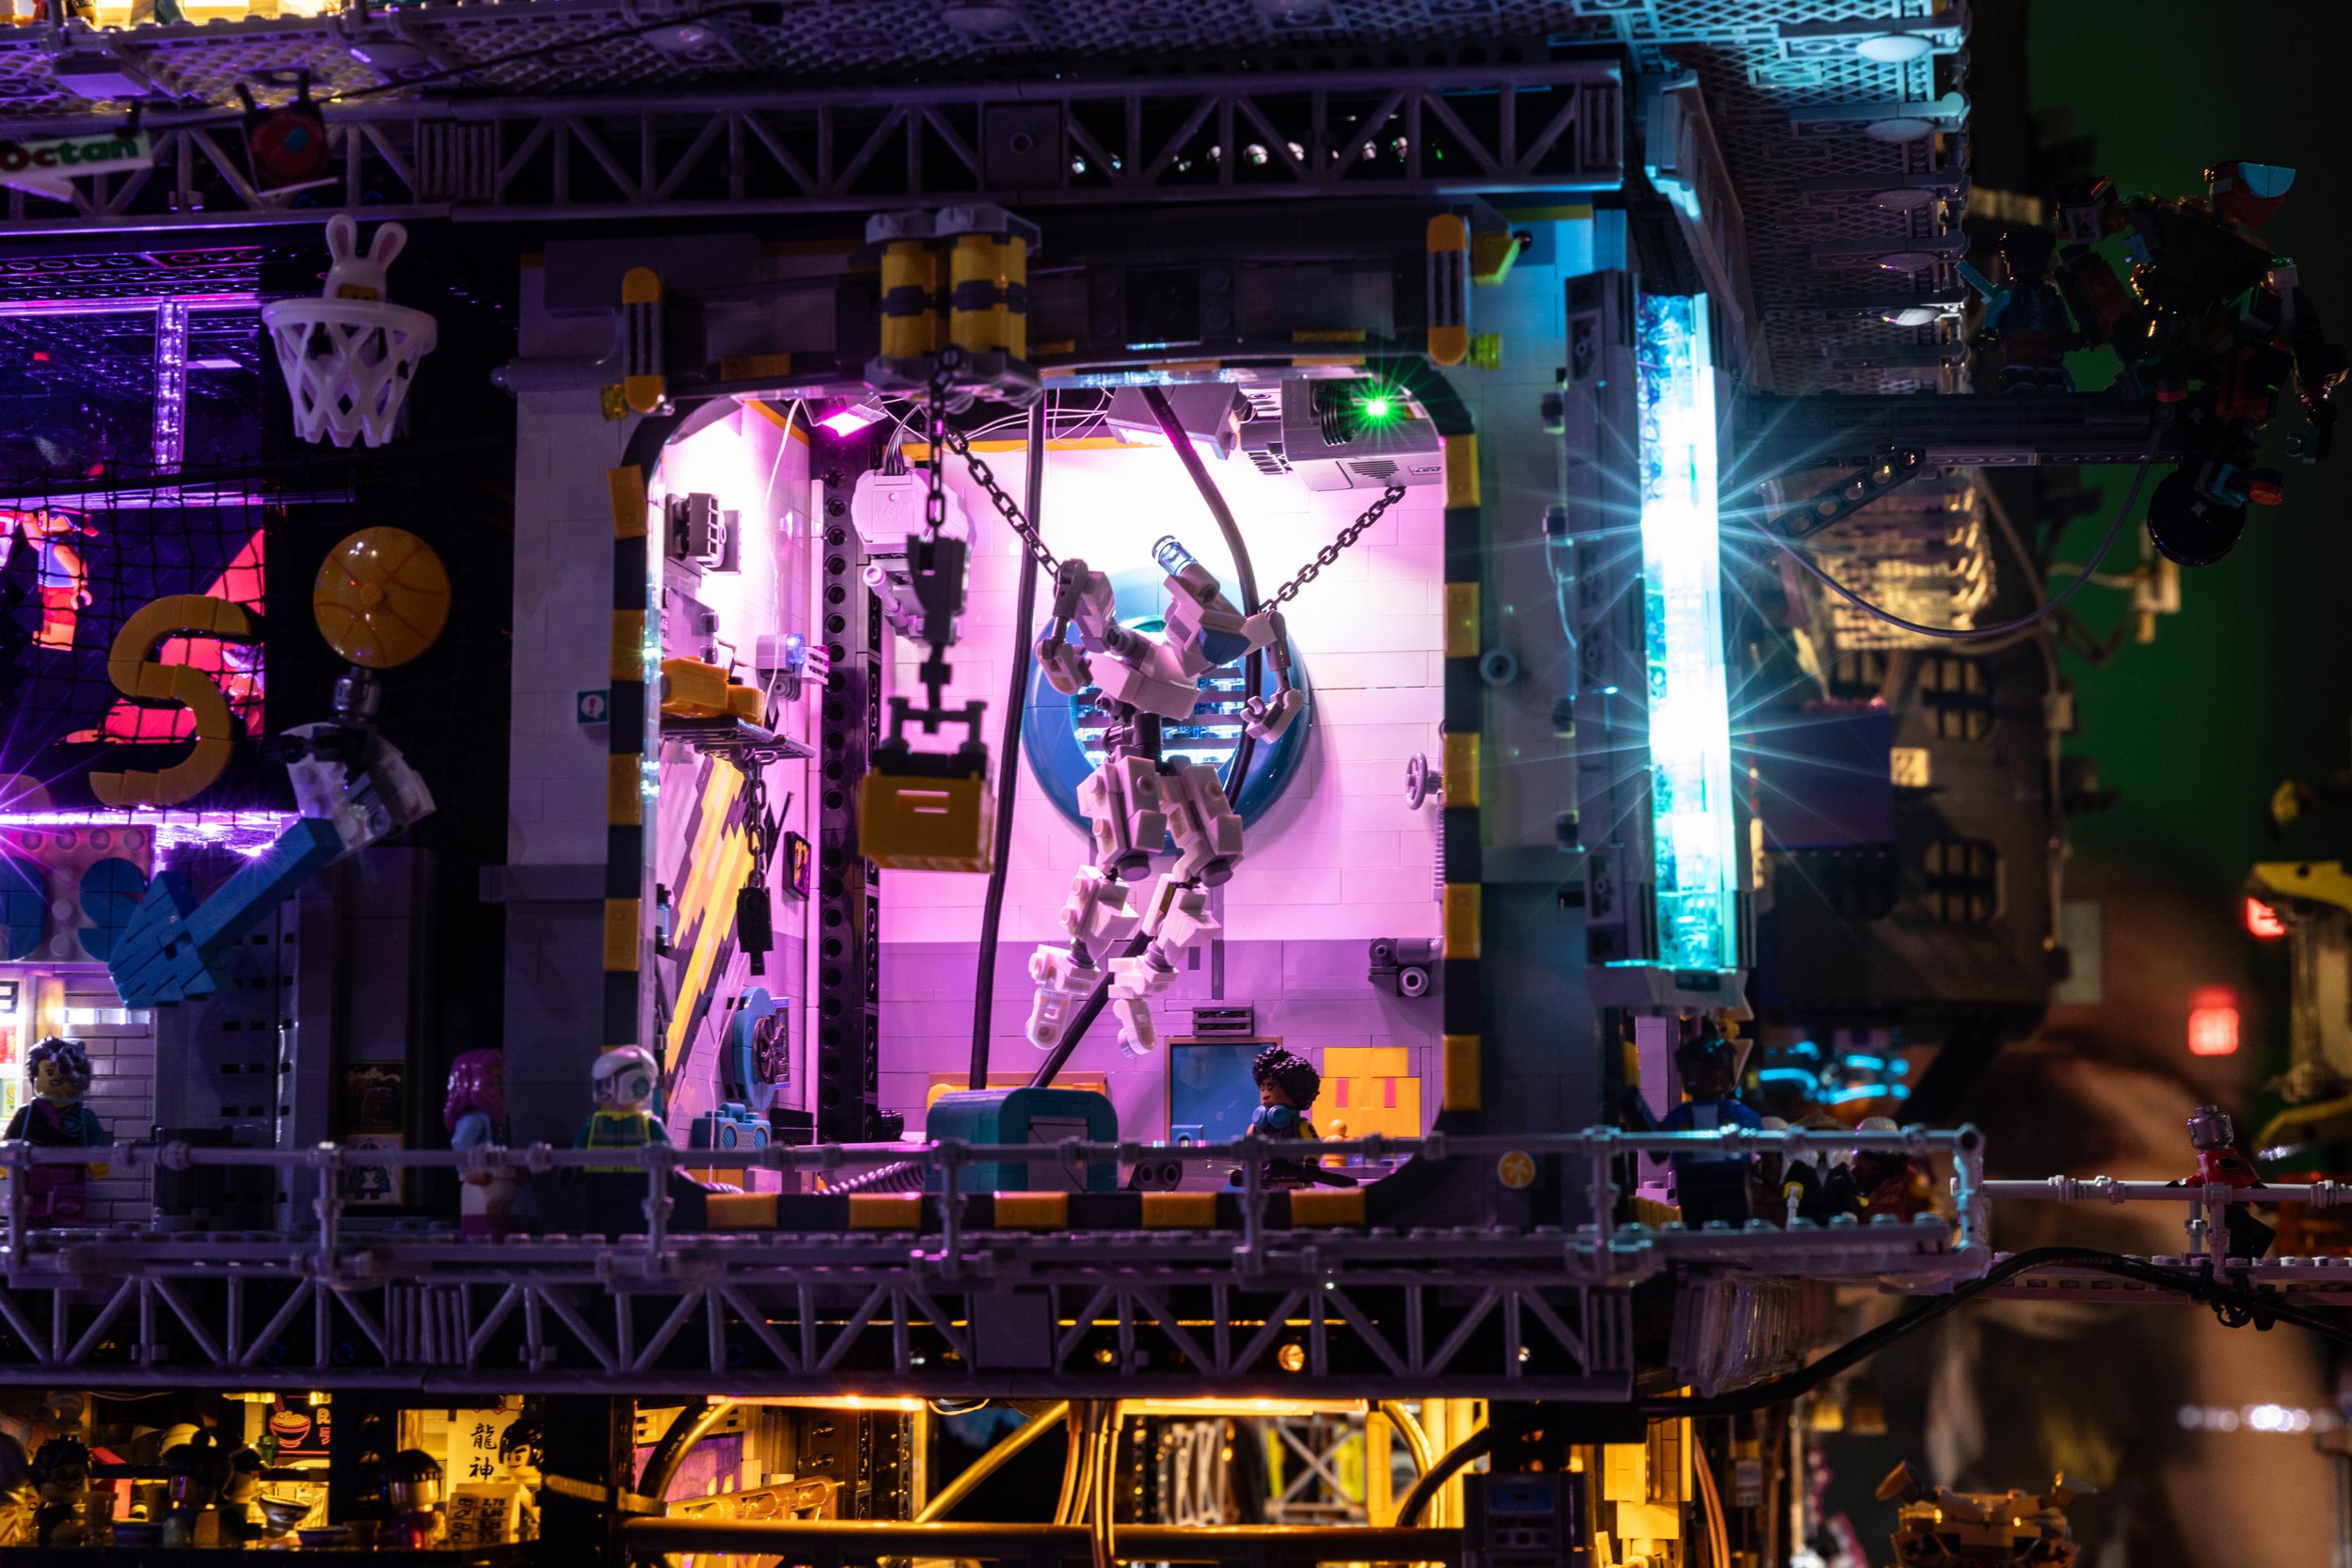
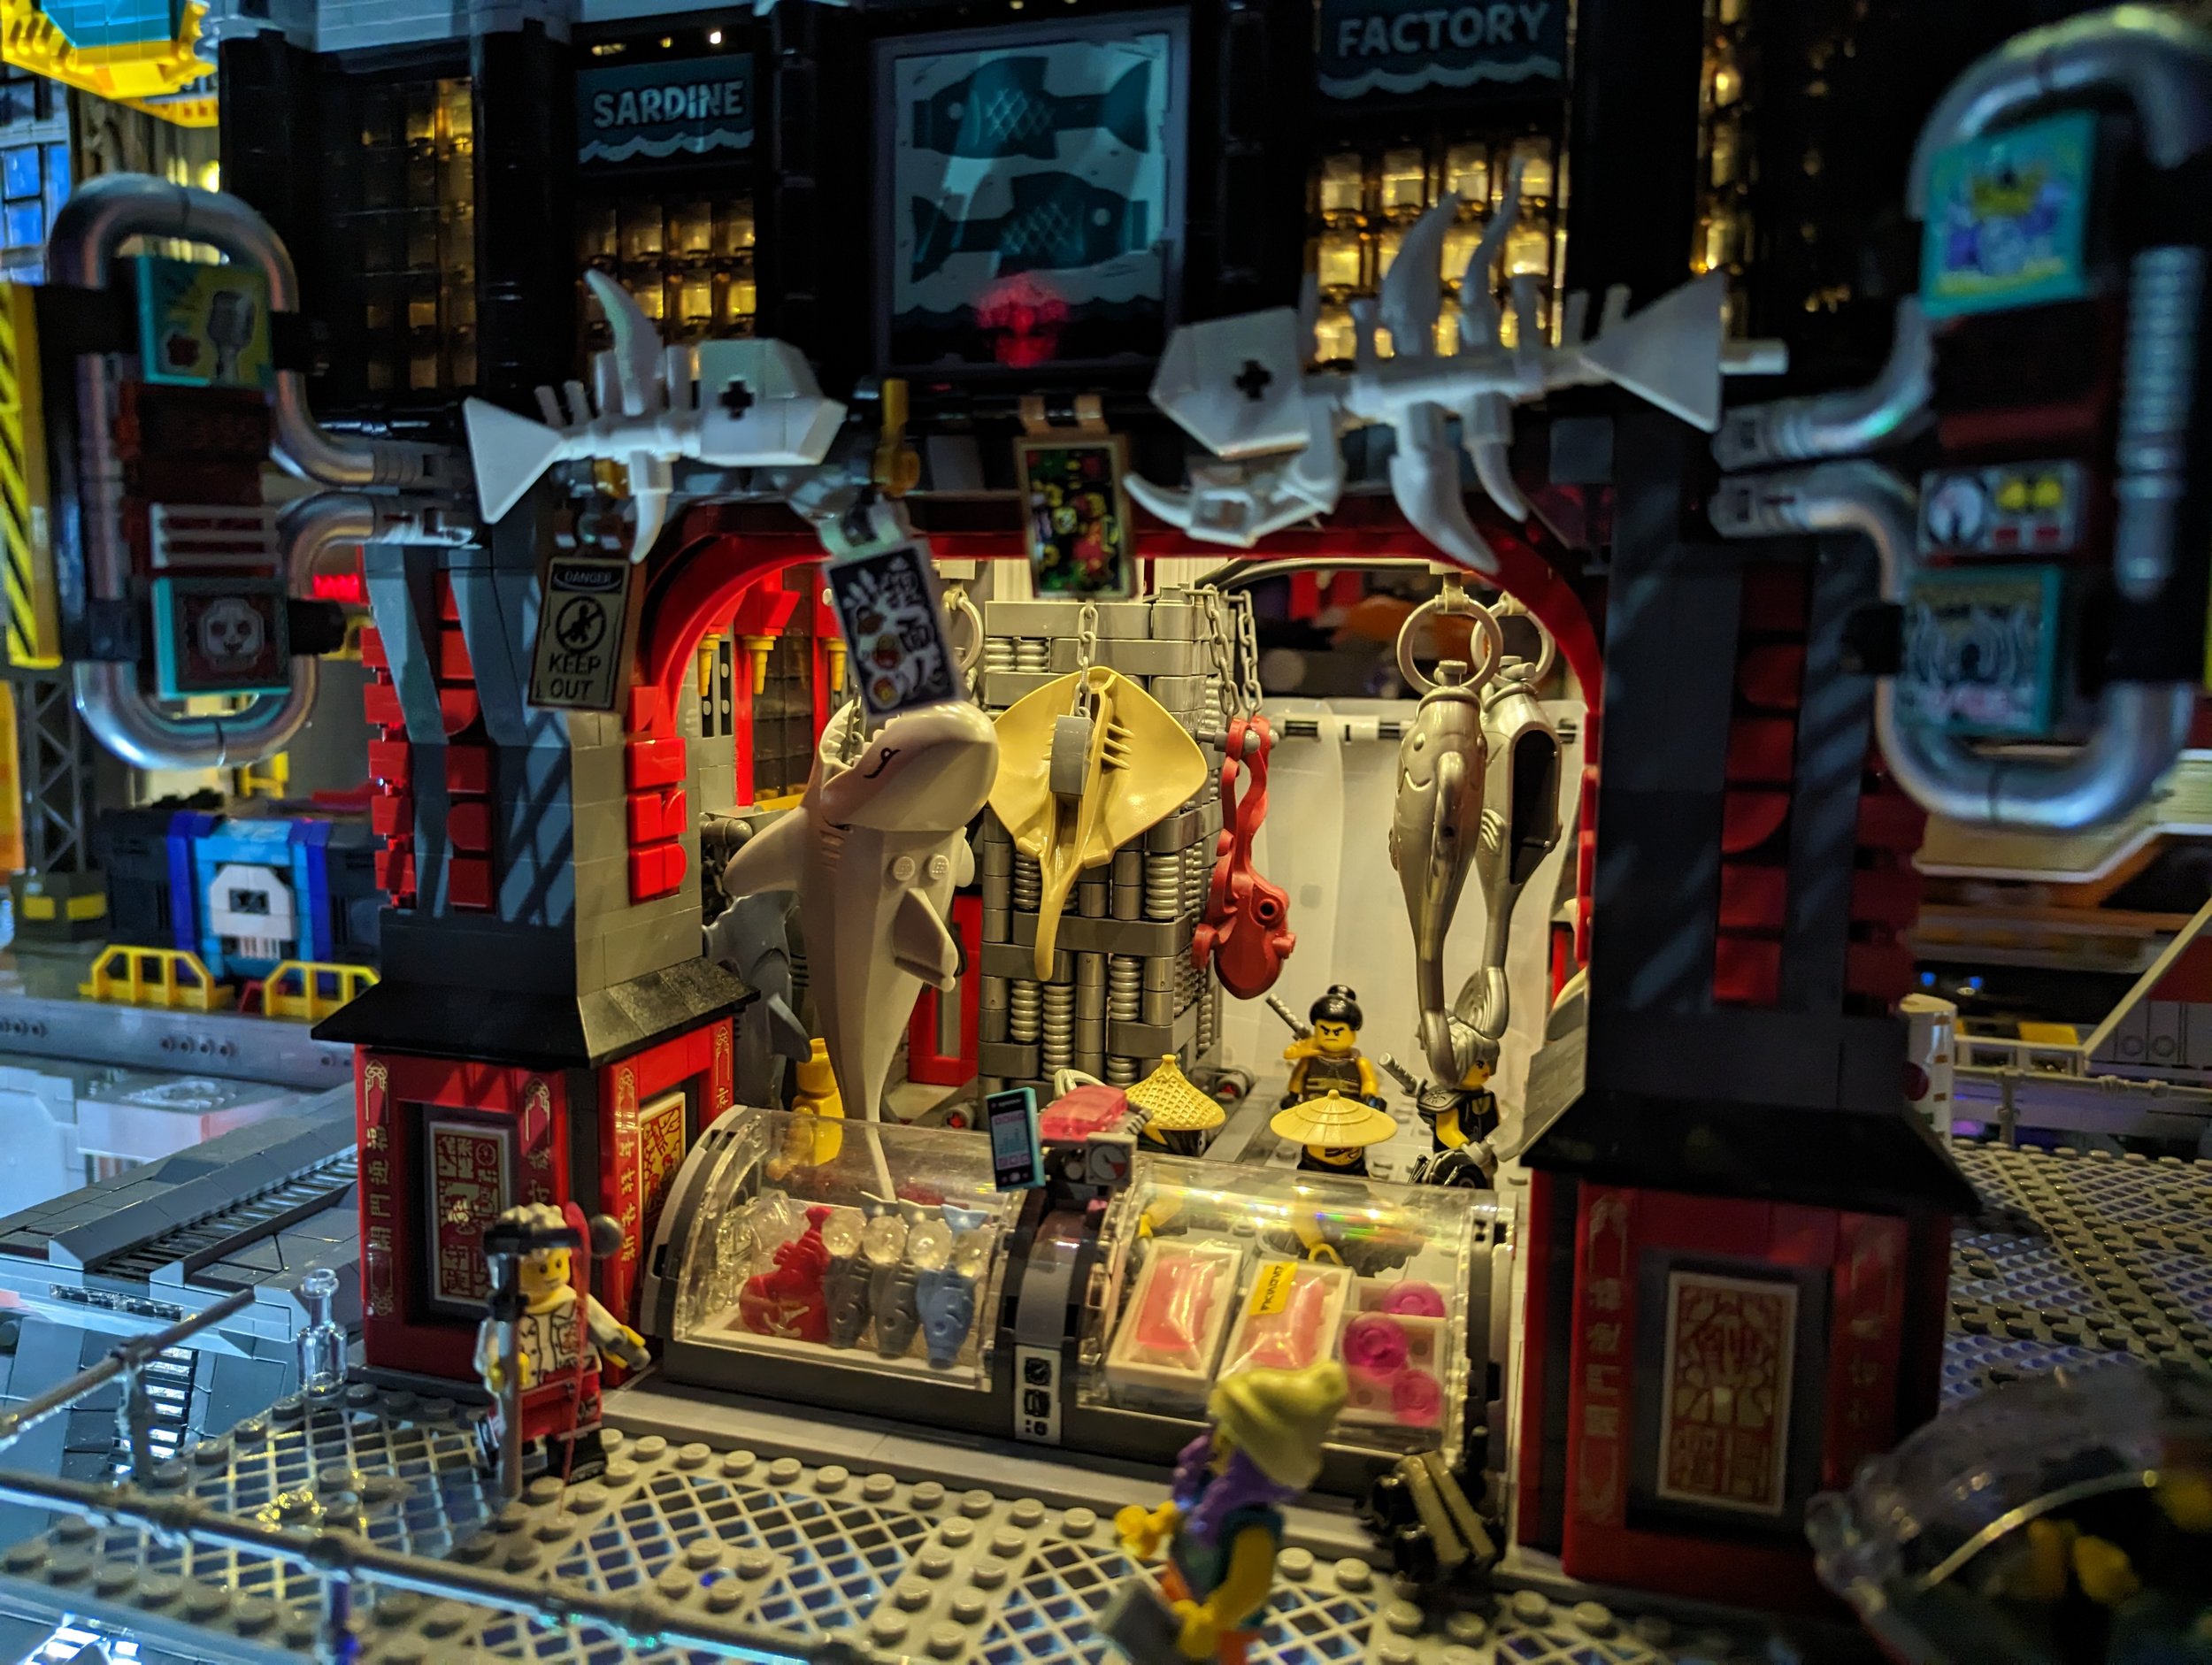
While the size of New Hashima is definitely on the stupid side, we don’t want to leave out the details! Enjoy a few of these great shots inside the city when it was all lit up. And know that there were thousands more lights that would be almost impossible to document them all.

When The Lights Go Out
Thanks for going into the light of New Hashima with me, but this doesn’t have to be the end of your lighting journey. If you are interested in learning more about how to light your own LEGO creations, check out BrickNerd’s past lighting articles, Lighting Compendium and other lighting experiments. Also keep an eye out because more custom lighting articles are in the works and on the way!
If you want to see more of New Hashima, go follow NewHashimaCollab on Instagram that tags many builders involved in the project. Until then, shine on!
Read more about New Hashima in our series of takeover articles, and stay tuned to BrickNerd for more coming soon!
Do you plan on using custom lighting in your own future builds? Let us know in the comments below.
Do you want to help BrickNerd continue publishing articles like this one? Become a top patron like Charlie Stephens, Marc & Liz Puleo, Paige Mueller, Rob Klingberg from Brickstuff, John & Joshua Hanlon from Beyond the Brick, Megan Lum, Andy Price, John A., Lukas Kurth from StoneWars, Wayne Tyler, LeAnna Taylor, and Monica Innis to show your support, get early access, exclusive swag and more.


