Building a GBC Module From Start to Finish
/Today, we dive into the mechanical madness of my latest GBC module, "Soccer Shooter." We will explore all the different mechanisms and interesting building techniques hidden inside the module along with showing my design process from start to finish.
So watch this video before we go behind the scenes of building a LEGO Great Ball Contraption module from start to finish.
Inspiration
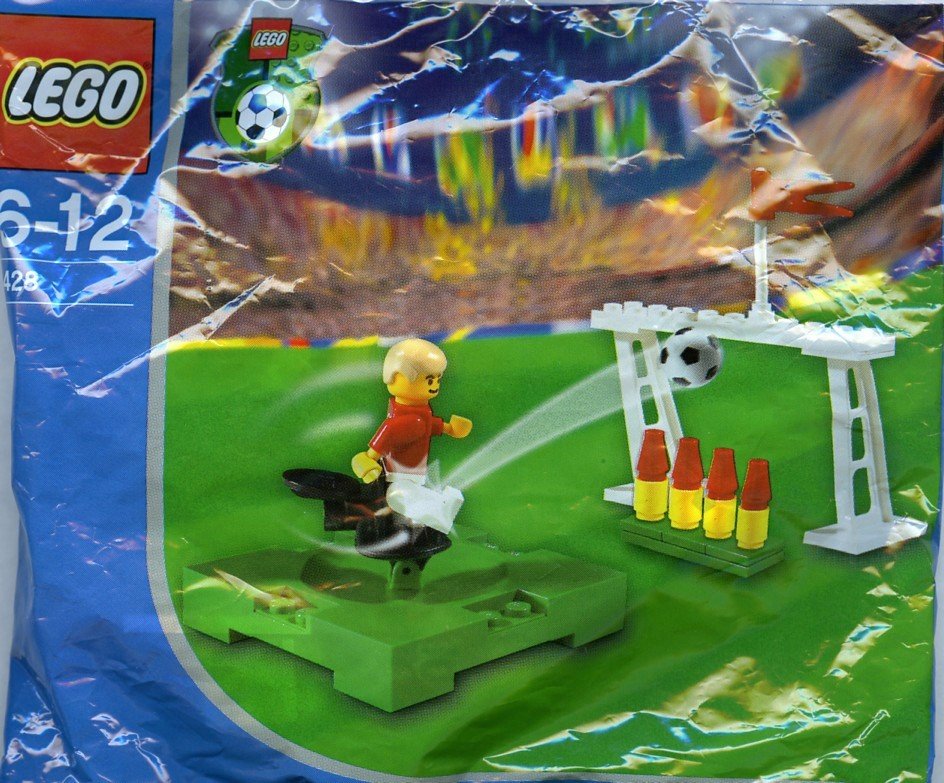
I find a lot of inspiration in various LEGO pieces when creating GBC modules. Thus far, sports sets provide the most ideas, especially since they involve a lot of interaction with GBC balls, obviously. I've always had a desire to create a GBC module featuring soccer, because when I was little, these LEGO soccer polybags were given away at our local supermarket. I was always excited when my mom returned home from shopping for groceries in the hopes of getting one.
After building my basketball module, I discovered that combining GBC balls and minifigs was a hit at LEGO shows and conventions. So, why not try the same formula with a different sport? Then I stumbled upon part 30488 so I could work on my first initial concept.
First Concept

Bing color sorter by Berthil van Beek
The initial idea was to create a round disk with eight soccer players shooting at the goalie. I had seen a mechanism used by various GBC builders (the original mechanism is by PG5200) to rotate a disk by one-eighth of a rotation and then let it rest briefly, which would be enough to trigger a shot and load a ball onto the disk. I started working on it, and this was my first attempt.

My first concept
When comparing my initial concept to Berthil’s module, it's clear that I rotated the mechanism by 90°. This change caused many issues, especially because the force needed to trigger the spring had to come from the top. This force ended up shaking the ring too much, as can be clearly seen in the GIF. I ultimately discarded this concept because of the shaking and also because it would have looked too similar to the basketball module. I wanted to challenge myself with something new!
Back to the Drawing Board
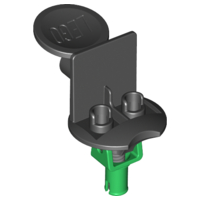
Having to start from scratch again, I decided to tackle the most challenging aspect first, which, for me, was creating a reliable shooting mechanism. Since there is only a pin connection at the bottom of part 30488, I used a rotating camshaft to tension the spring and release it. Also, adding a bevel gear next to it would make the footprint of the mechanism small.

Afterward, I designed the field using Studio. I opted for a bright green color for the field because it stands out and matches the color of soccer fields in LEGO’s stadium sets. As I built this module, I developed a fondness for bright green. However, the downside was that my wallet didn't appreciate it as much. In 2020, the availability of parts in bright green wasn't as wide-ranging as it is now, and some parts were very expensive, making it quite challenging to construct a good-looking soccer field.

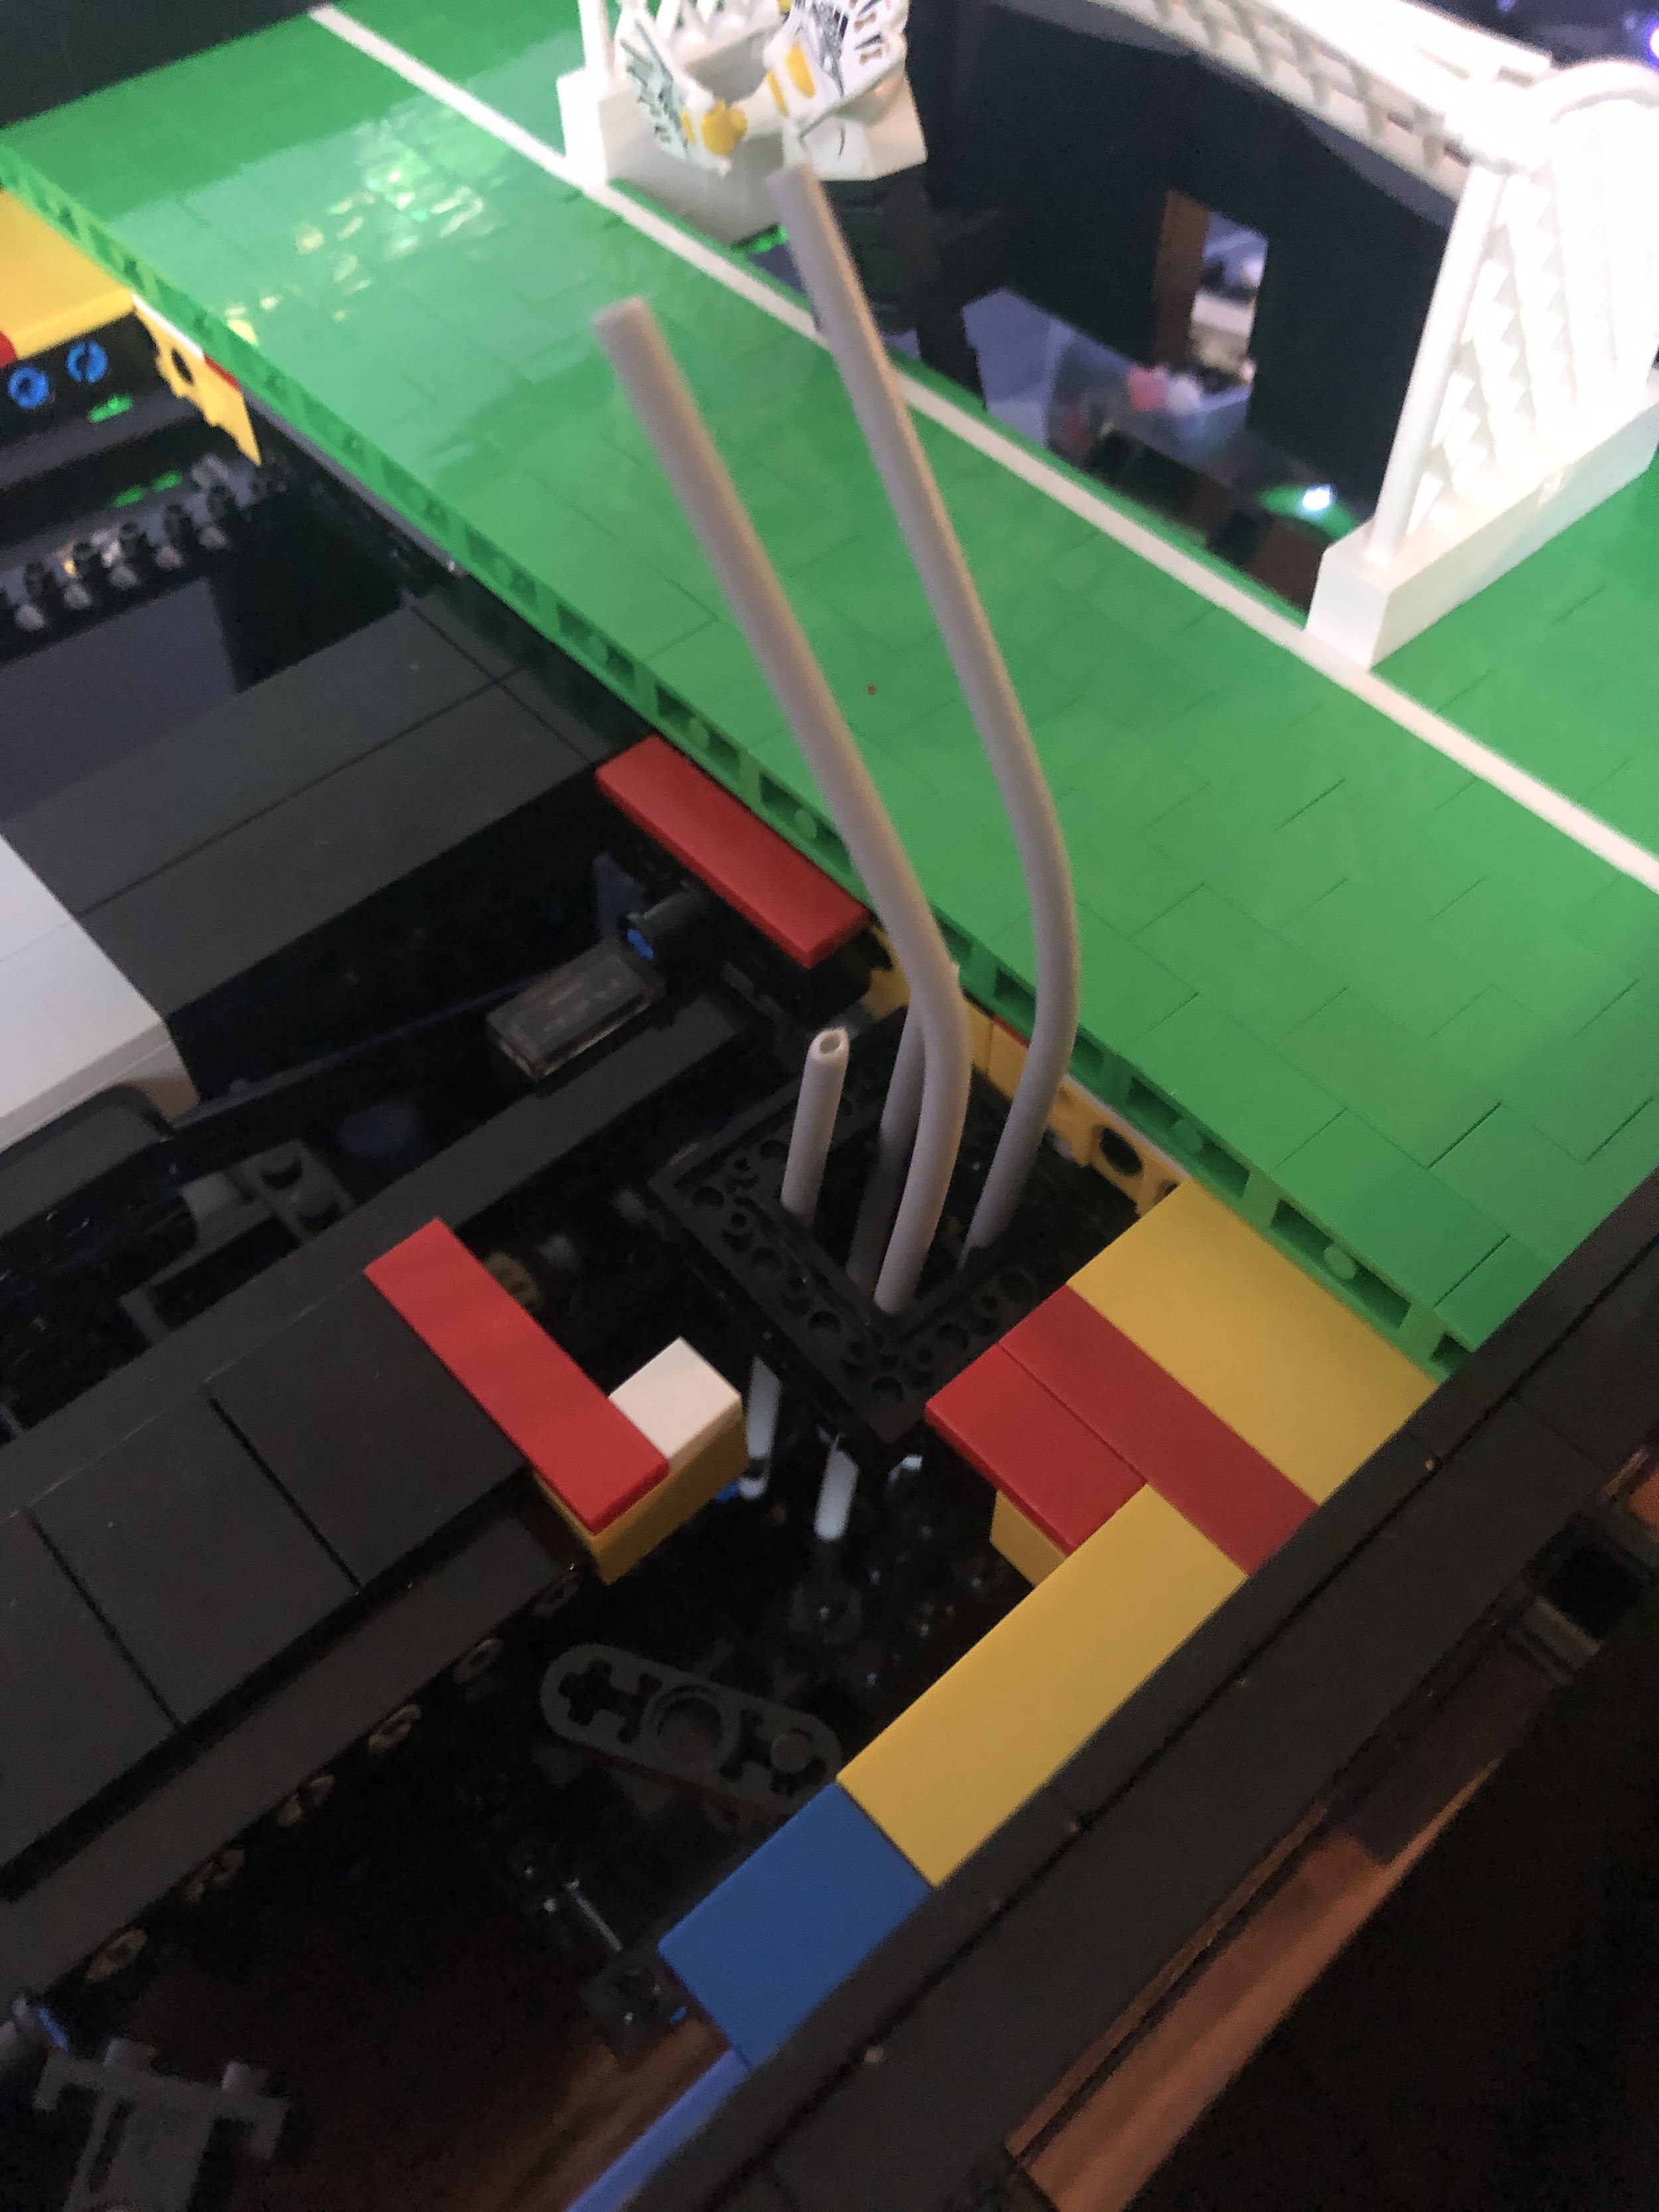
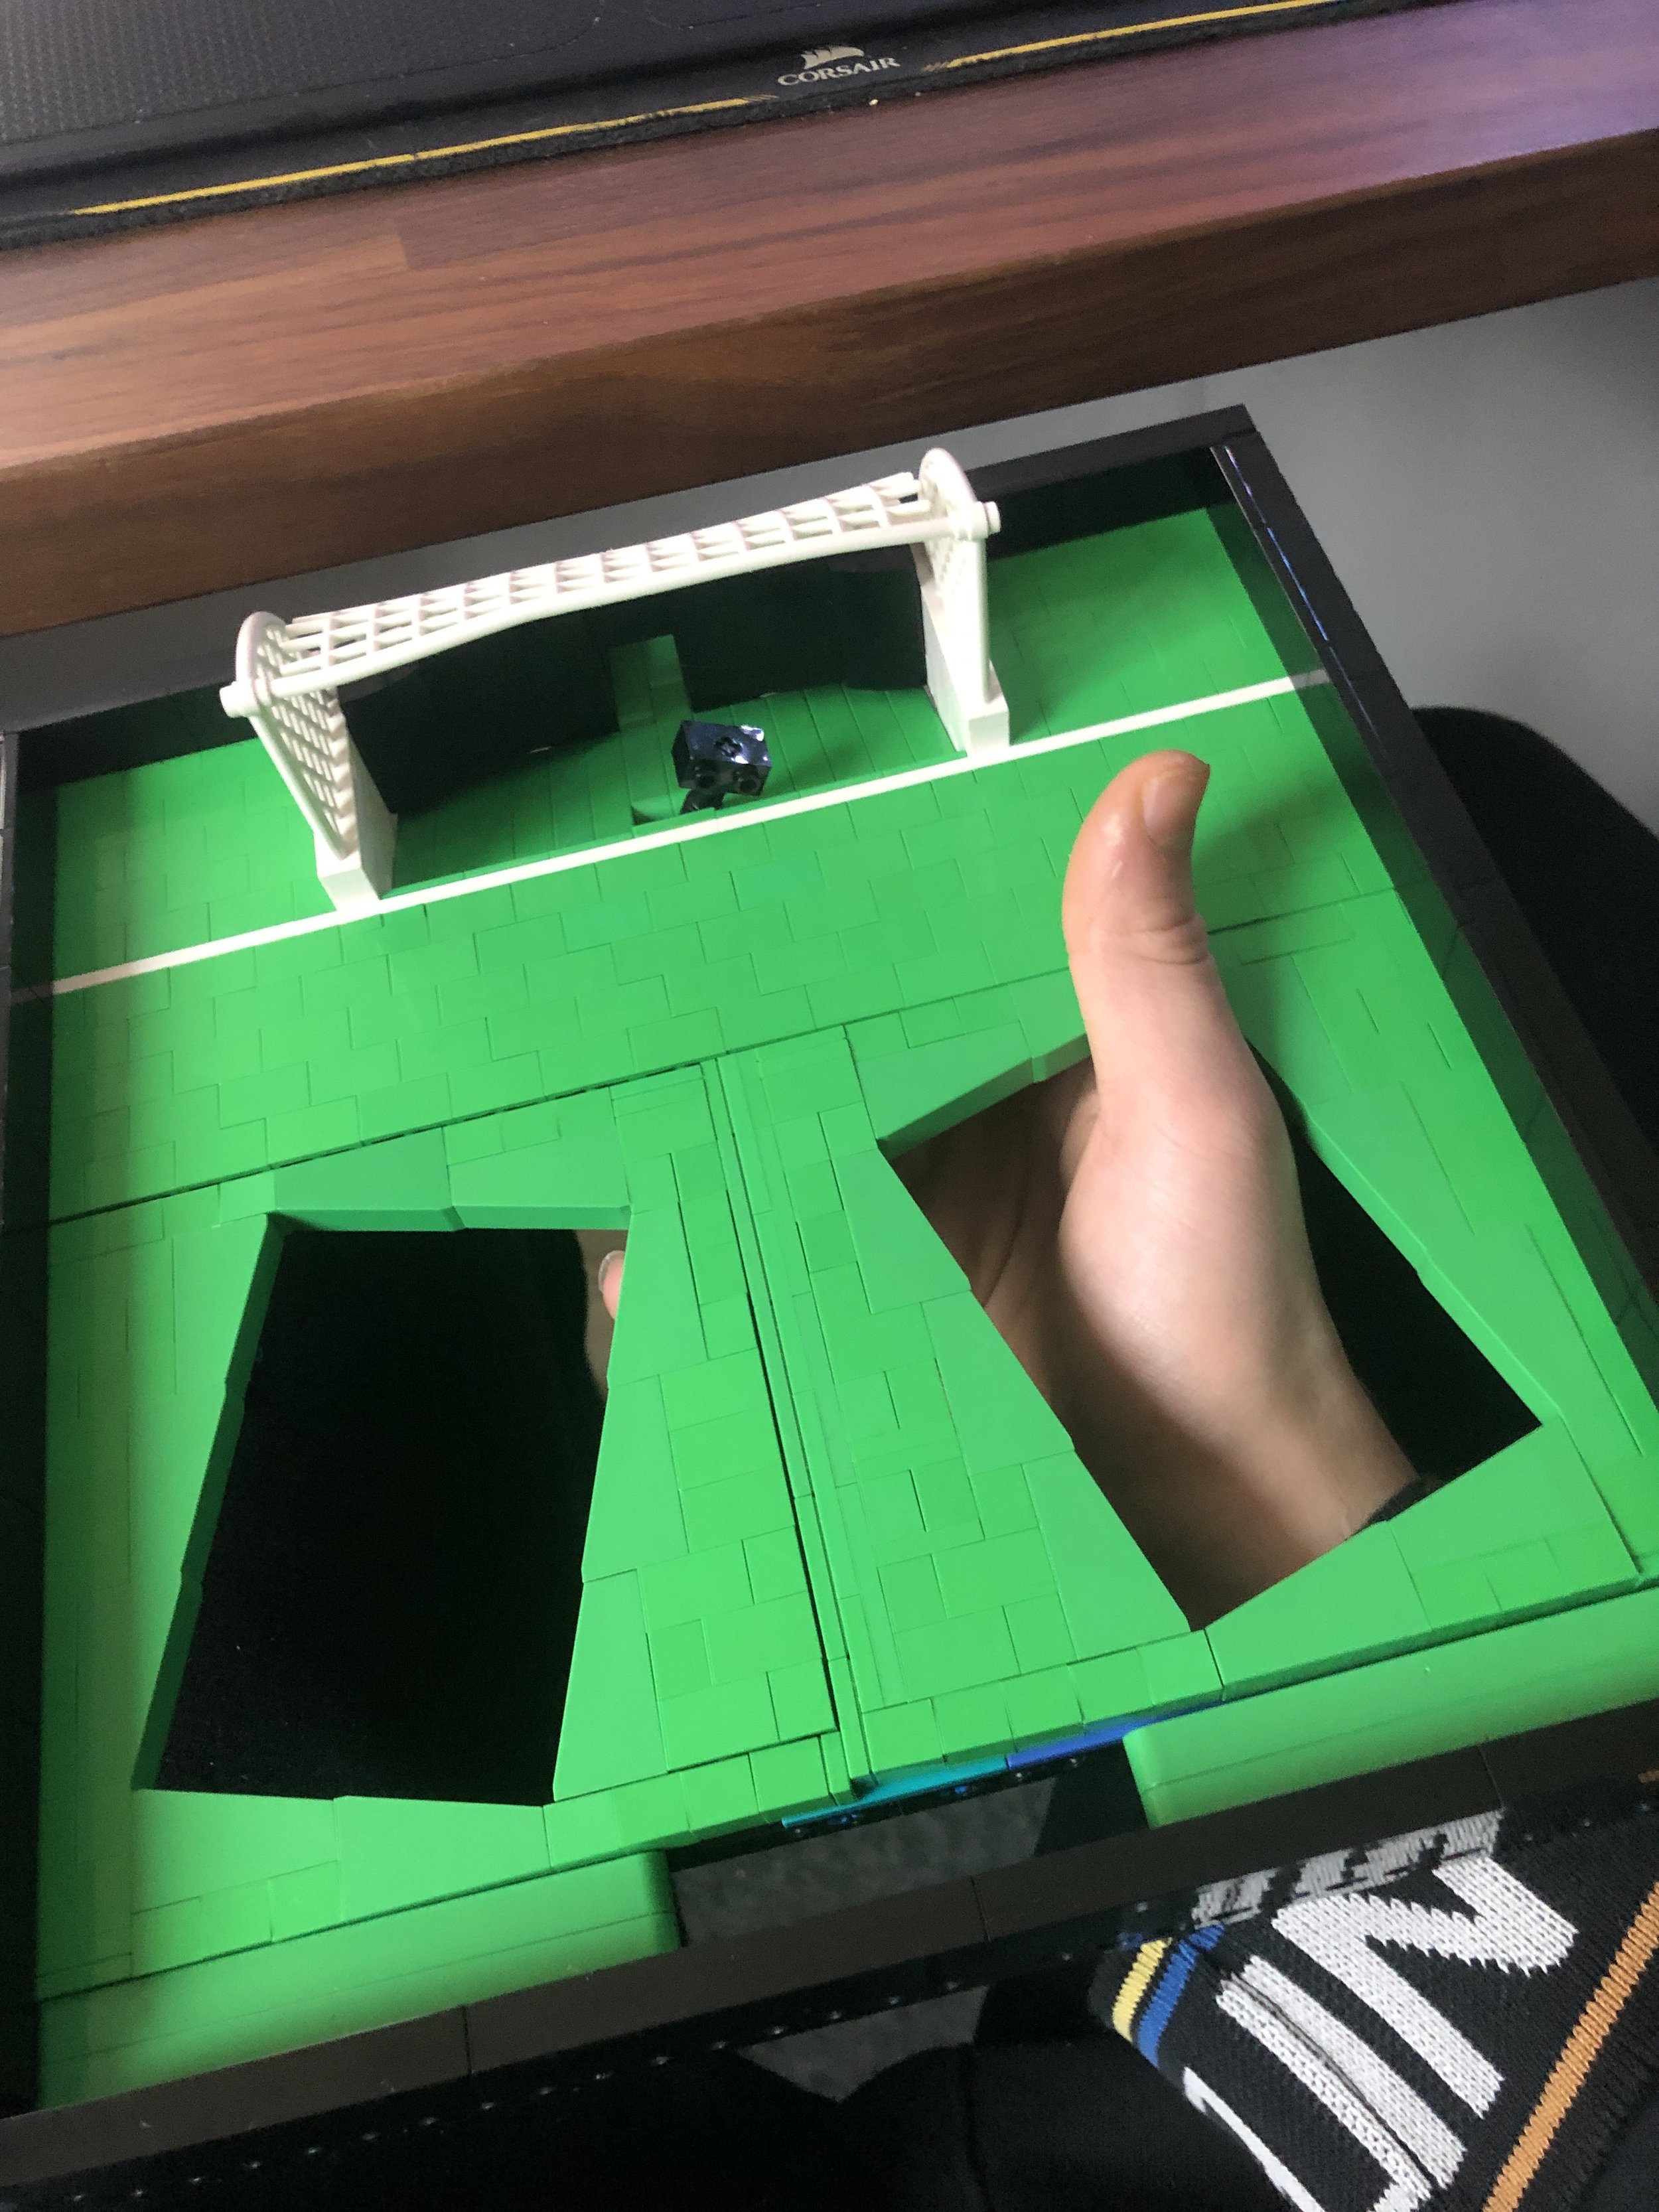
The entire field is built with SNOT building techniques which makes it easy for balls to roll. The field rests on tiles and is clamped in so it cannot fall out. There are two open slots in the field where the two shooting mechanisms will fit in.
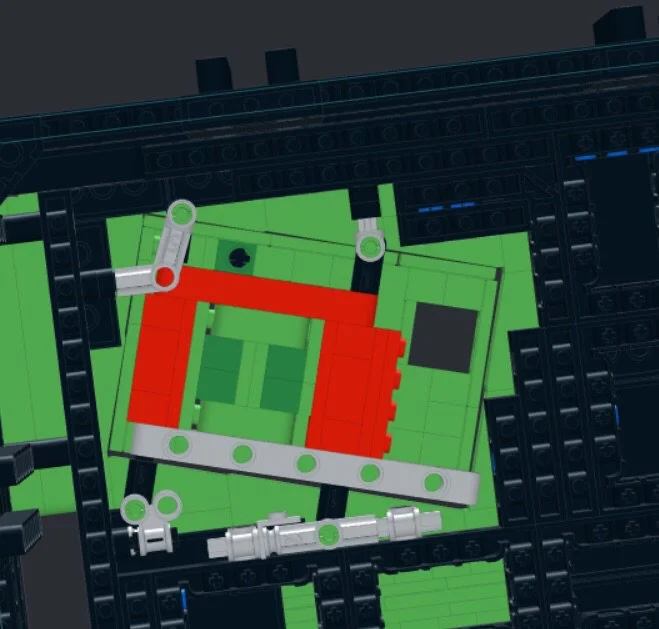
With the upper part of the module finished, it was time to connect everything mechanically. This proved challenging because several actions were necessary to transport the balls to the spot where they could be shot by the soccer player. Before I began building, I preferred to sketch out my concept for the gear train on a piece of paper. Red in the sketch represents the outline for the frame, blue is the way the balls will flow through the machine, and finally green is the gear train.


There's no need for complex gearing to achieve different speeds in separate locations, as the module runs at a consistent speed aside from the initial 1:5 gearing from the Power Functions (PF) XL motor. To achieve this gearing, I utilized an 8-tooth gear and a 40-tooth gear. Upon inspecting the underside, you'll notice some changes from the initial sketch to the final product. I had to rotate the ball pump due to space constraints and shift the motor's position at the back of the module for easier access. However, the flow of balls remained consistent with the sketch.
Behind the motor, there's an axle leading up to the soccer field, which is necessary to power the two shooters and the goalie.

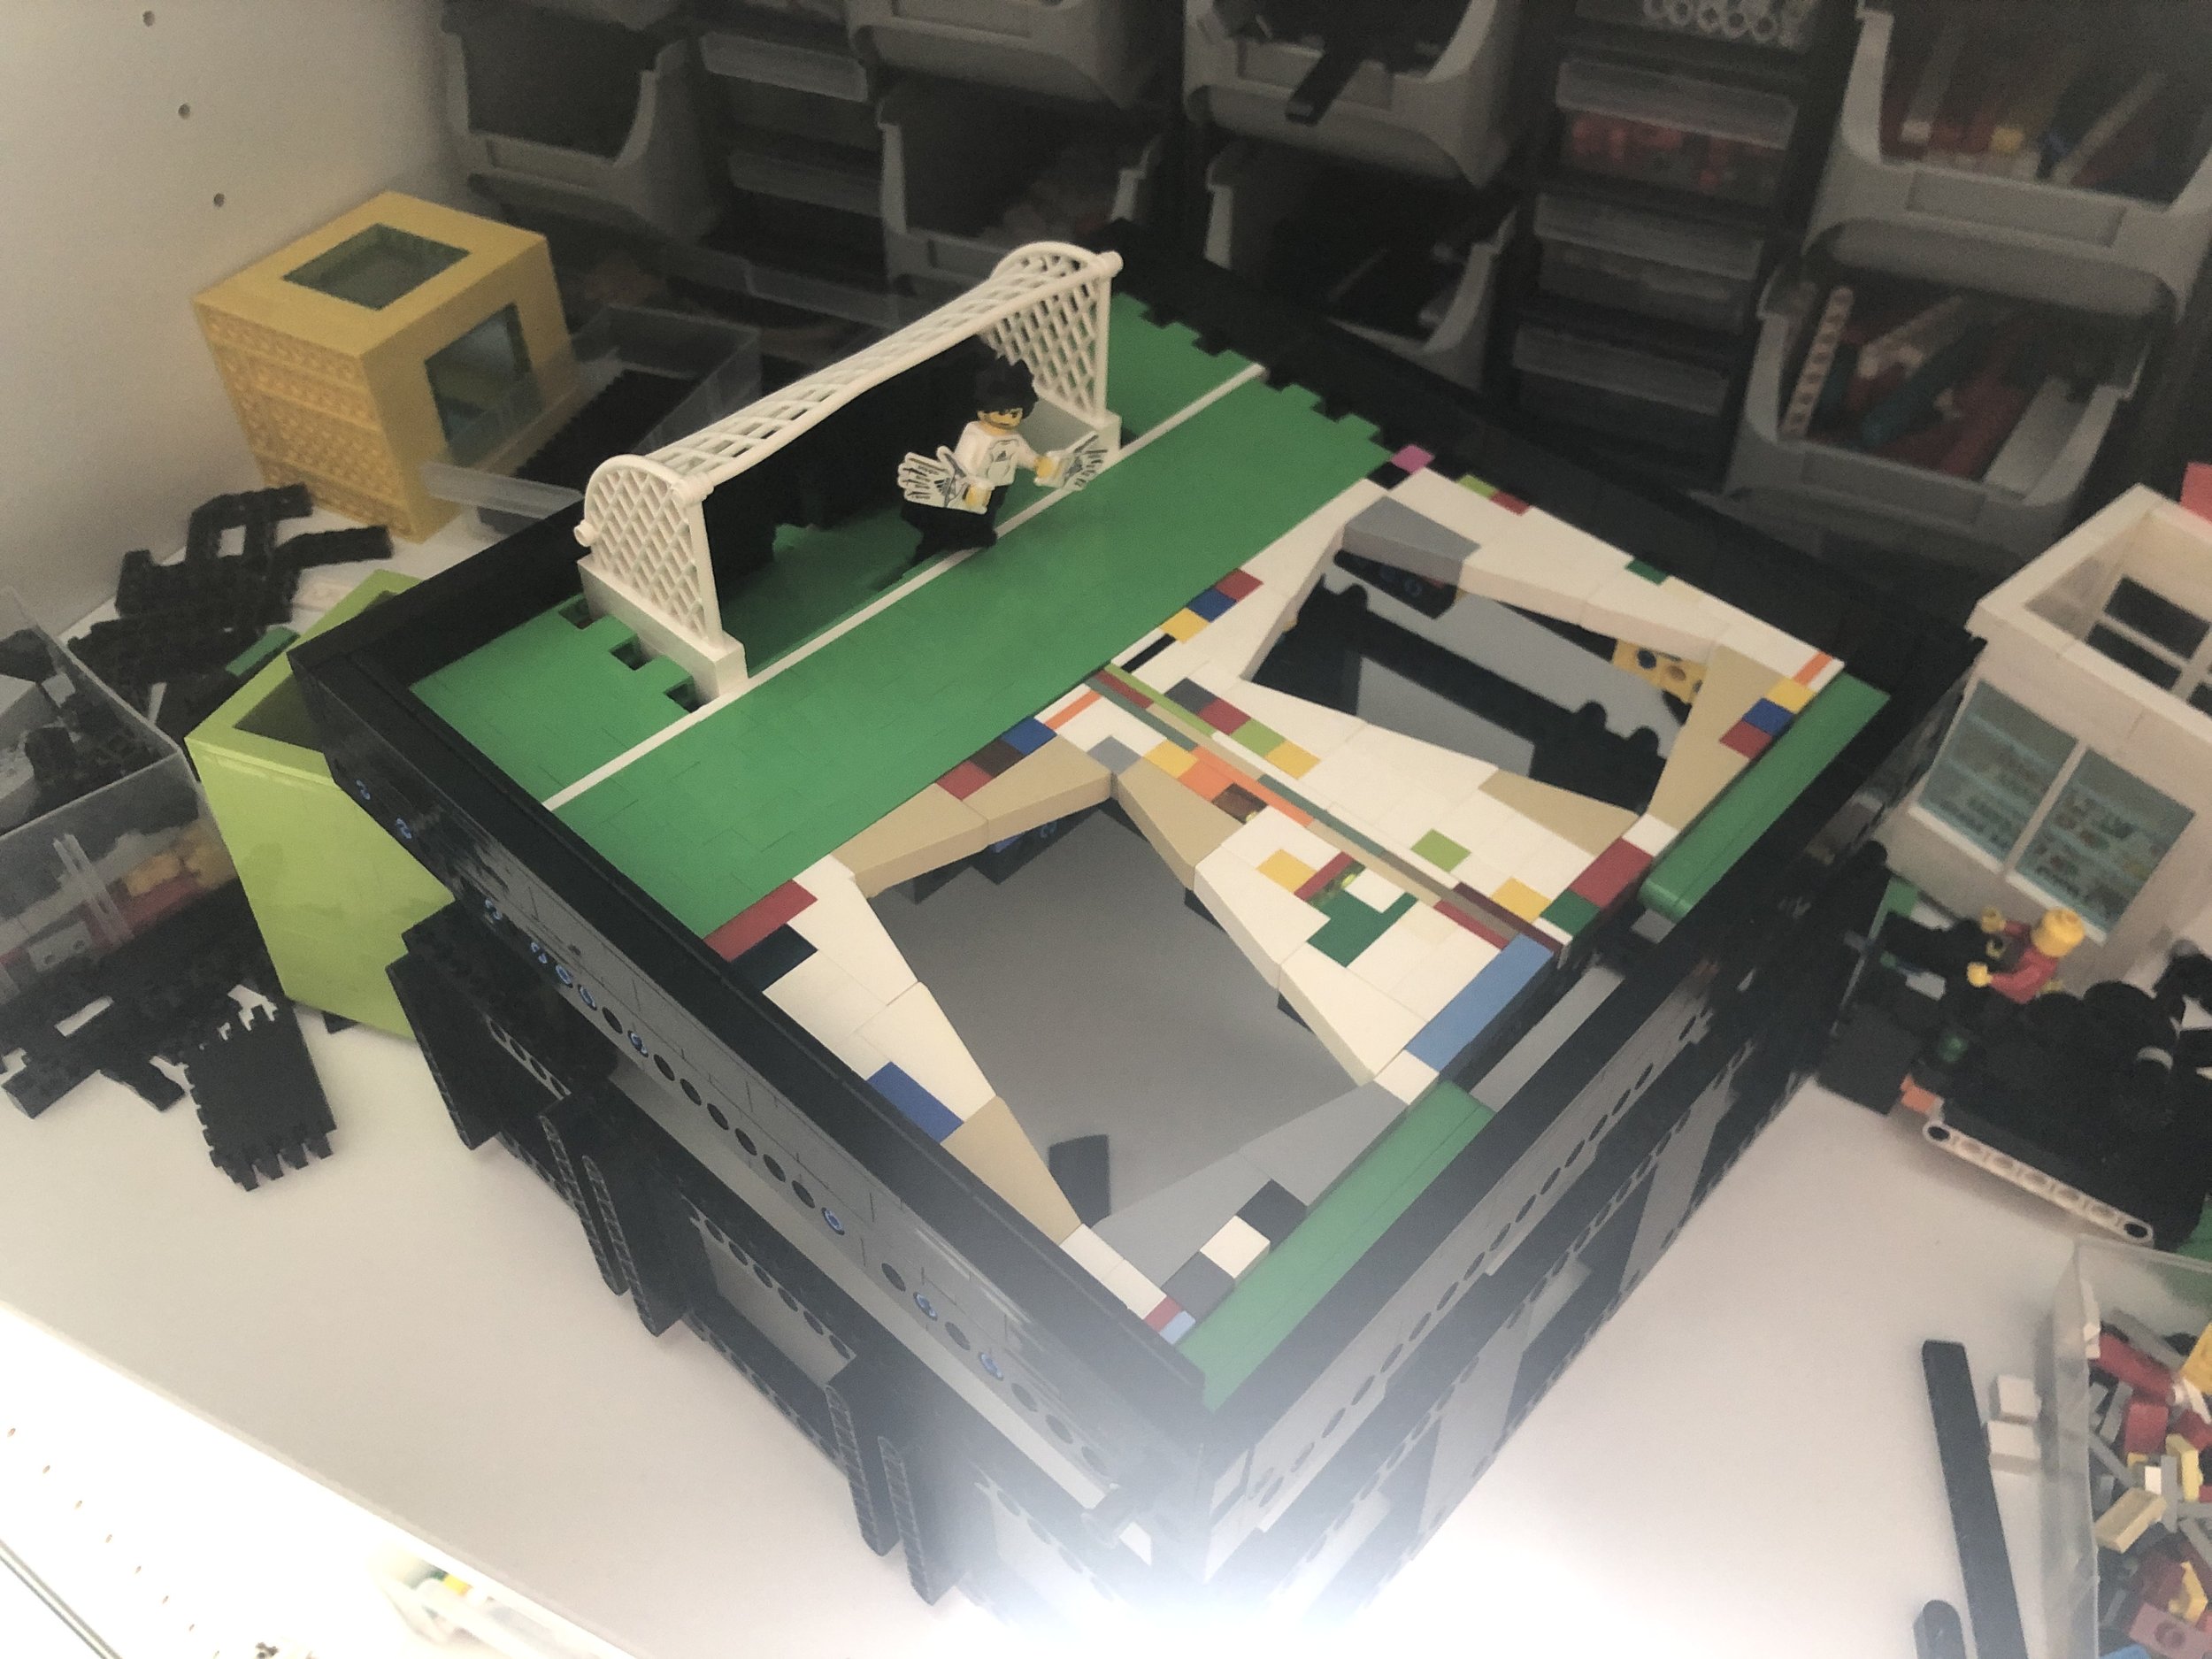
Module without soccer field
Pumping Balls
The ball's journey begins at the input, where the balls flow in from the previous module. This input is 8x8 studs wide to comply with the "GBC standard." Two balls are directed onto a stepper, which lifts them up and distributes them onto two separate paths, each leading to a ball pump. These ball pumps are offset by 180° to avoid requiring torque at the same moment, reducing strain on the axle.
You might be wondering, what are ball pumps? Well, it's a mechanism where you stack balls on top of each other in a tube and add a ball from the bottom to push them through. It's a highly effective method for gaining height in a GBC module and doesn't demand much space for the mechanism.

Ball pump design by sam friesen
I used a design created by Sam Friesen, which is very compact and reliable. I made some minor alterations; for instance, I replaced the bar pieces with flex tubes because the soccer field is positioned at an angle.

When constructing GBC modules, you always have to consider Murphy's Law, especially if the module shoots balls. The balls tend to find their way into places you never thought possible. That's why, when selecting the right gearing, I ensured that the module operated at a speed faster than the mandatory 1 BPS (Ball Per Second) as required by the "GBC standard." Additionally, I wanted the field to be at a slight angle so that if the balls didn't make it into the goal, they could roll back into the input.
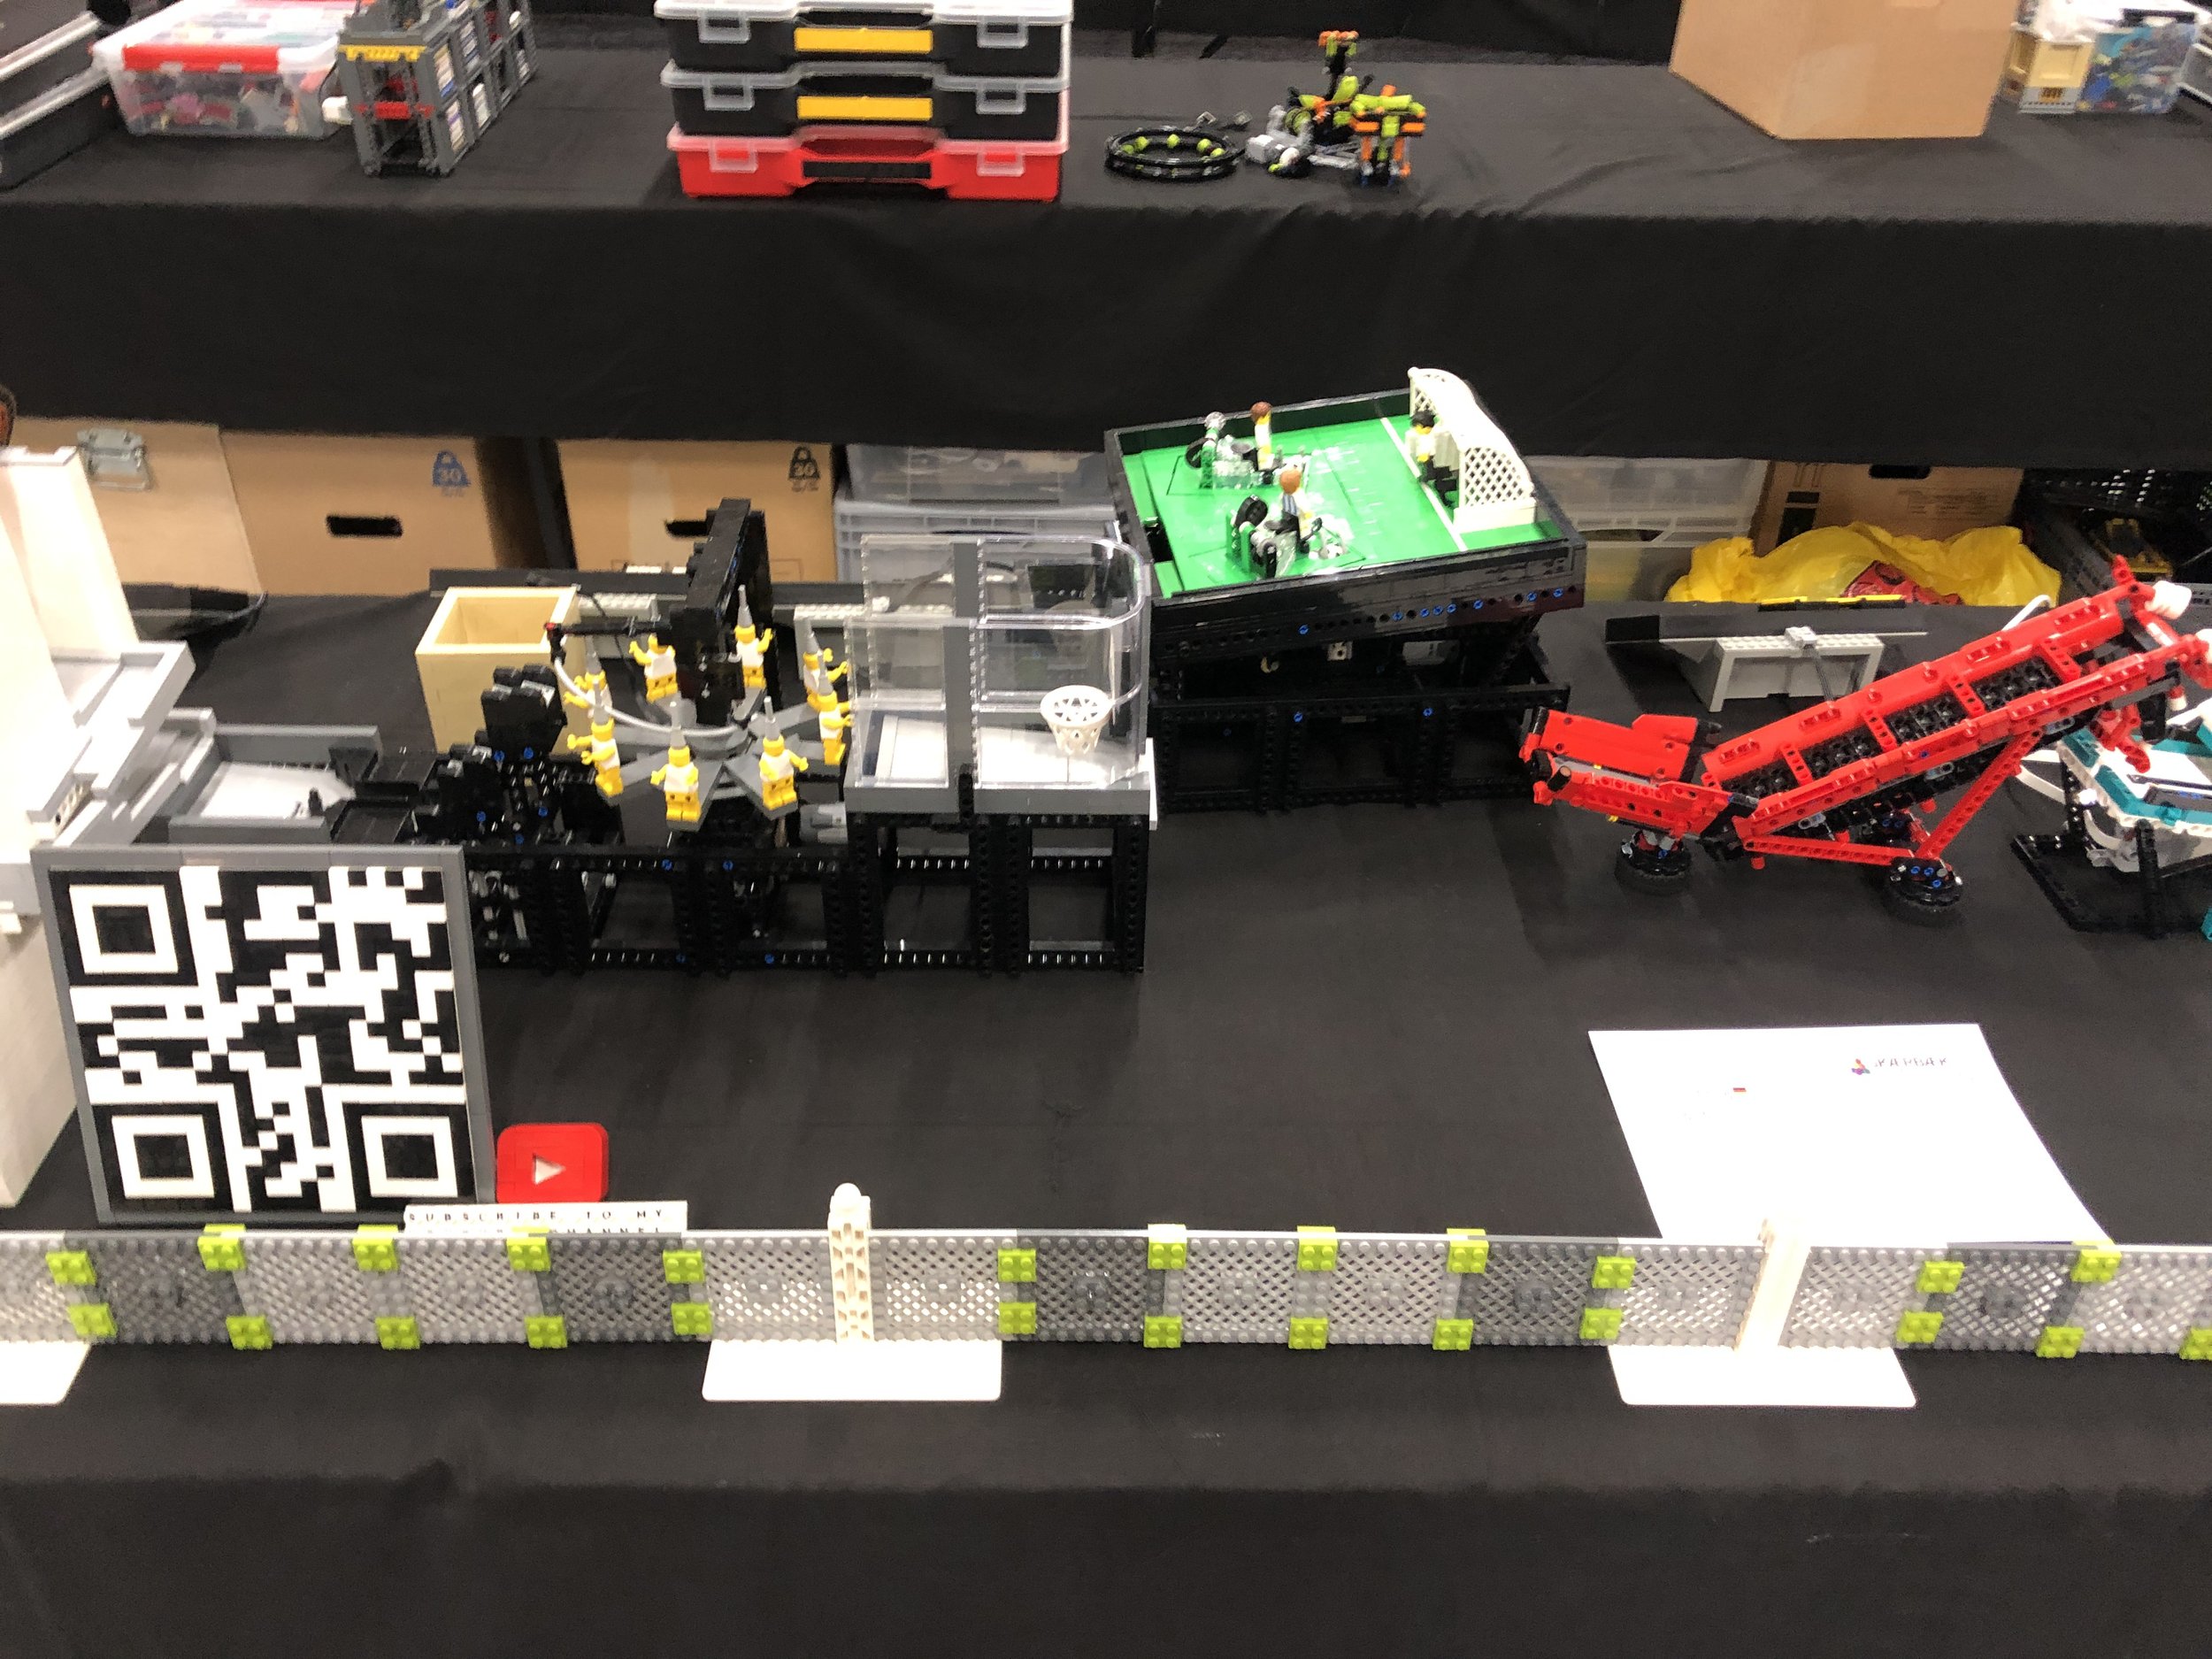
After approximately 80 to 100 hours of building, this is the initial version of the module. I constructed it for an event in 2022, PKH 2022 in Trondheim, Norway. I attended a local LUG meeting two weeks before the event, providing the perfect opportunity to test the module. I have added some more pictures of the building process in the carousel below.
Testing, Testing, Testing…
Depending on which GBC builder you ask, opinions on this “testing” part vary greatly. The most satisfying aspect of completing a GBC module is when it performs flawlessly at its debut event. Unfortunately, this outcome is more often the exception than the truth. Especially for this module, I had various issues that needed to be fixed, requiring several rebuilds for parts breaking off and getting stuck in ball pumps and so on. I will go over my changes one by one so you can learn from the fixes.
Springs breaking off
The first major issue I encountered was that after about 10 to 16 hours of running, the spring of part 30488 would break off, resulting in a loose spring in my module and a non-functional module—not nice if you are eating lunch at an event! This problem had to be resolved.

The fix was an entirely new shooting mechanism using rubber bands and part 43372. By rotating an axle, the shooting mechanism gets pulled back and released,= resulting in a shooting figure on the top of the field. This change resulted in a more flush design because the shooting mechanism is hidden underneath the soccer field.

At this point, it was 2023, and LEGO started to release more parts in bright green, which helped reduce the gaps in the shooter part.
Flex tubes
The flex tubes in my ball pumps were flexing too much (quite ironic!), causing the balls to not stay in front of the shooter but rather find a way out. I had to insert some iron wire inside the flex tubes to address this issue to reinforce them.

Universal joints / CV joints
The torque needed to run this module was initially quite high, especially before I made changes to the shooter mechanism. I encountered issues resulting in breaking several universal joints which was a significant problem that needed addressing. The solution was to replace the universal joints with CV joints, as they can handle much more torque compared to the standard universal joint. Additionally, decreasing the angle on the CV joint helped alleviate the problem.


While these adjustments may appear minor and straightforward to implement, it's important to note that some of the major issues only arise after the module has been running for over 10 hours. Therefore, I had to test my modifications at an event, make further adjustments at home, then repeat the process at the next event, and so on. This iterative process took me approximately 2 years, but now I am finally satisfied with the module!
Scoring a Goal
As a final note, I want to emphasize that this GBC module is quite complex and challenging to build for events. If you're considering getting into GBC building, I wouldn't recommend starting with creating your own modules, especially if they involve intricate mechanisms or numerous moving parts like this one.

Instead, I suggest beginning with a simpler module to learn from the mechanisms and tricks that have already been refined by others. This approach will provide a solid foundation before tackling more complex builds. You can find some easy-to-build modules at the following websites:
Finally, are you curious about how I achieved those awesome camera movements and transitions in my video? Believe it or not, it was all done using LEGO parts! In my next article, I'll dive into detail about how I constructed my camera slider entirely from LEGO pieces. Stay tuned!
What other sport would make a good GBC module? Let us know in the comments below.
Do you want to help BrickNerd continue publishing articles like this one? Become a top patron like Charlie Stephens, Marc & Liz Puleo, Paige Mueller, Rob Klingberg from Brickstuff, John & Joshua Hanlon from Beyond the Brick, Megan Lum, Andy Price, Lukas Kurth from StoneWars, Wayne Tyler, LeAnna Taylor, Monica Innis, Dan Church, and Roxanne Baxter to show your support, get early access, exclusive swag and more.