Heigh-Ho! Making a Motorized Mine for the Seven Dwarfs
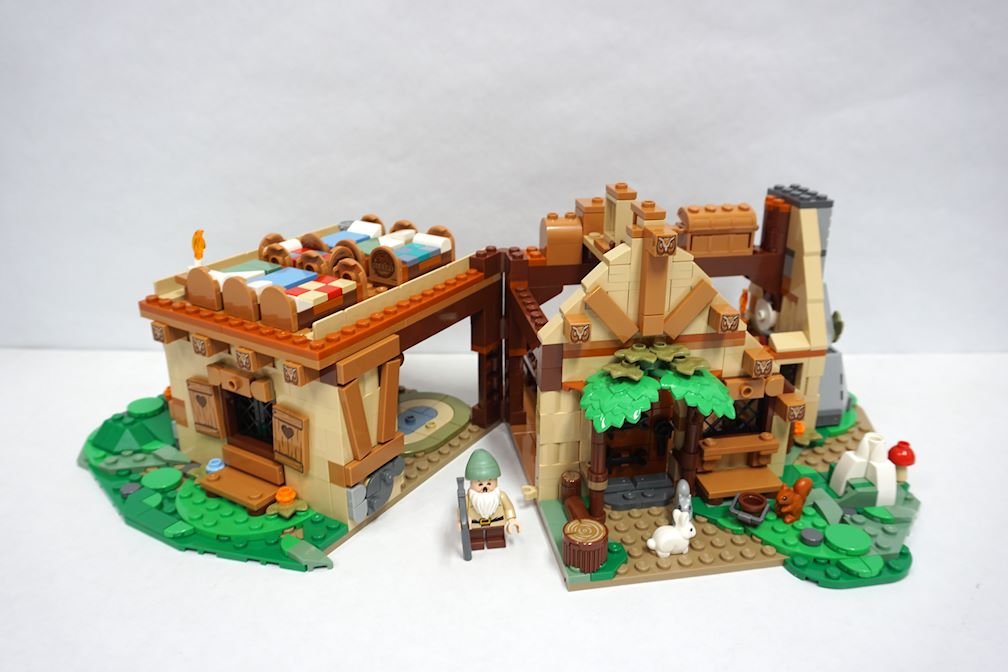
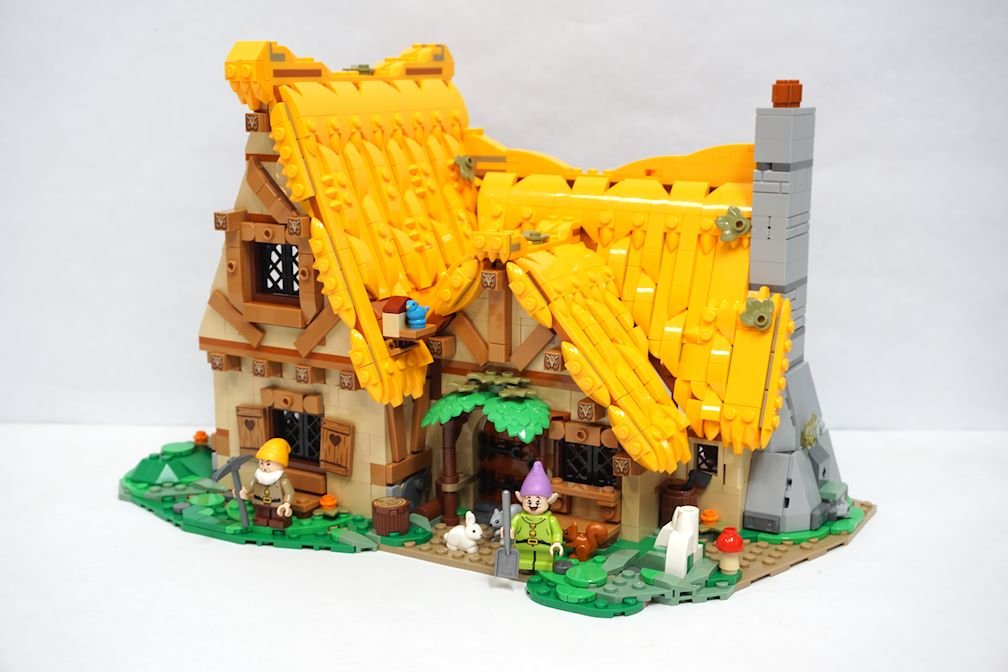
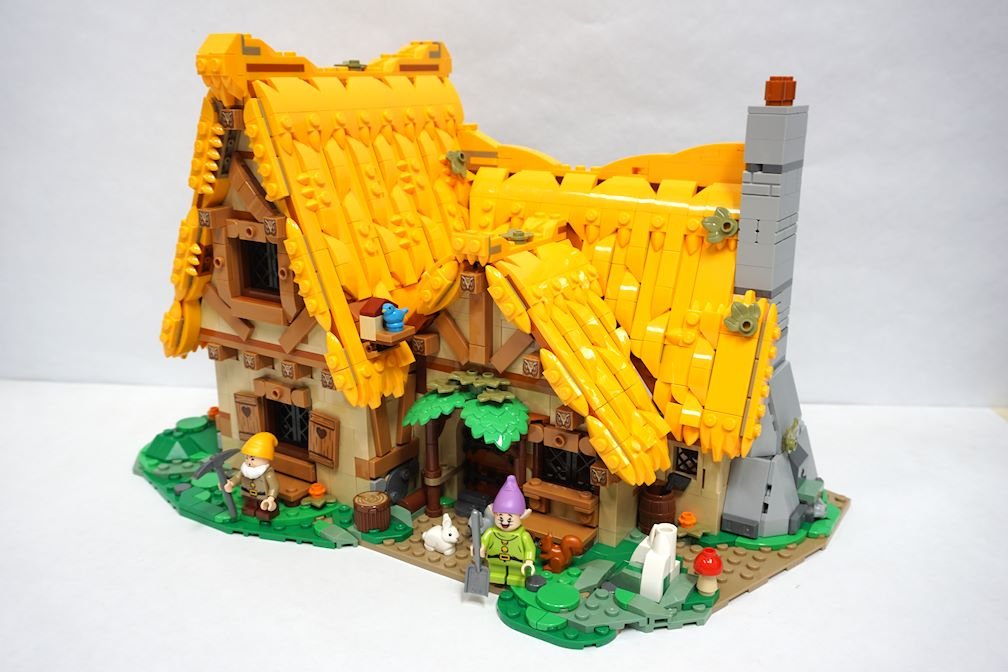
/Howdy good BrickNerd readers! This article marks an exciting first for me in being offered a yet-to-be-announced LEGO set to play with. I know many blog sites across the interwebs (including BrickNerd) regularly have this wonderful opportunity, but as it’s my first time, I got to feel that special buzz of doing something new and guarding a big “insider secret.” As you can see from the article’s main image, I was especially lucky to receive 43242 Snow White and the Seven Dwarfs Cottage a few weeks ago. My quick review? This is a real beauty, I can tell you—bravo LEGO!

This is a stellar set, totally love it!
The first challenge was coming up with a unique angle to approach an article, as is the BrickNerd way. If you’d like to also read an in-depth review of the set, I’d encourage you to hop on over to one of our LEGO-verse counterparts (The Brothers Brick or Jay's Brick Blog, among others) who approach reviewing sets in a more standard way. But back to my angle: granted I knew I’d obviously focus on building a MOC or modding the set as is my usual schtick, but would it be an alternate build using the parts of the set? Or perhaps I would build something complementary?
Lucky for me, like lightning, inspiration struck quickly. When we were spitballing build ideas for an angle, our Nerd-in-Chief Dave asked, “Could you motorize the set?” What? Motorize a static set not meant for movement? And suddenly I was hit by the idea to build a motorized mine scene right under the house!

Now there’s some artistry eh!
So I started building.
Part 1: The Set
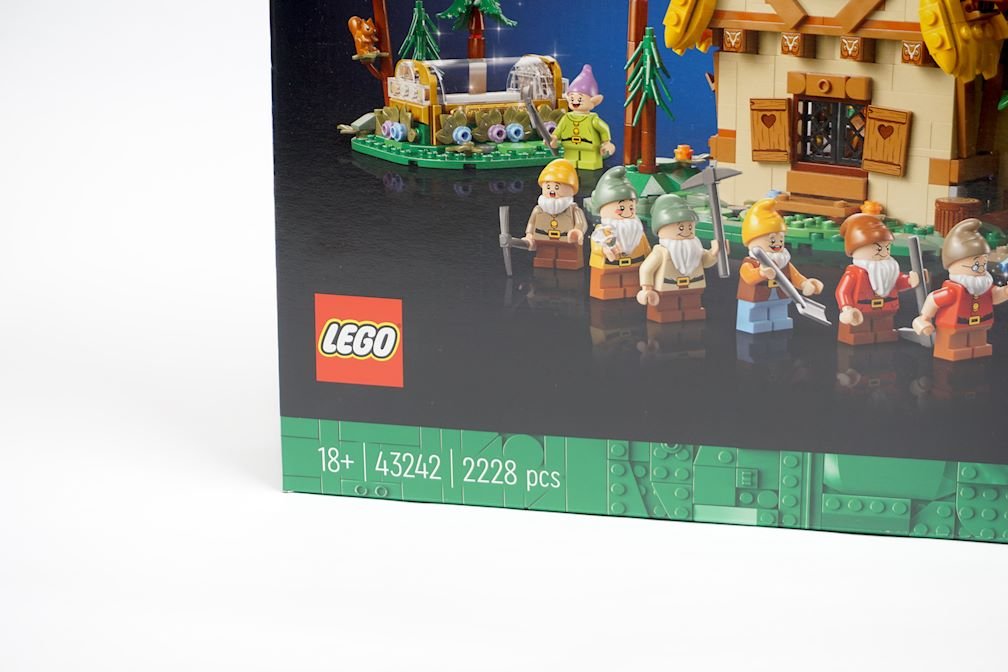
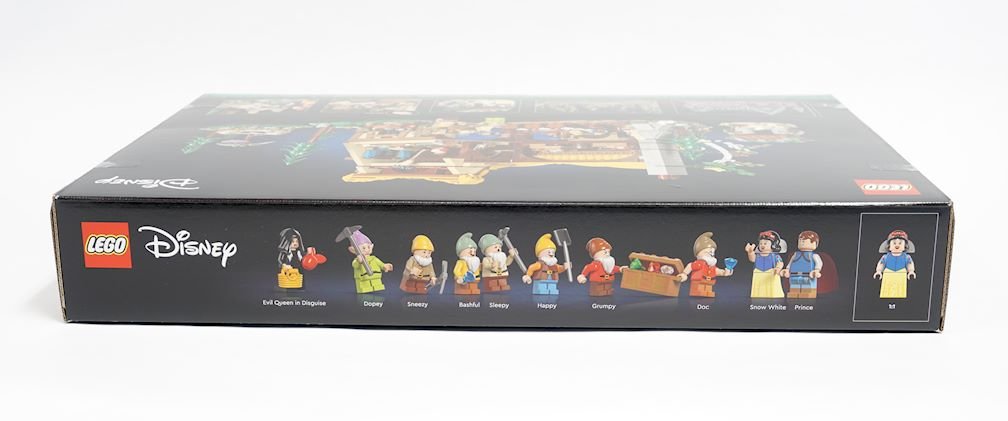
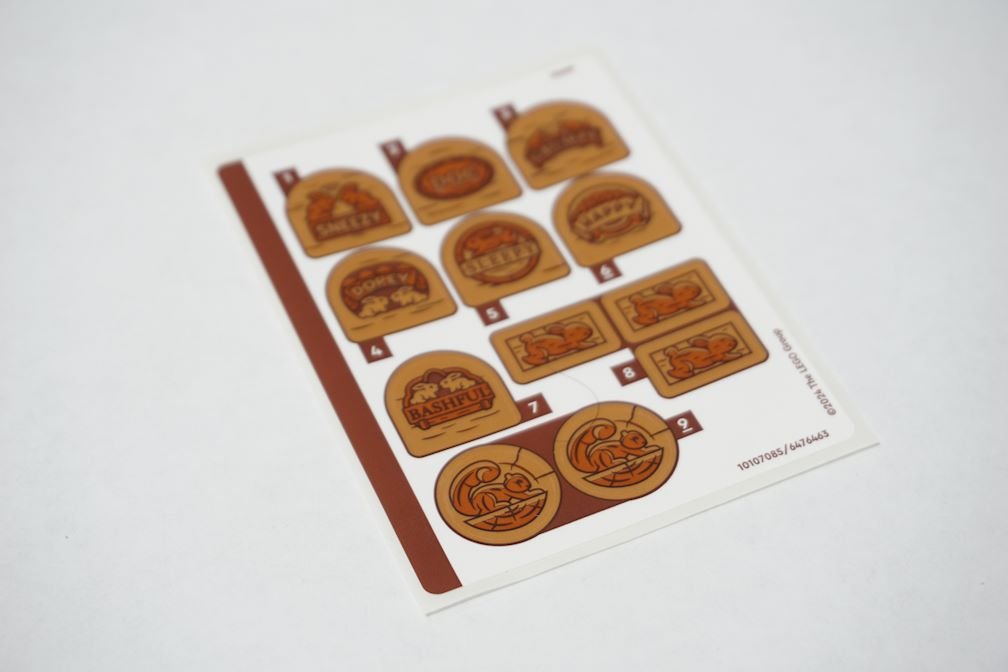
I won’t spend a ton of time here writing up the set details, but here are the basics. 43242 Snow White and the Seven Dwarfs Cottage has 2228 pieces and is available starting today for LEGO Insiders for around $220 US. It comes with ten minifigures of nearly all the characters from the animated film. When opened, the set contains 14 plastic bags (no paper ones yet, sadly), two loose 16x16 dark tan plates, instructions in a cardboard pouch with a thicker single booklet, and one small sticker sheet.

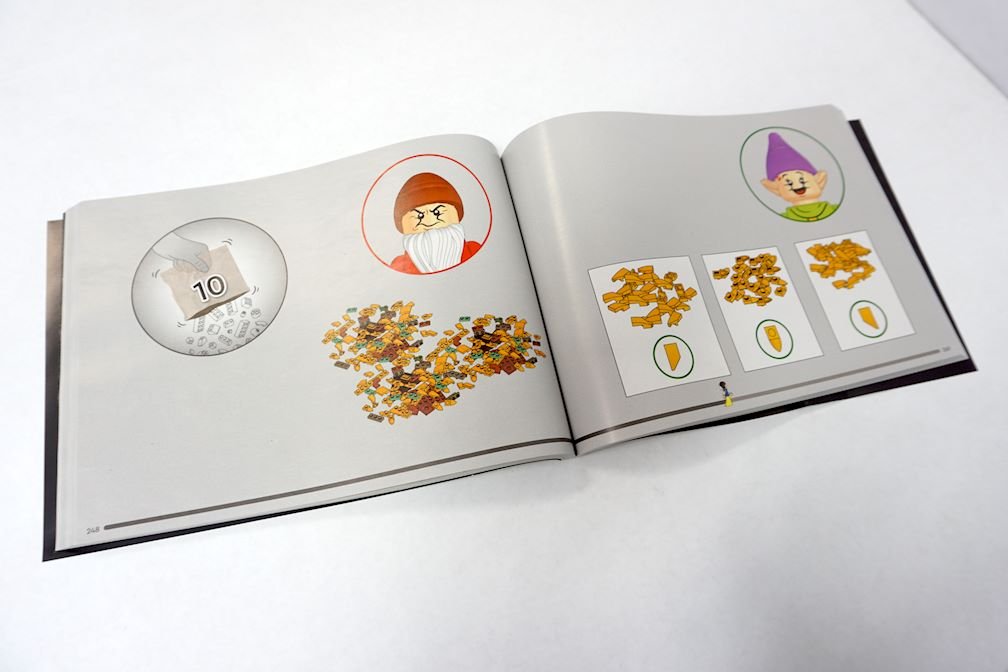
The instructions have a premium feel, with four pages on a snazzy black background containing images, facts, and a designer quote. After that, they transition to the traditional light (grey) background with a progress bar at the bottom: Snow White is the progress marker. There are 374 pages, not including the back cover.
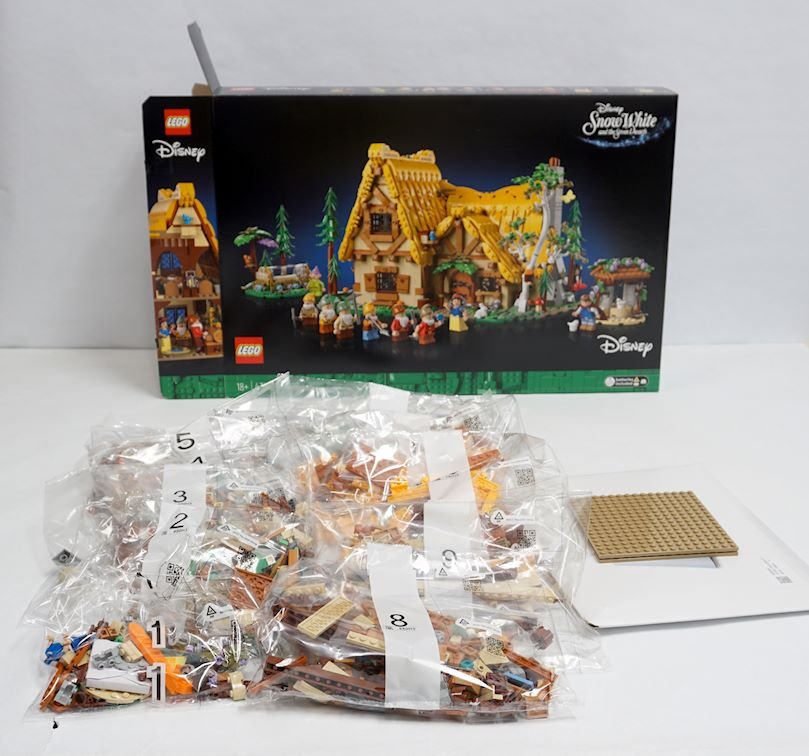


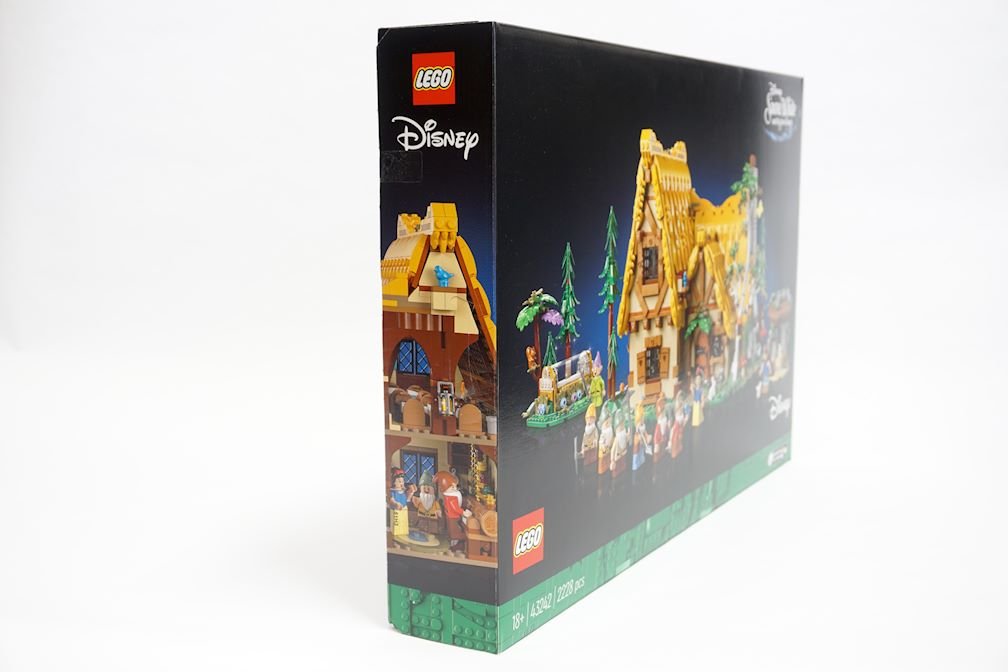
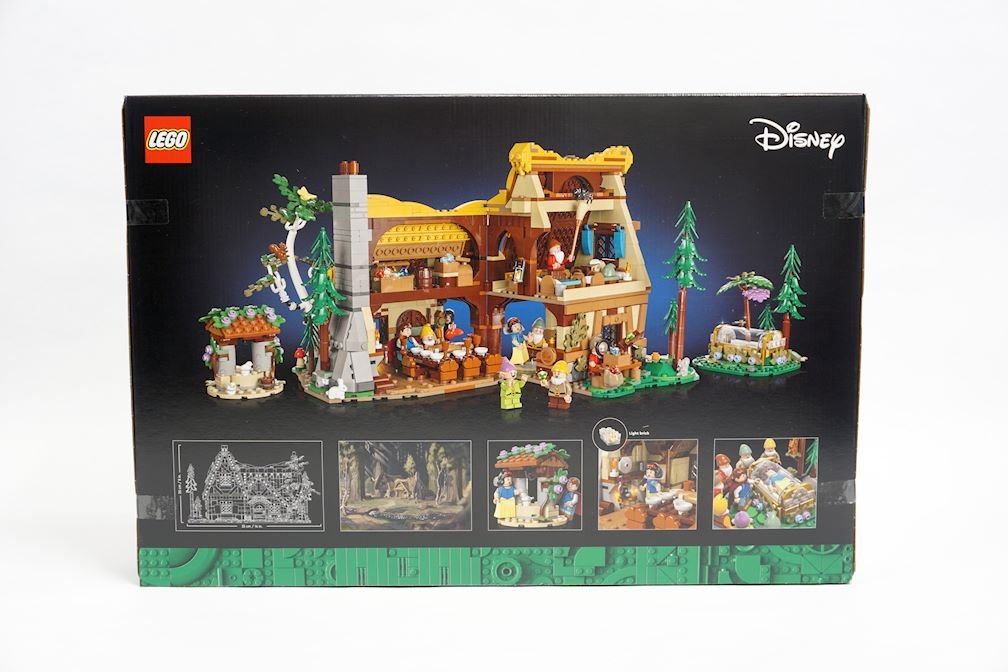
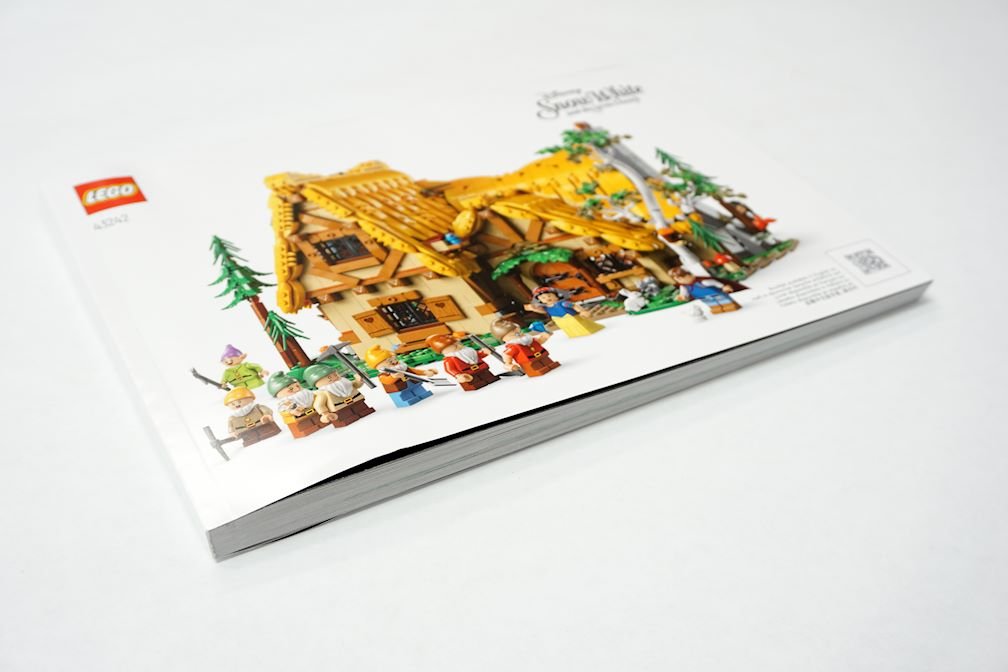
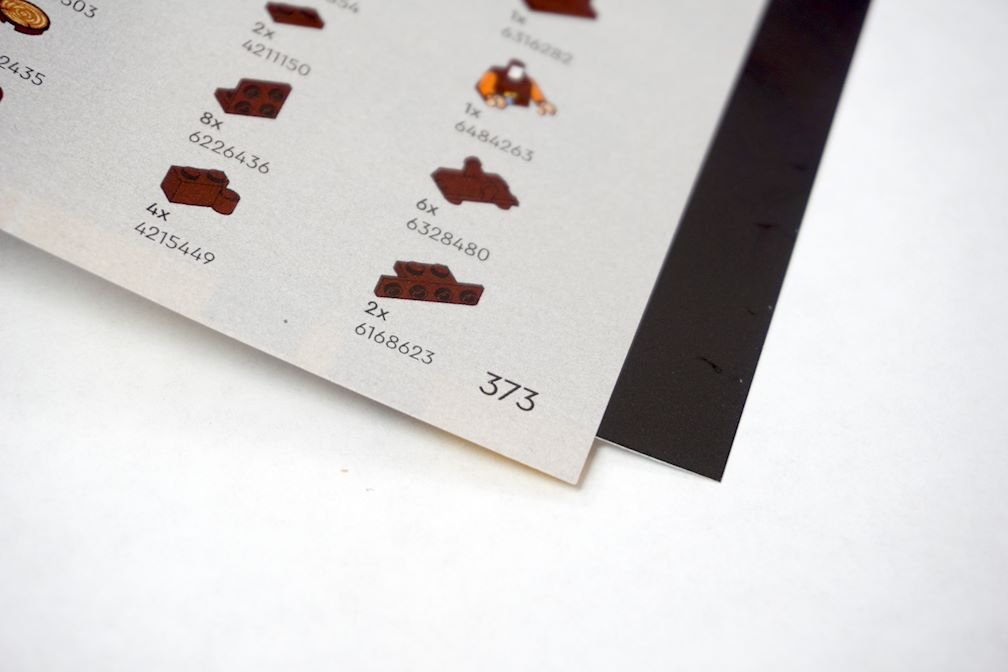
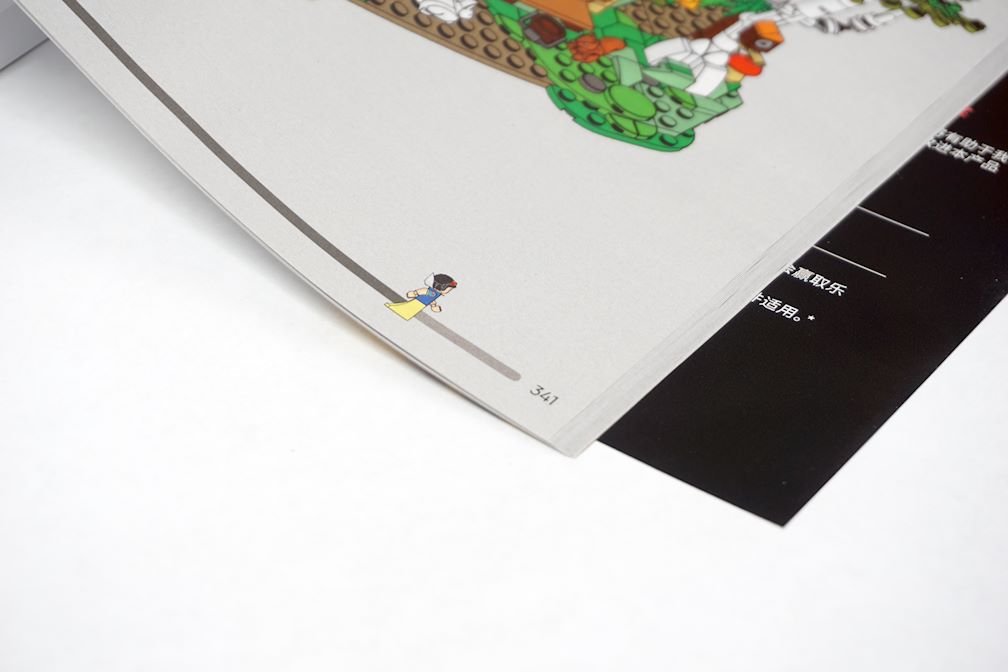
Above are images of the set as I received it and the instructions manual. Here’s a very hasty list of the build order by bag, with a couple of notes thrown in:
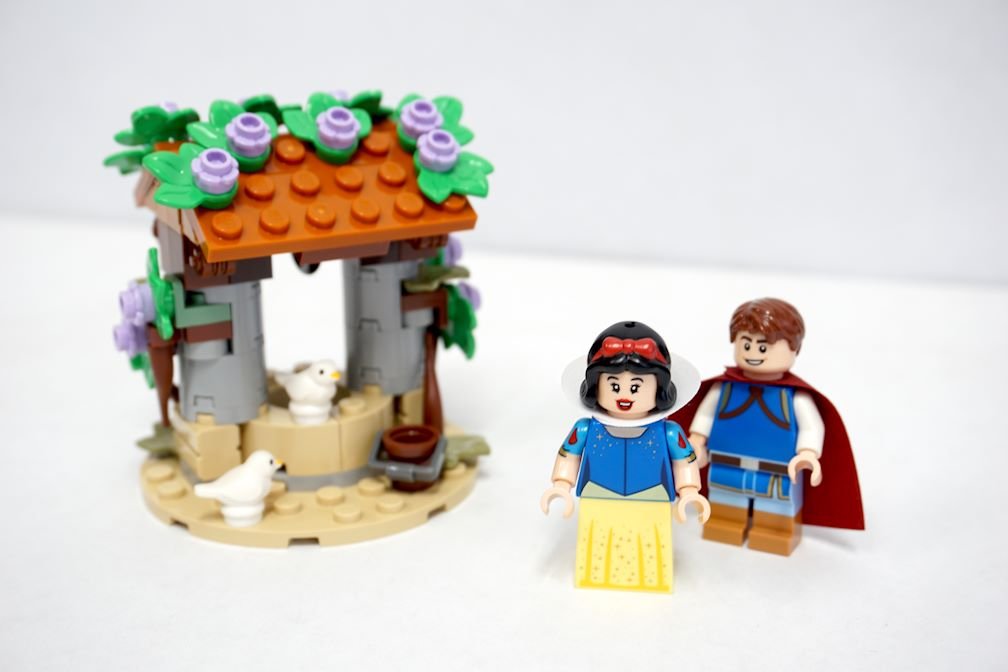
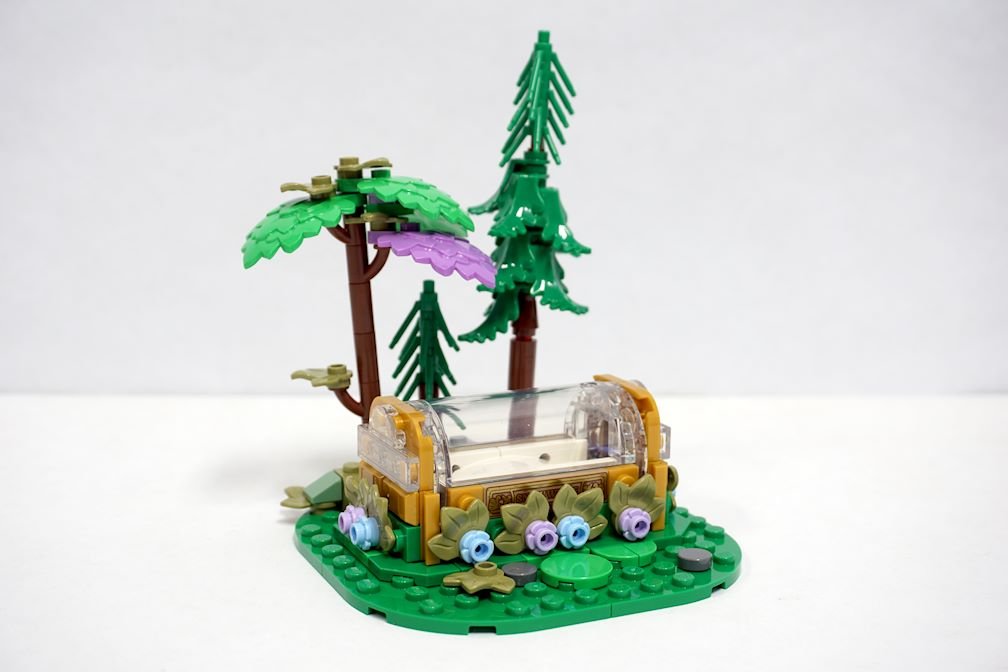
Well, Snow White and Prince Florian
Cute little scene to start with.
Cottage foundation
Continue cottage base, plus Doc
Continue first cottage section, plus Grumpy
Start second cottage section
This is bigger than I expected.
Continue second cottage section, plus Happy
Continue second cottage section, plus Bashful
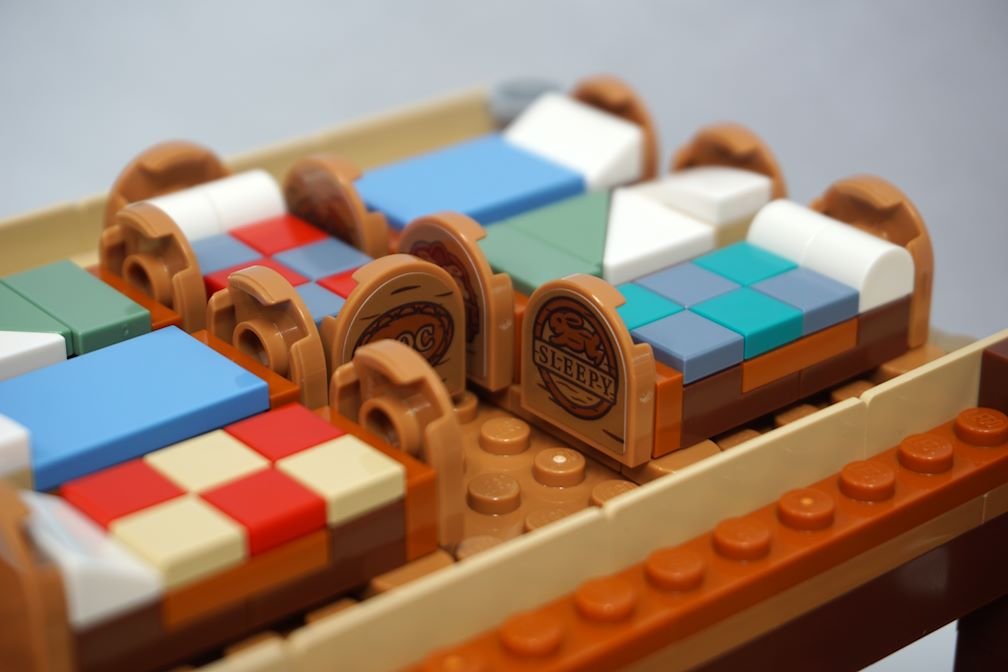
Interior details like beds, combine two sections of of cottage, plus Sleepy
Of course they put sleepy with the beds…
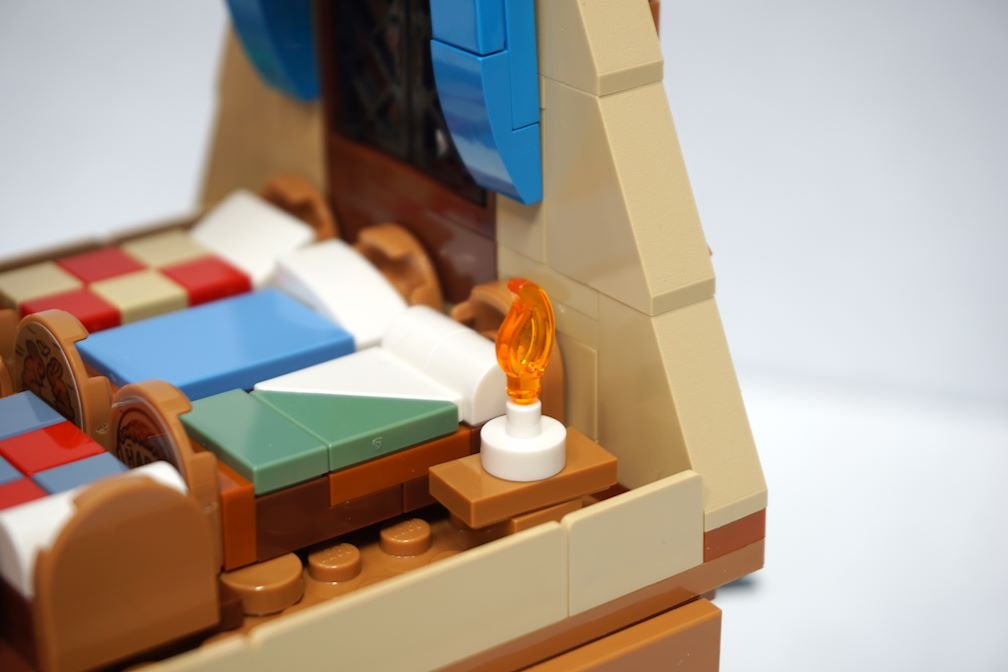
Continue cottage details like attic features and structure, plus Sneezy
Kept knocking over a candle again and again.
Create a big chunk of the textured roof
Really neat techniques and a funny direction to organize the parts at first. Also, I had two extra bowed slopes afterward, which made me question my sanity…
Additional roof work, plus Dopey
I’m starting to feel dopey after looking at this roof so much…
Finish the last roof panel
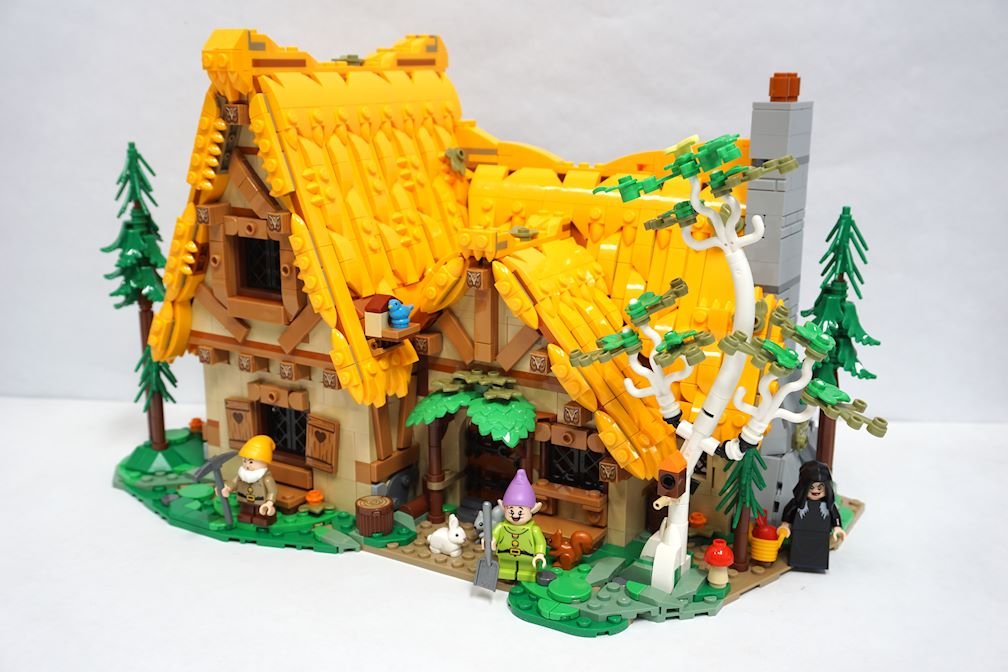
Trees, gem workbench, plus the Evil Queen in witch form
Glass coffin and surrounding scene
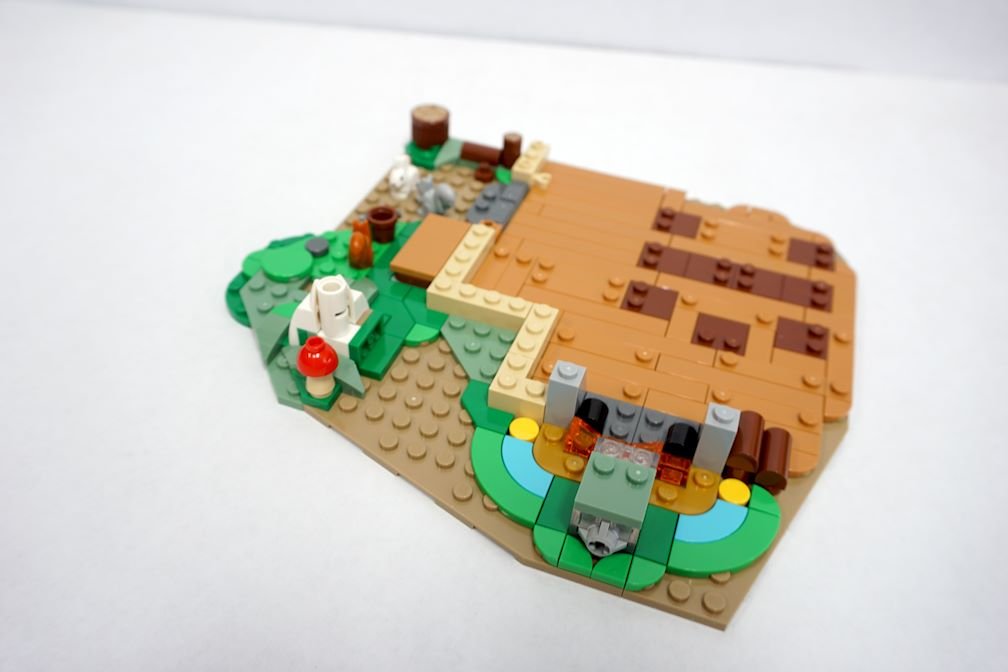
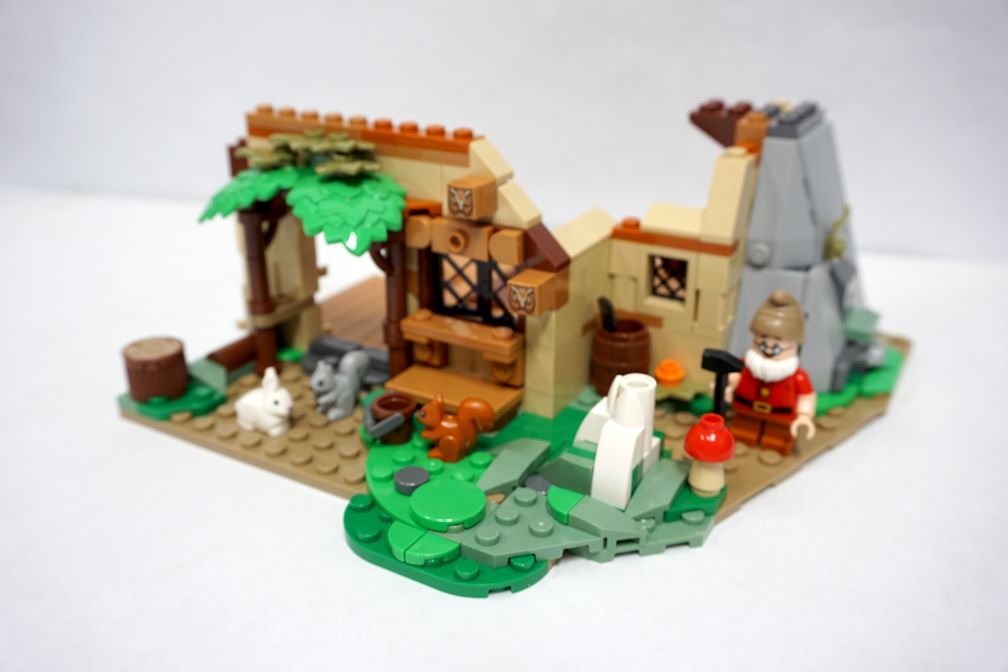

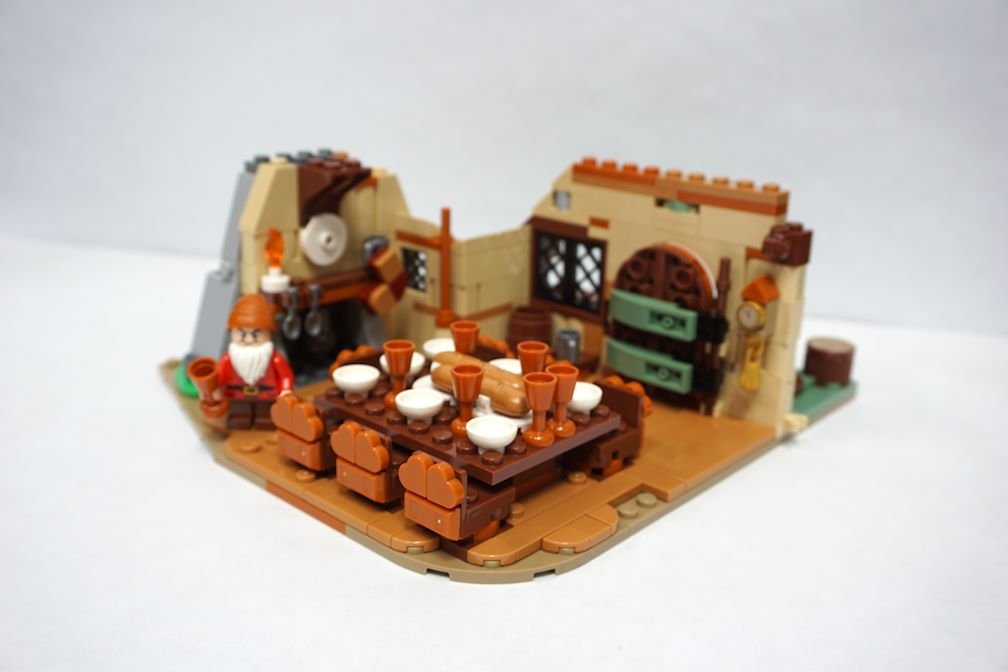
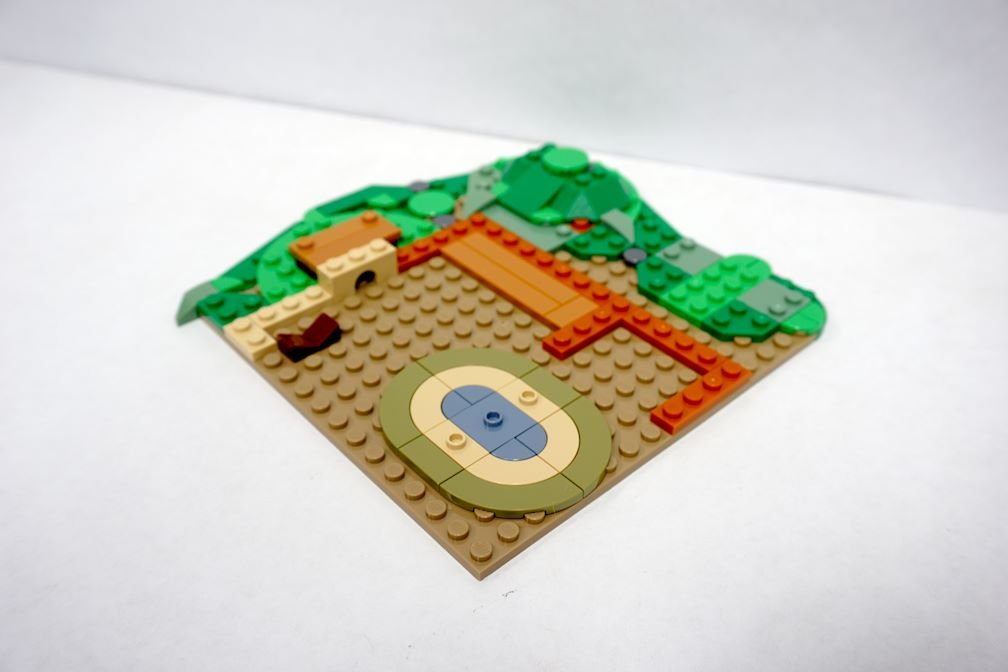

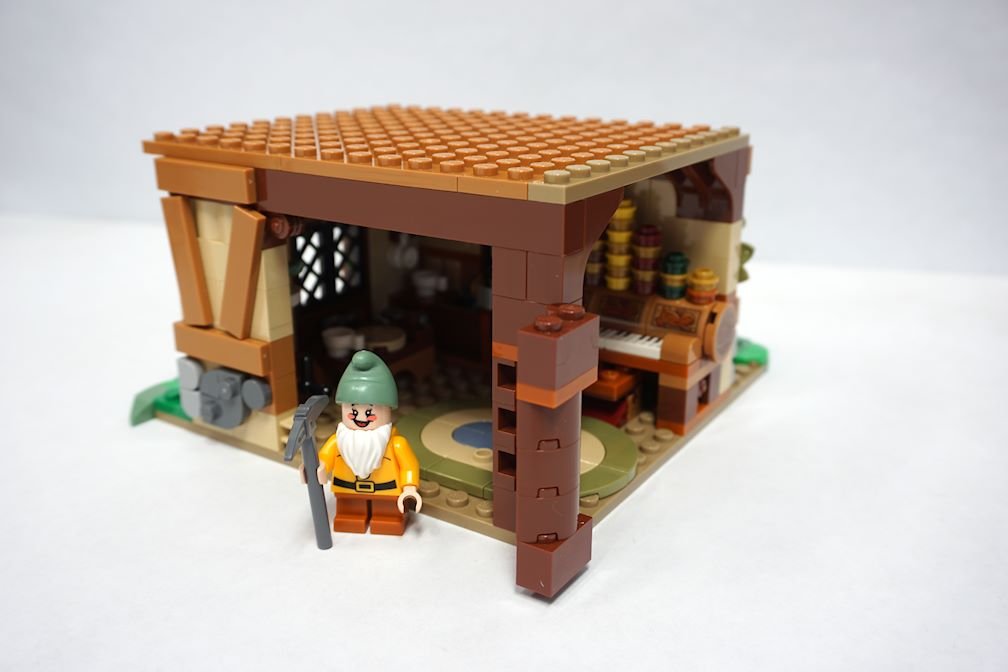
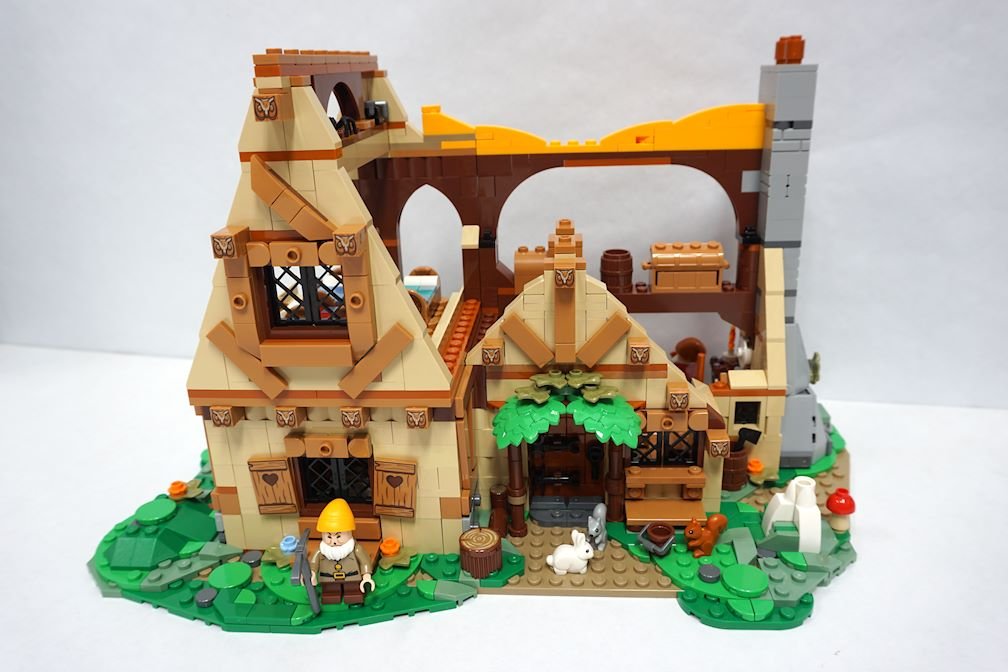
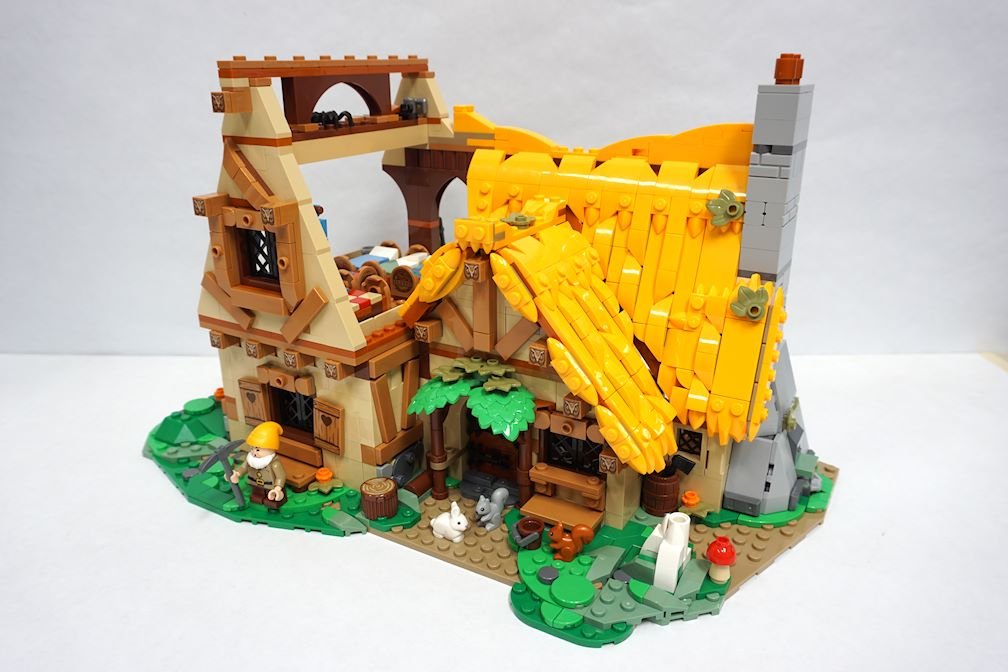
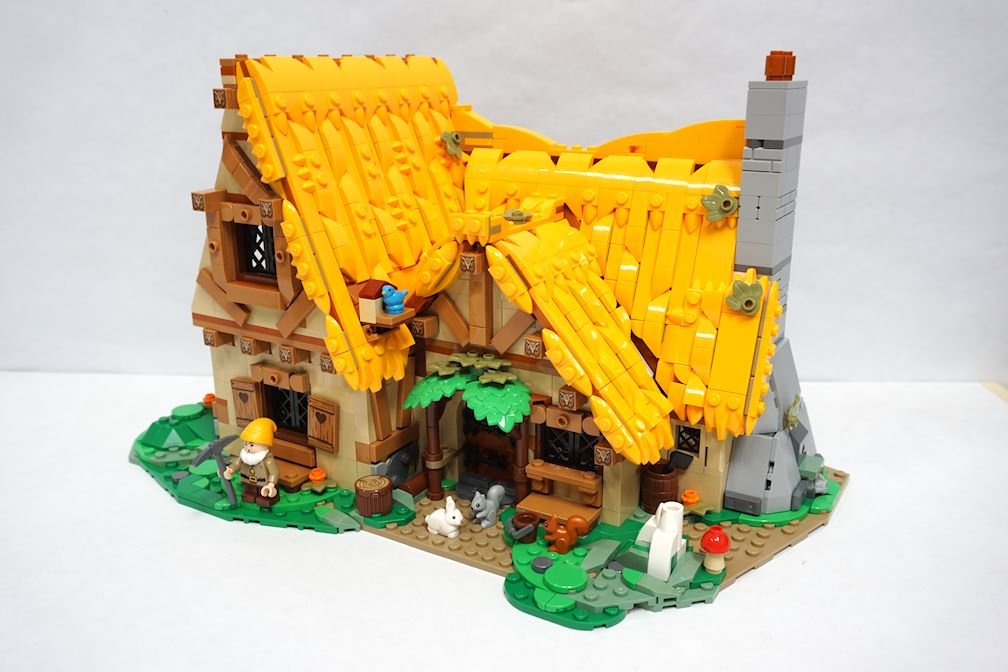
Above you can see the progression of the set from each bag.

Now, I’m not a new parts connoisseur (nor a regular set reviewer), but I’ll leave you with a couple of notes: I thought the newish broad leaf piece over the front door looked clunky at first, but when integrated into the set, they fit perfectly for this type of cartoony scene. The building experience was rewarding, and though the roof was quite repetitive, the effort is worth it because the result is really lovely!
Part 2: The MOC
Now it was time to start motorizing the set! As usual, the initial step for building a MOC for me was to brainstorm and sketch out concepts and ideas for features to include. I had big eyes on this one and had to pull back my ambitions later based on the amount of time available and my limited dark bluish grey parts collection (plus, I knew I didn’t have time to make BrickLink orders to supplement what I had on hand).
Once I had the sketch that I shared above, I was ready to dive in.
Motorizing a Mine Cart
First up was building a motorized mine cart mechanism. I had all sorts of ideas but ultimately decided to use the rollercoaster parts and making them move by having wheels hidden in the back to propel the thing along.

The mechanism after I finally had all the carts!
One of my biggest issues building the MOC was procuring the additional carts and wheels I needed. Weirdly I had some carts without wheels… a mystery for sure. And for this design, I needed a continuous ring, so I also needed three more carts. My pals from my local LEGO Users Group in Seattle, SeaLUG, ultimately hooked me up! (I’d have preferred to order brown or black carts, but hey, use what you have on hand!)
I struggled to get the motion to be fully smooth, and though I’m happy enough with the final result, I would have liked more time to play with it. I also have quite a silly tall tower for the right-hand motor and that’s simply to get out of the way of the moving reindeer antlers. Given more time, I’d have drastically reduced the size of that gear train and cleaned it up… but it’s hidden, so no biggie!
Building the Base
Next up was building up a base around the rollercoaster track to get everything nice and level and to hide the unseemly modern hardware. This was pretty straightforward, though it kind of feels like a Star Wars build at this point.

Ready to build upwards and onwards!
It took some work to minimize the gaps around the track and ensure the carts didn’t catch an edge as they moved, but it really wasn’t so bad. The center oval-shaped area is made to easily come out if I have to dig in there and fix anything. I wouldn’t want to have to take all the stuff off up top but at least it’s doable in a pinch.
The mine cart! Image on the right courtesy of Youtube video “Heigh Ho - Snow White and the Seven Dwarfs”
Designing the mine cart took two iterations, but I’m pleased with how it matches with the movie design. I also used to have the cart and reindeer tied together like in the movie which was able to actually rotate. But that caused some frustrations (of the cussing variety), so I figured out a way to make it look close enough like they’re connected but keep them solidly attached to their own rollercoaster cars.
The Rock Walls
Now for the most time-consuming aspect of the MOC: the rock walls. It took quite a bit of planning, trial and error, and effort to get things set up the way I liked, and then a ton of painstaking time putting the SNOT-built rockwork segments up.

The first tower is up!
I ended up building what amounts to four rock towers with suspended arches between two of them, as well as a small central section between the two mirrored sides. It was a huge time saver to purposefully copy and mirror the left side from the right side, phew! I also started to high gems here and there throughout the mine.

First half down, who has a LEGO photocopier handy??
As you can tell, I was also working on the side and back walls at this time—it all came together in spurts, but indeed it came together! I also knew I wanted to support the original, heft set so I built a hidden support inside as well.

Had to squeeze in a little pink :)
The Plate Platform
After finishing the walls, I had to set up a plate platform for the set to rest upon. I specifically wanted each layer of this build to be removable for transport, ease in maintenance, and any other benefits I can’t recall at the moment, so there are lots of tiles on the interface of each layer.

plates on plates on plates!
The plate layers came together reasonably quickly—I was in a rush, so I didn’t sweat the small stuff, but I think it matches up well with the original style and feel of the cottage set, so that’s a relief.
Finishing Touches
Last but not least, I worked on the finishing touches. This is work like placing the tiles for the set to rest upon or creating lots of little landscaping details to fill in the rest of the space, like a pumpkin patch (thanks for the idea, Keith!), more trees, plants, etc.

Pumpkins galore!
I also added lights to the house so it would light up at night along with the lantern I had already incorporated into the base in the mine down below. It also made the cottage feel more cozy!
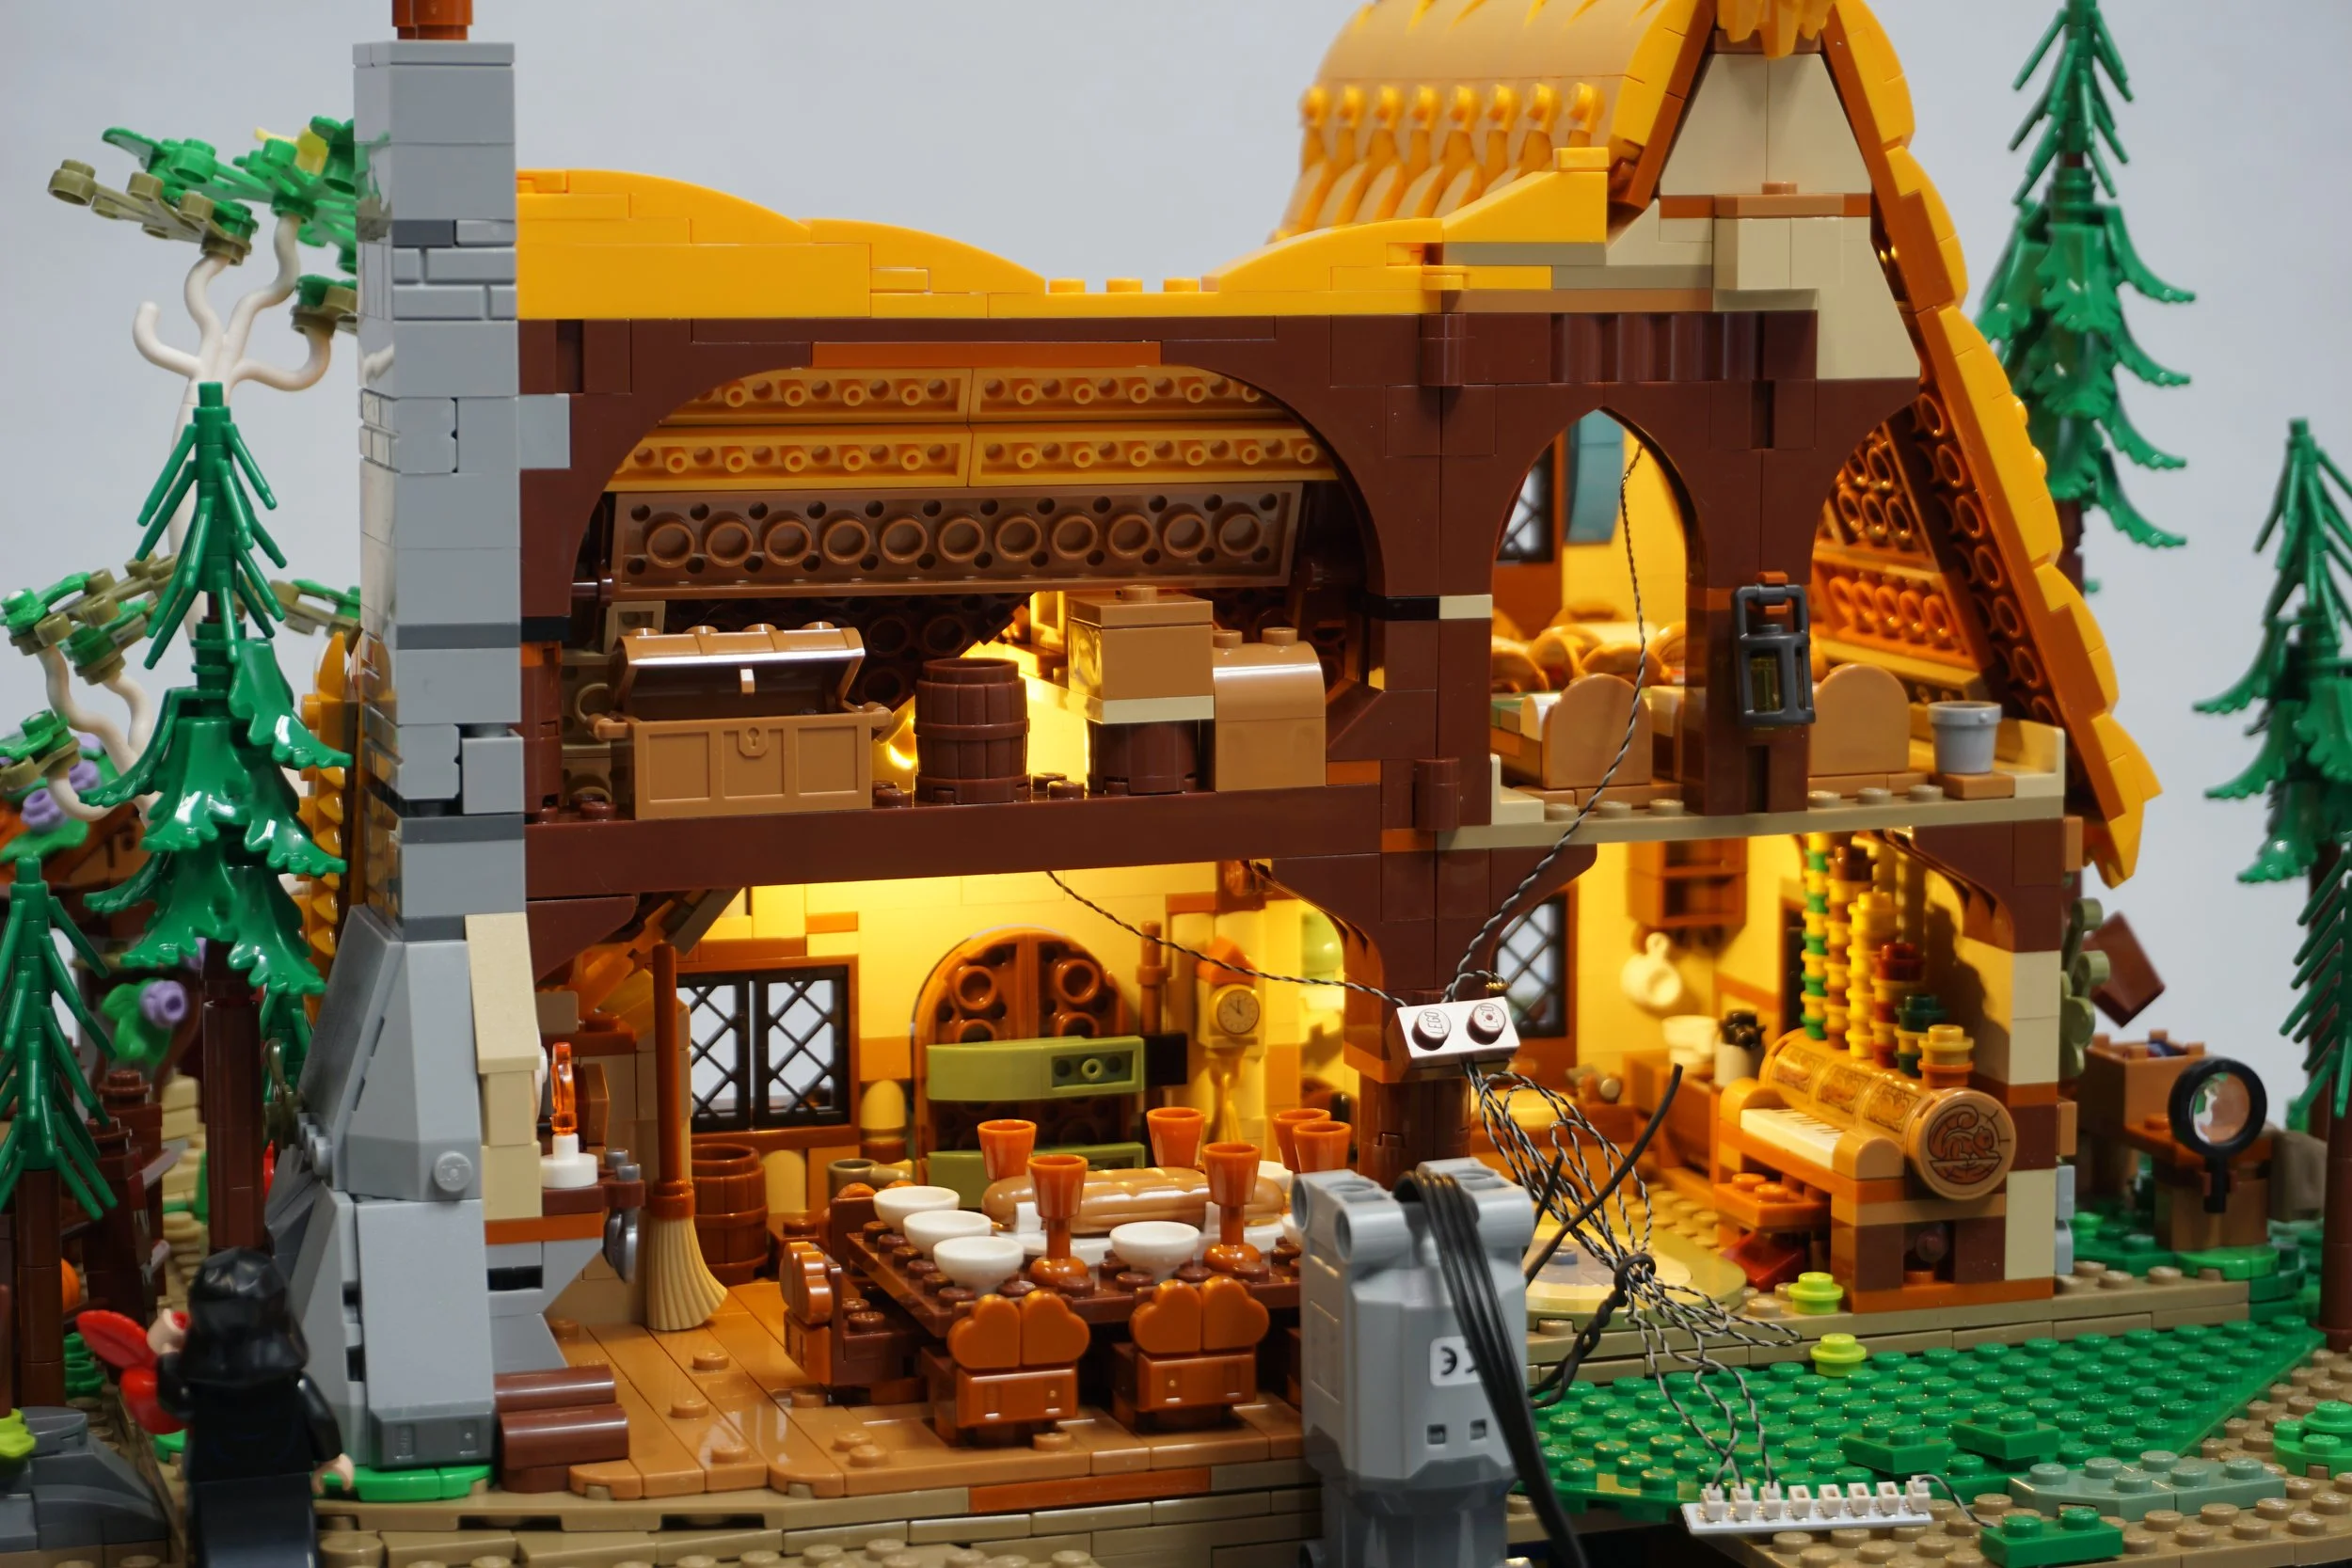
What a cosy little home!
I also enclosed the back of the base as much as possible to keep the mine shafts as dark as possible, but I’ll be happy to open it up at LEGo conventions if people want to see inside.
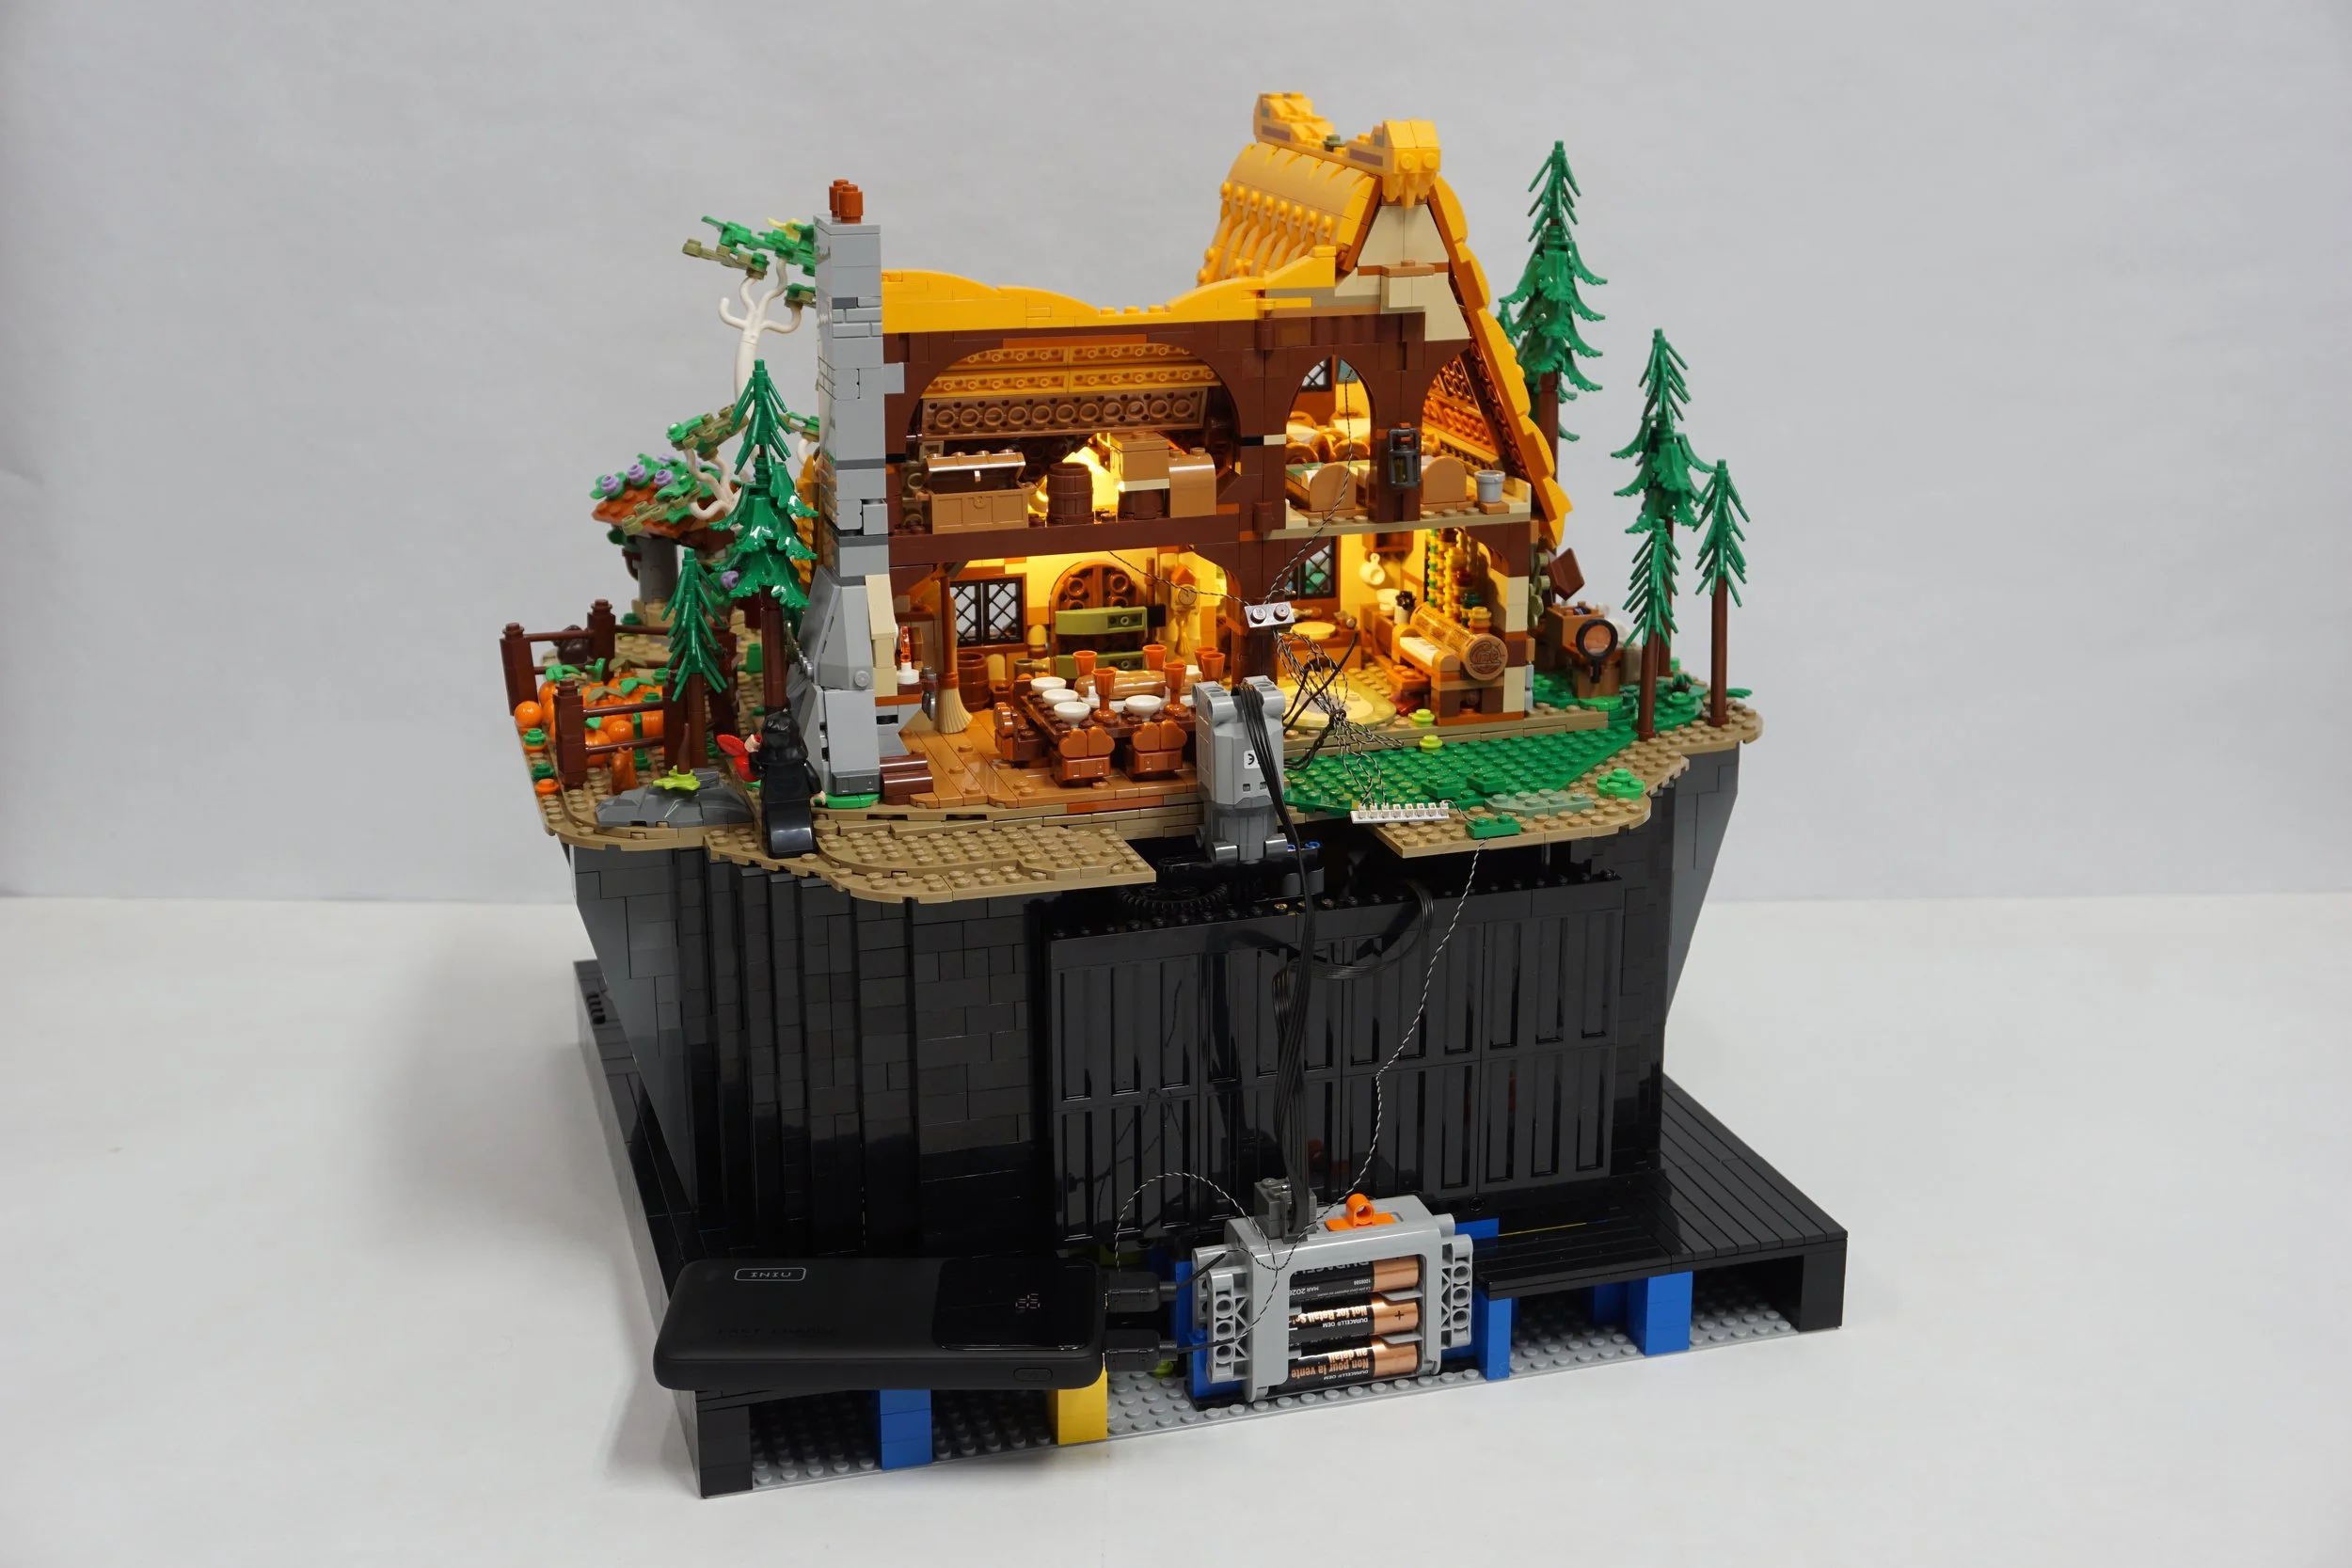
the uh, real perdy back…
Now it was time to turn on the lights, photograph it, and take a video! Woop woop! The build was done JUST IN TIME and I didn’t have to sheepishly ask Dave for more time!

A Moving Mine
Now who wants to watch the dwarves march in beat over and over and over in a mesmerizing circle!? Before you do, push play on this video and we can all enjoy the music together.
Got the music going? “Heigh-ho, Heigh-ho, It’s home from work we go…”

Heigh ho, it’s home from work we go!
And now for the grand finale! Here’s the completed build sitting all comfy under the Dwarfs’ cottage! It almost looks like it was meant to be that way! It isn’t raised up as much as the Gringotts Bank, but feels more incorporated.
Whoila, the MOC and the Set married together… “And they Called it a Mine!”
As you can tell, I immensely enjoyed the process of building the 43242 Snow White and the Seven Dwarfs Cottage, designing a MOC around it, and making it move! I encourage you to try something like this someday—pick a set that might be fun to enhance and have at it. If you do, please let us know down in the comments!
DISCLAIMER: This set was provided to BrickNerd by The LEGO Group. Any opinions expressed in this article are those of the author.
What other set would you like to see motorized that you don’t expect? Let us know in the comments.
Do you want to help BrickNerd continue publishing articles like this one? Become a top patron like Charlie Stephens, Marc & Liz Puleo, Paige Mueller, Rob Klingberg from Brickstuff, John & Joshua Hanlon from Beyond the Brick, Megan Lum, Andy Price, Lukas Kurth from StoneWars, Wayne Tyler, LeAnna Taylor, Monica Innis, Dan Church, and Roxanne Baxter to show your support, get early access, exclusive swag and more.