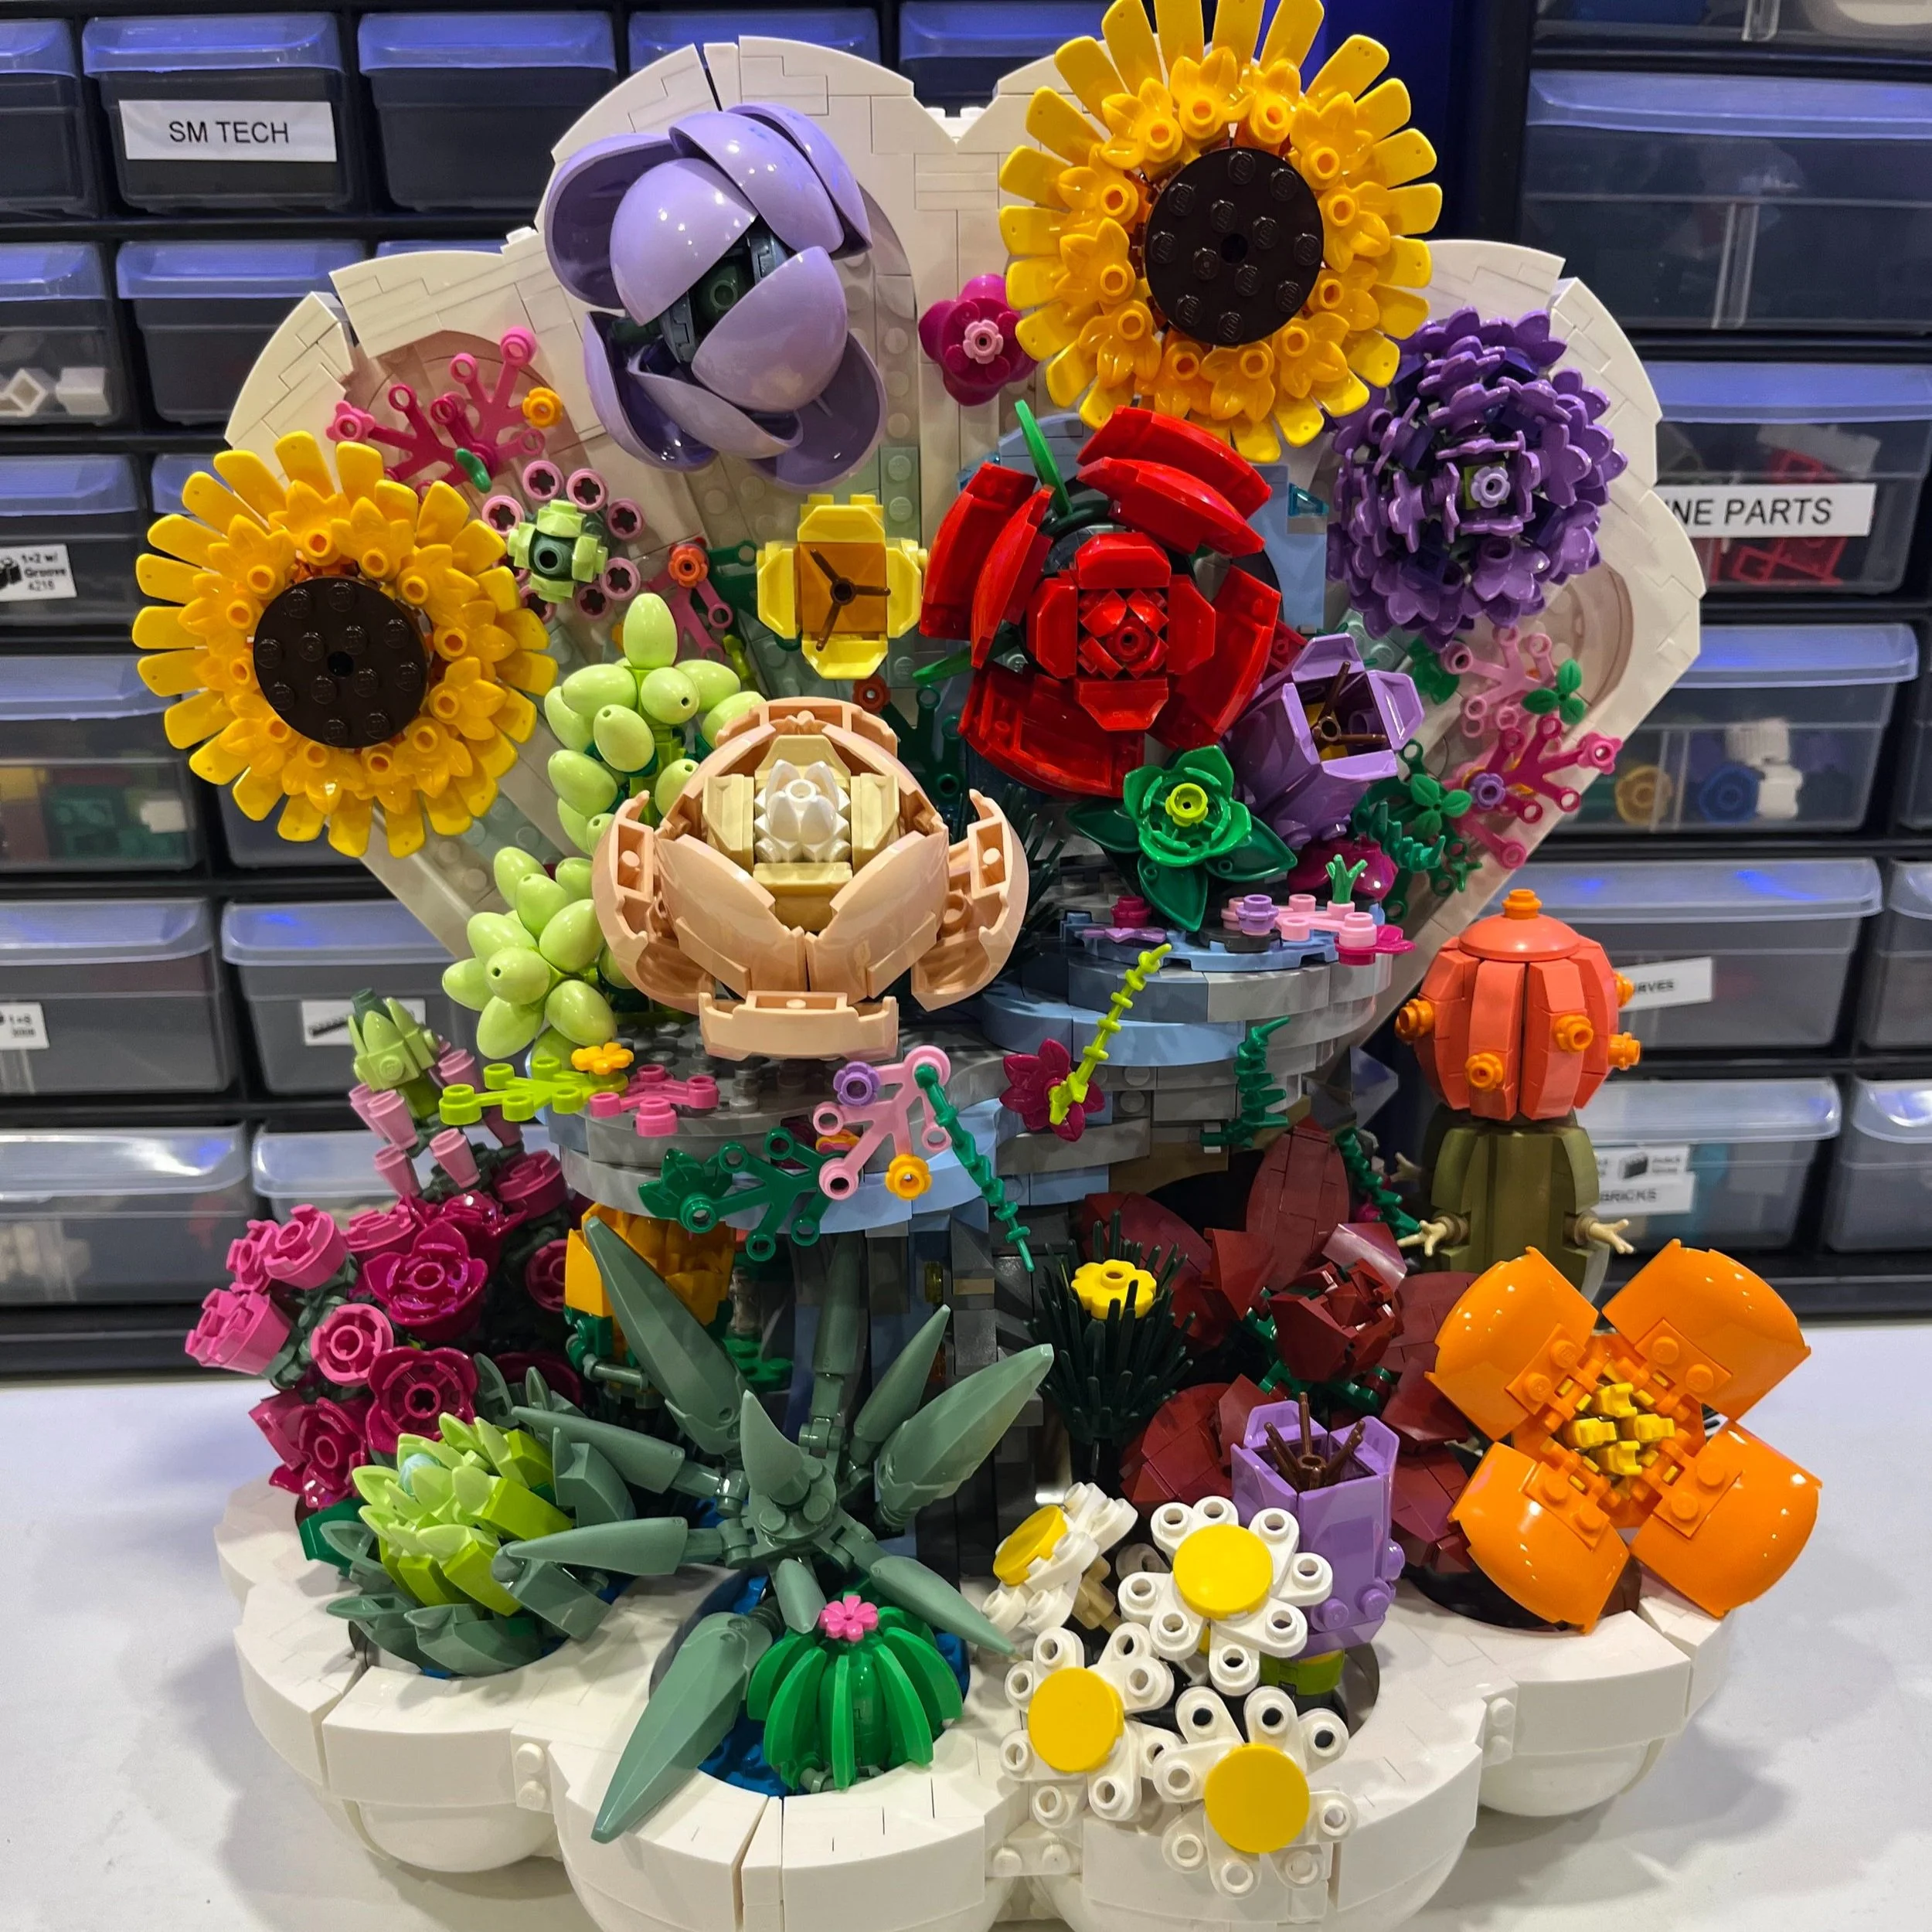
In a World of Pure Imagination
/Picture this: growing up in the US in the ’70s, when gas was $0.36 per gallon and a 1.3 oz chocolate bar was $0.10. What better to enjoy on an afternoon matinee and let your pure imagination run wild than with the Willy Wonka and the Chocolate Factory movie—a 1971 film adaptation from Ronald Dahl’s book Charlie and the Chocolate Factory. Only six years after publishing, they produced this amazing feature film.
So are you asking yourself yet – what does this have to do with LEGO building? This year, 2021, is the 50th anniversary of this wonderful film from my childhood. I always wanted to make a brick-built scene from this film. So what better scene is there than the iconic Chocolate Room? Think of all those amazing details, with its luscious chocolate river, chocolate waterfall, edible delights throughout the room and of course the boat – the Wonkatania.

Image via Wonkapedia
Before building, I thought through what aspects of this room I wanted. I knew I wanted to make it minifigure scale (1:32-45). I knew I wanted a moving Wonkatainia. I knew I wanted a moving chocolate waterfall. So then the only issue knowing these three things was how I was going to accomplish them all! I looked to the original production of the movie layouts and found the Chocolate Room original drawing design.

Making it Move
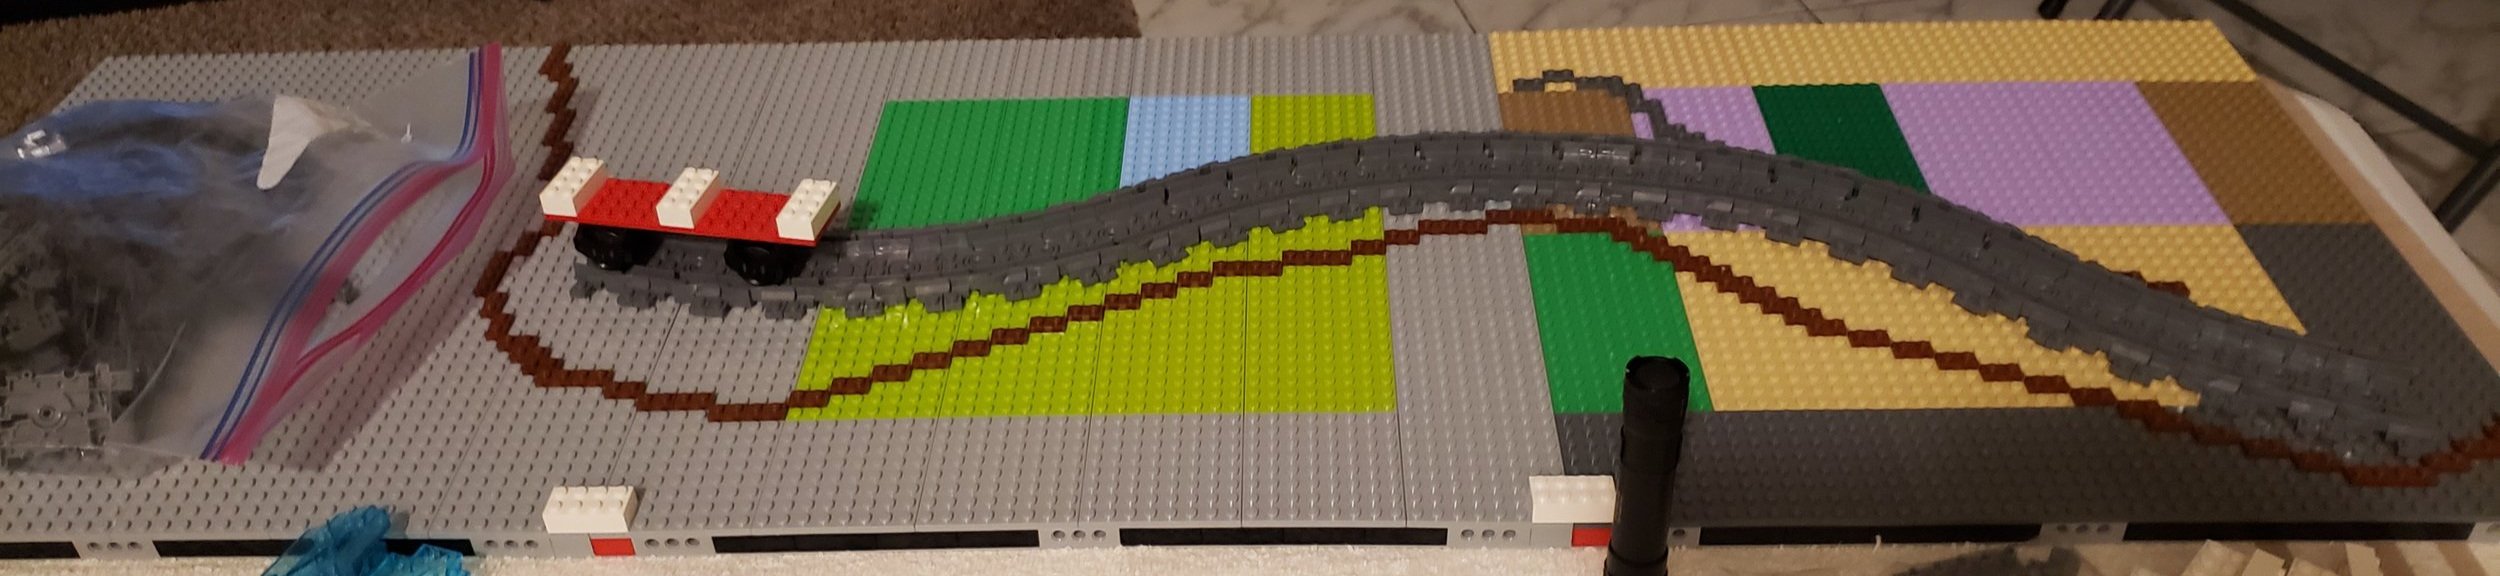
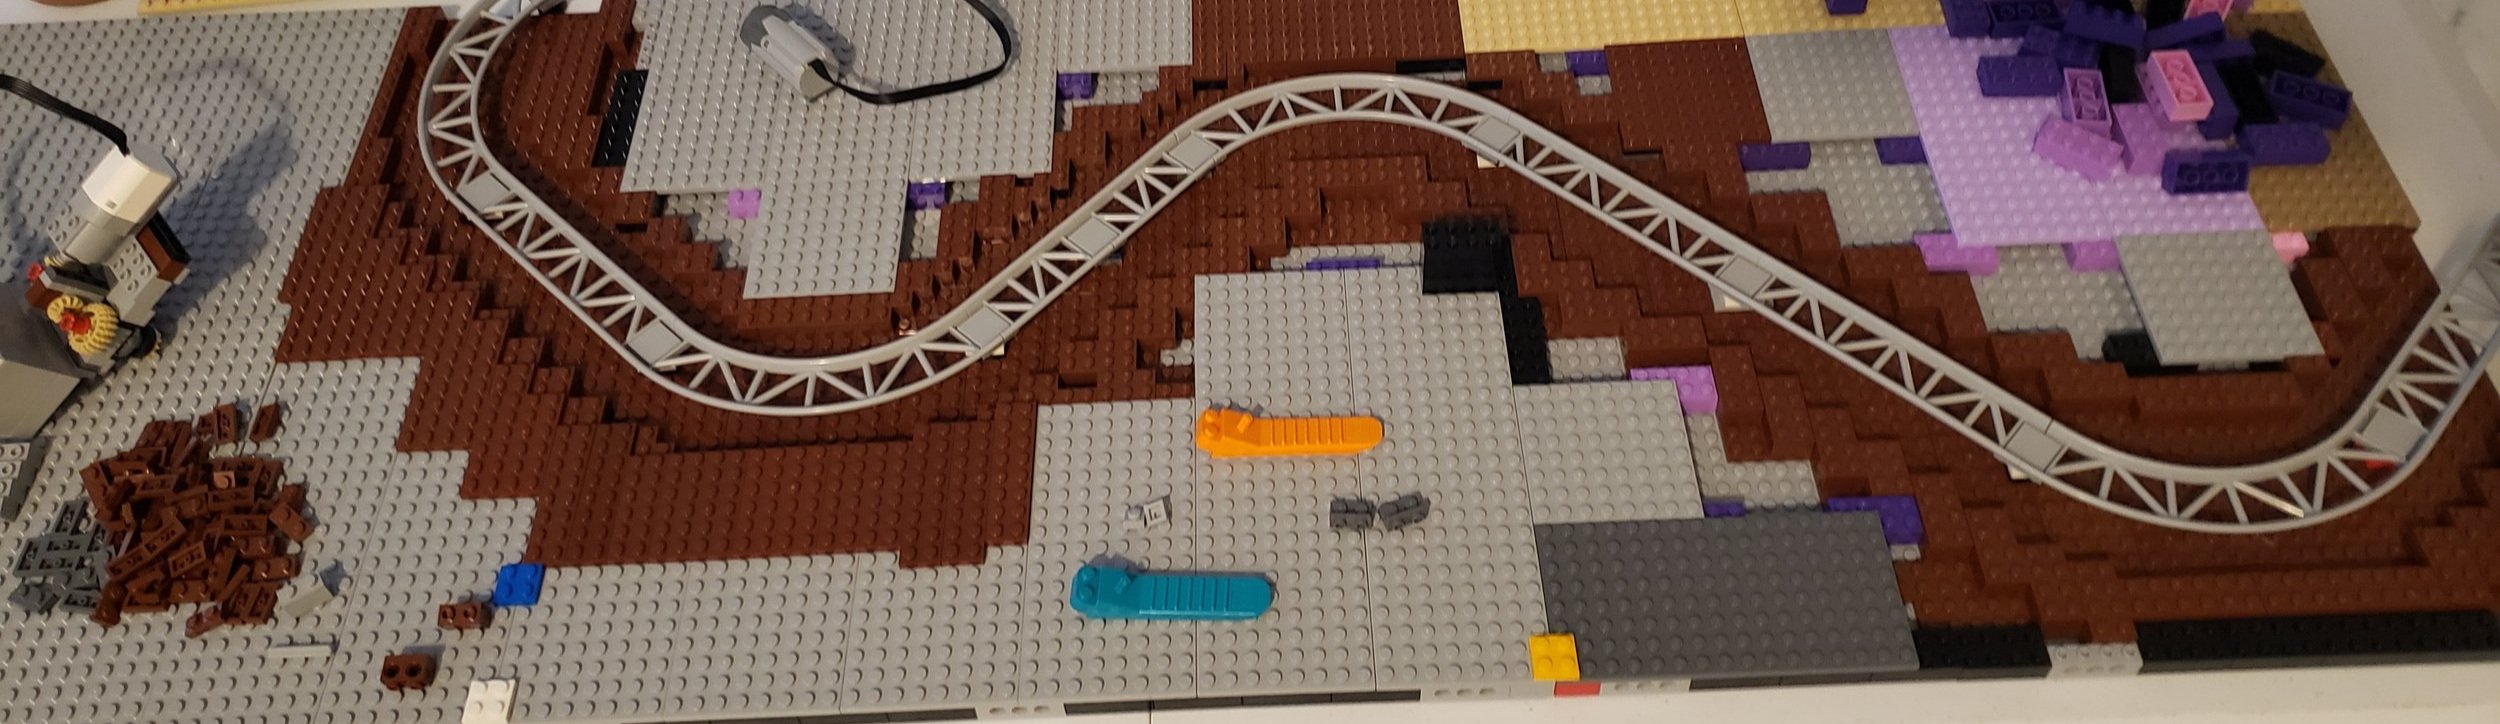
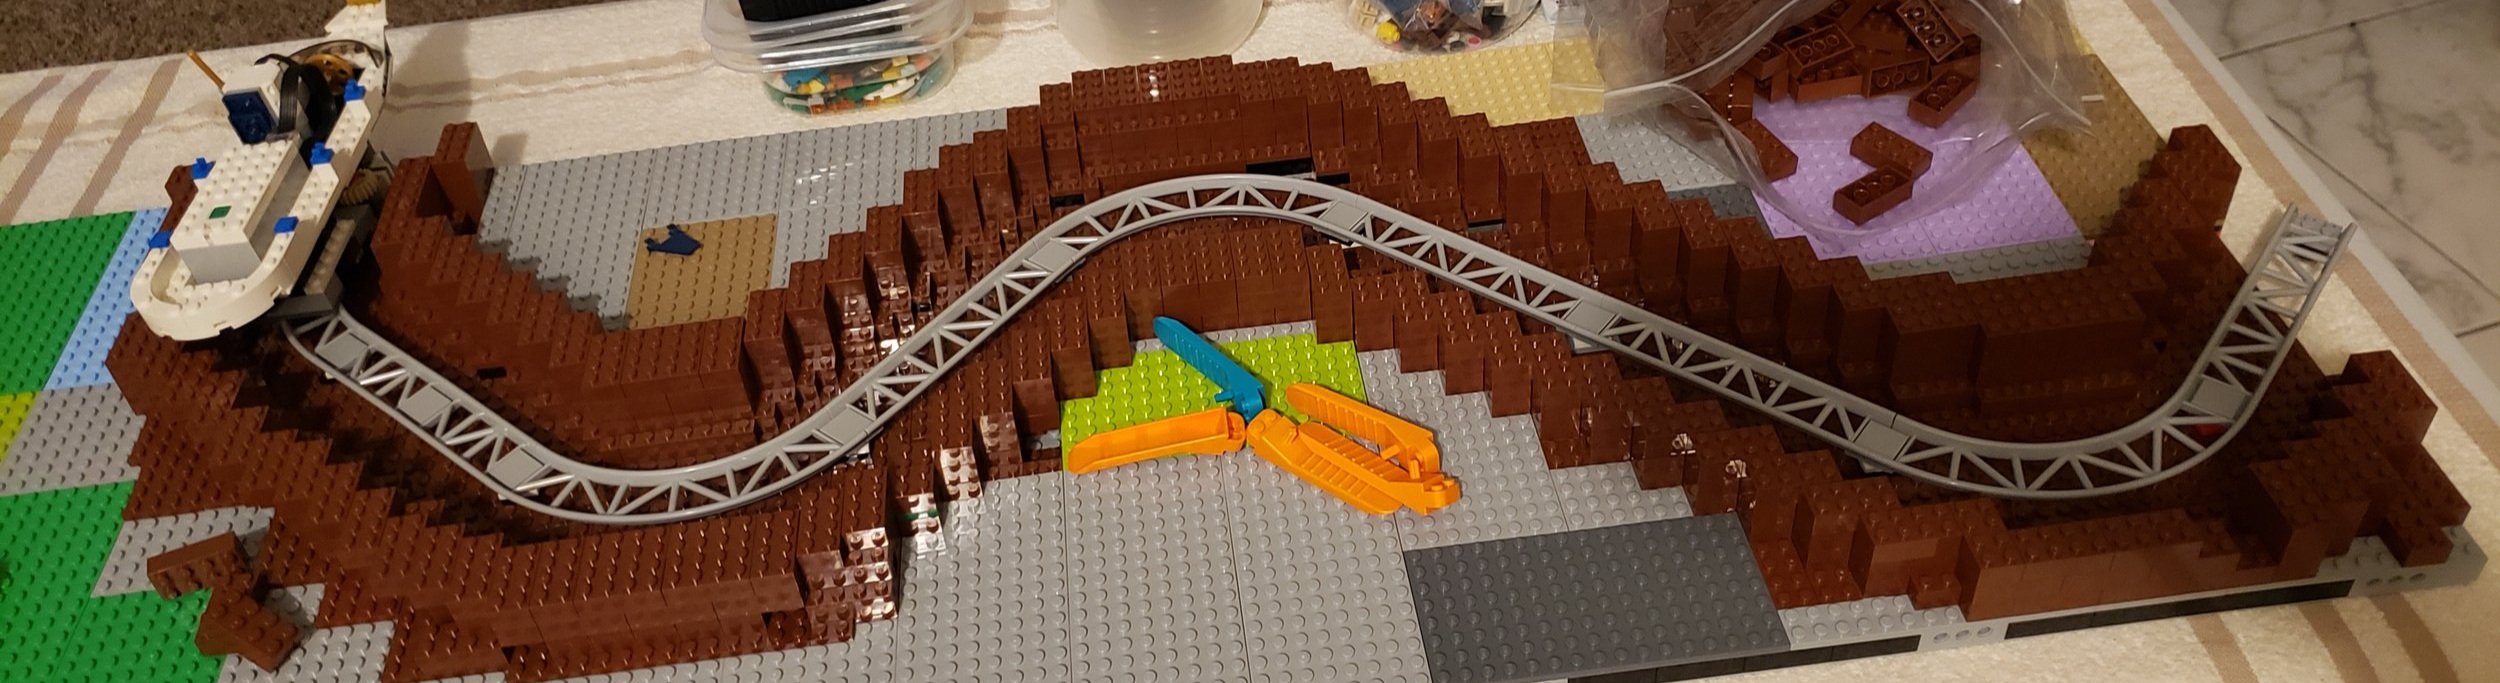
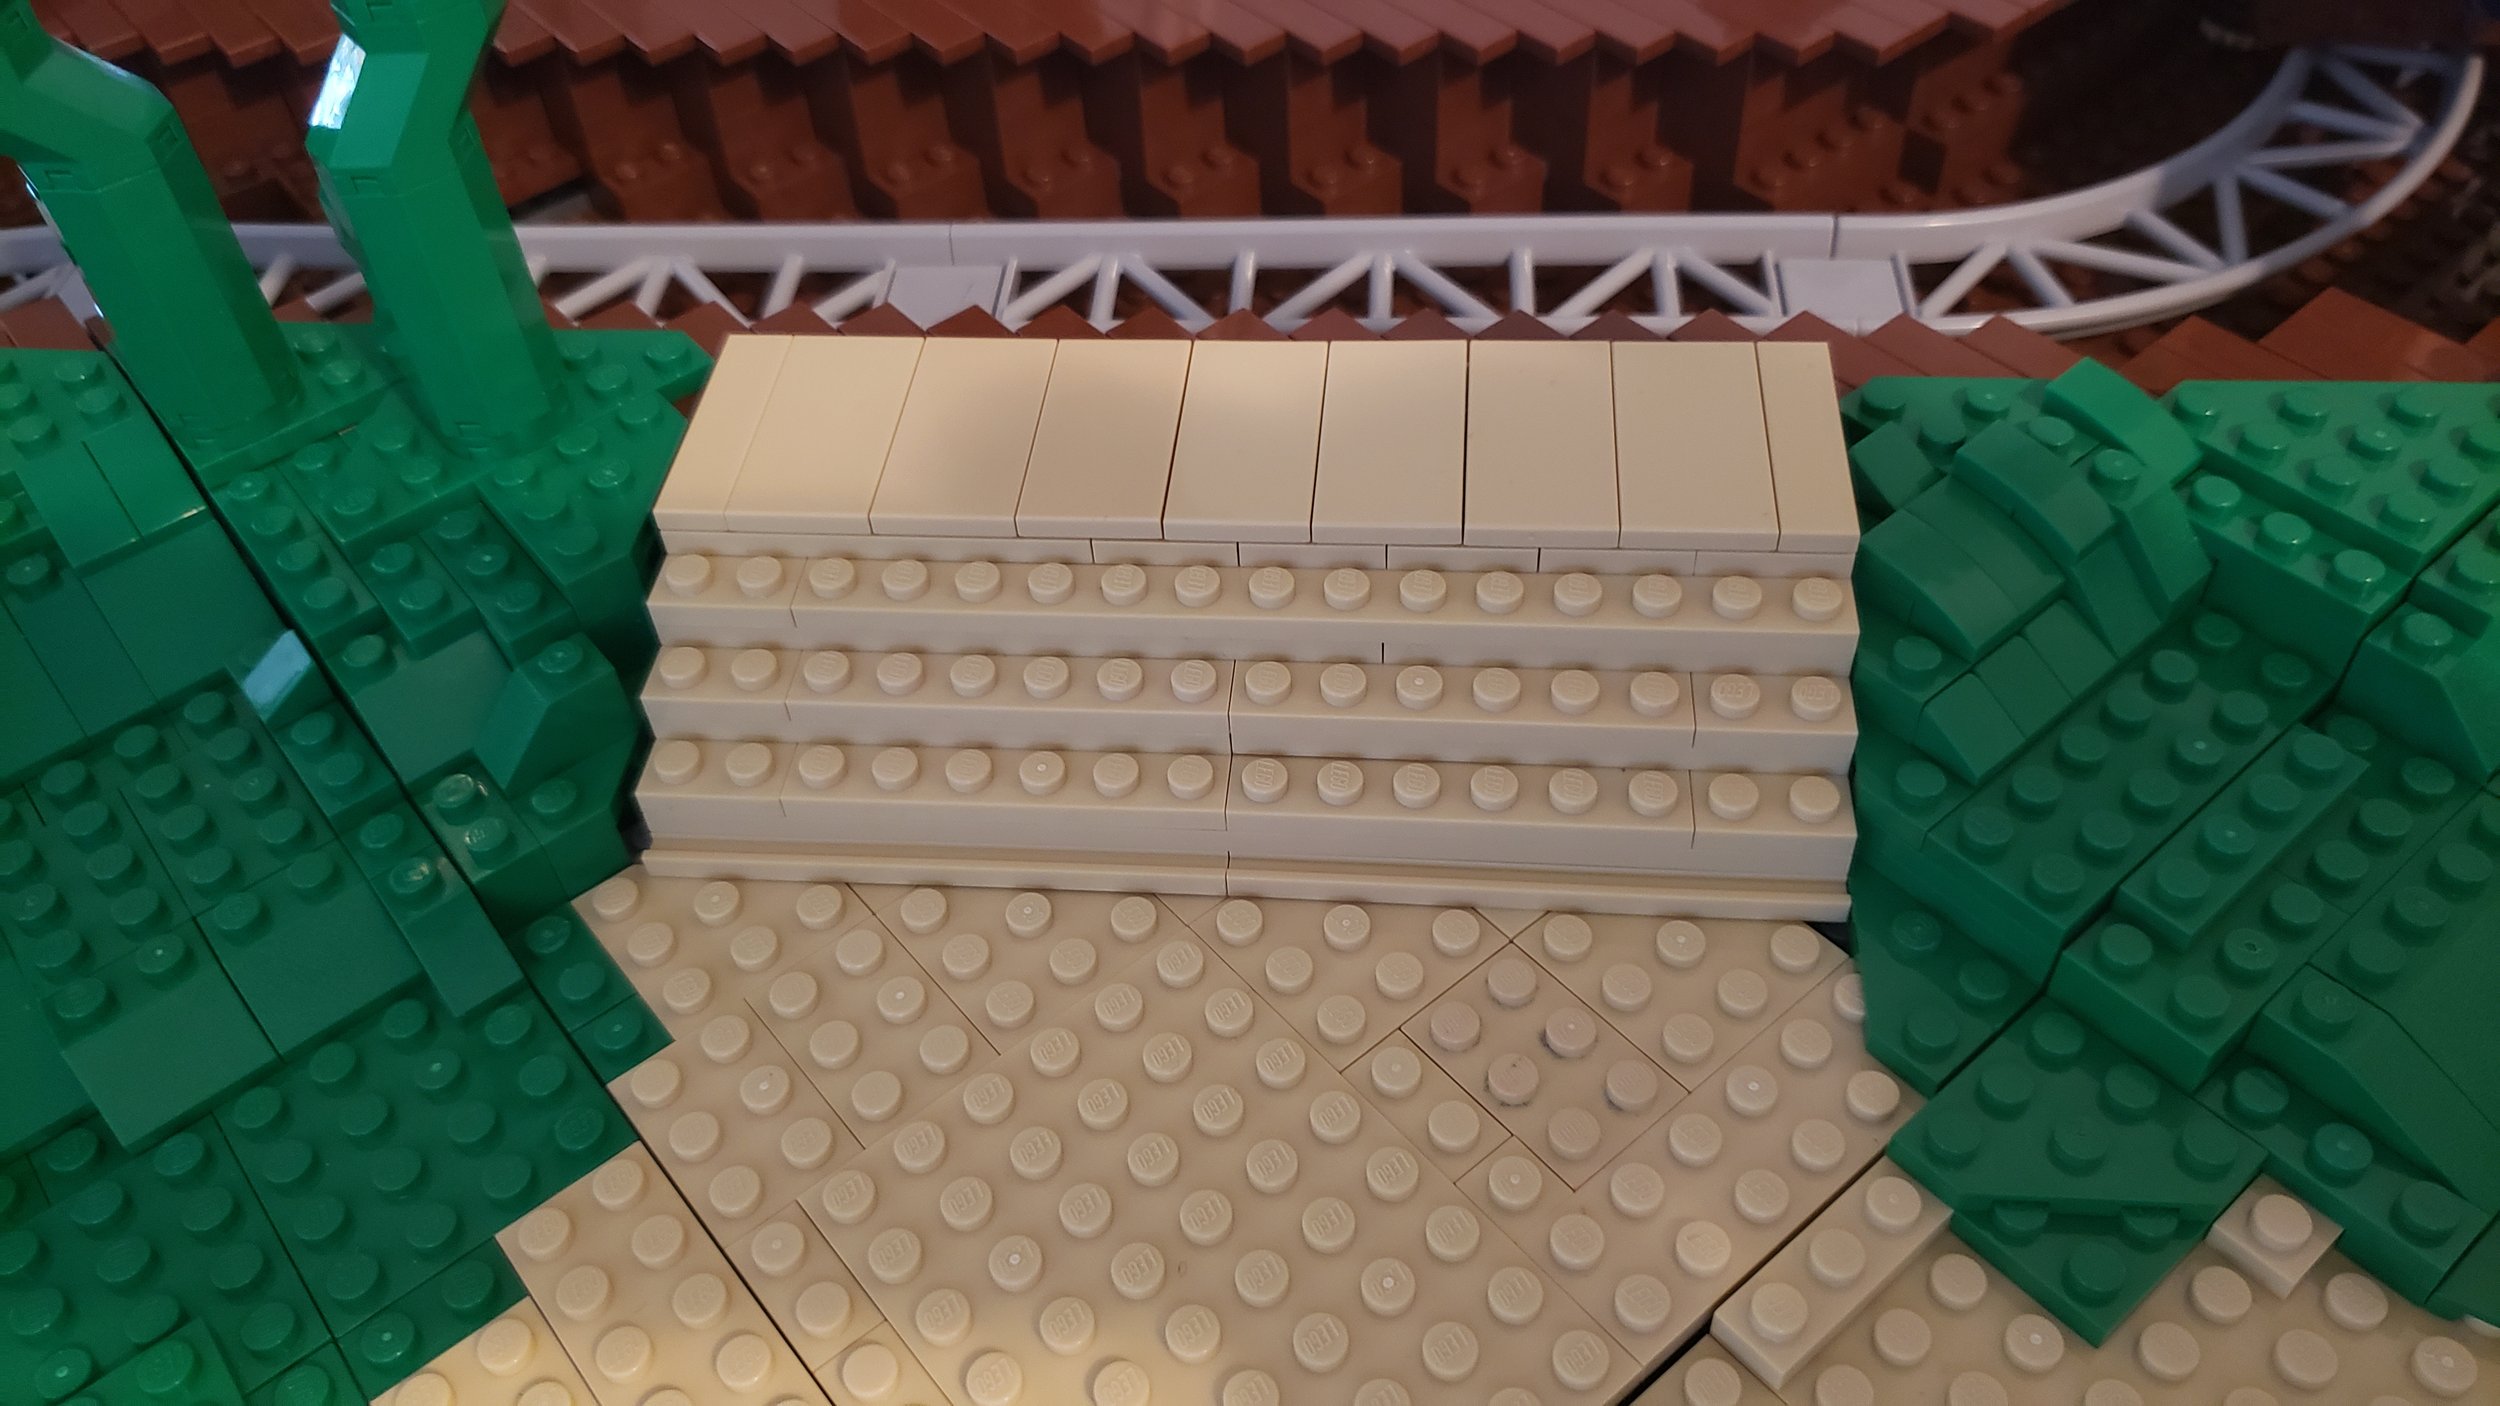
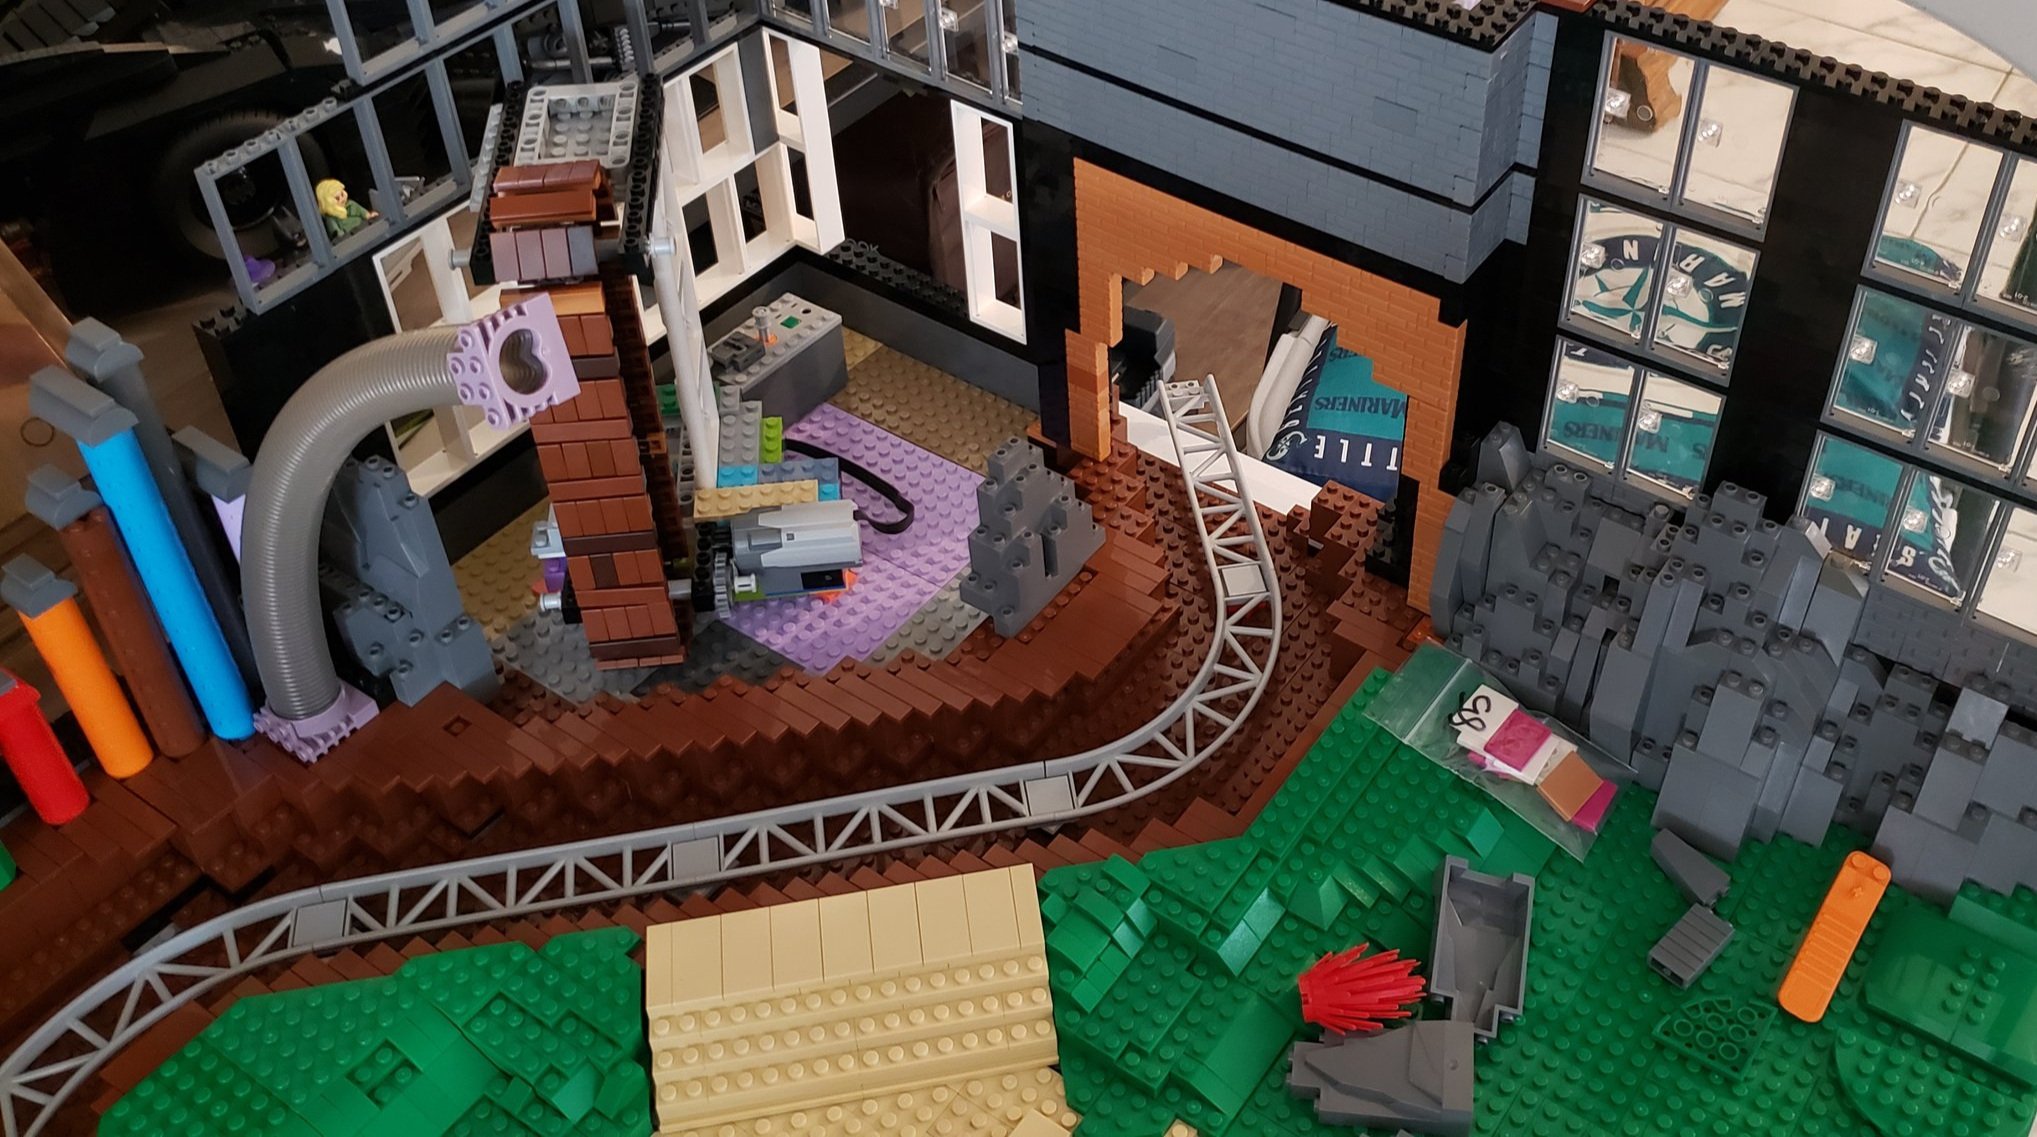
The main challenge I faced was how to get the Wonkatainia to move — and make the chocolate waterfall seem like it was flowing. Looking through many YouTube videos, blogs, and AFOL MOCS, I settled on two designs by two builders. First, I adapted the waterfall design from YouTube user kbrtosser and their LEGO Skull Island. I changed his light blue transparent tiles into brown chocolate colored tiles instead for that classic hot cocoa look. After some tinkering, it seemed to work really well. Adding a LEGO Power Functions rechargeable battery and Power Functions M-motor allowed for governing the speed of the falls. The chocolate was flowing!
Secondly, how was I going to move the Wonkatainia? This was a bit more challenging, I thought LEGO monorail designs might work, but those are limited due to being discontinued. LEGO Railroad tracks were too wide. So then I thought, what could I do with the new rollercoaster tracks? Researching these, I found JK Brickworks designed a self-propelled motorized rollercoaster train that worked well! I adapted that design to my Wonkatainia immediately. I salvaged the small app-controlled Batmobile (set 76112) for parts including a Powered Up motor and battery. And with that, I could control the speed of the boat and forward or backward (though going backward raised some issues — I would not recommend it with this boat design though — I crashed the boat a few times this way).
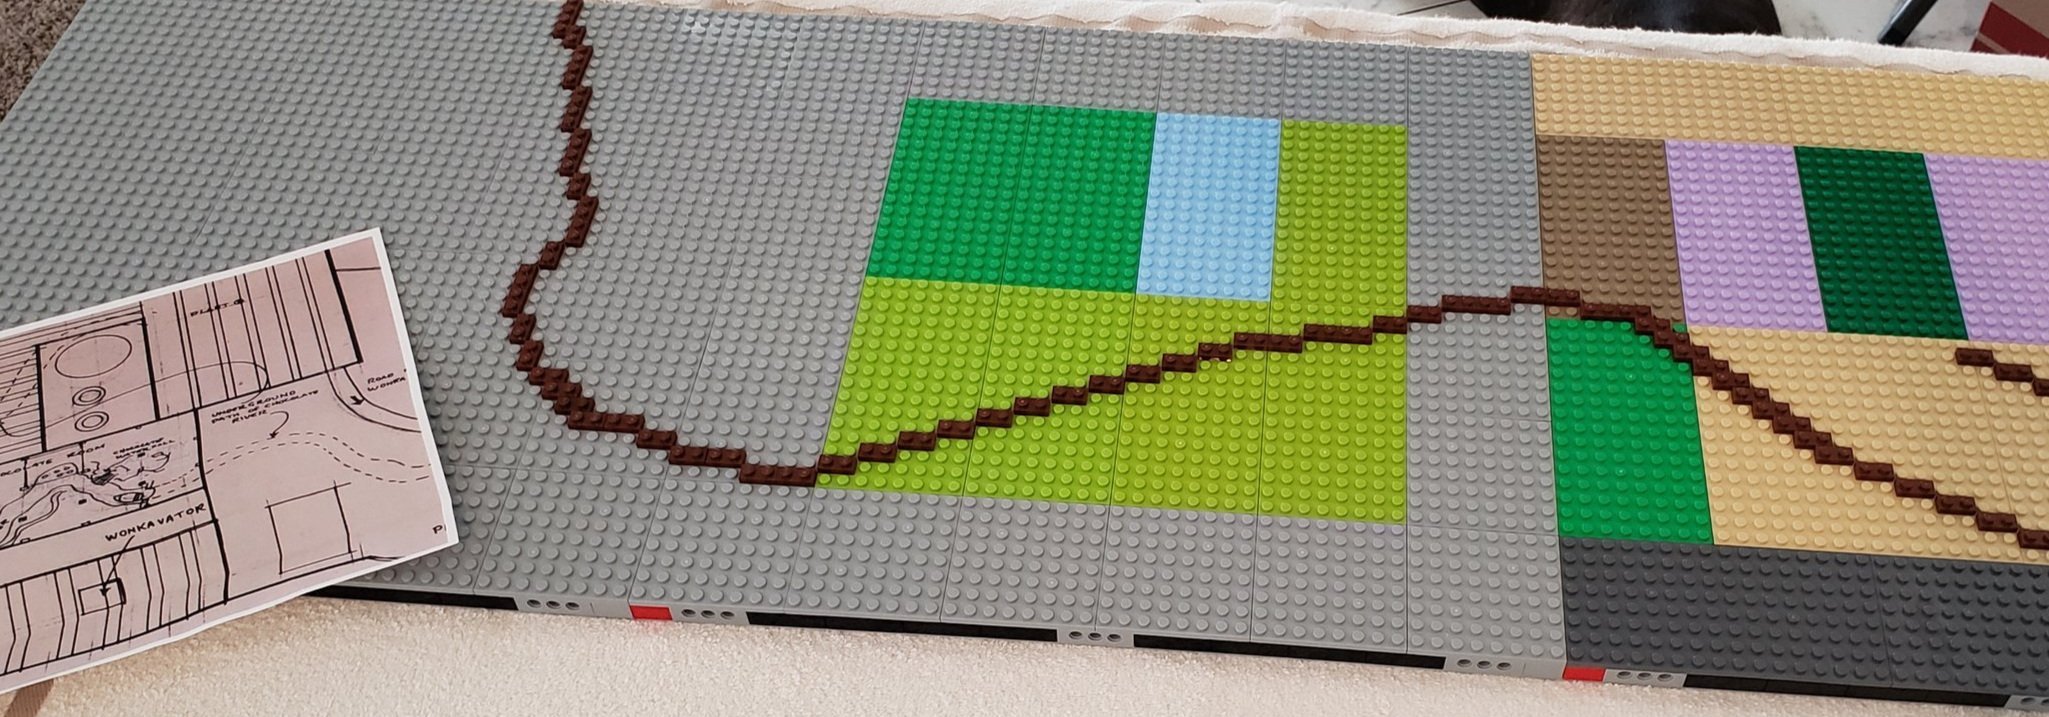
Landscaping
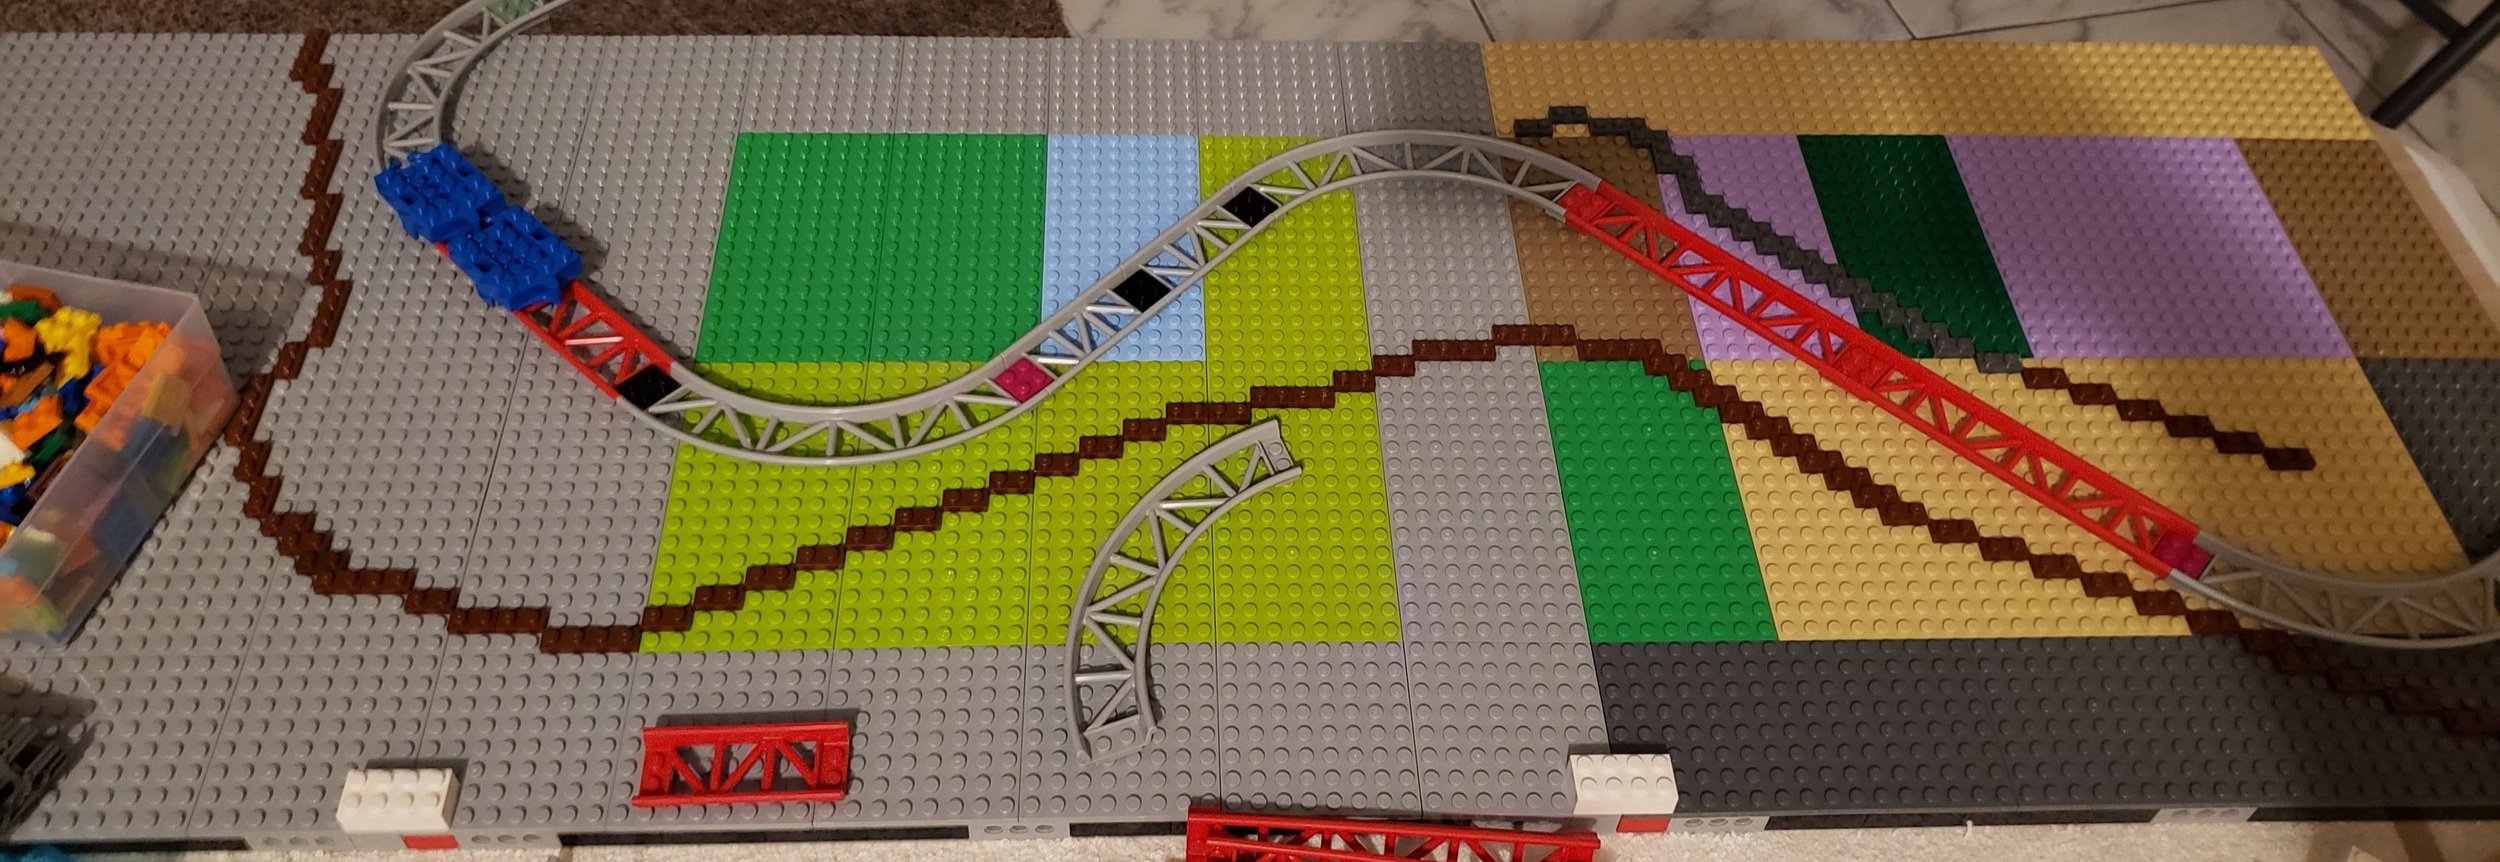
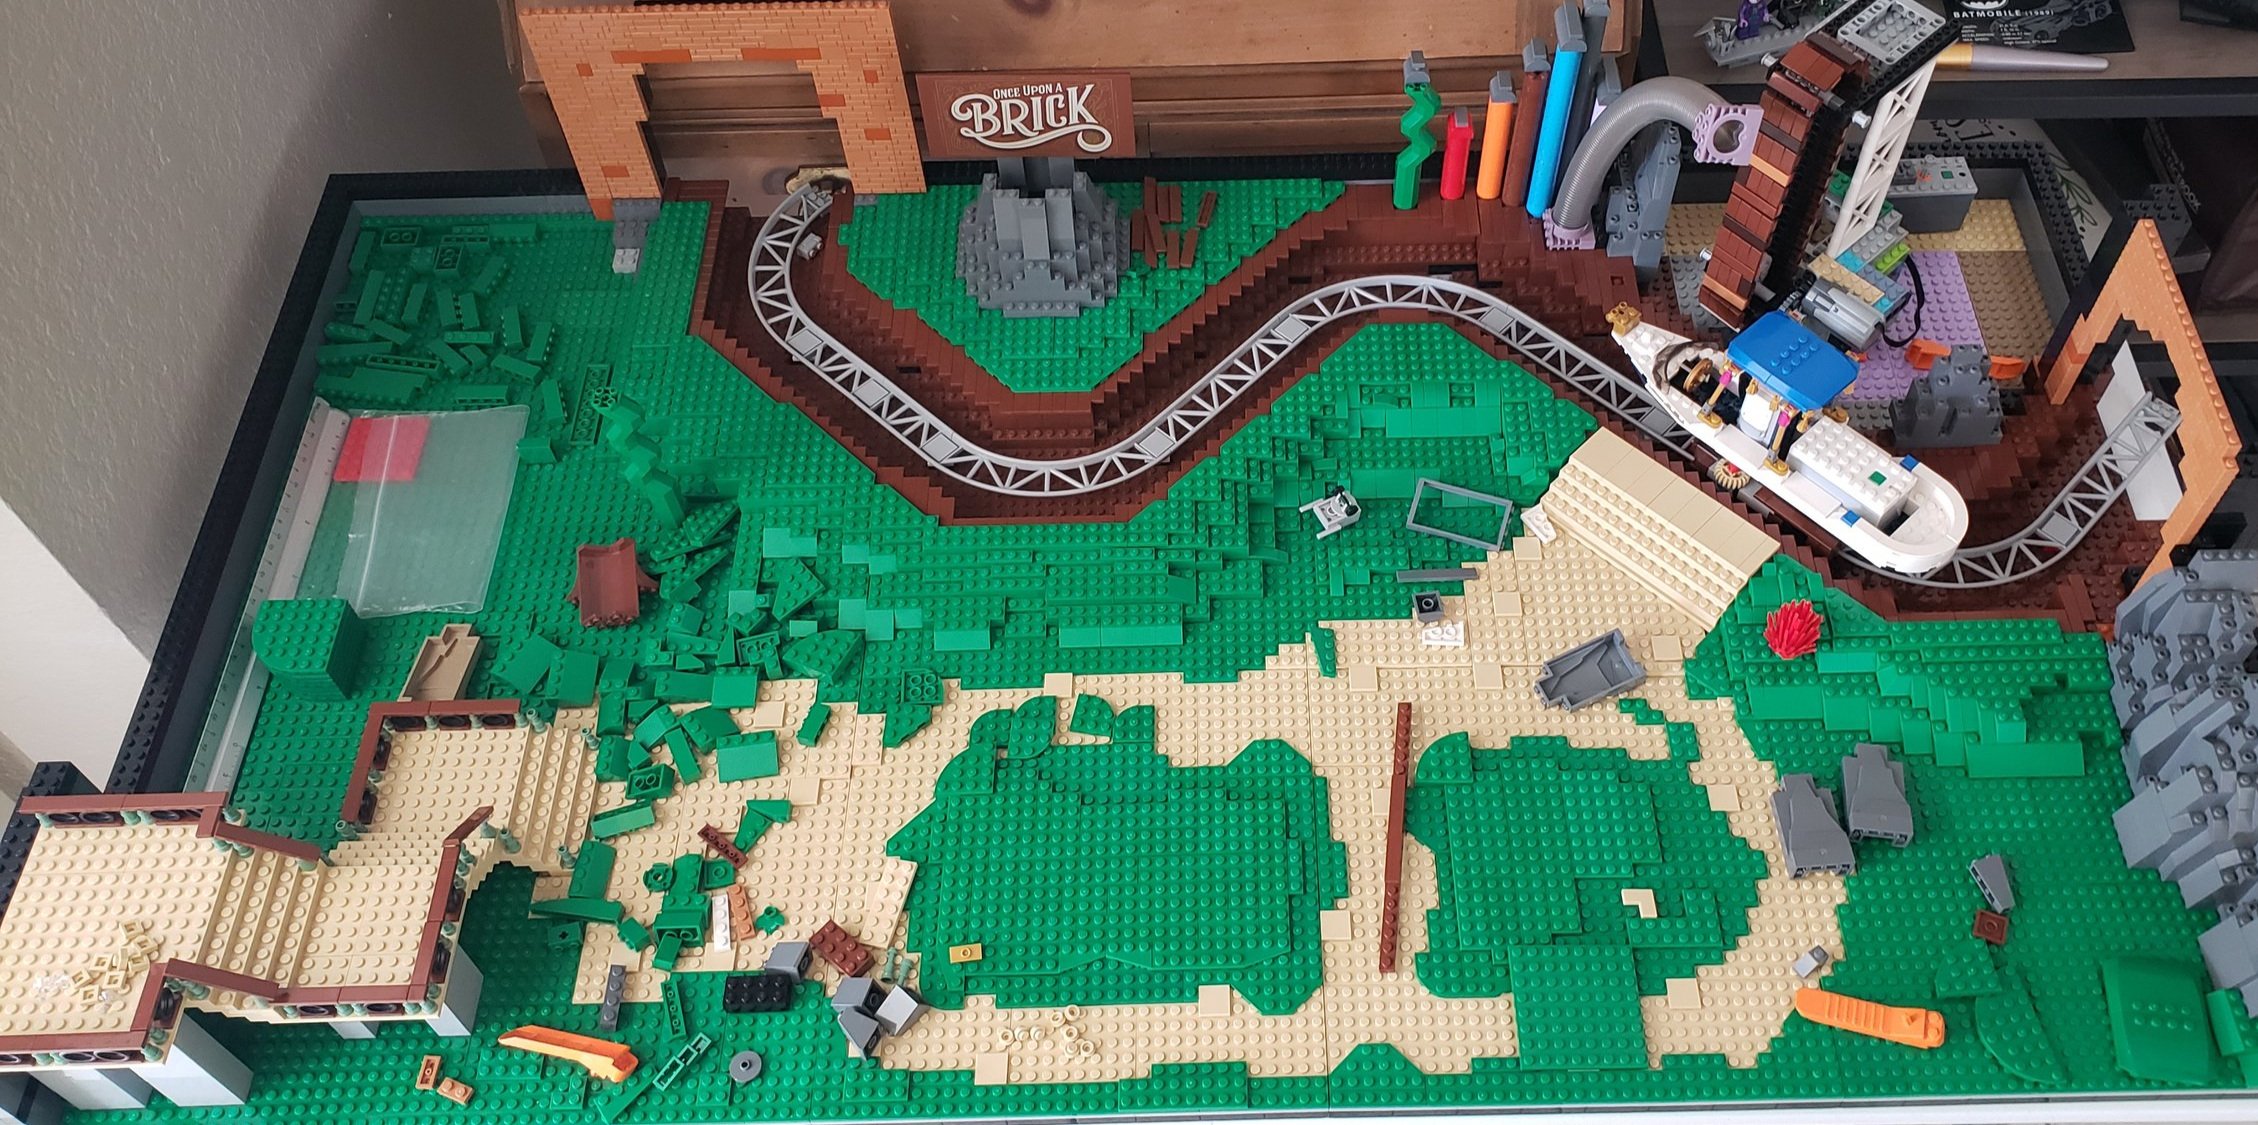
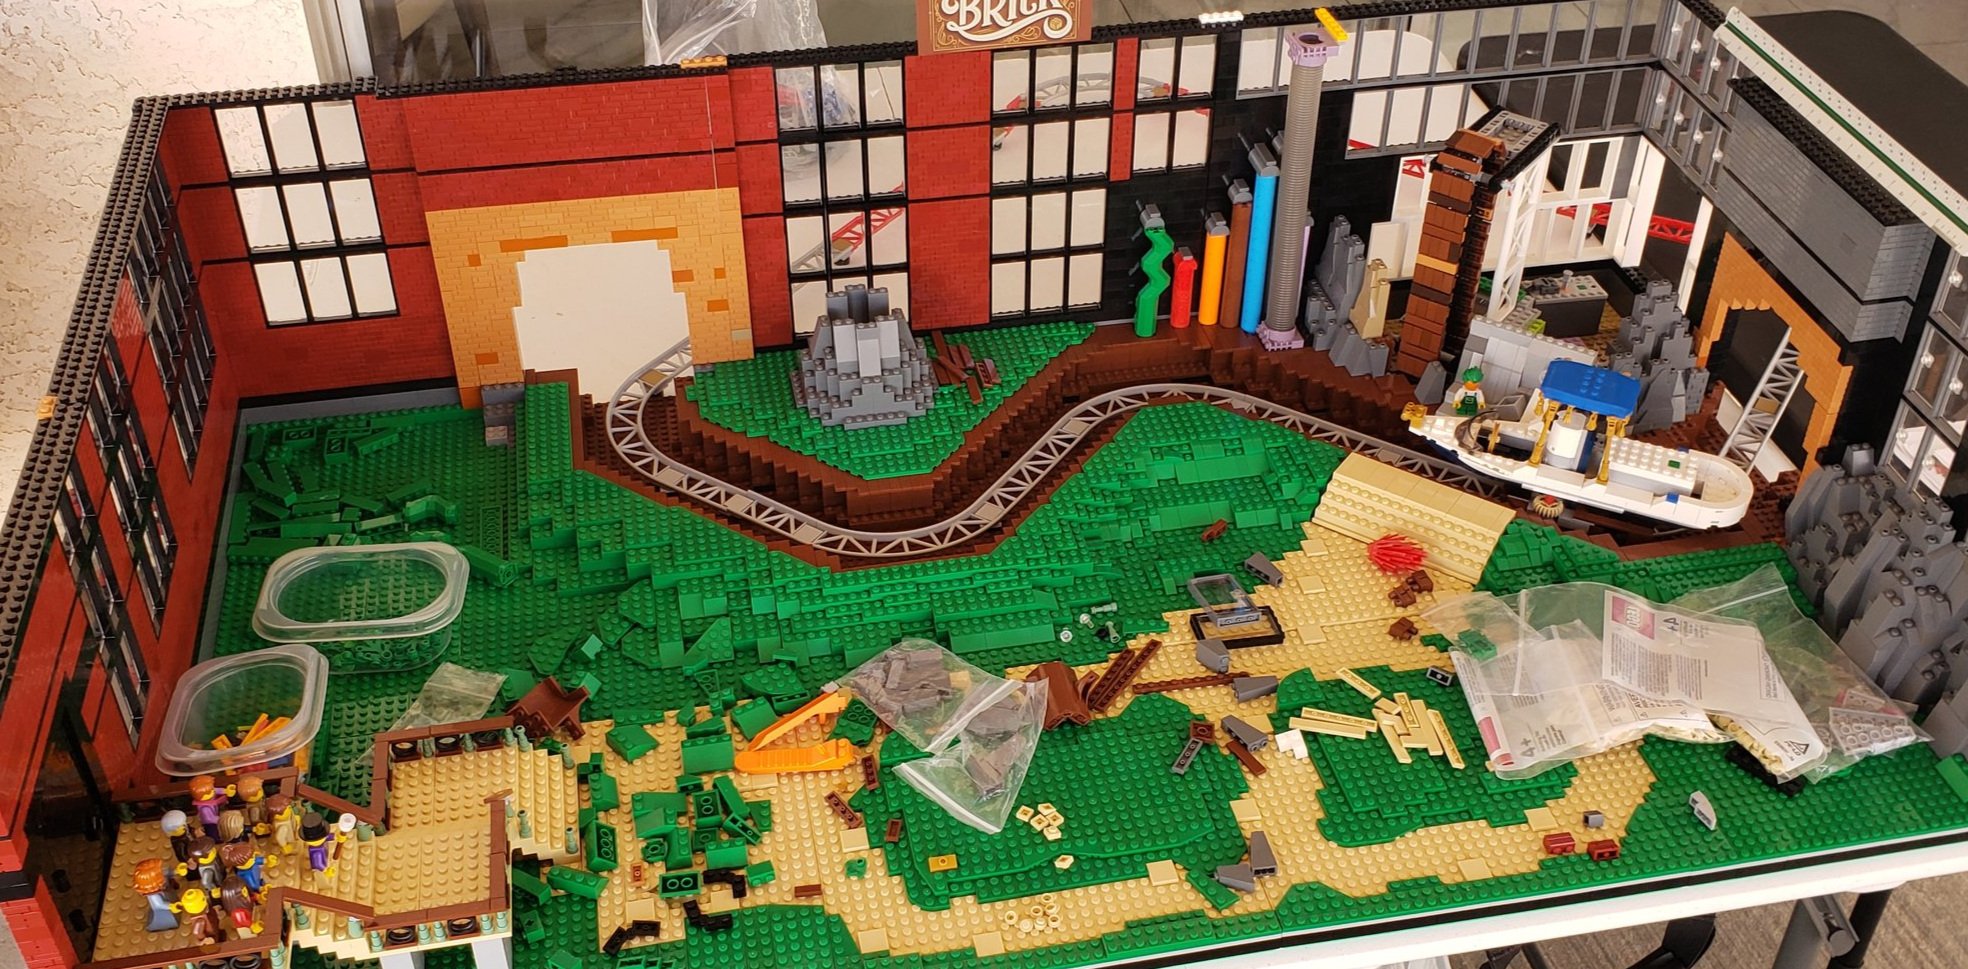
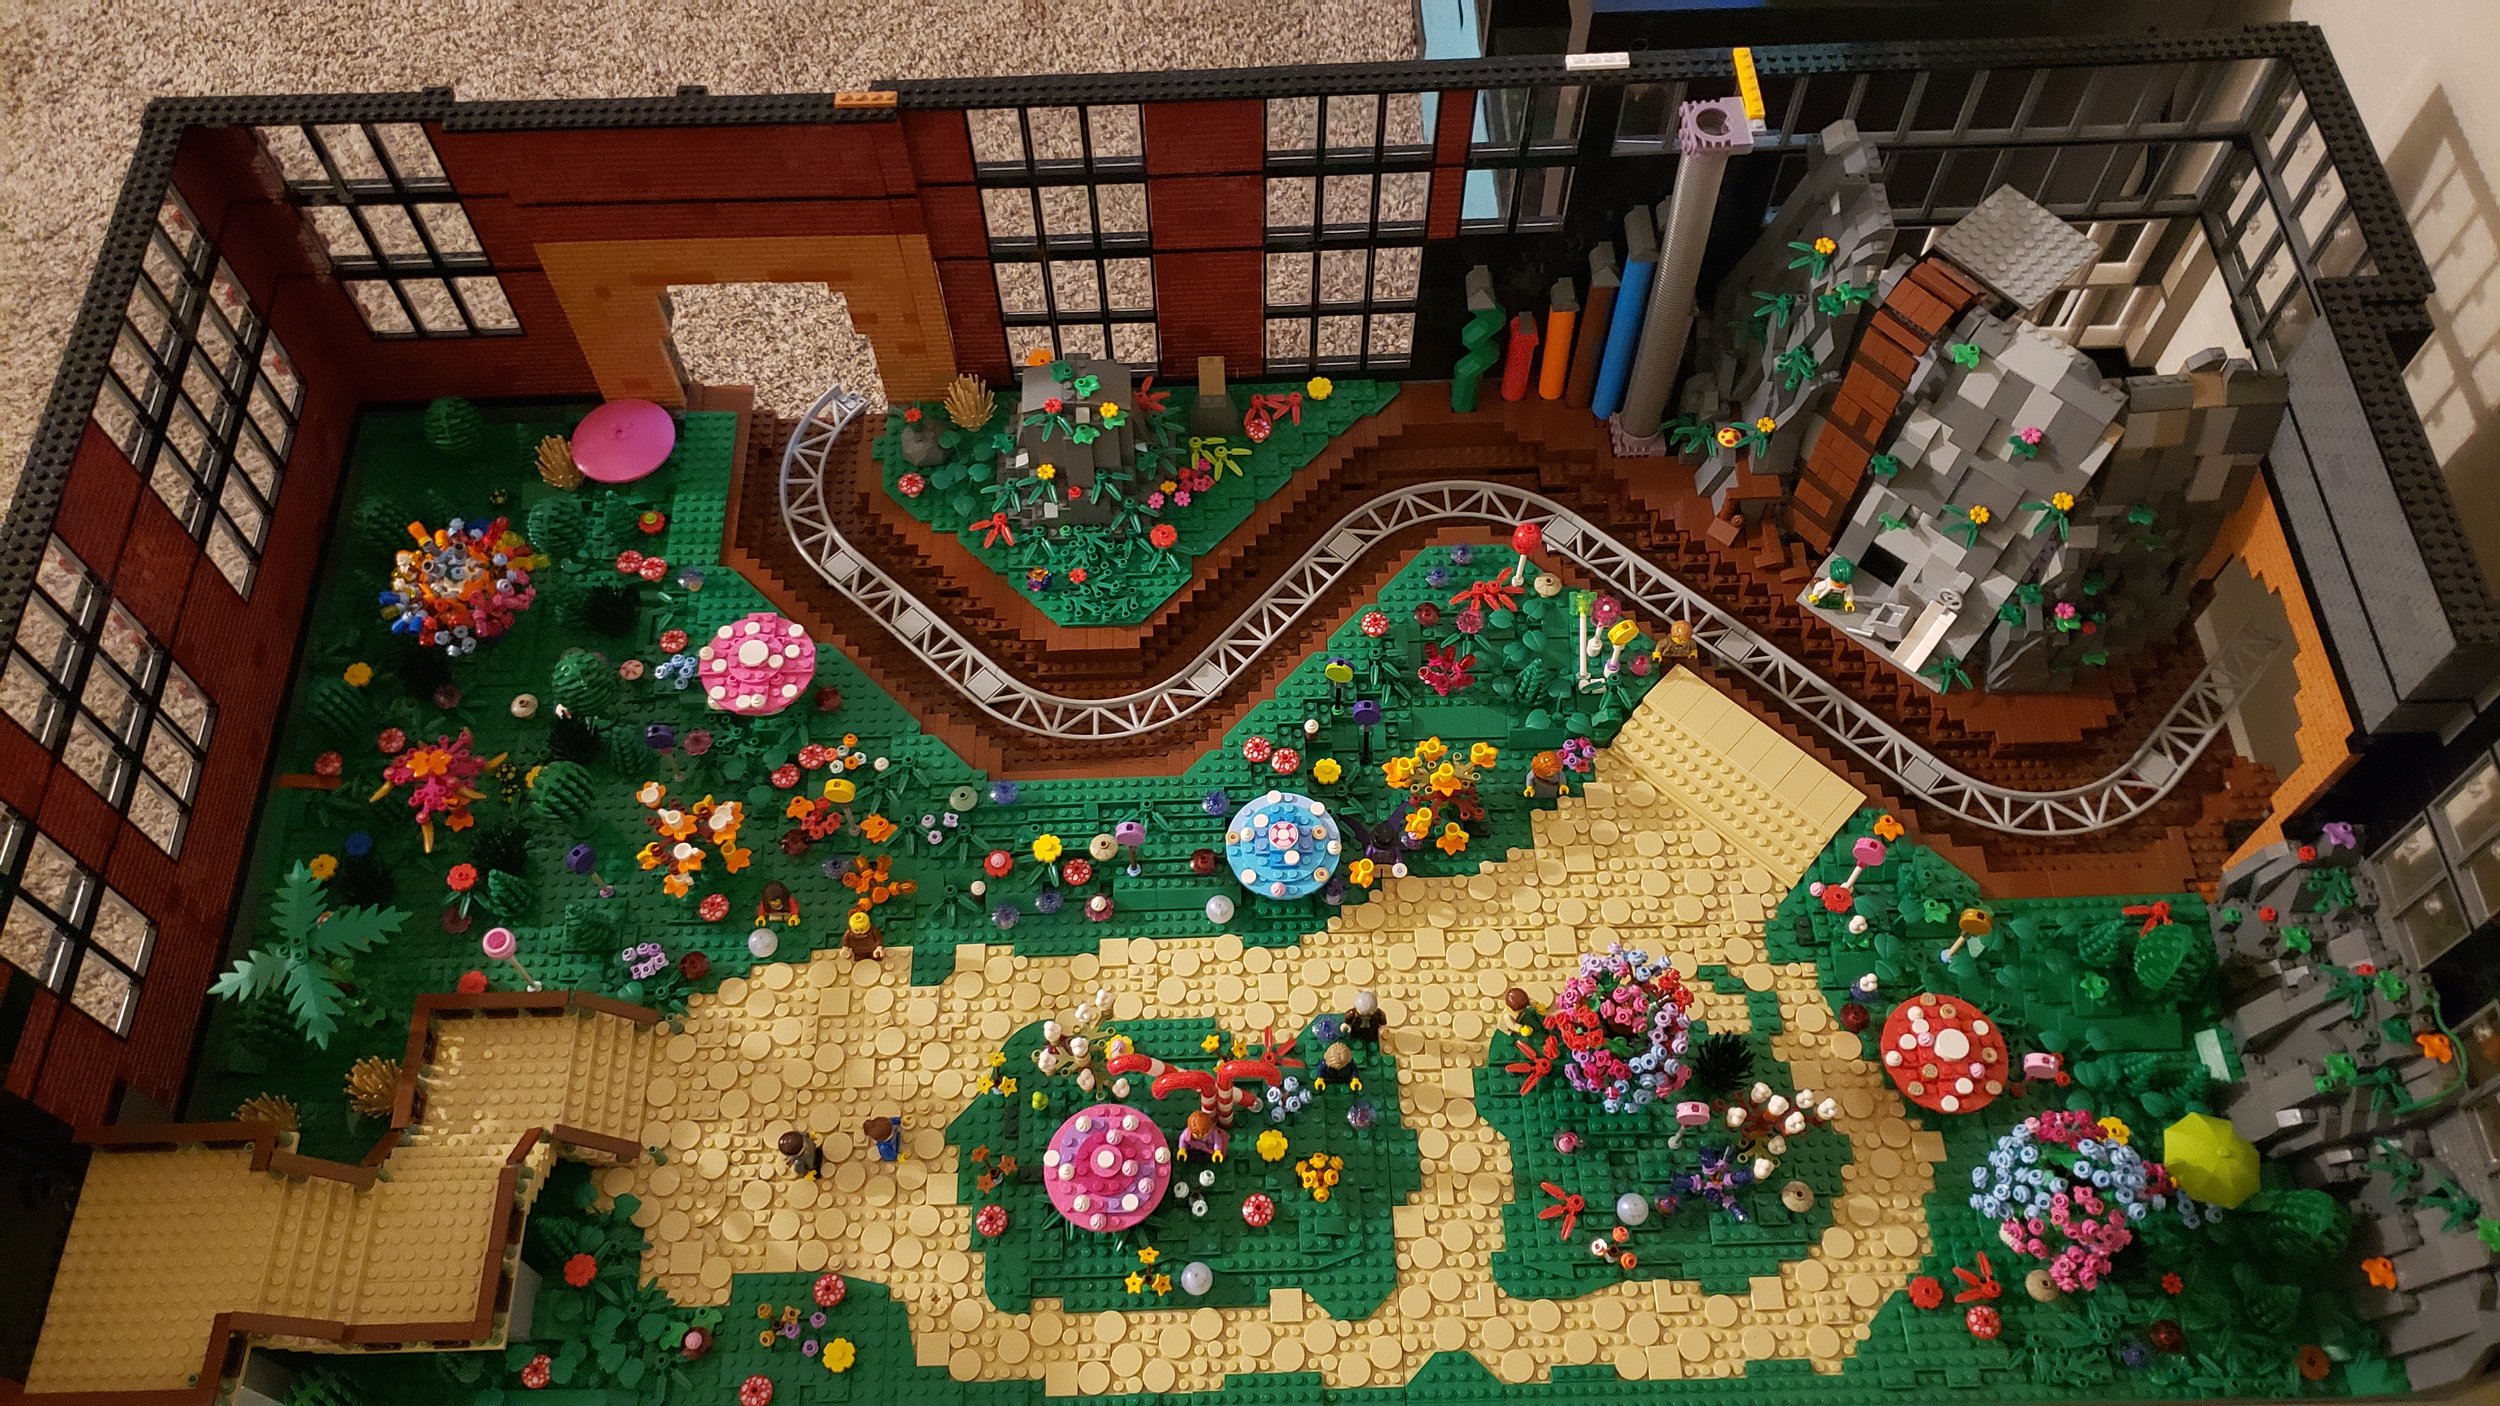
Now that I had the hardest parts worked out, I moved on to the overall layout. This ended up with a footprint of 144 studs x 70 studs, built on MILS plates to help connect together for easier transport. Adjusting and attaching the river to the roller coaster was a challenge, but using 2x2 turntables and 2x2 jumper plates helped a ton towards getting them connected to the baseplates. From then on, I tested the Wonkatainia movement and how much clearance it would need and then when I figured it out, I would adjust the layout and reddish-brown tile placements... again. (I wish LEGO made the coaster tracks in reddish-brown!) One day I might upgrade to dark red rollercoaster tracks which would help blend better with the reddish-brown chocolate river.

Chocolate Waterfalls and Wonkatainia

Track and landscaping
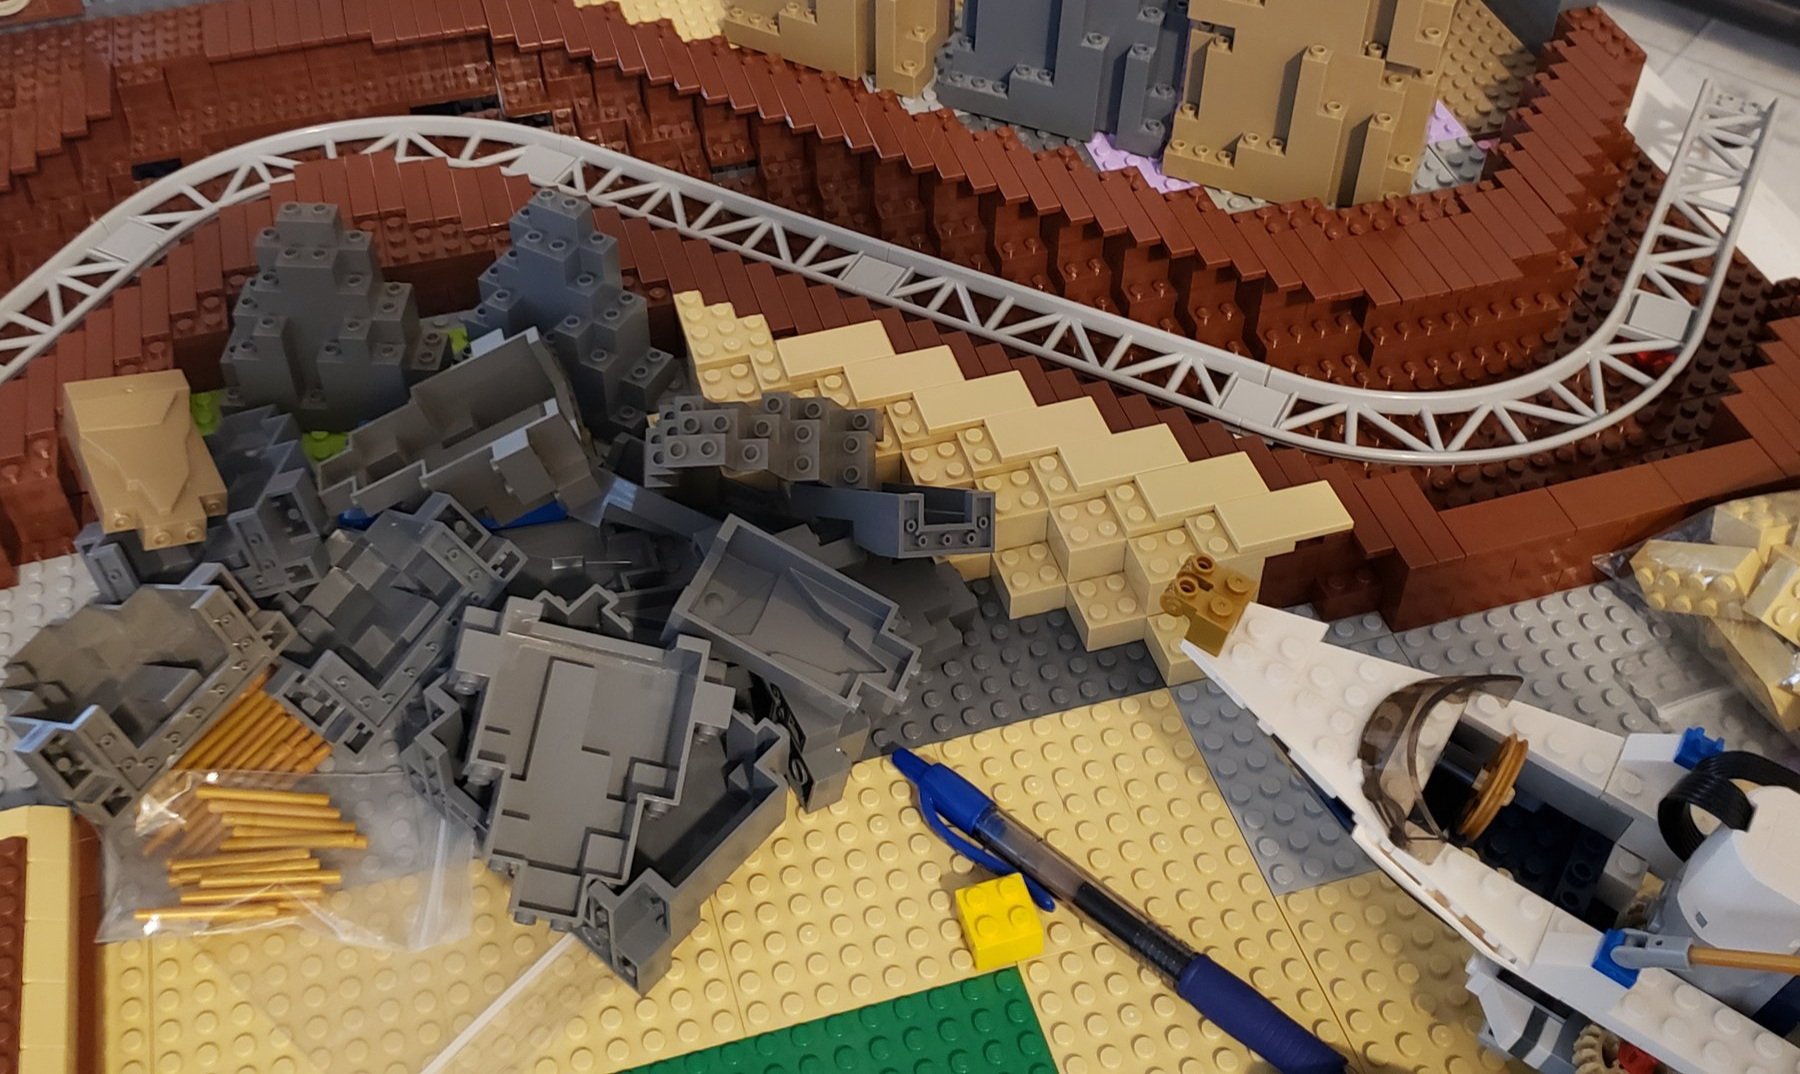
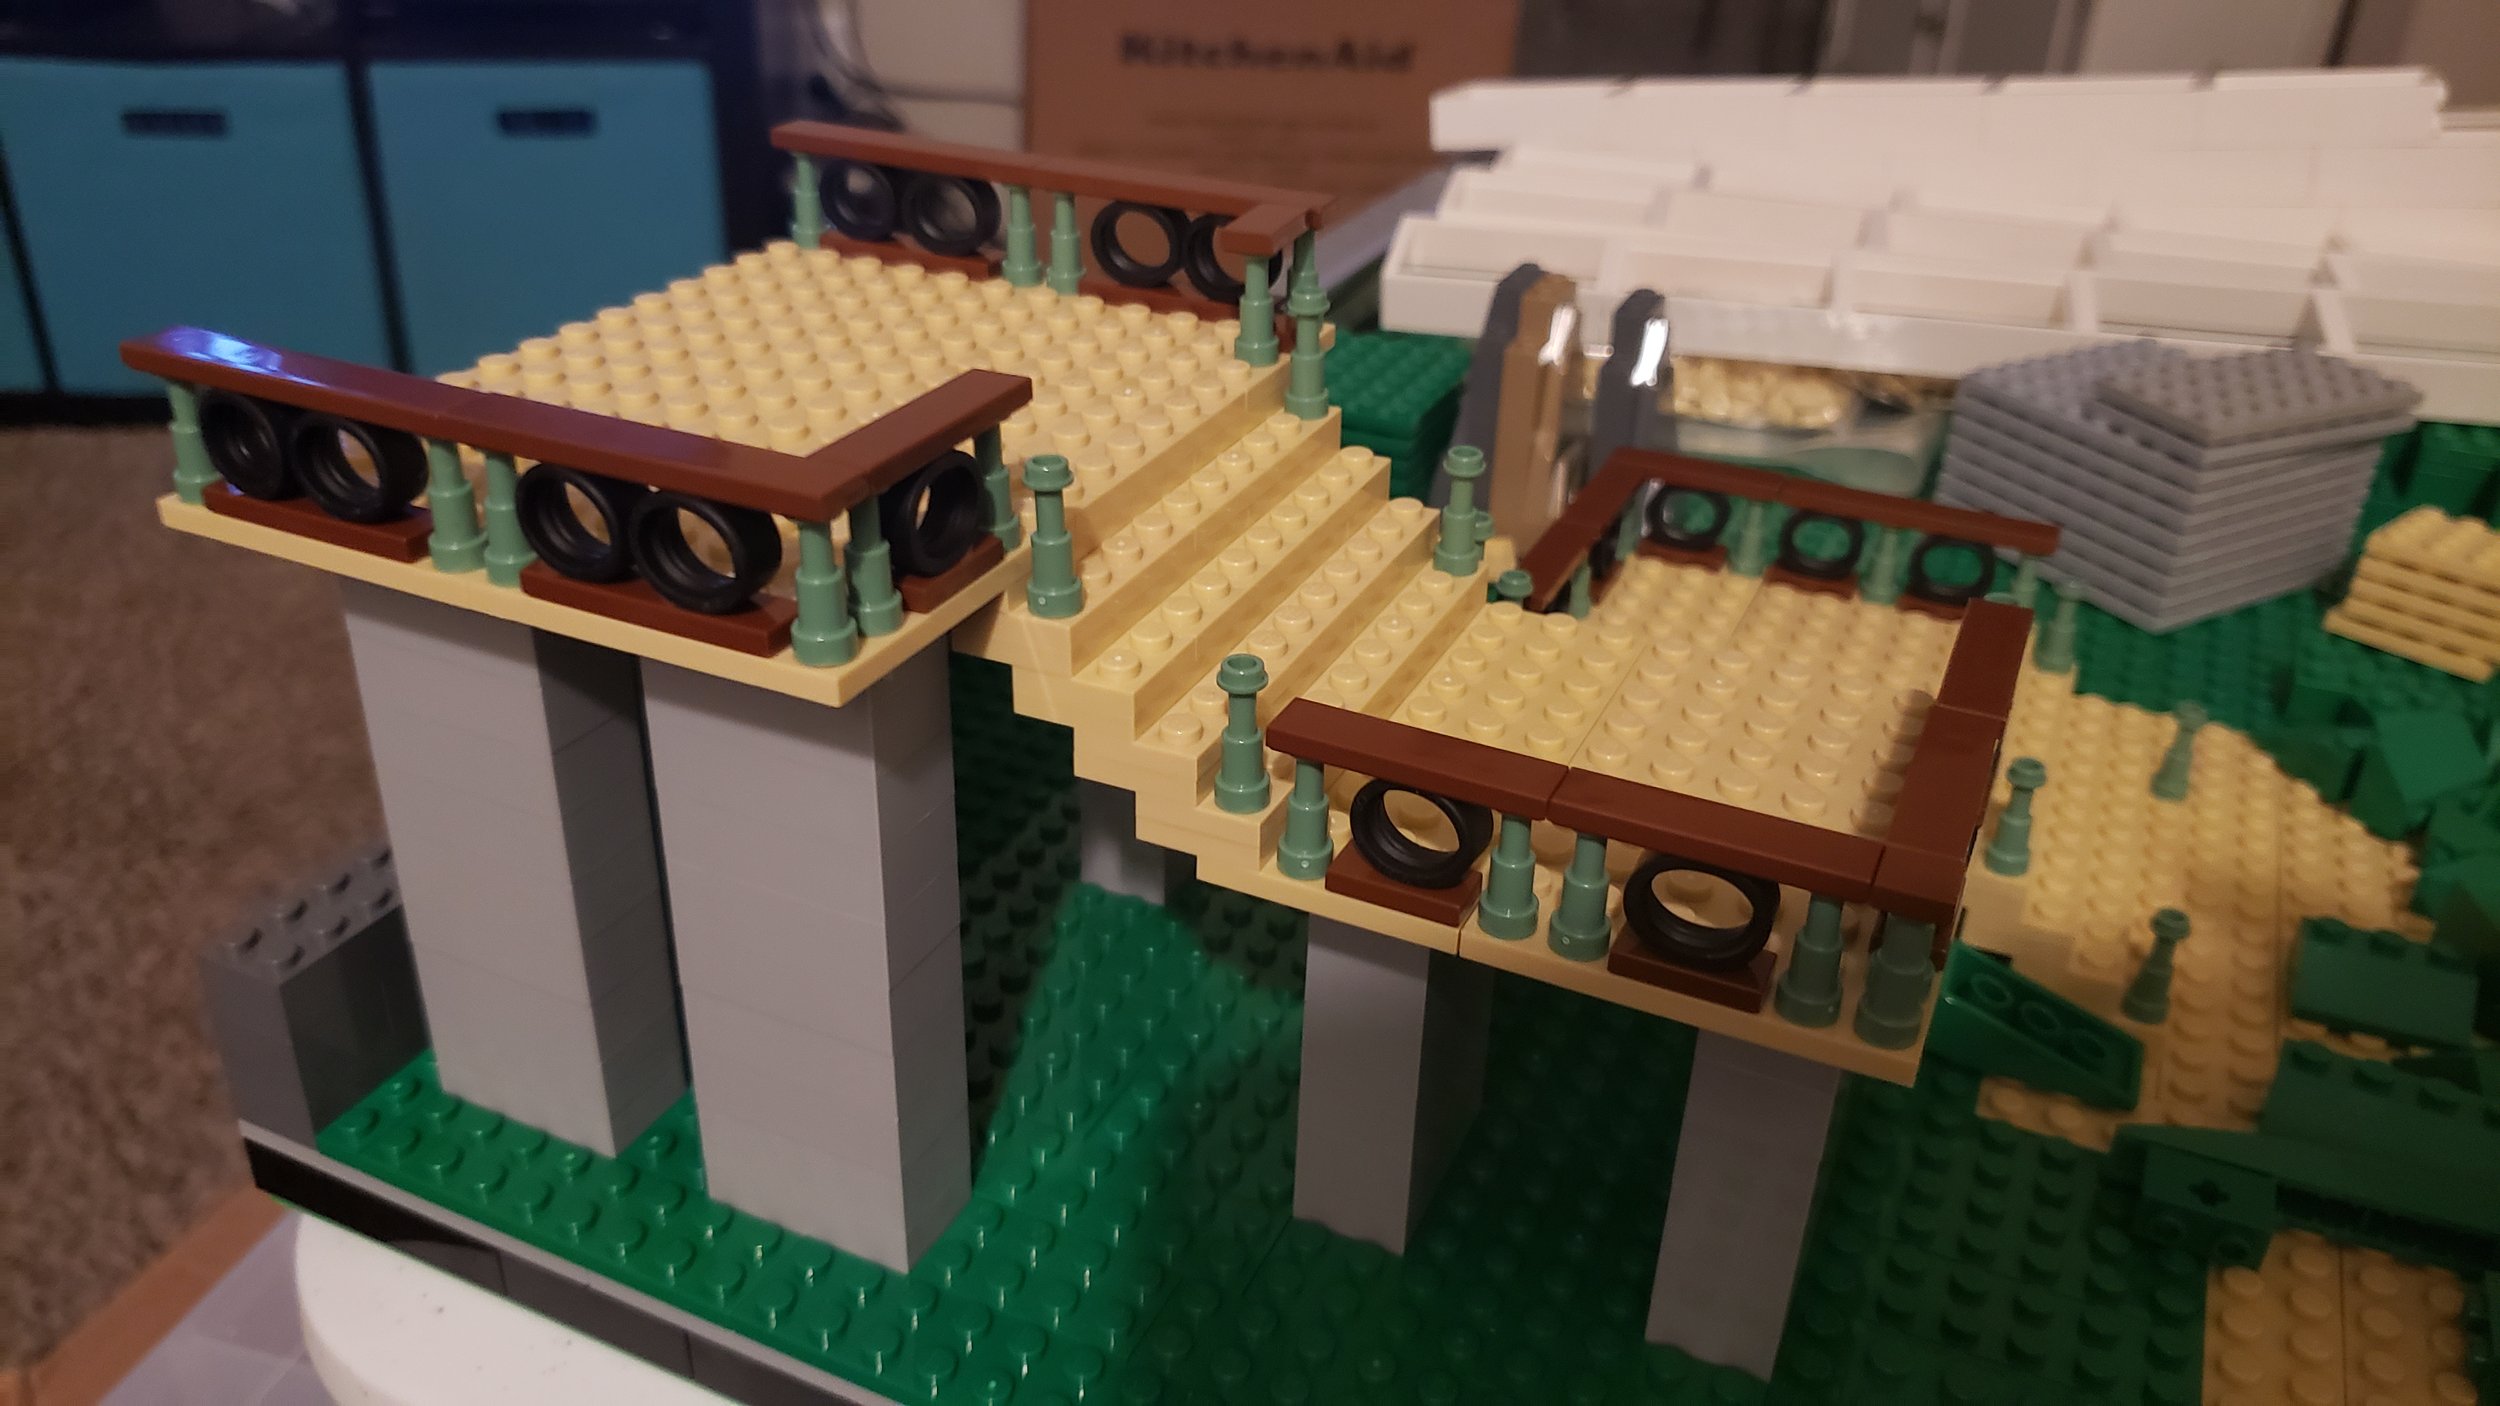
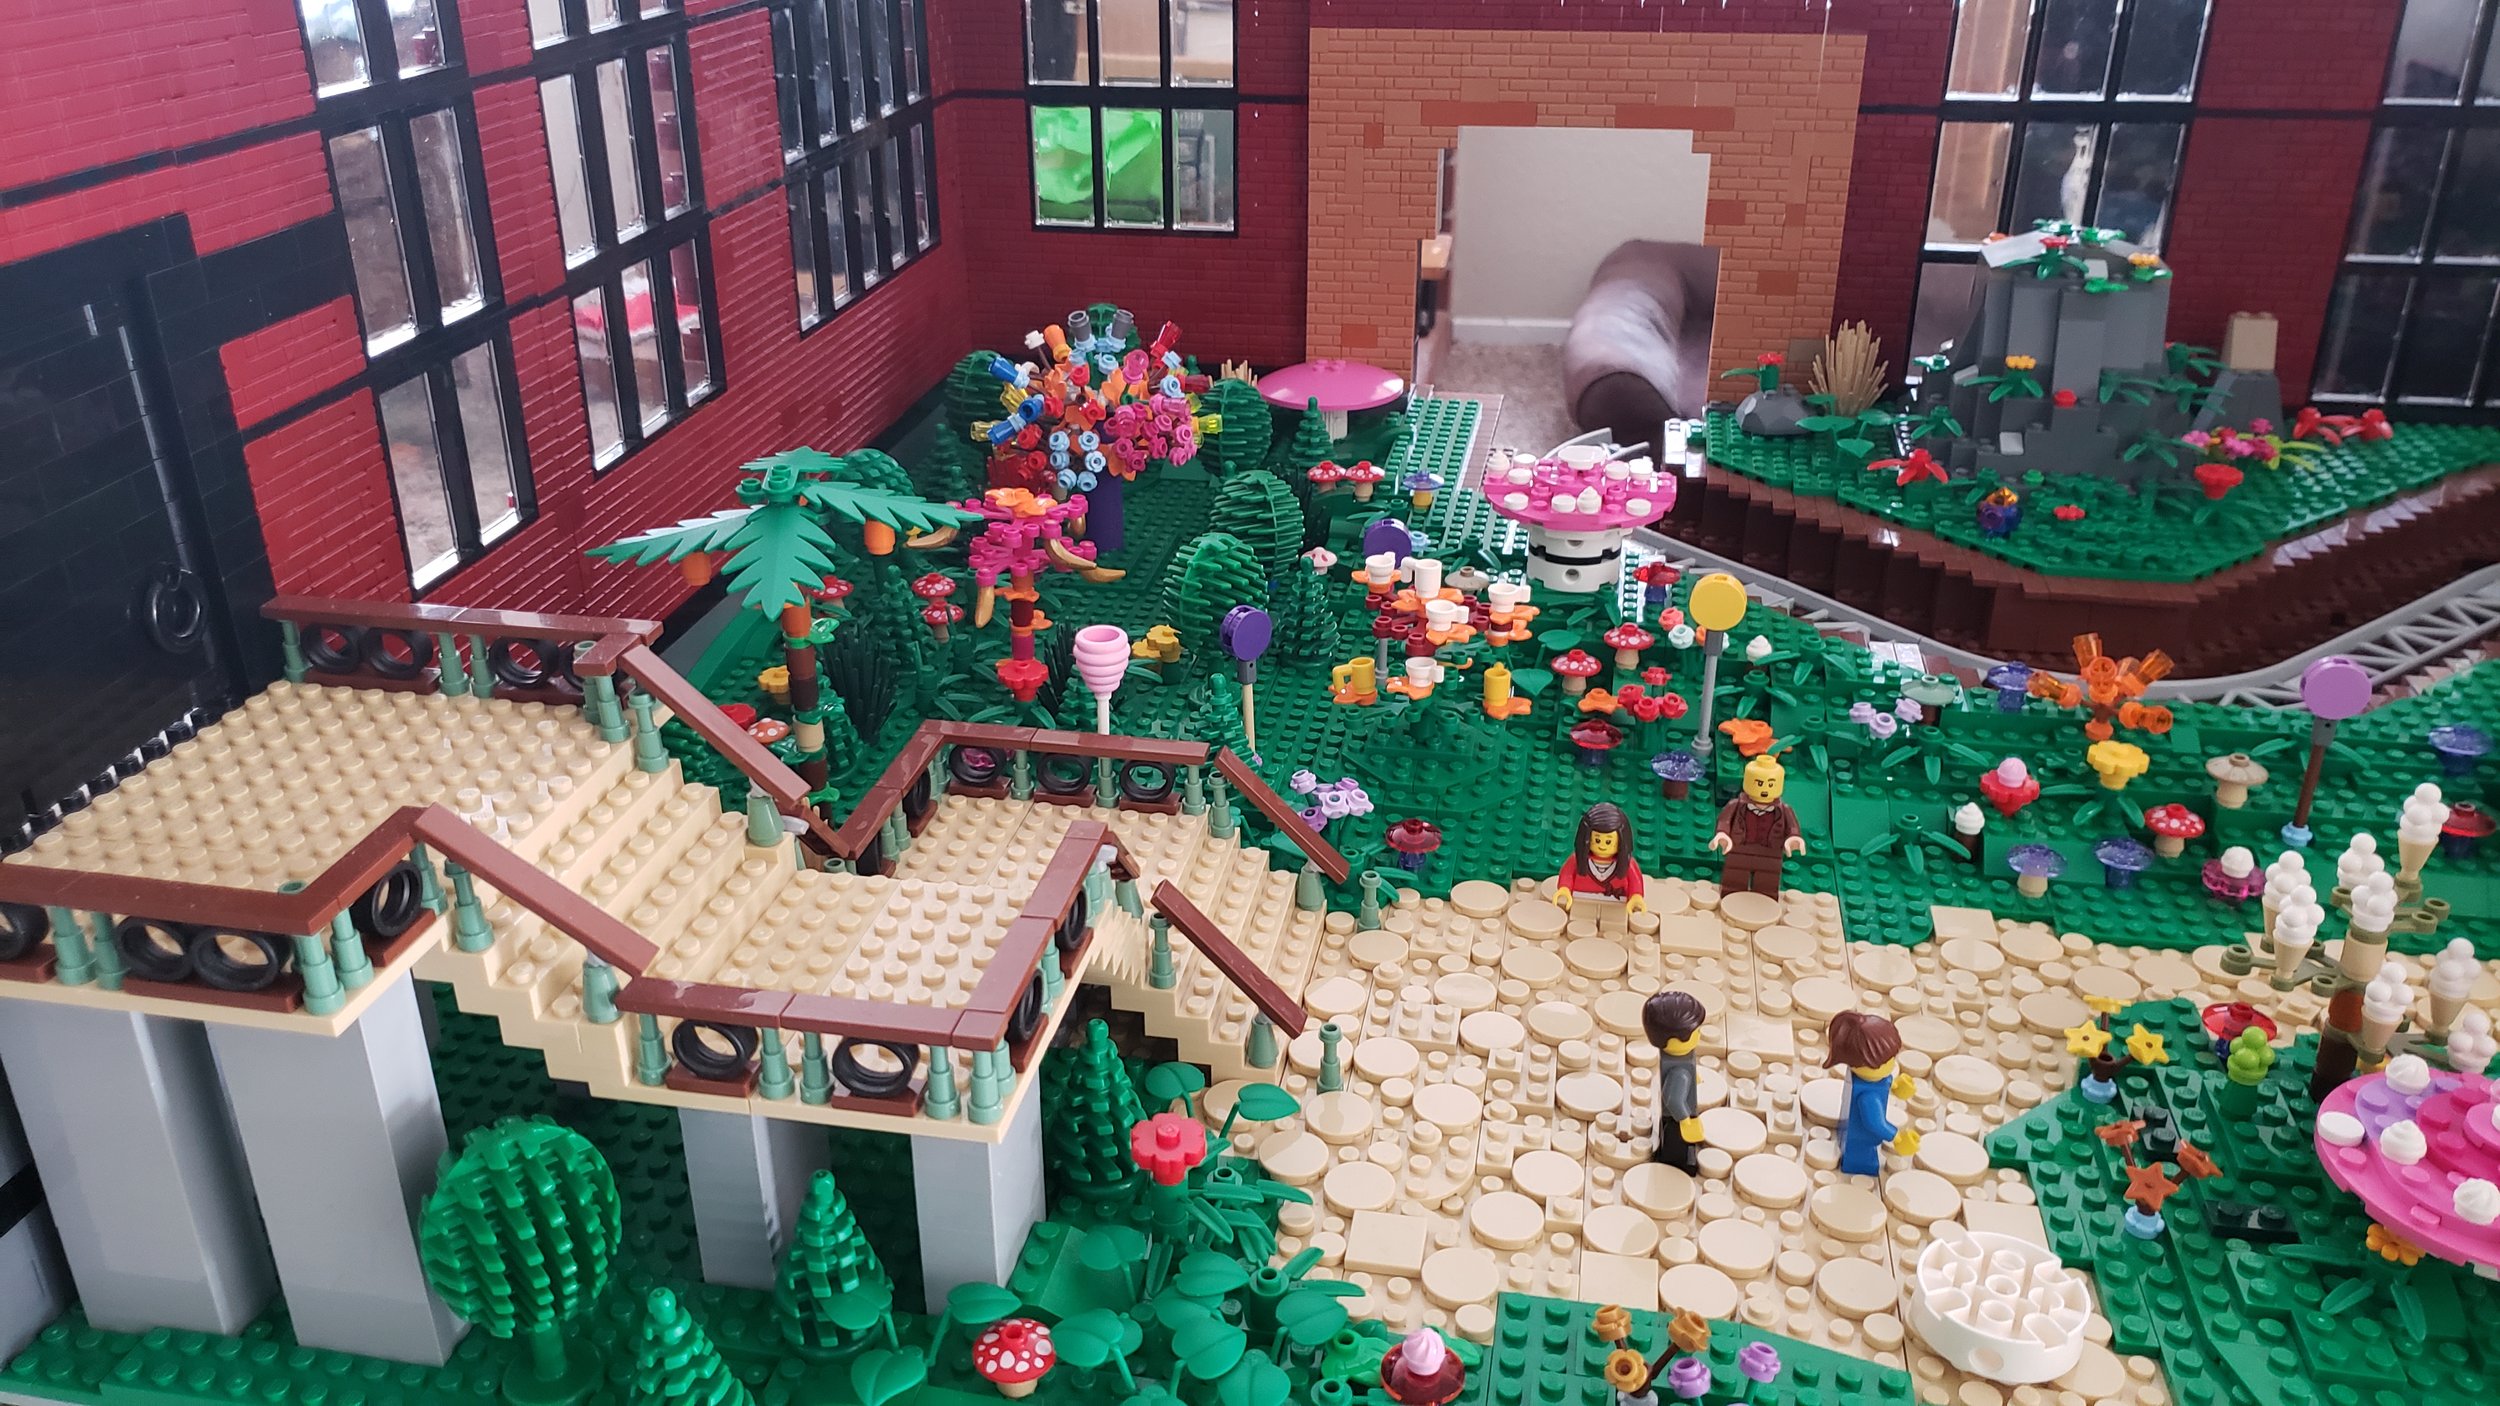
Working with my local LEGO Users Group (LUGVegas), together we built the base landscaping— the chocolate waterfall and river, the pathways, creaming and sugaring area, and loads of green plate “grass”. Building the pipes, chocolate waterfall rockery came next, then the entry stairs. Finally, Wonka, “The Candy Man” himself, was created from various other minifigure parts followed by the Golden Ticket winners and their plus ones. Now onto the fun part – all that candy!

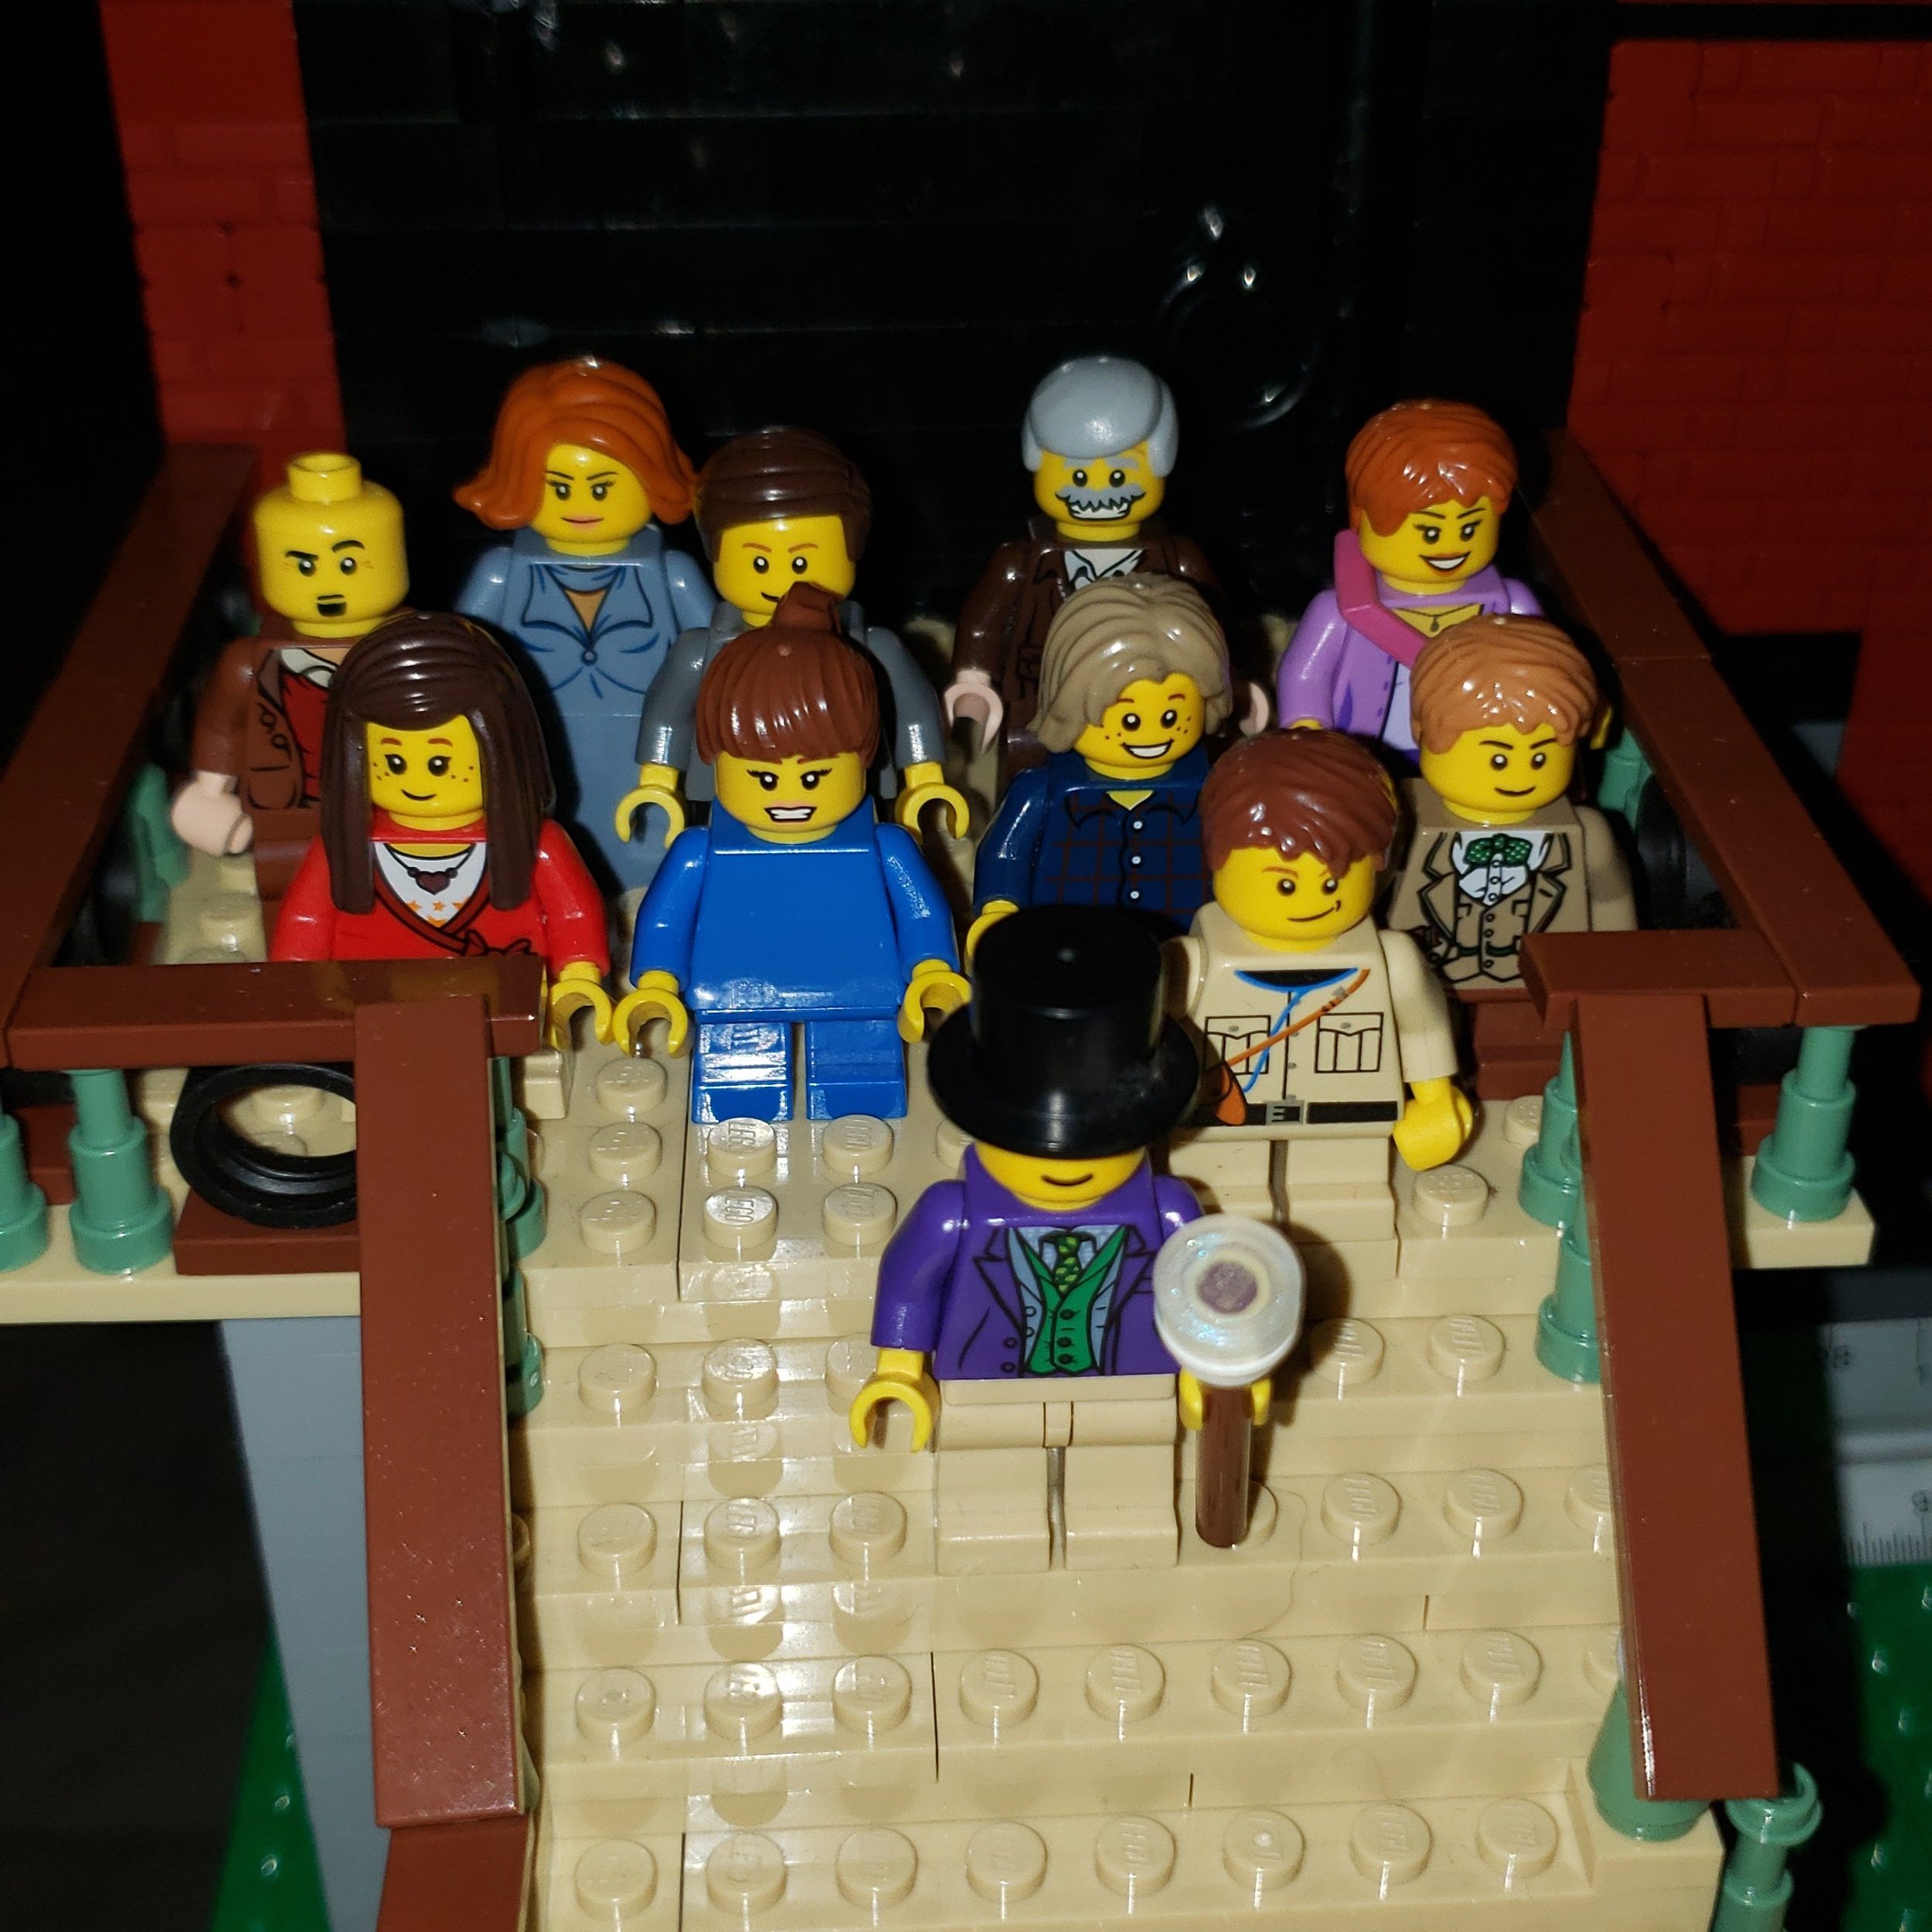
The Candy Man Can
Adding all the candy was a pure delight of the imagination. I built “mushrooms” with their edible swirl, candy canes, gumballs usubng iridescent 2x2 spheres, greenery, trees and of course the edible cups and saucers (on three-leaf leaves). From there I extrapolated from the book a bit more and added big lollipops, small mushrooms, and ice cream trees. For an Easter egg—quite literally, I sadly didn’t have any golden eggs so added a golden banana tree instead.
After some additional tweaking and a few additions to the pipe area, I was close to being done. Honestly, my MOCs are never done – 95% are about the best I could do as I’m always tweaking them and adding, changing and modifying that last 5% — that’s the life of a brick artist!
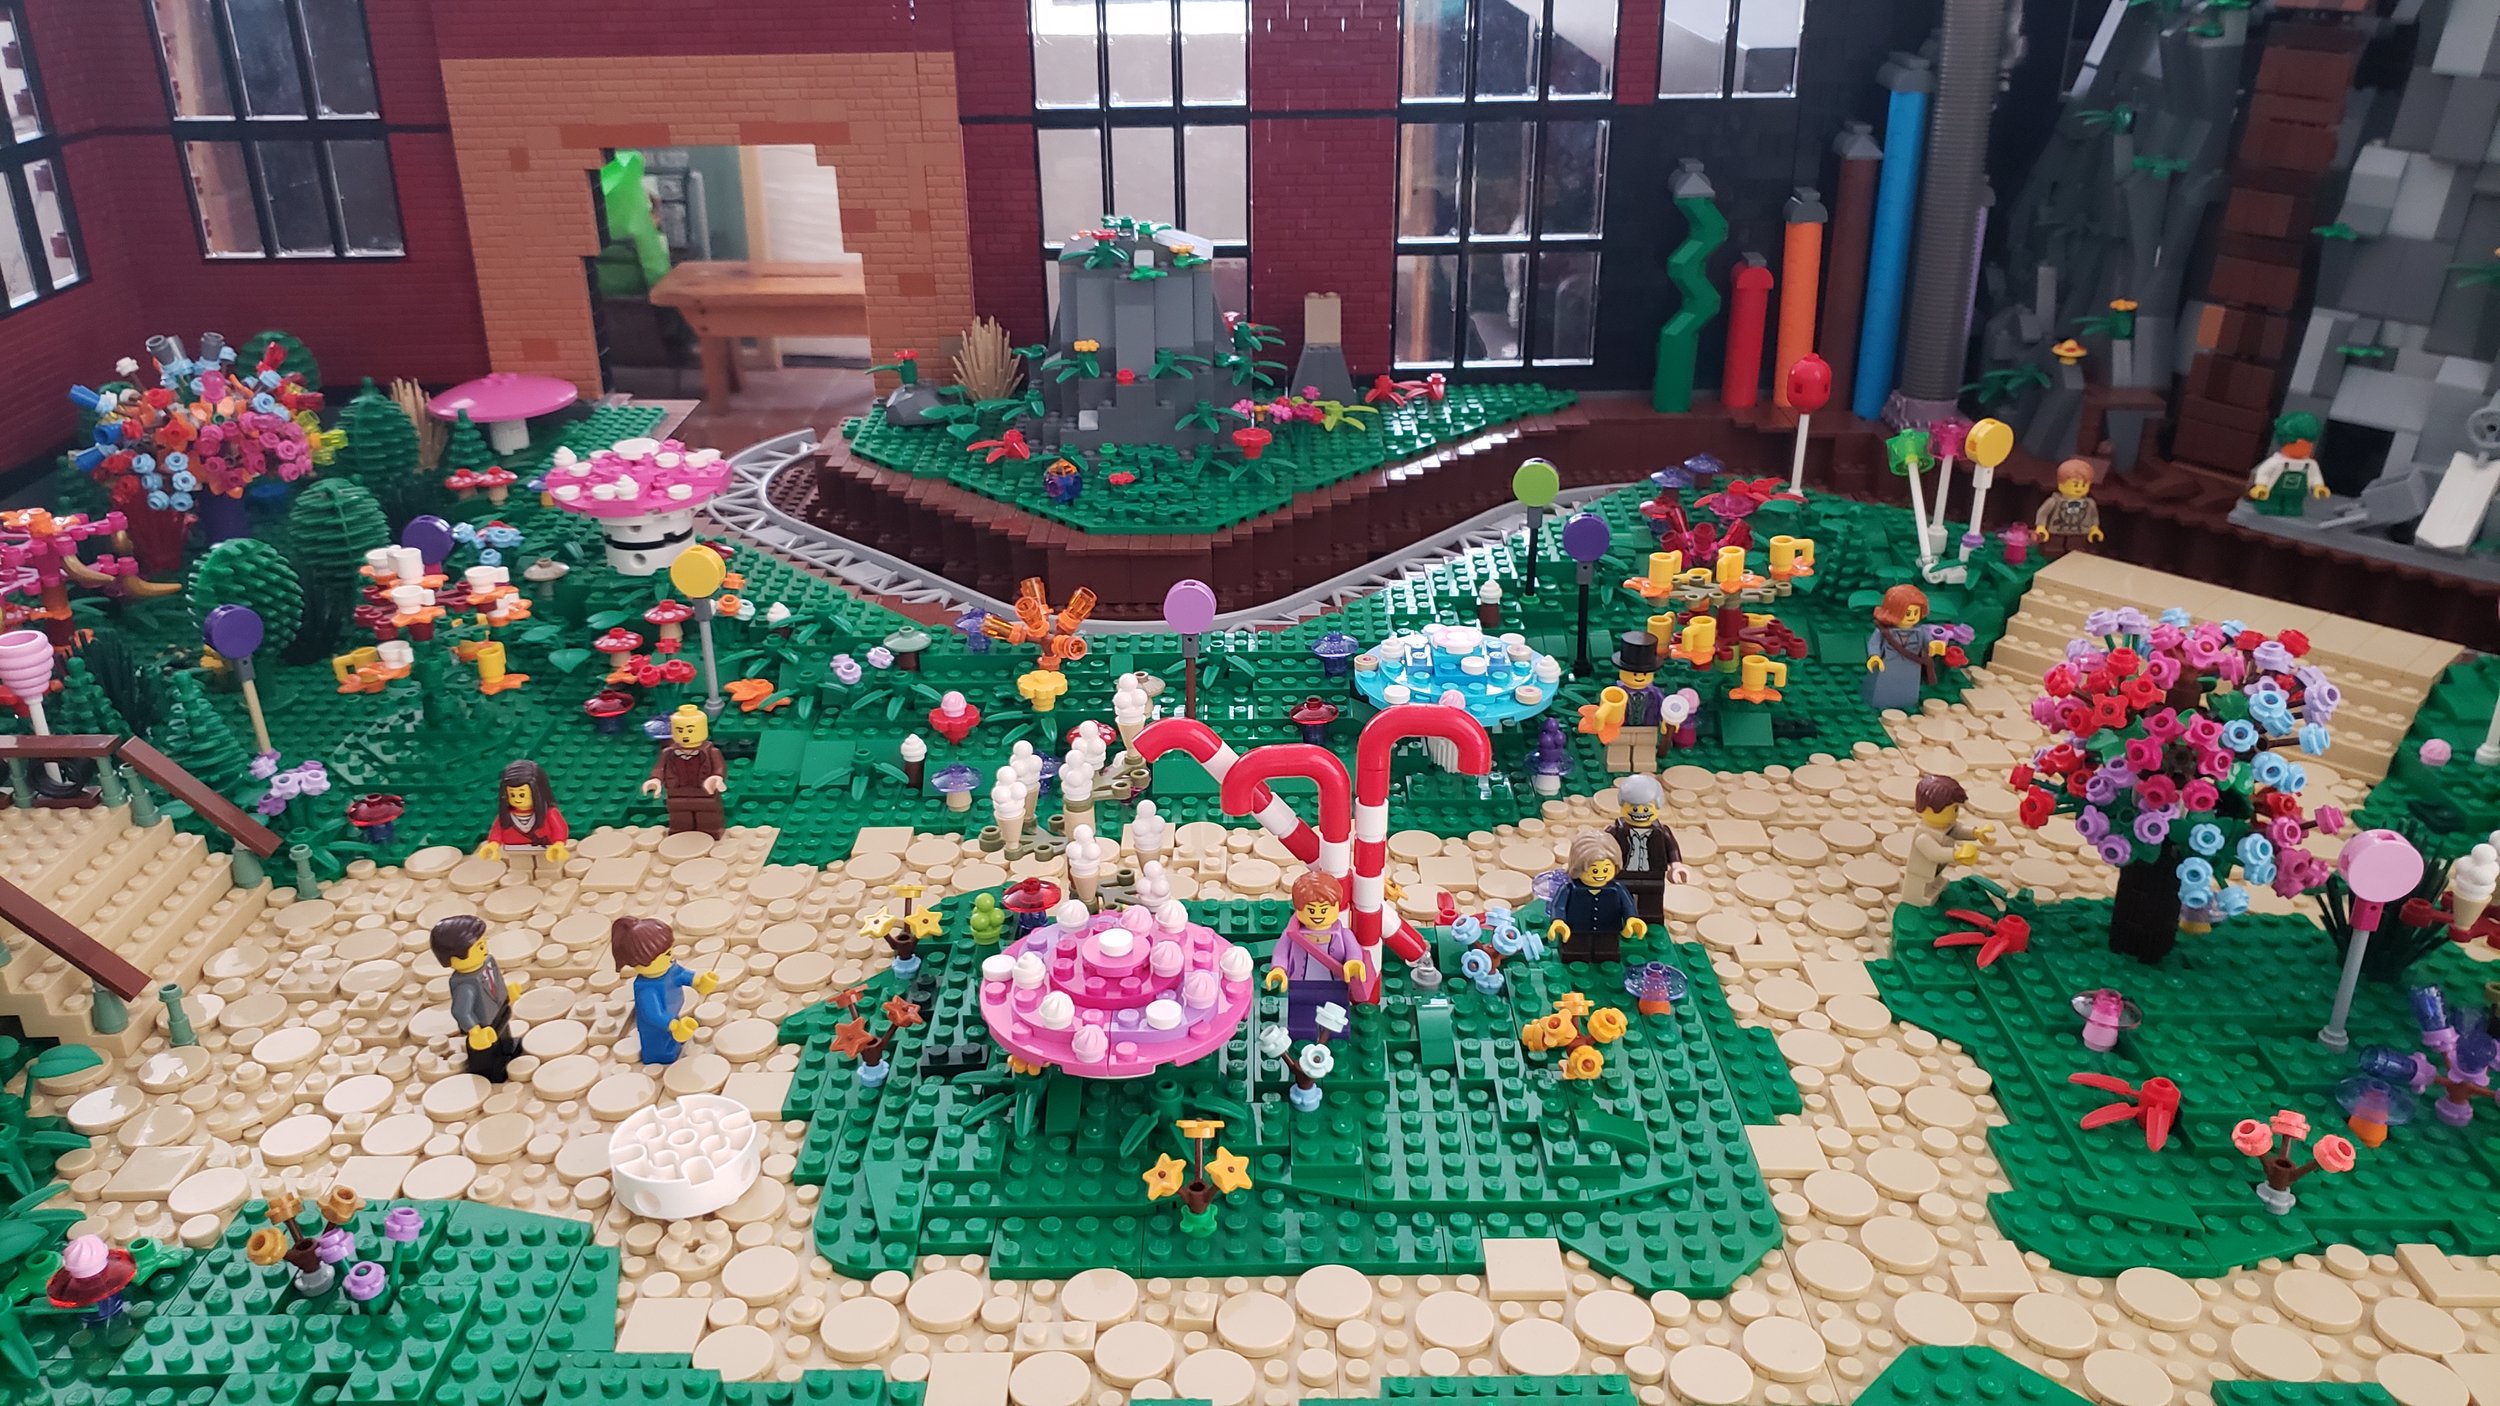
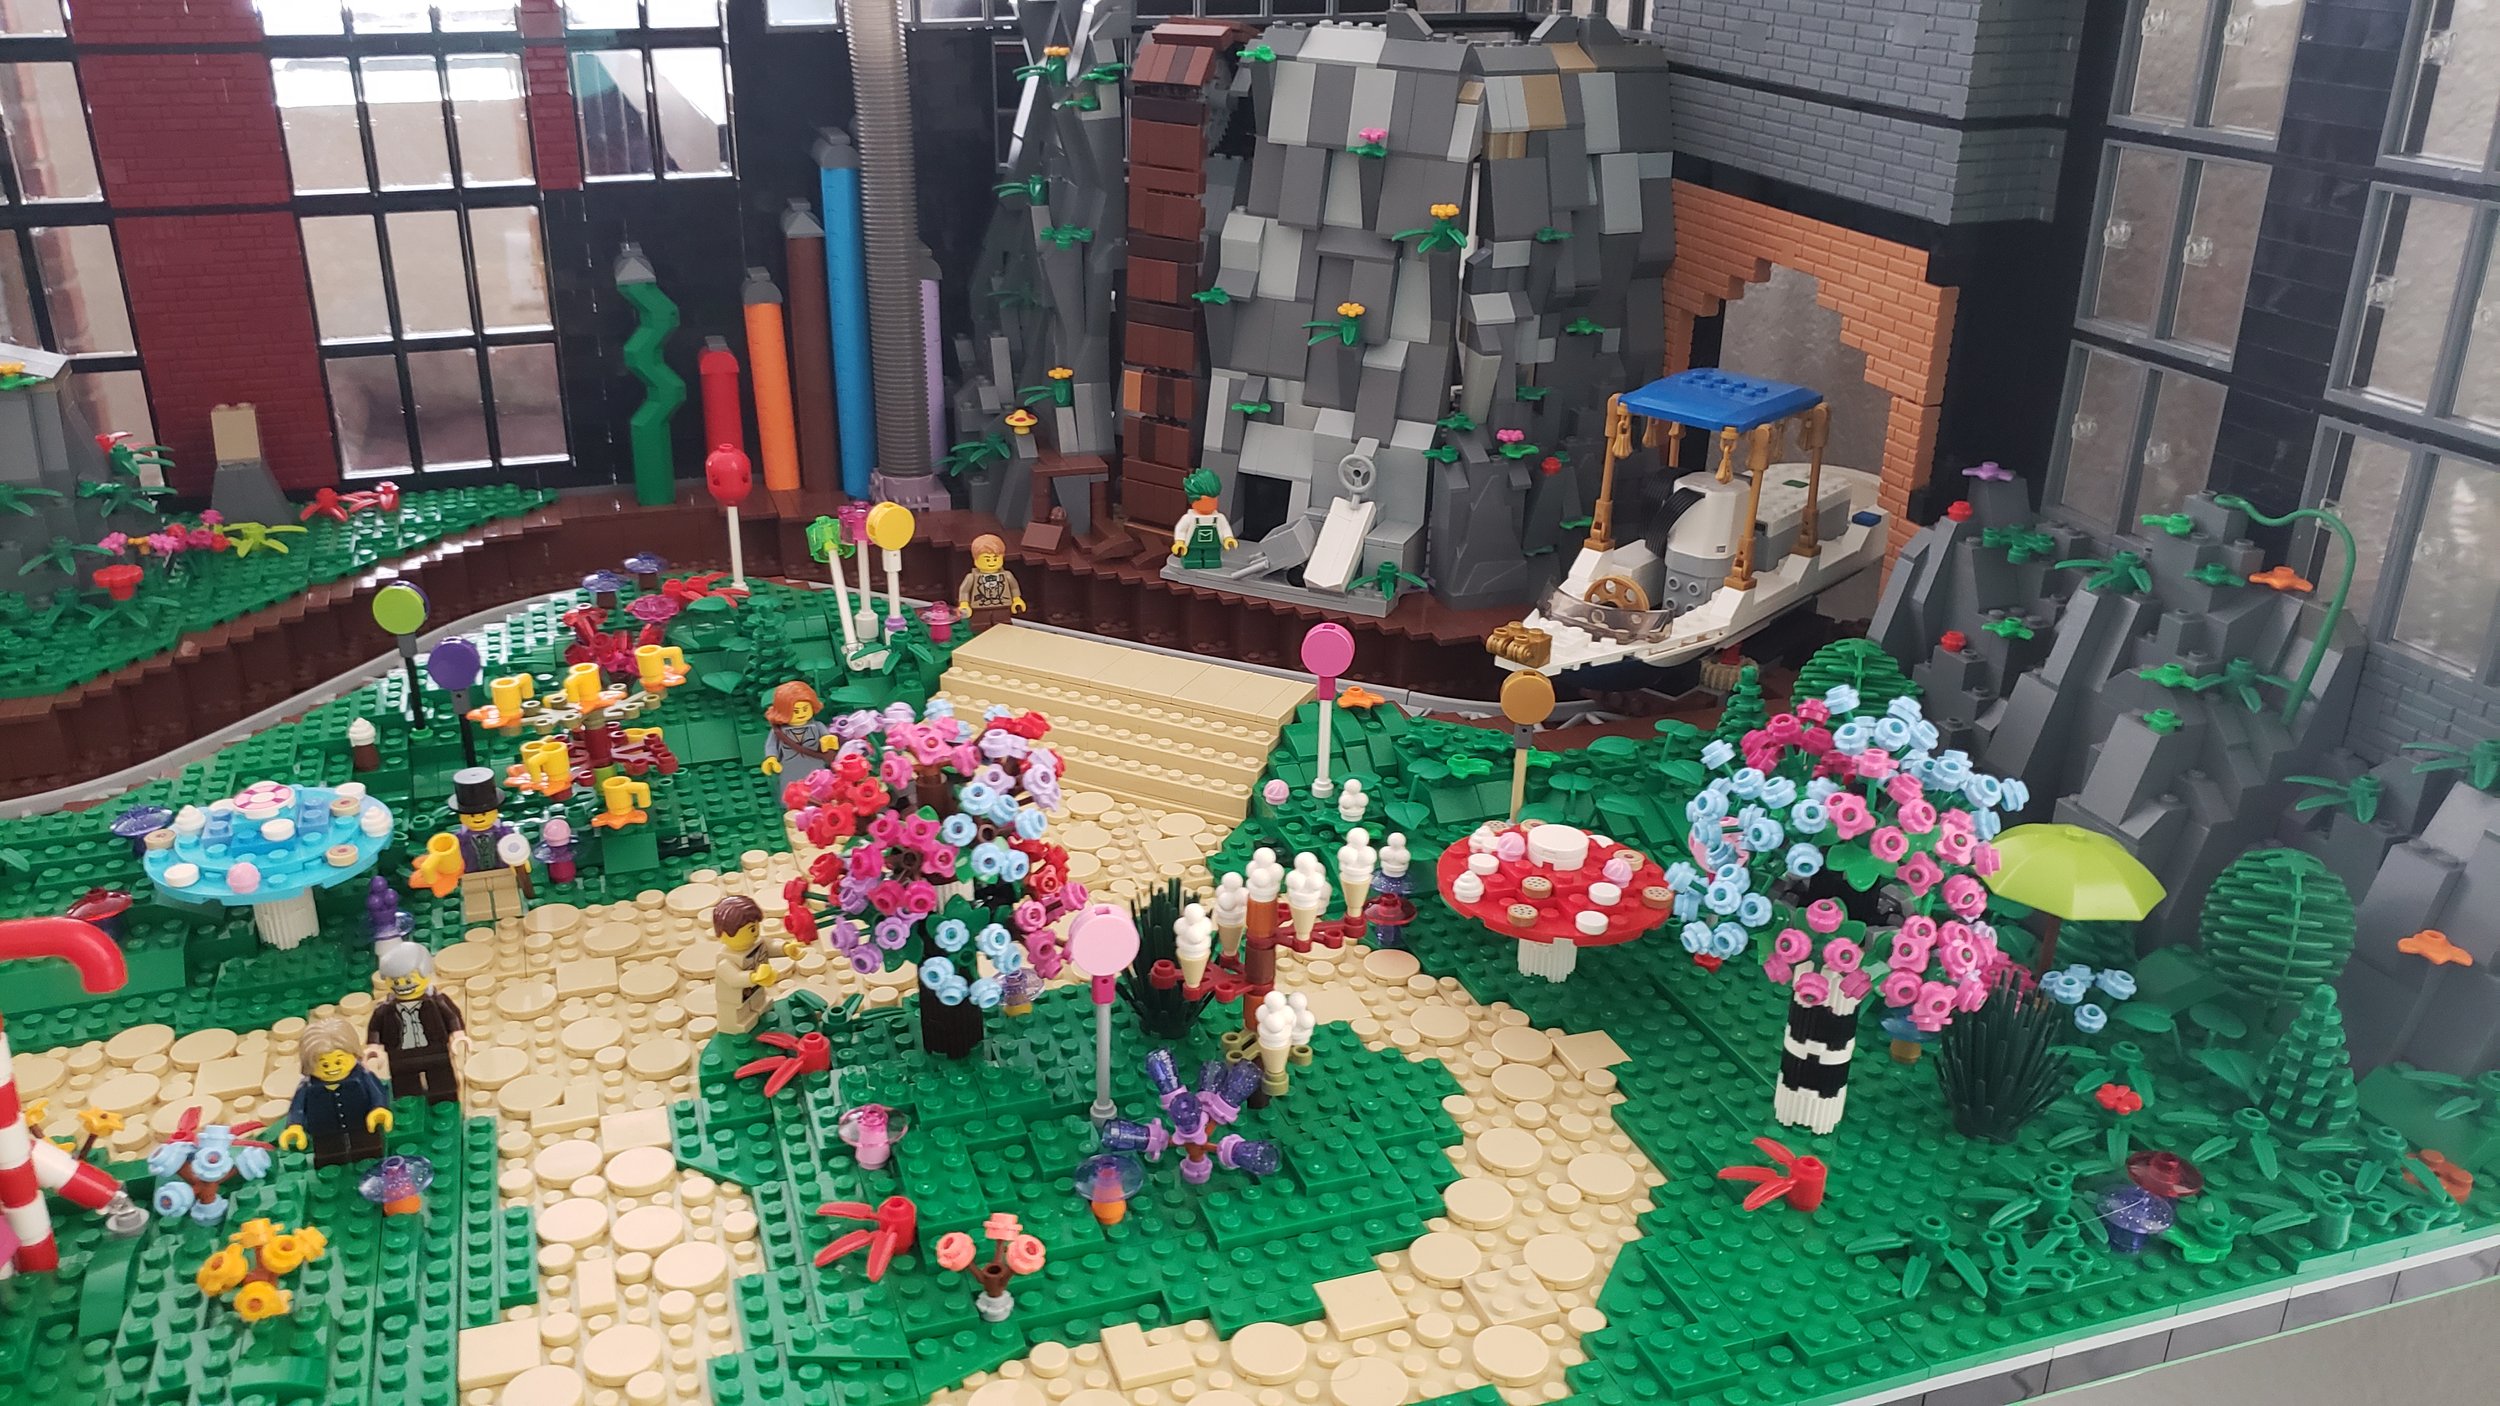
I ended with one more little Easter egg—a hidden Everlasting Gobstopper (out of reach of the Golden Ticket winners, of course).
So there was a walkthrough of my journey into pure imaginations. I hope you enjoyed how LEGO scene came together. Projects like these are the result of a lot of effort from many people, so I want to thank my partner, my daughter and members of LUGVegas for indulging my Pure Imagination build adventure.
May all your tickets be golden as you enjoy brick building from your own pure imagination!
1971 Willy Wonka Chocolate ROom
Which tasty treat would you want to try first? Leave your thoughts in the comments below.
Do you want to help BrickNerd continue publishing articles like this one? Become a top patron like Charlie Stephens, Marc & Liz Puleo, Paige Mueller, Rob Klingberg from Brickstuff, John & Joshua Hanlon from Beyond the Brick, and Megan Lum to show your support, get early access, exclusive swag and more.