Making Christmas: Carving Upscaled Wooden LEGO Trees
/Best of BrickNerd - Article originally published December 25, 2022.
Happy Holidays everyone! Today I’m going to take you on a mini Christmas adventure making large classic LEGO pine trees. For starters I want our readers to know that this article is not a comprehensive DIY guide. Walking through CNC manuals for machining tools, router settings, and listing out a bunch of decimal numbers would be a tedious read. However, I do hope that this is a fun summary and inspires the maker in many of us. You may even be inspired to do it better!
So, whether you are in a woodshop (like this project), dialing in your own 3D plastic printer, or simply want to live vicariously… let’s take a look!
Slicing and Dicing


As with many large element fabrications that don’t rely on a computer rendering, I started with digital calipers. I sacrificed one actual LEGO tree and sliced it horizontally into disks. I noticed that the smaller pine and the larger pine, use the same circular disks. More specifically, the top six disks, tip, and base are identical. Thank you, LEGO! This makes drawing things much simpler and allows extra pieces to be used in future builds regardless of tree size.


After measuring the actual piece dimensions, I had to find the thickest sheet of material I could that would end up being the horizontal branches of the tree. Ultimately, the thickness of the material dictated the max size of the trees. It wouldn’t make any sense to increase the general size if each shelf only appeared oddly thinner the more I scaled up. Now personally, I was not interested in gluing large sheets together to make them thicker prior to cutting, so I landed on a scrap piece of light 0.75in MDF. This meant the end trees would be roughly 1-2 ft tall. From here, I chose to use the base (in addition to the thickness) as the second ratio guide. With the ratio set, it was time to set up some cut files.


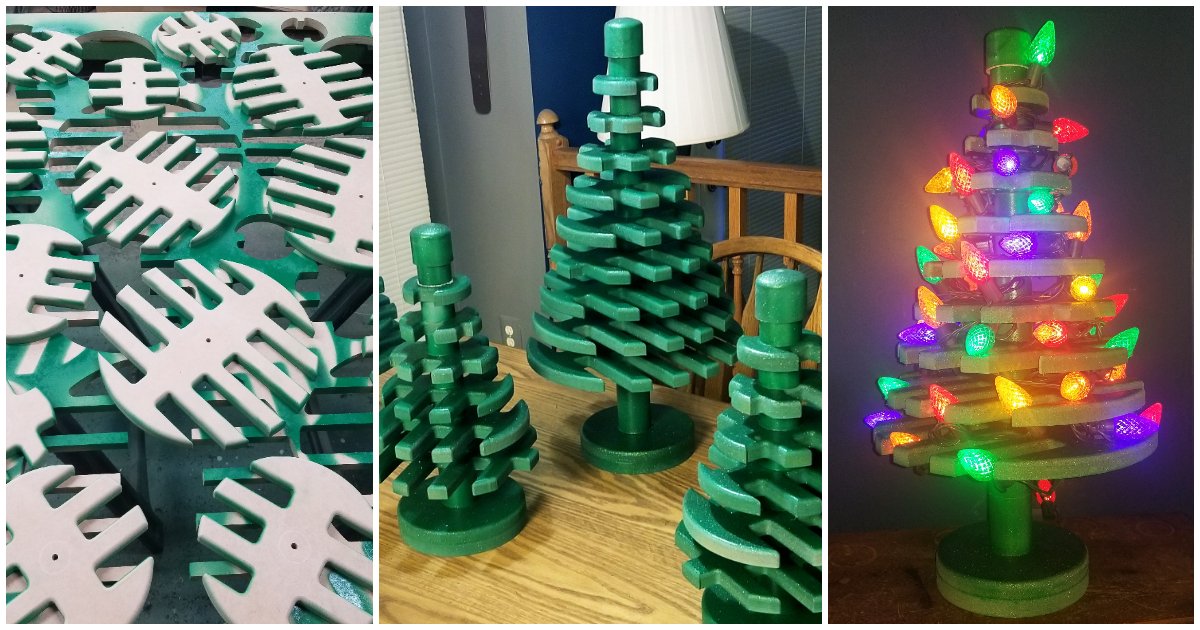
After scanning the sliced-up LEGO pieces, they were digitally drawn out for a cut file. Fitting as many pieces as possible on a scrap sheet, the CNC router began its work cutting along the designated path several times. The increased magic of modern shop tool technology is ridiculous—specifically, CNCs, lasers, waterjets, and batteries have made any modern maker wonder how things got done 100 years ago. Anyways, I’m just grateful, because otherwise, this two-day craft would have been a month-long carving project.
Trimming the Tree Trunk
Around here was when I started worrying about the tree trunk. On the actual LEGO piece, it tapers towards the top. In a woodshop without a lathe, tapering is no fun. So I picked a trunk diameter slightly above average. My goal was to run a threaded rod up the core and screw it together at the end so simple chopped pieces of PVC piping were used.

It also meant that a cap on the top of the PVC pipe could work pretty well for the tree tip. (For the record, I totally didn't forget to cut the top section longer for the inset into the cap… Good thing I had extra. 😉) Then with some heavy-duty construction adhesive, we were ready for some painting.
Going Green
My plan was to just use simple green paint, but I ran out. (Rather four hardware stores nearby ran out.) Ok, so it might have been my fault. Since I forgot to seal the end grain, it swallowed up way too many cans of paint and primer.


By the time I’d used up everyone’s gloss green paint and still hadn’t covered it all, I decided to do the final coats in a fun green glitter from a local craft store. I then proceeded to pretend that this was all deliberate and part of my artistic process.
Some Assembly Required


Assembly time! It was about here during the project that I realized each section needed to be glued since the core rod still allowed for the spinning of each layer. Not wanting this, I used the same adhesive I used earlier to anchor all the pieces together. (This isn’t actually LEGO so it is legal to use glue!) The black foam in the photo was to keep the grooves aligned while it dried as well as for safety in transportation.
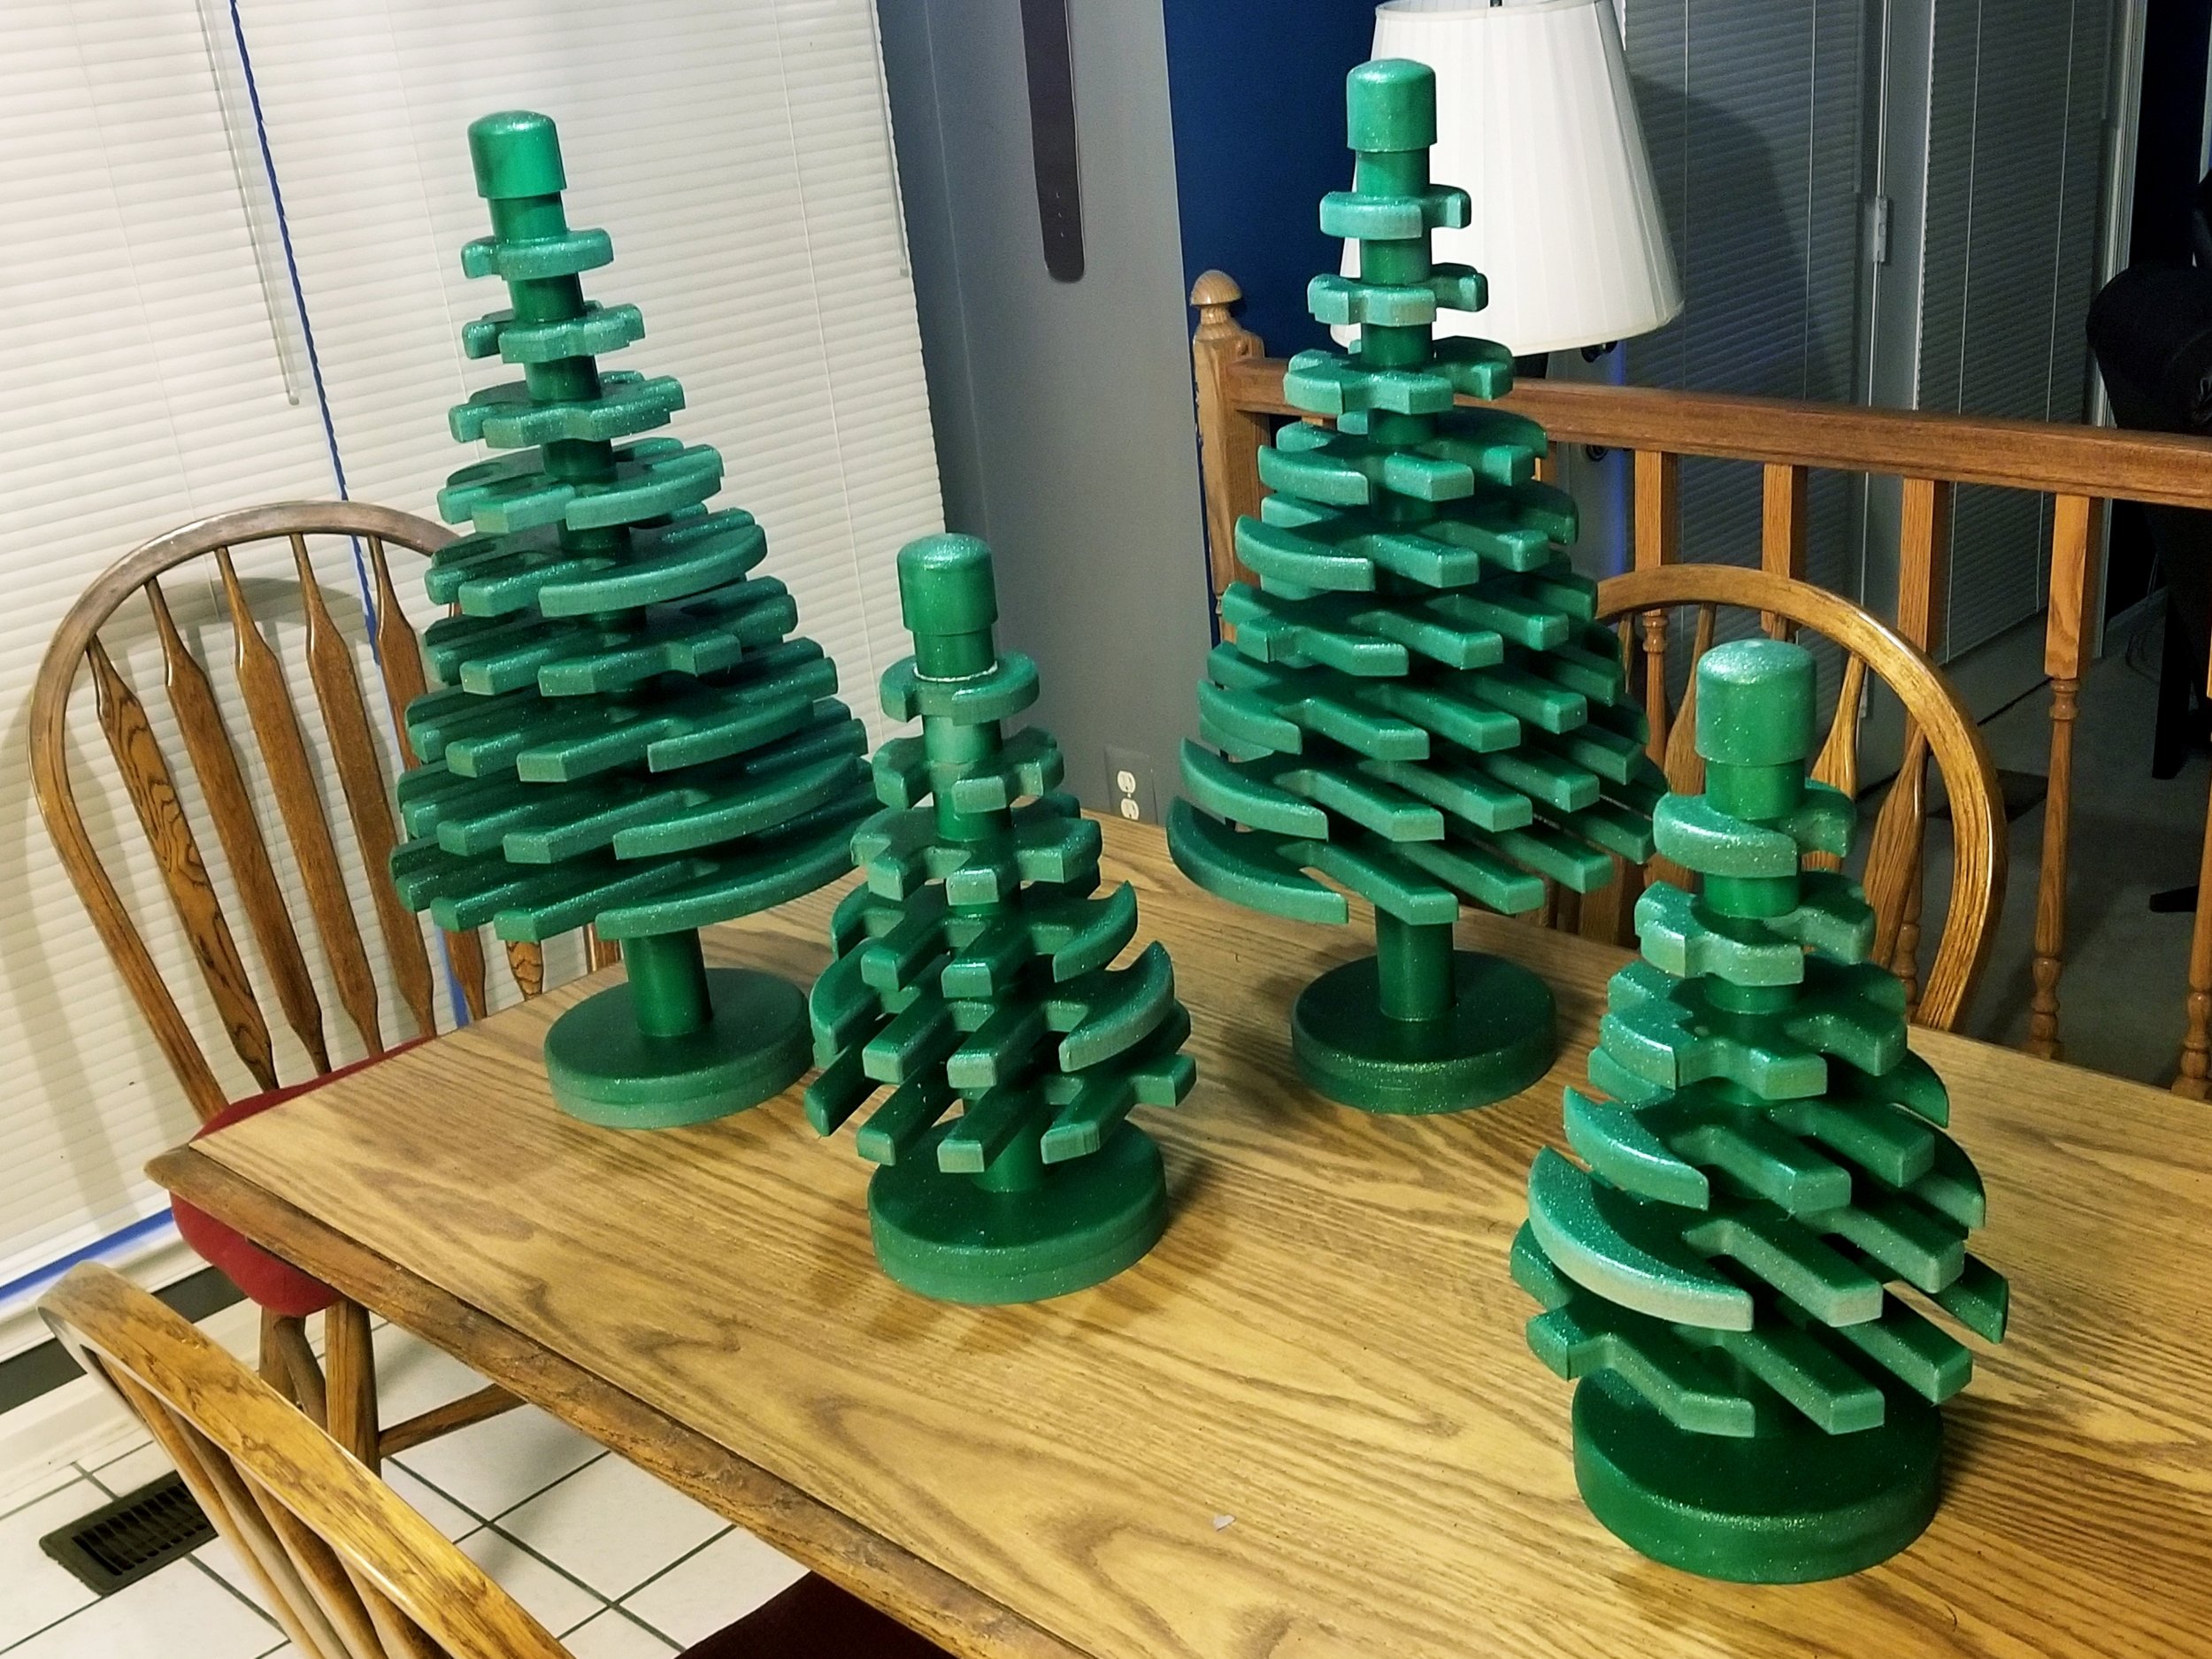

Altogether, the trees look fantastic and exactly how an upscaled LEGO pine tree forest on a dinner table should look. The pieces look considerably more solid and have a bit more heft than if I would have 3D-printed the whole thing. Wood was certainly the way to go. Lastly, being the holidays, one or more of them simply had to be lit up! (Not quite as many lights as on this LEGO UCS Christmas tree but I was going for classic nostalgia!)
Thanks for joining my large LEGO Tree journey! I had a bunch of fun making these, and I am already considering other approaches. Perhaps the next batch will be larger and utilize stained 2x4s and a biscuit joiner… Anyways, all of us here at BrickNerd hope you have a wonderful holiday season!

Which LEGO element would you like to see upscaled the most? Let us know in the comments below!
Do you want to help BrickNerd continue publishing articles like this one? Become a top patron like Charlie Stephens, Marc & Liz Puleo, Paige Mueller, Rob Klingberg from Brickstuff, John & Joshua Hanlon from Beyond the Brick, Megan Lum, Andy Price, Lukas Kurth from StoneWars, Wayne Tyler, Monica Innis, Dan Church, and Roxanne Baxter to show your support, get early access, exclusive swag and more.