Custom Printing LEGO Elements
/While attending BrickMagic last weekend I took some time to visit with Victor Fernandez of EclipseGRAFX and learn more about the fascinating world of custom printed LEGO elements, our project: 1x1 red tiles with Nerdly glasses, dubbed "Nerdletes" (Nerdly Chicletes, get it?)
Victor was kind enough to share the whole process with me, and while there's a lot of boring details I'll leave out (trust me, it's a tedious process, they charge that setup fee for a reason) I think you'll find the rest of the process fascinating.
It all starts with the graphics. Luckily I had my laptop with me loaded with tons of the artwork I've generated over the nearly two years of BrickNerd. I've actually been thinking about making these particular parts for quite a while. I thought it might be a fun way to "sign" my MOCs, plus they make awesome giveaways. I brought Victor a USB drive with an EPS file of Nerdly's glasses. With some serious Adobe Illustrator chops he had it prepped and ready in short order.
This is where it got tricky. There are so many variables it was mind boggling. You need to consider the height of the bricks above the print surface, the width of the part, the clearance between them, the slight rounding on the edges, the color of the plastic, the thickness of the printing, and so on and so on. And it's not just sliding some bounding boxes, checking some boxes and hitting "print", it took multiple iterations to get it up to both Victor's and my standards. I should point out that Victor is an accomplished artist, and has a keen eye. I have notoriously high standards, in probably far too many aspects of my life, and Victor was right there with me, critically looking at all factors.
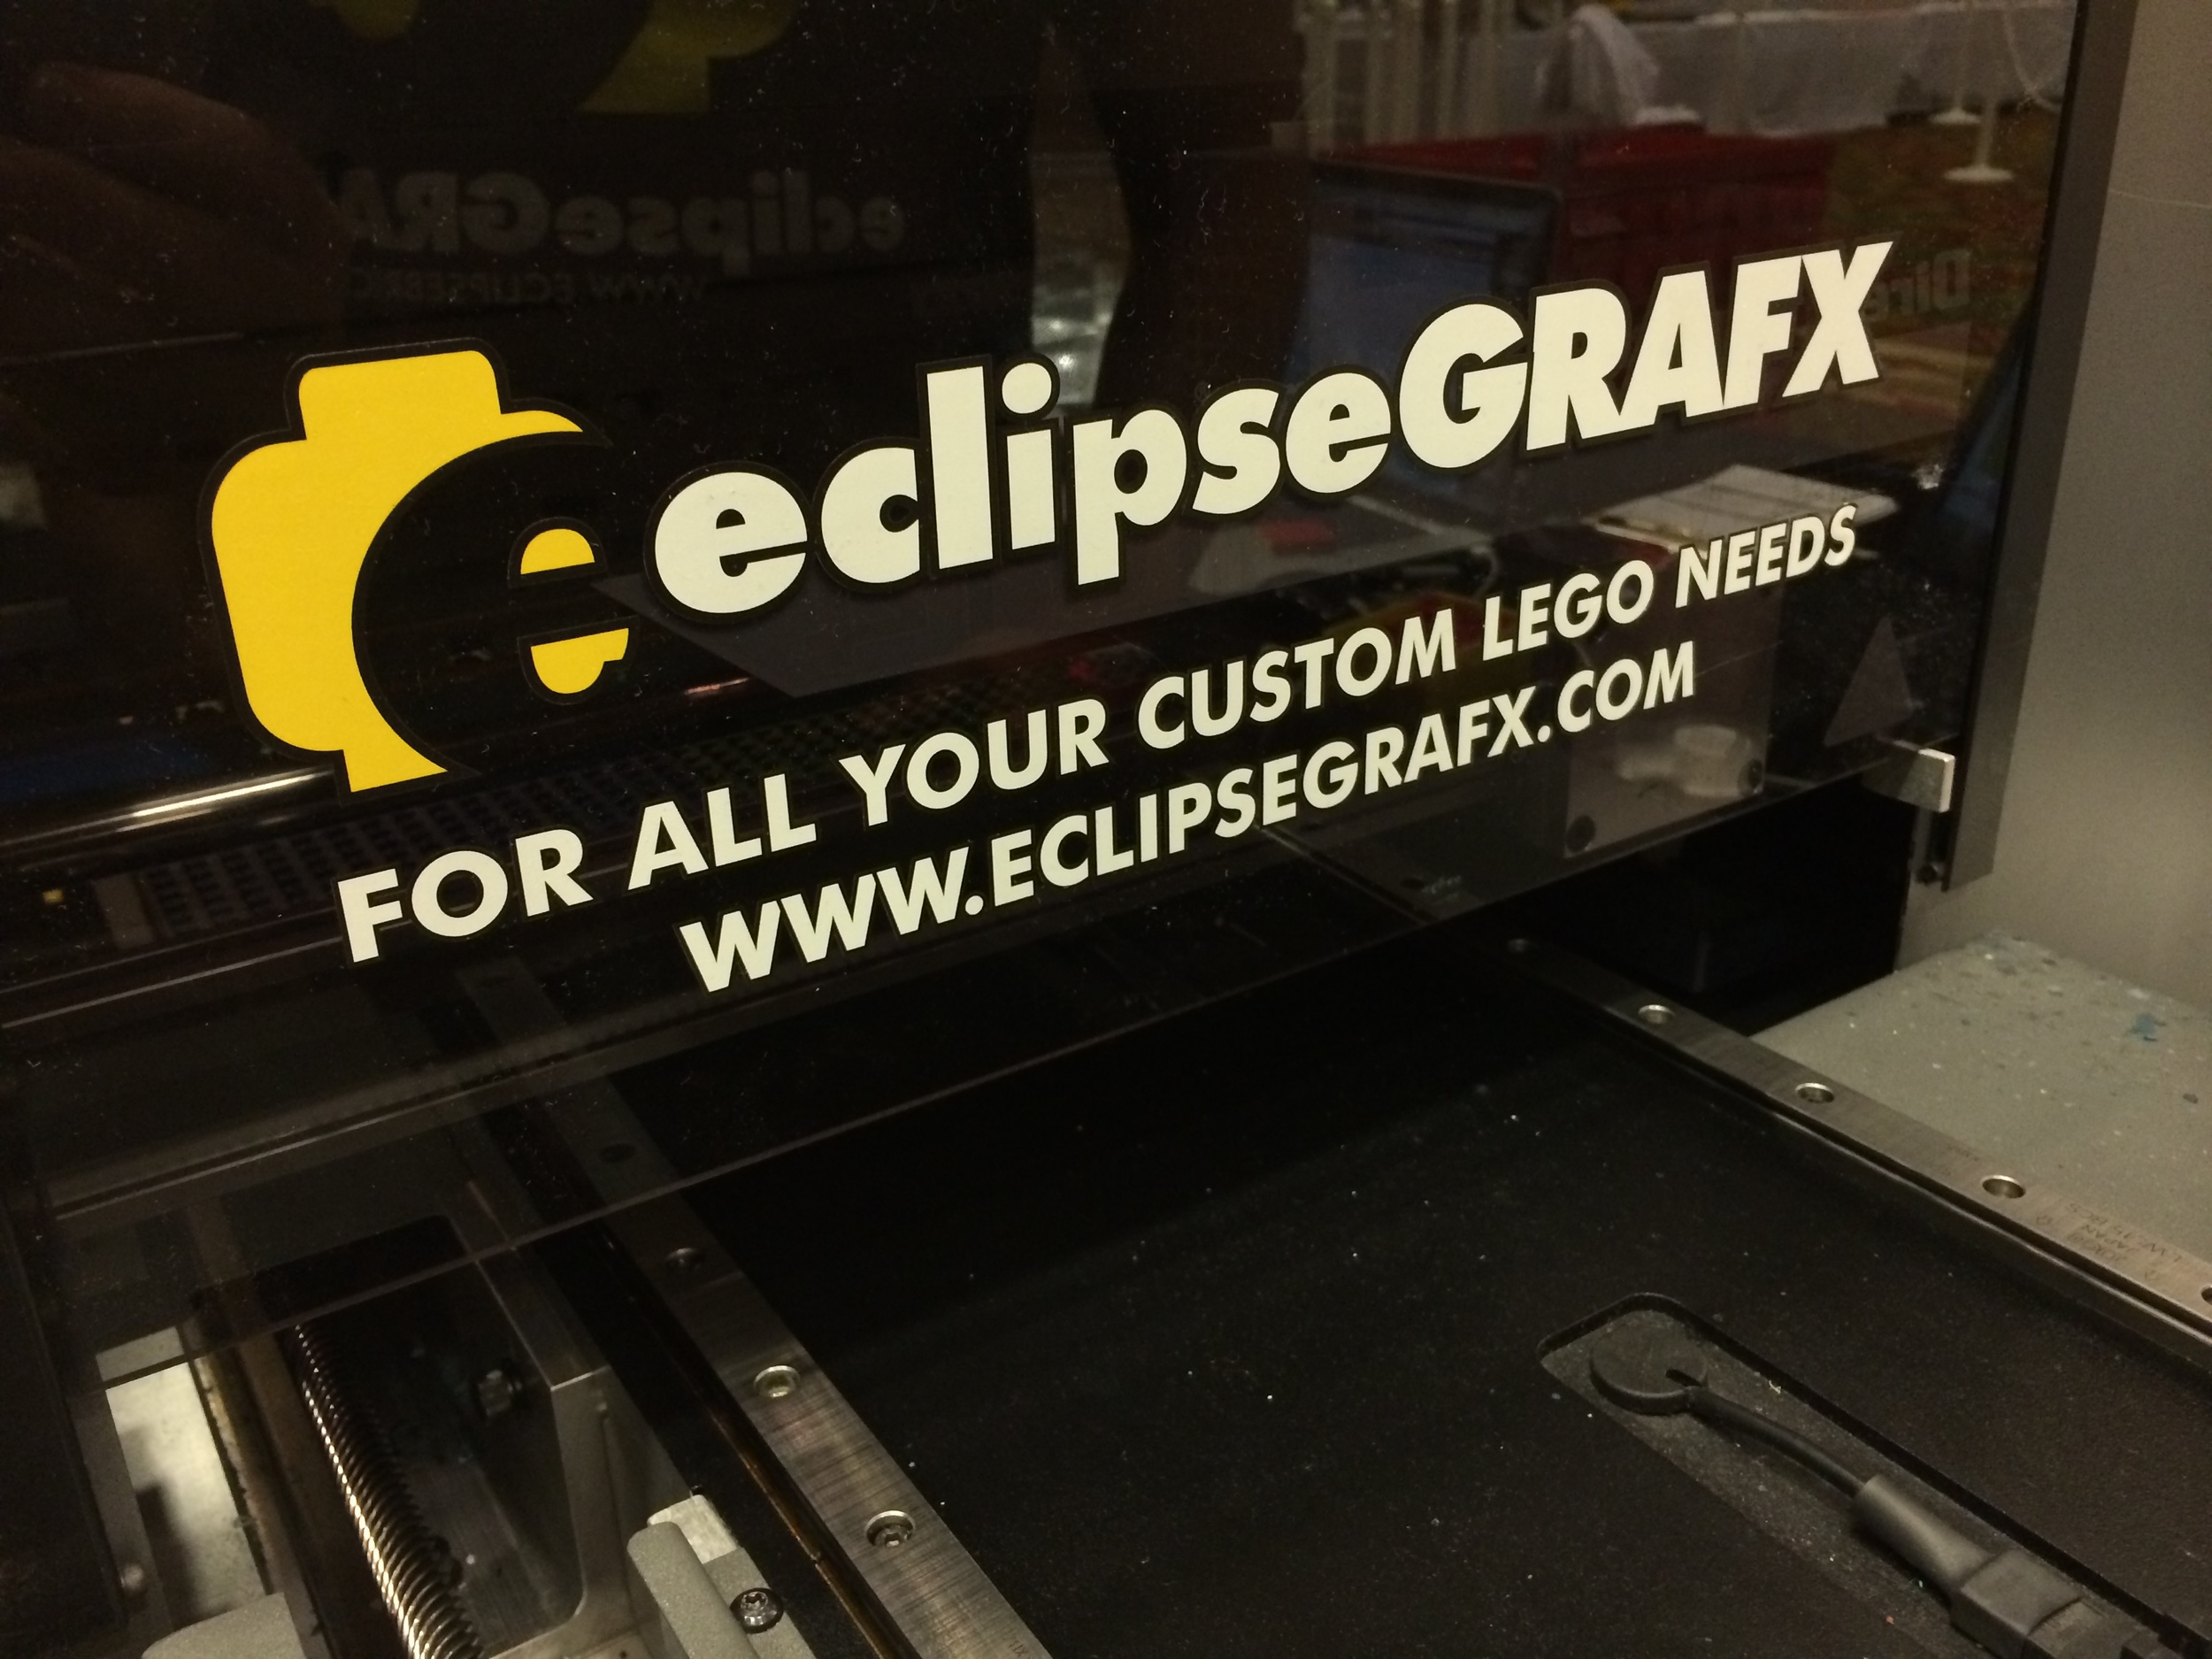
The printer itself is a bit of a beast. I don't know how much it weighs, but the table it sits on looked seriously beefy. It can also be a bit temperamental, but luckily Victor was remarkably in tune with it. He knows the machine so well he could identify potential issues just based on the subtle changes in sounds that it was making. The print surface moves in and out of the printer, and the print head moves back and forth over the item being printed. The print surface is carefully calibrated and has LEGO baseplate attached to it to accommodate the bricks being printed.
With the cover removed, you can really see the complexity of the machine, This isn't some souped up inkjet, it's a piece of industrial equipment. The ink is cured as it prints with a powerful UV light, making it look even more impressive with animated lighting effects (ok, it's just a bright purple light, I'm easily distracted).

We started test printing on transparent tiles, making tedious numeric changes to numerous values. It took a few iterations to get it to our liking, then we switched to red tiles. Once we were satisfied with the placement, scale, thickness and quality of the printing on a single tile, we moved on to a row of six. Satisfied that the dimensions were correct, it was time for a full run of 6x6. The printing is surprisingly fast, at least to someone who has had to suffer with classically slow, high end print processes. After a successful run of 6x6, a few more were run to complete my order.
Now if you're looking at this pic and thinking "hey, those look kinda crooked and not symmetrical" it's actually intentional. If you look at Nerdly's pic at the top of this page you'll see he's actually pretty asymmetrical. It adds character and a jauntiness that I thought he needed. This artwork is lifted straight from the vector art that created Nerdly.
Speaking of nerd glasses. I'd like to point out that Victor spent the entire time we were working together (and quite a bit of the weekend for that matter) sporting a very stylish pair of official BrickNerd glasses. He was a trend setter.
After a quick operation with a brick separator to free the tiles and bag them, I was on my way. I'd like to thank Victor and his lovely wife for putting up with me and all my questions, and for providing me with one of the hottest pieces of swag at BrickMagic 2015.