
Let's Build a Shipping Container!
/All my contributions to BrickNerd to date have explored various topics in the LEGO train theme. However, none of these articles have offered the most fundamental and yet familiar type of informative content: instructions!

There is nothing more unifying in terms of content in our vast hobby than a set of building instructions. Every LEGO set has them, fan community sites such as Rebrickable, MOChub and others are dedicated to sharing this content, and countless times as a LEGO fan, I have been asked “do you have instructions for…”.

Therefore, as an experiment in generating and sharing this type of content, this article will show you how to build the ubiquitous, often ignored, but endlessly useful ISO shipping container. Since the concept of multi-modal standardized shipping containers was introduced in the 1960s, the ISO shipping container has become a vital backbone of global trade delivering products to every corner of the globe. As the term “multi-modal” suggests, shipping containers are designed to be handled and transported by a variety of transportation “modes”. This includes ships, road vehicles, aircraft, and of course, trains.

In a previous article from last year, I showed a shipping container train wagon and my over-indulgent exploration of building shipping containers in a variety of actual livery/branding variants. These models were built to a common form factor and overall appearance. However, the elements they used and method of construction was definitely not consistent. Therefore, I revised the basic design so that it can be built in a variety of colours using relatively common and available LEGO elements. I tried to balance factors such as piece count, strength and ease-of-assembly and the resulting model can be built from a modest 135 pieces.

Features
The ISO shipping container model presented has these key features:
6 x 18 studs x 18 plates tall
135 pieces per container
robustly stackable using interlocking “feet” into rooftop recesses
includes 8x standardized corner mounting points found on real containers
realistic representation of typical door latching and locking hardware
takes advantage of the 1x6x5 corrugated panel element to showcase the distinctive corrugated appearance of shipping containers. It is possible to build a similar appearance with offset SNOT building techniques, but this would result in a heavier model with significantly more parts usage.
can be built in most of the colours that the 1x6x5 panel element is available with. For some colours, you may have to substitute a different colour replacement, e.g. a sand blue container will require light bluish grey replacements for the corner 1x1 Erling bricks (as shown below) and some door latch clip elements.

Building Tips
If you decide to build this container model, here are some helpful tips:
Feel free to adapt the model to show different types of ISO container:
different lengths, e.g. 20, 40, 45, 48, 53 ft lengths
different heights: 8.5 or 9.5 ft
different functional variants: chemical transport, refrigerated containers, etc.
substitute the interior support elements (such as the arch bricks, etc.) with any colour bricks you may have. Only the exterior elements (shown in red in these instructions) are important.
decorate the final model with stickers to represent branding and other (overlooked) details such as loading marks, operator identification, safety labels, etc. Its these small details which add that extra special finishing touch.

Parts Required
The nominal parts required to build a single container are shown below. As mentioned, any of the bricks which are not red (the “branding” colour), can be substituted with any other colour. In some cases, the supporting brick elements can be changed completely, e.g. the 1x6 arch brick can be substituted with a 1x6 regular unmodified brick. In some cases, the main “branding” colour element will require substitution. Often, this requires a simple replacement either in a similar colour or with a functional replacement, e.g. the 1x1x3 brick can be substituted with 3x 1x1 bricks.

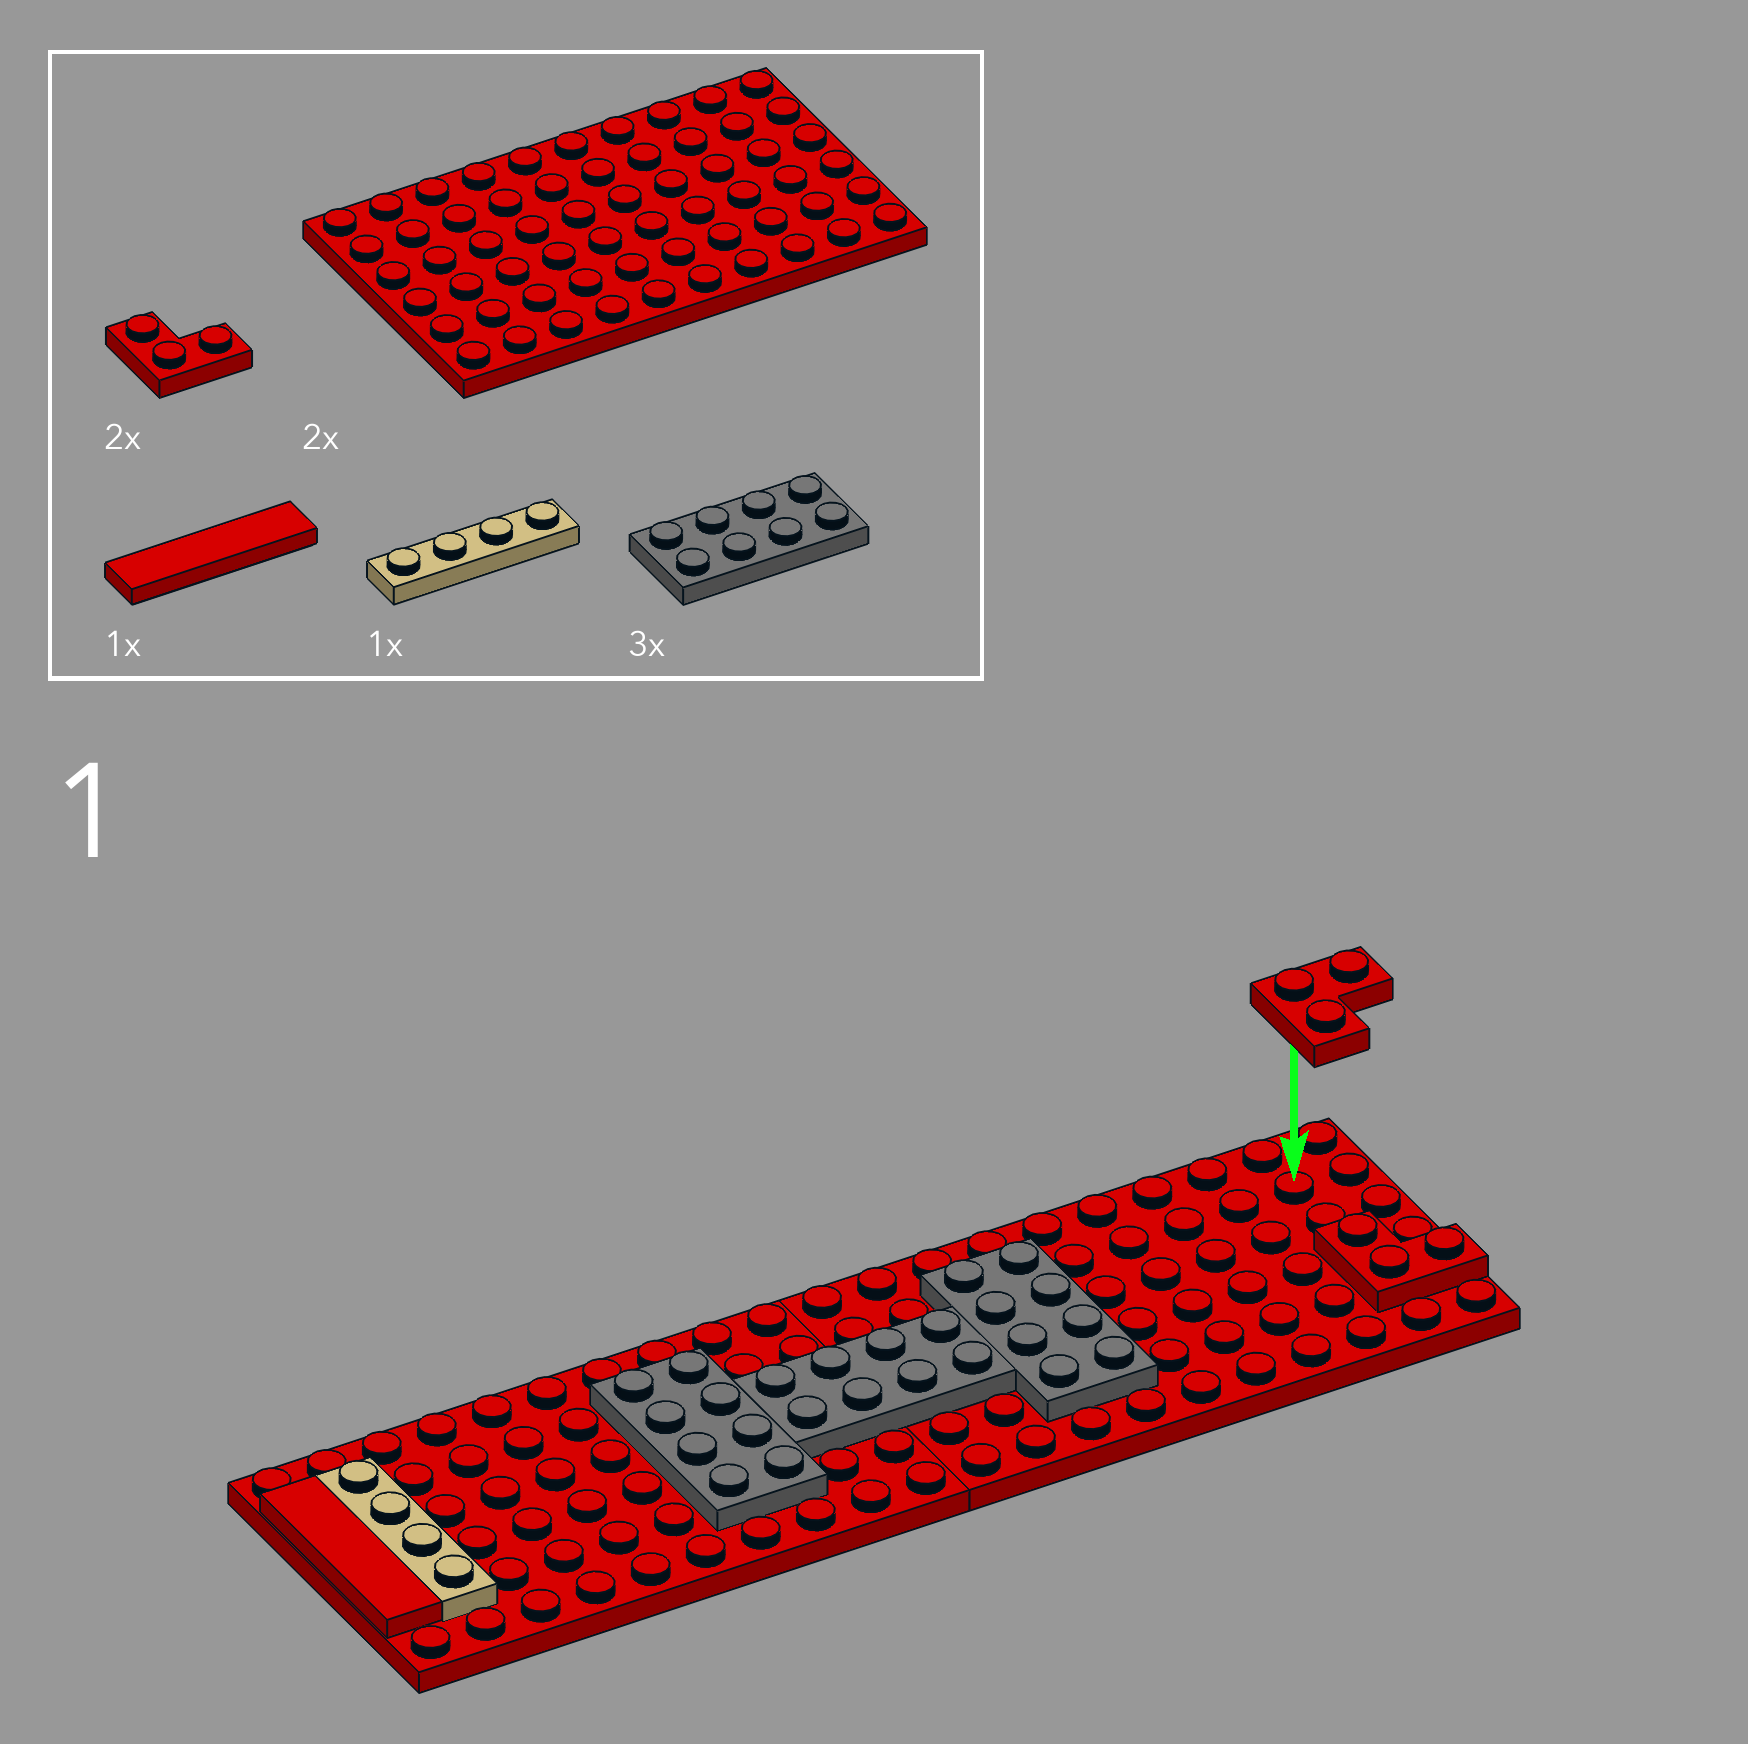
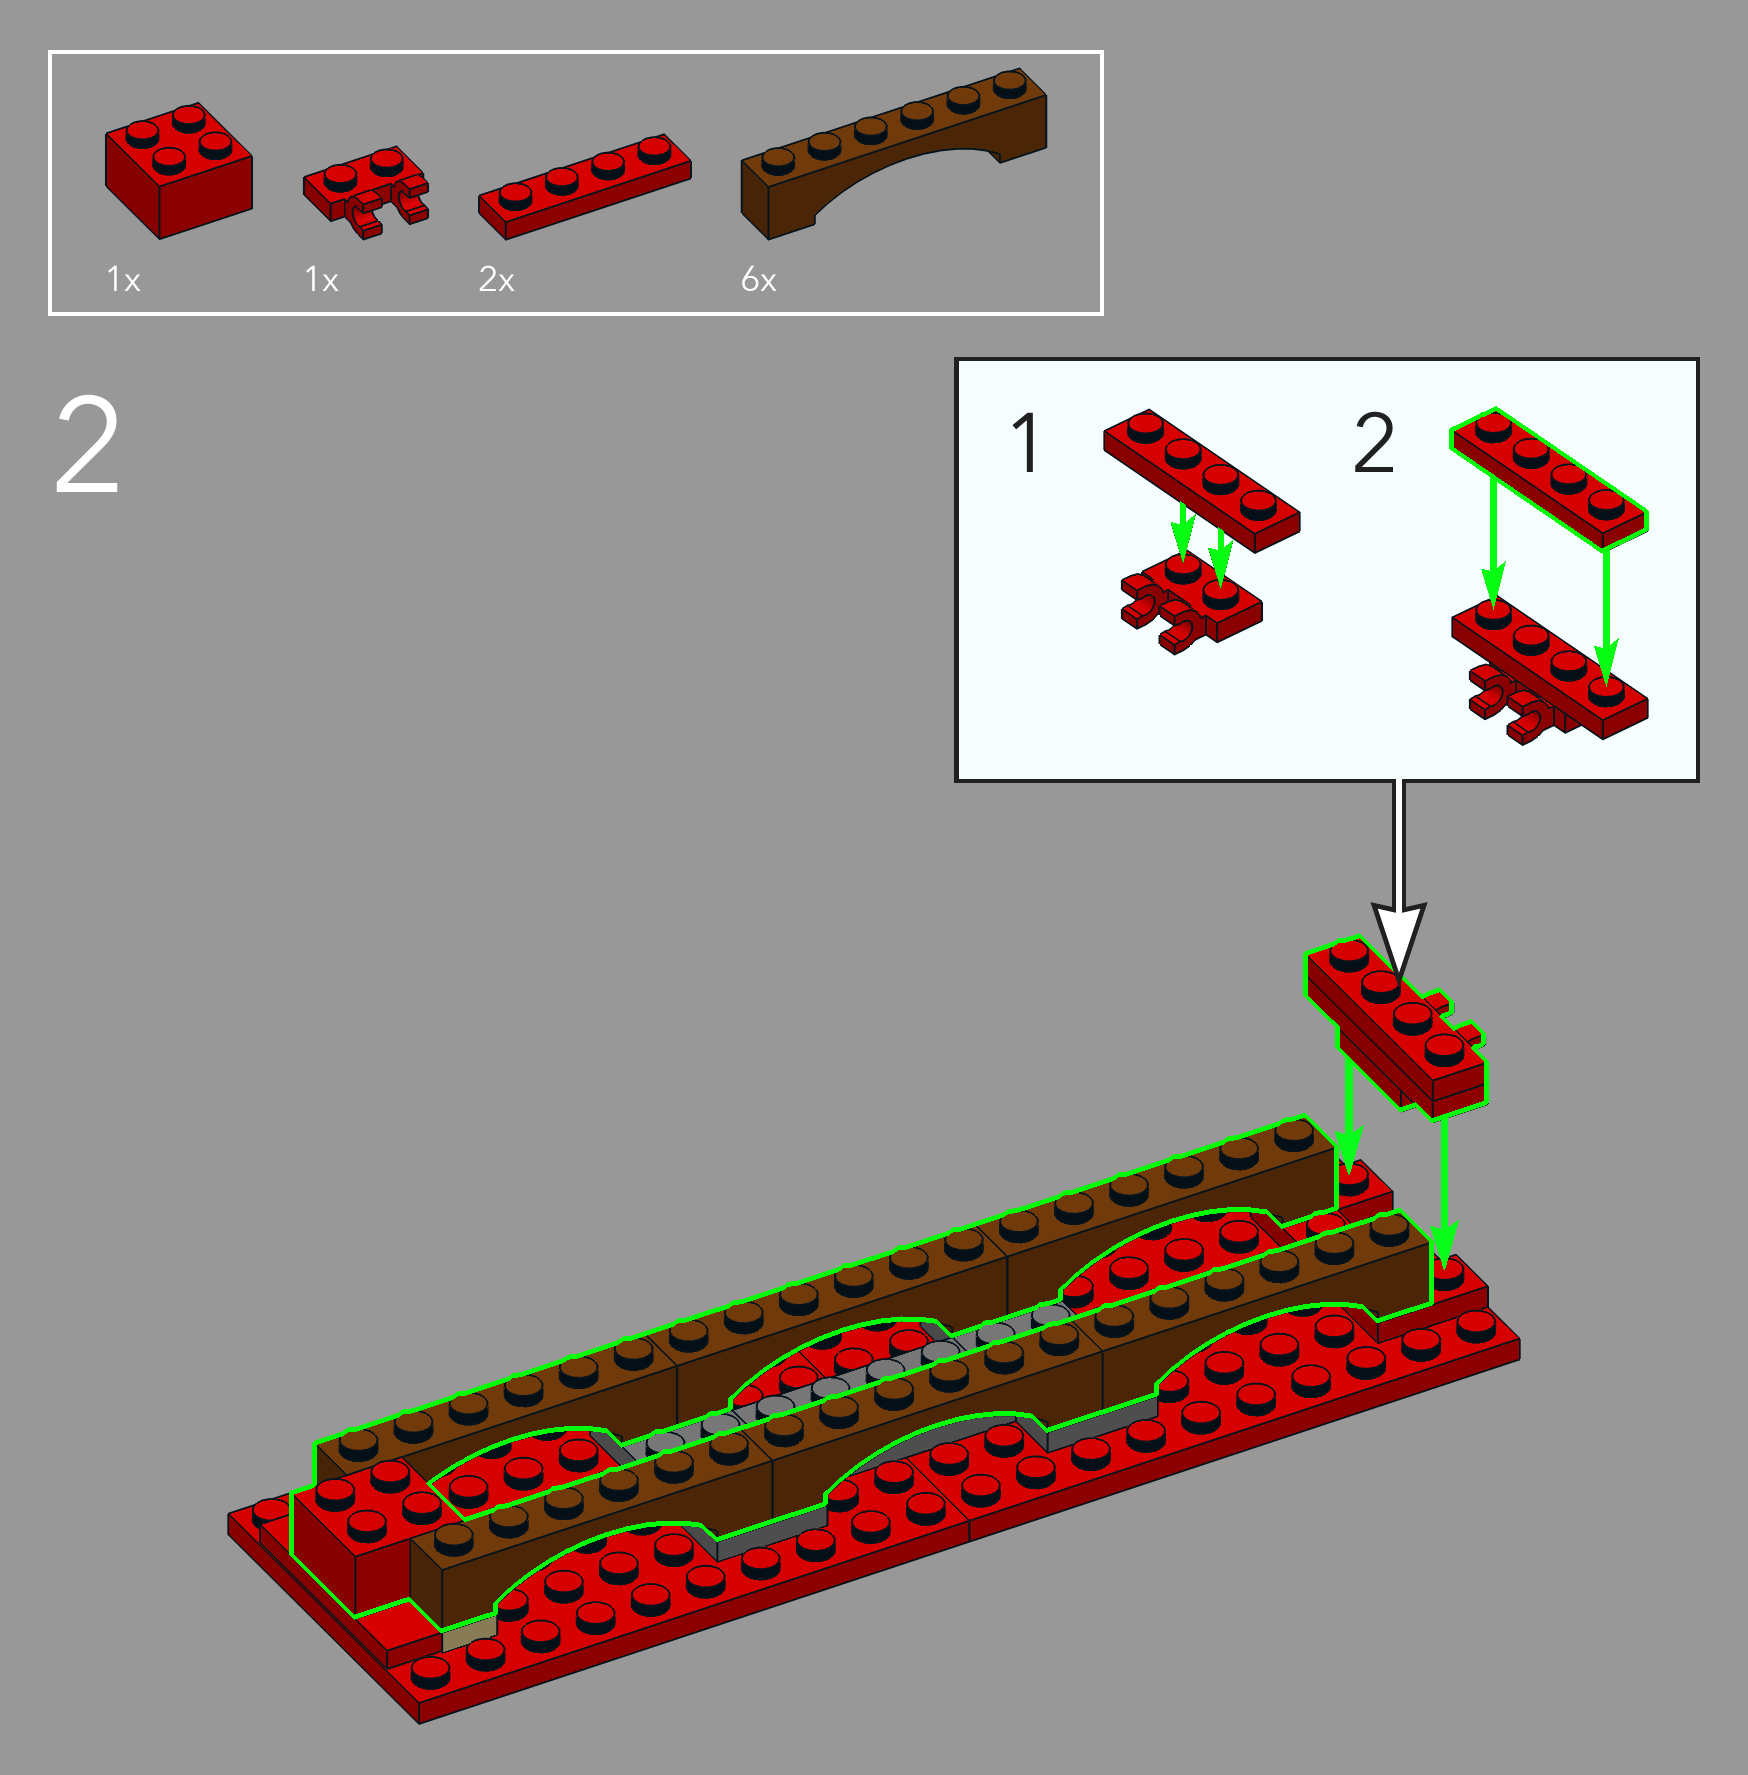
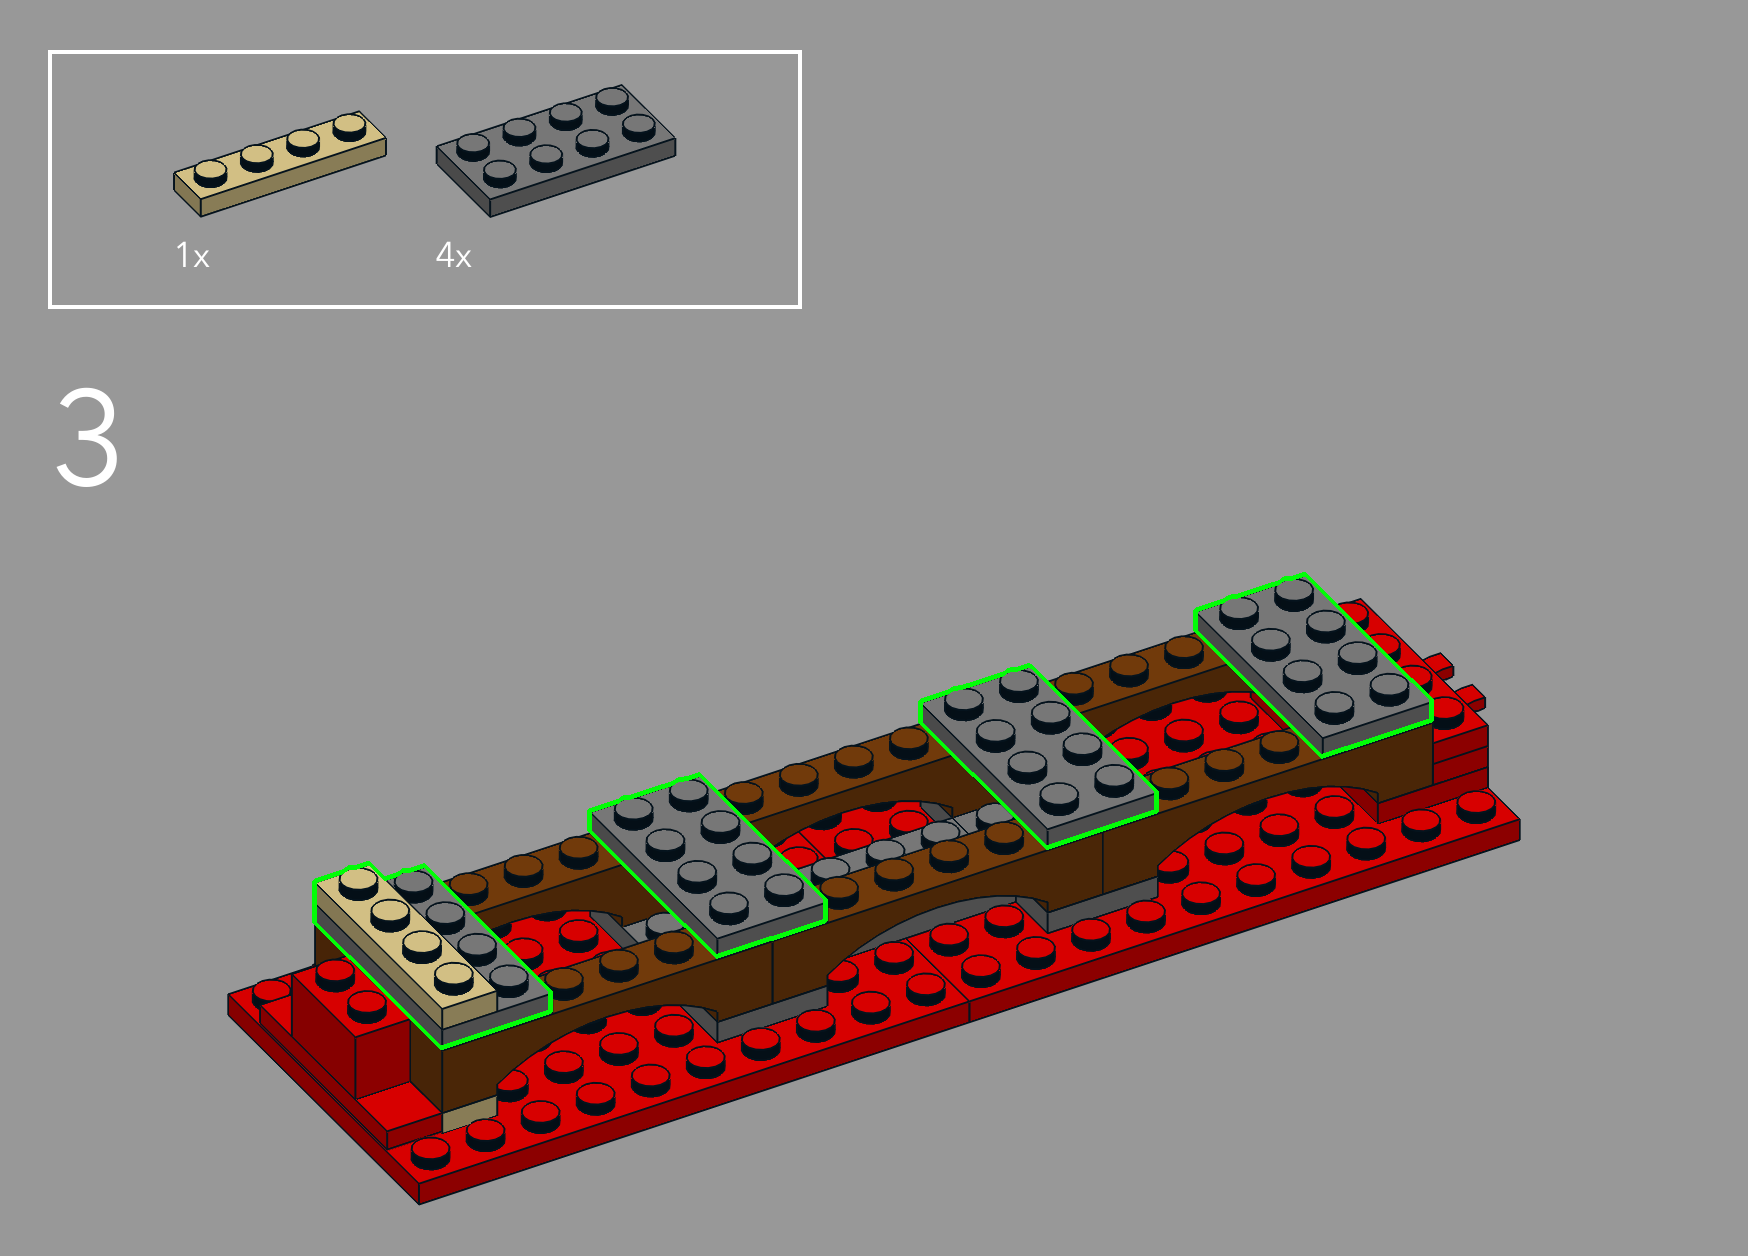
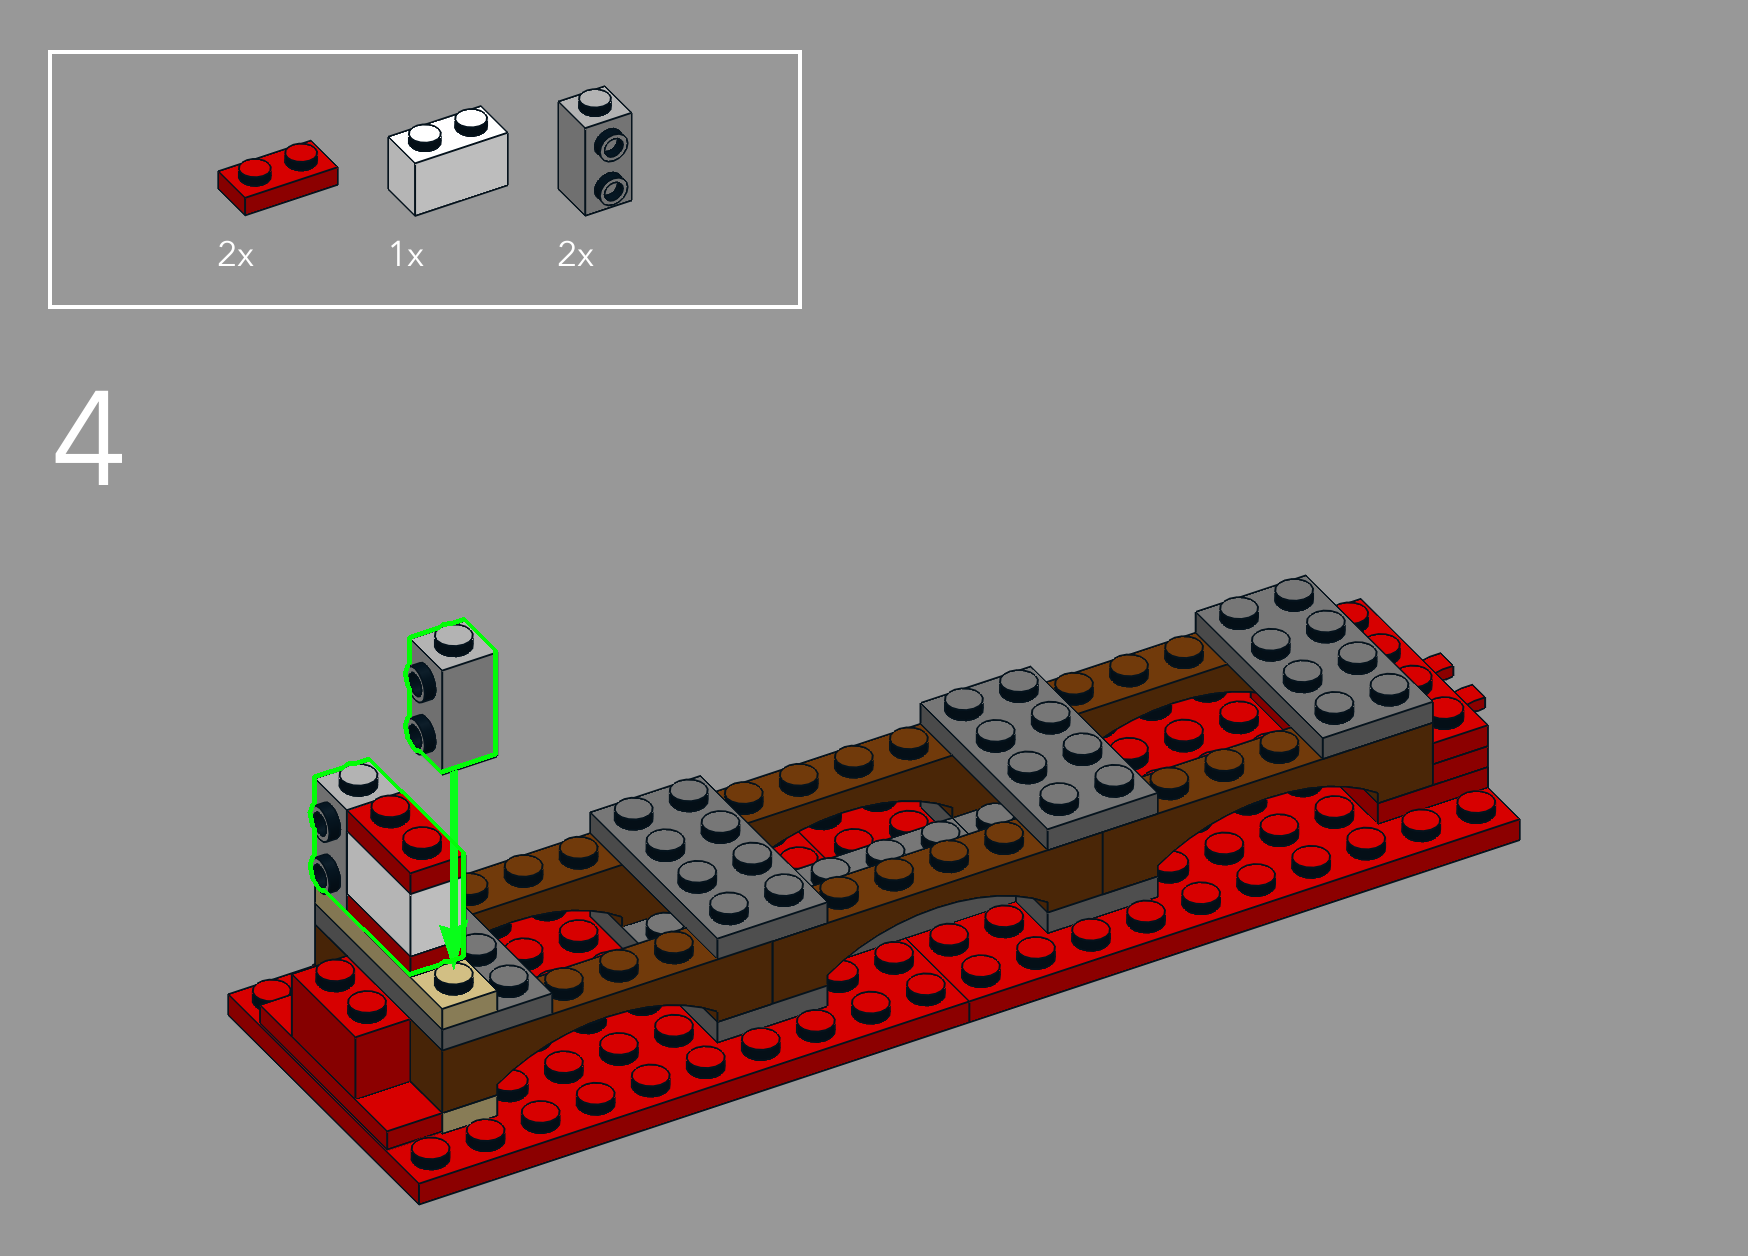
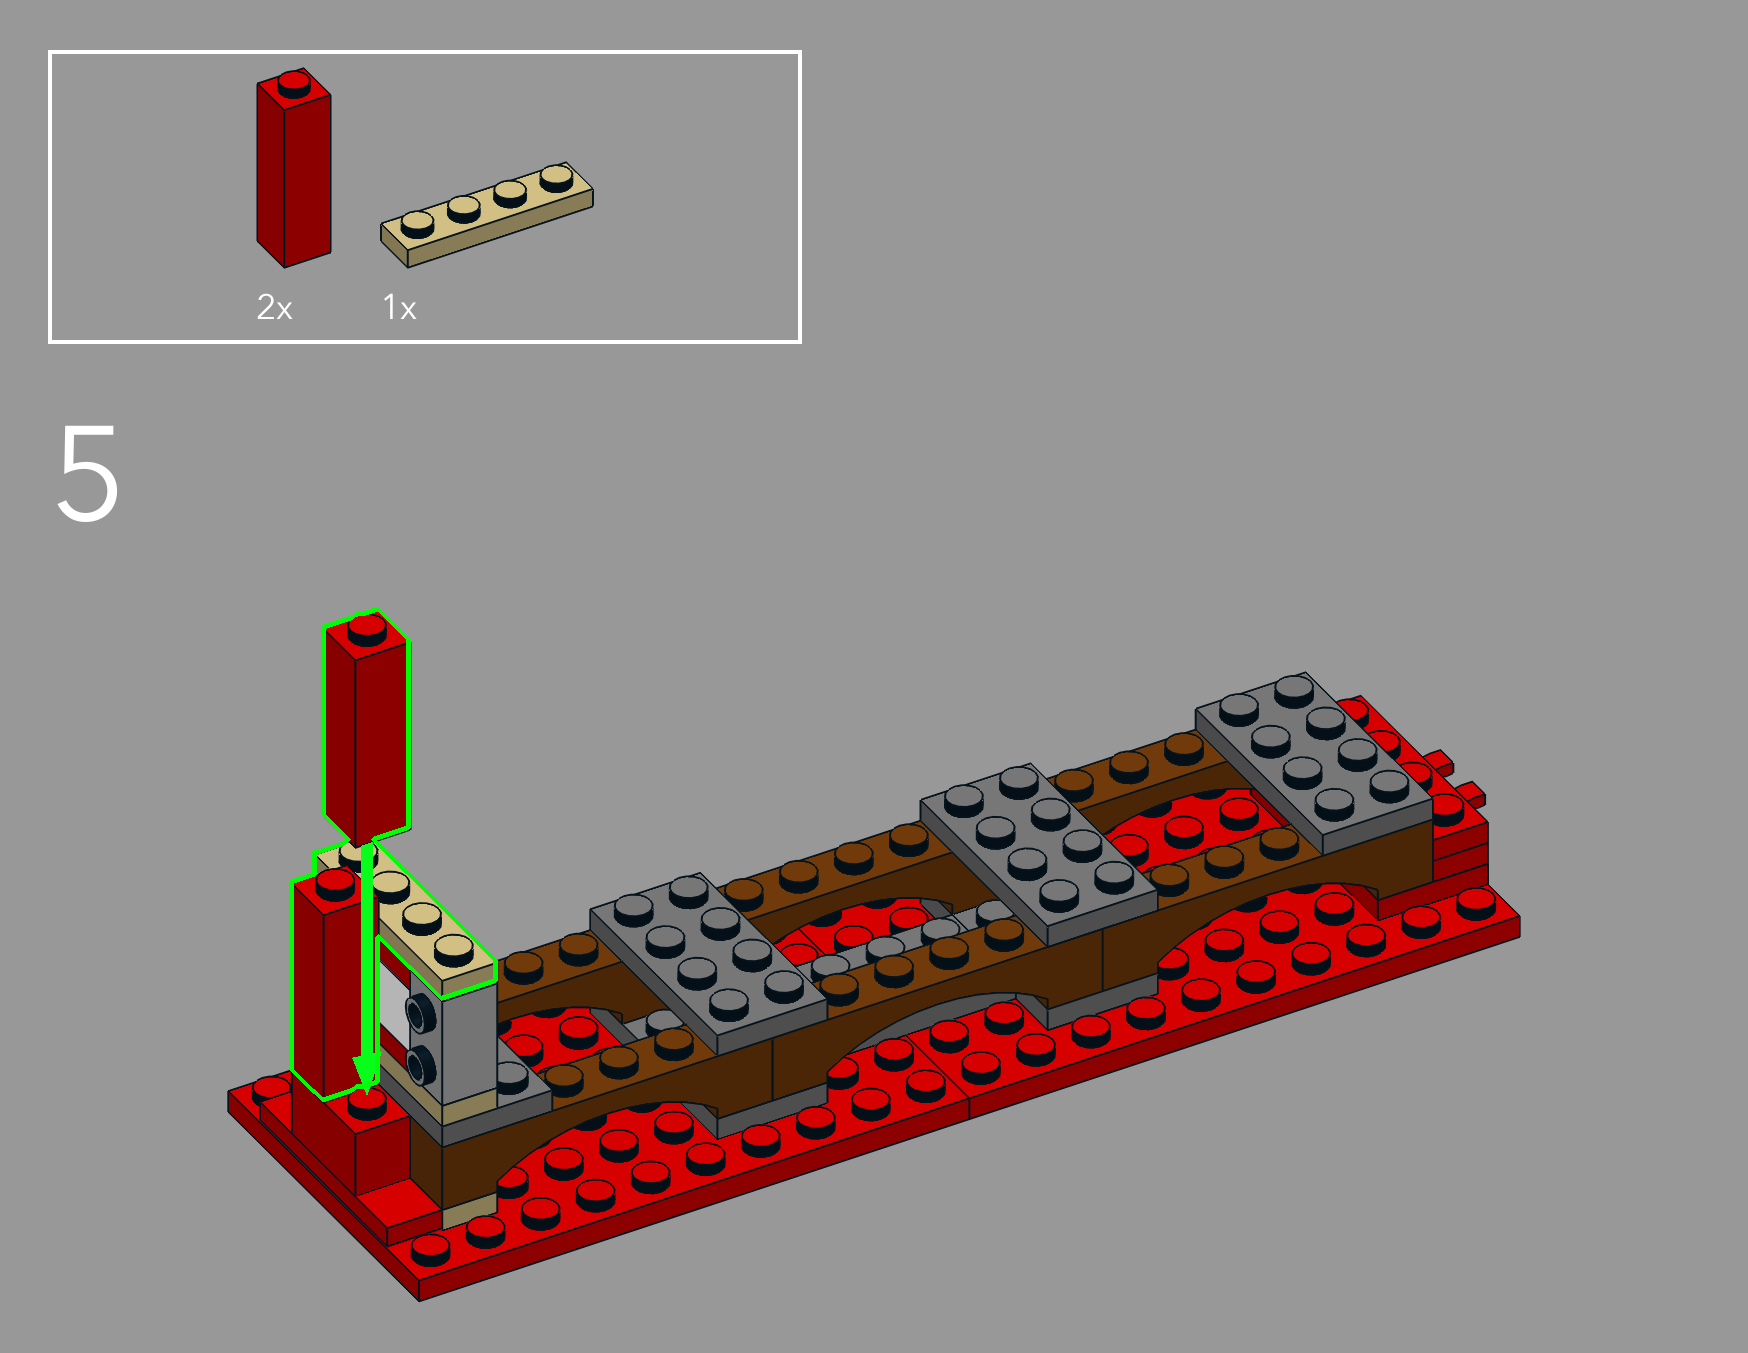
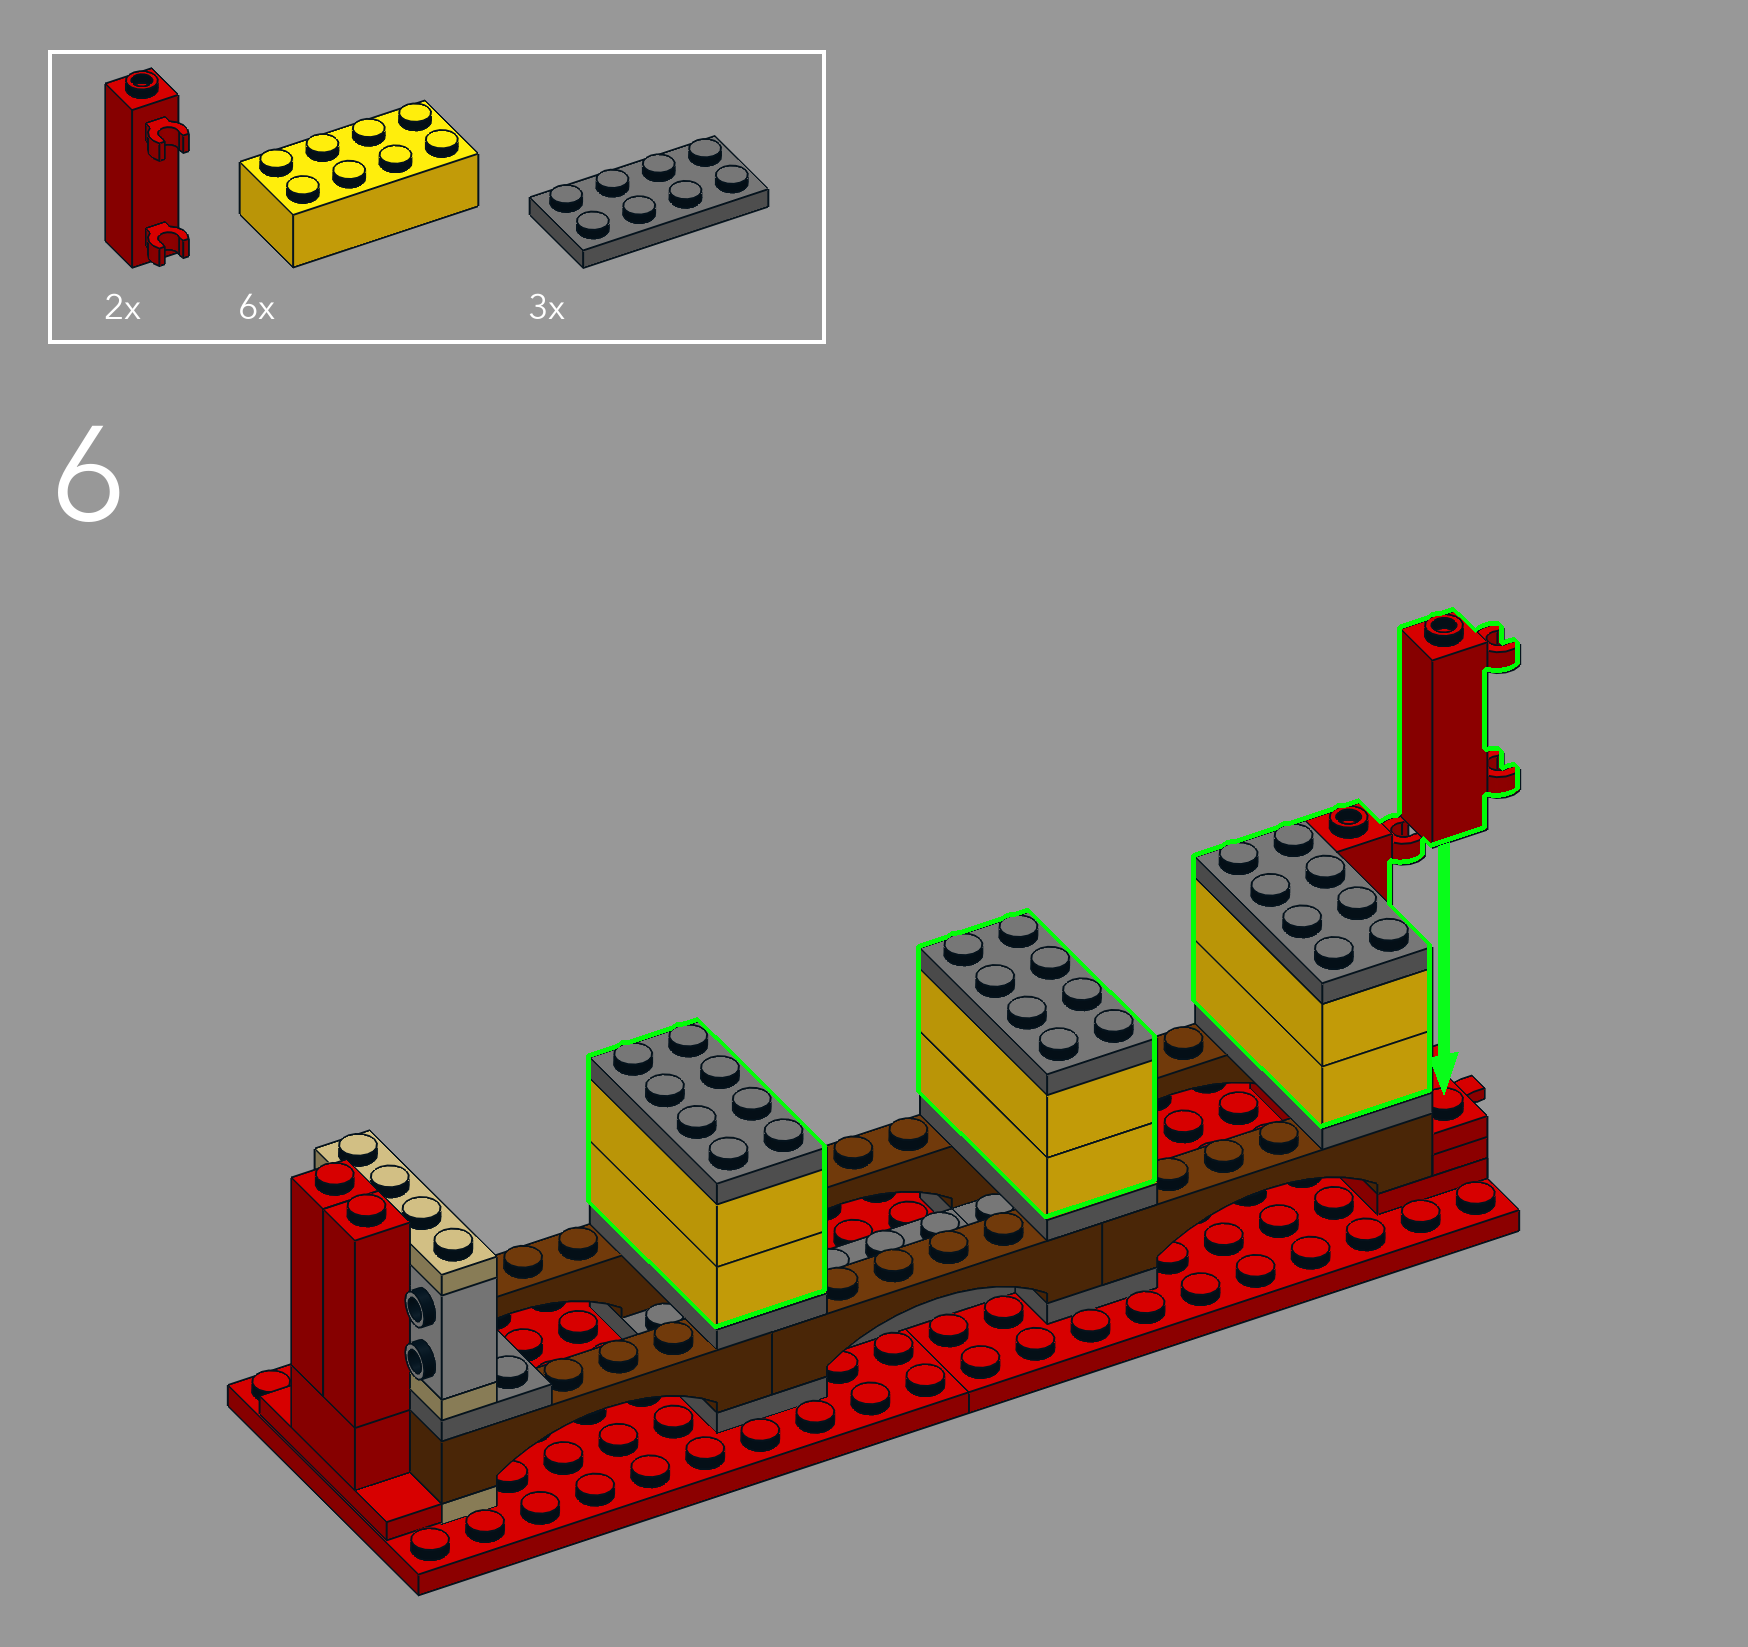
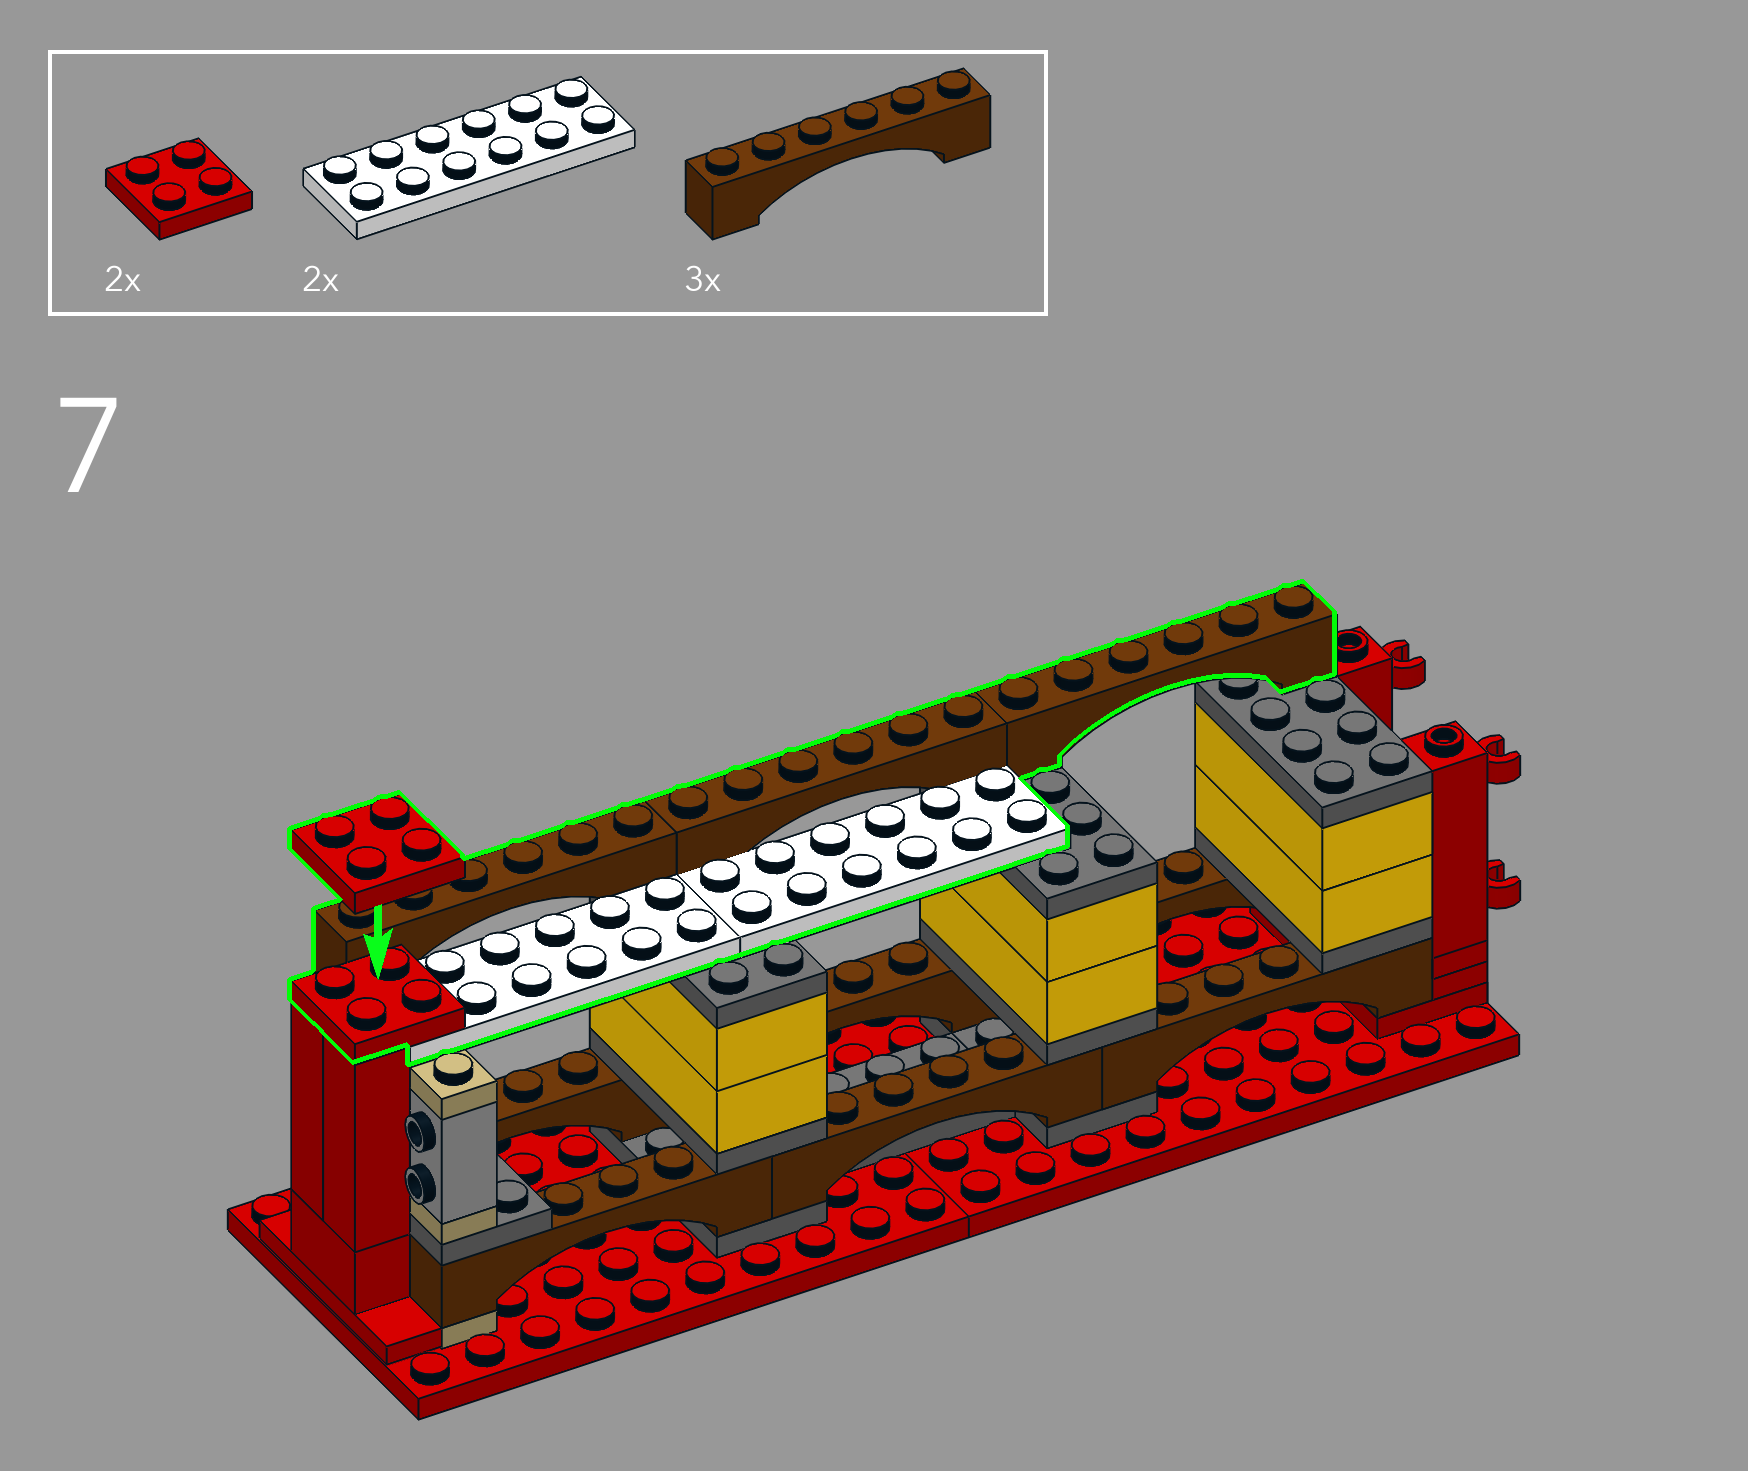
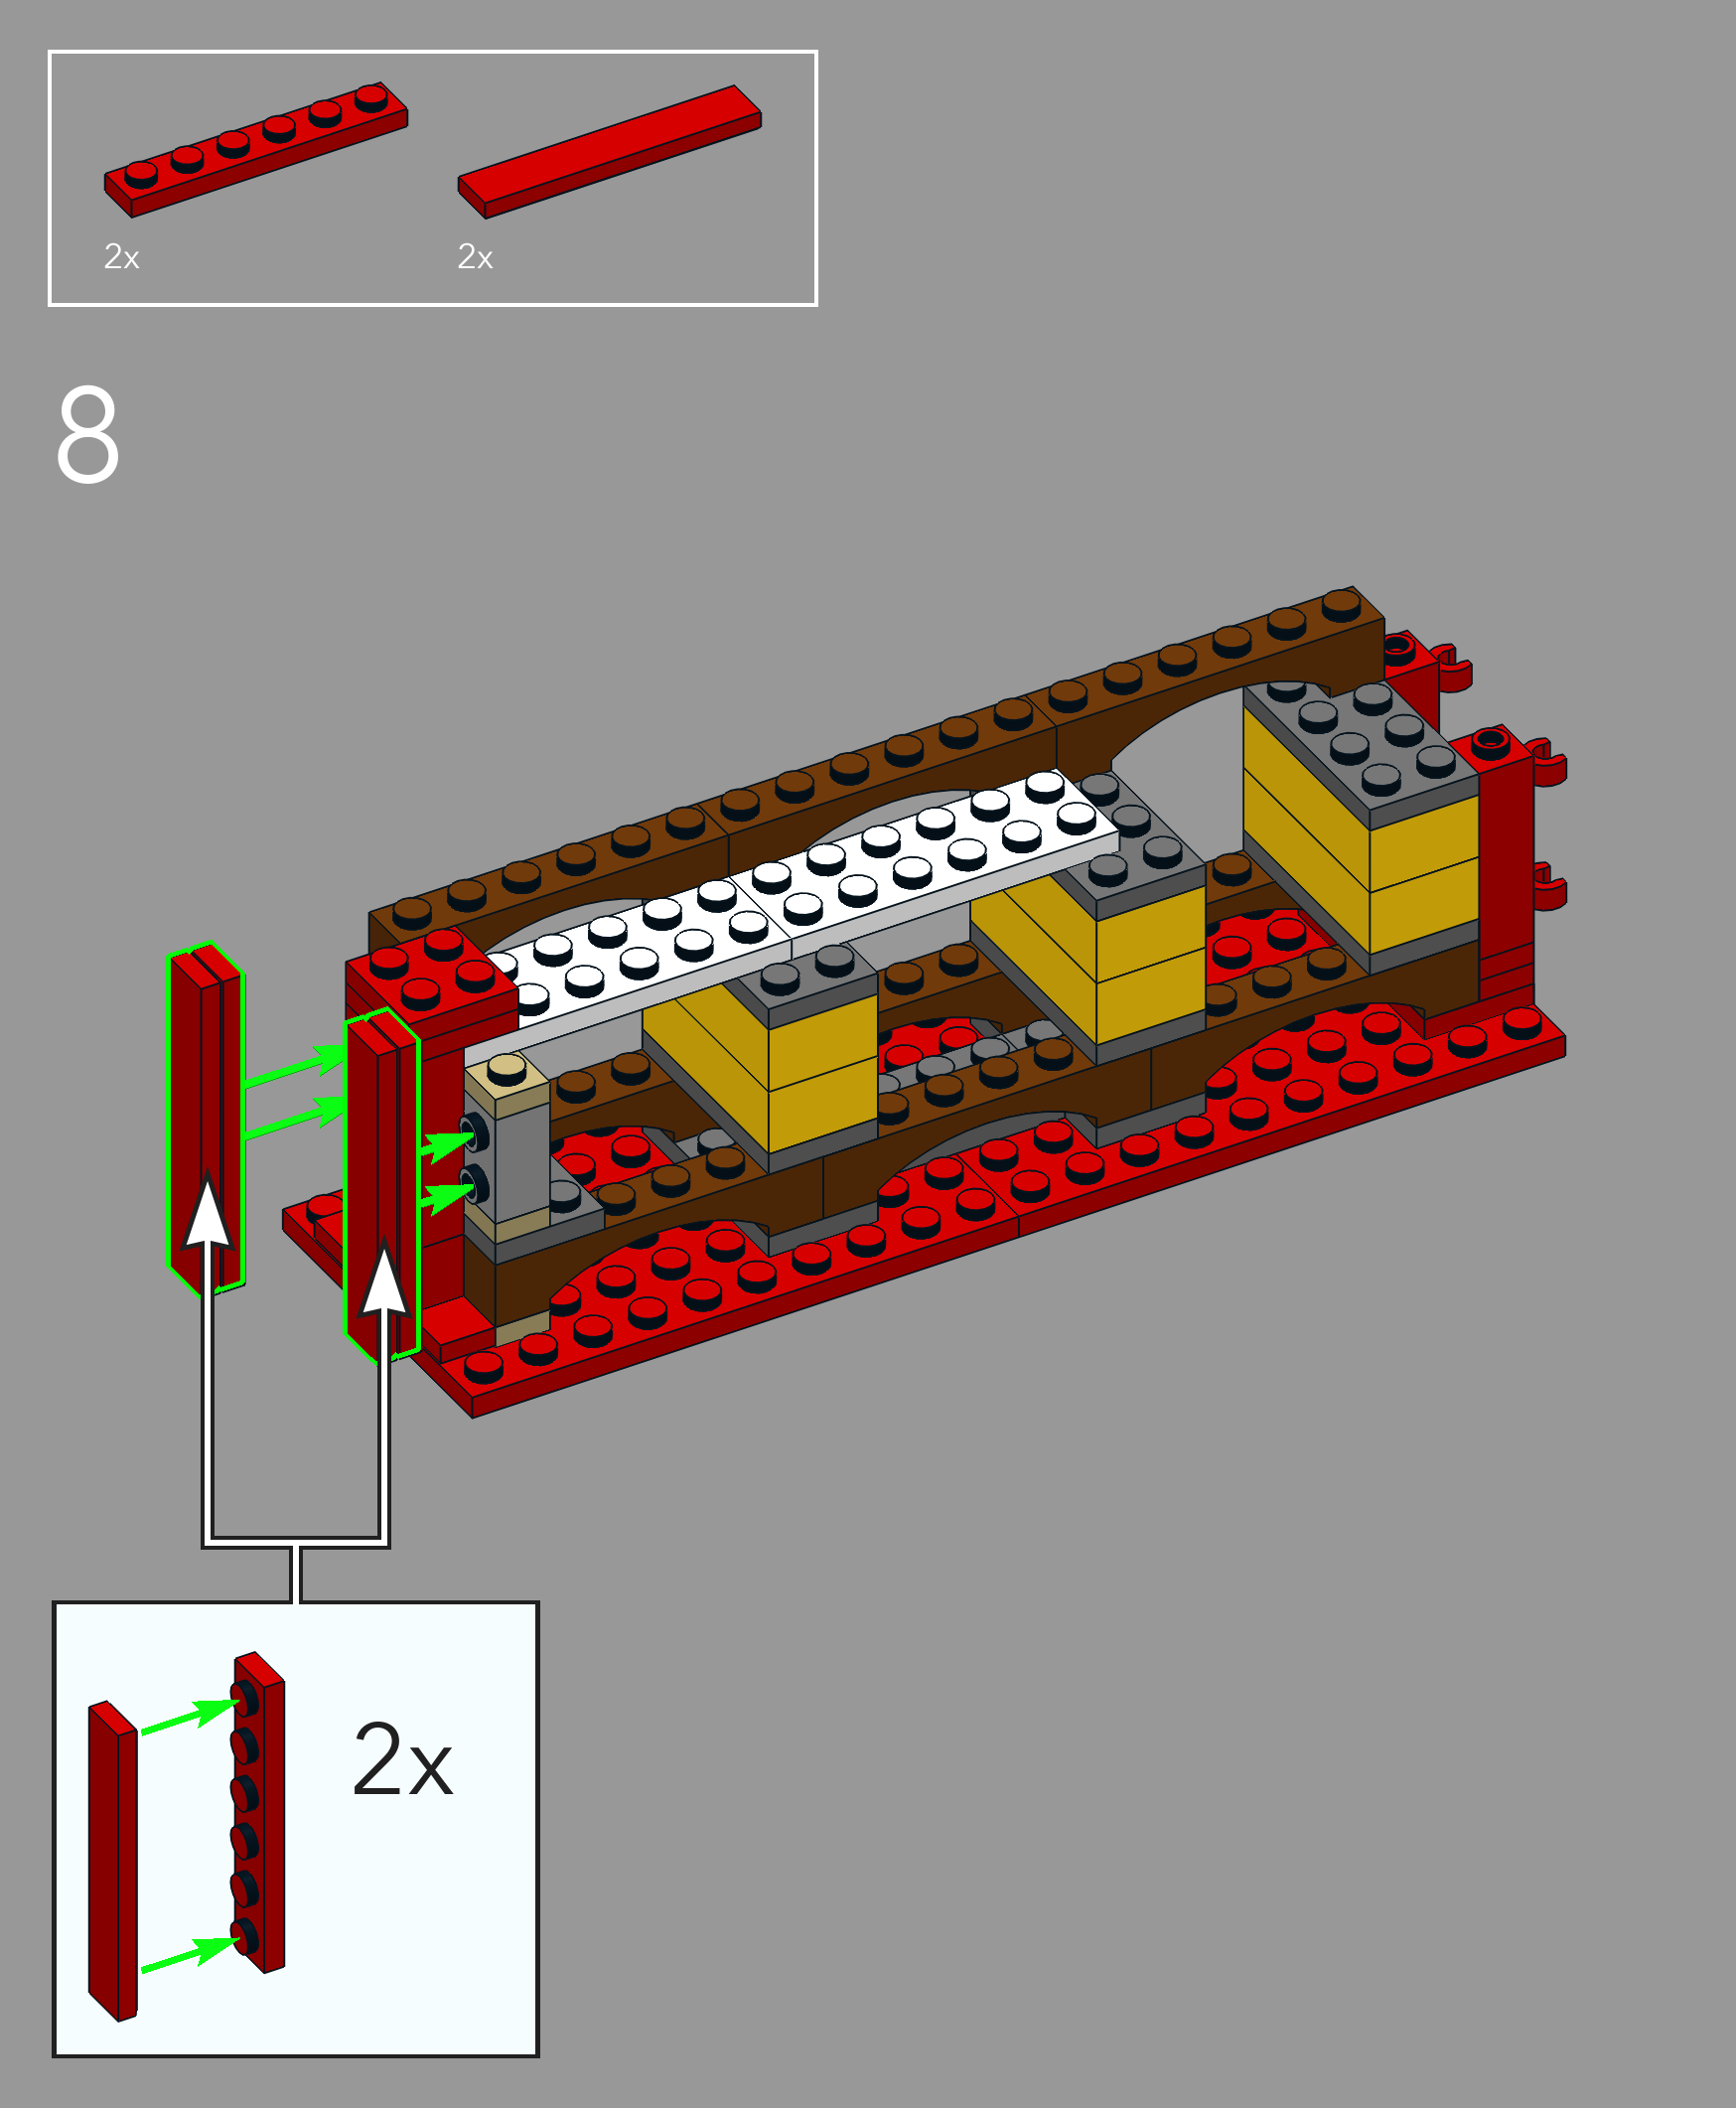
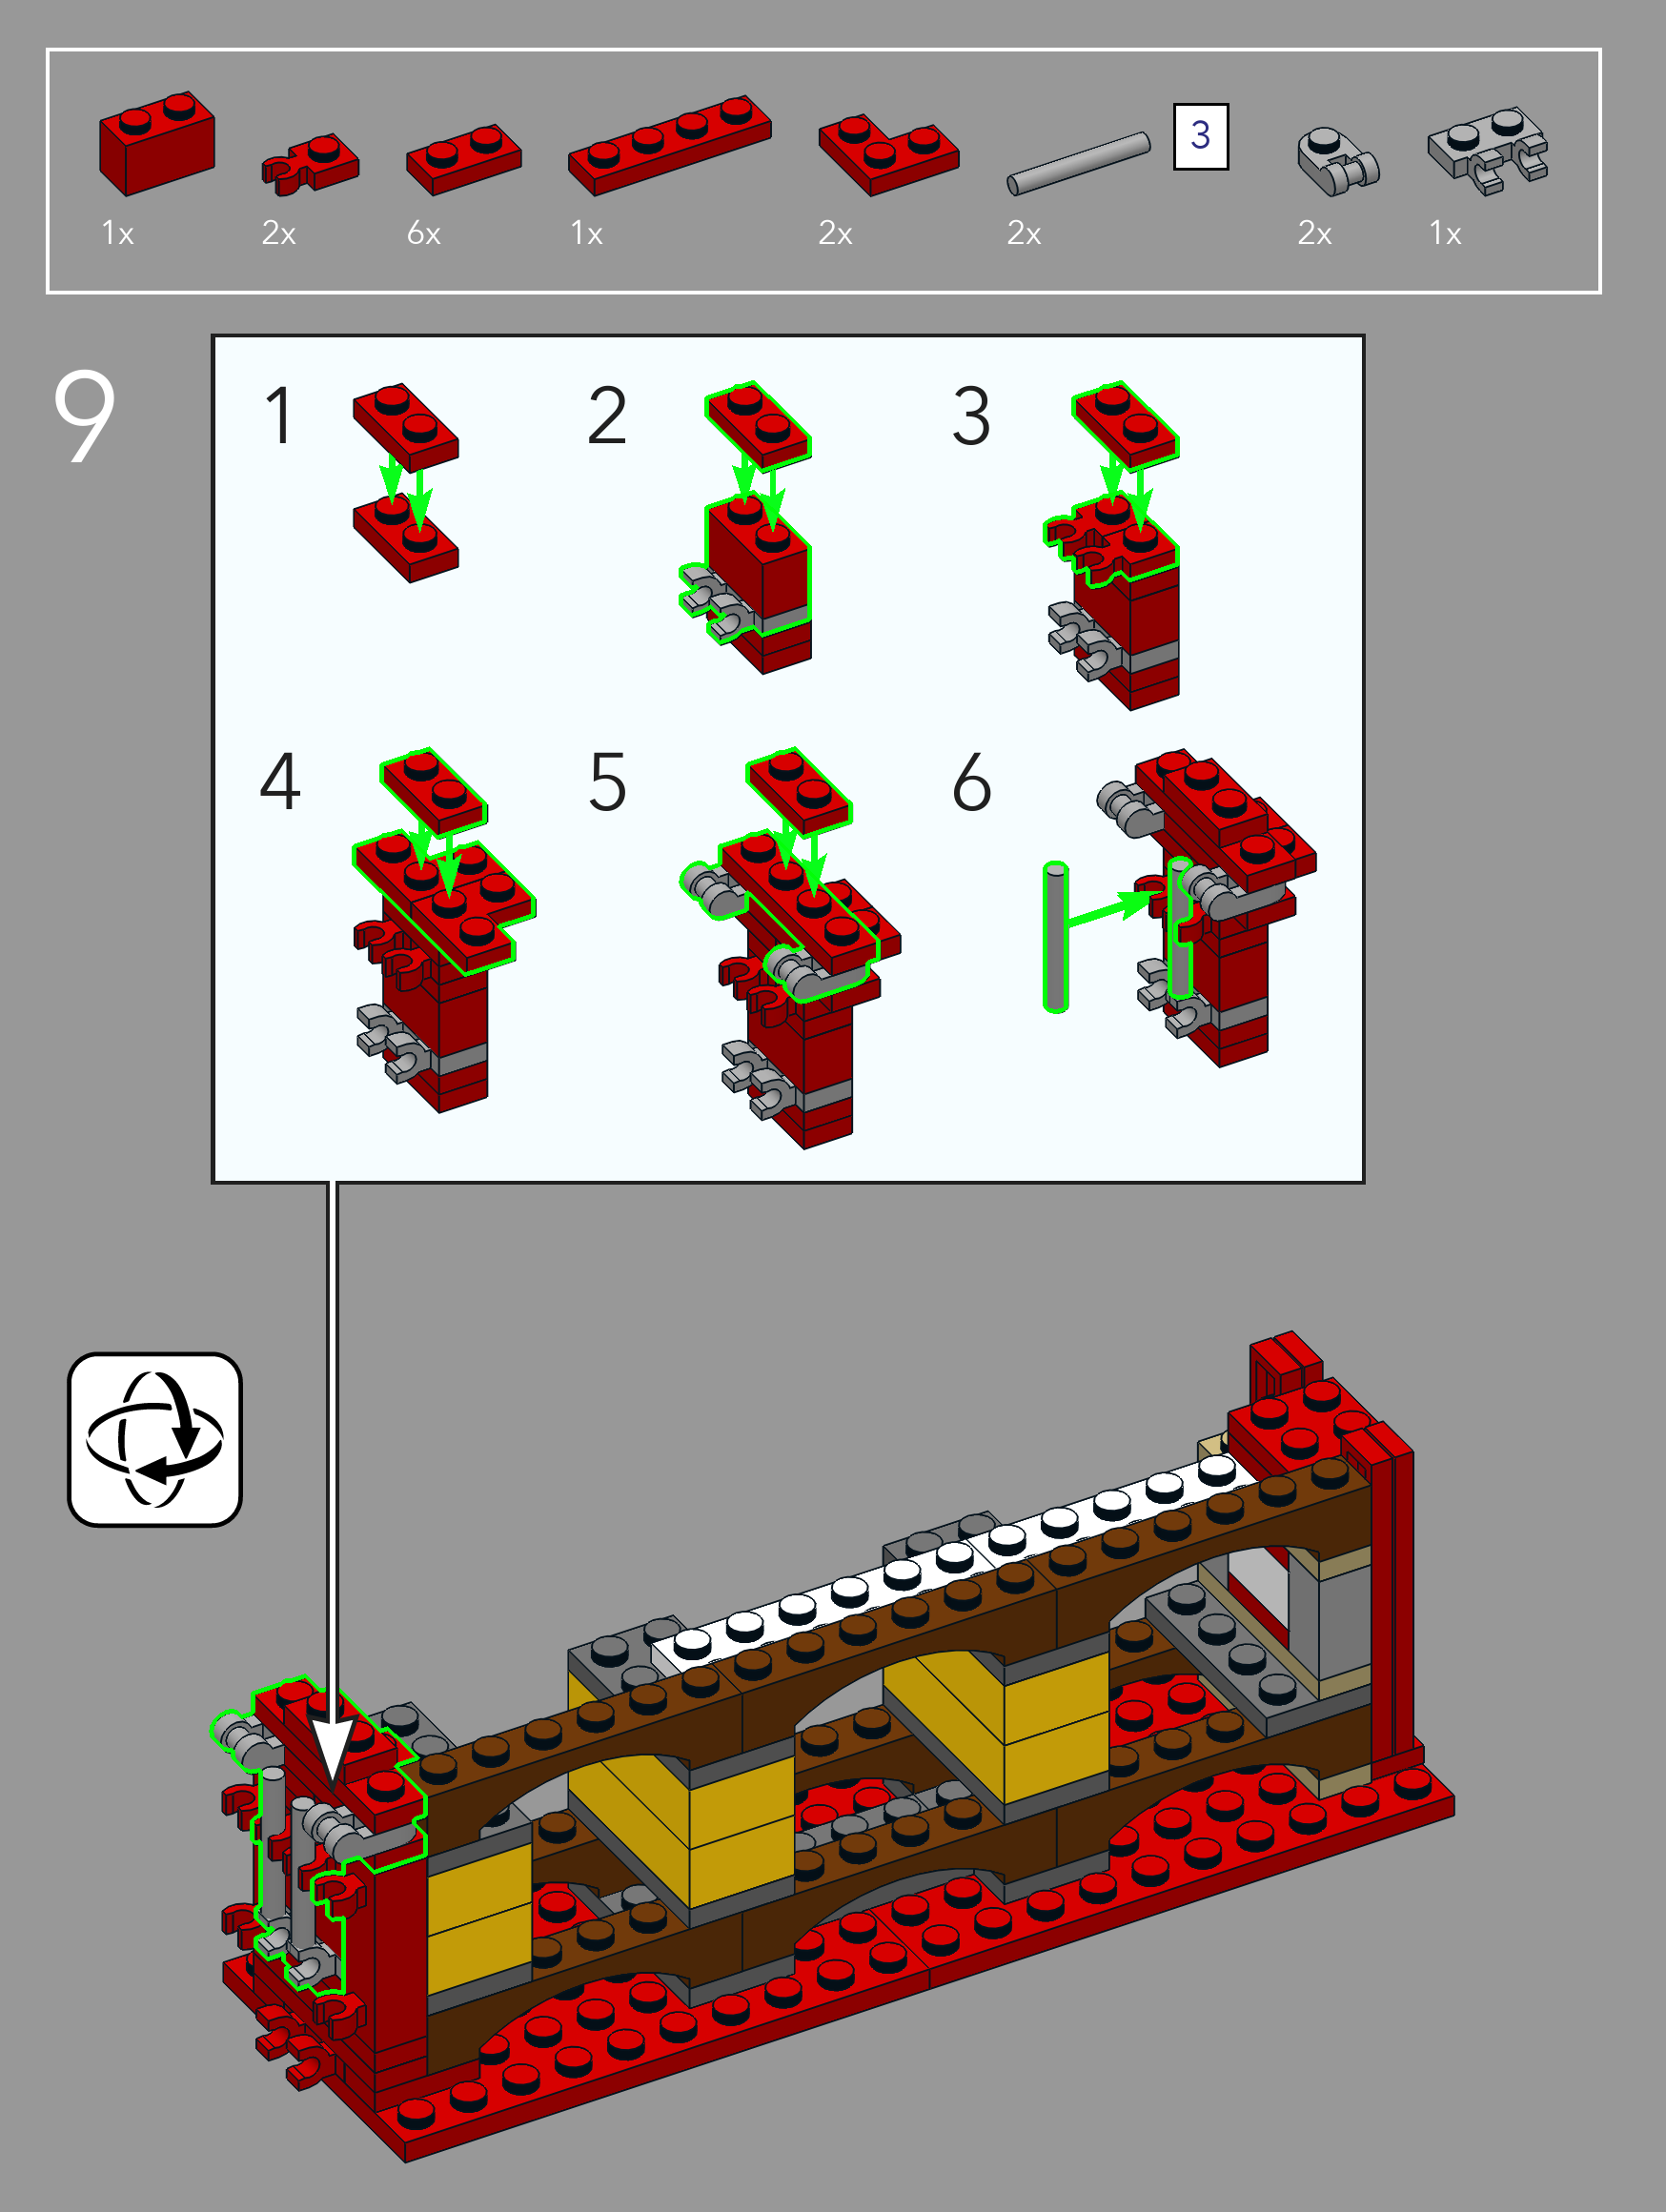
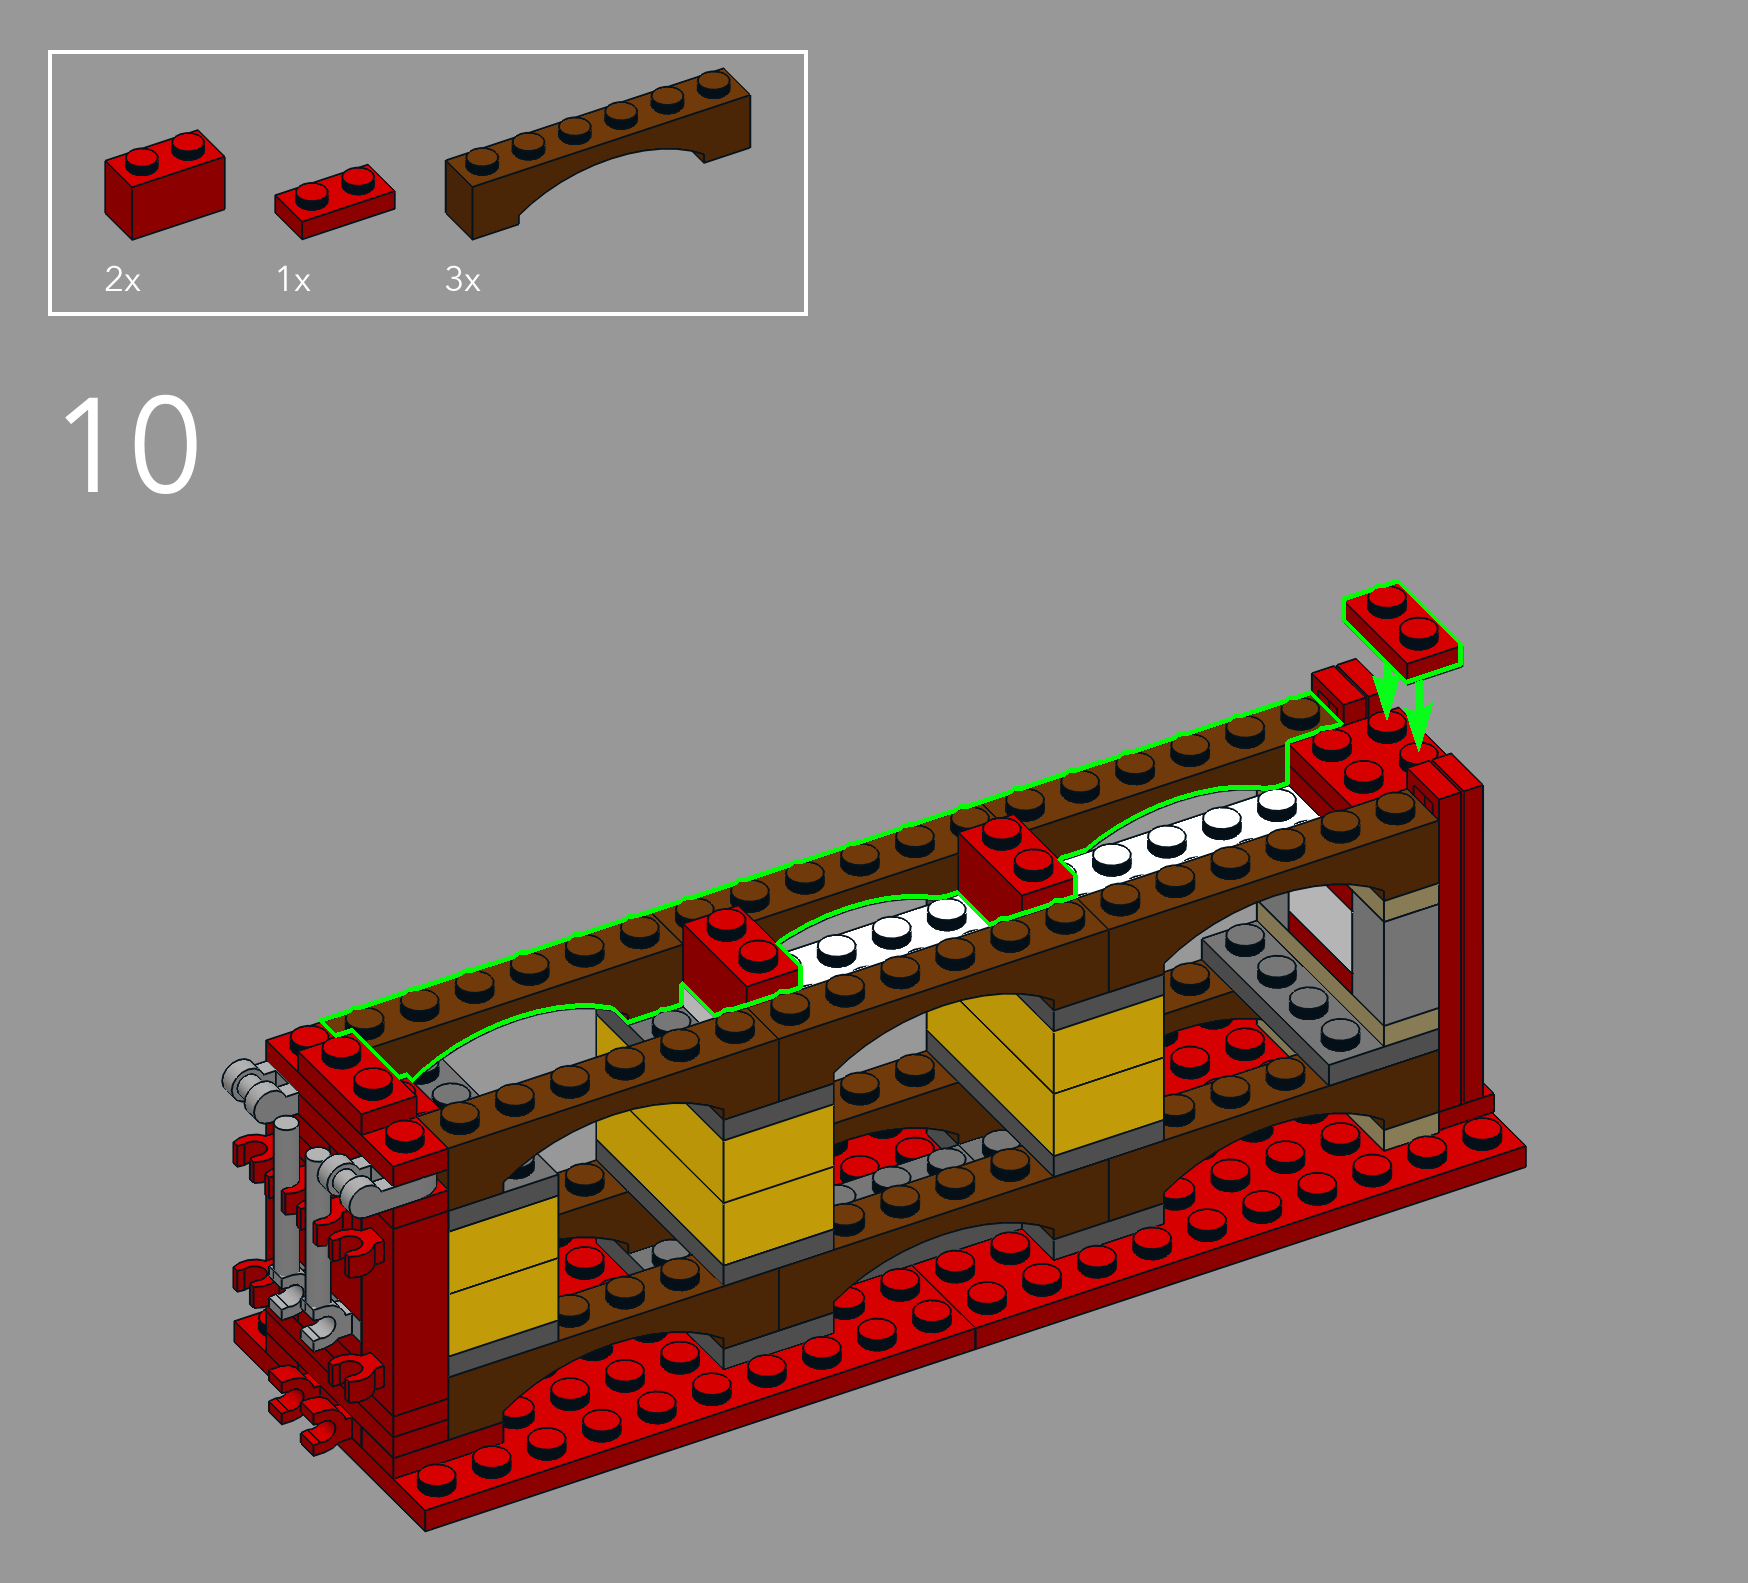
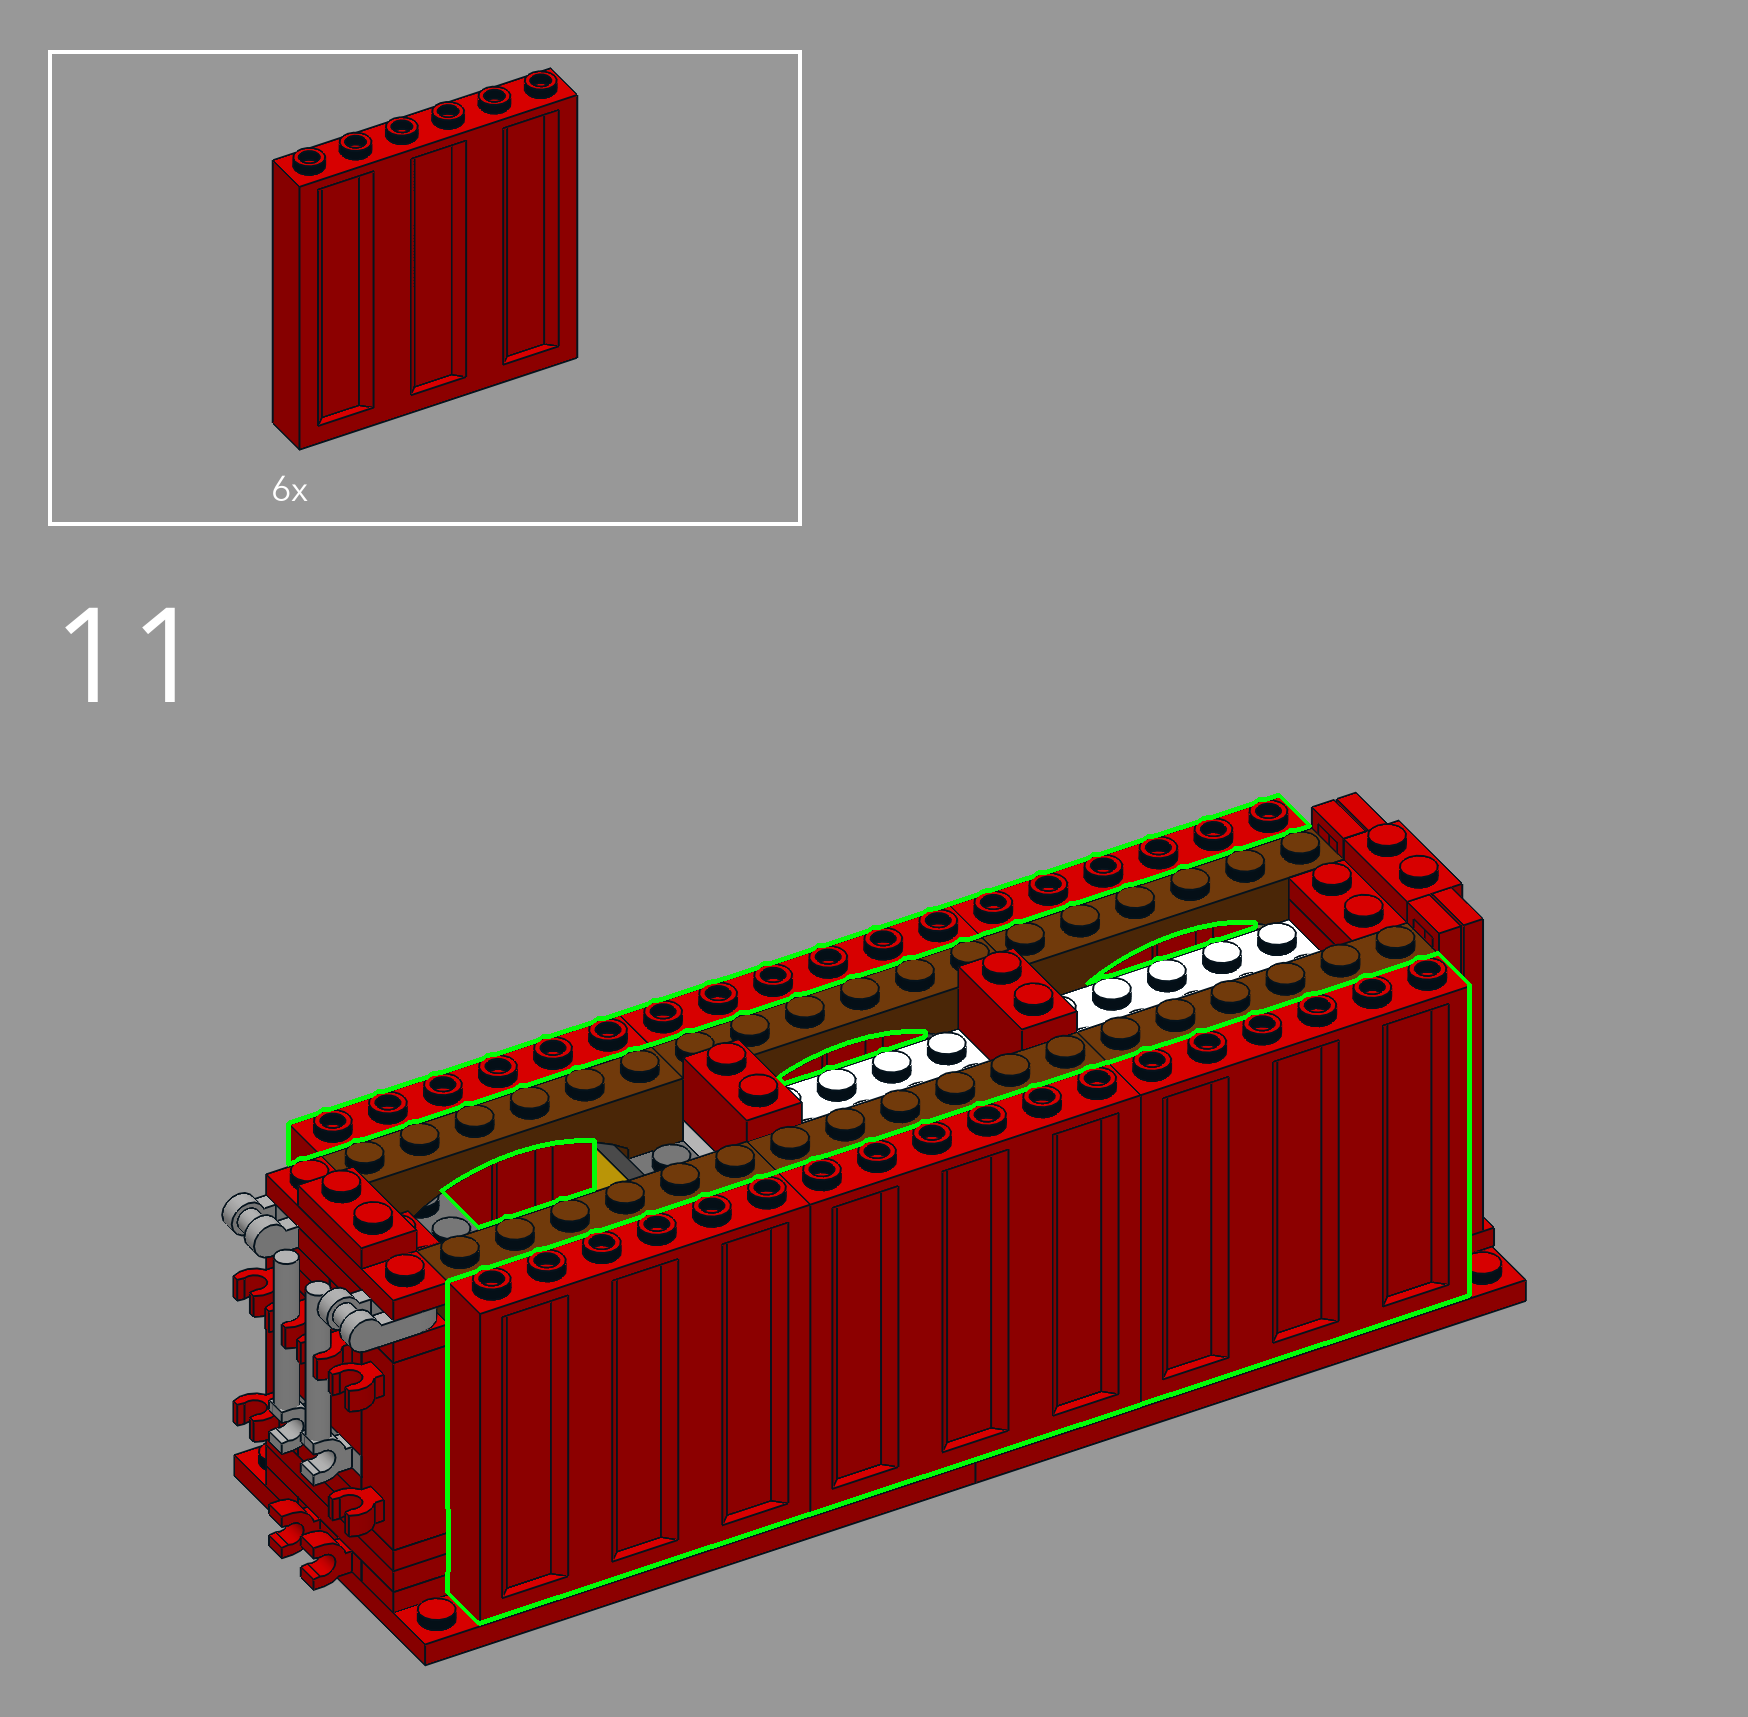
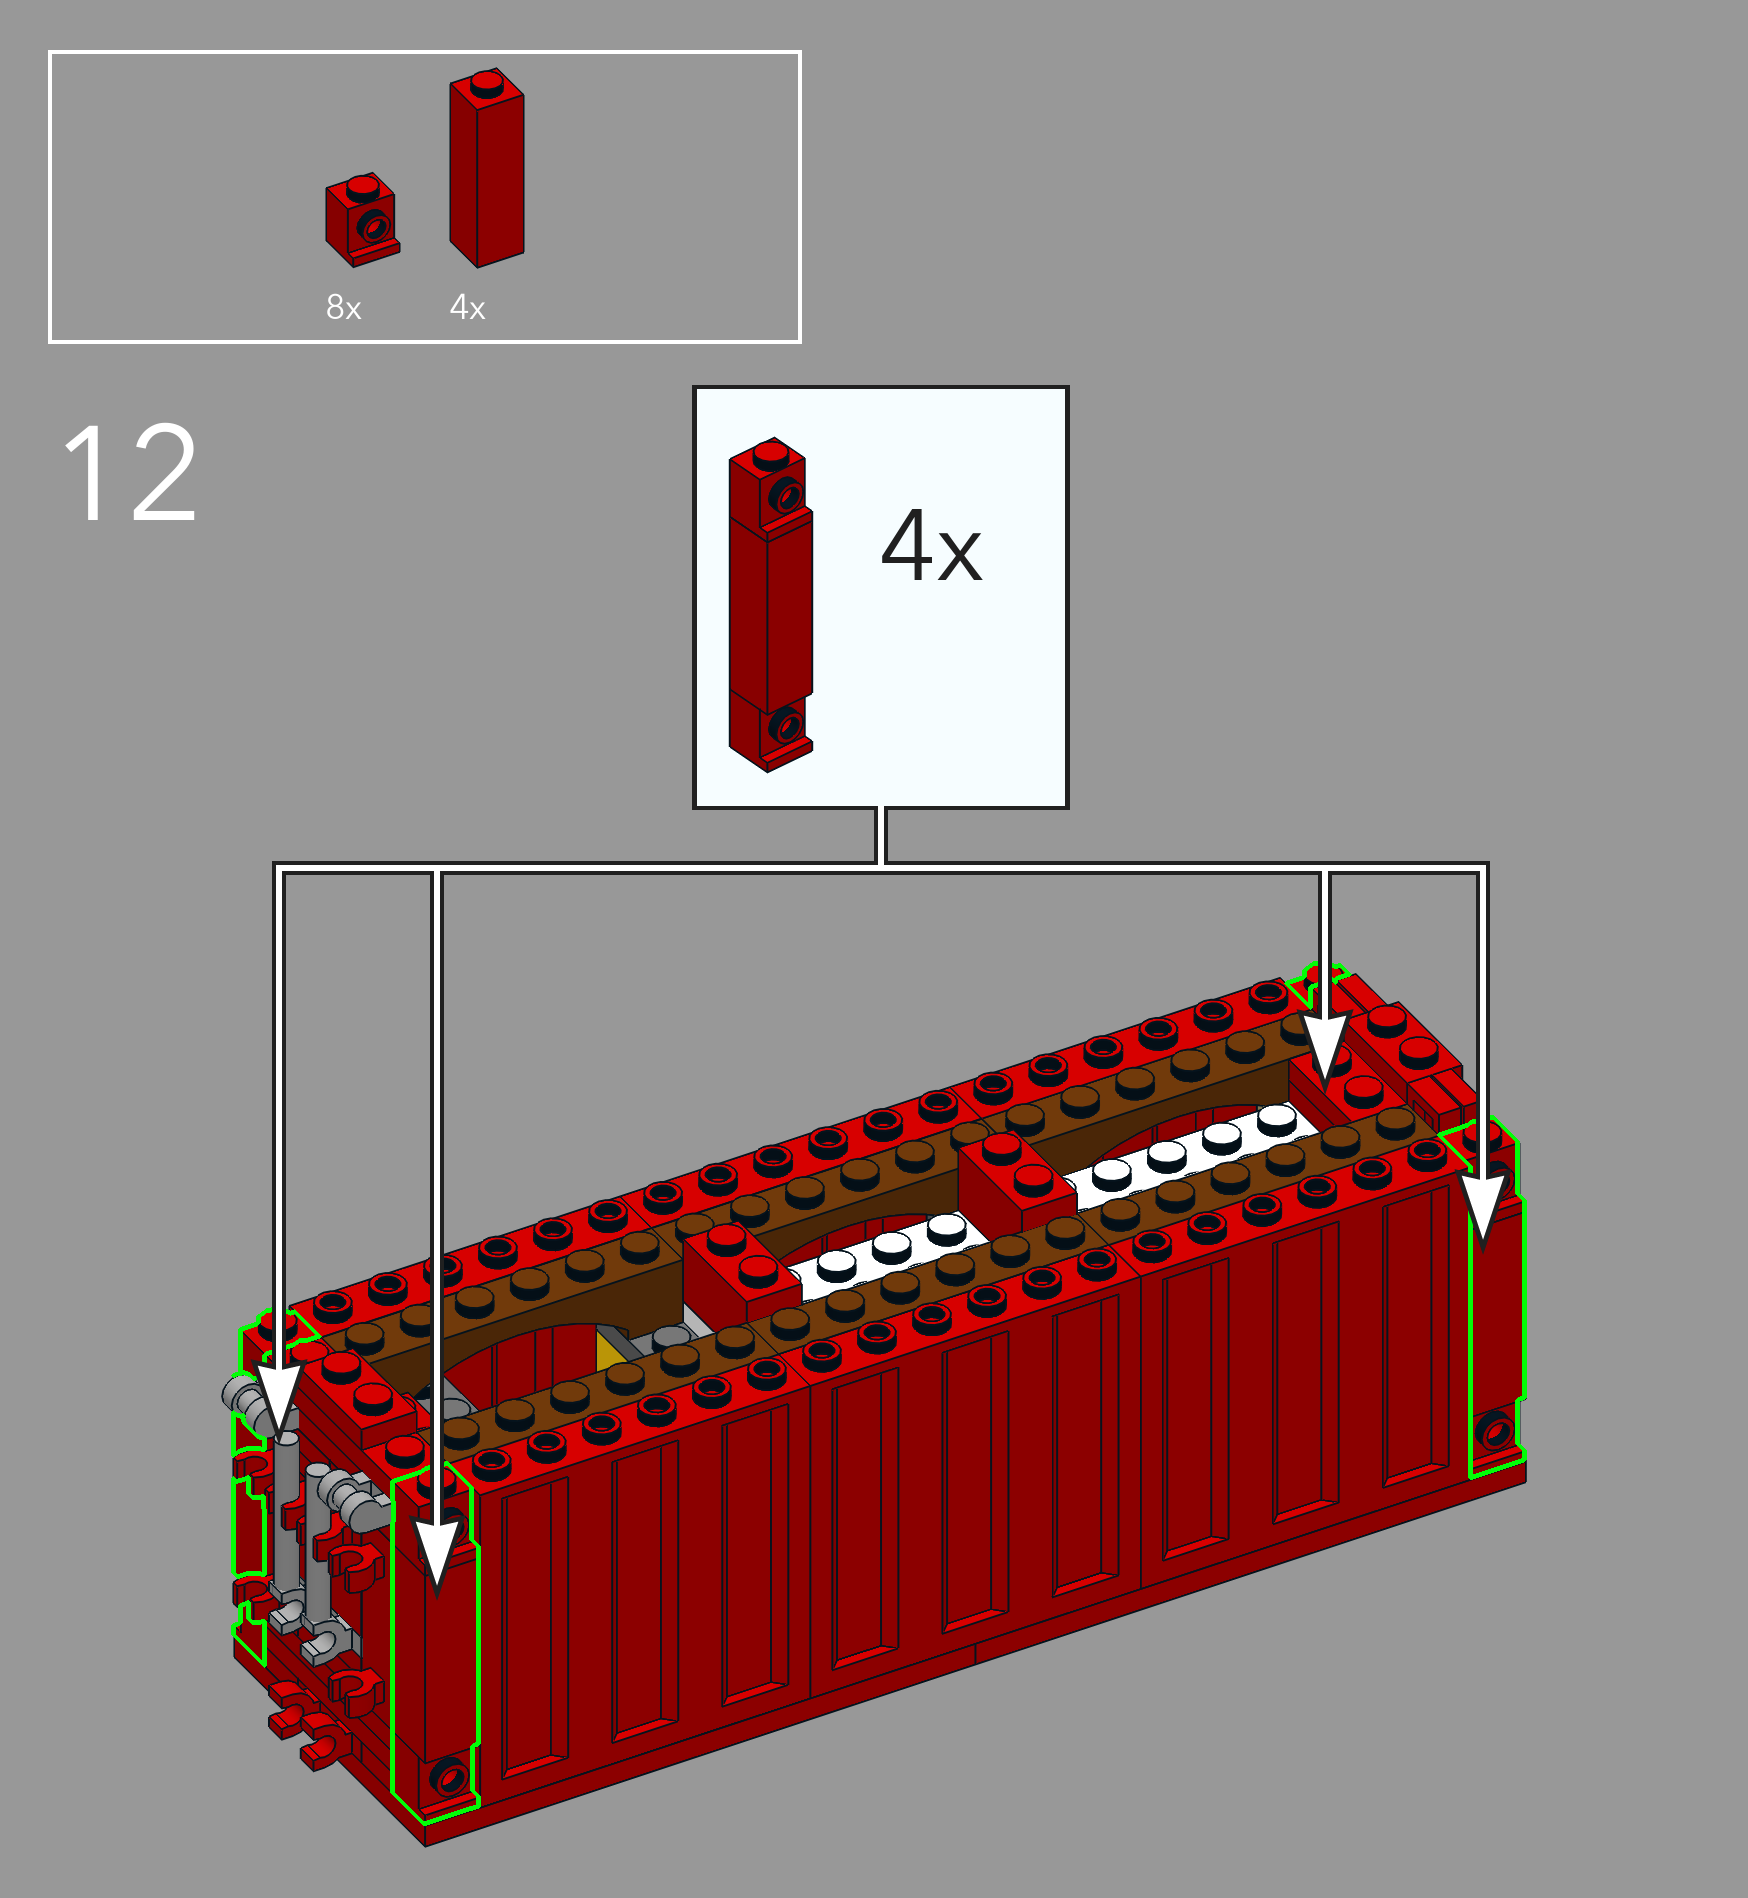
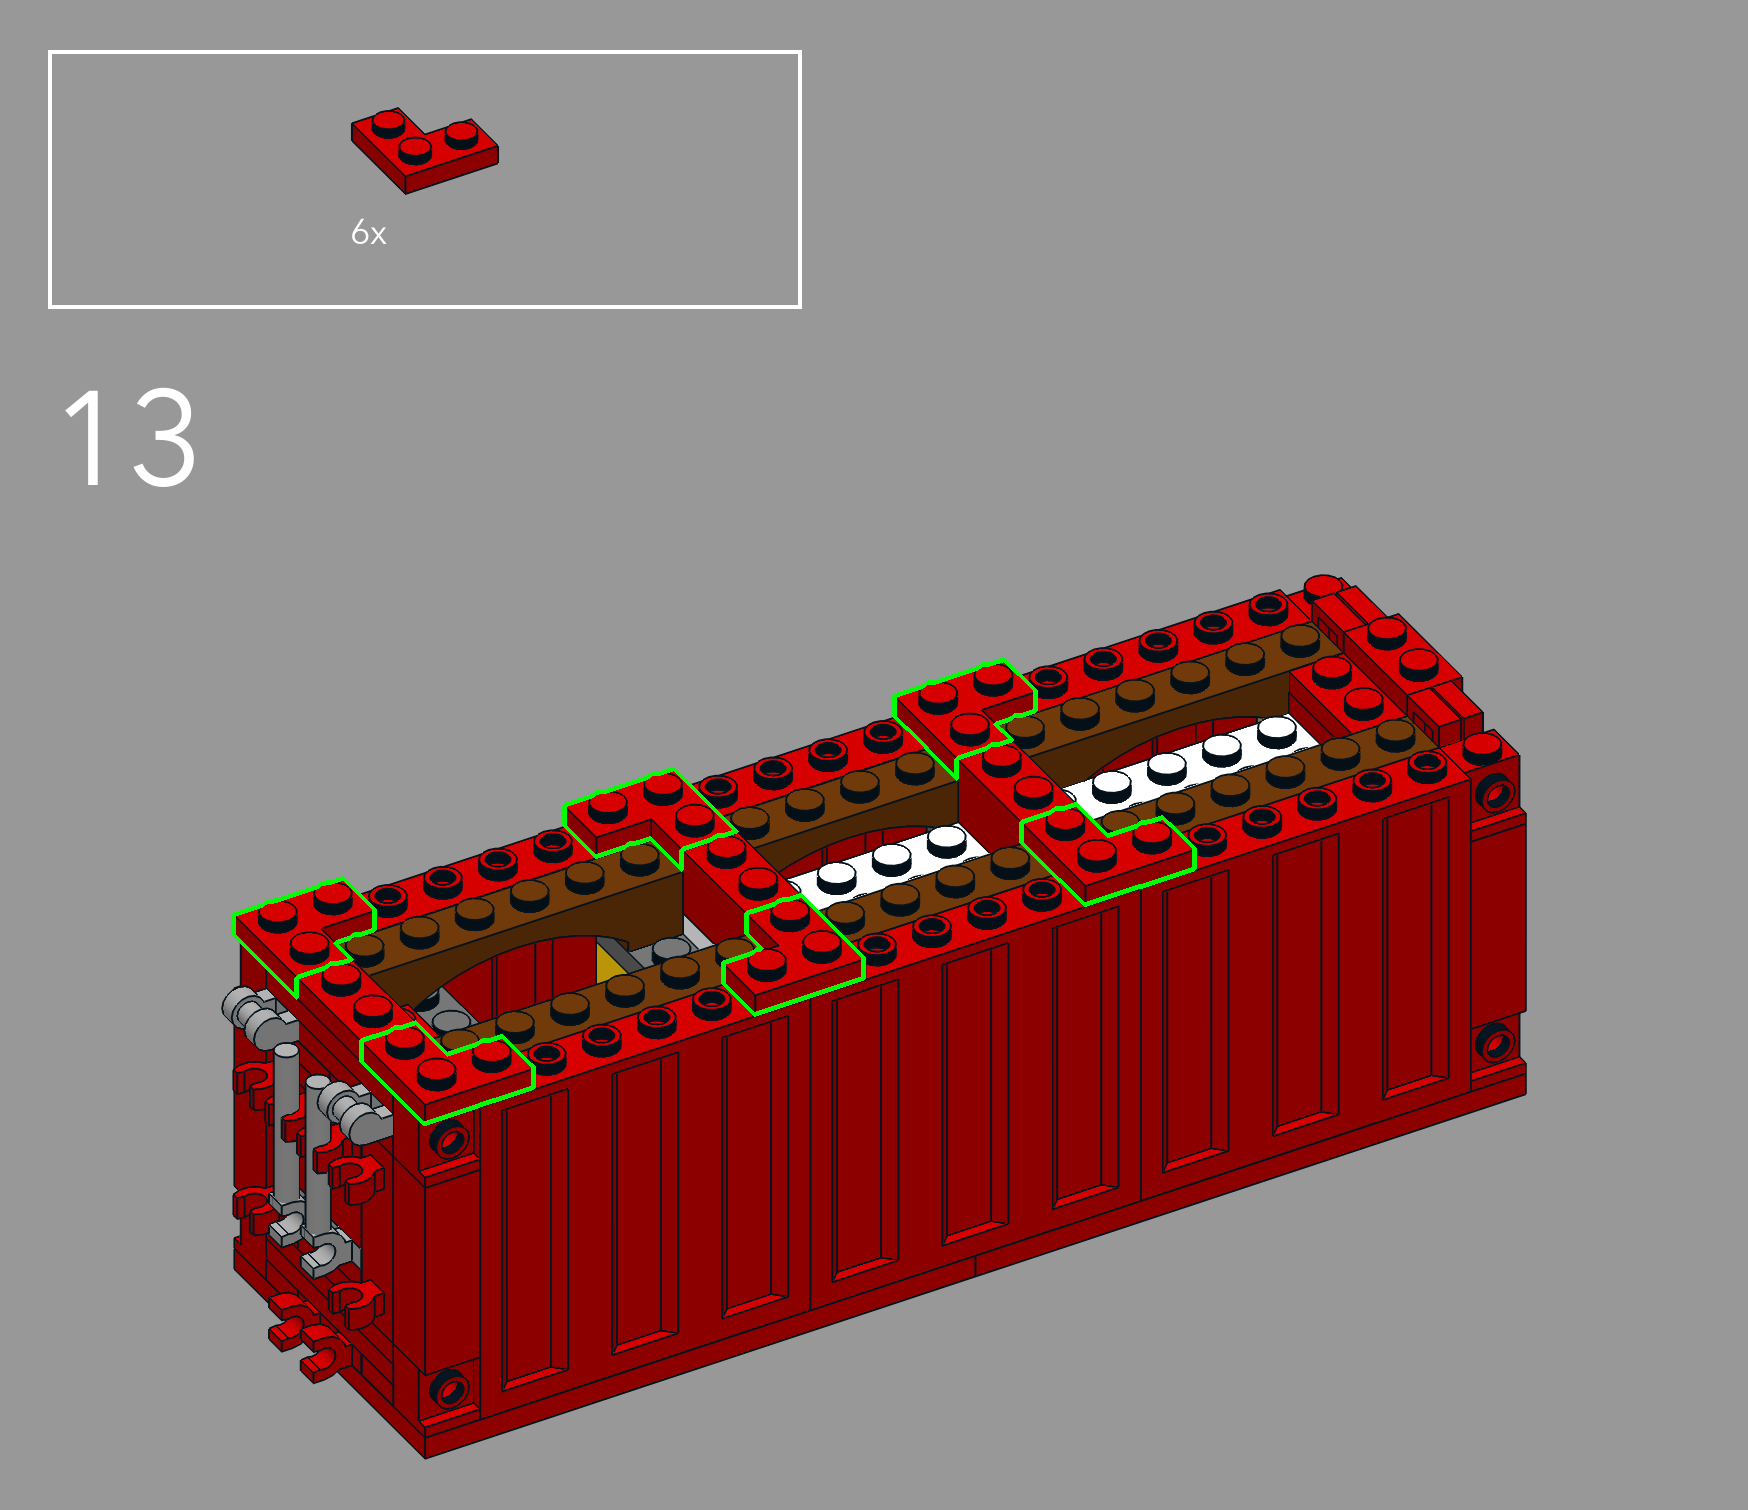
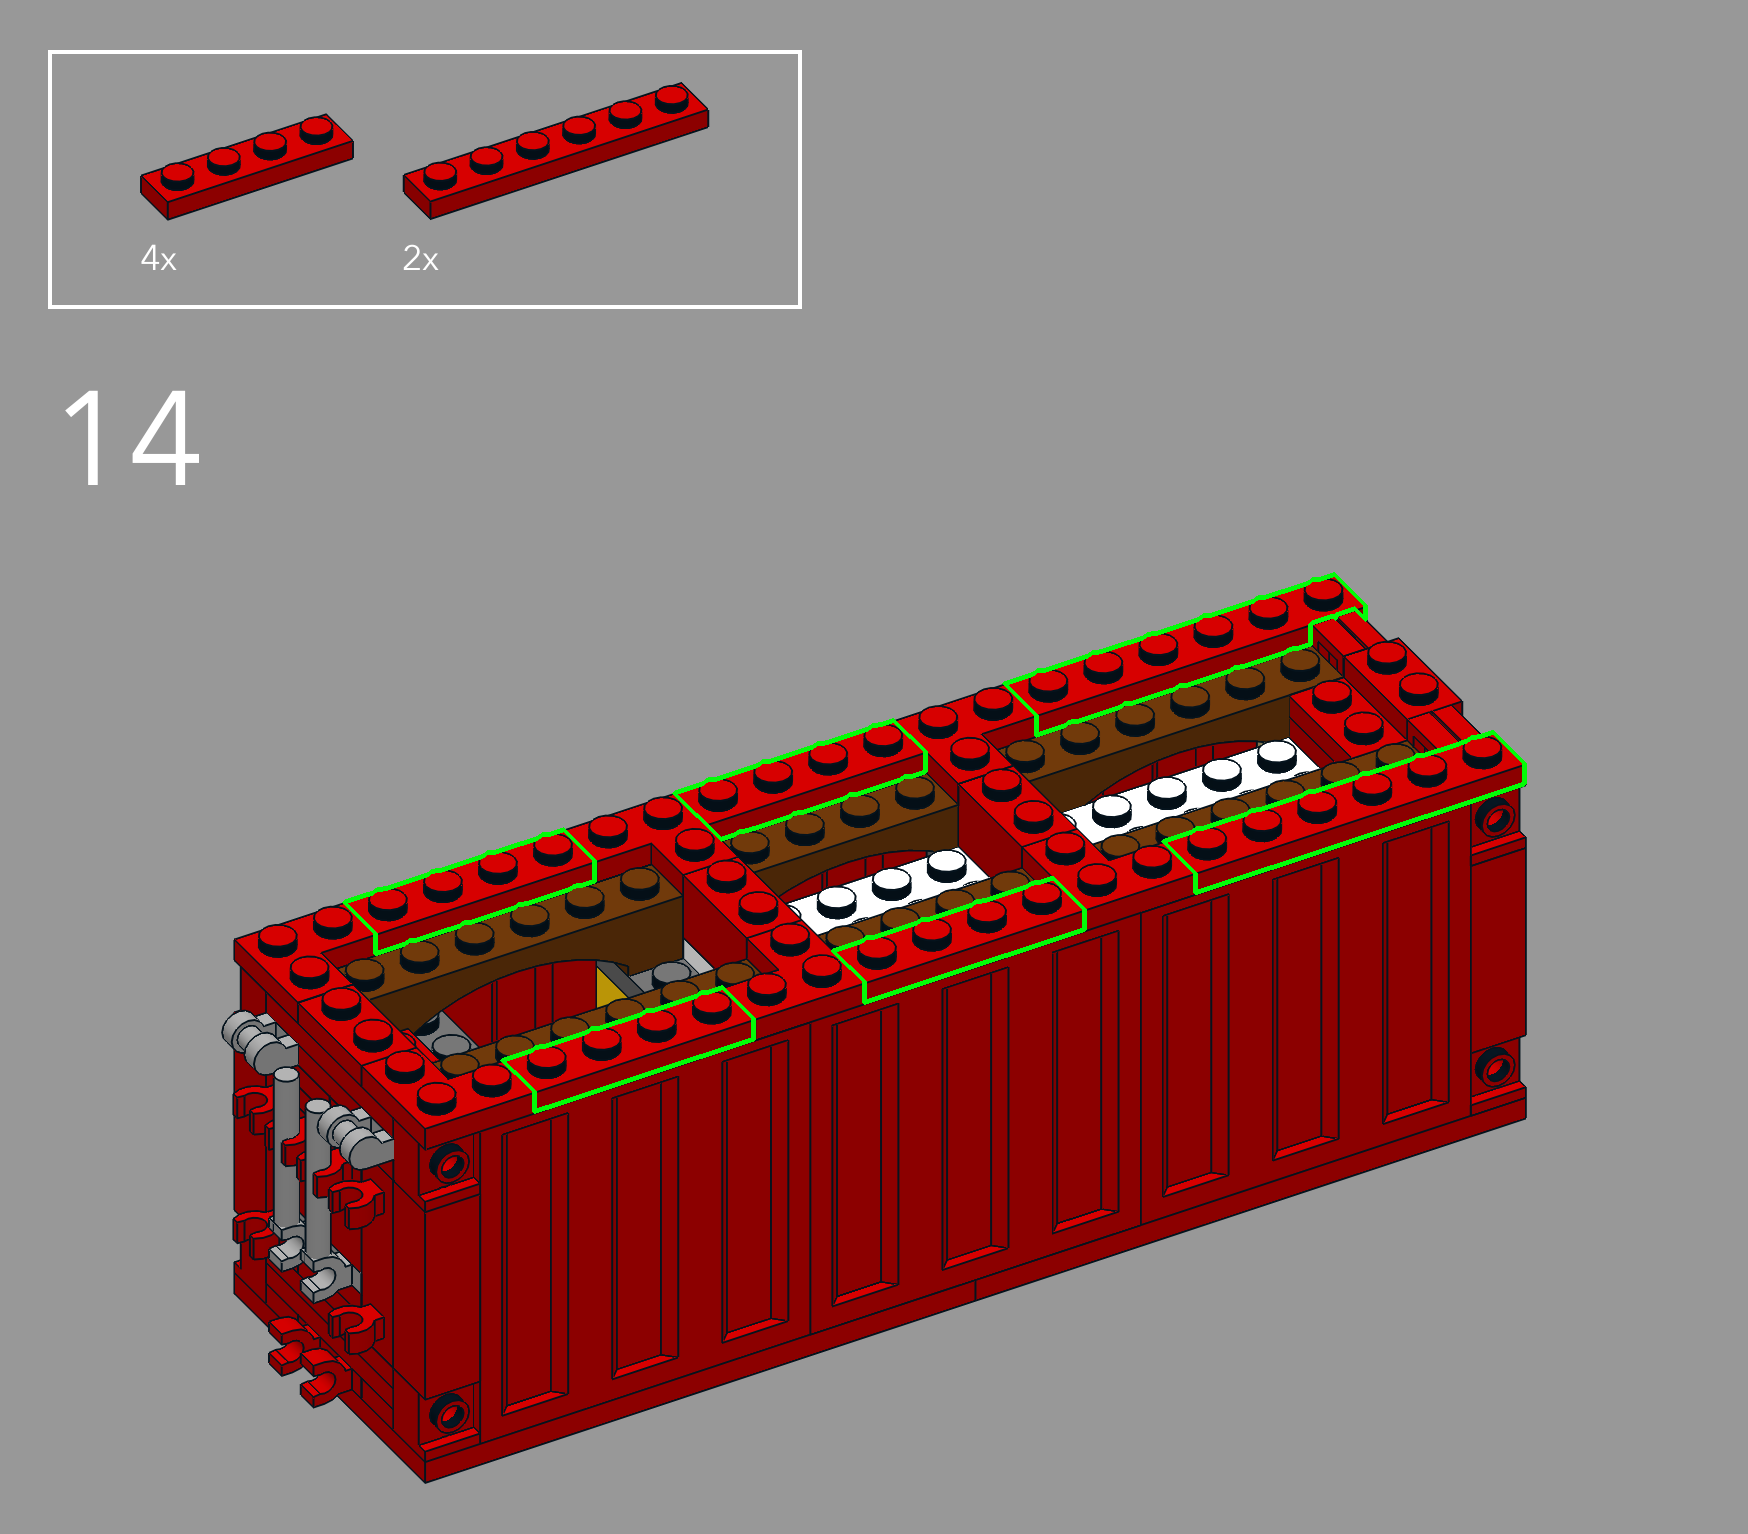
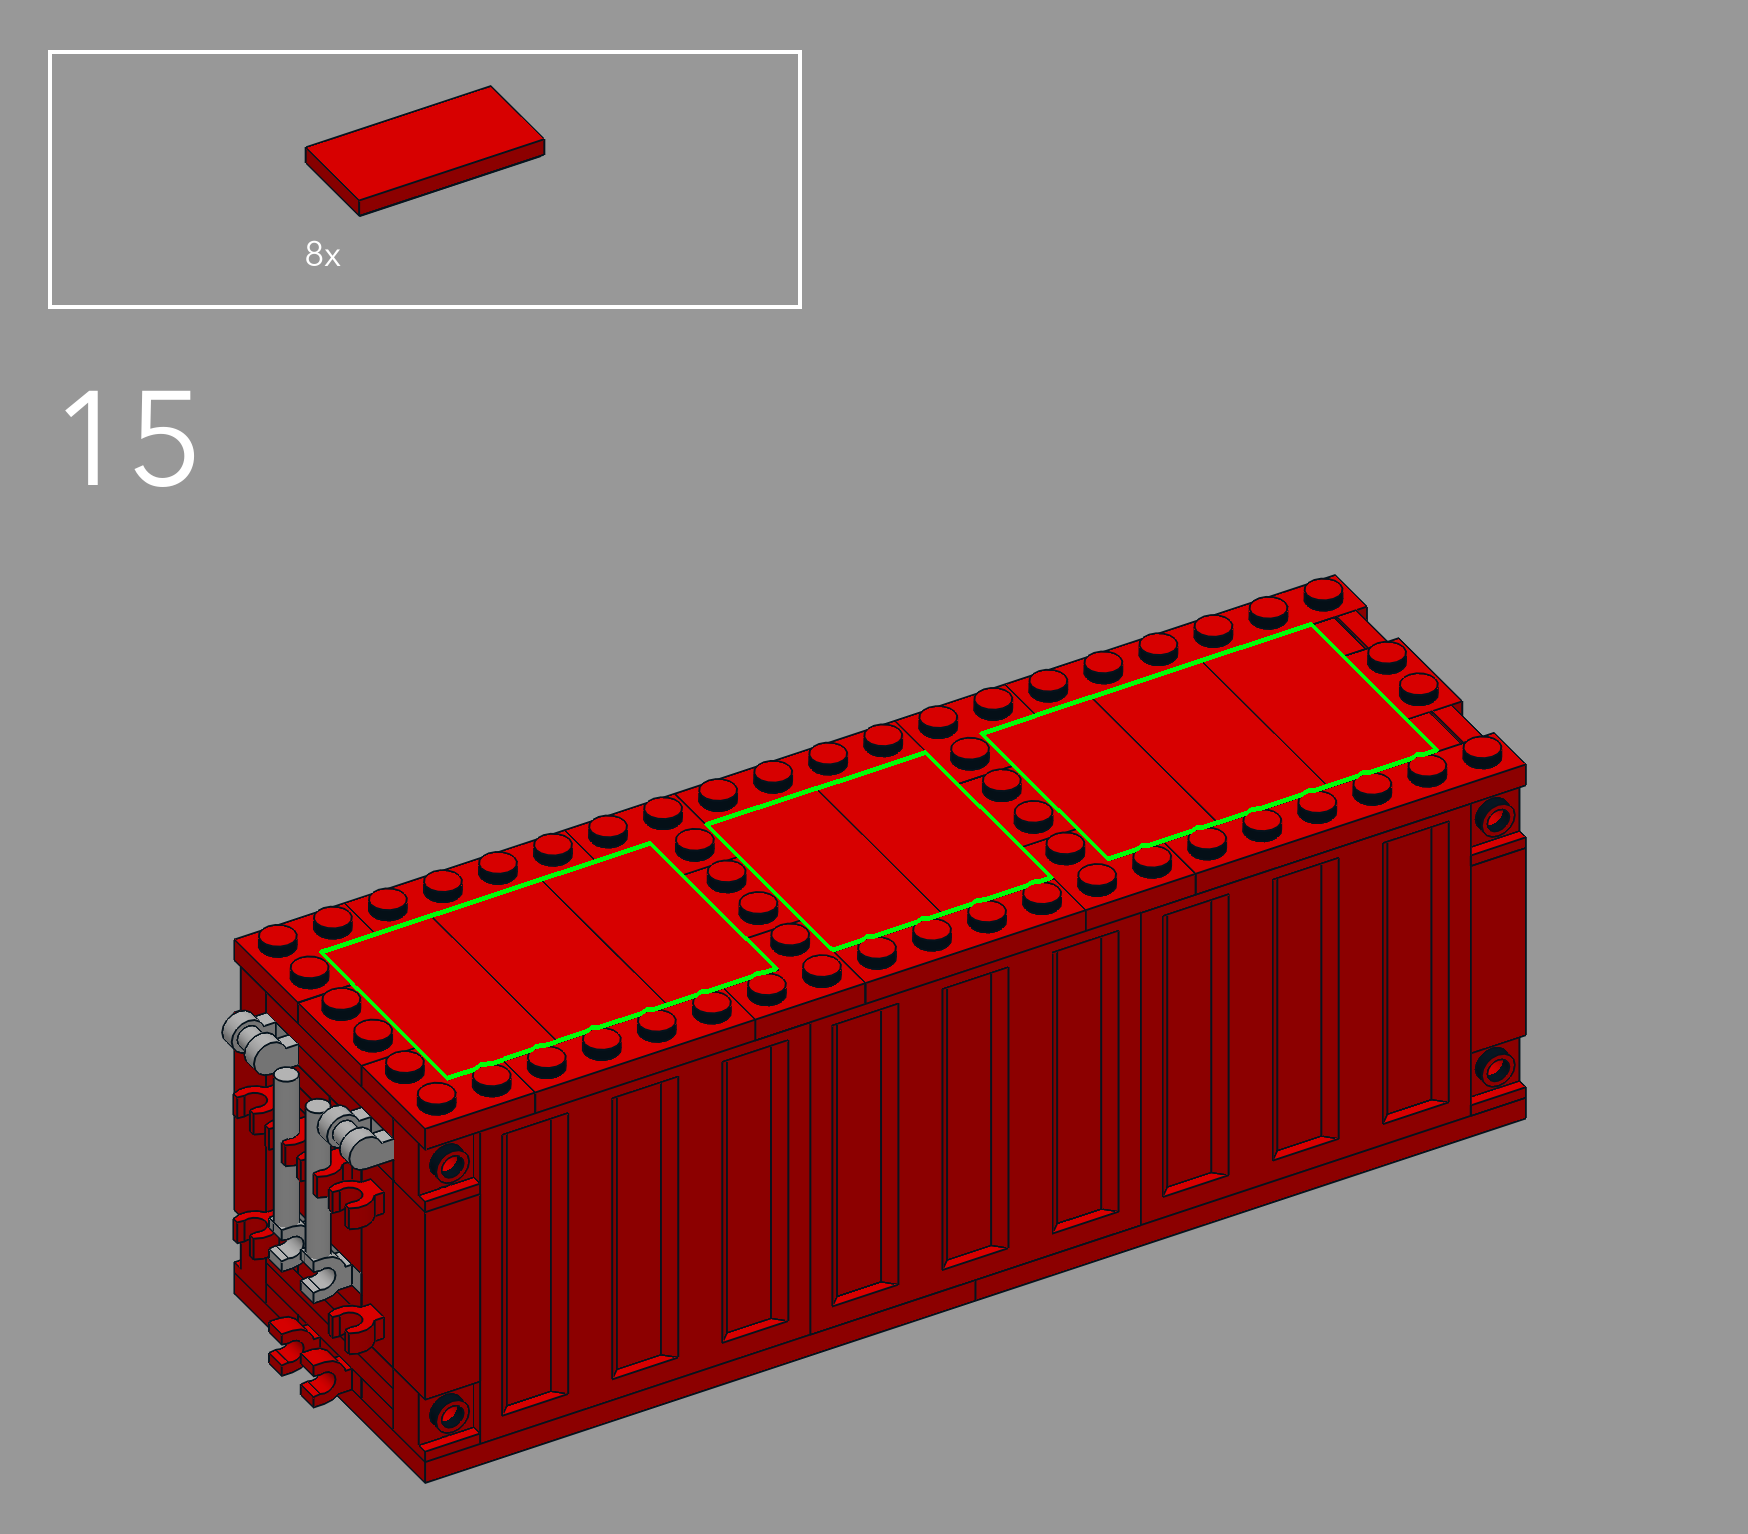
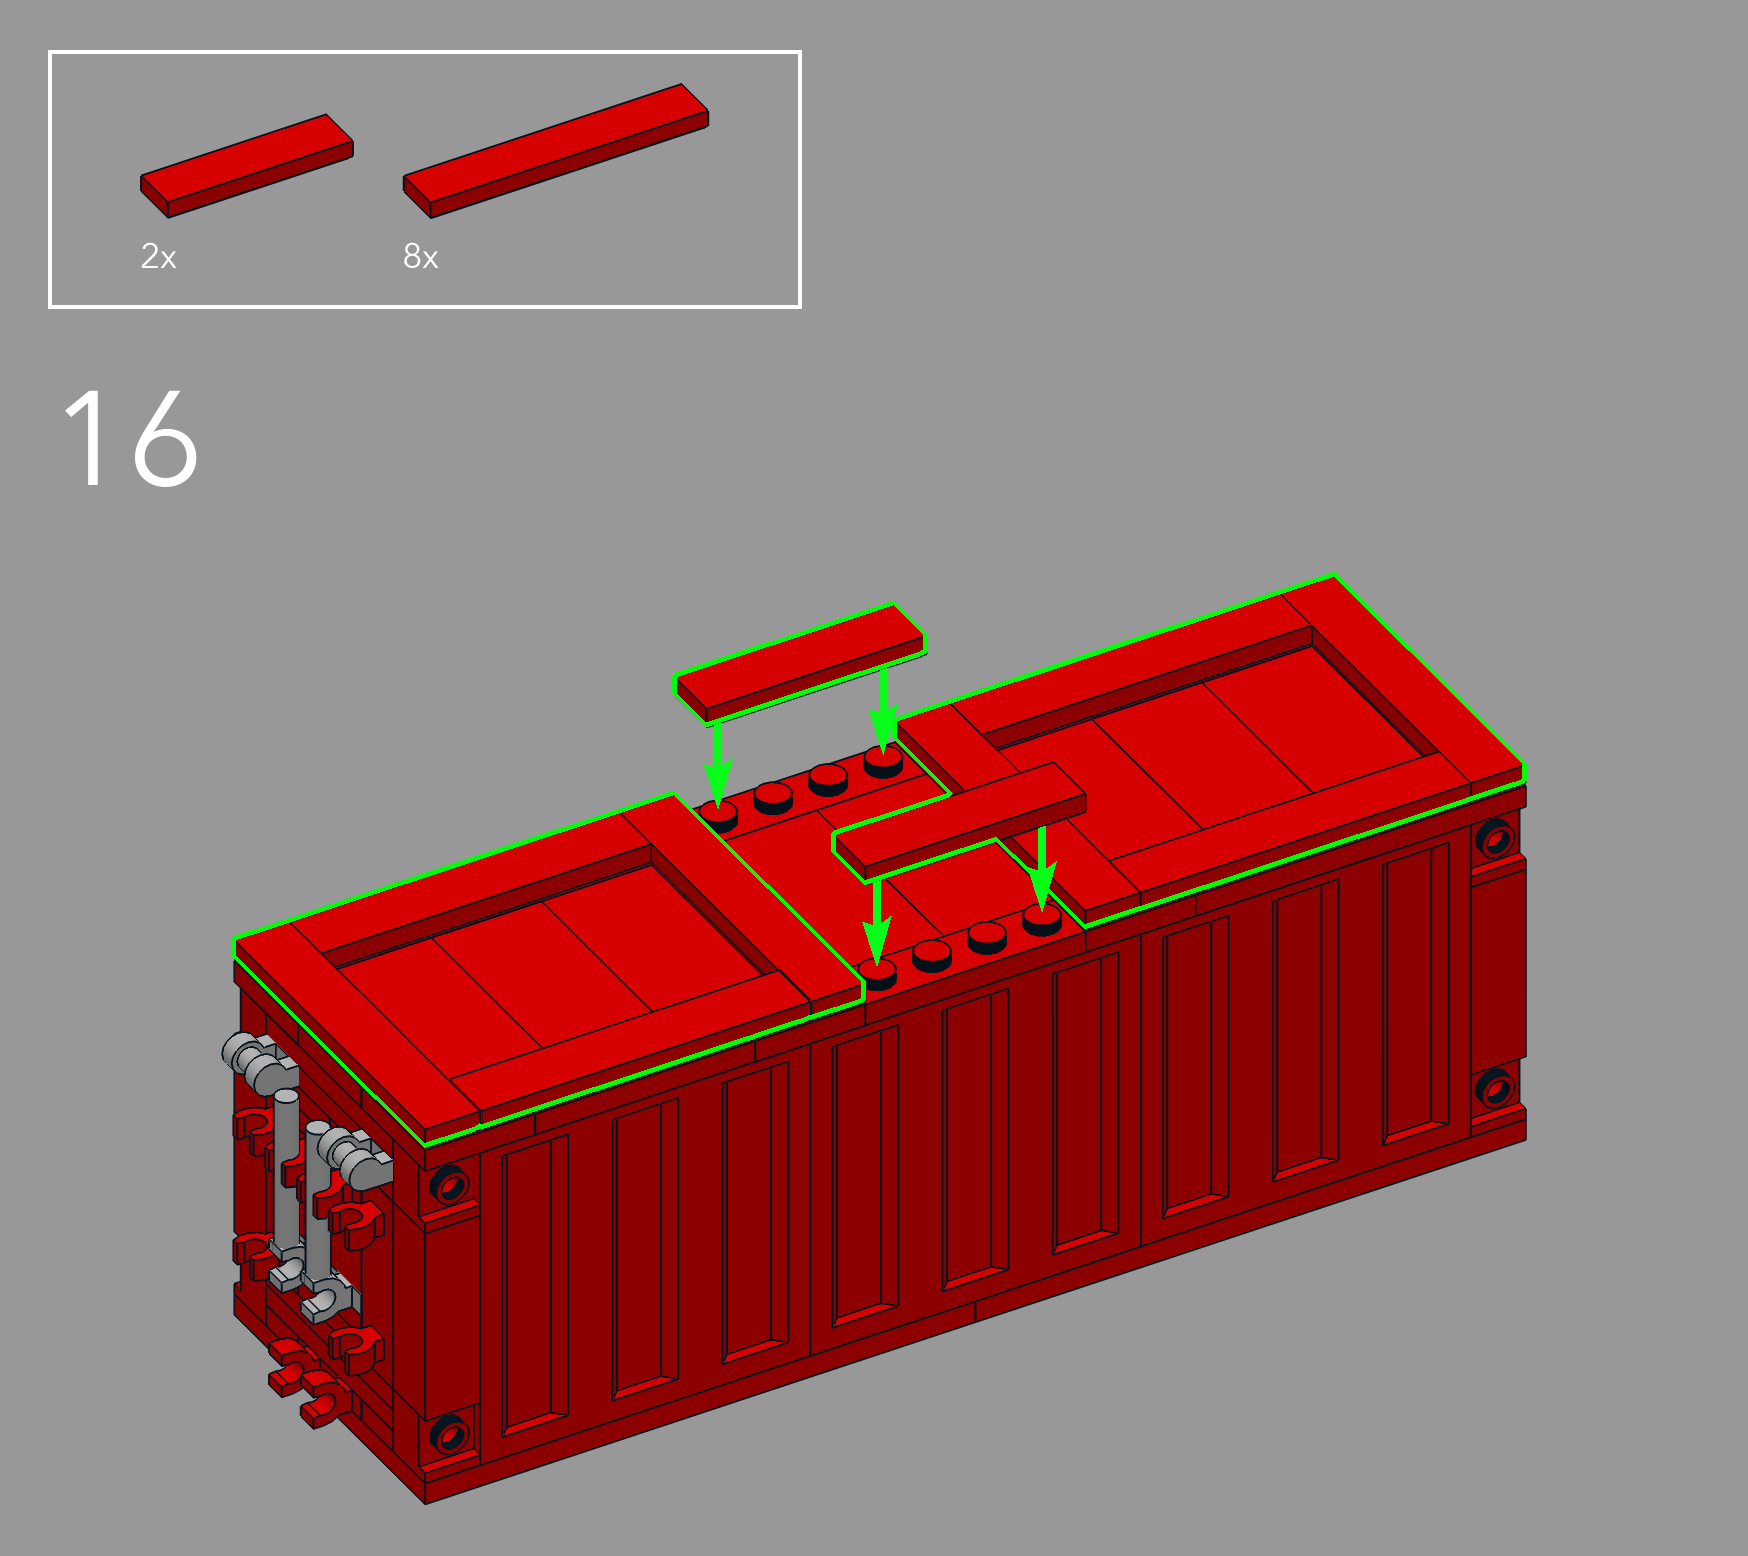
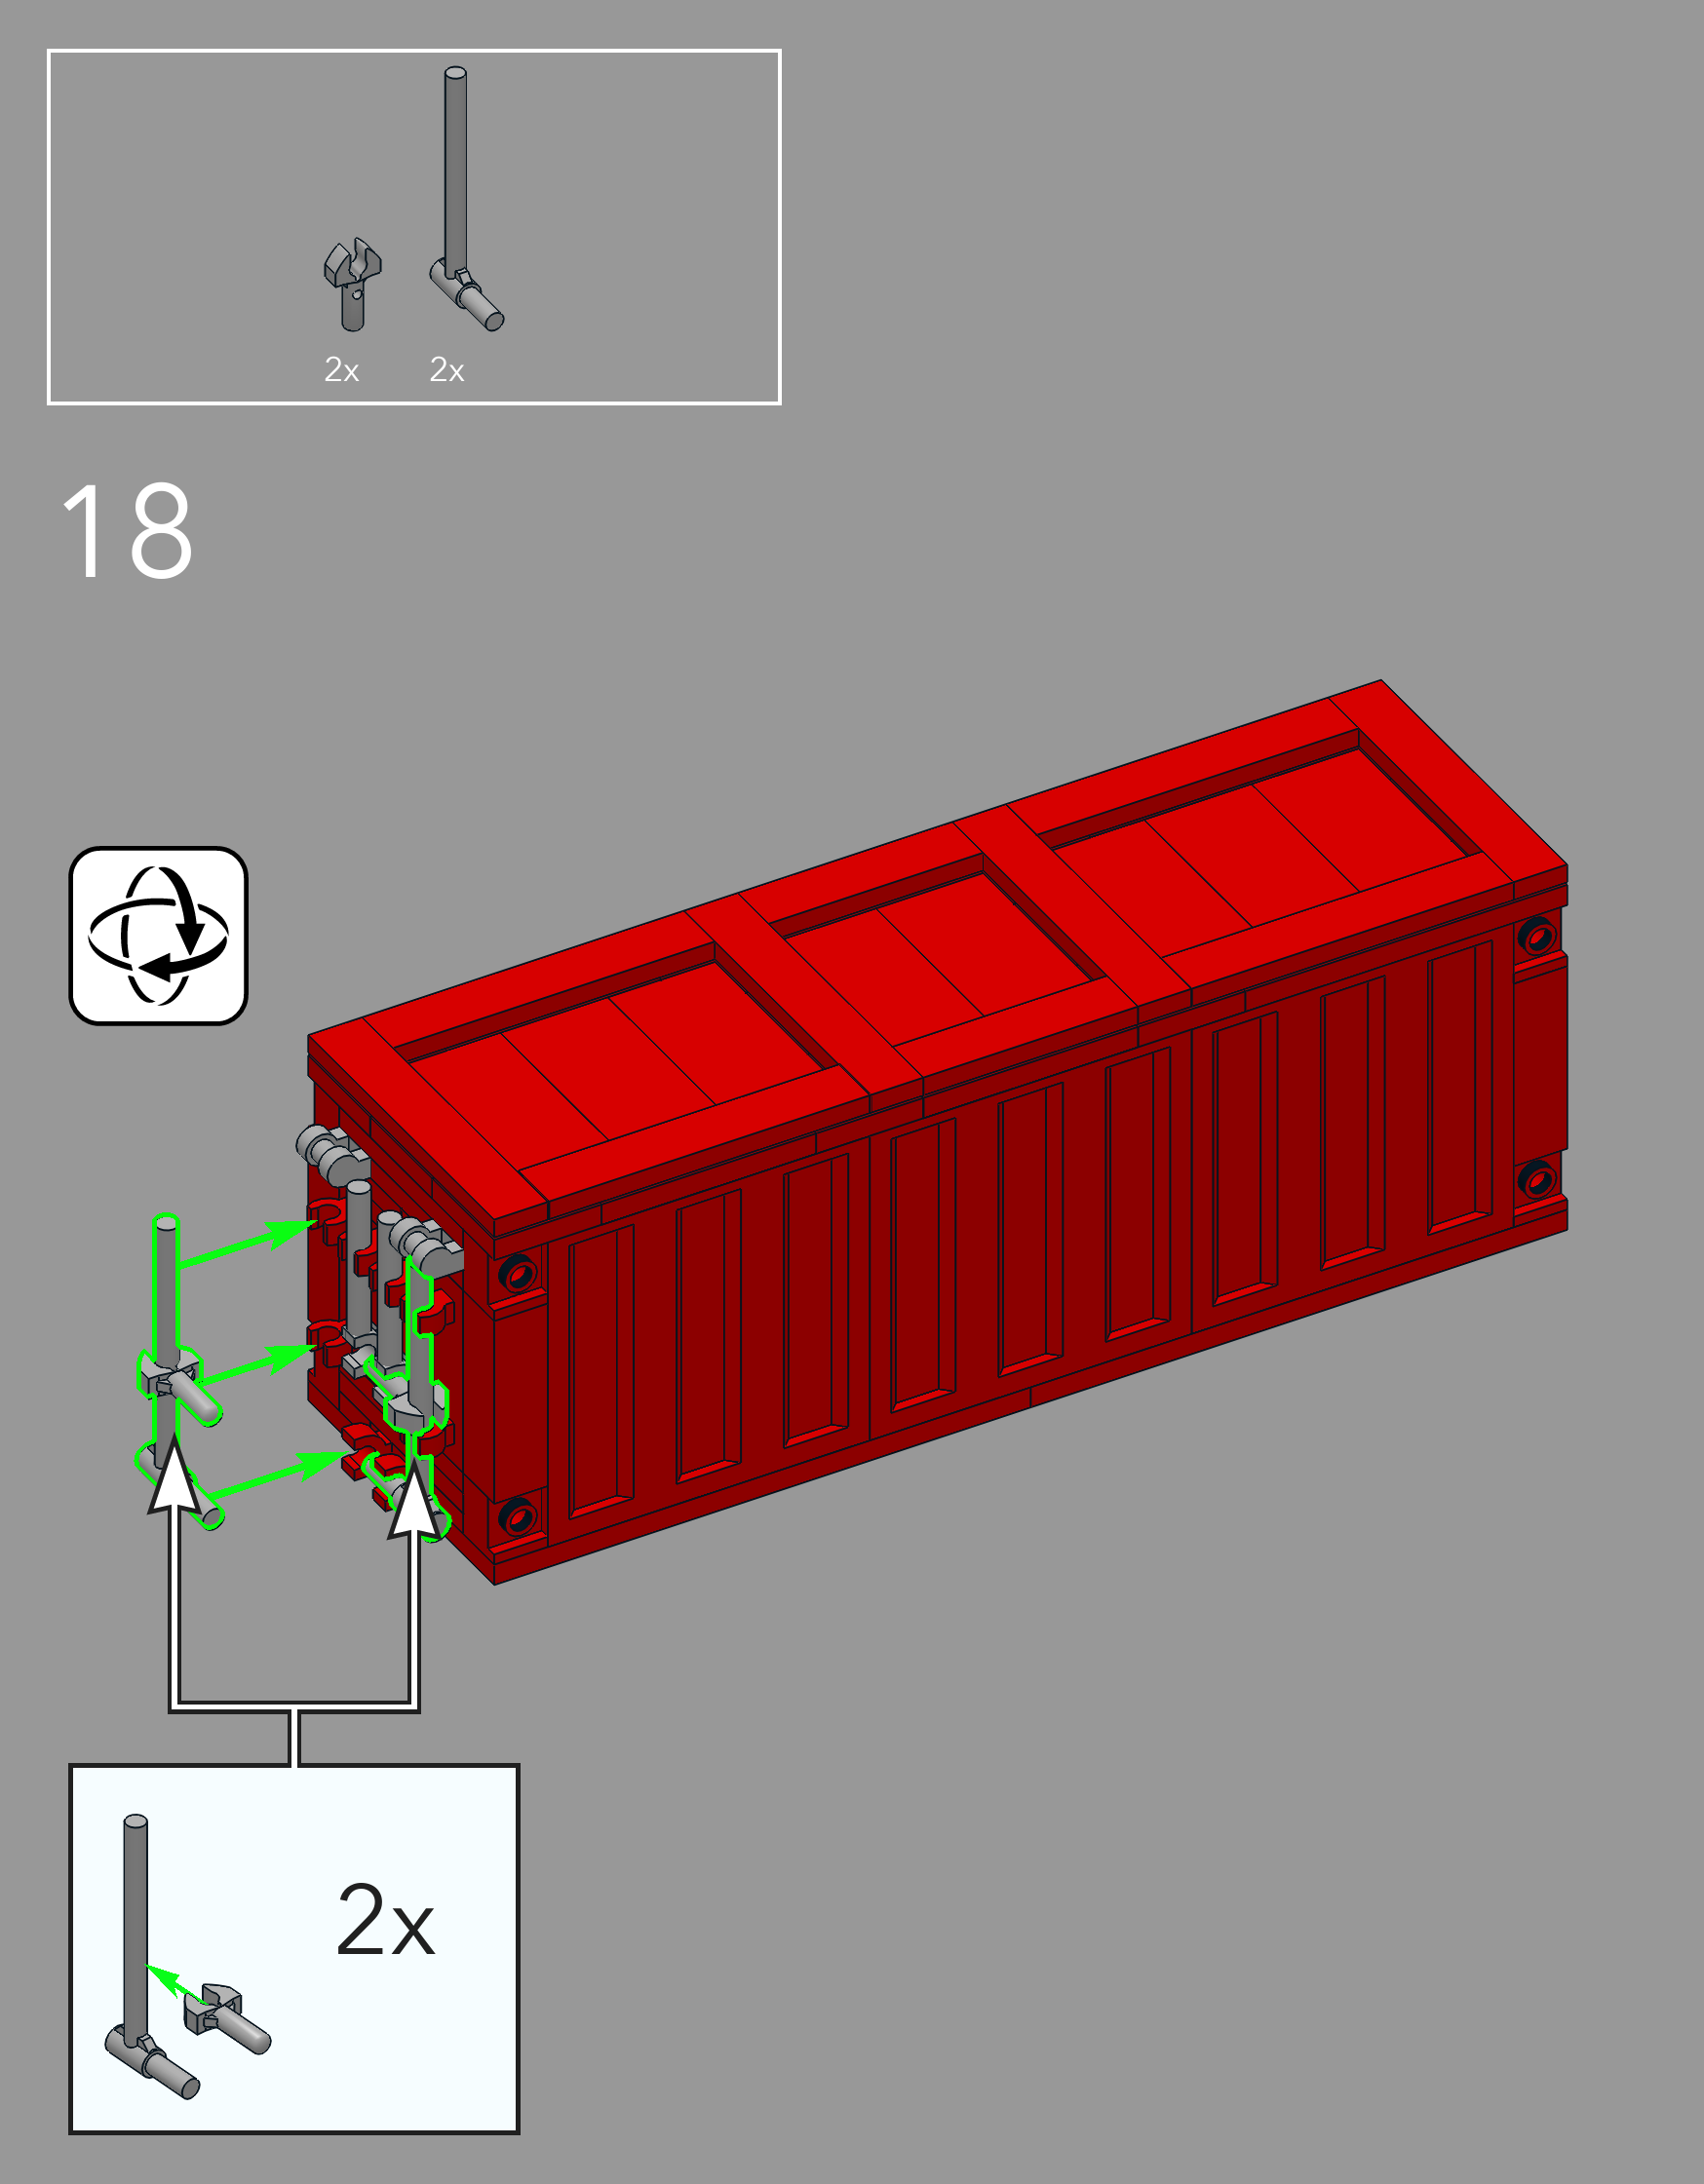
Instructions


I hope these instructions will be of value to folks looking for a simple yet useful model to populate either a train wagon, truck or shipping port. Depending on your feedback, I could make these building instruction articles more regular—perhaps starting with the flat wagon designed to transport these containers!
Best of BrickNerd - Article originally published on April 23, 2024.
What kind of container do you have in mind? Let us know in the comments below!
Do you want to help BrickNerd continue publishing articles like this one? Become a top patron like Paige Mueller, Rob Klingberg from Brickstuff, John & Joshua Hanlon from Beyond the Brick, Megan Lum, Andy Price, Lukas Kurth from StoneWars, Wayne Tyler, Dan Church, and Roxanne Baxter to show your support, get early access, exclusive swag and more.


