LEGO Photo Tips from a Non-Professional Photographer: Part 2, Camera Phone Edition
/Previously, Simon Liu wrote a fantastic article about photography with tips and tricks on how to take better shots of your LEGO creations. As a non-professional photographer myself, I was intrigued to learn new ways of fine-tuning my photos, so I started to read and got to the first lesson – Know Your Camera. Here's the thing – I don't own a dedicated camera, because I never actually needed one. What I do have is my phone, which is a Samsung model from 2016 (if not 2015).

My camera, but check that wallpaper! I’ve had it since I bought the phone! :D
These are my photo tips from a non-professional photographer not owning a dedicated camera. I would strongly suggest if you do have a camera, to read Simon's article first, I did it and learned new words like ISO, shutter speed and aperture! I'm still not sure what these words are, but all three will make great names for spaceships! Jokes aside, Simon's article helped me to understand how things work on a technical level. So, onto my camera phone tips!
1. Lighting
This is THE most important of all tips. You might have a great phone or camera, but with insufficient lighting, your photos will never be as good as you want. When I started photographing my builds I didn't know that and was taking pictures in my living room, away from the windows. It took me a while to learn about this— I’m not sure if I read it somewhere or it was just a trial and error thing.
From experience, I found out that the best place for photographing LEGO is my balcony – it's lighter than any other place. So if you want to try, go on your balcony, terrace, porch or yard. Keep in mind that the sun should not hit your build directly, otherwise it gets either too bright or with a lot of glares. On my balcony, the sun shines till noon, so I tend to take pictures after that time – no direct sunlight. This works even better if the day is cloudy as the whole sky works like one big panel of diffused light and you get very little glare.

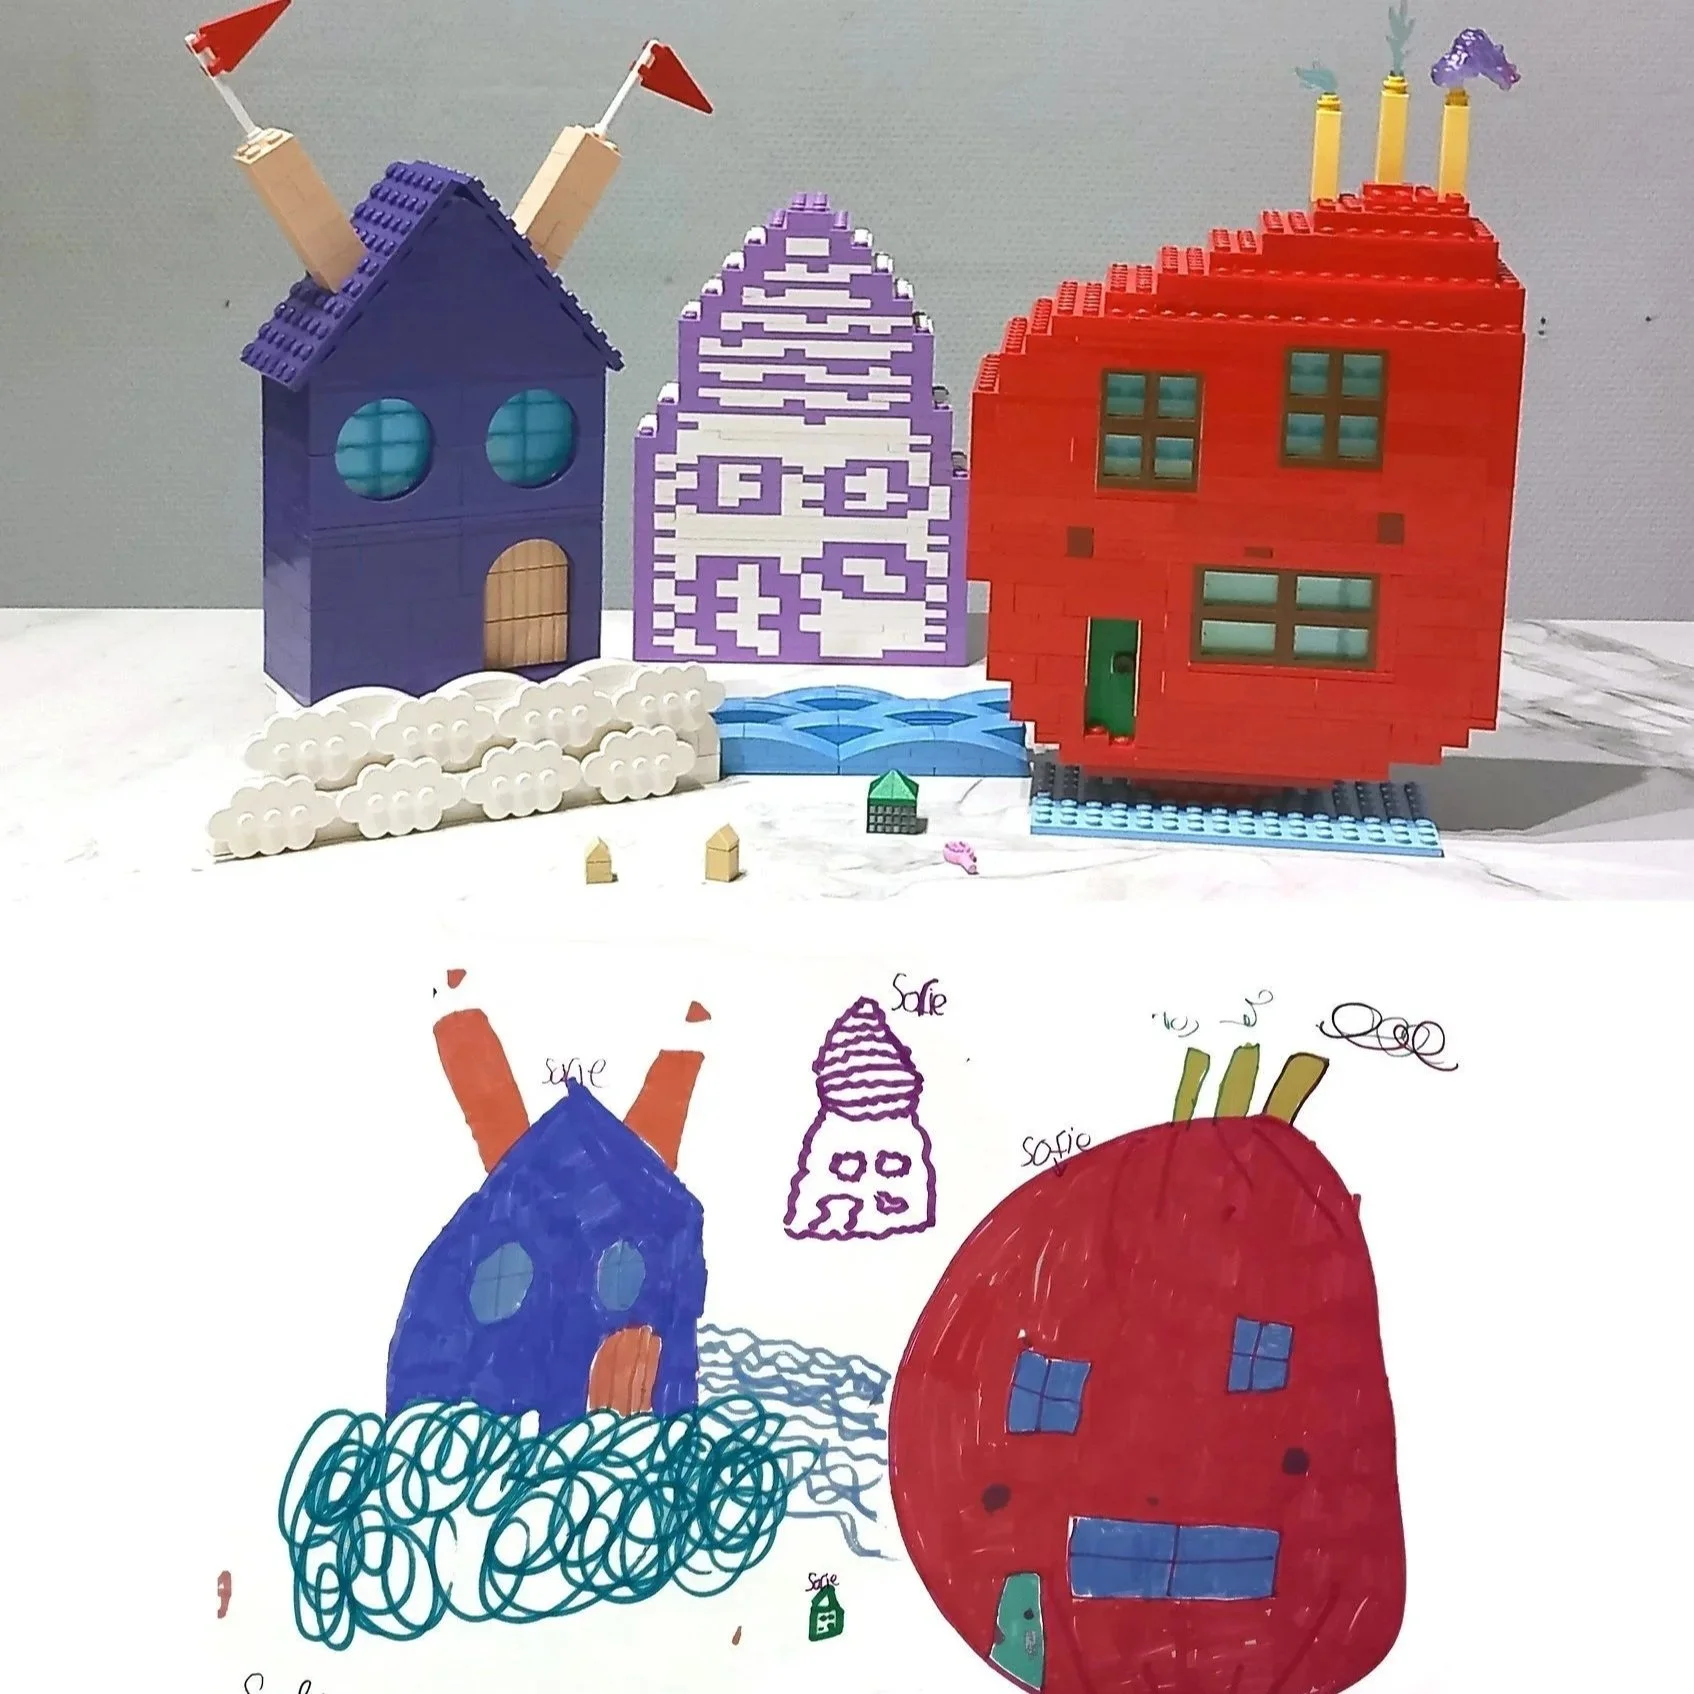
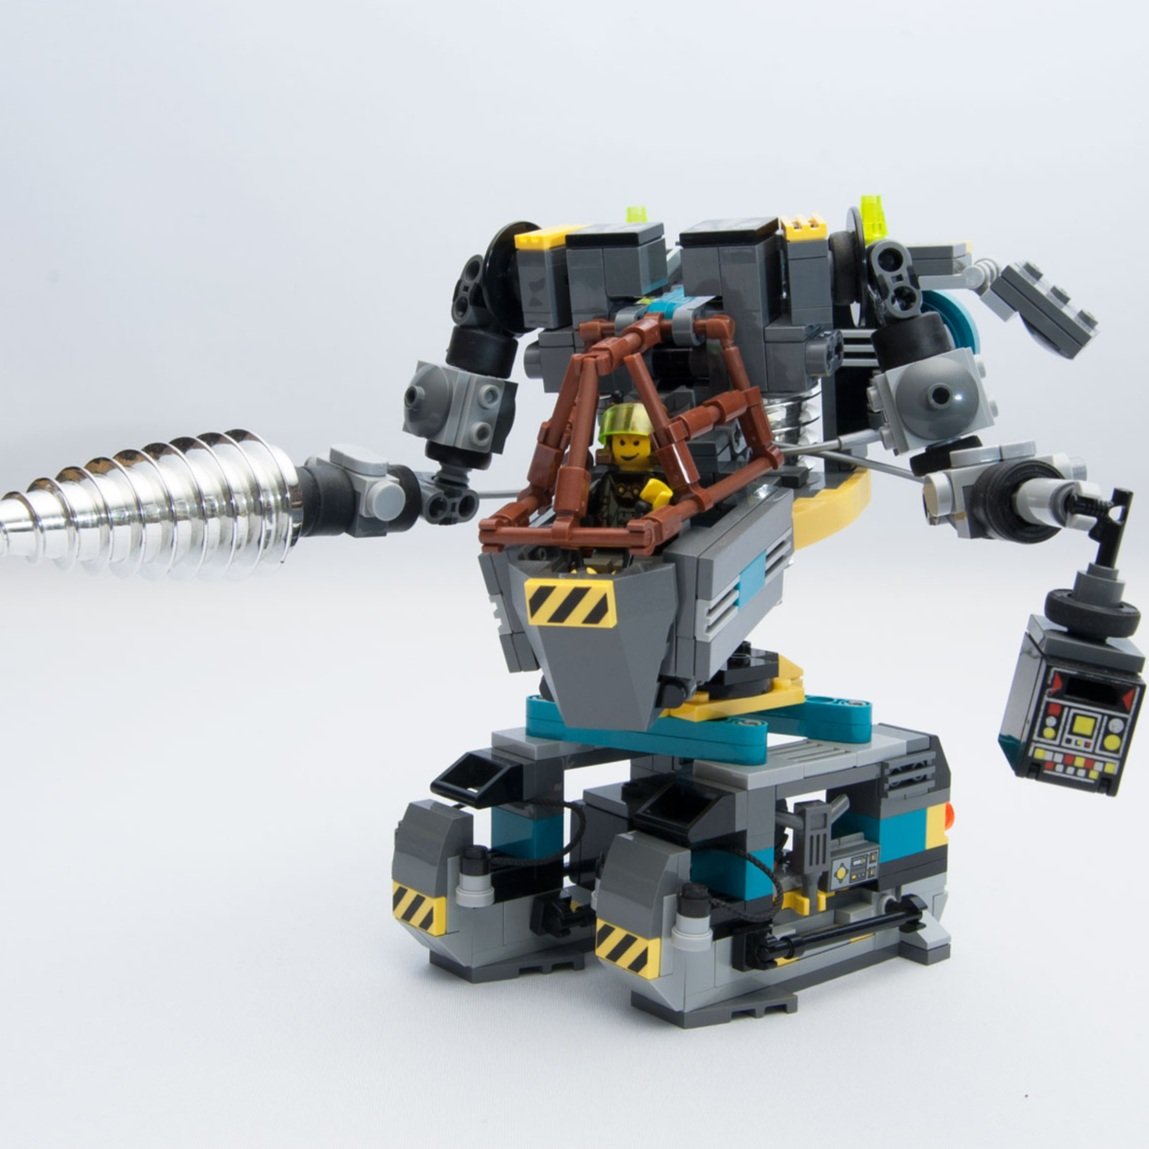
Taken on my balcony with no special camera settings and editing on white paper sheet.
2. Background
If you build small to medium-sized creations then the easiest way to change up your backgrounds is to use paper sheets. Initially I was using normal white A4 sheets that you would use with a home printer, but they were too small most of the time. So I got 50x70 cm (B2) sheets (like colored butcher paper or cardstock), all different colors except the white, all of the others were darker colors – black, dark red, dark green, dark blue, etc. This is because when you take the picture of a build, most of the time the background color will get brighter than it really is. So go with dark colors—they will look different when you make the shots.
When you use solid backgrounds, no matter if they are sheets of paper or cloth or just a wall, you won't have to “cut” the photo later. By this, I mean to open the picture in a program/app like Photoshop and cut the whole background out and replace it with an image, solid color or gradient. Solid backgrounds mean less work basically. :)

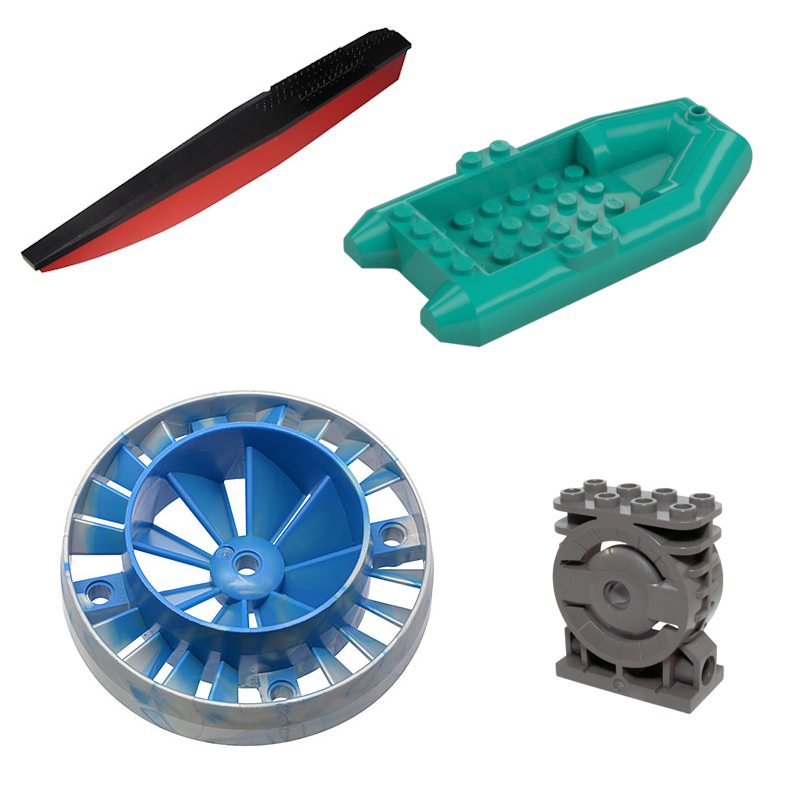
The paper sheets I'm using mostly – 50 x 70 cm
3. Focus
Be sure to have your builds in focus or at least the part you want to show the most. You might've built the best thing ever, but without focusing properly no one will notice. I still have photos that are not in focus as much as I want to, but I'm too lazy to go and take the photos again. I need to go to the balcony, place a little stool, then the big paper sheet, then place the build, then take the shots… AGAIN… then check if they are in focus, then check if the lighting is ok, and finally send them to my email so I can do my editing. This is the annoying part of building and showcasing your builds.

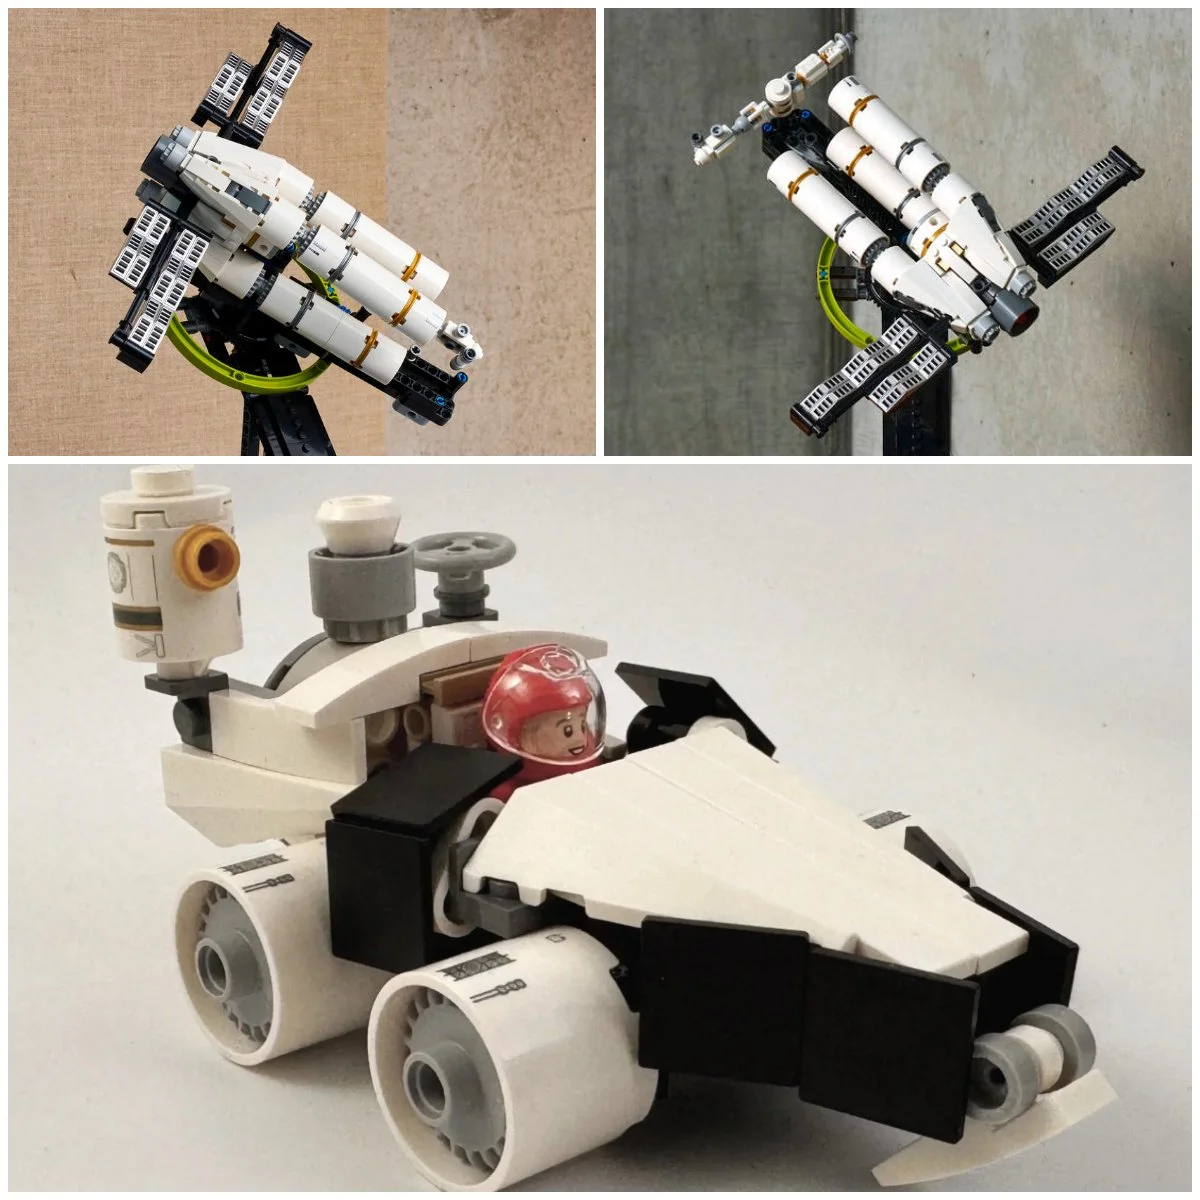
It's actually hard to not have a decent focus, but still try to get the best that you can. Ah, and this is the same green sheet from the previous image with the different colored papaer, see how brighter the green is?

Same thing, but with more focus. No editing aside from a few settings on my phone.
4. Editing
With this tip, you can basically do whatever you want as long as you put time and effort in it. I use Photoshop to edit my photos but there are many different editing tools, even free ones, that you can use. I'll cover some of them in the next tip.
I usually use only a few things when editing and they are:
Cutting or removing the background. If I want to use a different background I cut the original one from the photo with the Pen tool. You can remove it with various methods like Magic Wand and Actions, but the Pen tool is the best way. (I hate it though! :D )
Brightness – most of the time I want the photo to be a bit brighter or darker, so I adjust as needed.
Sharpen the image – there is a filter in Photoshop that makes the image clearer (called Sharpen in Effects) and the same goes for the rest photo editing programs. This won't work if your image is too blurry, so be sure to focus!
Vibrance or Saturation – with these adjustments I get more color from the images.

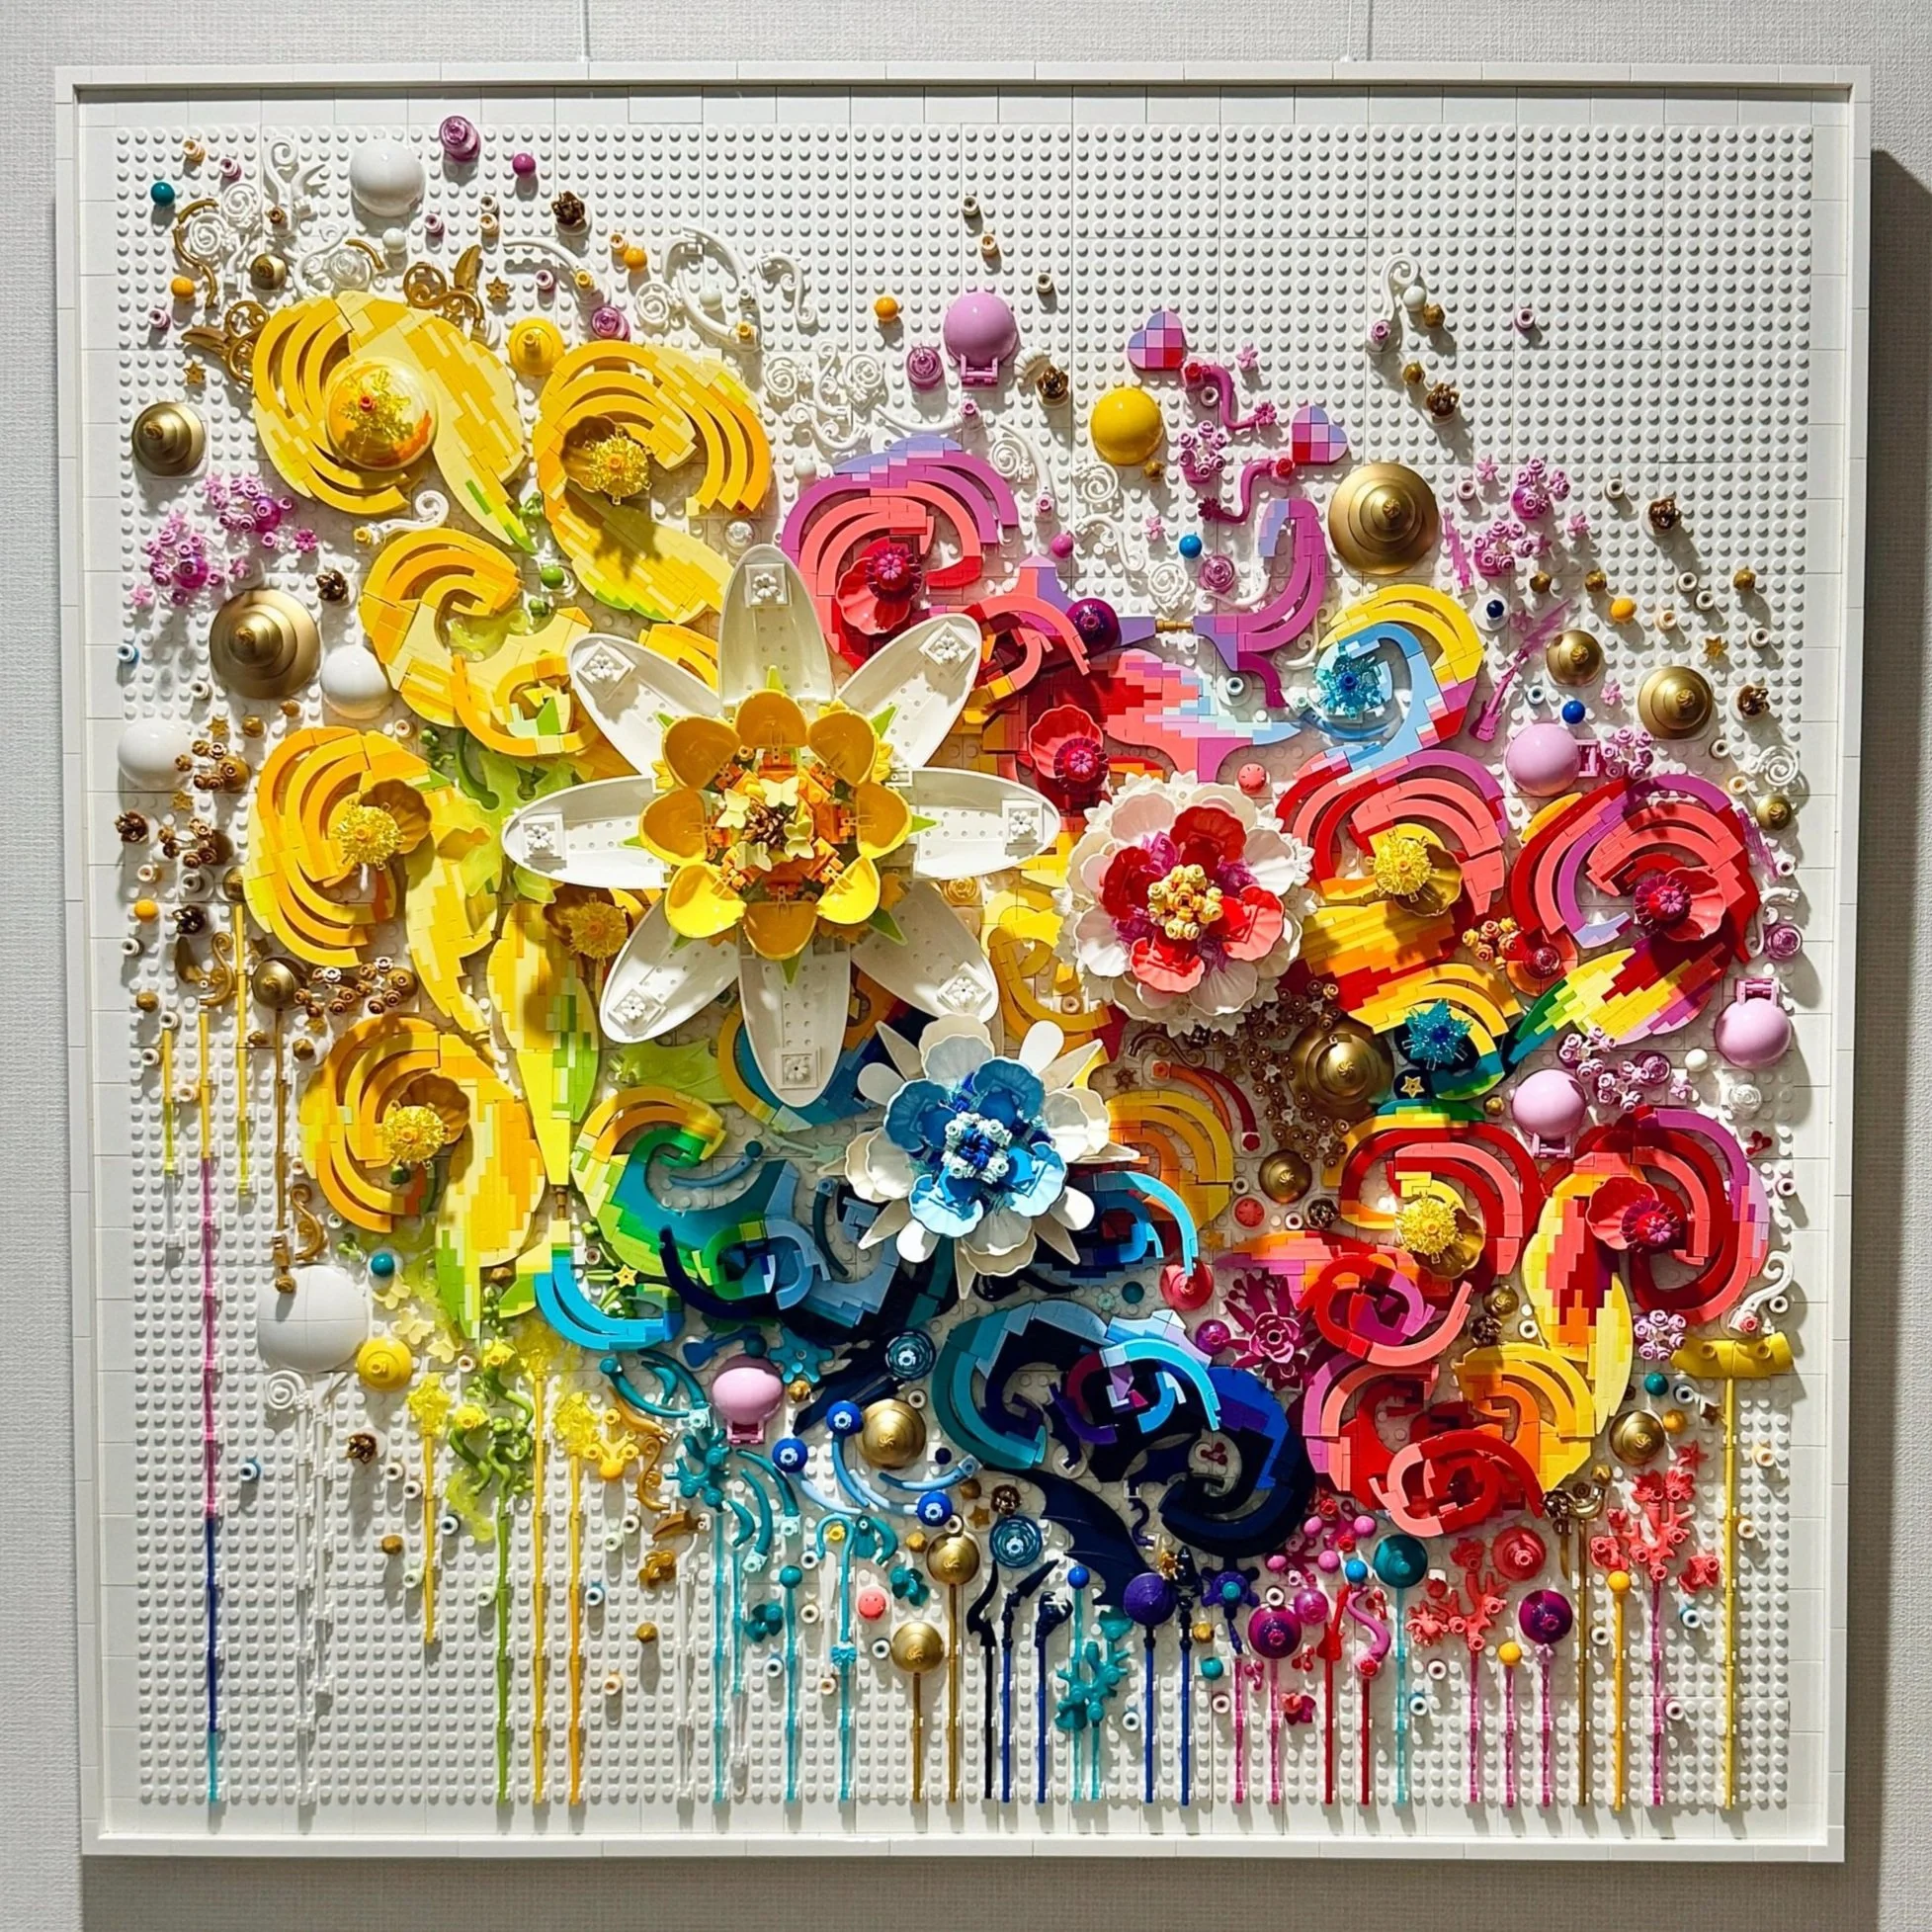
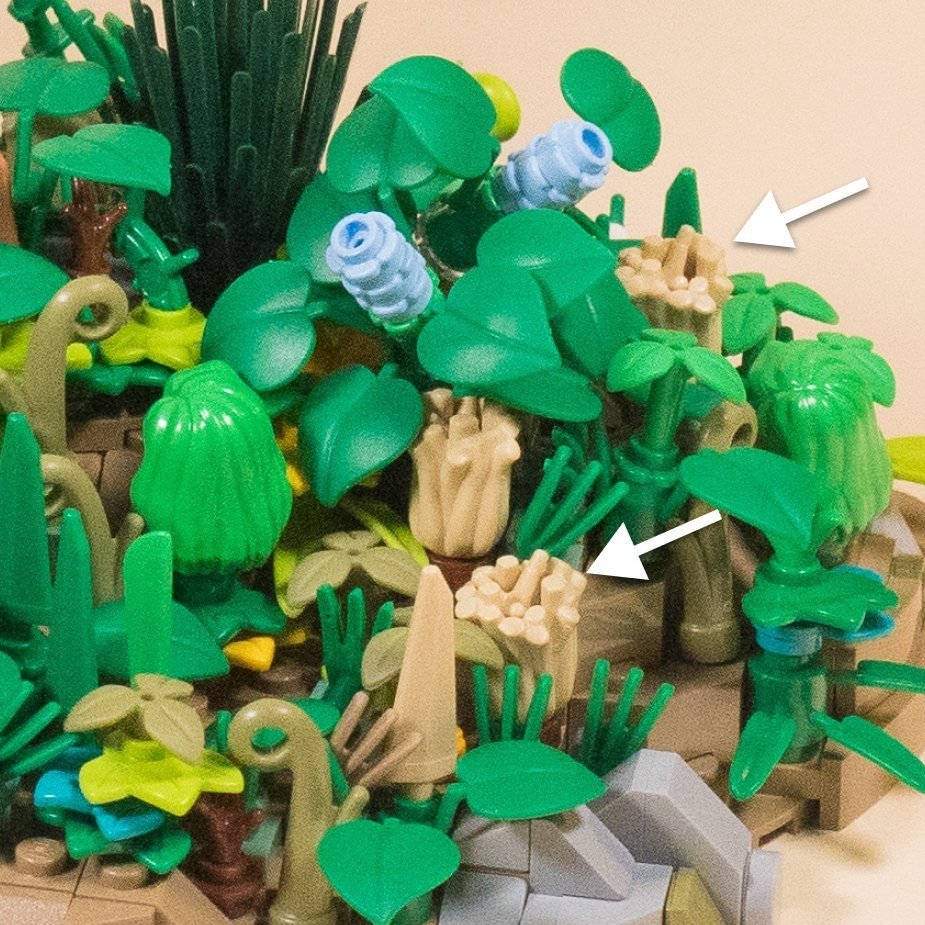
Quick background cut and replace with an image I found online. I sharpen and use a Color Balance layer in order to make everything the right tone which was a bit redder in this case.
That's basically it for simple photo editing. I still don't have the best photos, but I'm happy with the final product. And it takes less time than doing heavy editing with brushes, shadows, lights, etc. I'm primarily here for the fun of LEGO, so more time with my bricks and less time on the computer is a good thing.
5. Tools
There are a lot of apps and programs that you can use to edit your photos and probably all of them can work wonders for your editing. I'm going to share the three programs I've had experience with. So from the most expensive one to the free one:
Photoshop – This is by far the best photo editing tool and you have probably heard of it. The price is something like $9.99 per month and if you want to invest in this type of software, just get Photoshop. It has everything you need and more, but you do have to pay each month for it.
Affinity – This was introduced back in the day as the Photoshop Killer (probably not officially) and in a way it was. It is very close in terms of features to Photoshop, even looks like it. I've used it for around two years and was very happy with it, but then switched back to Photoshop as I needed features in my work that don't come with Affinity. But for cutting and editing LEGO photos it is absolutely worth it. You can get it for a one-time payment, something around $60 - $70 (the price is keep showing in Bulgarian levs, but it should be around that). I recommend it highly.
GIMP – This program is one I used many years ago, and even then it was a great tool. It's free, comes with a lot of features, and you can do the same things to edit your photos like with Photoshop and Affinity. If you are starting and you don't want to spend money, download and enjoy!
For all three editing programs, there are tons of video tutorials on YouTube where you can become a semi-pro in no time and a real pro with just a little extra work.
6. Bonus Tip: Know Your Phone

I'm stealing Simon's title from his first lesson which is “Know Your Camera”. In this case, be sure to check if your phone has some hidden features. With my phone, I didn't even know that there were different settings for the camera, and my girlfriend was kind enough to share this knowledge with me. When I open the camera app and swipe from left to right, a few icons pop up and one of them says “Pro”. (Yeah, probably I am a pro photographer after all! :D )
From there I can change a few things like ISO (what Simon said about it!), brightness, and WB—which could be Weather Balance or something, I’m not really sure. I use the brightness option mostly to get more light. But this depends on the background too. With darker backgrounds, I don't need that much light, but with white, the brightness is almost at full, which for me is a setting around +2.0.
So if you do have the same type of settings (or any kind of settings) on your camera phone, check them out and test them in order to get the maximum amount of professionalism from your camera.
One last bonus tip! I have bought recently a small white lightbox—basically a cube with LED lights—where you can place your build and take pictures of it. I've used it for just two builds so far and, to be honest, my older method using my balcony worked a bit better. I'll test it more though. :)
Best of BrickNerd: Weekend Highlight - Article originally published November 27, 2021
Do you have any additional tips on how we can all improve our LEGO photos? Leave your thoughts in the comments below.
Do you want to help BrickNerd continue publishing articles like this one? Become a top patron like Marc & Liz Puleo, Paige Mueller, Rob Klingberg from Brickstuff, John & Joshua Hanlon from Beyond the Brick, Megan Lum, Andy Price, Lukas Kurth from StoneWars, Wayne Tyler, Dan Church, and Roxanne Baxter to show your support, get early access, exclusive swag and more.