Fake It Until You Make It: An Intro to Composite Photography
/So let me set the stage. You are in the middle of building something for an online building contest and you suddenly realize that you don’t have all the parts you need to complete it. Unfortunately, the contest is also one of those that require “physical bricks only” (no digital entries = sad face 😥). You search online for where you can obtain the parts you need… only to discover that they won’t arrive before the contest deadline, the parts are rare, there simply aren’t enough available in the world (thanks, to all the Bricks-and-Pieces [BaP] sheep and squirrel hoarders), or they would be too darn expensive to buy them. “What to do? What to do?” Not to worry. It’s about time that you were introduced to the darkroom arts of composite photography.

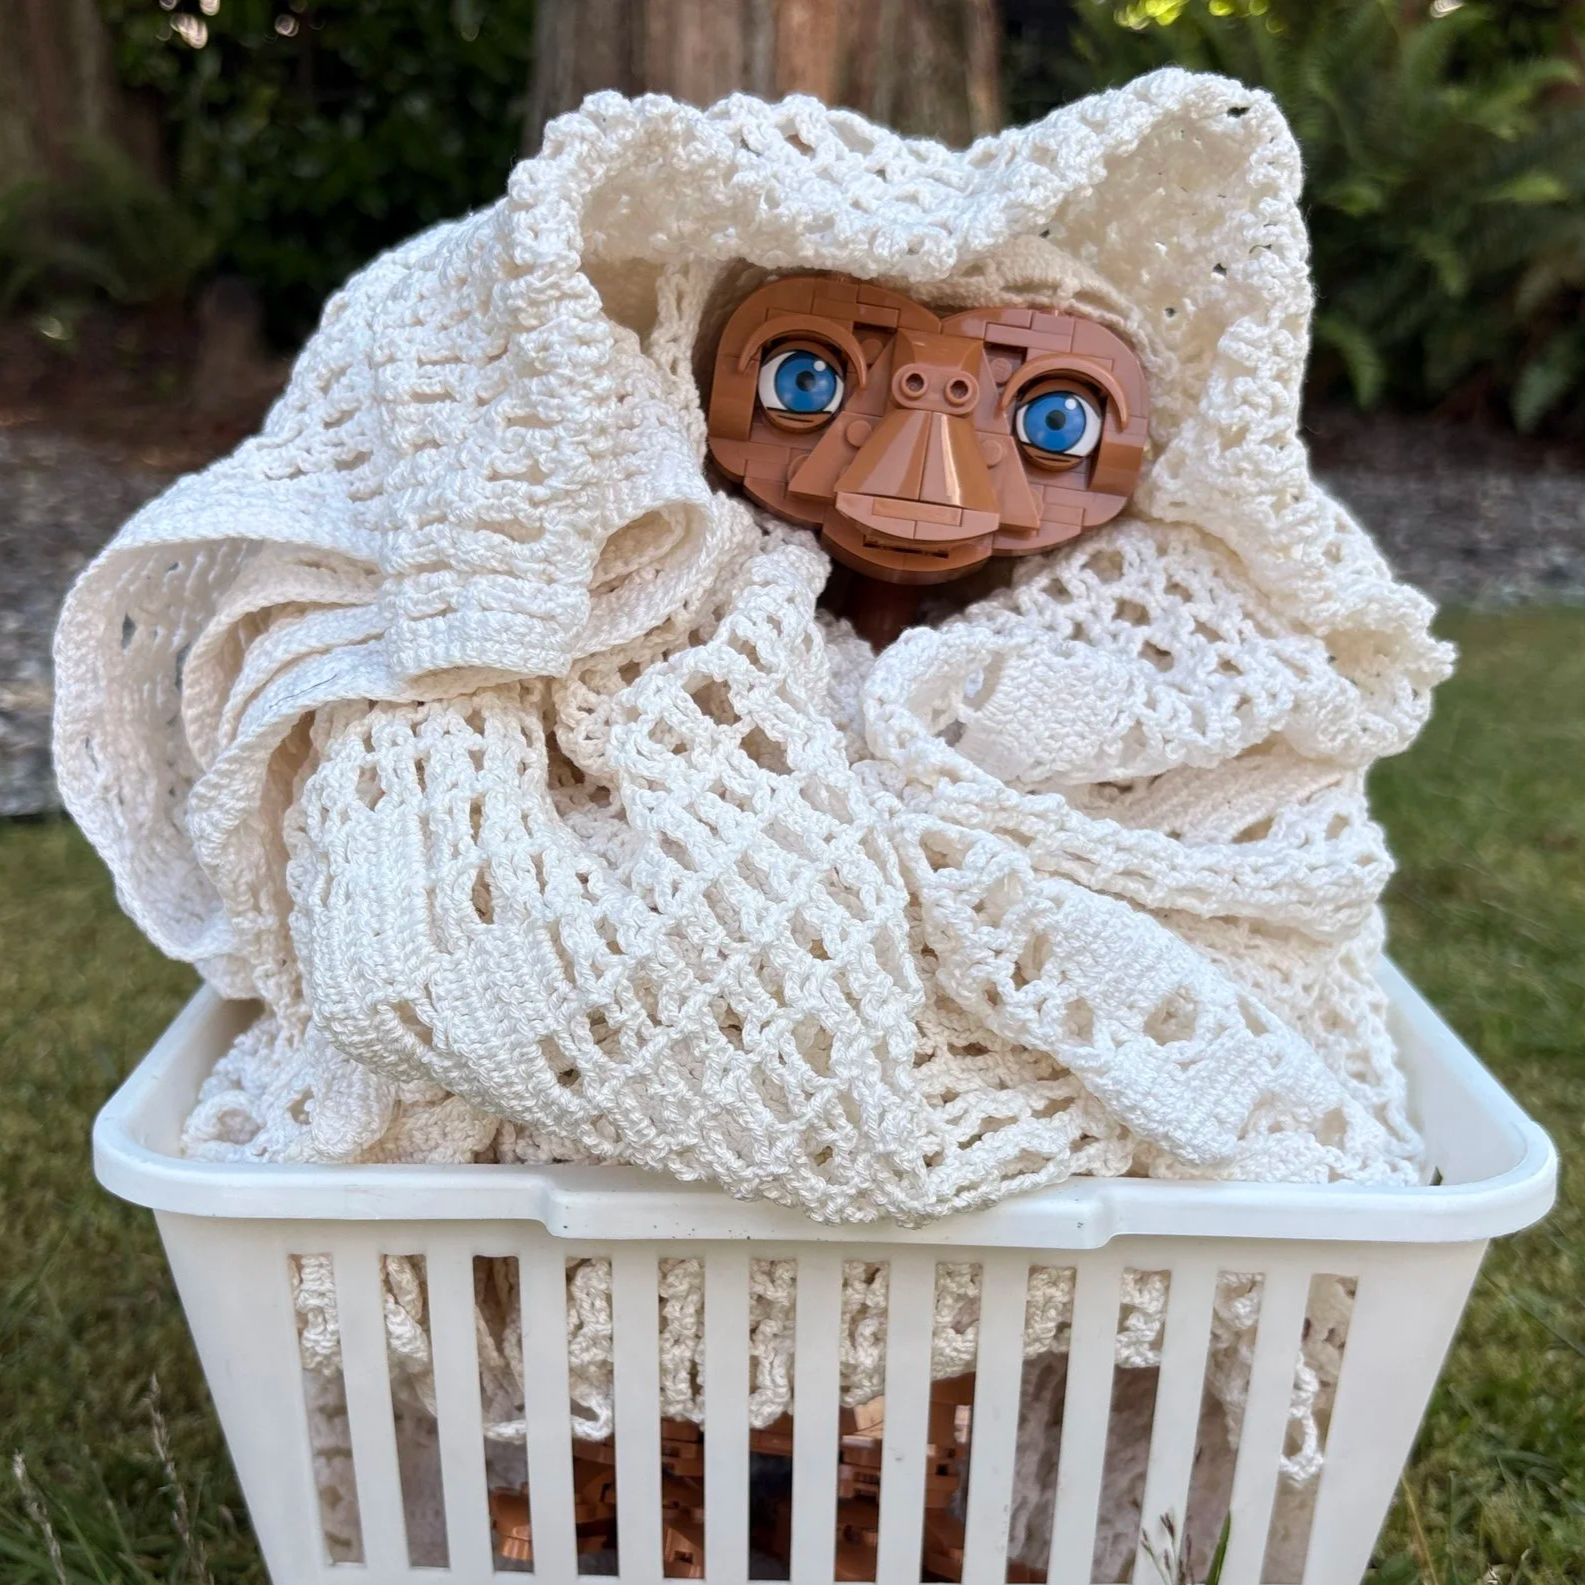
The Pied Piper of Hamelin - Only two mice were used in the creation of this image... Honest.
“Composite photography is the use or combination of two or more different images to create a new one. Although it sounds simple, the creation of a new image using the composite method is a process that can take hours — it’s something that requires constant practice in order to create believable compositions. But believe me, it’s worth it.” - Fares Micue, Adobe Blog
The Flickr Effect
When the LEGO building community moved onto Flickr to share our MOC photos in the early 2000s, there is no doubt that it improved our collective presentation skills exponentially. Gone were the days of taking MOC photos on bed sheets and having those harsh flash-shadows in the background. The Flickr photography community helped us to raise that presentation bar through the cross-pollination of photography and editing techniques being used by so many talented photographers. There are so many magical images on Flickr to be “Explored” that leaves one to wonder, “How did they do that!?” Fortunately, many of the photographers published guides or provided us with the answers when we asked politely.
Composite imagery is one of those photography techniques that everyone should consider exploring. Bart has already shared one type of composite image inspired by Flickr trends: the Year-in-Review MOC Collage. However, there are plenty of others types of composite photography that if done correctly, can create some wonderous images. For many, the usage is so subtle that you wouldn’t even realize they were composite images at all, much like high-quality digital renders (see, they aren’t the only ones having all the fun). Let’s look at some examples.
Learning to Fly
When I first joined Flickr, I “leaned in” hard into the photography side of things for a few years (this was well before my LEGO collection was large enough to build anything decent coming out of my Dark Age). One thing that really captured my interest was seeing the photography trend of “floating people” as if they were weightless or flying through the air. I just HAD to figure out how they did that and try to replicate it.
How they did it was, you guessed it, through the use of composite photography. Are you ready to see some extra “nerdy” photos (with an extra helping of “cringey”)? Well look no further than the below montage of me learning to fly:


Those efforts above got me started into the composite image photography and editing techniques that I now apply to so many of my MOCs… and quite literally getting them to fly by editing out their display stands and setting them free in the skies above.
The Platypus


MOC-in’ in the Real World
The next stop on my MOC photo editing journey was blending my MOCs into a real-world background. If you don’t have the luxury of bringing your MOCs to do on-location photoshoots or their scale won’t work in a real-world setting (like grains of sand looking like boulders at minifig scale), the next best thing is to blend them into an existing photo.
In selecting an appropriate background image, I try to find ones that have the lighting and photo angles to match what I can replicate in my MOC shooting set-up. If you are shooting your MOCs in diffused light (i.e. without shadows), then it is best to find the scenery to match vs. a scene on a bright, sunny, shadowy day. It is also important to photograph your MOCs on a background color that matches the scene you plan to blend into. Here are some examples of MOCs I have blended into real-world scenes.
The Intrepid Steam Engine


Rhapsody Sailboat


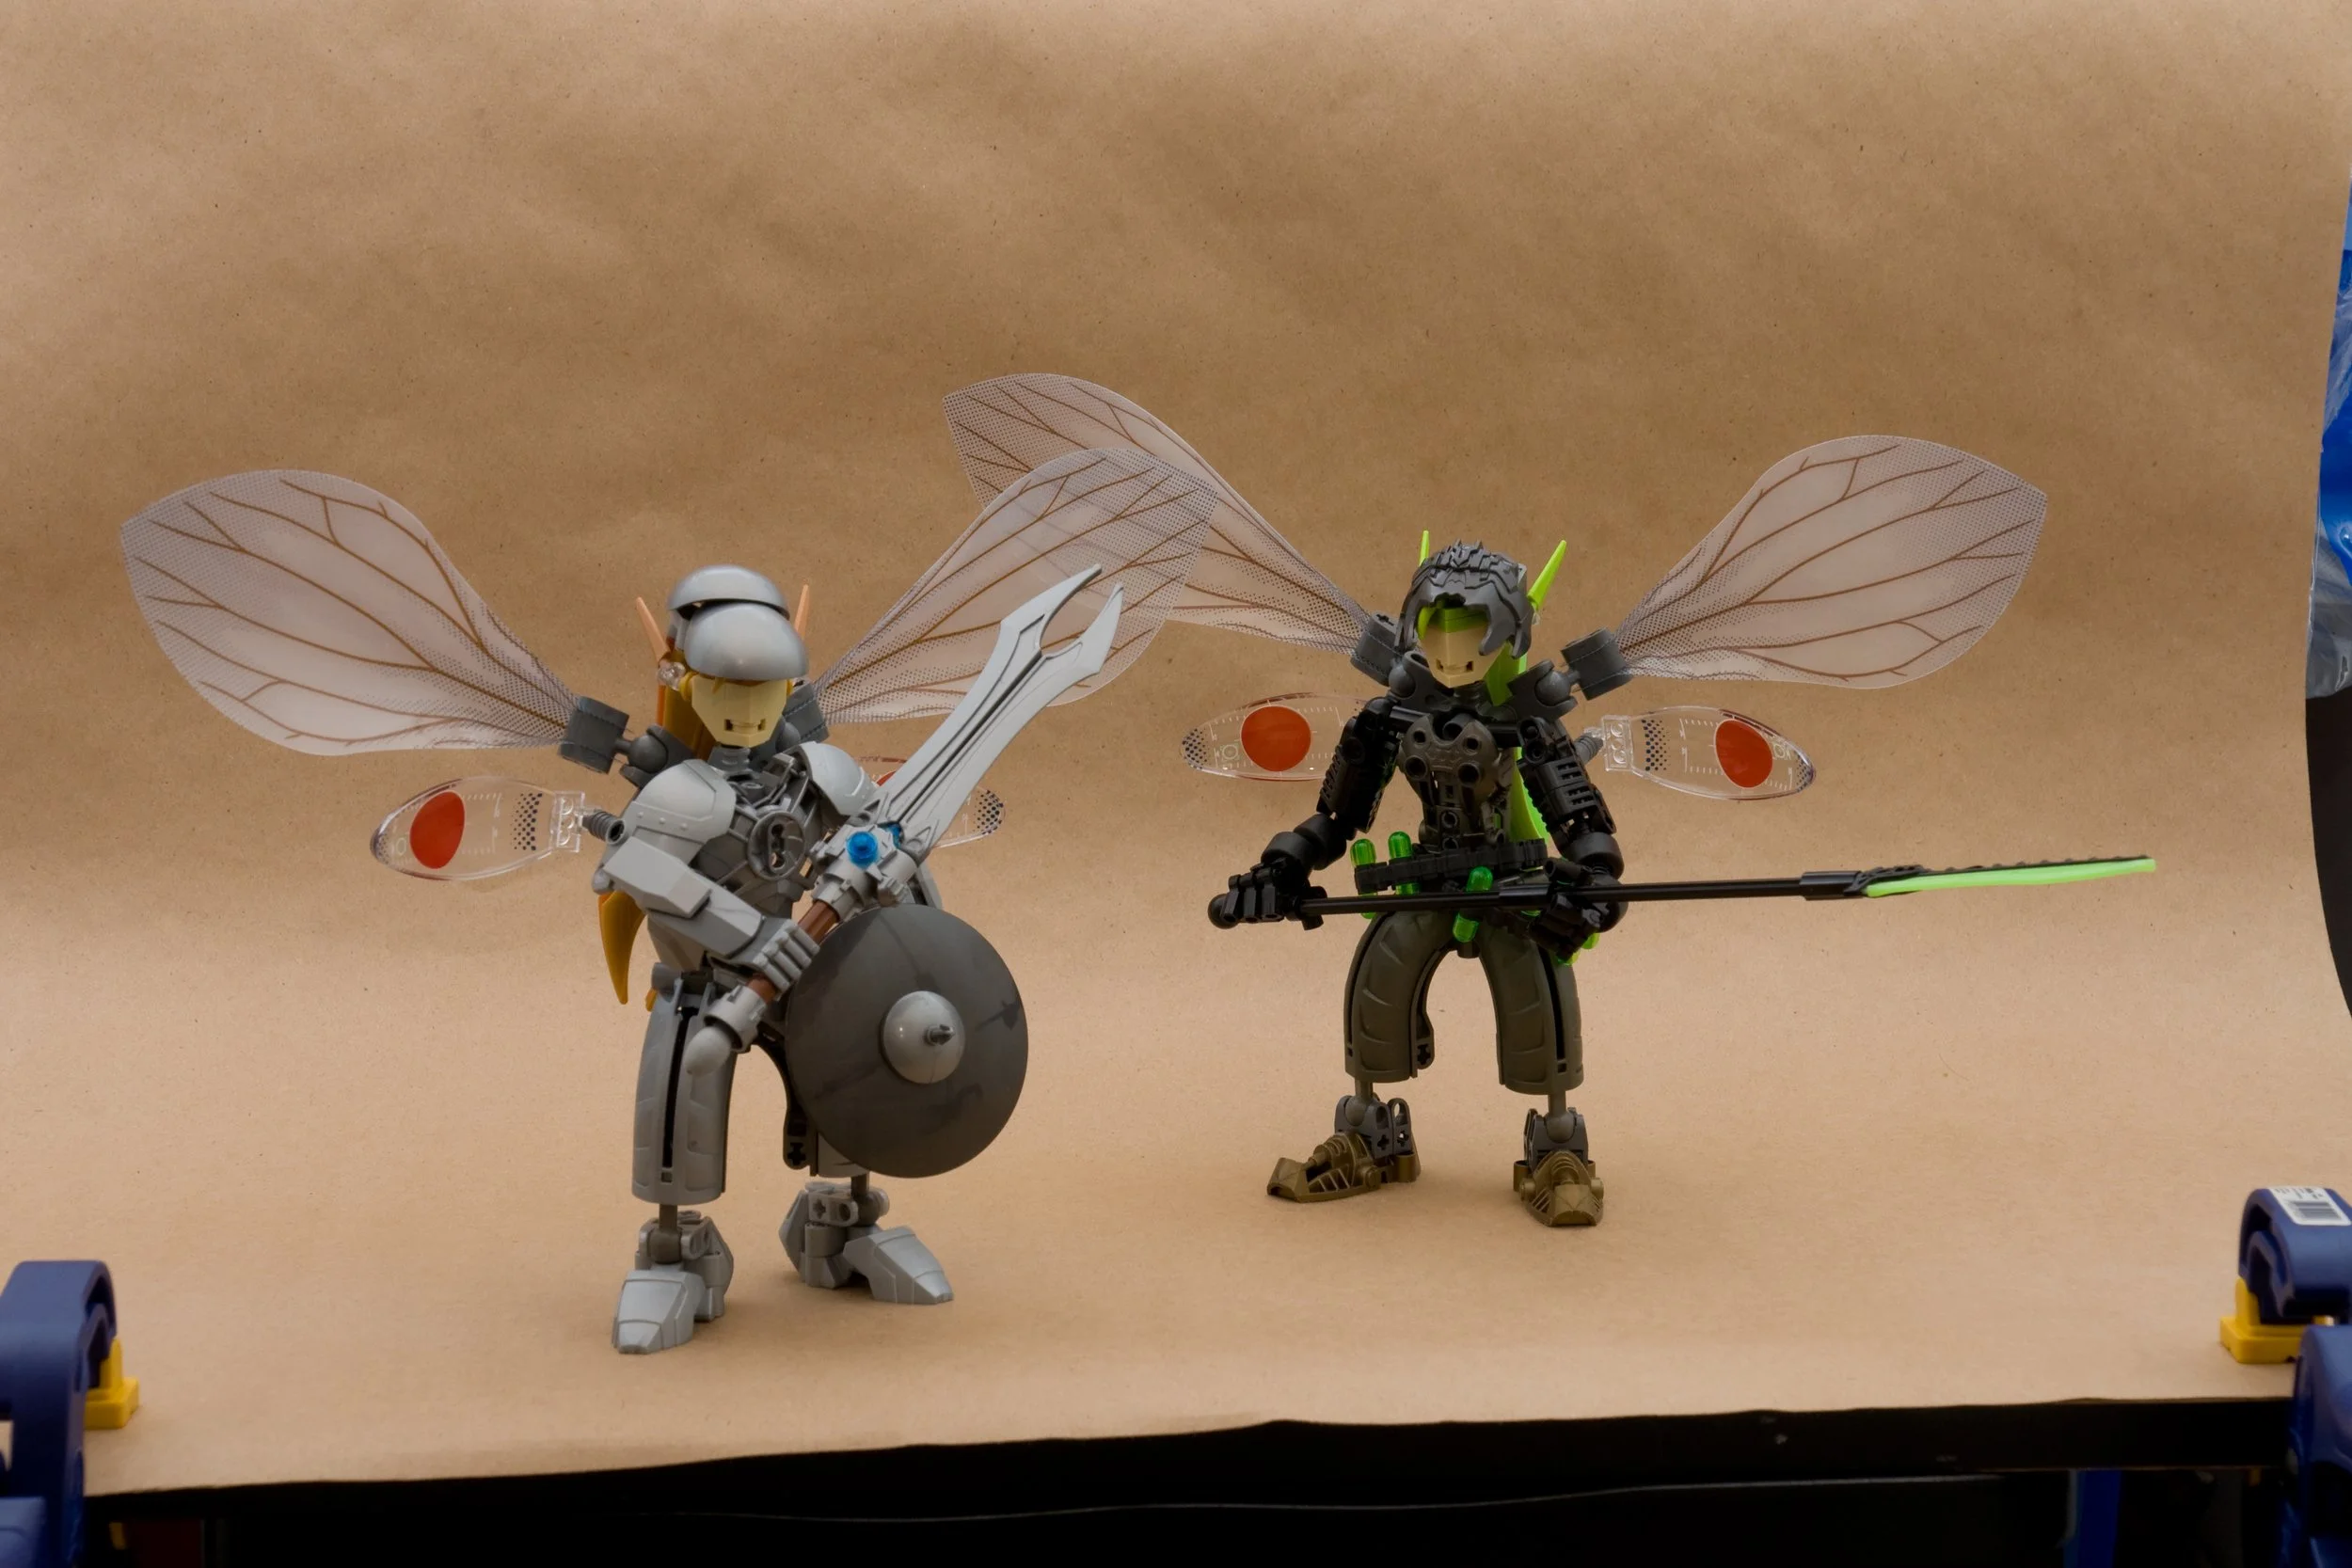
Battle Faeries


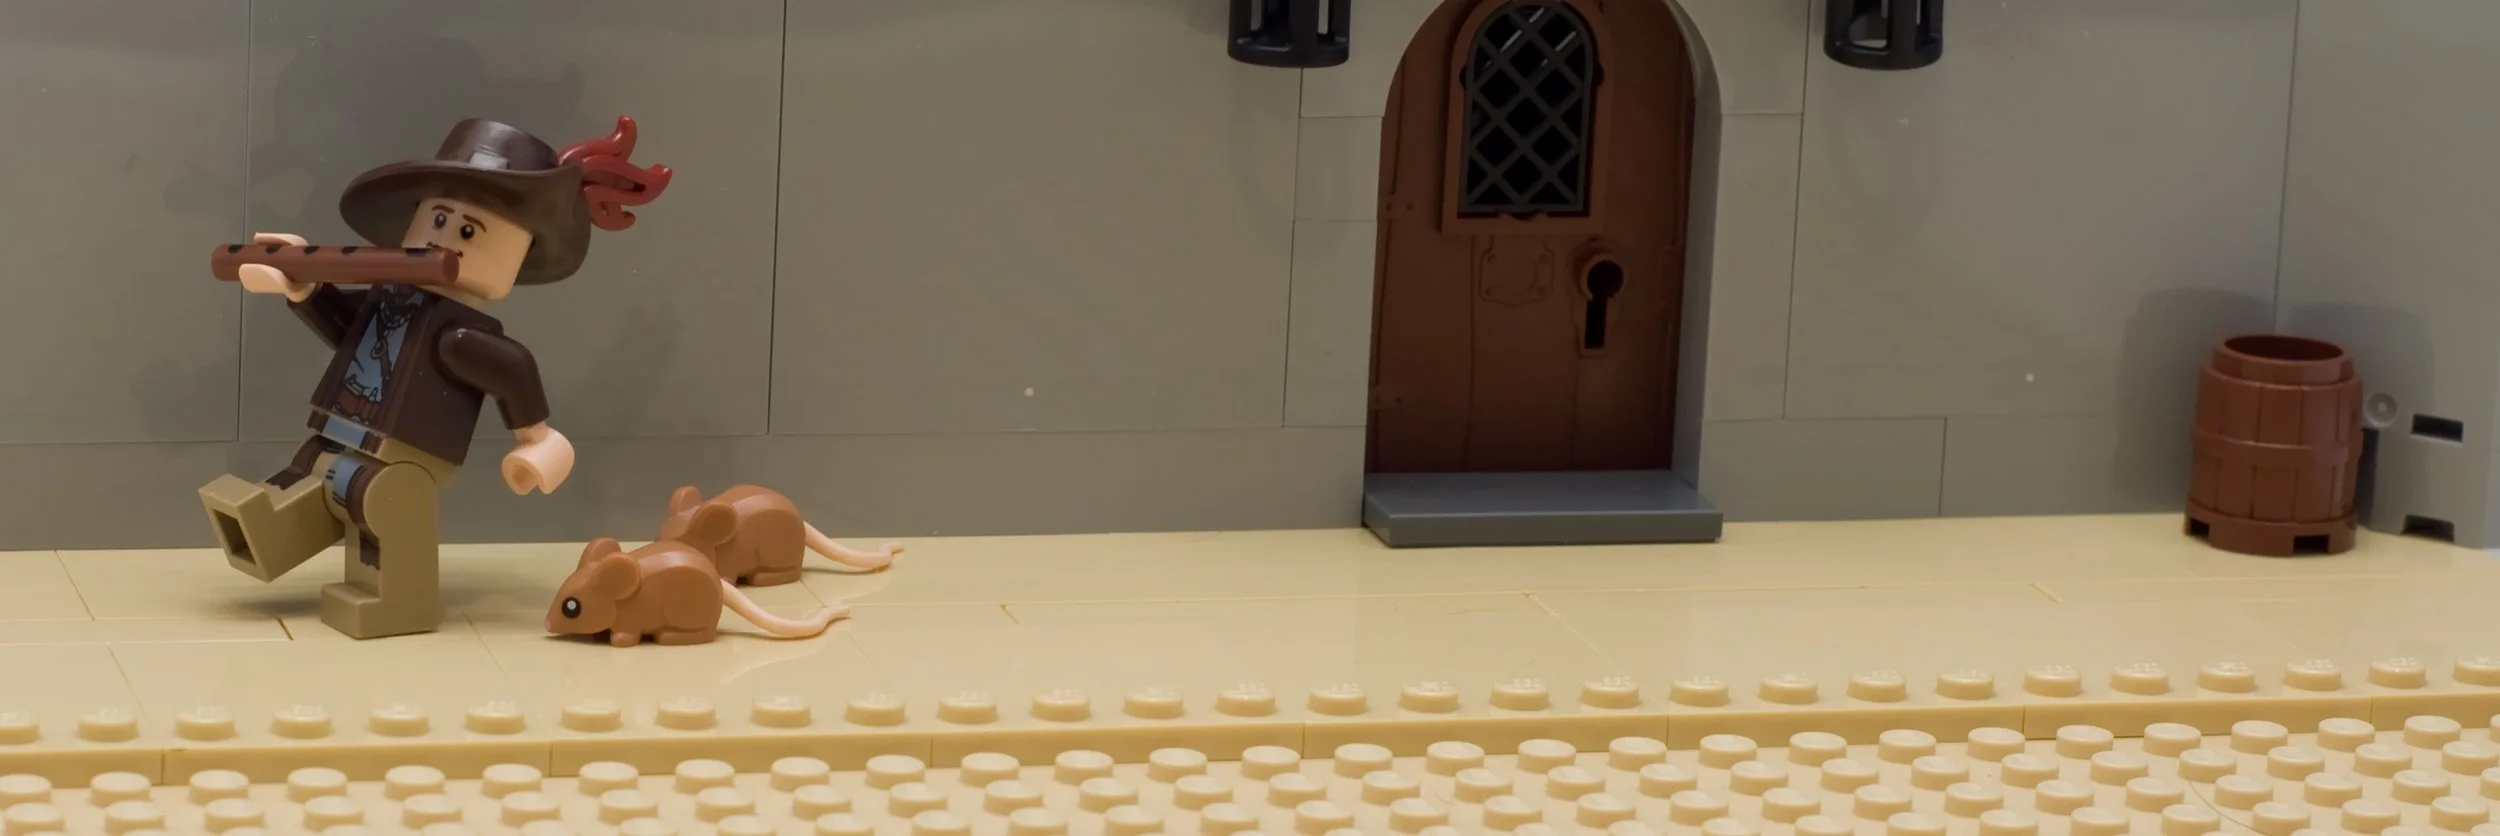
Stop. Hamelin Time.
In the example of the mice in the banner image at the top, every mouse you see was placed exactly where you see it in the photo… just not at the same time. For the Rogue Bricks “Rogue Olympics” contest, I wanted to create the Pied Piper of Hamelin scene using the mouse that comes with the Elephant Girl collectible minifig because of, well, reasons. It turns out that the mouse Simon affectionally named “Rolli” is relatively rare as it has not been included in any other series/sets as of yet. I only have two of them myself.
I might have been able to order the quantities needed across multiple BrickLink sellers, and I was even accused of doing so. However, I didn’t feel like I needed to be one of those “critter hoarders” that are running rampant these days (I hesitate to think what people are really doing with all those sheep they order on BaP… that is, apart from giving them away as BrickNerd contest prizes). The reality is that the lead image of this article was created using composite photography.
Keepin’ it real.
Full confession time. There have been quite a few other times when I did not have enough parts on hand and used composite photography to finish the job. When competing head-to-head against digital builders, it’s only fair. However, I do not recommend removing/replacing parts on the MOC itself, as that is hard to do while still keeping everything else in the exact same place. Sure it can be done, but it leads to even more advanced techniques on getting everything to line up correctly when you do unknowingly bump things. Let’s look at another example.
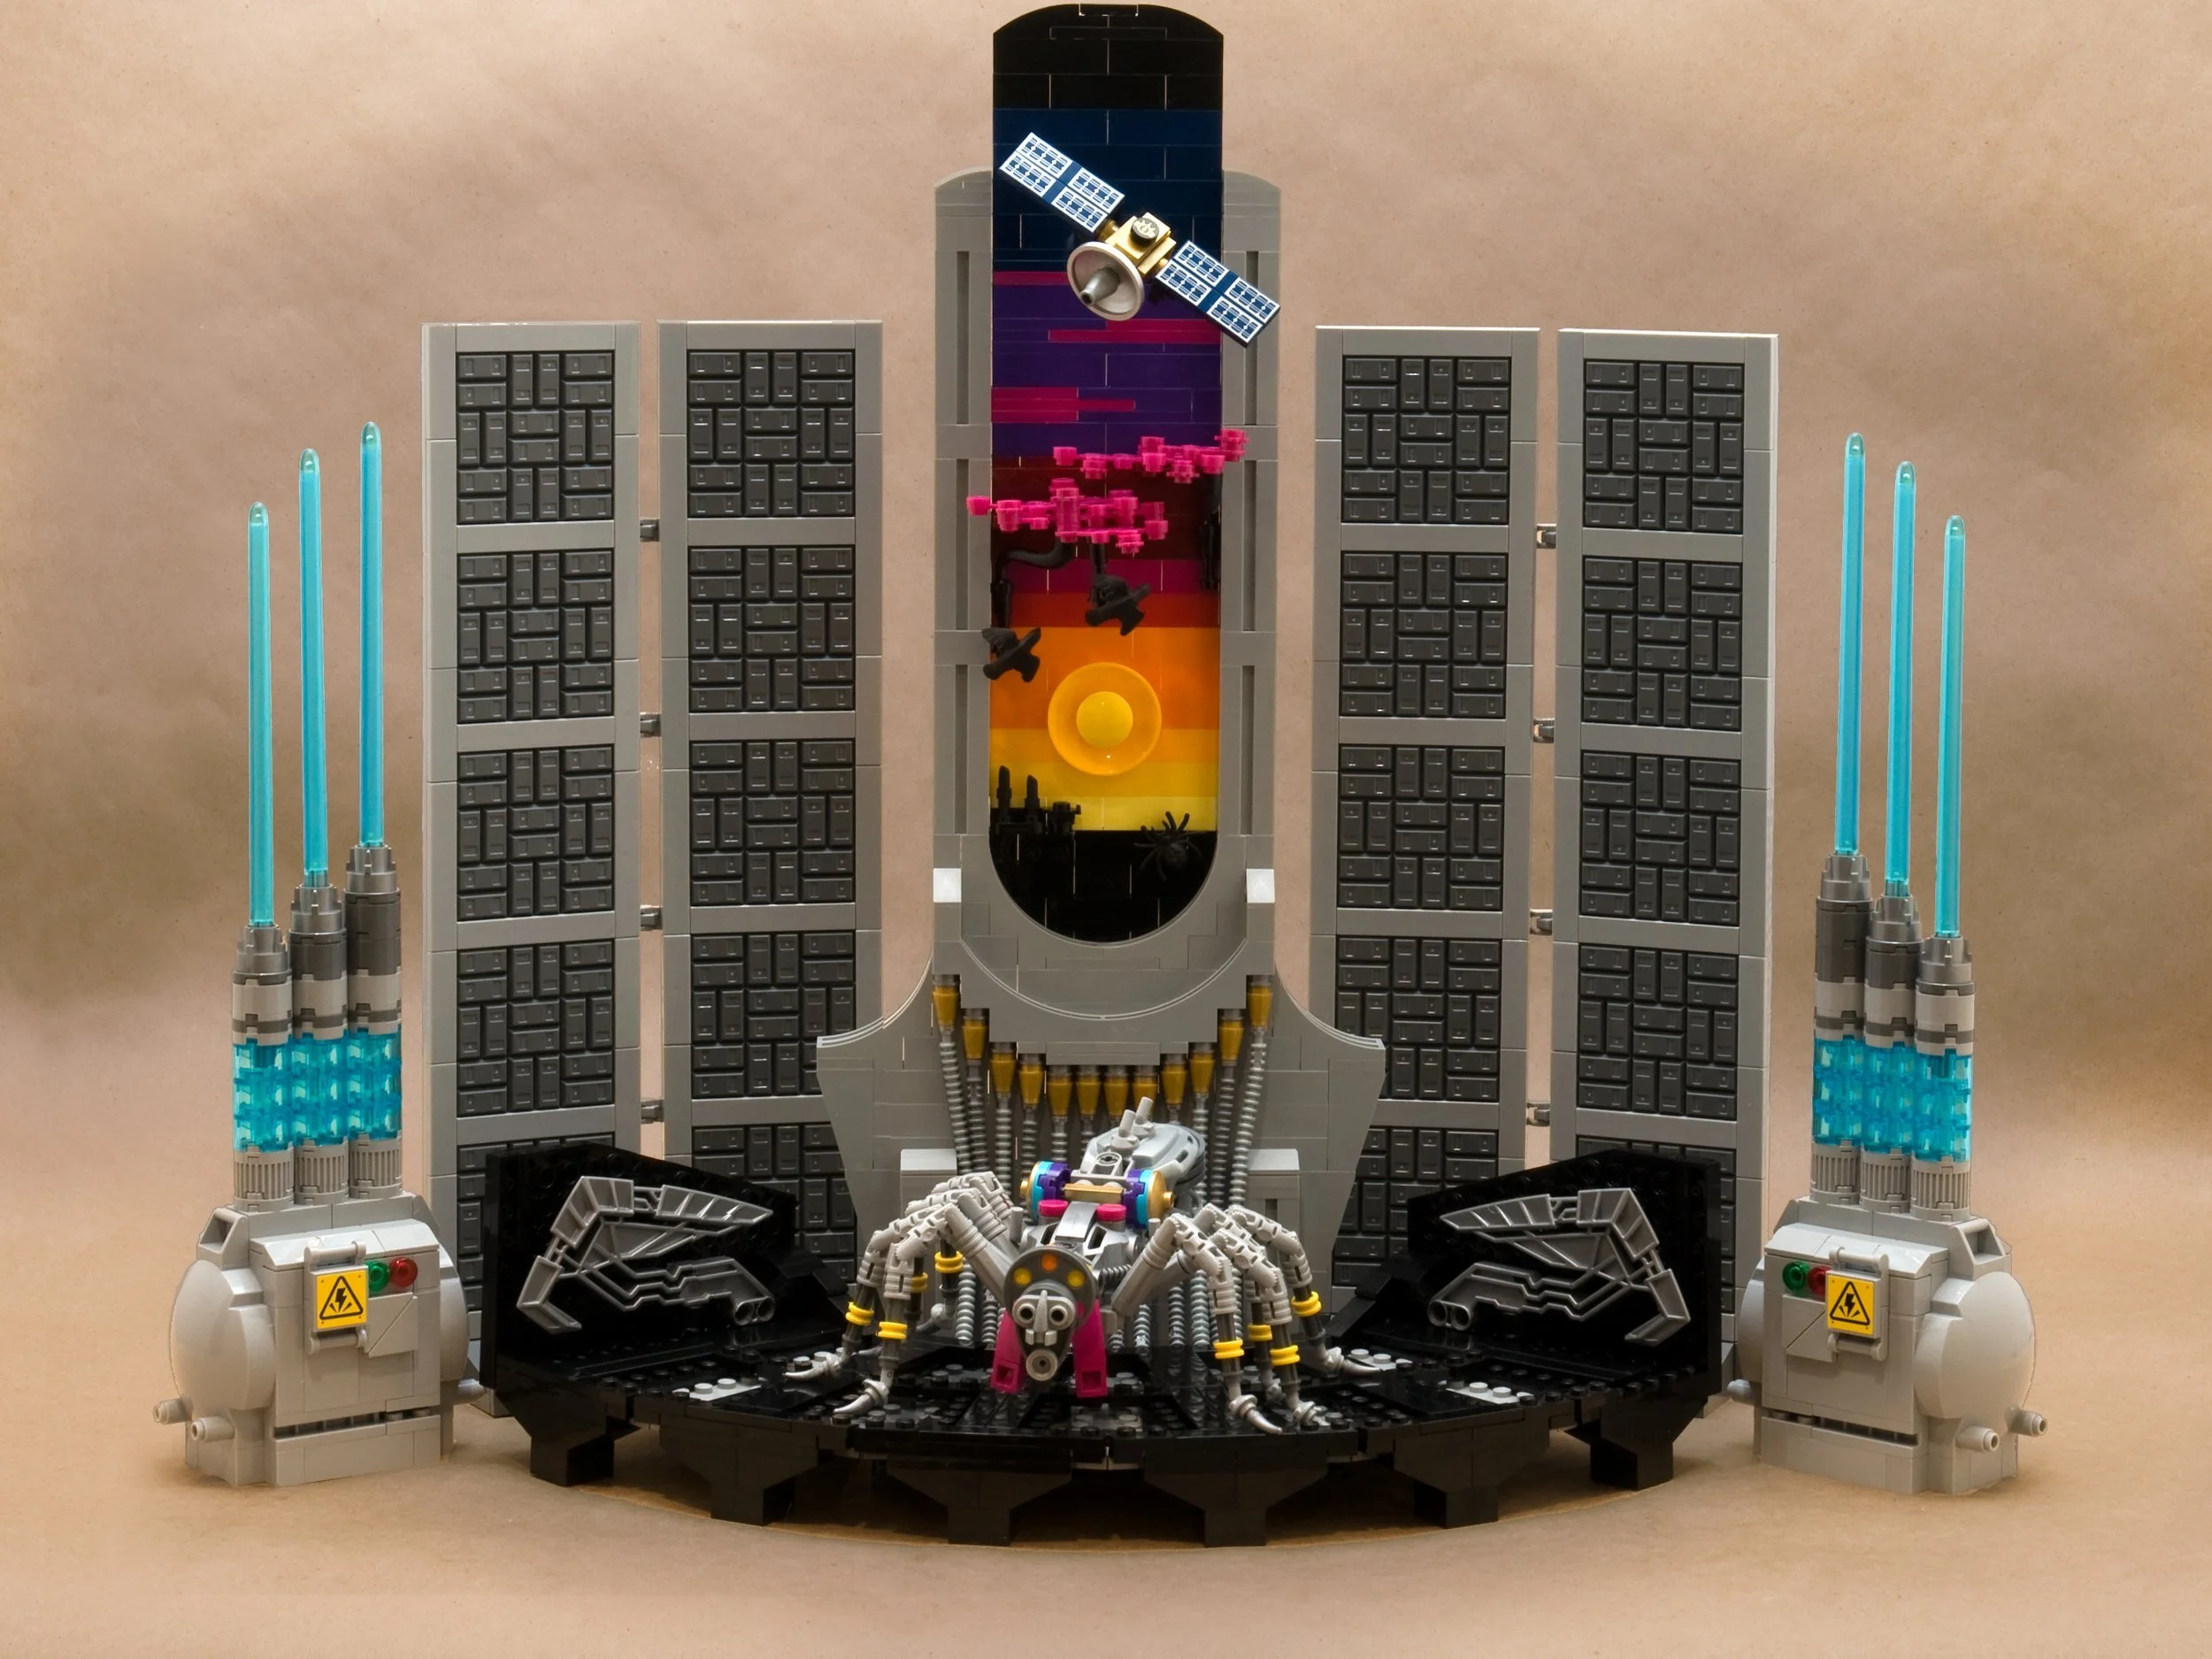
The Cyber Snake
I did actually have all those blue Vahki head pieces you see in the main image, but the silver parts along the back I only had three on hand. There was no way I could get the rest of them before the BIO-CUP round deadline. So I moved them over and over again, making a composite image out of nine separate photos. Take a look at the collage to see them “walk” down the back of the snake in each photo.

Valkyrie and “The Way of the Gods”
In the two examples below, only had one Valkyrie and one large tree. I moved each around in their respective scenes and blended them into the final image.


Anansi, Nyame and the World Wide Web
This last example is of my most recent build, for the current Afrofuturism contest on LEGO Ideas. Somewhere in the fine print, it states all photo submissions on LEGO Ideas need to have an aspect ratio of 4 wide x 3 high. In my original image, I shot more like 3 wide x 5 high. I thought I could just add black borders along the sides of it, but it was soundly rejected by the site’s photo upload algorithm.
“Ok, fine.” I went back and modified my MOC to make it wider… through the art of composite photography! I took two additional images, with the large side panels placed on one side and then on the other. I merged them together, and “Whah-Lah!”


The Basics of Composite Photography
I suspect that after seeing the results above, quite a few of you just had an “Aha!” moment and realized that maybe you aren’t so part limited after all. Here are a few tips and tricks I’ve learned from my time creating composite images that you may find useful.
The basics of what you need:
A camera that you can manually lock in the settings to keep each photo you take consistent with the previously taken.
Tripod to hold the camera steady and in the exact same place.
A remote shutter option is also helpful to keep the camera steady and ensure it’s not bumped when pressing the shutter, especially if you are using your phone’s camera.
Photo editing software of some kind that lets you create and edit layers (Photoshop or GIMP are two options).
Once you have everything set in place and you are ready to photograph, you will need to take at least two photos: One taken of the background by itself and one taken with the subject placed into the scene. Then within your editing software of choice, you will need to have each photo become an independent layer – as if you were placing one physical photo on top of the other. Then you erase/edit/mask-out the portions of the top image to expose what you still want to see in the image underneath.
Tips for Taking and Selecting Photos
Color Camouflage
For blending into real-world scenes, it is best to photograph your MOCs against a backdrop with a color tone that matches the image you are going to add it into. For example, if you a going for a deep-space scene, then shoot the MOC on a dark background. This is because when you trim out the MOC in an editor, there will inevitably still be a focus blur at the edges that looks like an aura in the color of whatever was used in the background. (This example is my Nousagi Walking Tank.)


Follow the Light
Always consider the lighting and shadow angles. They have to be consistent across all of the blended images to make the final composite image believable. Shadows and lighting are the hardest things to adjust after the fact.
Two’s company… and can also be a crowd
If you plan to raise an army of mice like I did, it is best to have at least two. The shadows of one falling onto the other is what will make the image more believable. It’s very tough to add those shadows after the fact (perhaps a topic for a future article).
Tips for Photo Editing
Blur the edges
If you are going to digitally cut out an image to superimpose over another, be sure to blur the edges. Otherwise, it will stand out (and not in a good way).
Blur/fade the background
When it makes sense, you can also blur the background to help with that blending. I have done this mainly for images where I wanted to convey motion and have used a directionally applied motion blur (see the train composite above). If you find that your background image is too busy or distracts from the MOC, then that is a perfect time to try blurring it or fading it. In the example of the Battle Faeries above, I chose to fade the forest background (making it semi-transparent) to help minimize distractions from the MOC.
See-through
Similar to the fading example above, I sometimes make the layer I am editing temporarily semi-transparent so that I can see what it is underneath that I will be exposing. That helps guide your hand as you digitally erase parts of each layer.
Now, Go Forth and Multiply!
As mentioned in the beginning, creating a believable composite image can take just as long (if not longer) than the actual build itself. This technique is not a shortcut by any means, but more of a way to extend the resources that you have available. I would rather have all of the parts I need on hand in the first place then take a single photo and be done with it all.
Photo editing tends to be very time-consuming to get right, and many times I reach a point where I say “Ah, that’s probably good enough.” If you go back and look closely at some of those images, you may see where I got lazy with trimming around the edges or something. I mean, if I spent too much time fussing with it, then that would leave me even less time for building the next thing (or writing my next BrickNerd article).
Obviously, all of this only applies to photo imagery. When it comes to actually displaying your LEGO builds in person at a convention, you better keep those fingers crossed that those parts you ordered will finally arrive on time… although, I guess some actual smoke and mirrors might also work.
Best of BrickNerd - Article originally published February 18, 2022.
Have you ever used photo editing to enhance your physical MOCs? Leave your thoughts in the comments below.
Do you want to help BrickNerd continue publishing articles like this one? Become a top patron like Paige Mueller, Rob Klingberg from Brickstuff, John & Joshua Hanlon from Beyond the Brick, Megan Lum, Andy Price, Lukas Kurth from StoneWars, Wayne Tyler, Dan Church, and Roxanne Baxter to show your support, get early access, exclusive swag and more.