
For Fish Sake! A Deep Dive into the LEGO Tropical Aquarium
/Today we feature a guest article from one of BrickNerd’s patrons Liz Puleo. She shares her experience building and modding LEGO Icons 10366 Tropical Aquarium.
Tank You Very Much
Two fish are in a tank. One said, “Do you know how to drive this thing?” and the other said, “Ahhh, a talking fish!” If only fish could talk, they’d probably tell you a better story about this tank than I will.
Hey there, BrickNerd readers! It’s been a while—two years, to be exact. While LEGO hasn’t disappeared from my life completely, it’s definitely taken a back seat. So when my friends at BrickNerd reached out and asked if I’d be interested in another set mod (read: rip apart physically and metaphorically), of course I said yes. Who doesn’t want new LEGO? Especially after having so much fun with my first aquatic review, What the Shell?


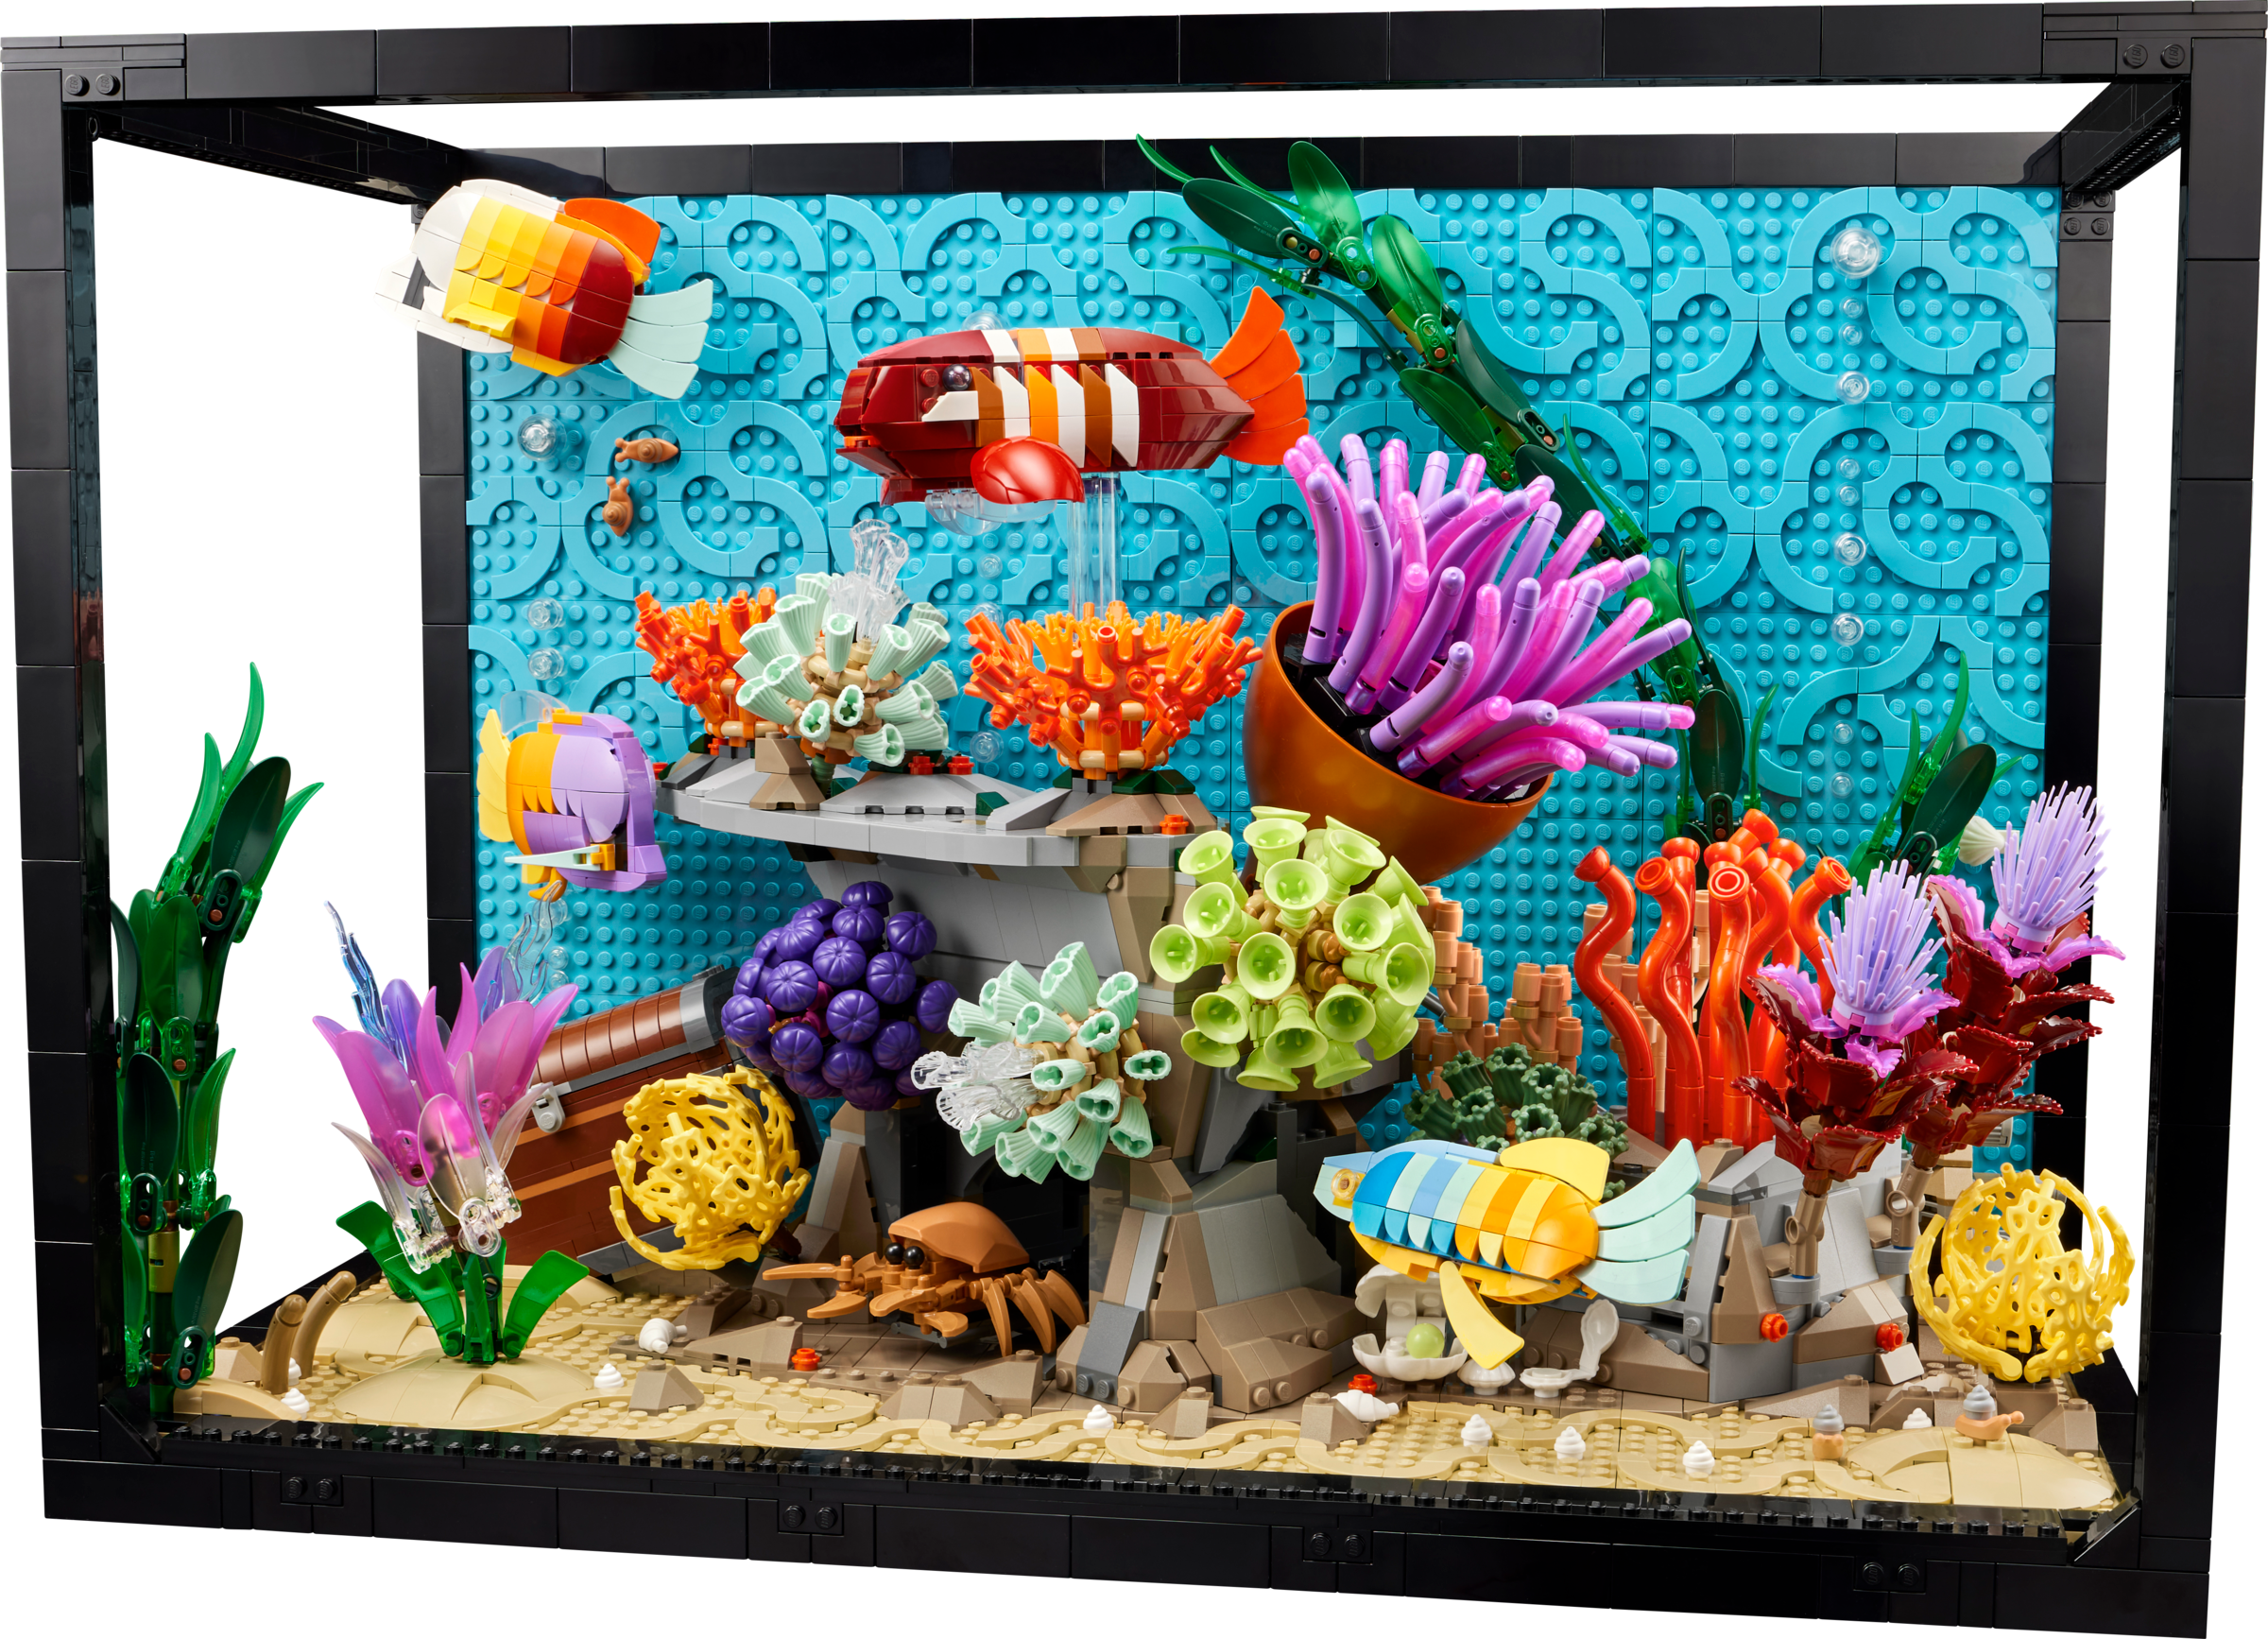
While I’ve attended a few LEGO events and even done some guest appearances, it’s been a long time since I’ve done a full deep-dive review. It seemed like the perfect time to jump back in, so here is my modding journey with set 10366 Tropical Aquarium.
A Whale of a Box and a Build
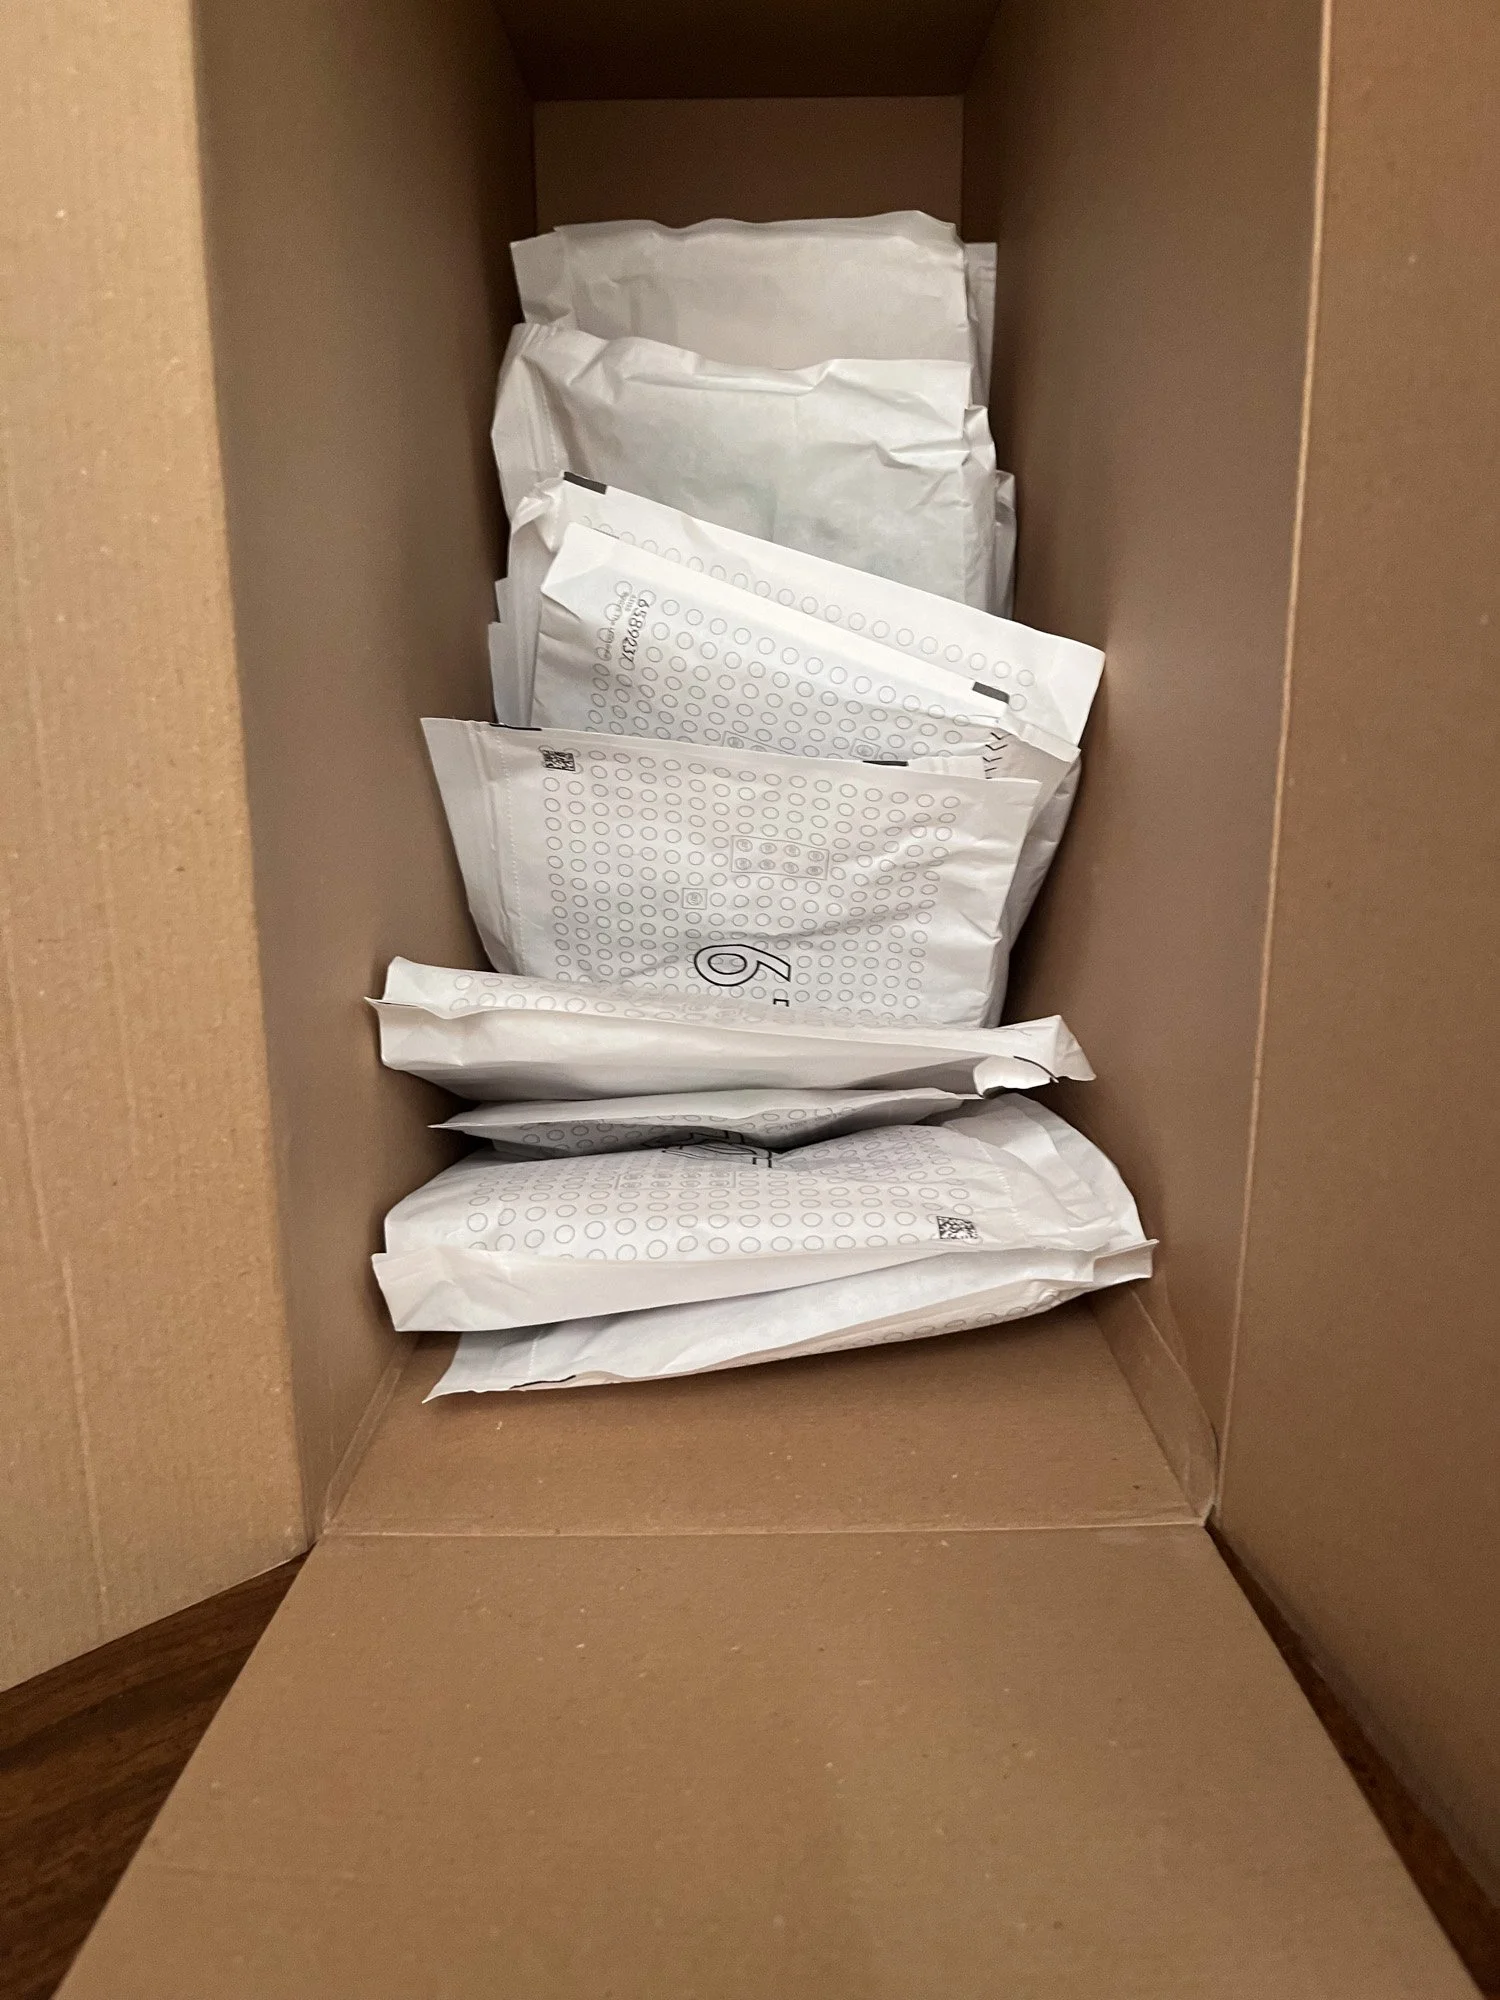
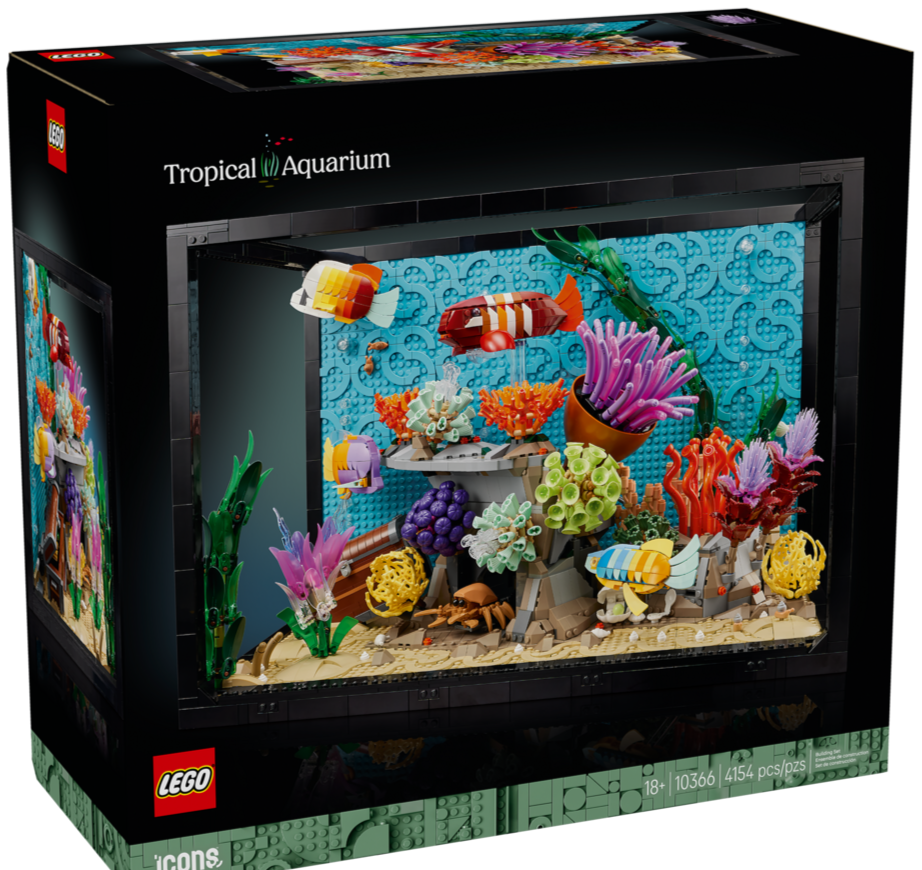
This set arrived in a BEAST of a box. (pictures) I’d hoped for a long weekend to build it, but alas, shipping had other plans. That left me just two weeks to build, disassemble, experiment, and write about this absolute monstrosity of a set.
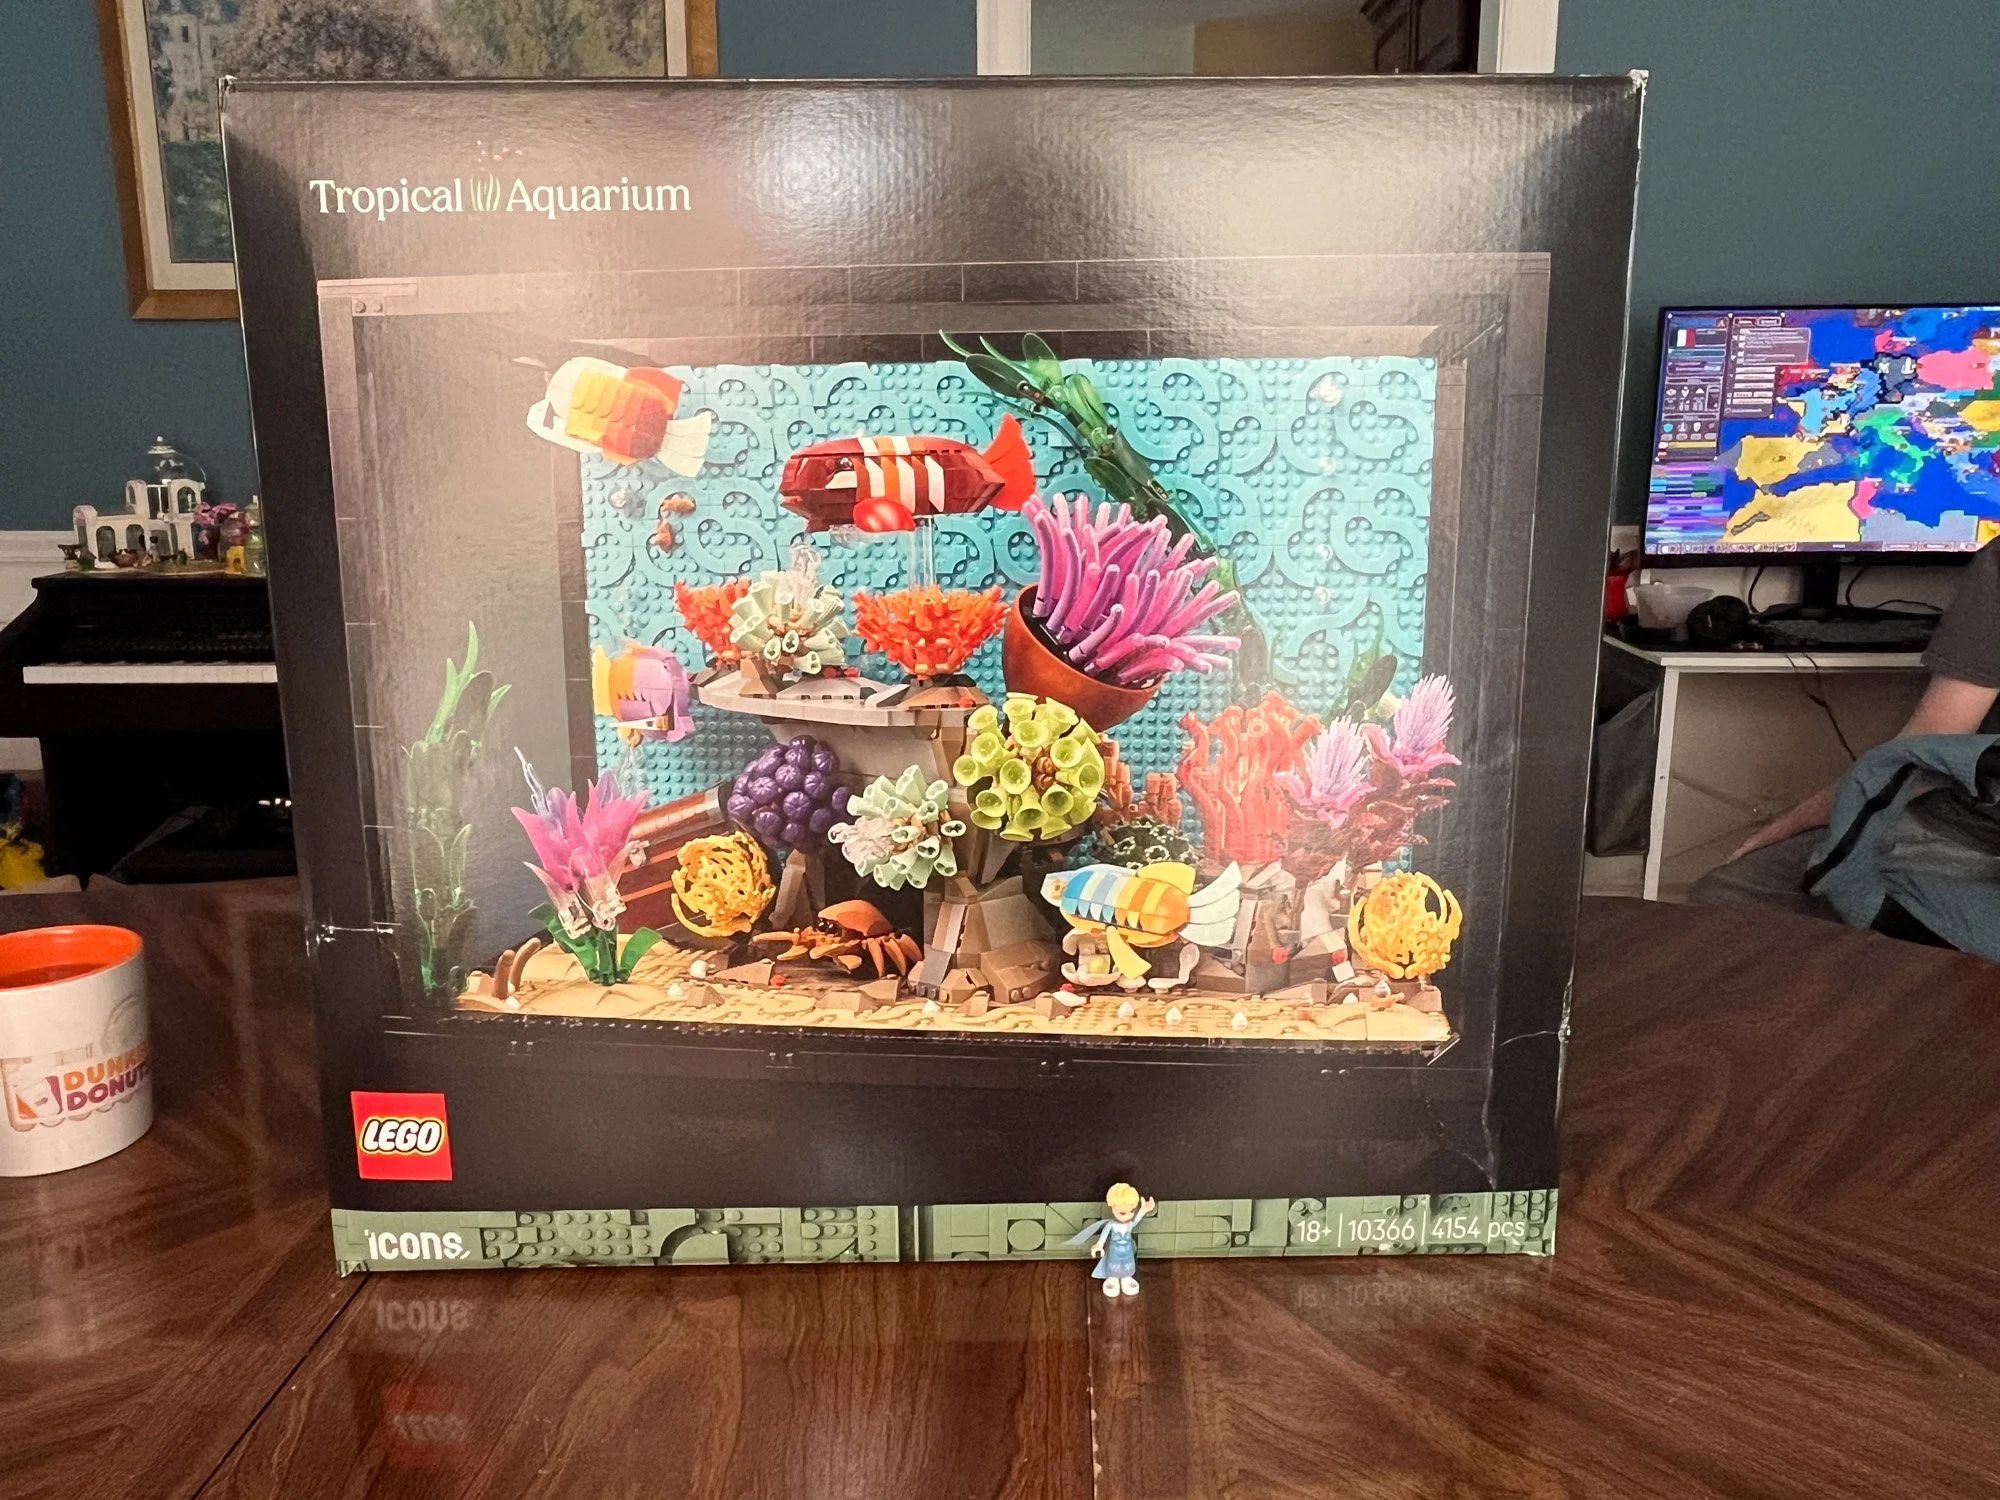
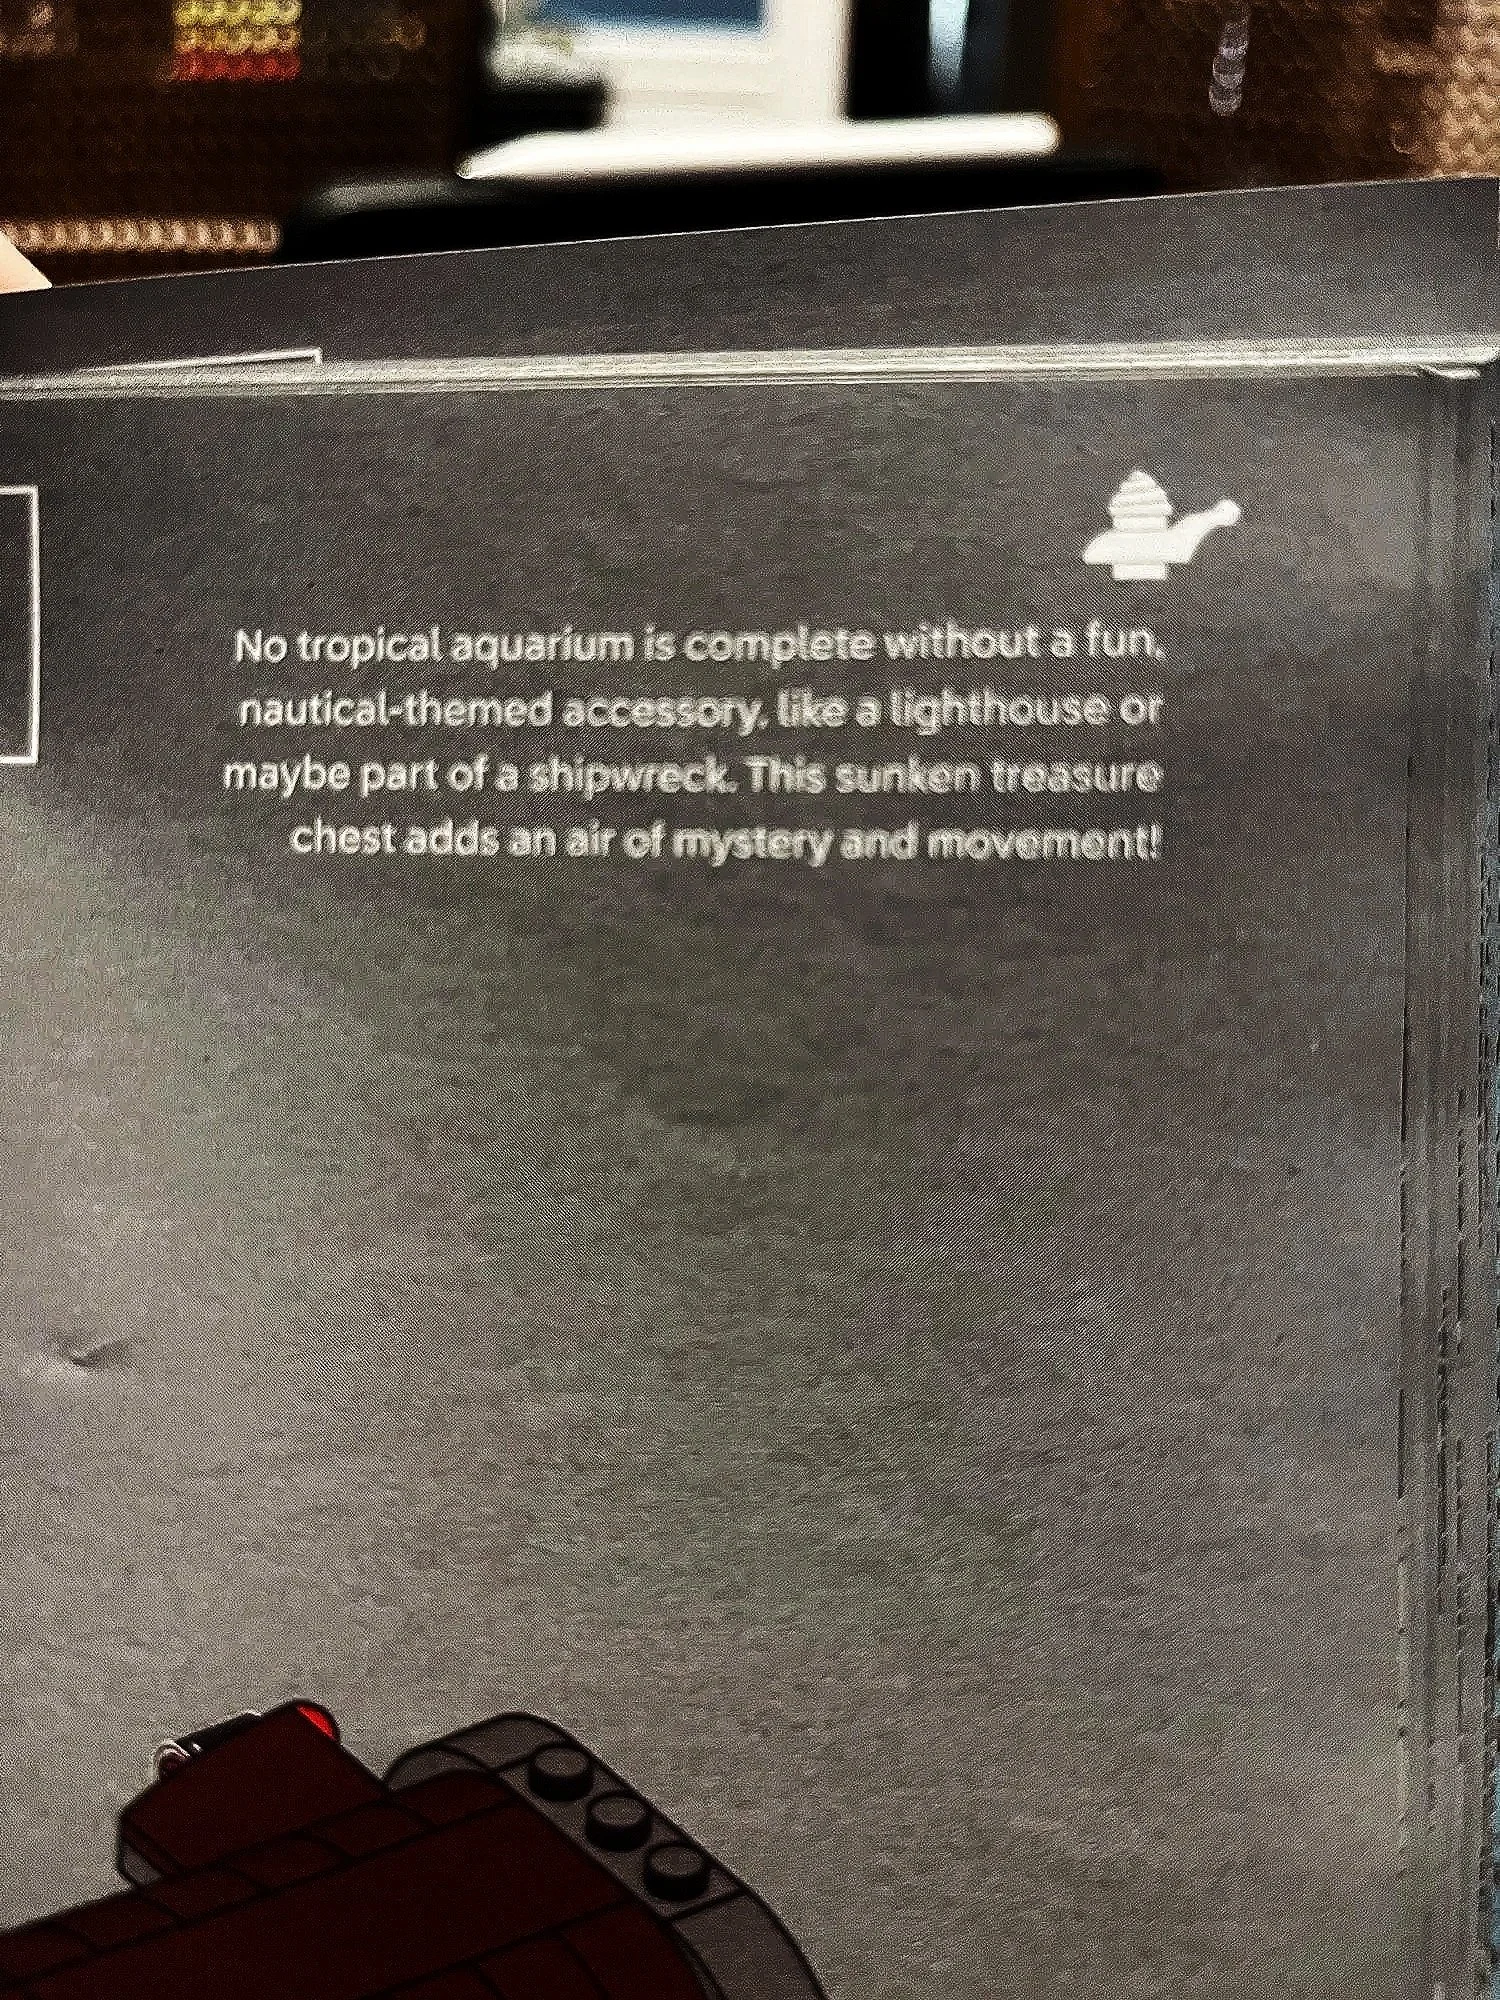
Upon opening, I was delighted to find paper bags for the first time—hooray for sustainability! Less delightful: a single, thick, massive instruction book. Because this set was sent out by LEGO before it was available, there were no online instructions yet, which meant I couldn’t share building duty with anyone.

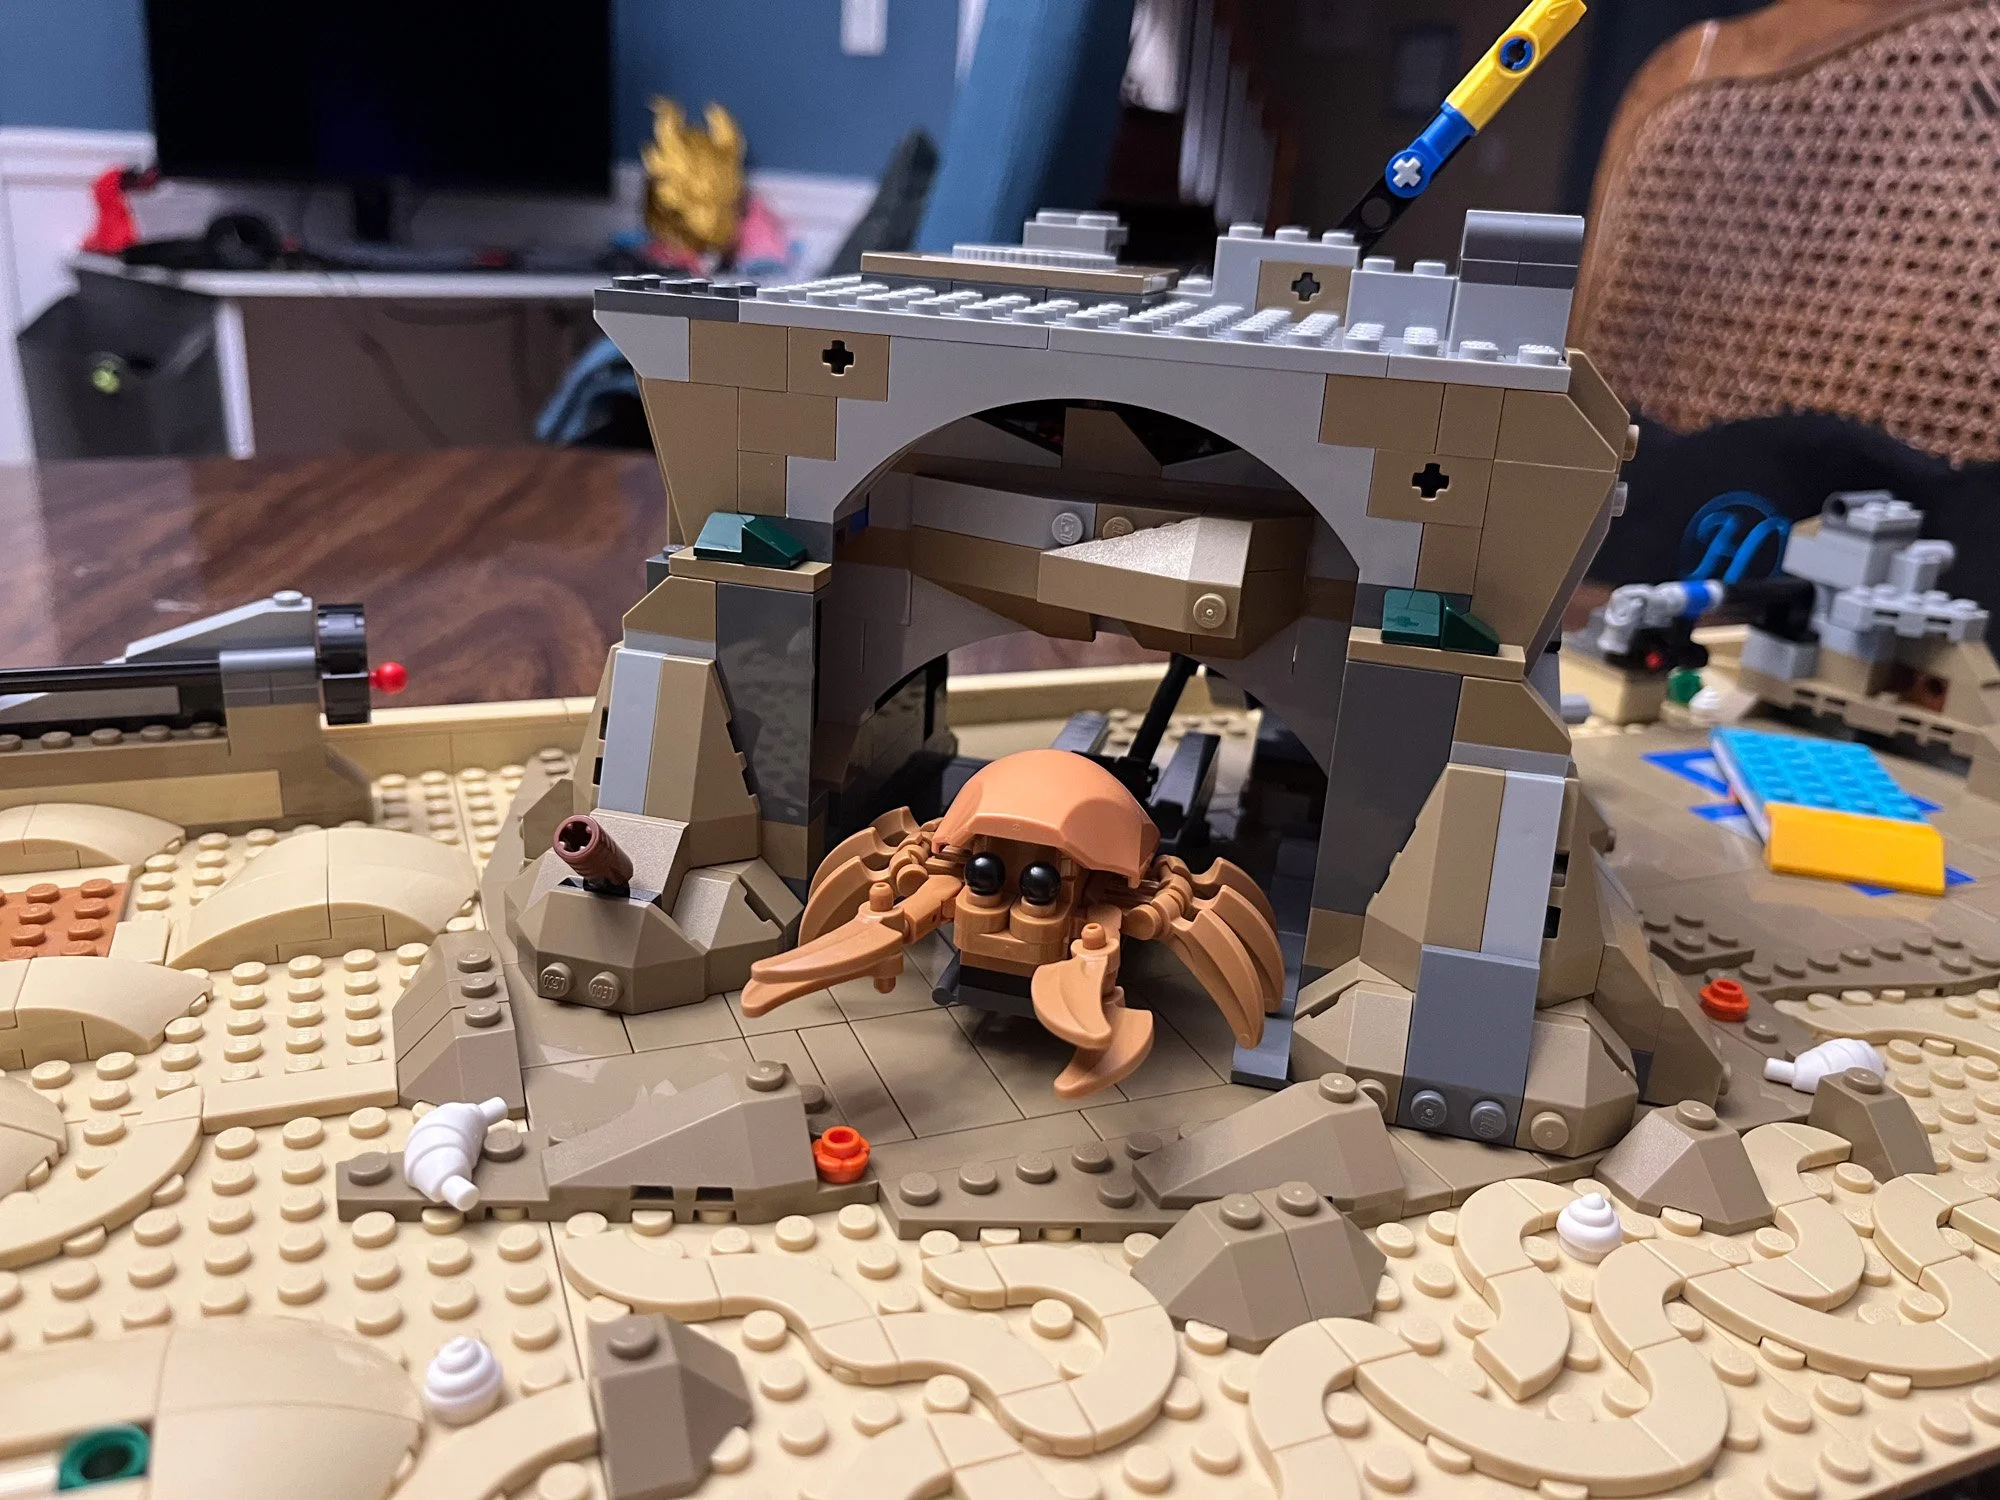
When opening the box, I also spotted some of my absolute favorite parts, BURPs (Big Ugly Rock Pieces), that I’m quite fond of and made me weirdly happy.
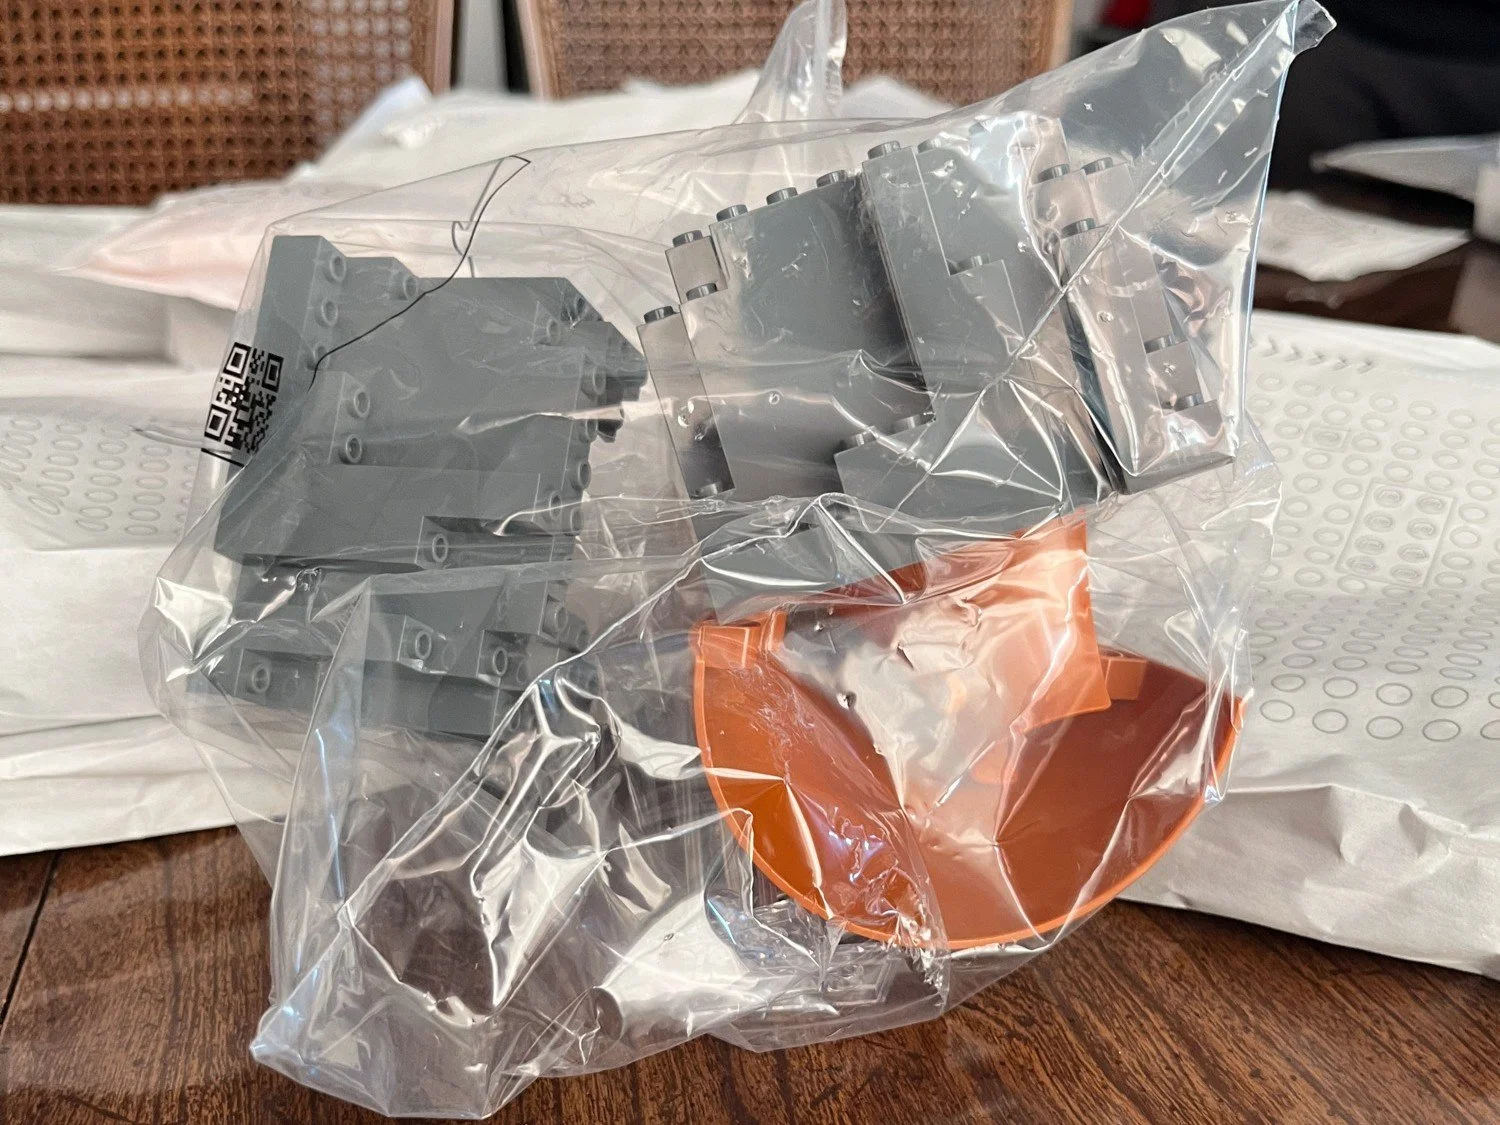
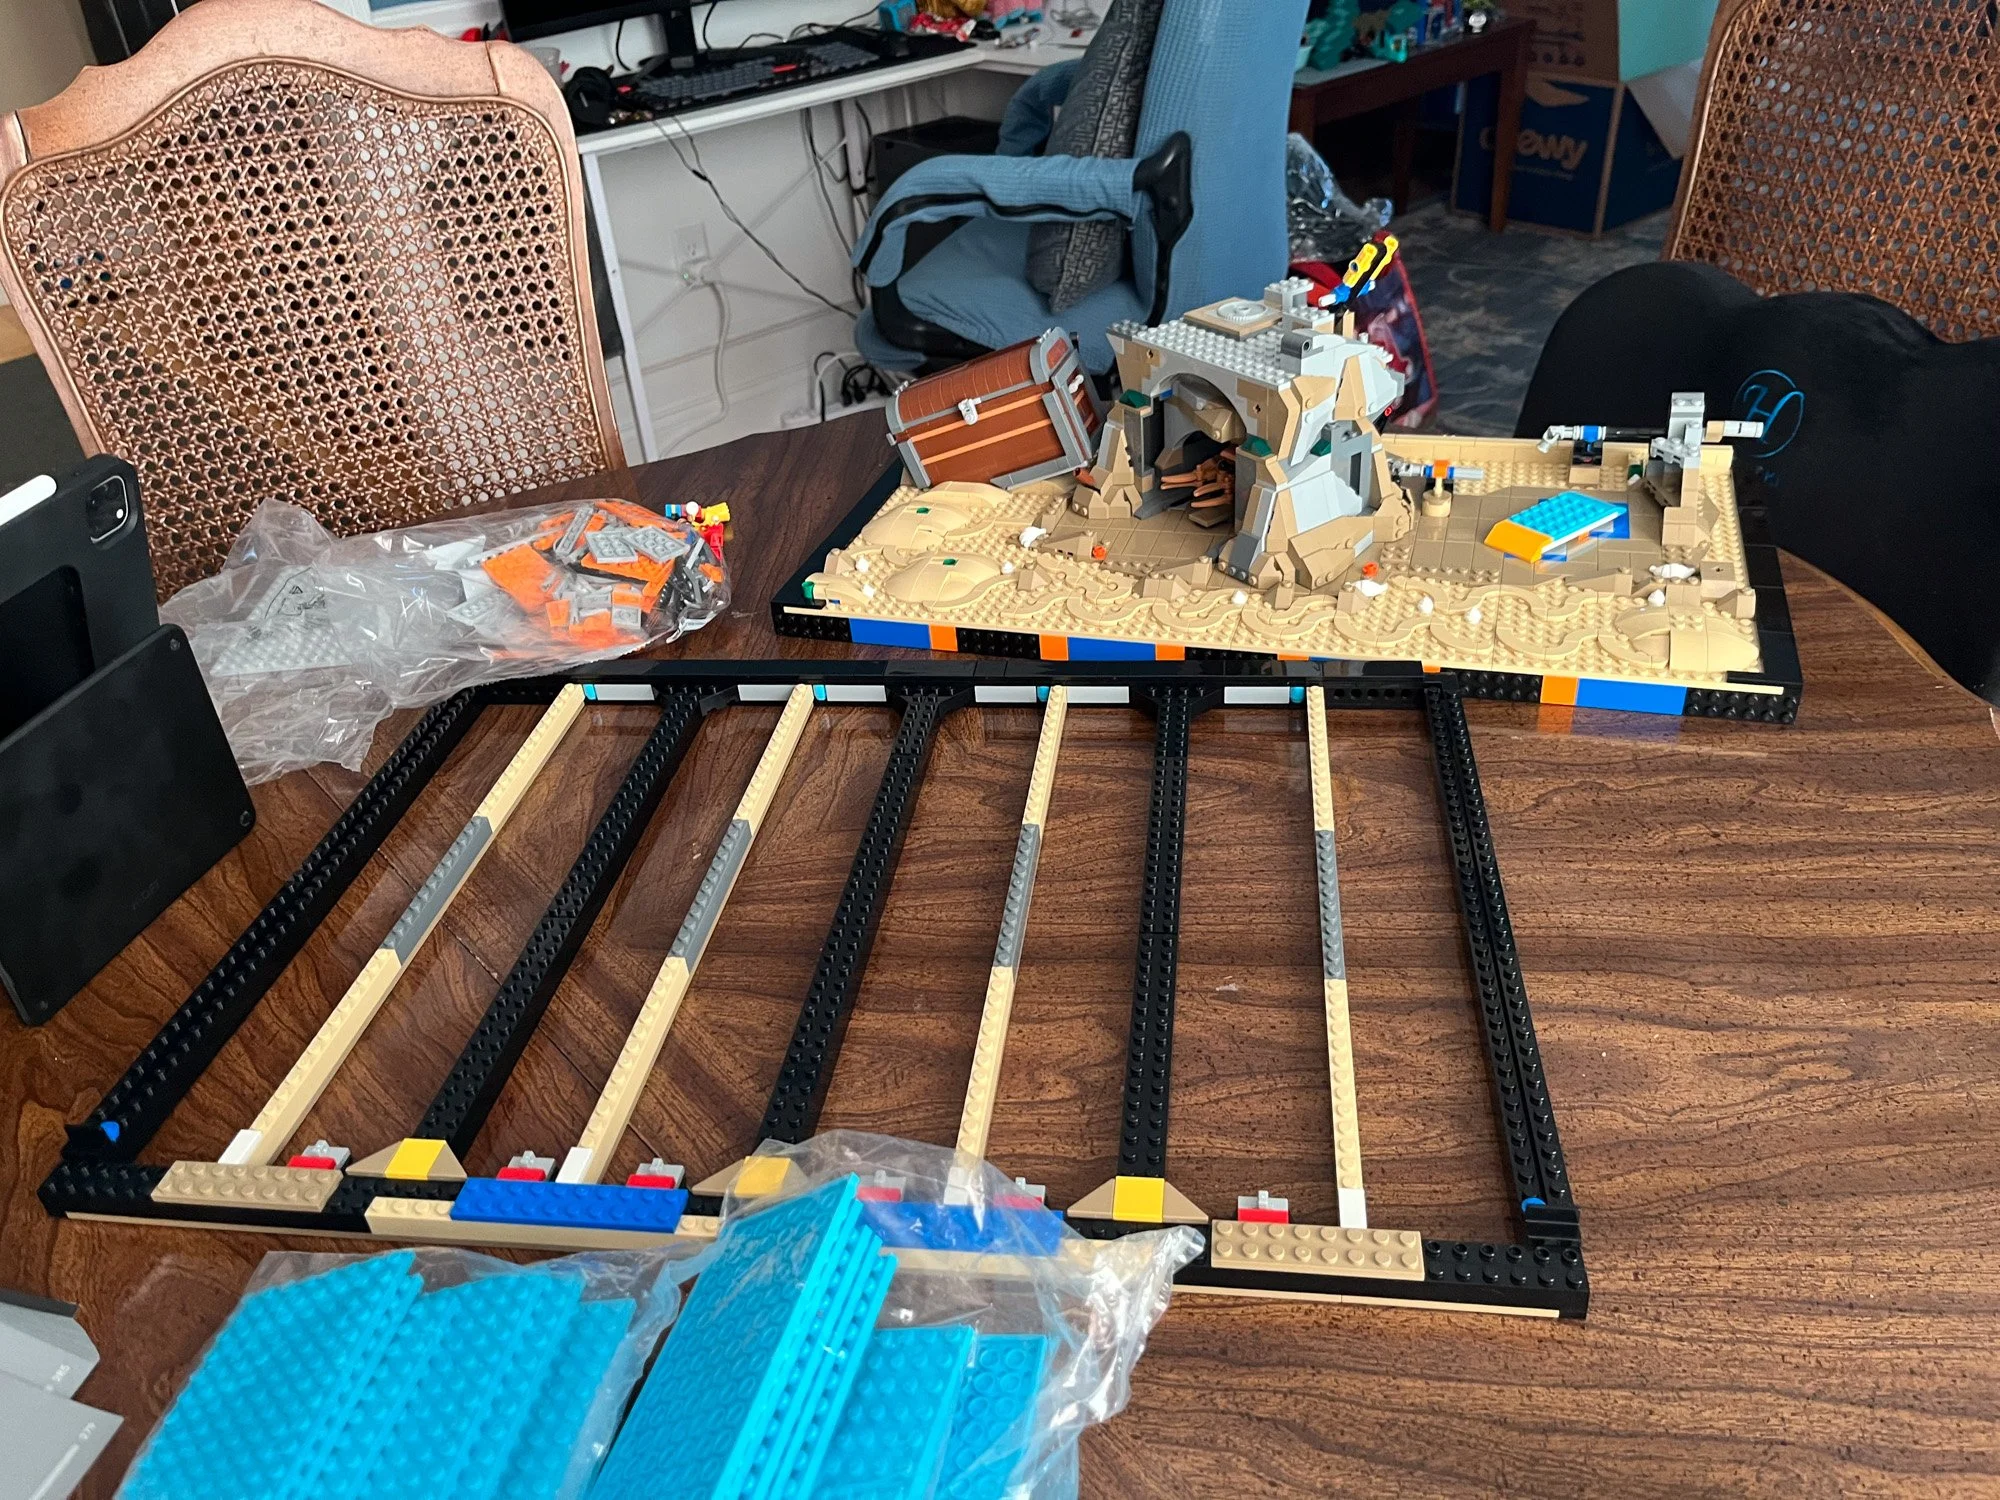
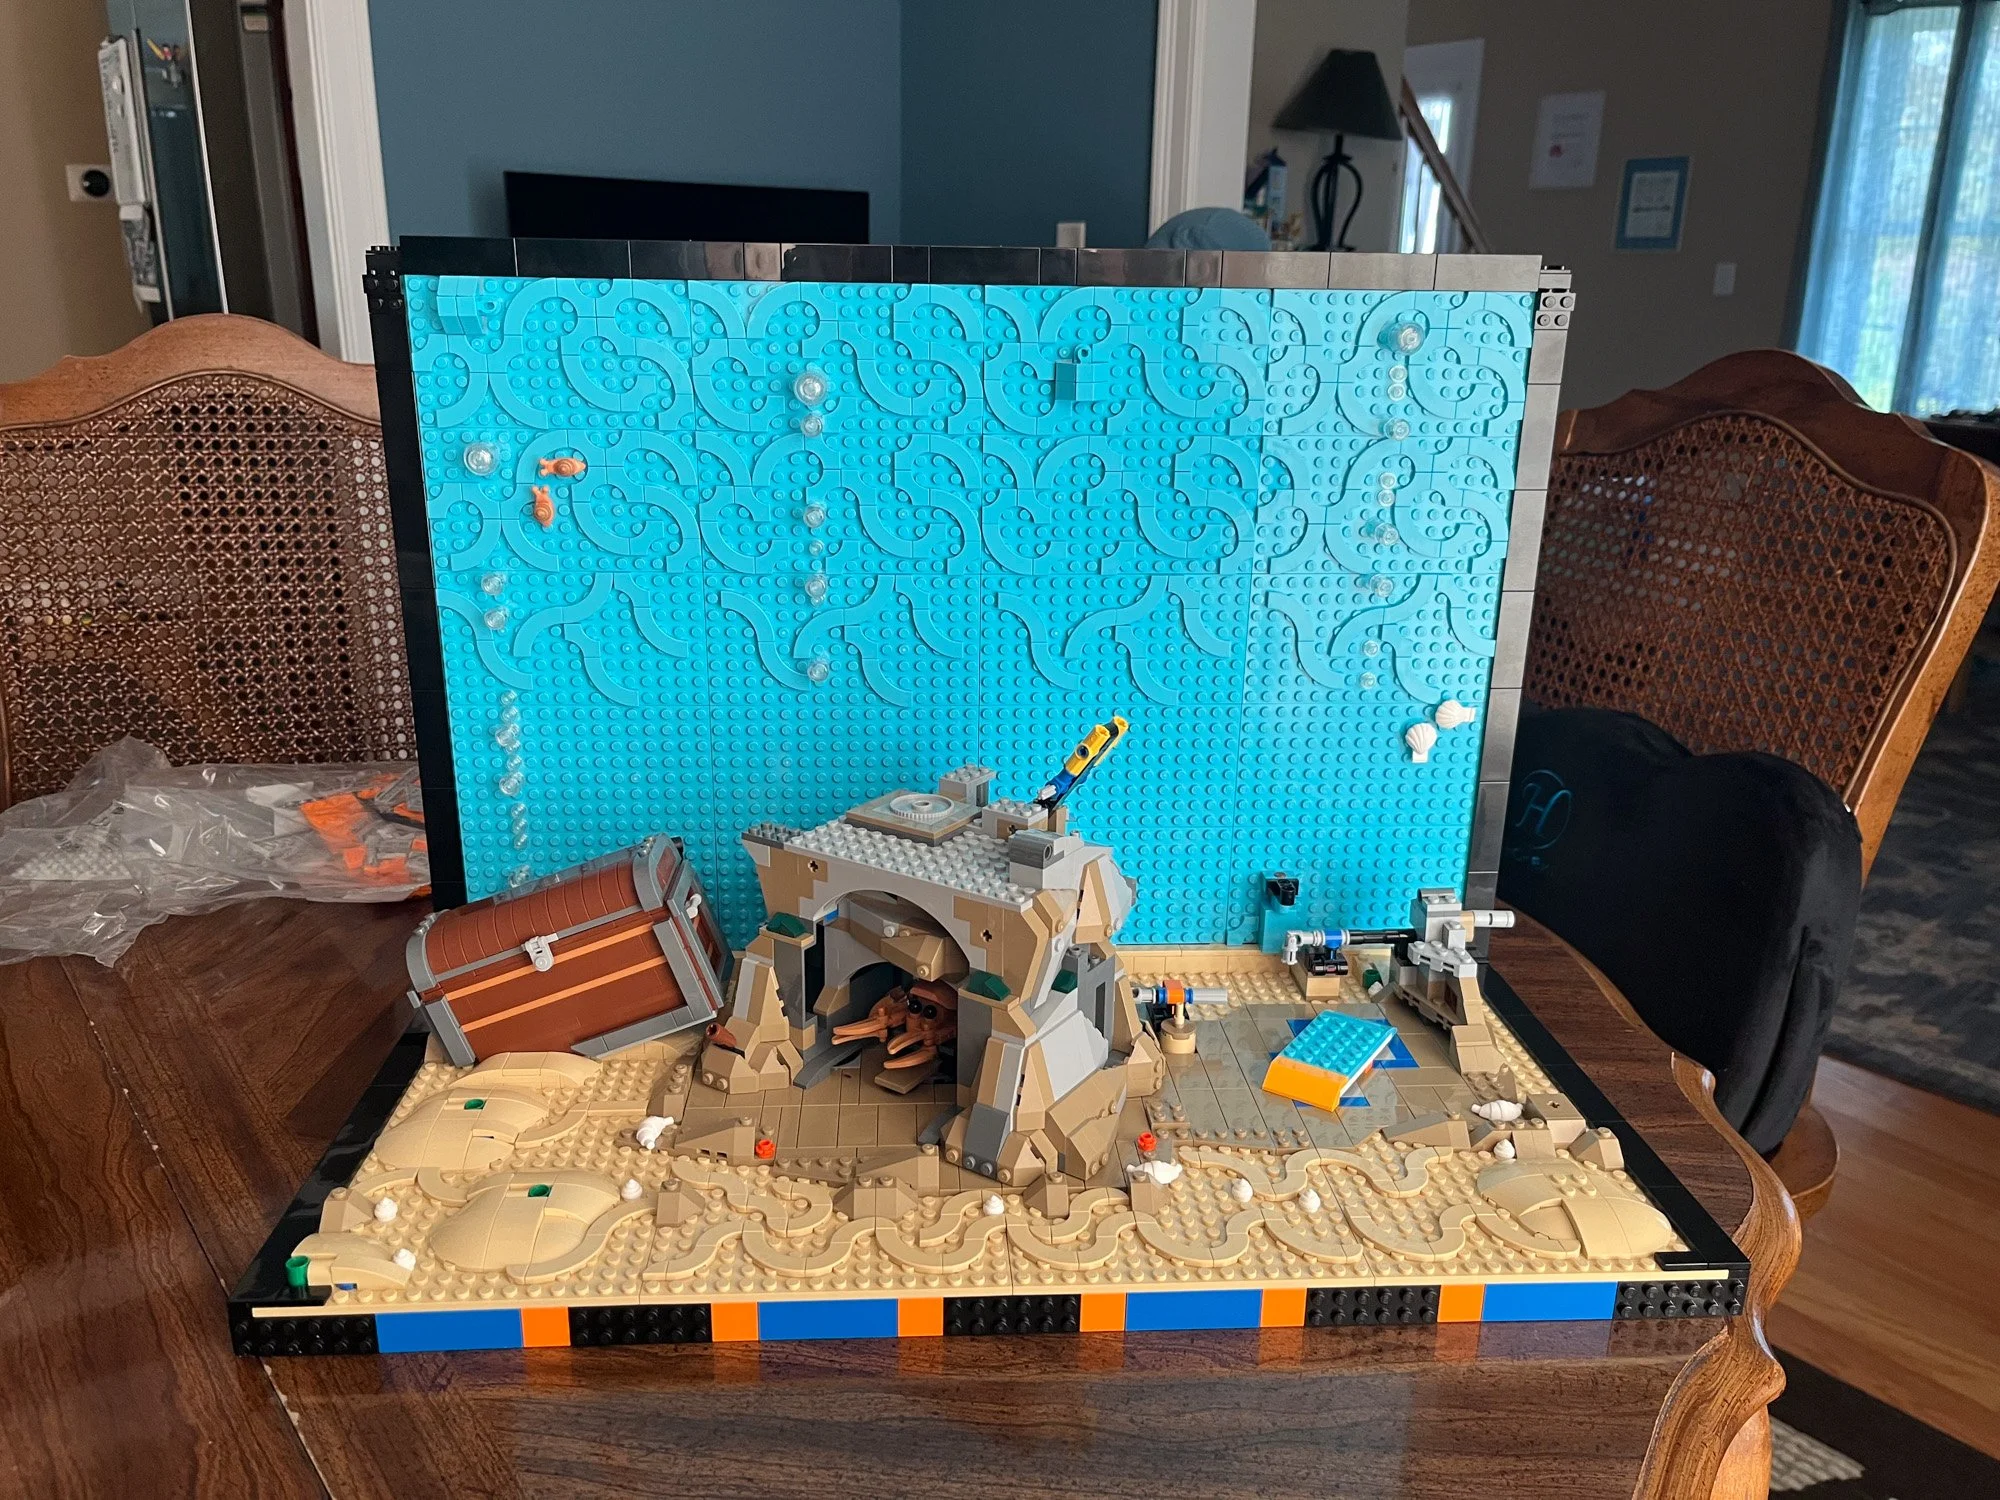
The initial build was easy going: a sturdy bottom frame, an adorable crab, and BURPs covered expertly. But around bag 22 of 41, I was starting to get frustrated. There was a treasure chest that you add that seems way too small and would not stay open. Plus, the entire backing of the aquarium is held together by clips. No Technic beams. No brackets. No pins. Just clips. It didn’t seem secure at all, however I figured once the entire front frame was attached, it would be fine. (Spoiler alert: it wasn’t.)
That Sinking Feeling
Several hours and hundreds of steps into the build, I realized something very odd. I’d been building for hours, and I hadn’t built a single colorful fish or plant yet. The instruction manual’s added commentary didn’t help—it explained things as if I’d never seen a fish tank, ahem, “aquarium” before.
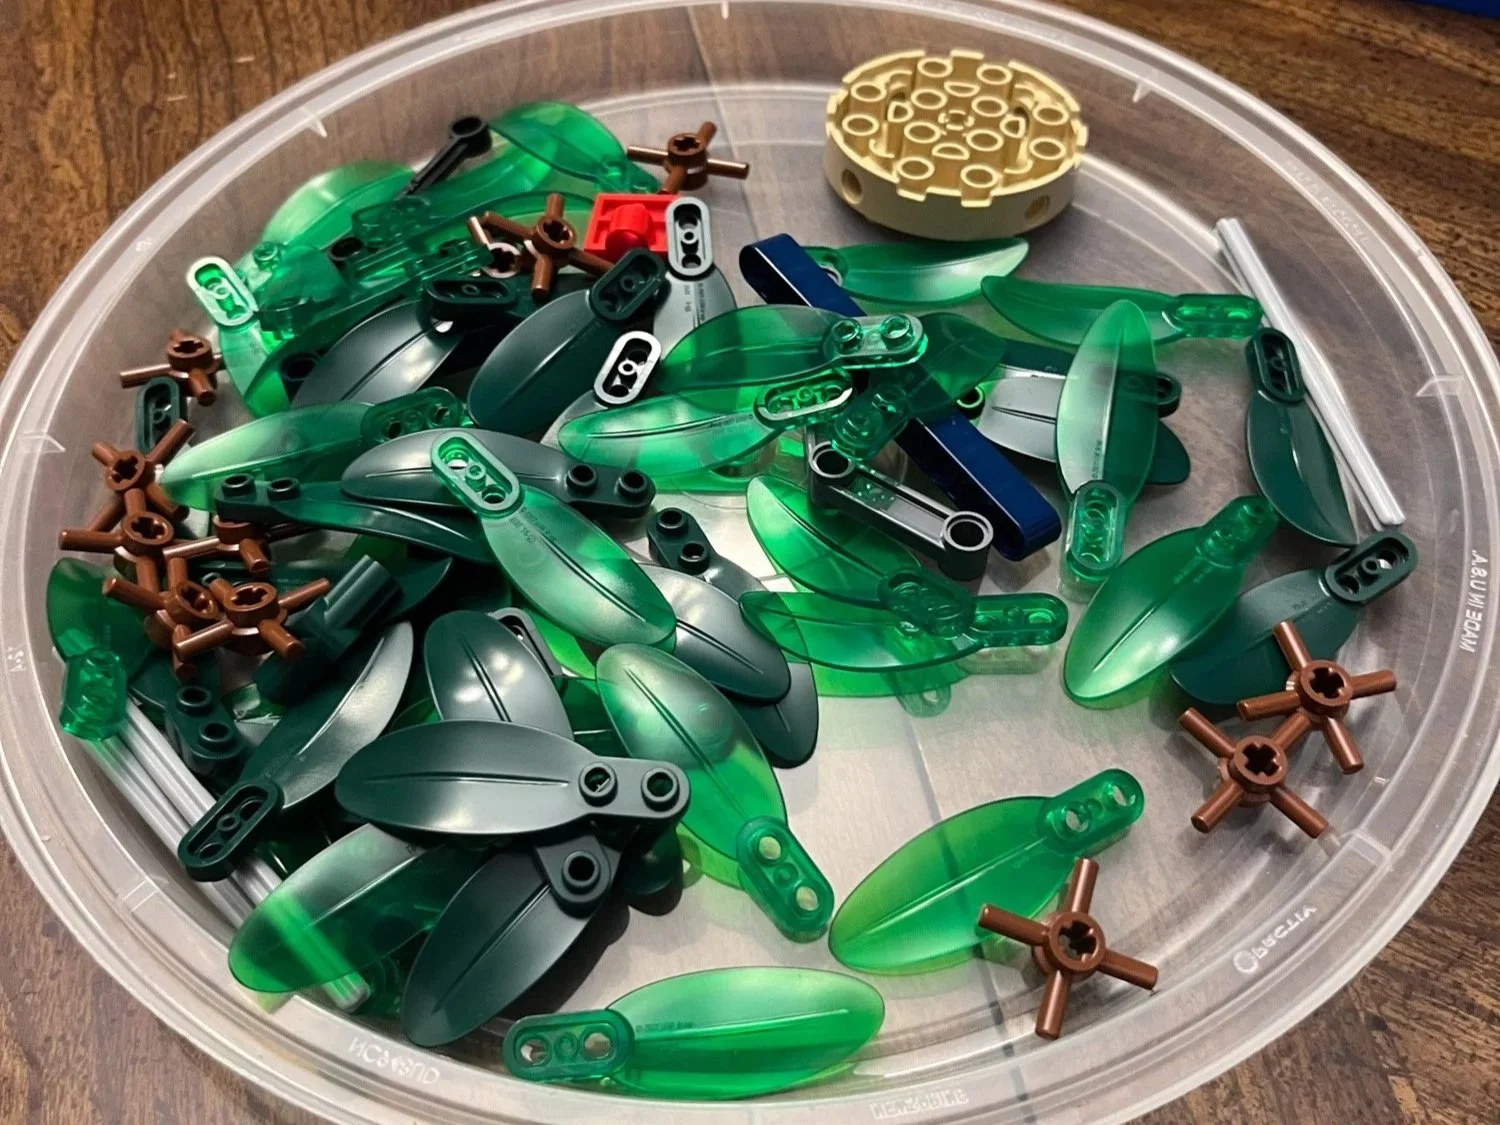
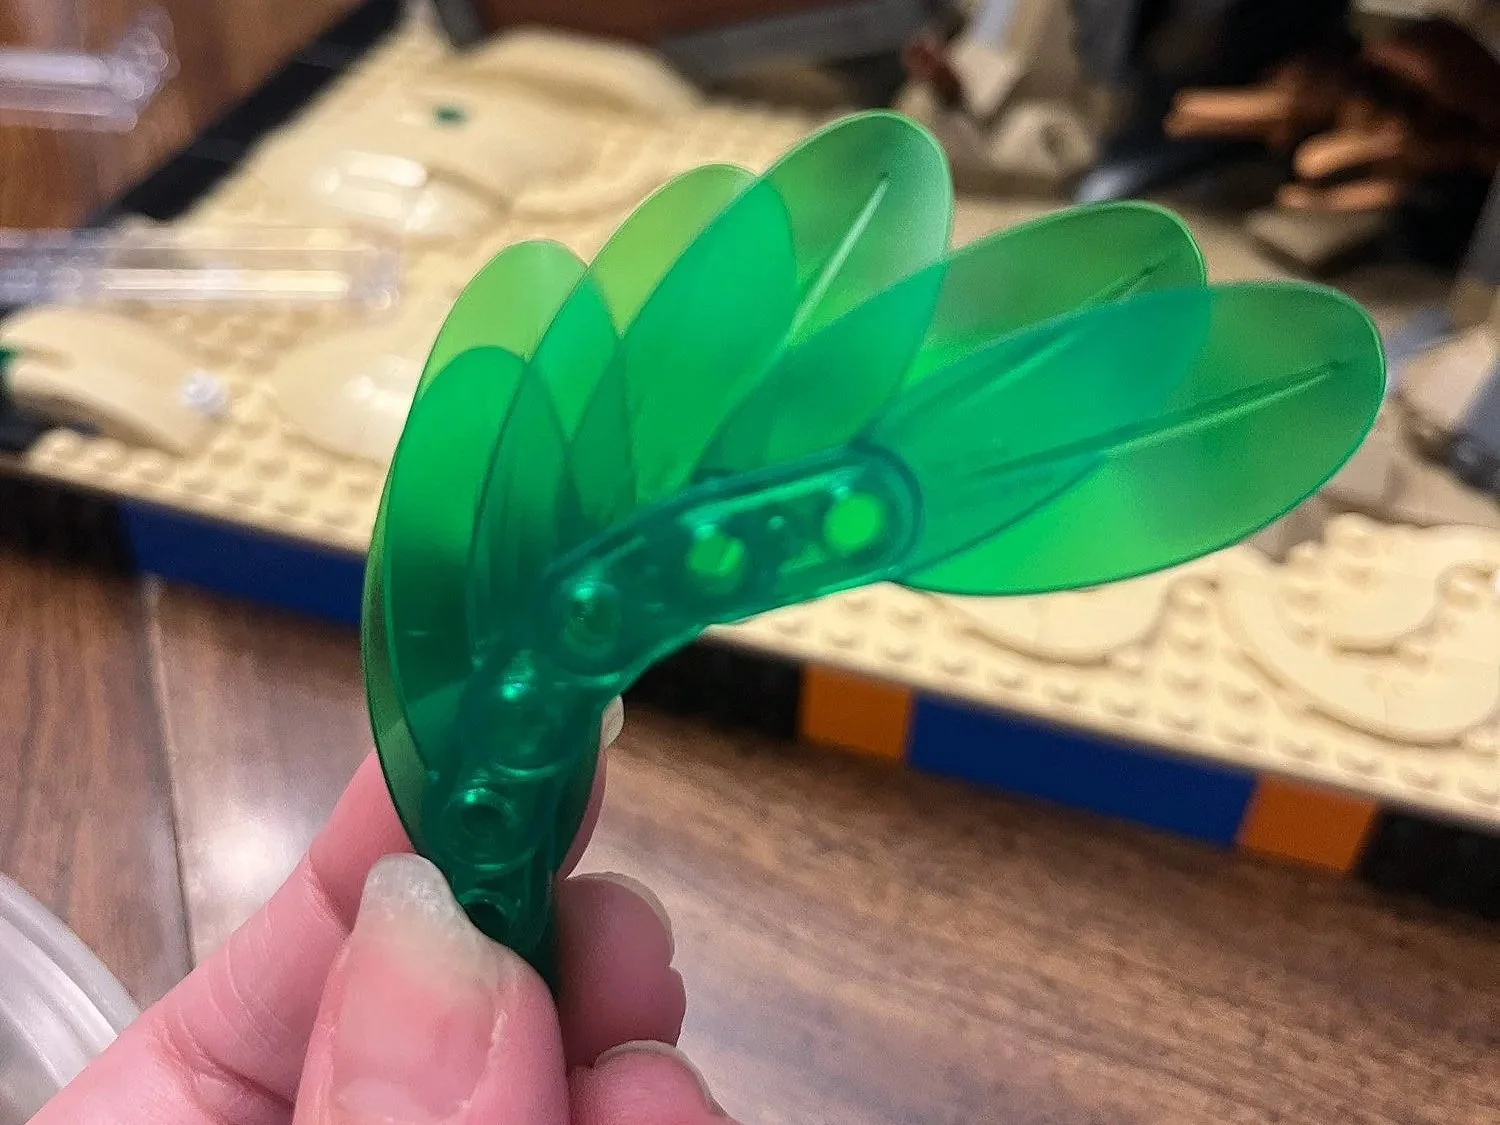
Around step 500, I finally reached the plant life. The new translucent leaves for the seaweed were gorgeous and truly helped the set come to life. But the opaque paper bags made it easy to lose small parts—twice! I had to meticulously feel each bag after opening to be sure I didn’t lose any pieces.
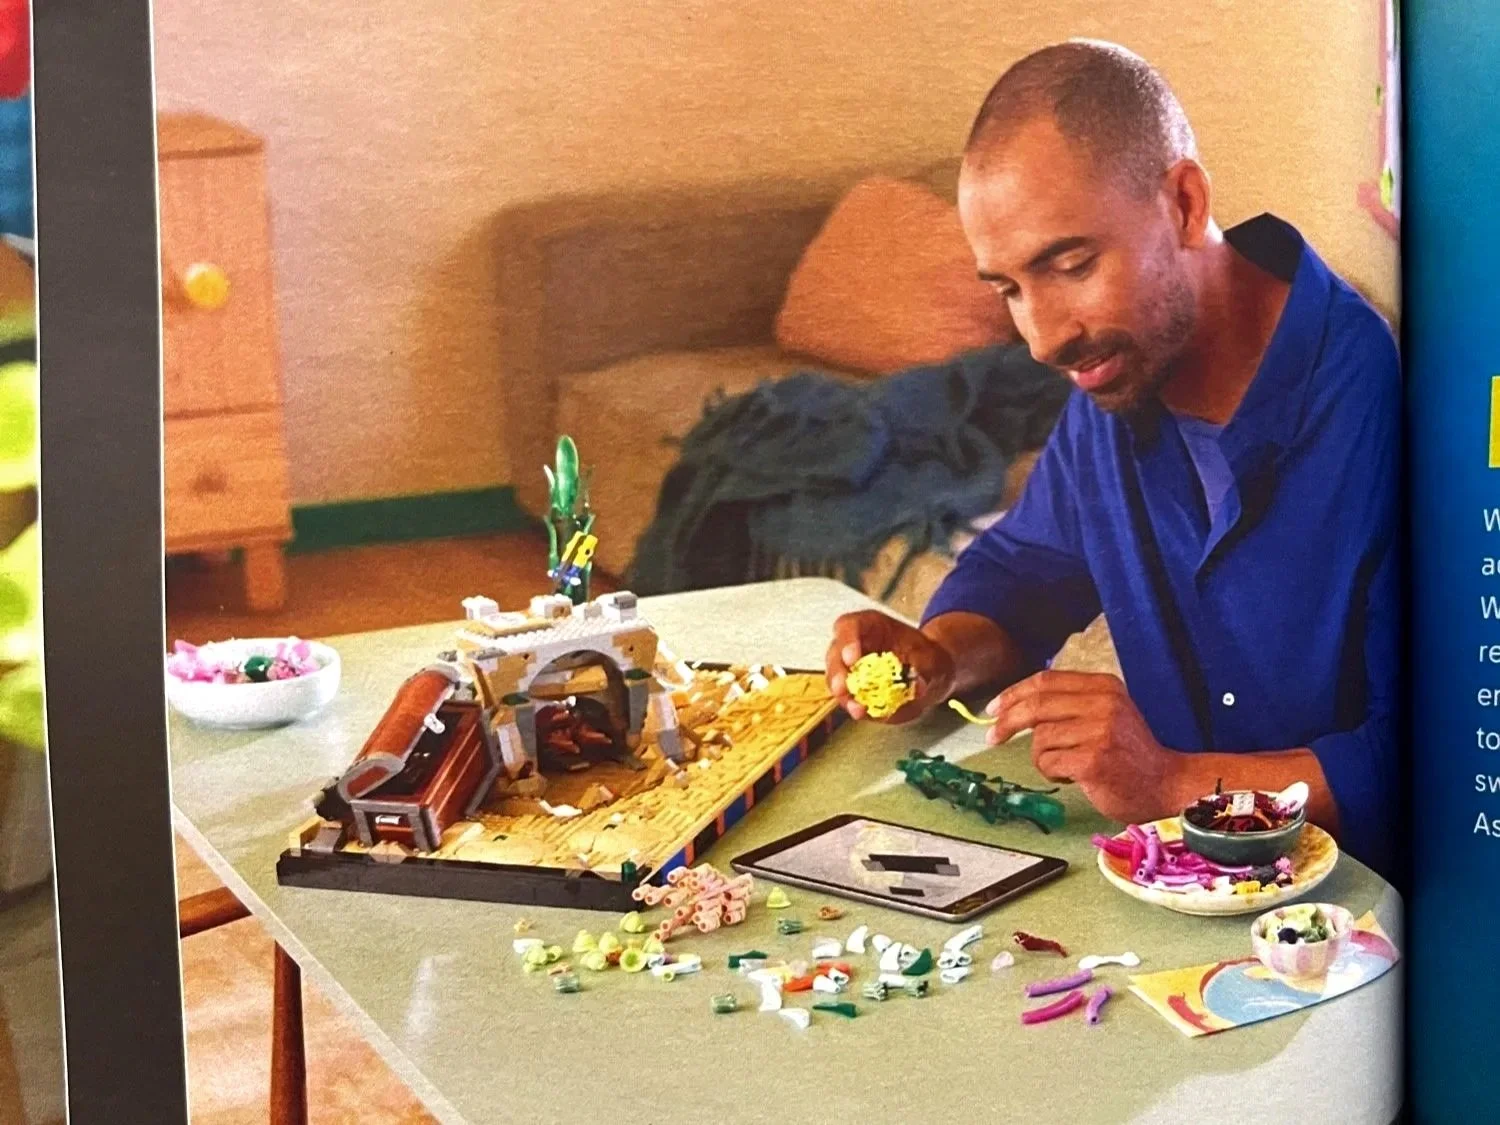
I couldn’t help but feel anxious for more colorful parts as I was building through, though. The instruction book shows someone building pretty anemones very early on, but that doesn’t happen until you are more than halfway done with the set. That was a little fishy to me. (Plus they are using digital instructions—jealous!)
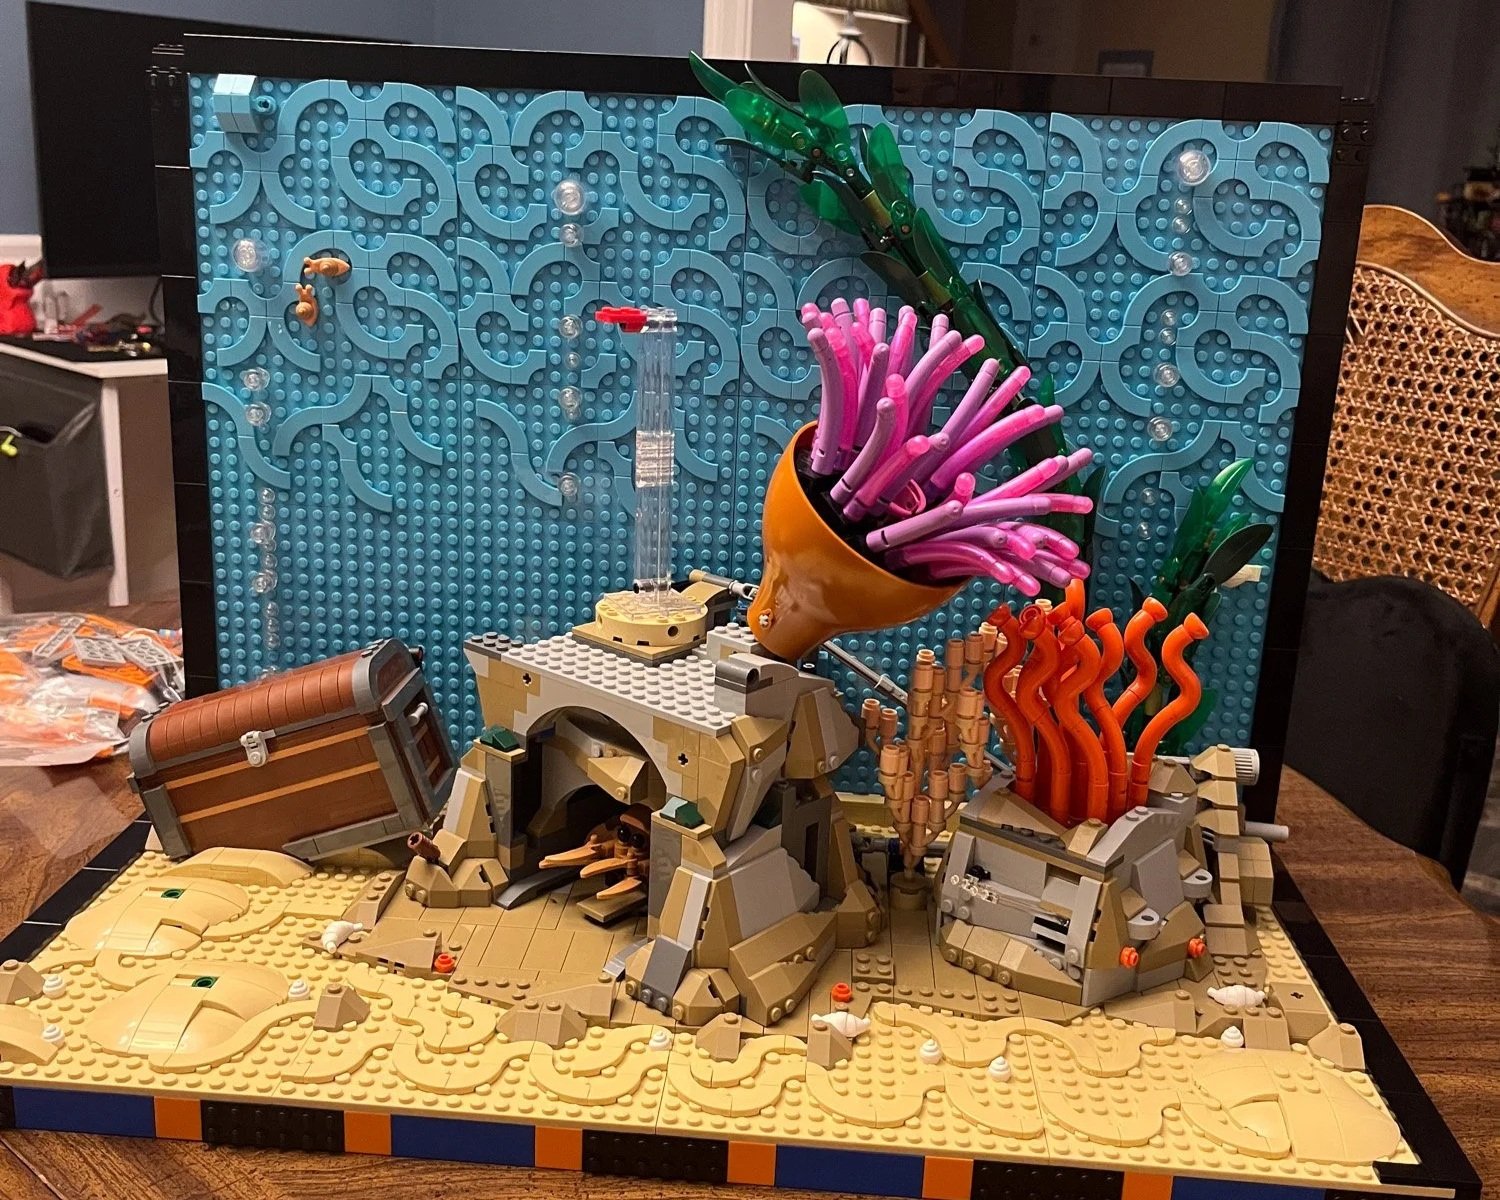
Speaking of fish, after going through 623 steps and 30 bags, we FINALLY arrived at our first fish! Truly adorable—and I loved how it was mounted. The fish was quickly followed by all the coolest parts in the set: more plants, more life, more fun—everything I’d been waiting for. Honestly, I feel like the set would have benefited greatly from spreading out some of these sub-builds and then adding to the aquarium at the end.
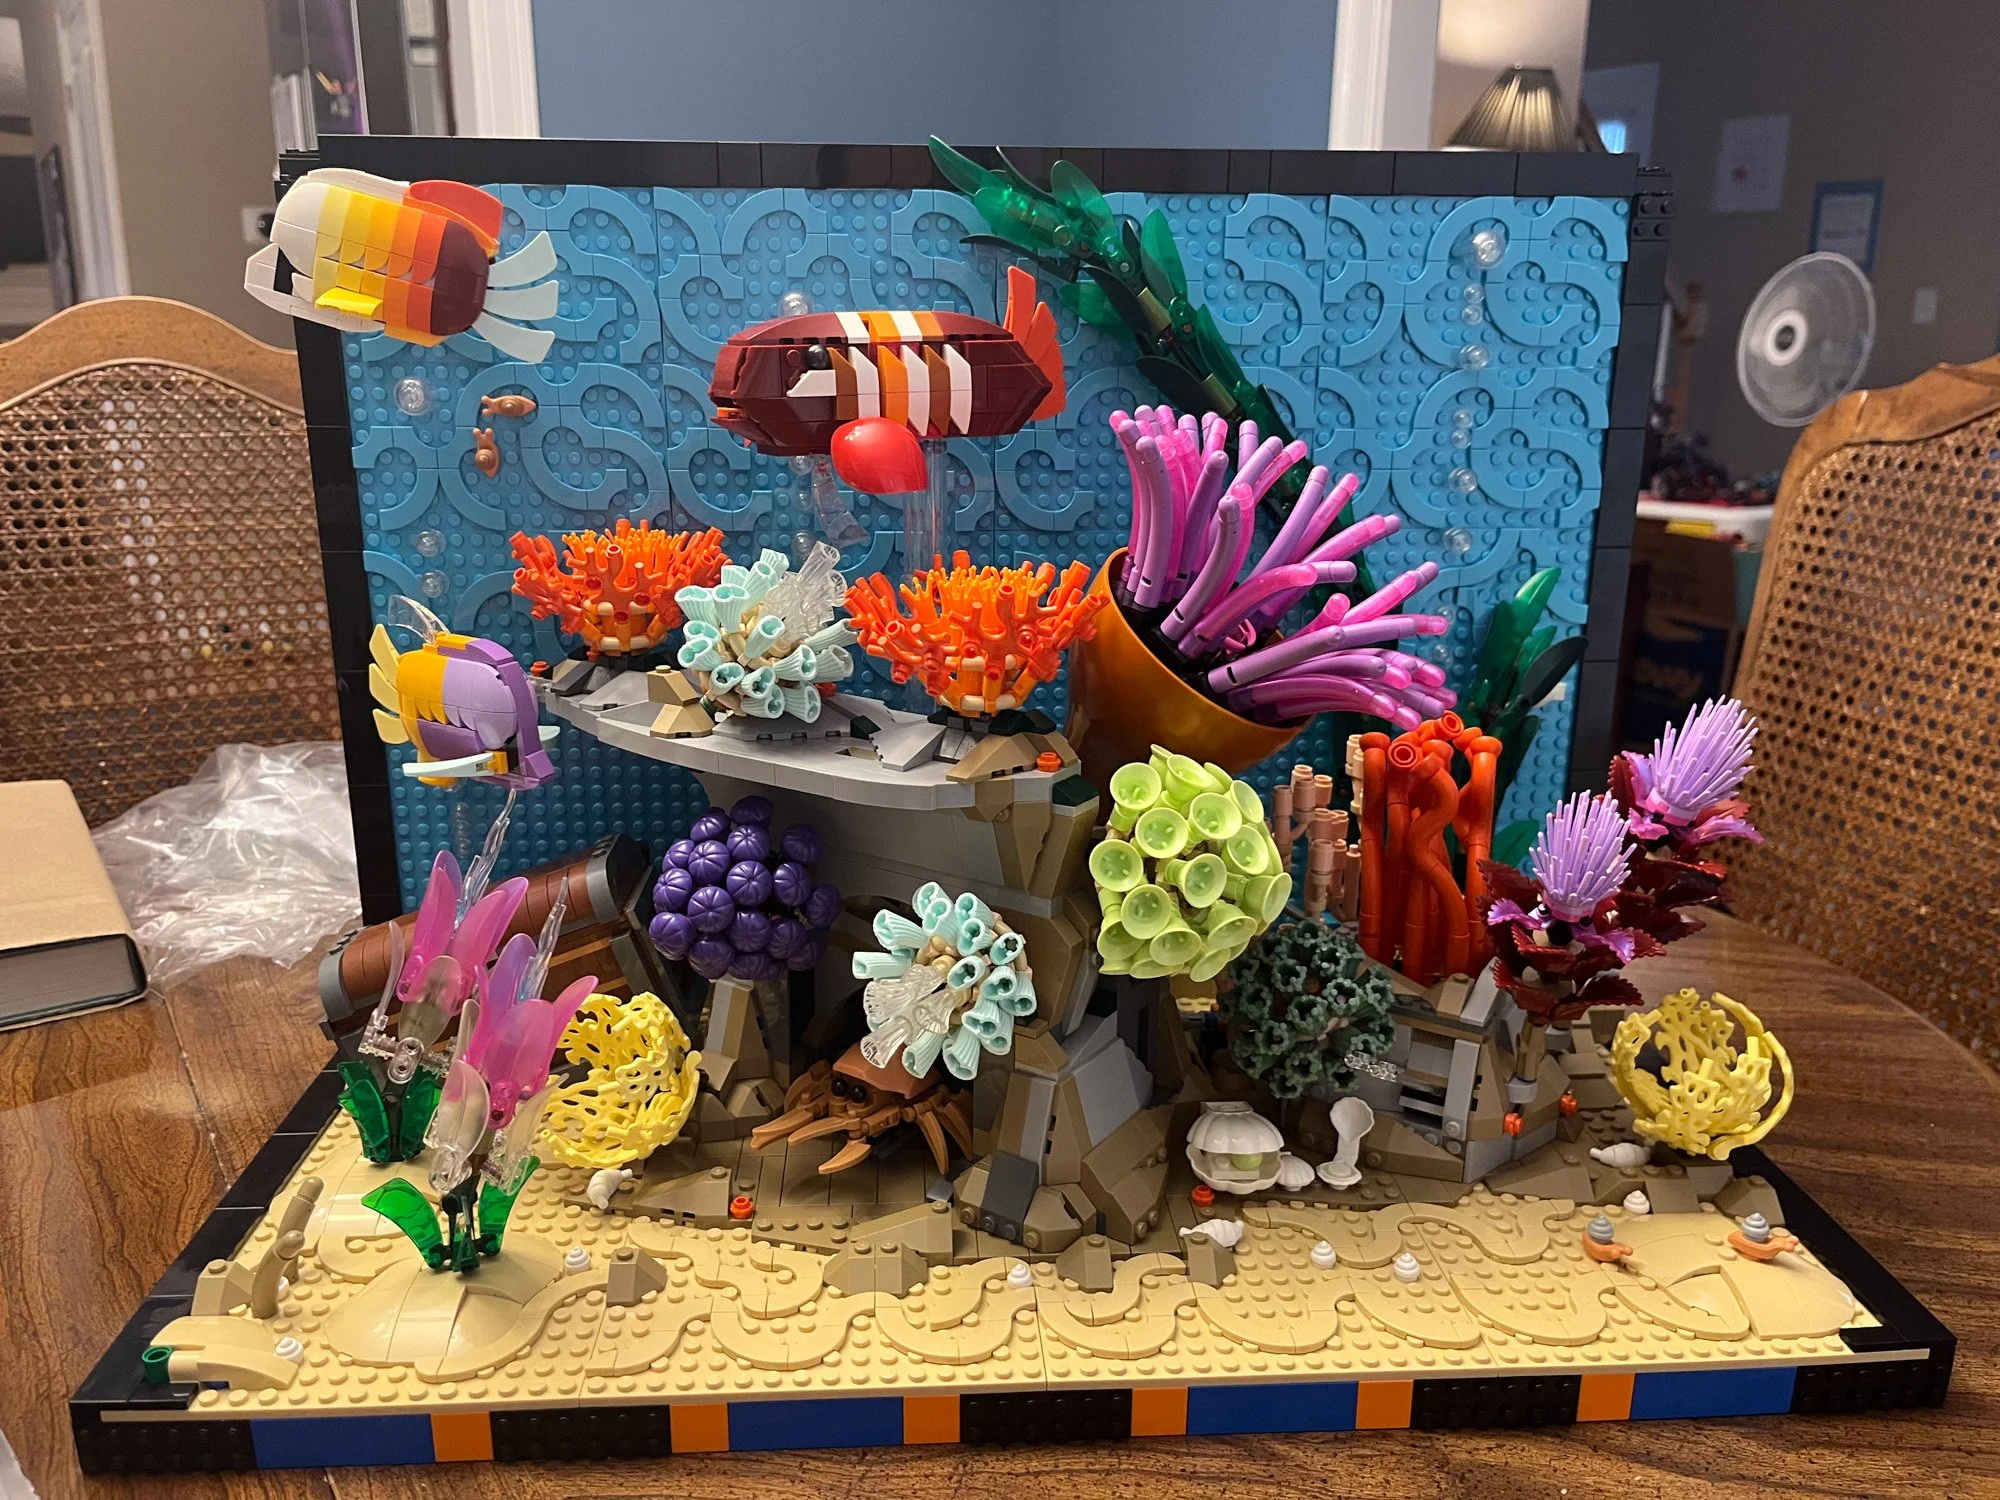
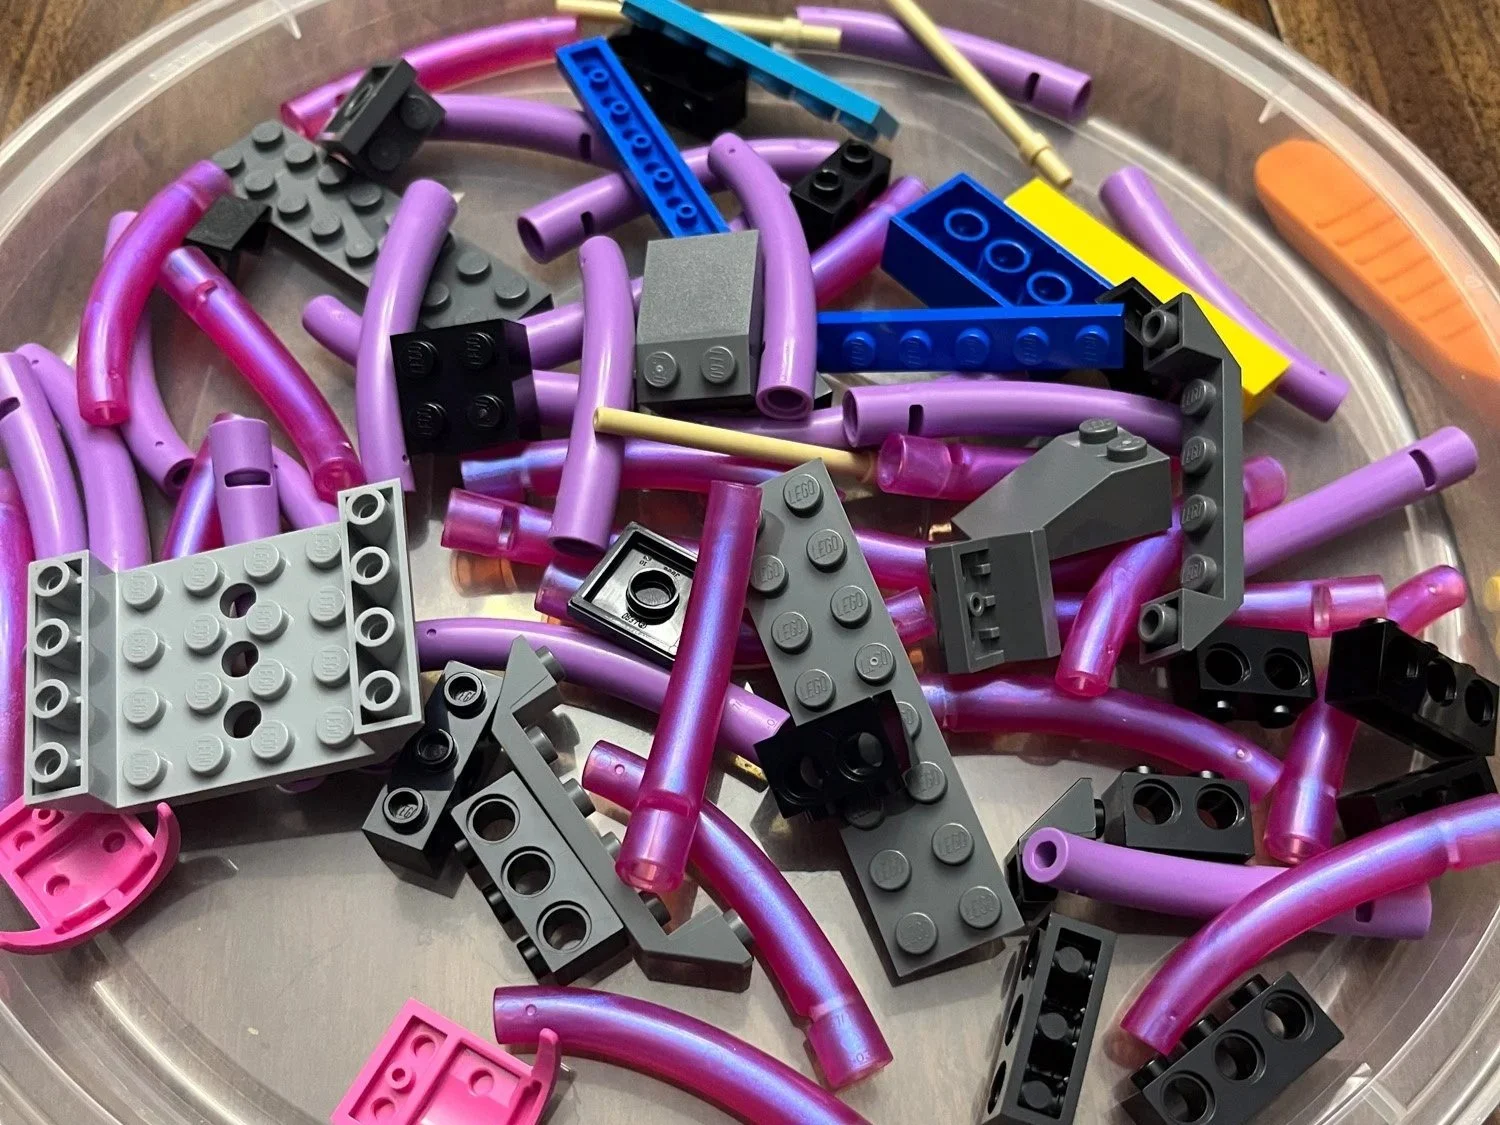
Some of the plants, though, were painful and quite tricky to assemble. The new colored mop heads didn’t quite fit the “bar with mechanical claw” aka wrench, and my fingers were getting sore and blistered putting them together. (We suffer for art, right?) Attaching the plants and final fish was satisfying… until I dropped one of the new fancy translucent fin elements inside the build. It was gone forever, lost to the depths due to the moving mechanisms.
Moving a Monolith
Speaking of those moving mechanisms, I feel like this was a lost opportunity to really make this set feel like a luxury product worth its cost. I love the idea and the play features, but many AFOLs have created aquarium scenes. LEGO could have connected all of the movements onto a single crank so that everything moved magically at once (or could even be motorized). As-is, you can’t even move all parts at the same time with two hands. Every part of me wanted to rework this, but sadly I didn’t have the time or the brainpower to figure it out, since I have a full-time job and two kids to chauffeur daily.
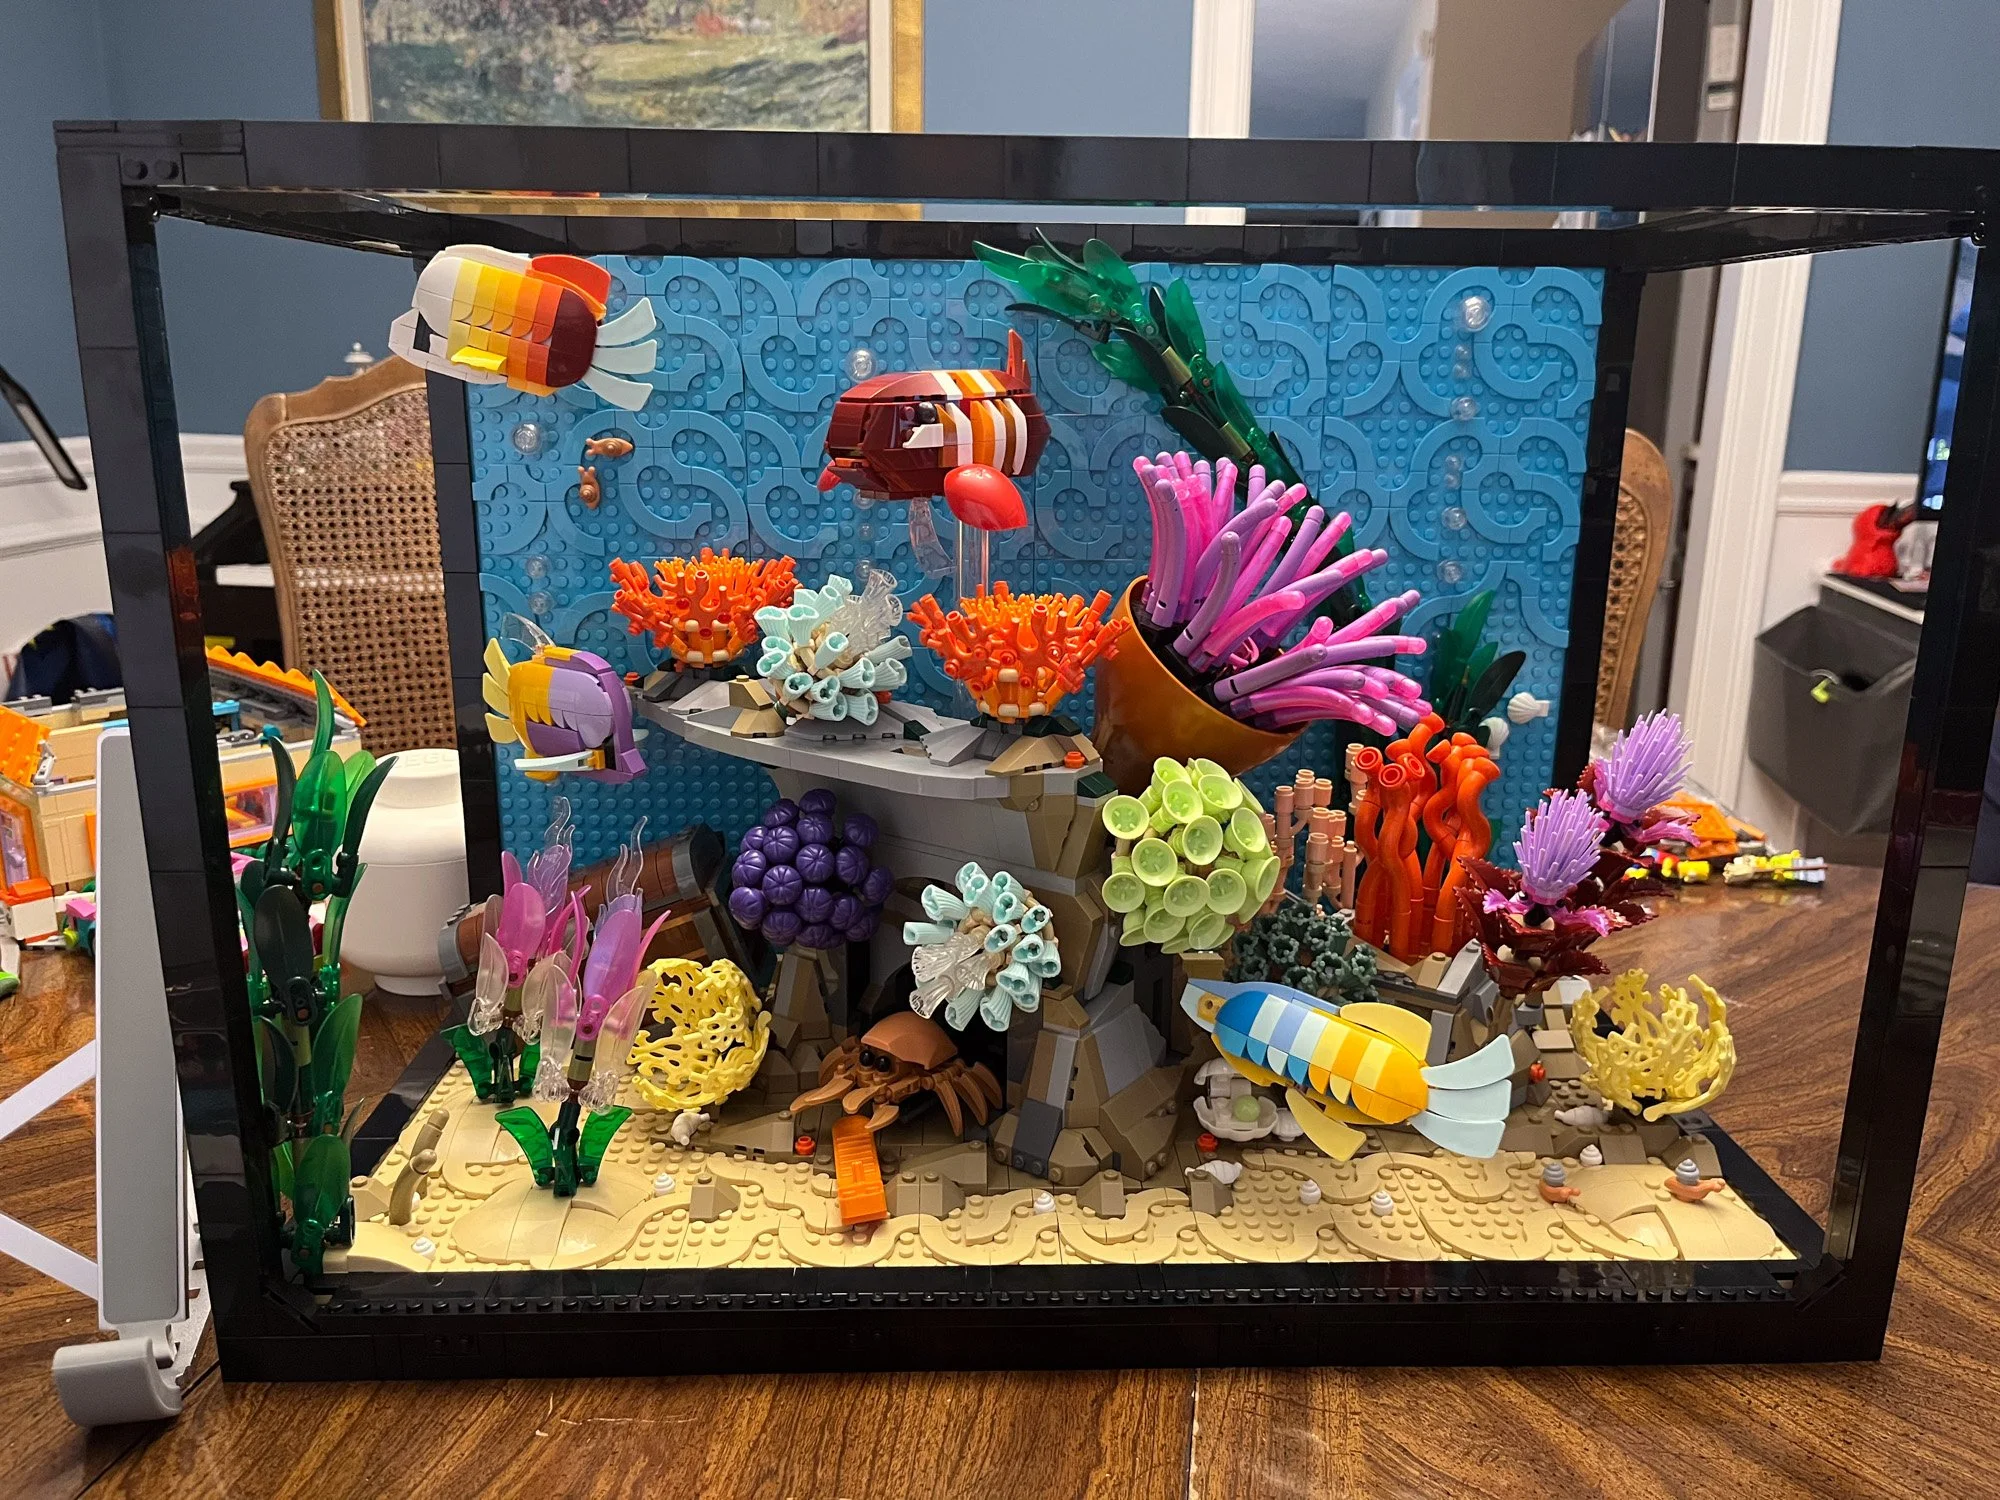
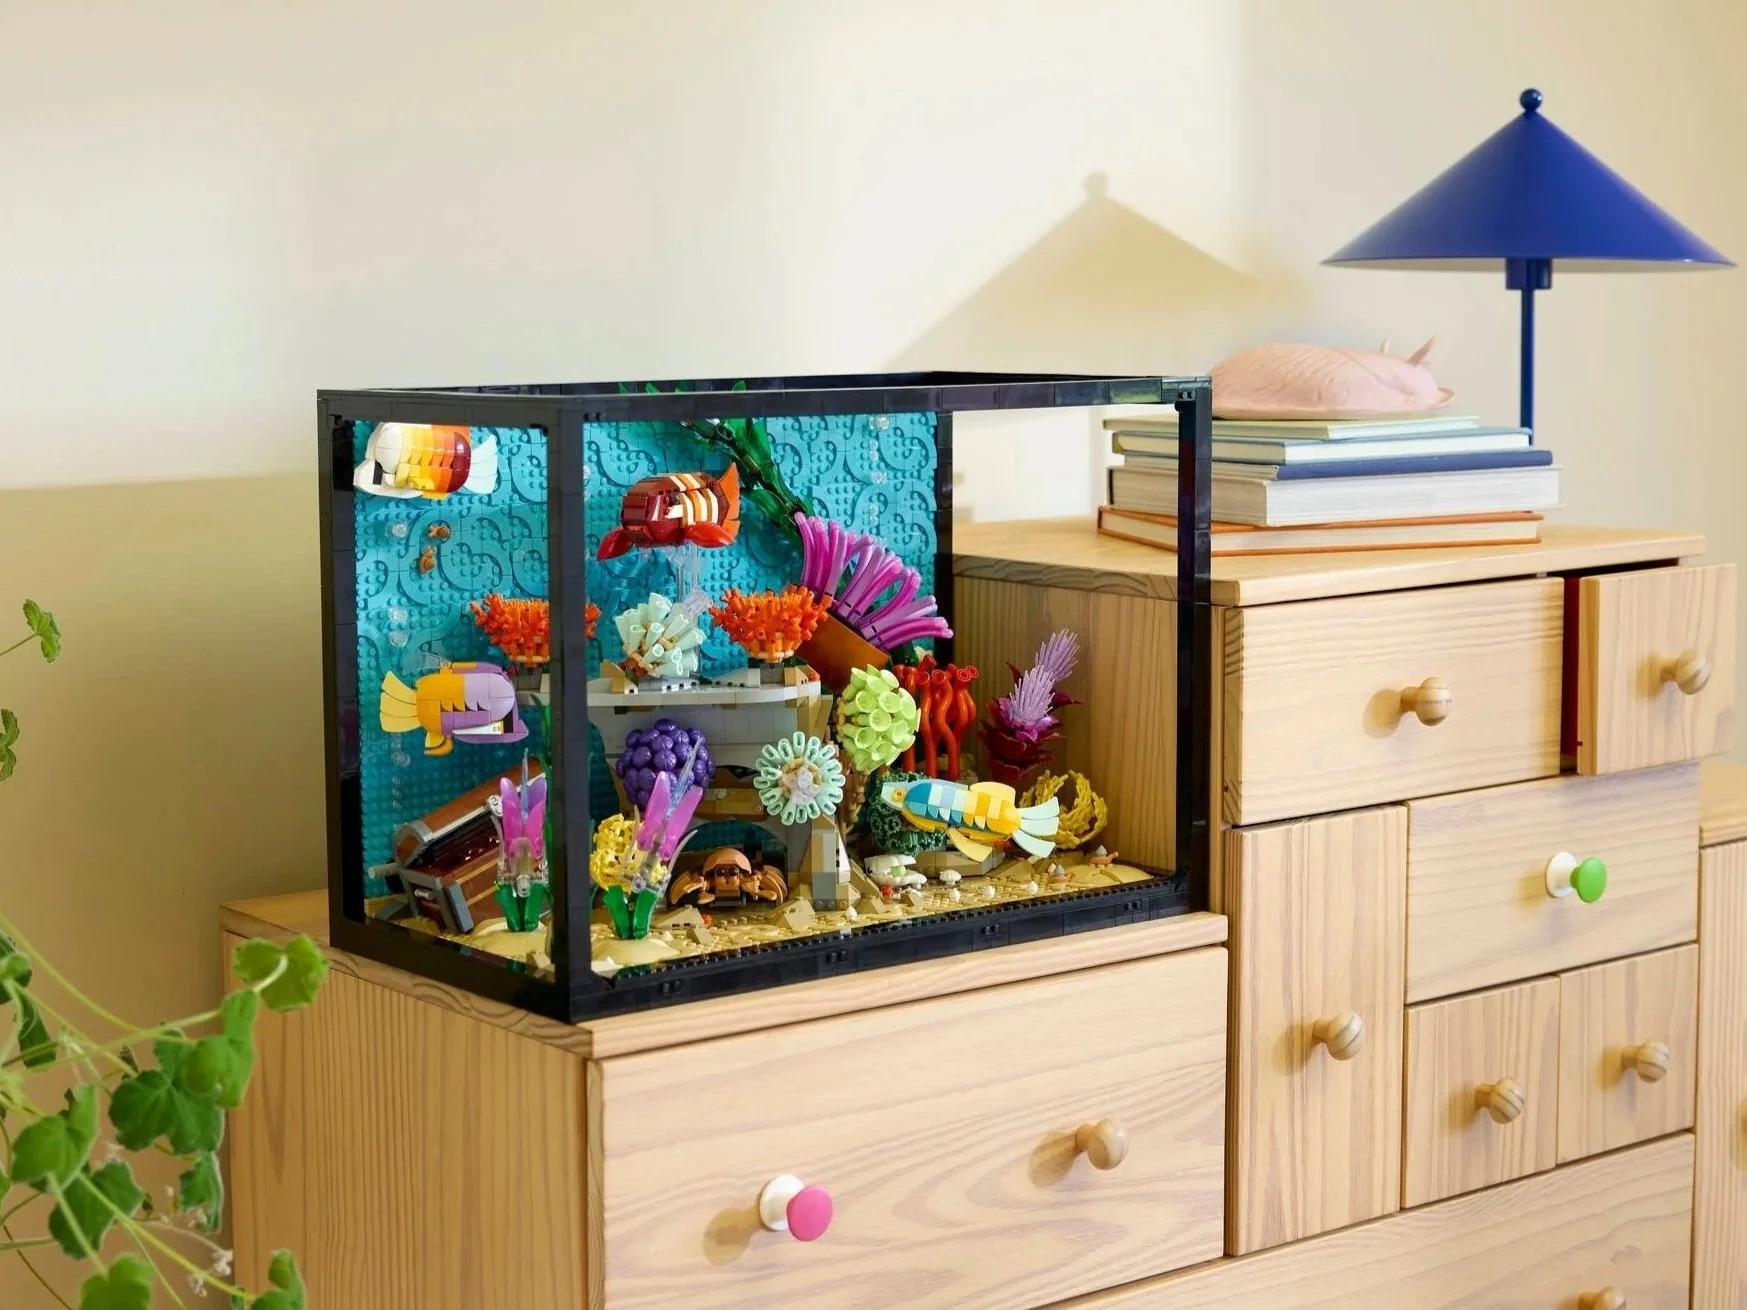
A little while later, I finally reached the end of this build. Normally I am a little depressed when a build ends, but for this set I was more relieved. The build ends by creating the black framing of the tank. I was hoping it would bring it all together and make the set more structurally sound when moved. Did it work? The answer is yes, and no. It’s secure enough—until you jostle it. Any bump to the top or back wall and the frame separates, which would become a problem for later like when I tried to move it around the house for photos.
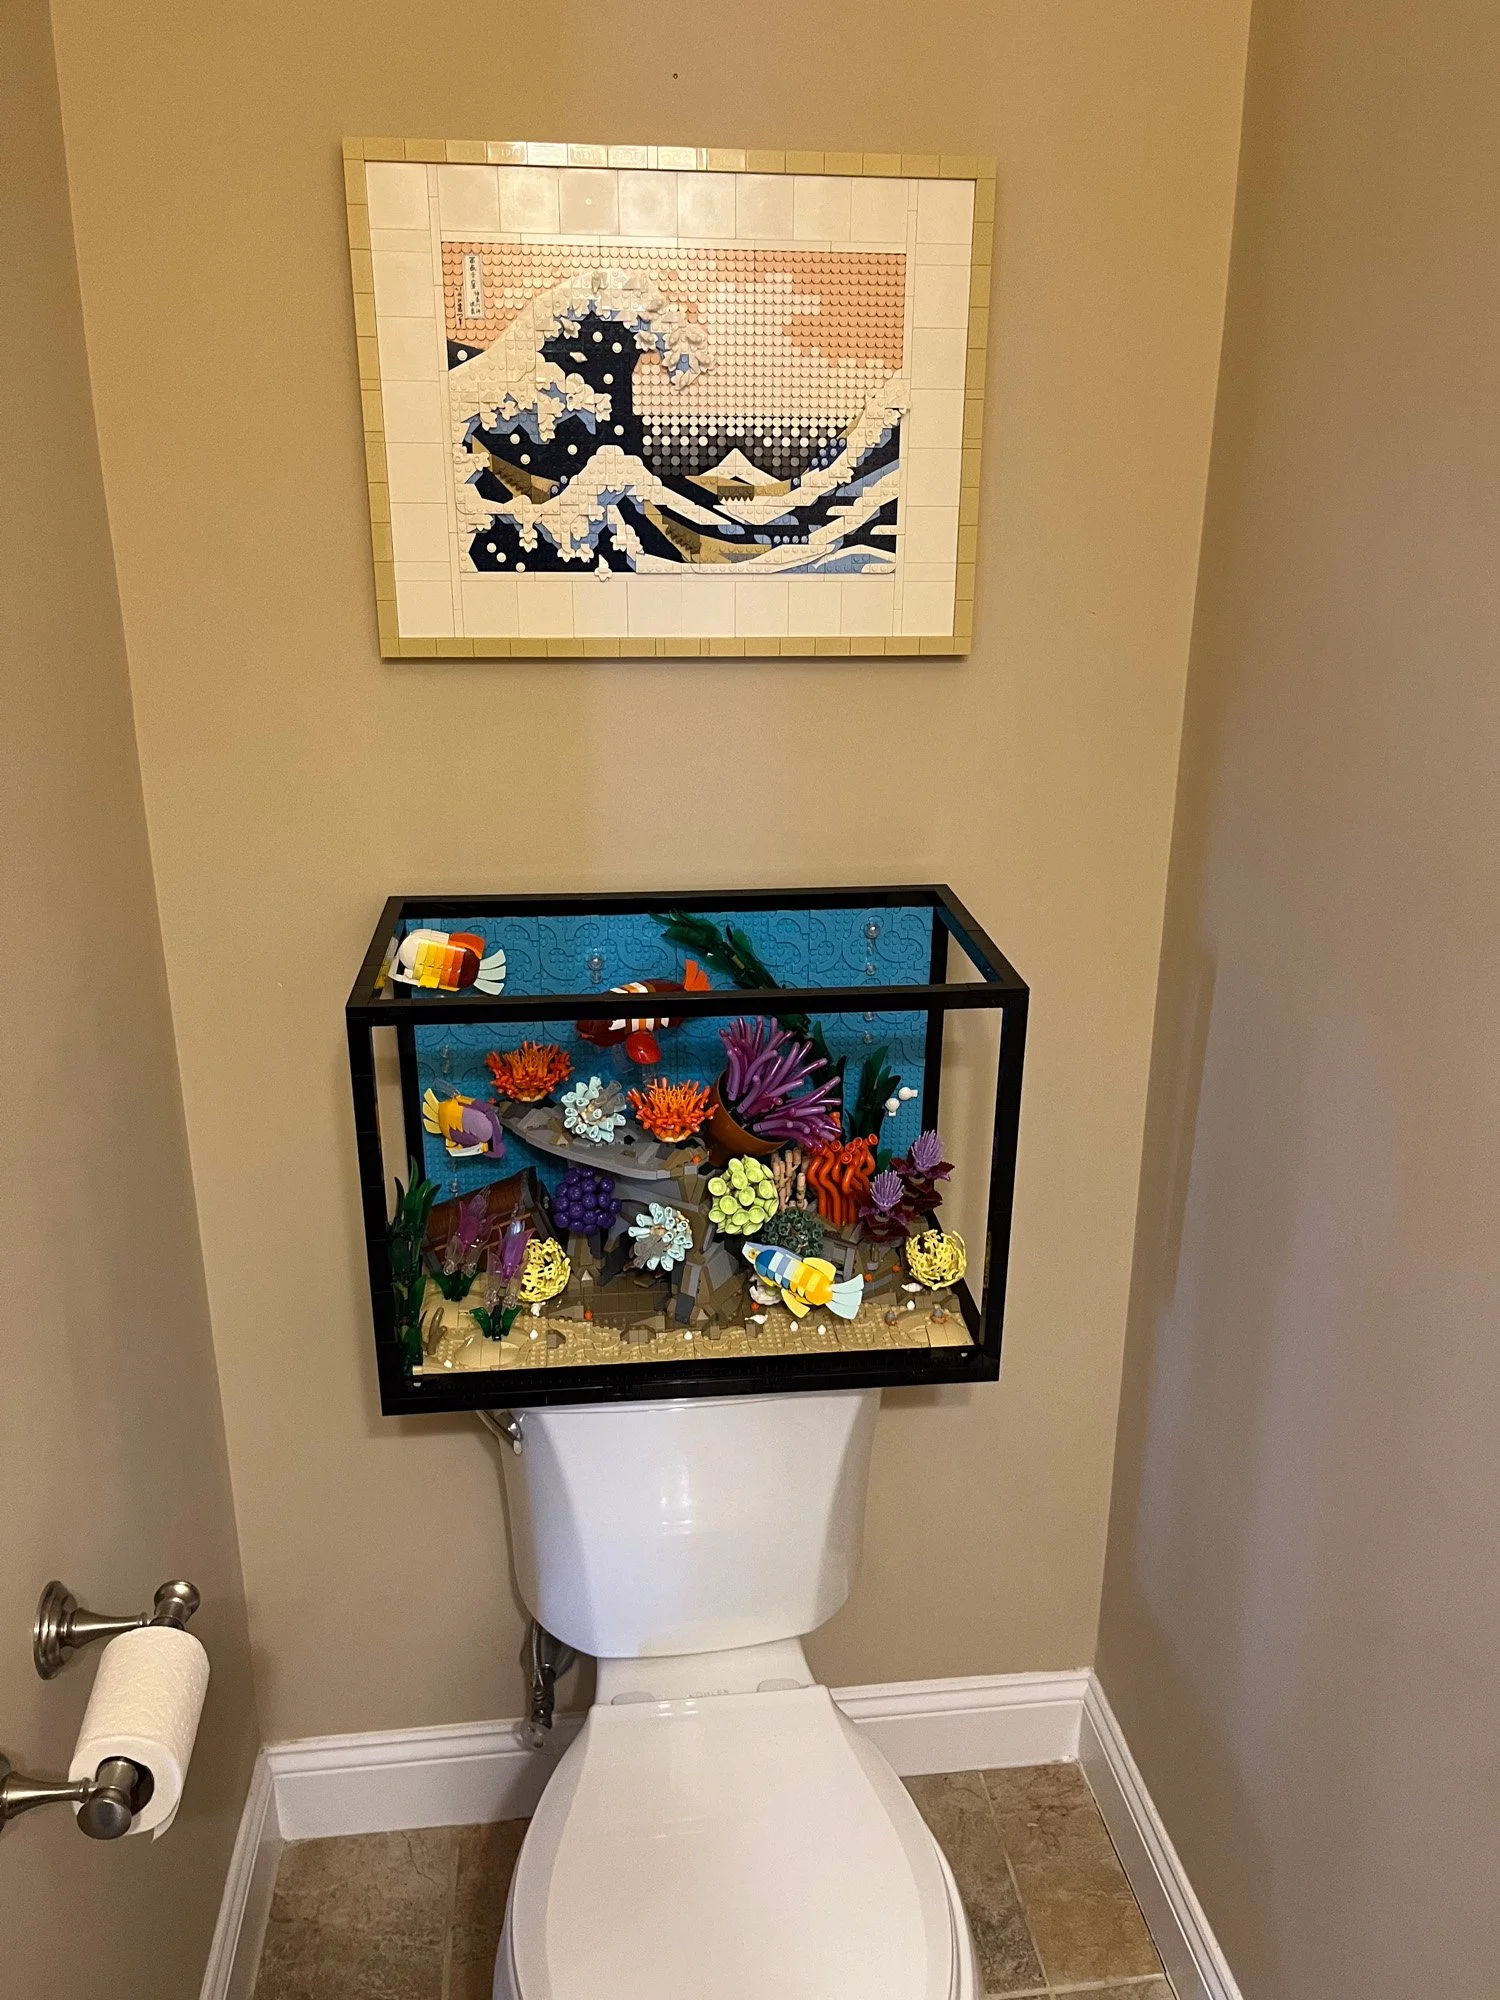
I knew this was going to be tricky, given all the ideas I had for modifying it. I started by moving it around my house to find good places to take pictures. As is tradition, I took the set to my bathroom, because why not? It looked quite nice with 31208 Hokusai The Great Wave mounted above it… until I realized the toilet seat wouldn’t stay up. The dangers of art and plumbing I guess. Time to start modding!
Shell Games
Now for the fun part—what on earth to do with this thing, since I wasn’t leaving it as an aquarium. My son, also my biggest LEGO partner, helped with the first change.
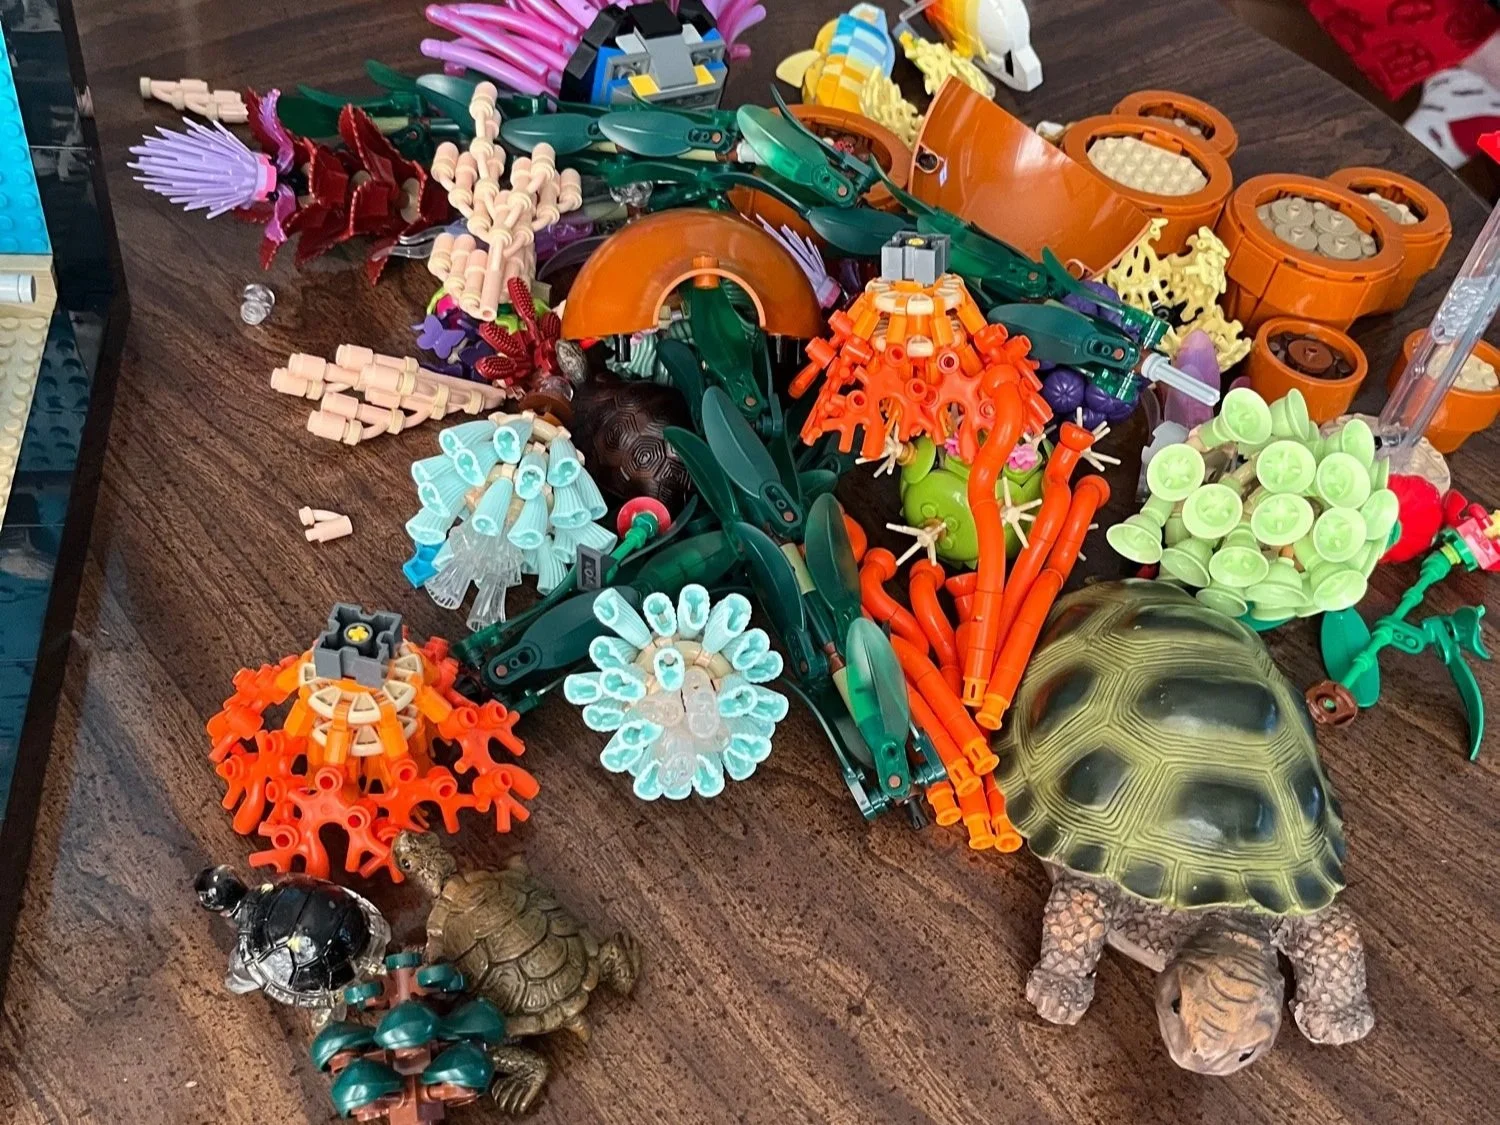
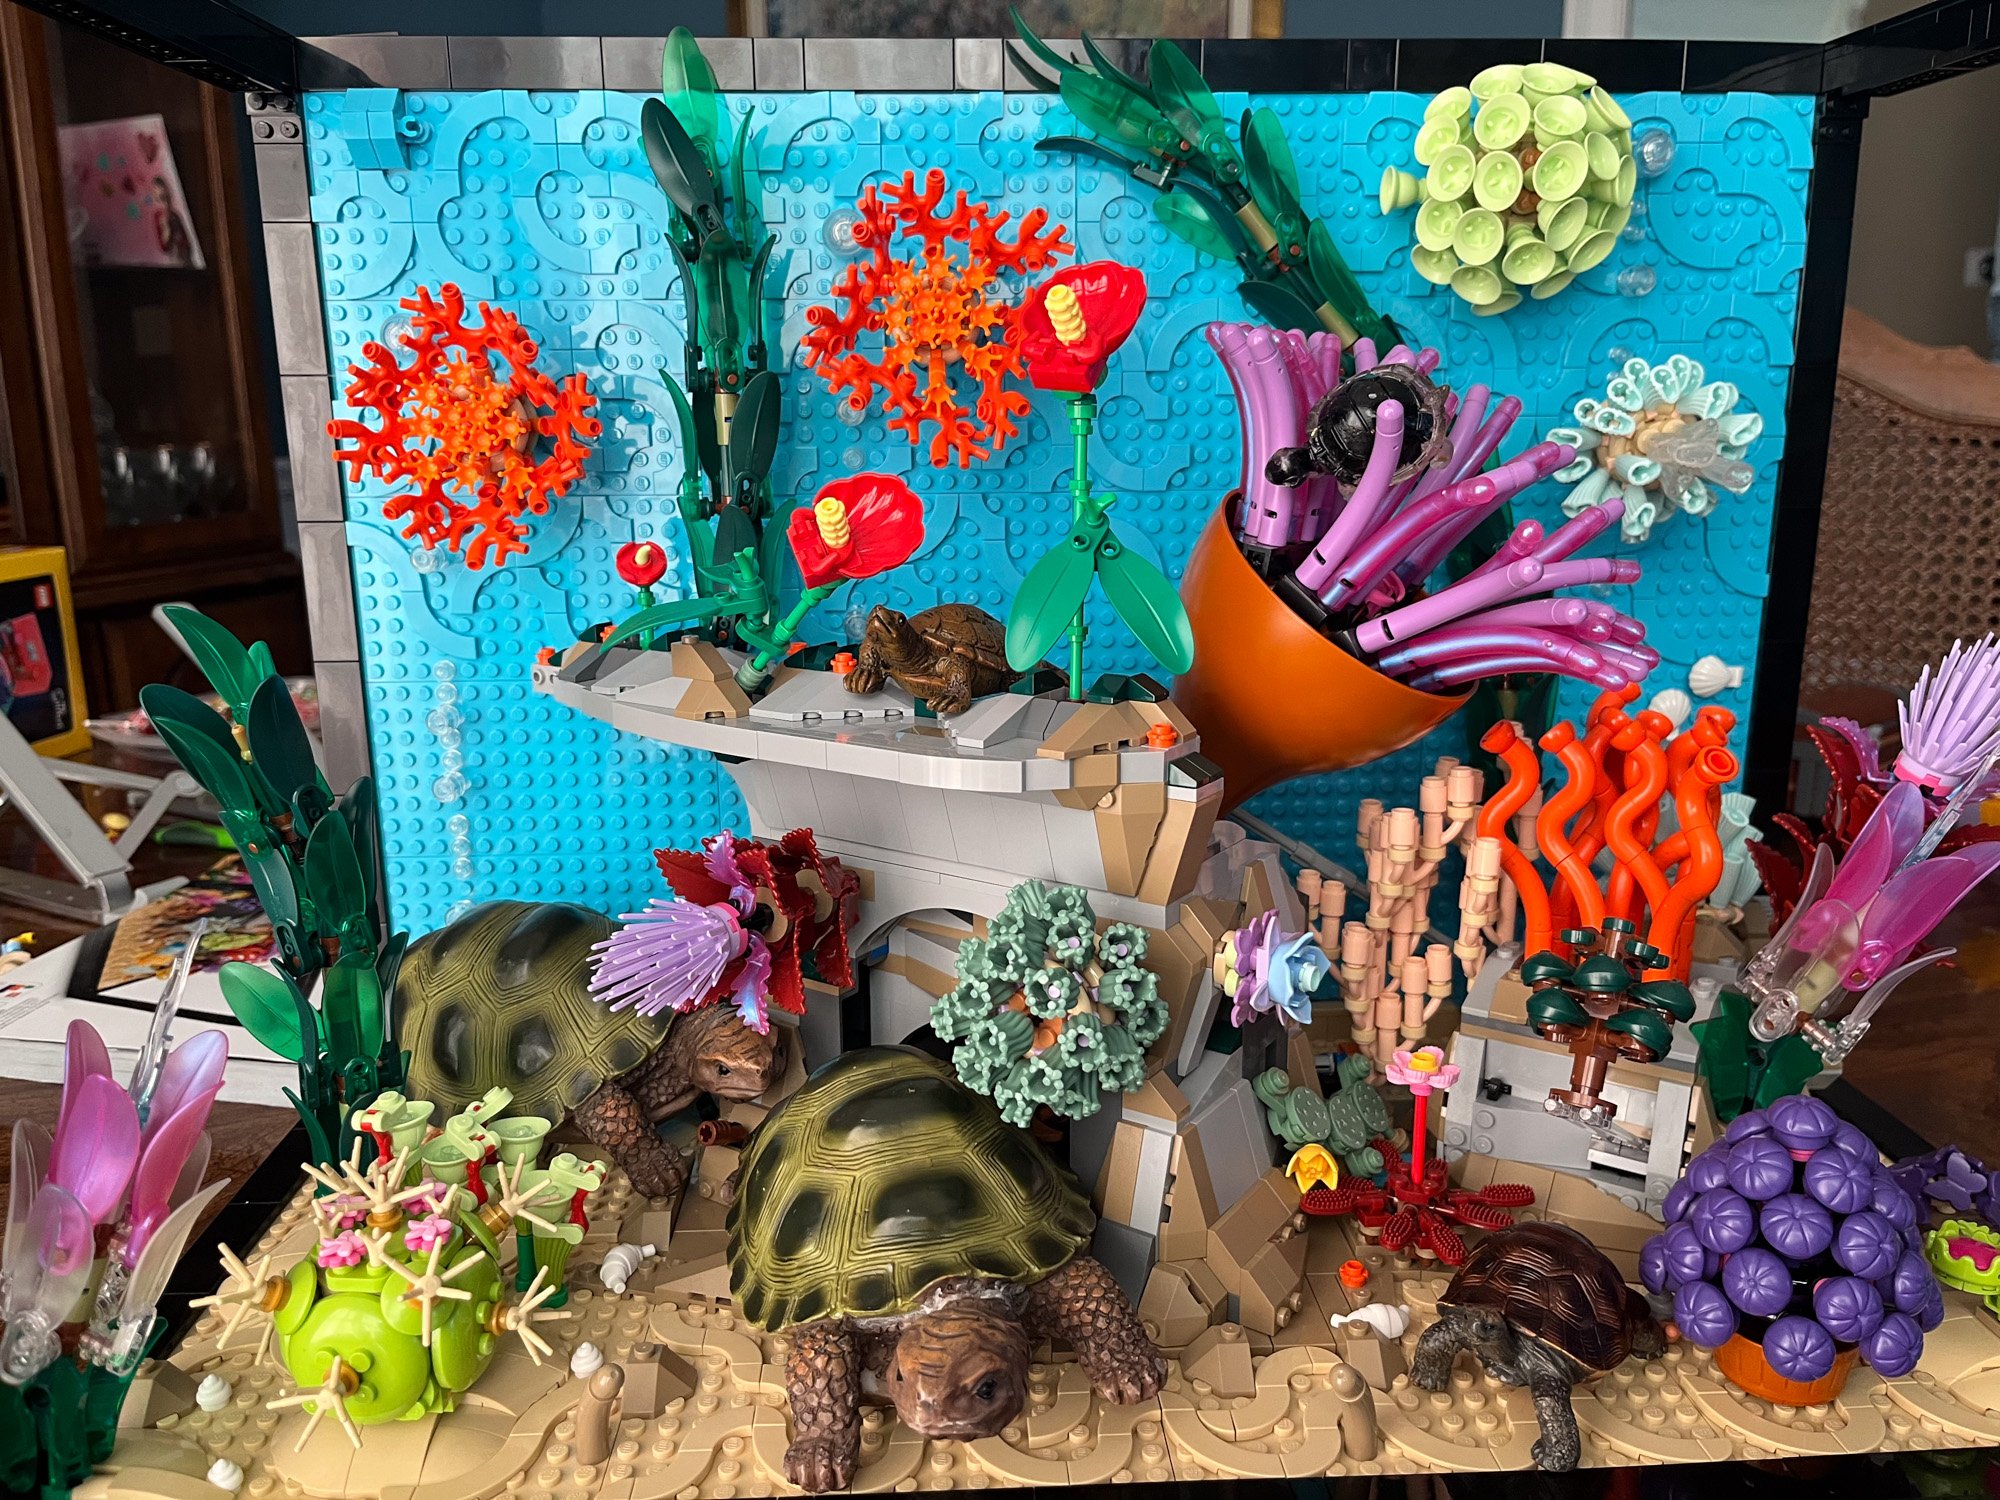
We made it a home for his turtles, all lovingly named “Bob.” The Bobs were quite happy in their new environment, and we added all our LEGO plants from the windowsill to give them hiding places. (How many Bobs can you find?)
Bowser Behind Bars
Once the Bobs had enough fun, it was time for me to do what I like best: break the set apart as quickly as possible and make it into something else—because not everyone wants to spend $500 on fake fish when real ones are cheaper and more fun to watch.
Step one: remove all the plant life and fish, along with the rocks and motor mechanisms. Easy! It took under five minutes, and most things stayed together nicely.
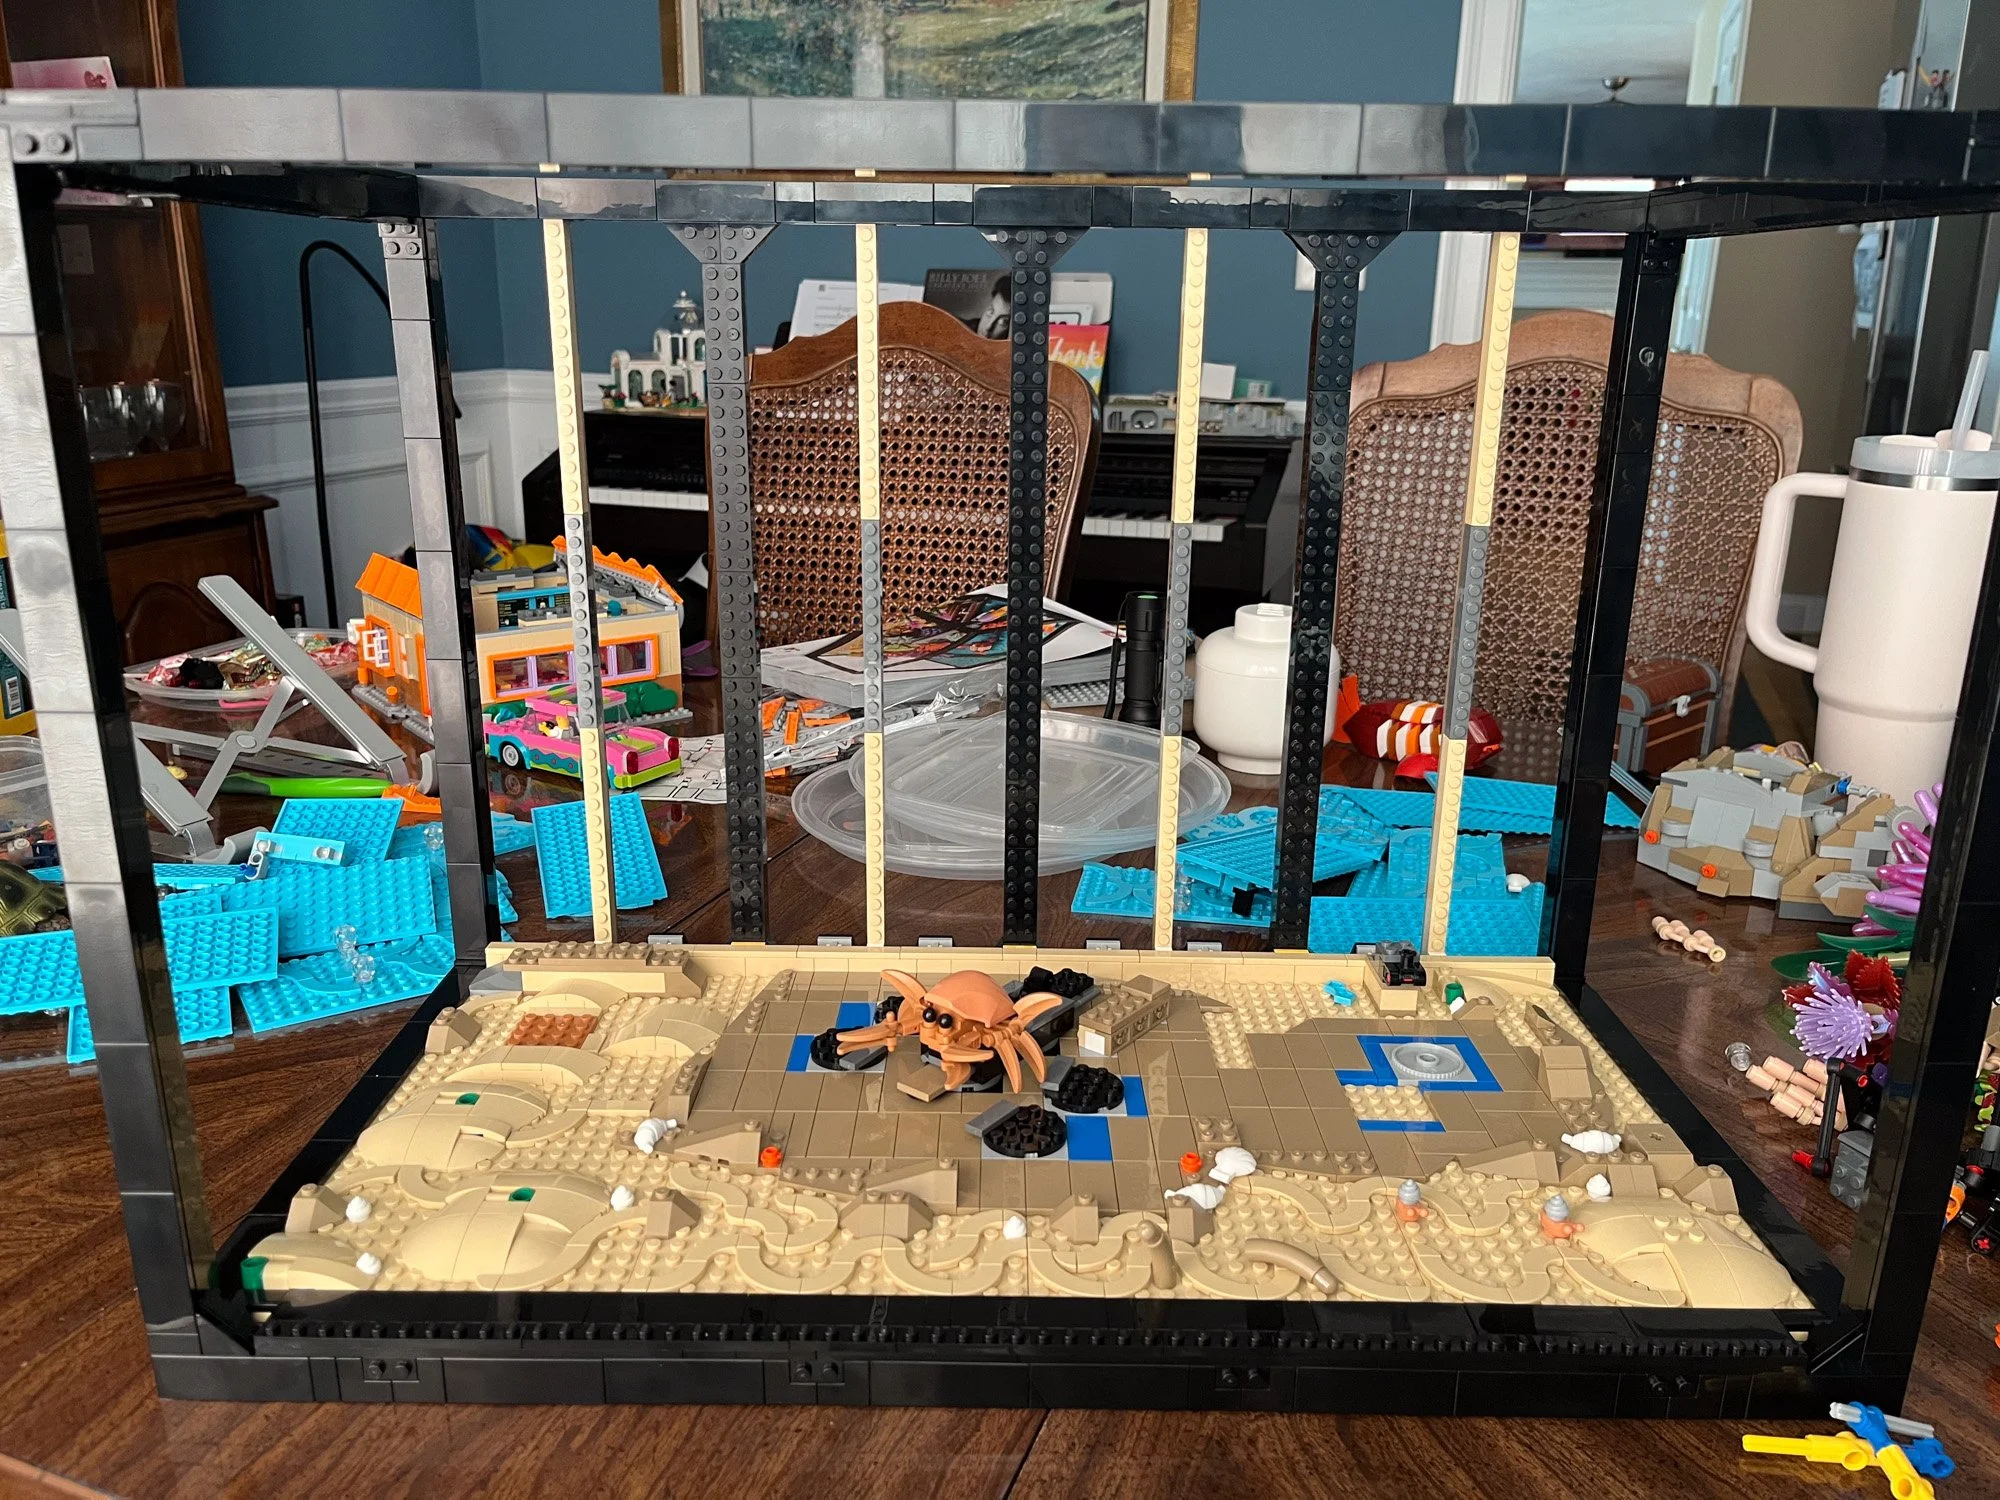
Step two: remove the backing. Not my greatest idea. What I didn’t realize was that the backing was keeping the frame stable. Once I removed all those boring blue plates and tiles, it became super unstable and precarious. But, it started looking like a cage or prison…
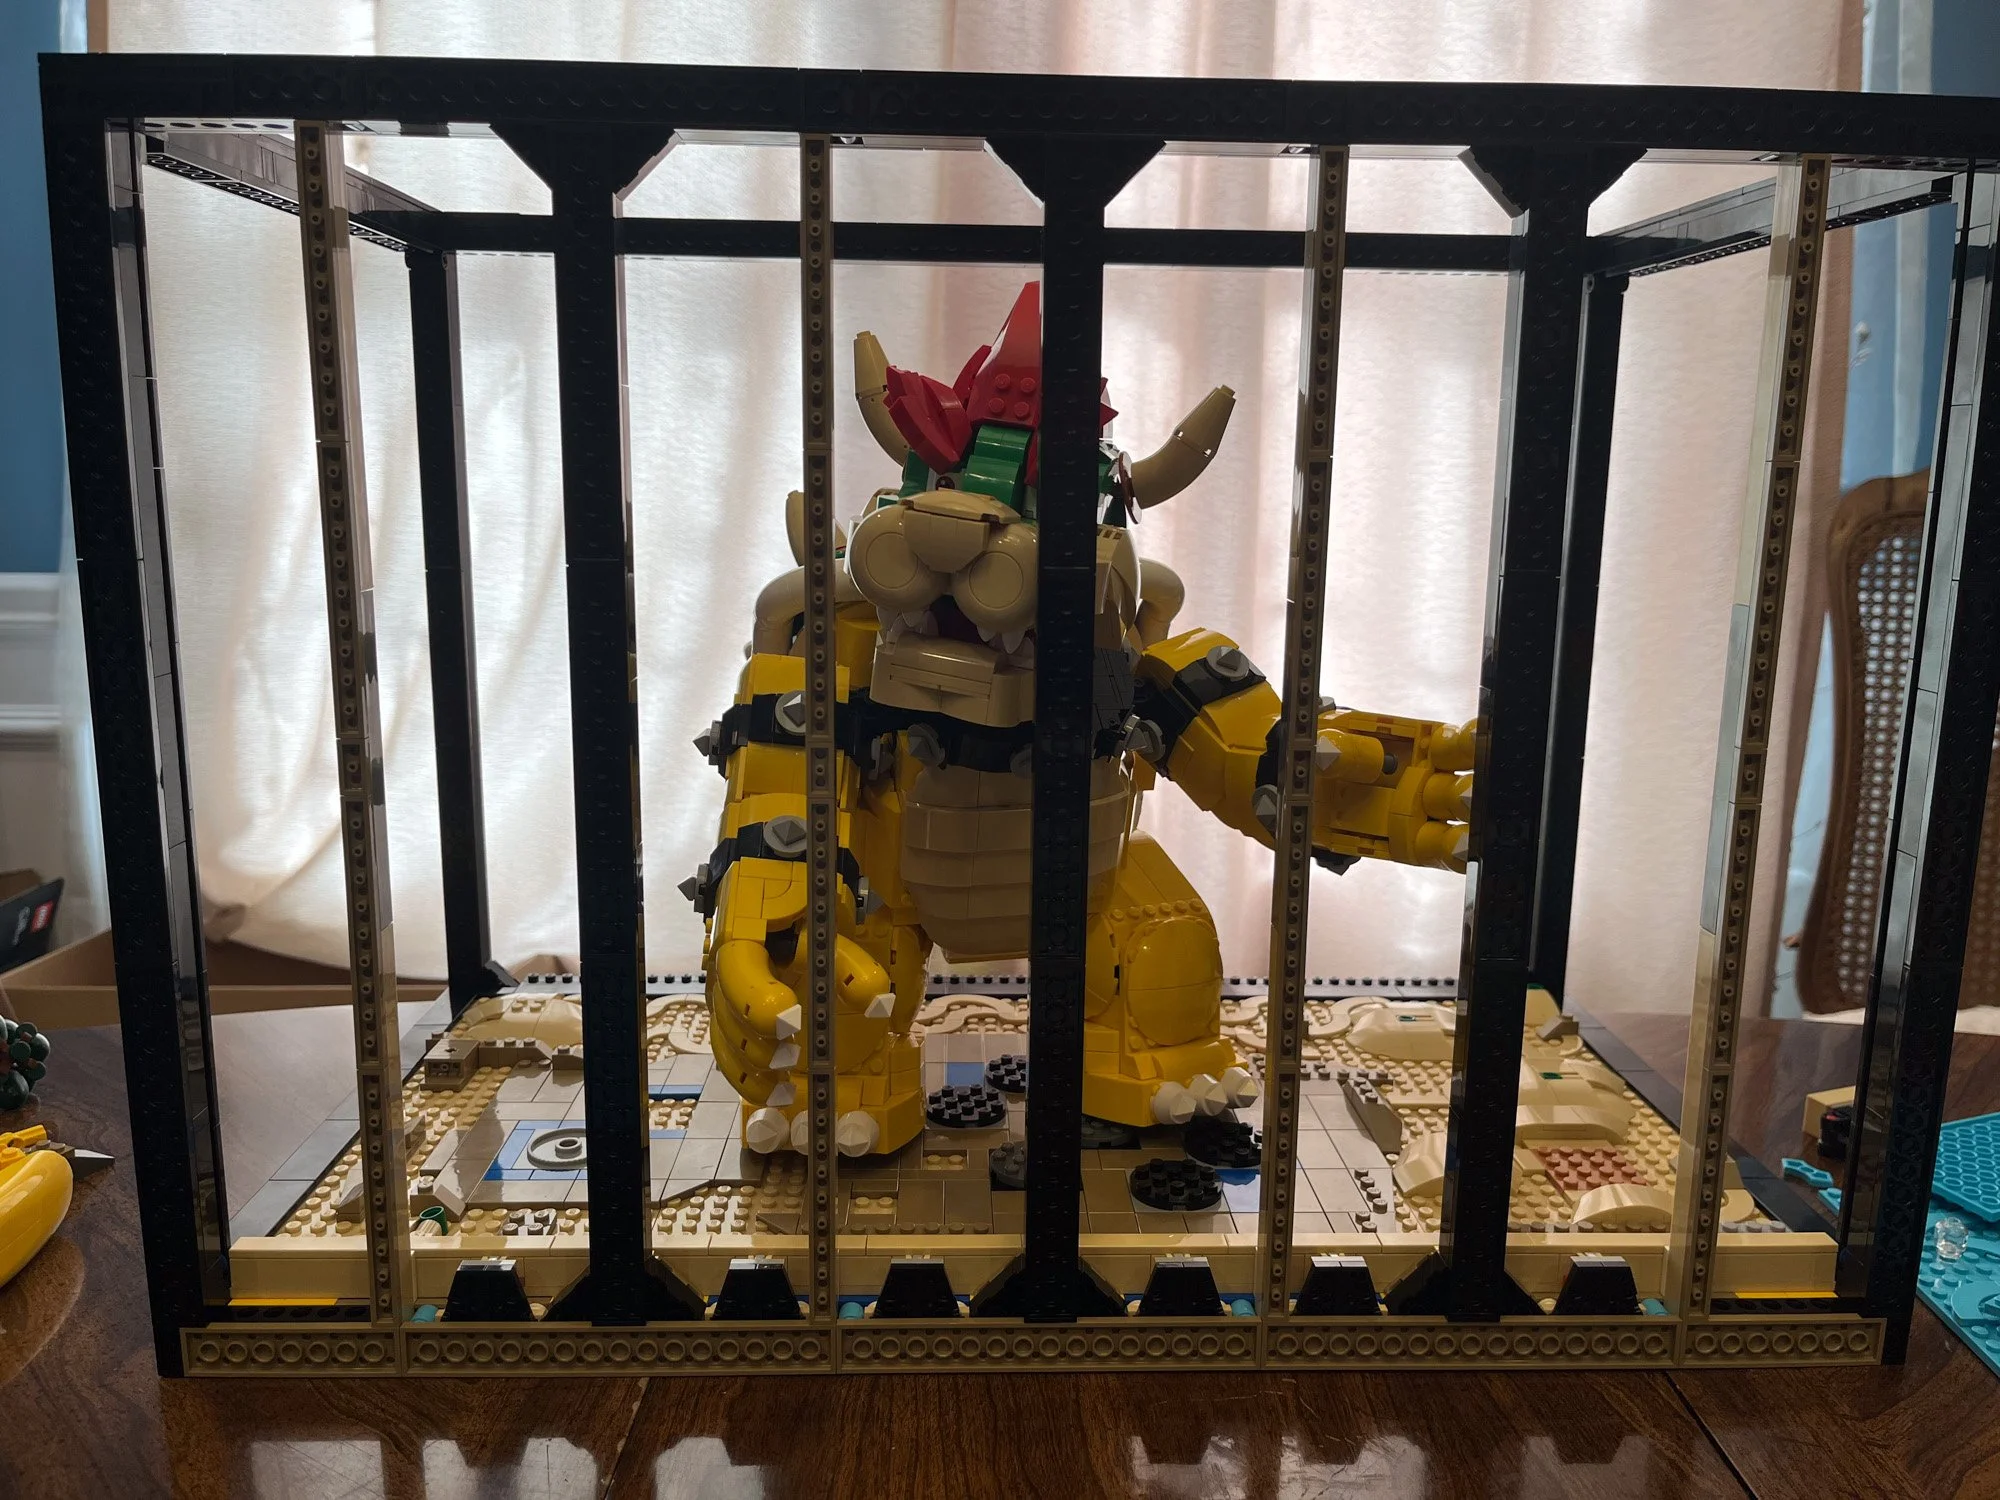
Still, not one to give up easily, I made do with the bar-like structure that remained and added 71411 Bowser—behind bars. It actually works great as a display for any large set or could even be used as a light box for MOC photography if you really wanted to. I wanted to put the LEGO Creator 31129 Tiger in there (lovingly known as the “butt-hole Tiger”), but I couldn’t find it in the moment.
The Deep End
Once Bowser escaped, it was time to move what remained of the set to my LEGO disaster zone, known as the basement. Easier said than done.
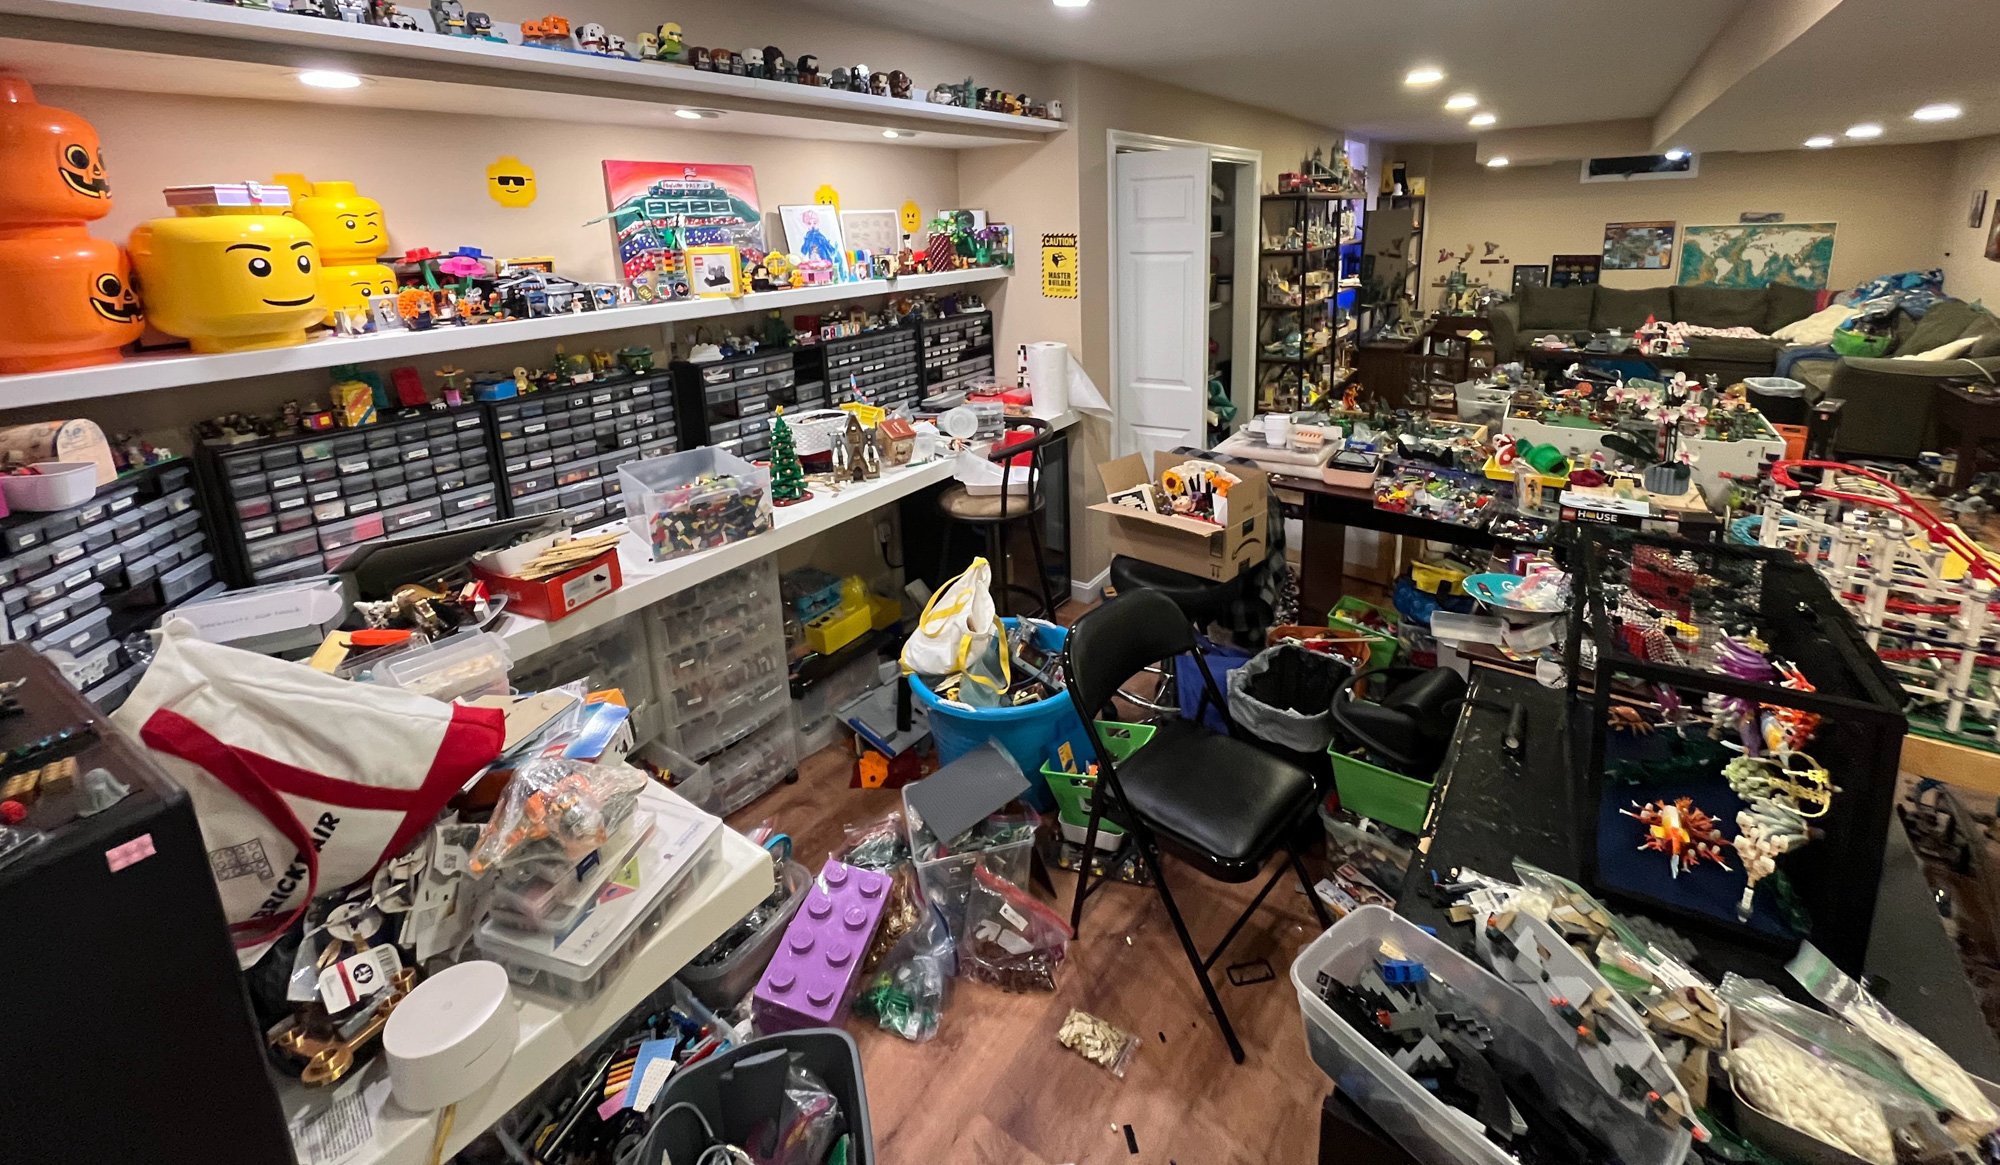
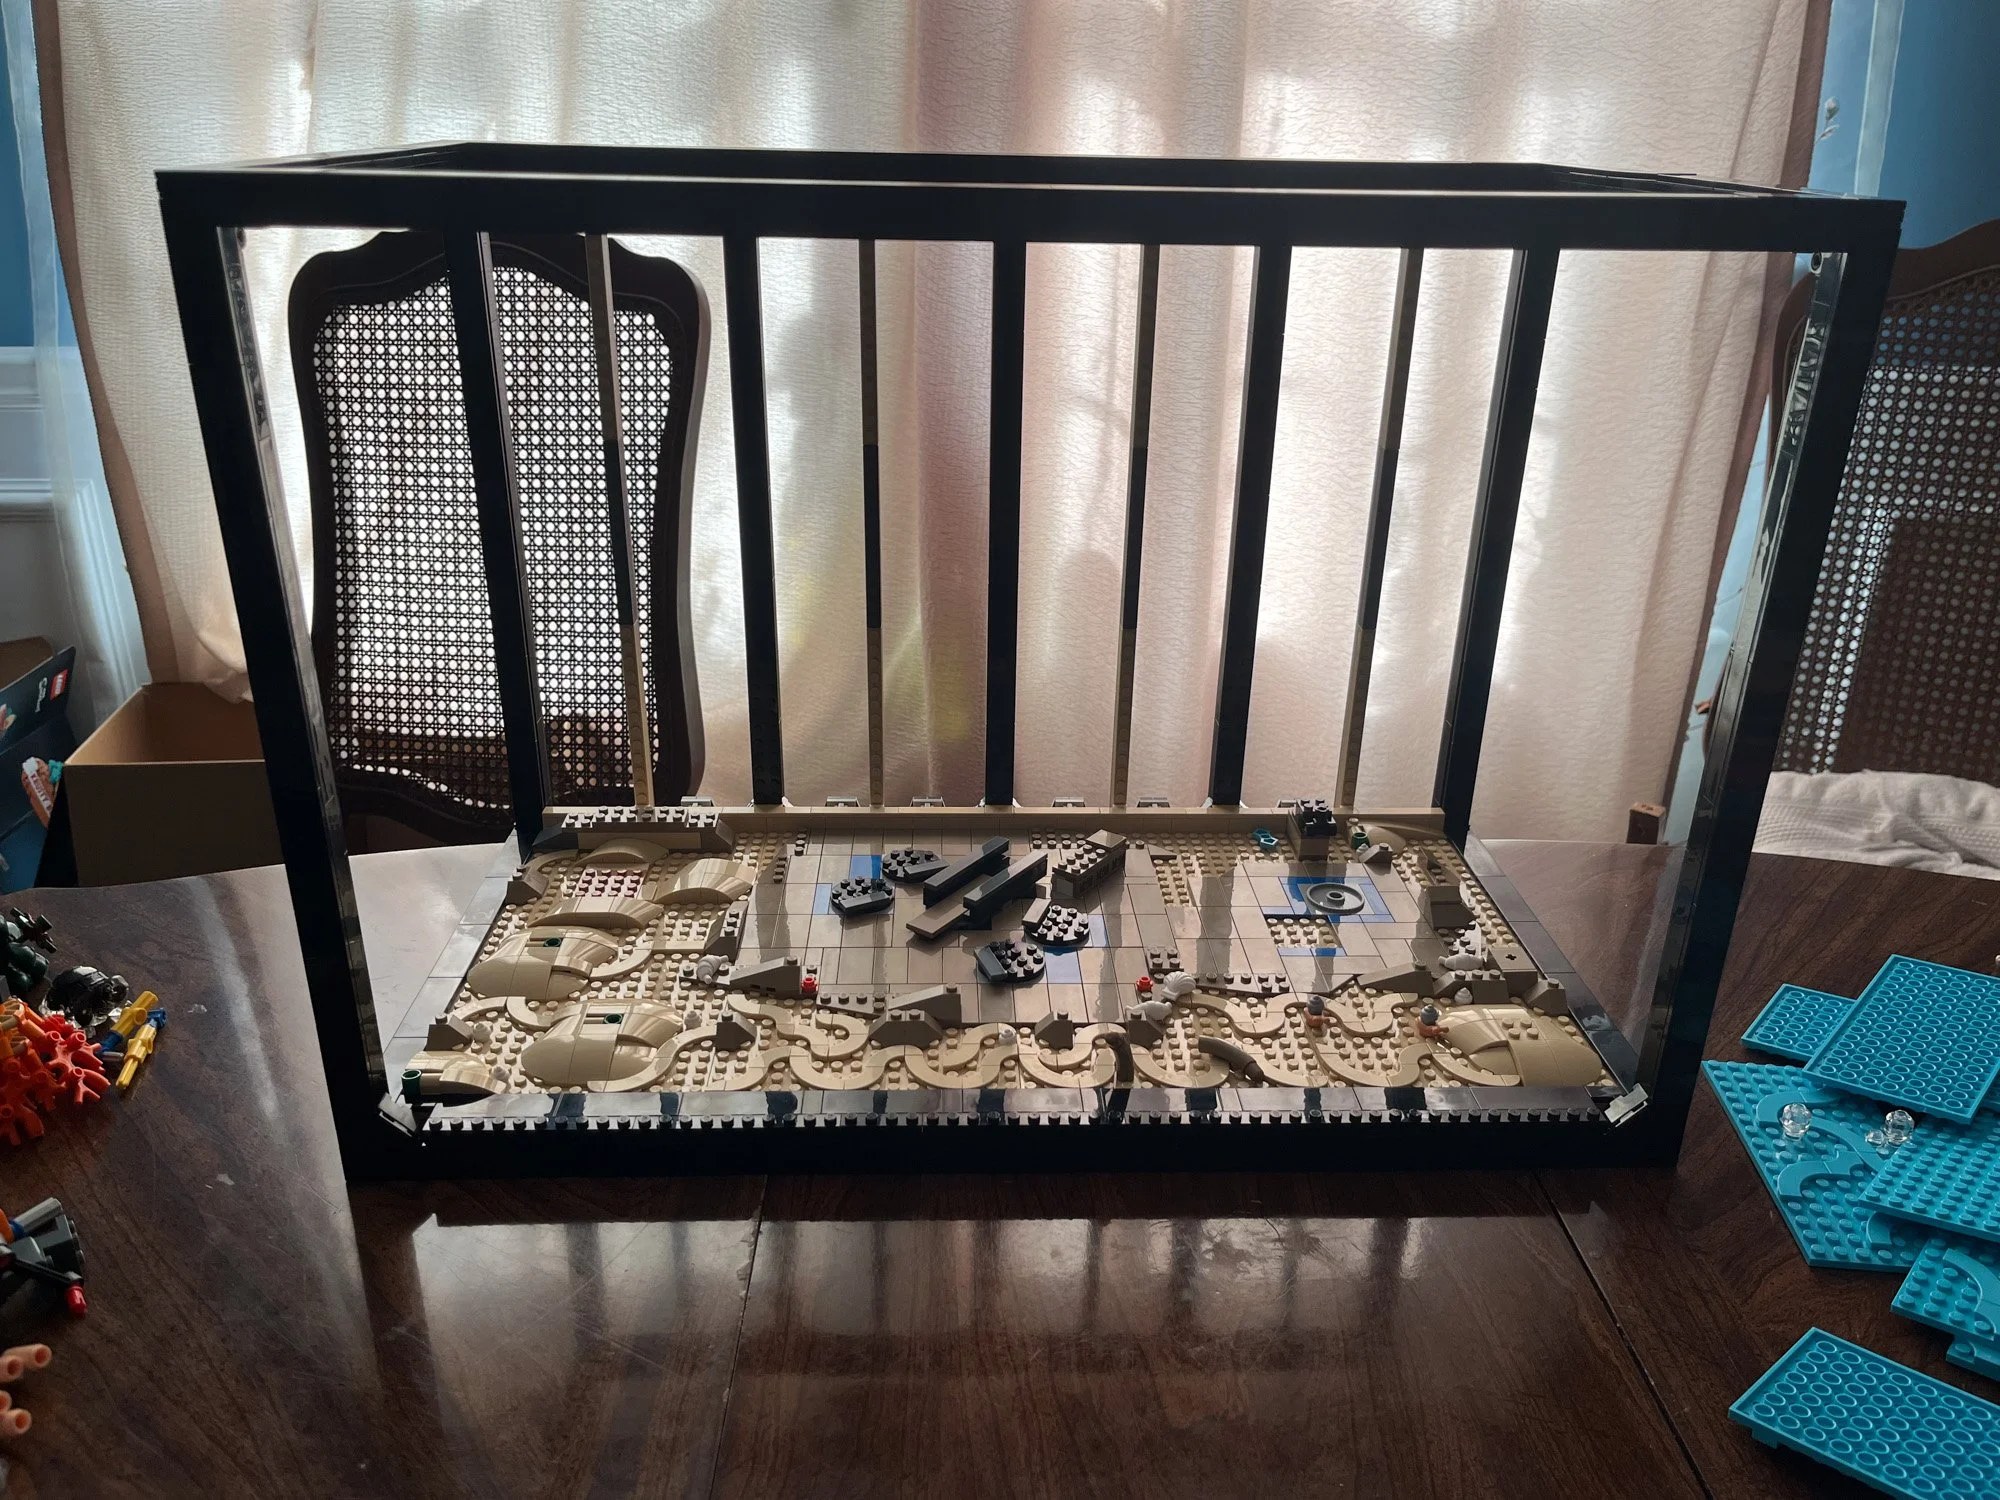
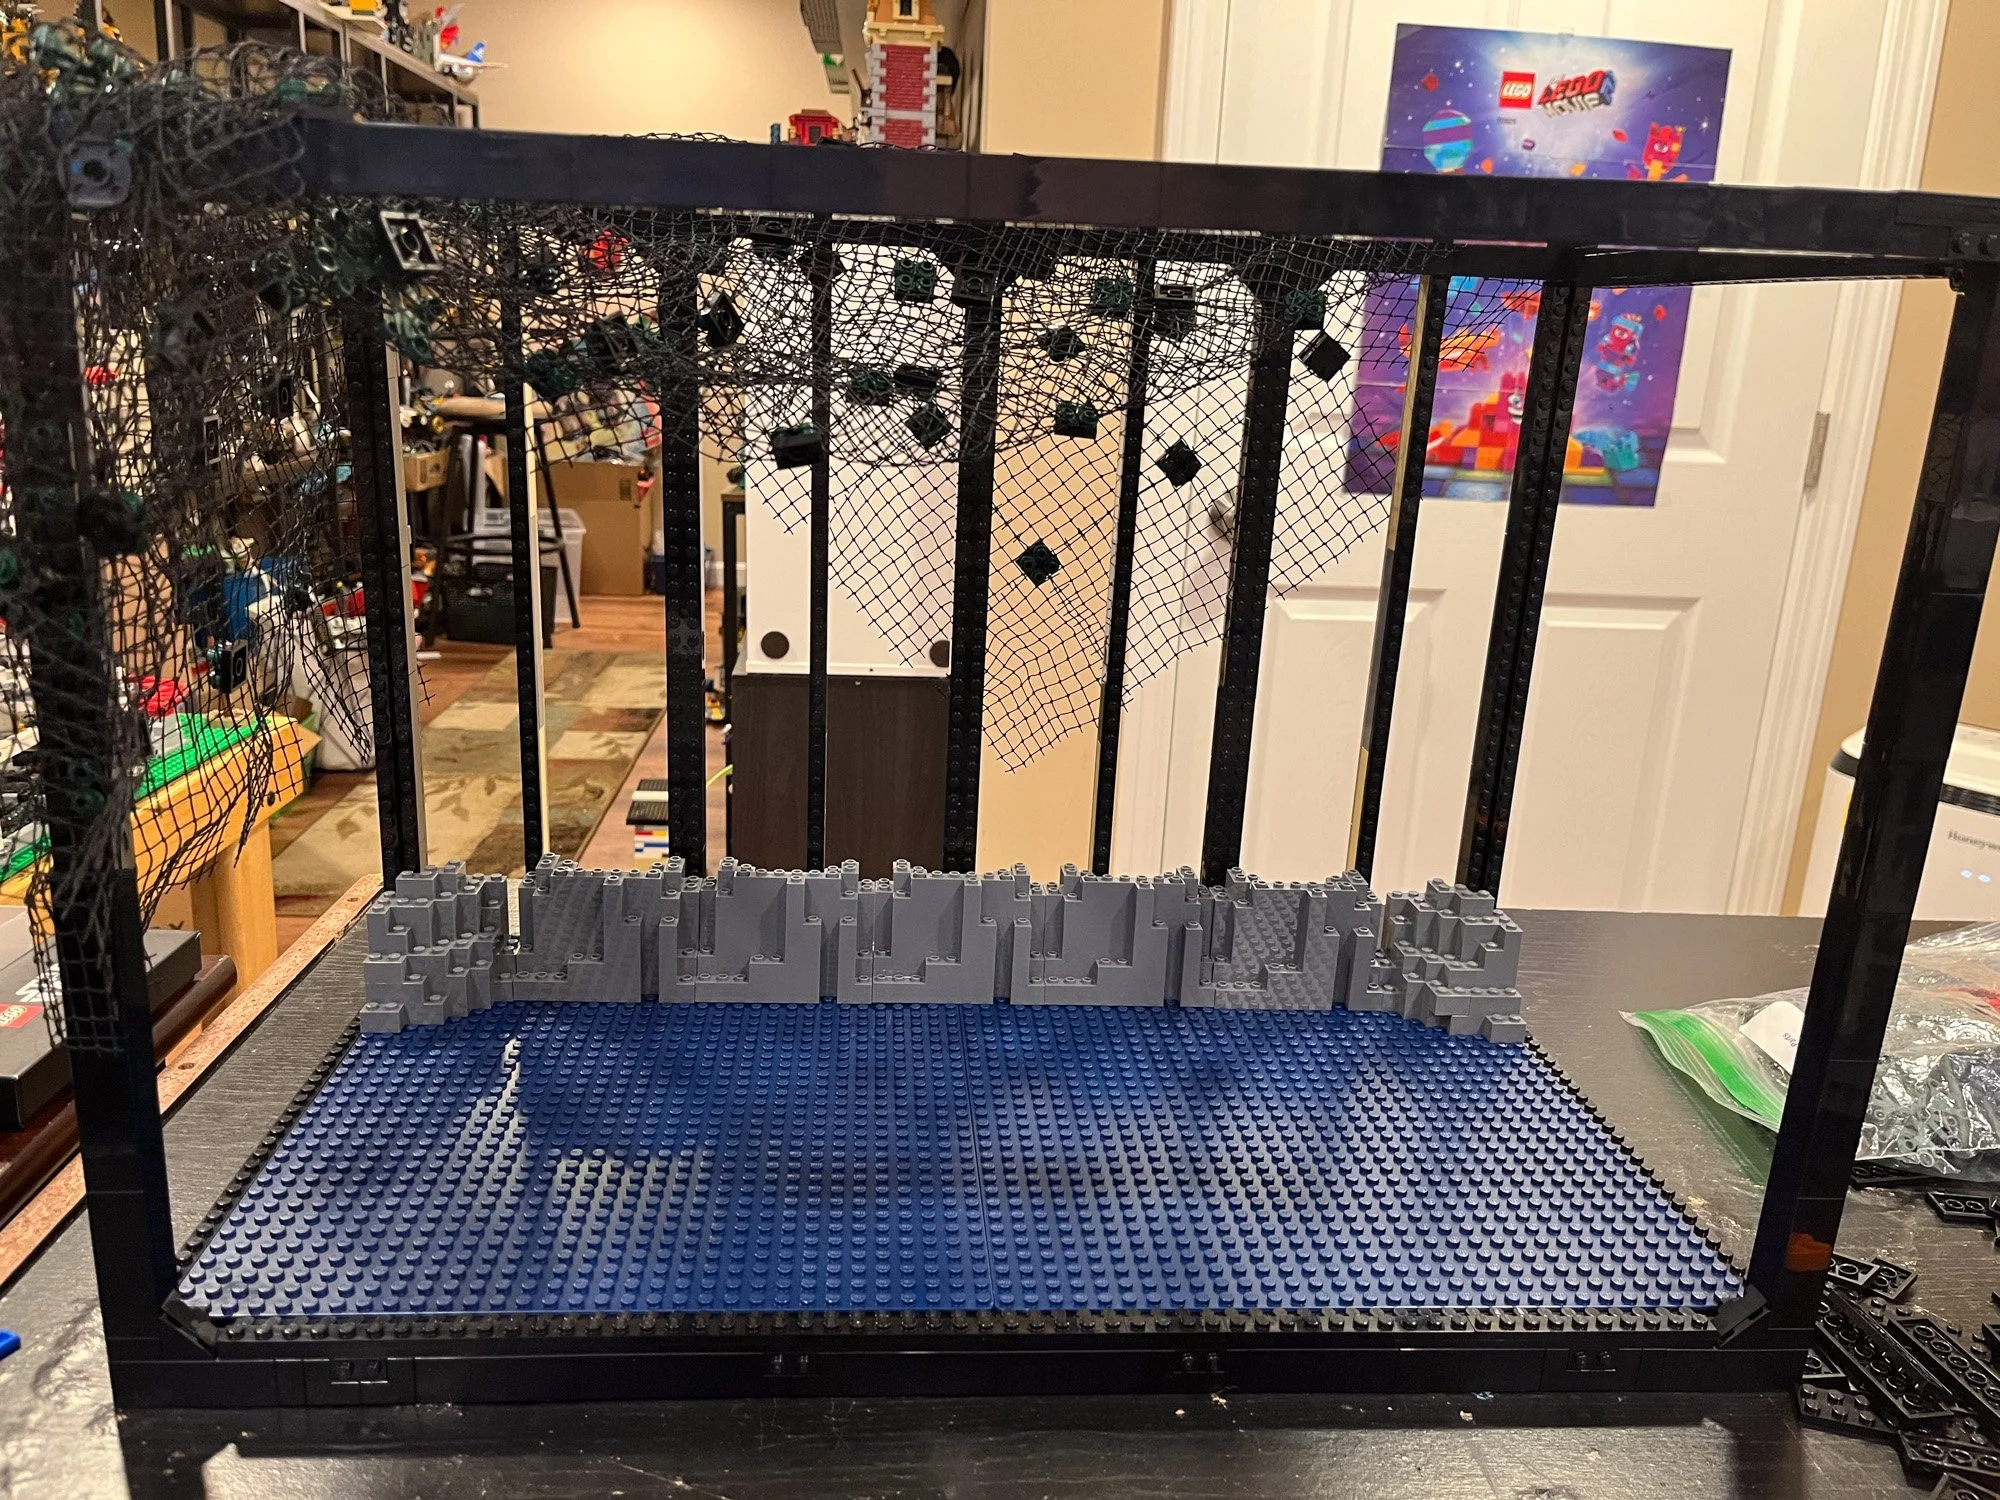
After removing even more of the set, the sand floor included, the frame was a breath away from collapse. This was not going to be easy.

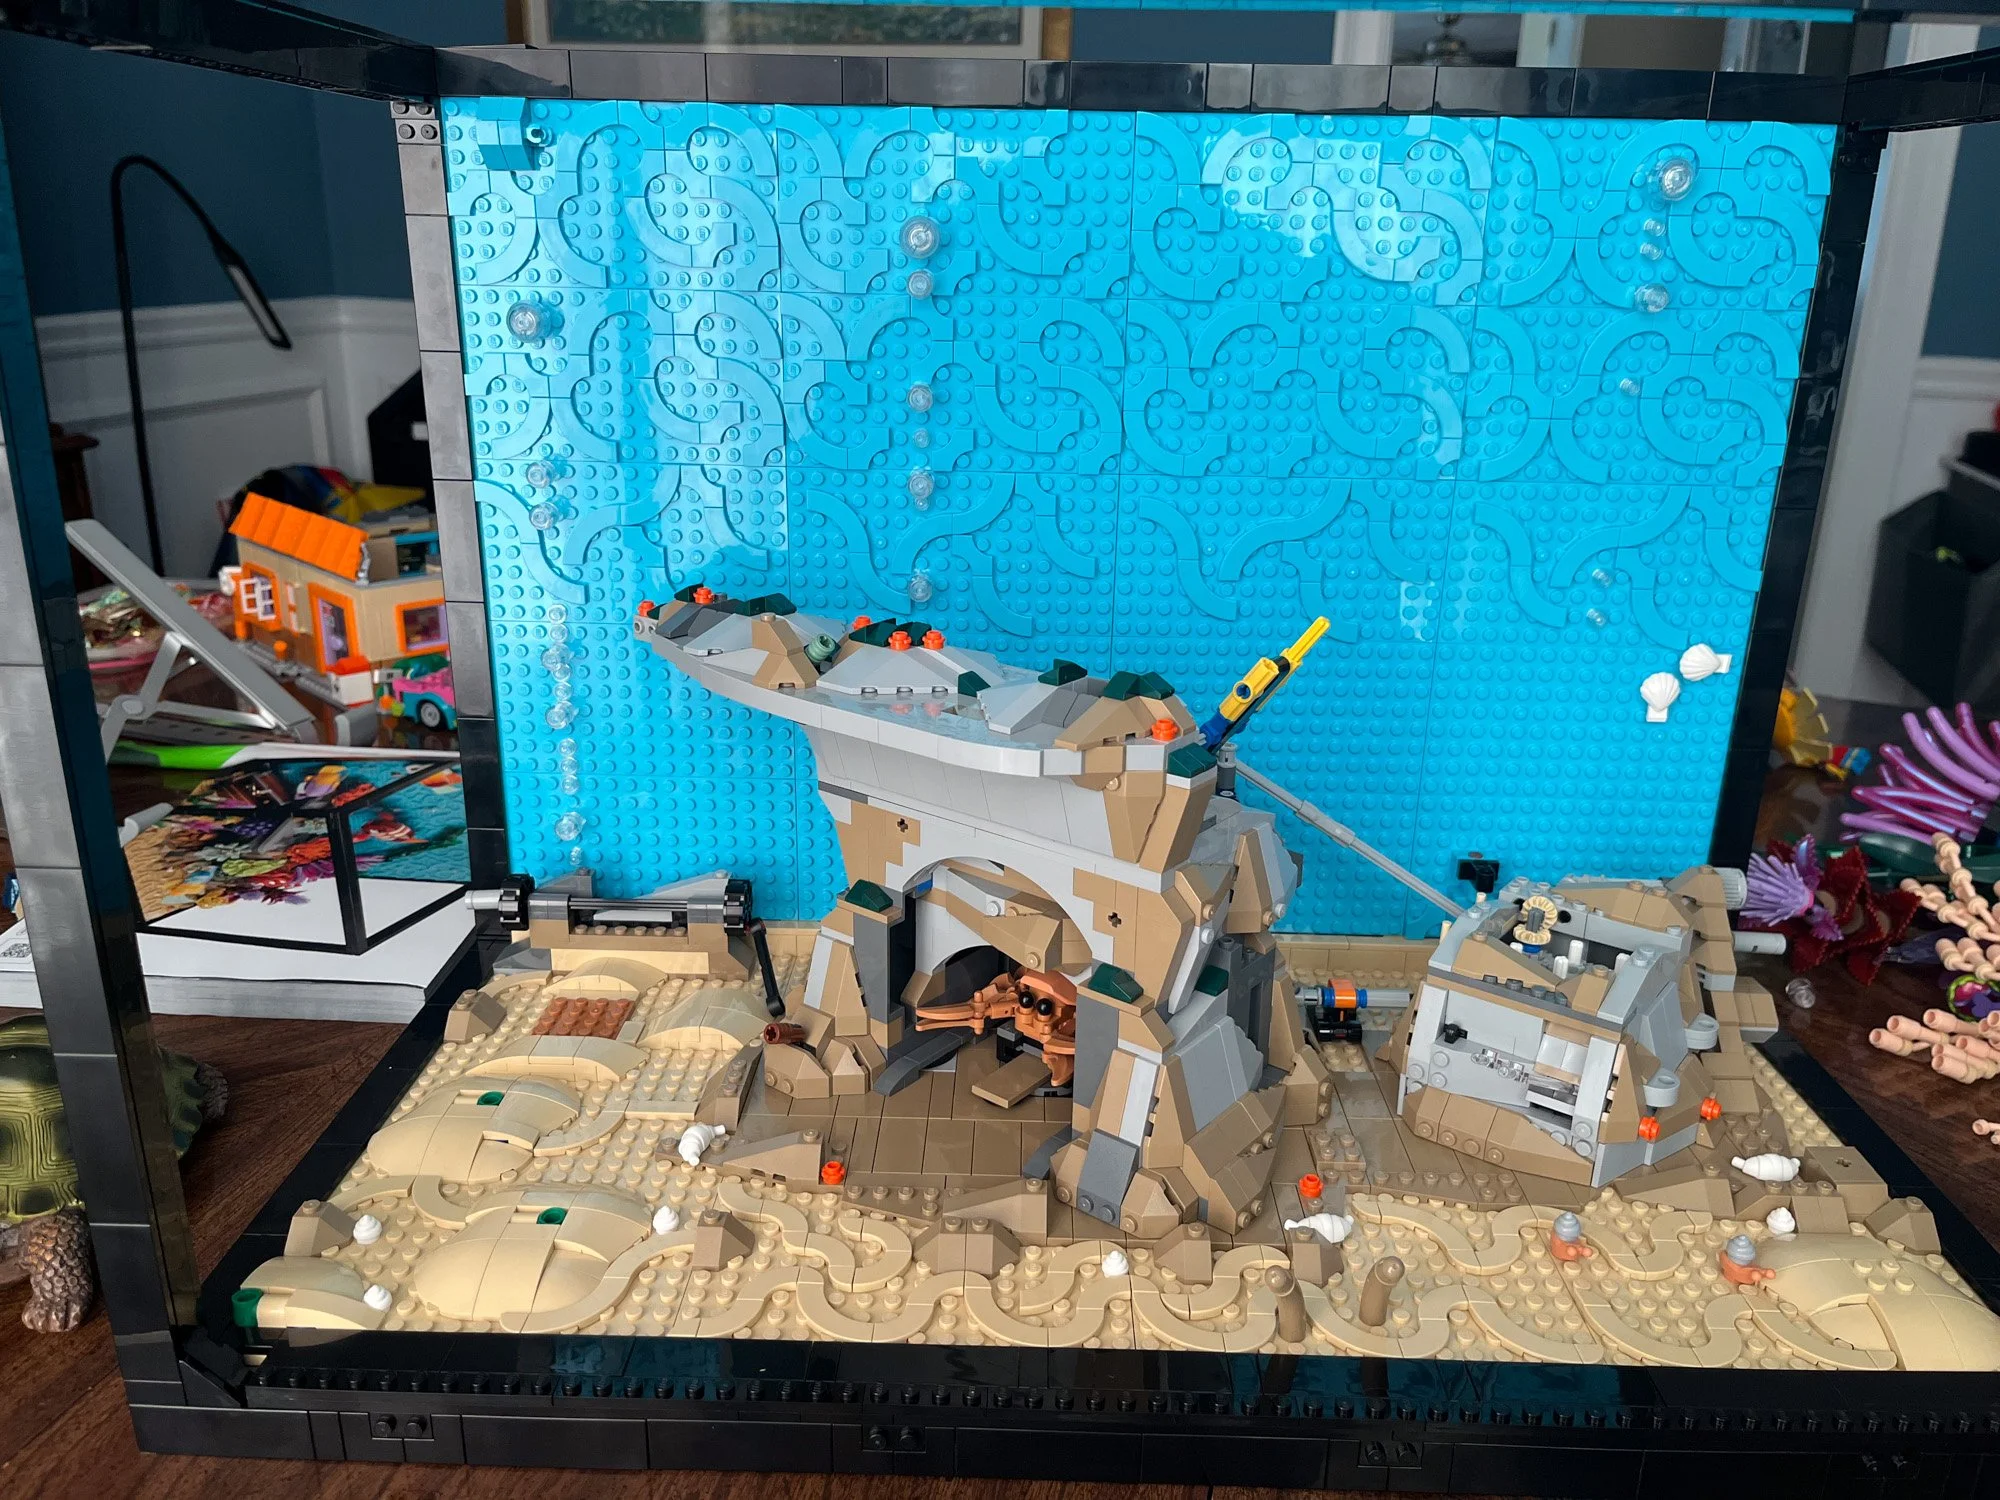
I quickly replaced the set’s sand floor with the first baseplates within reach (they happened to be white). The frame turned out to be perfect diorama size, fitting two 32x32 baseplates on the bottom, though they don’t actually attach. The back wall was larger and more complicated, so I had to add plates on top of two more baseplates. (Cue some swearing and language not fit for younger audiences.) The back wall bested me several times, separating from the base repeatedly. No amount of brute force would keep the clips together, so I eventually ignored the gaps and forged ahead.
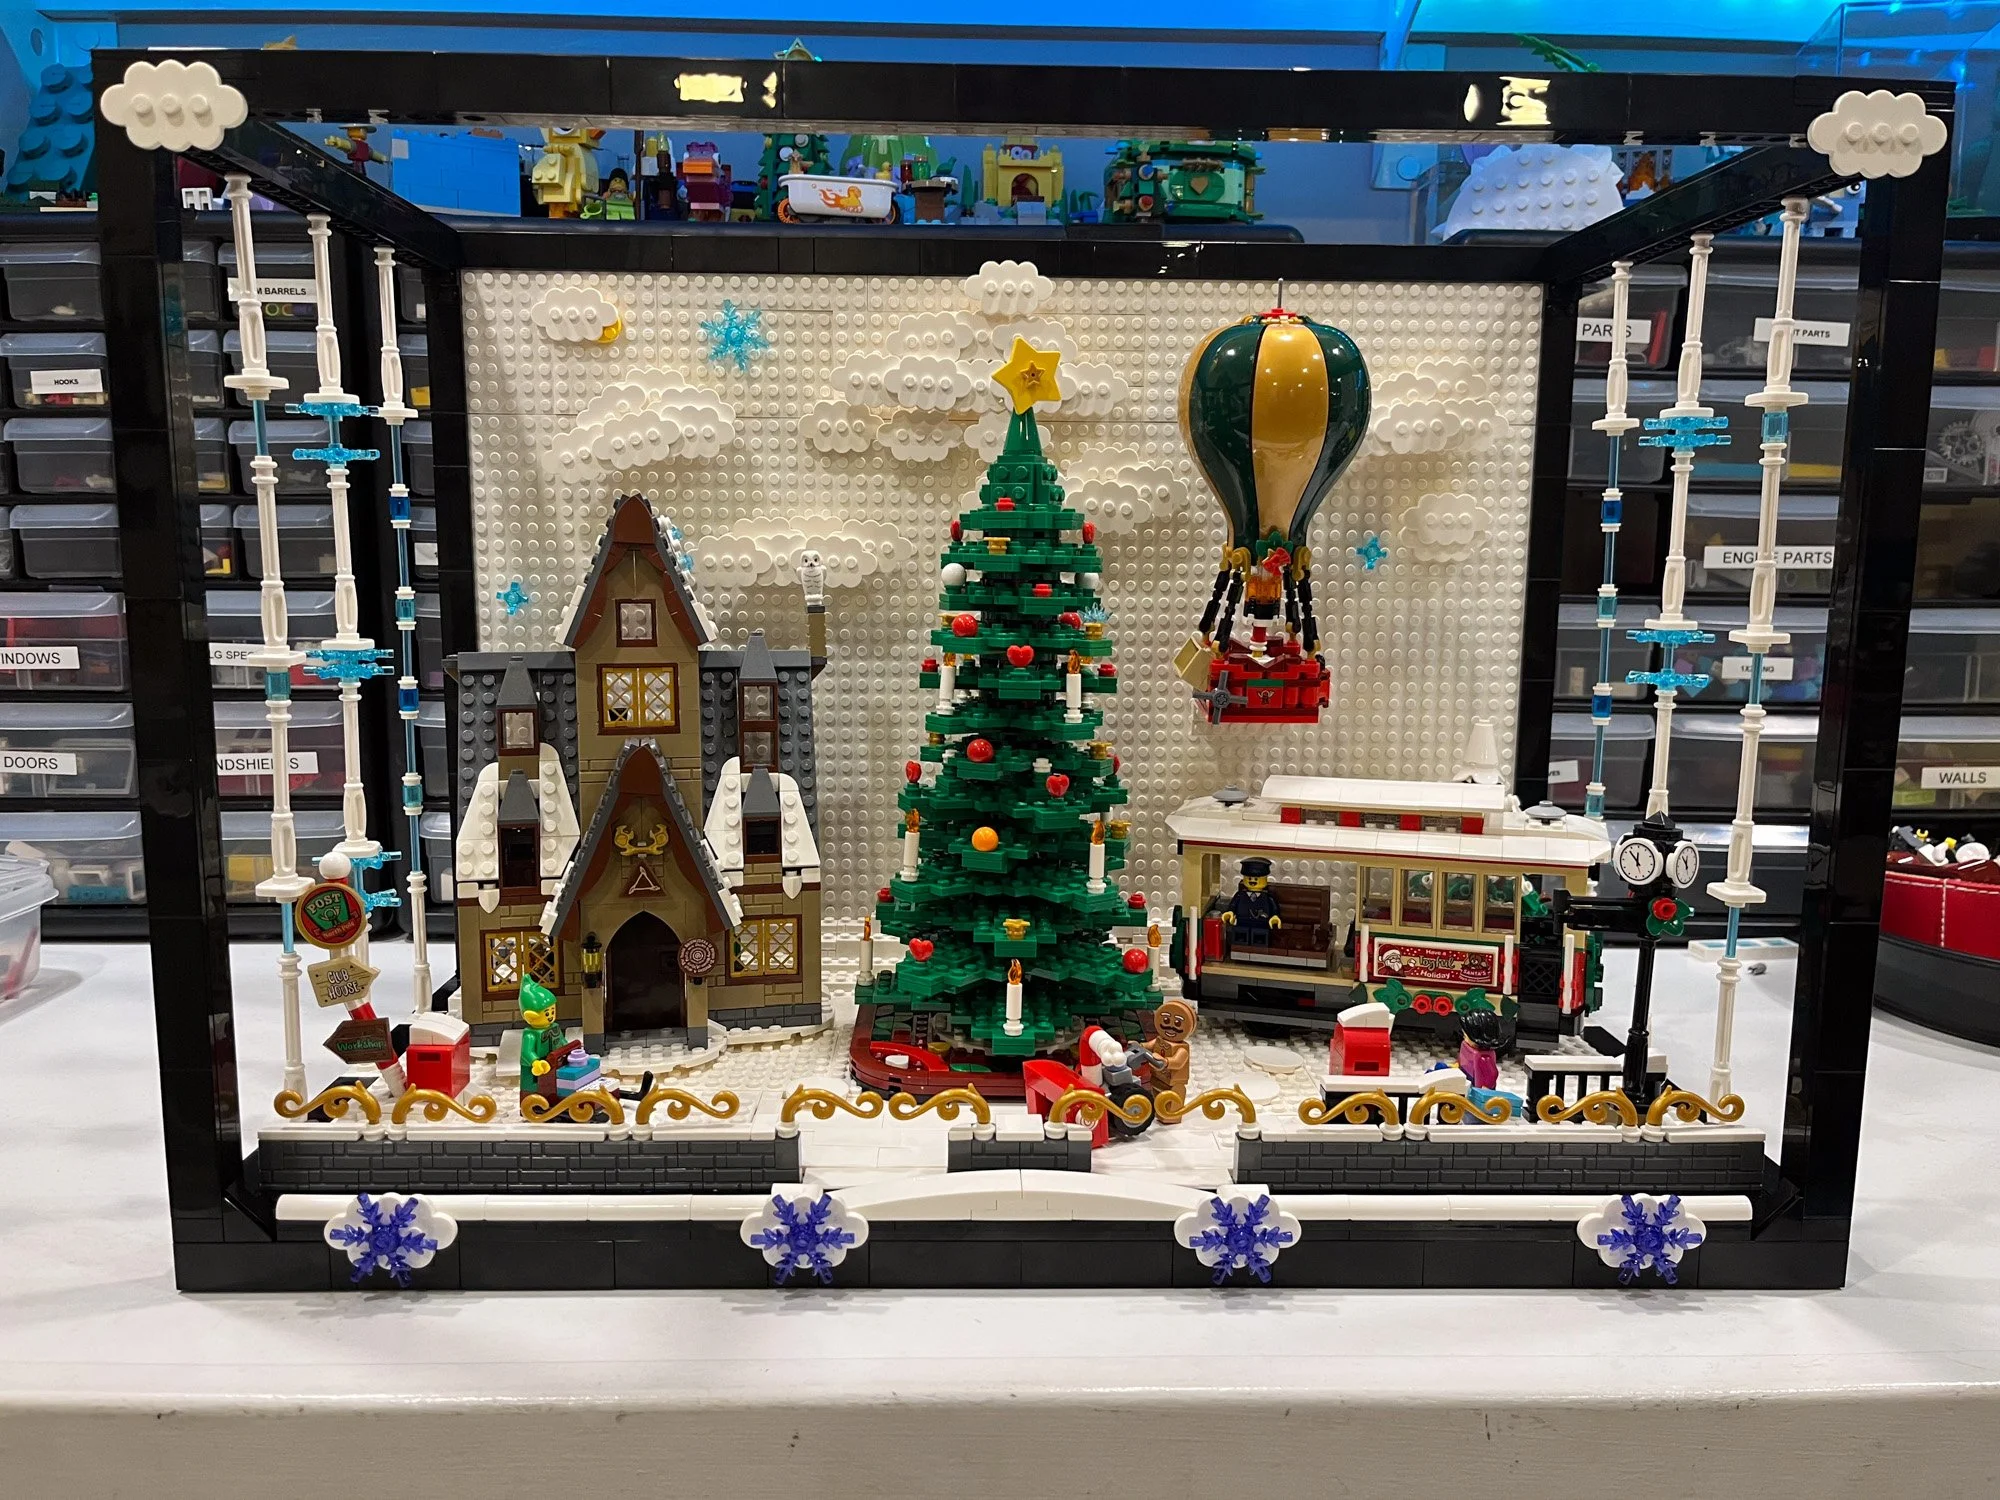
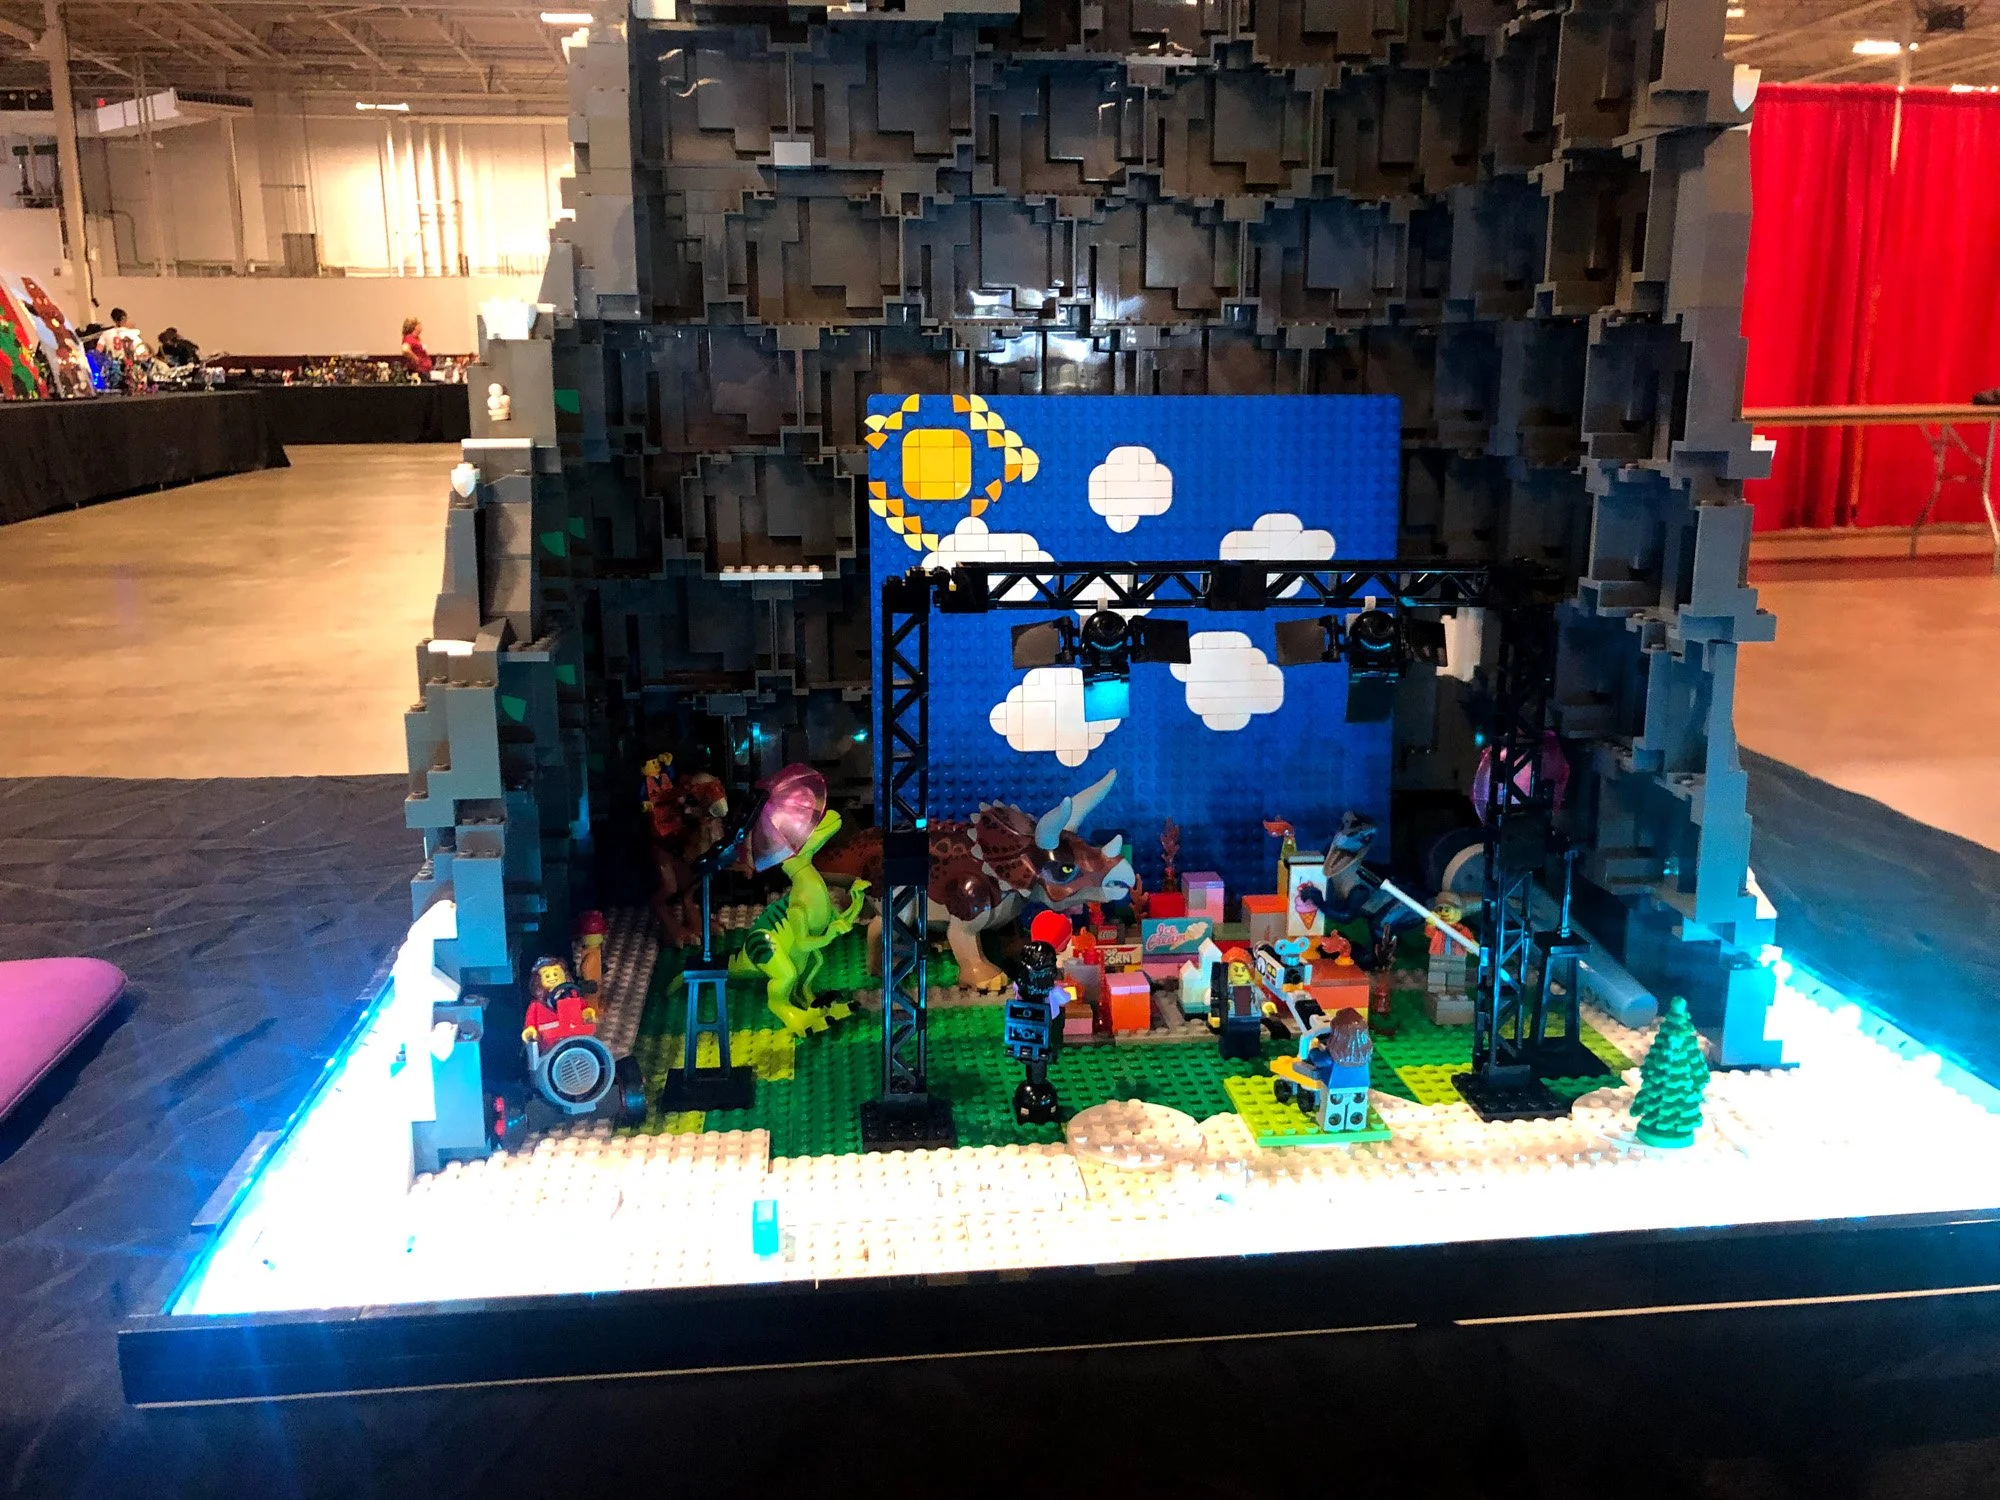
The diorama came out great, though! If I’d had more time, I’d have added lighting. I know how much the Nerd-in-Chief loves his Winter Village! I may have hidden a little Elsa Easter egg in there as well.
Glowing in the Depths
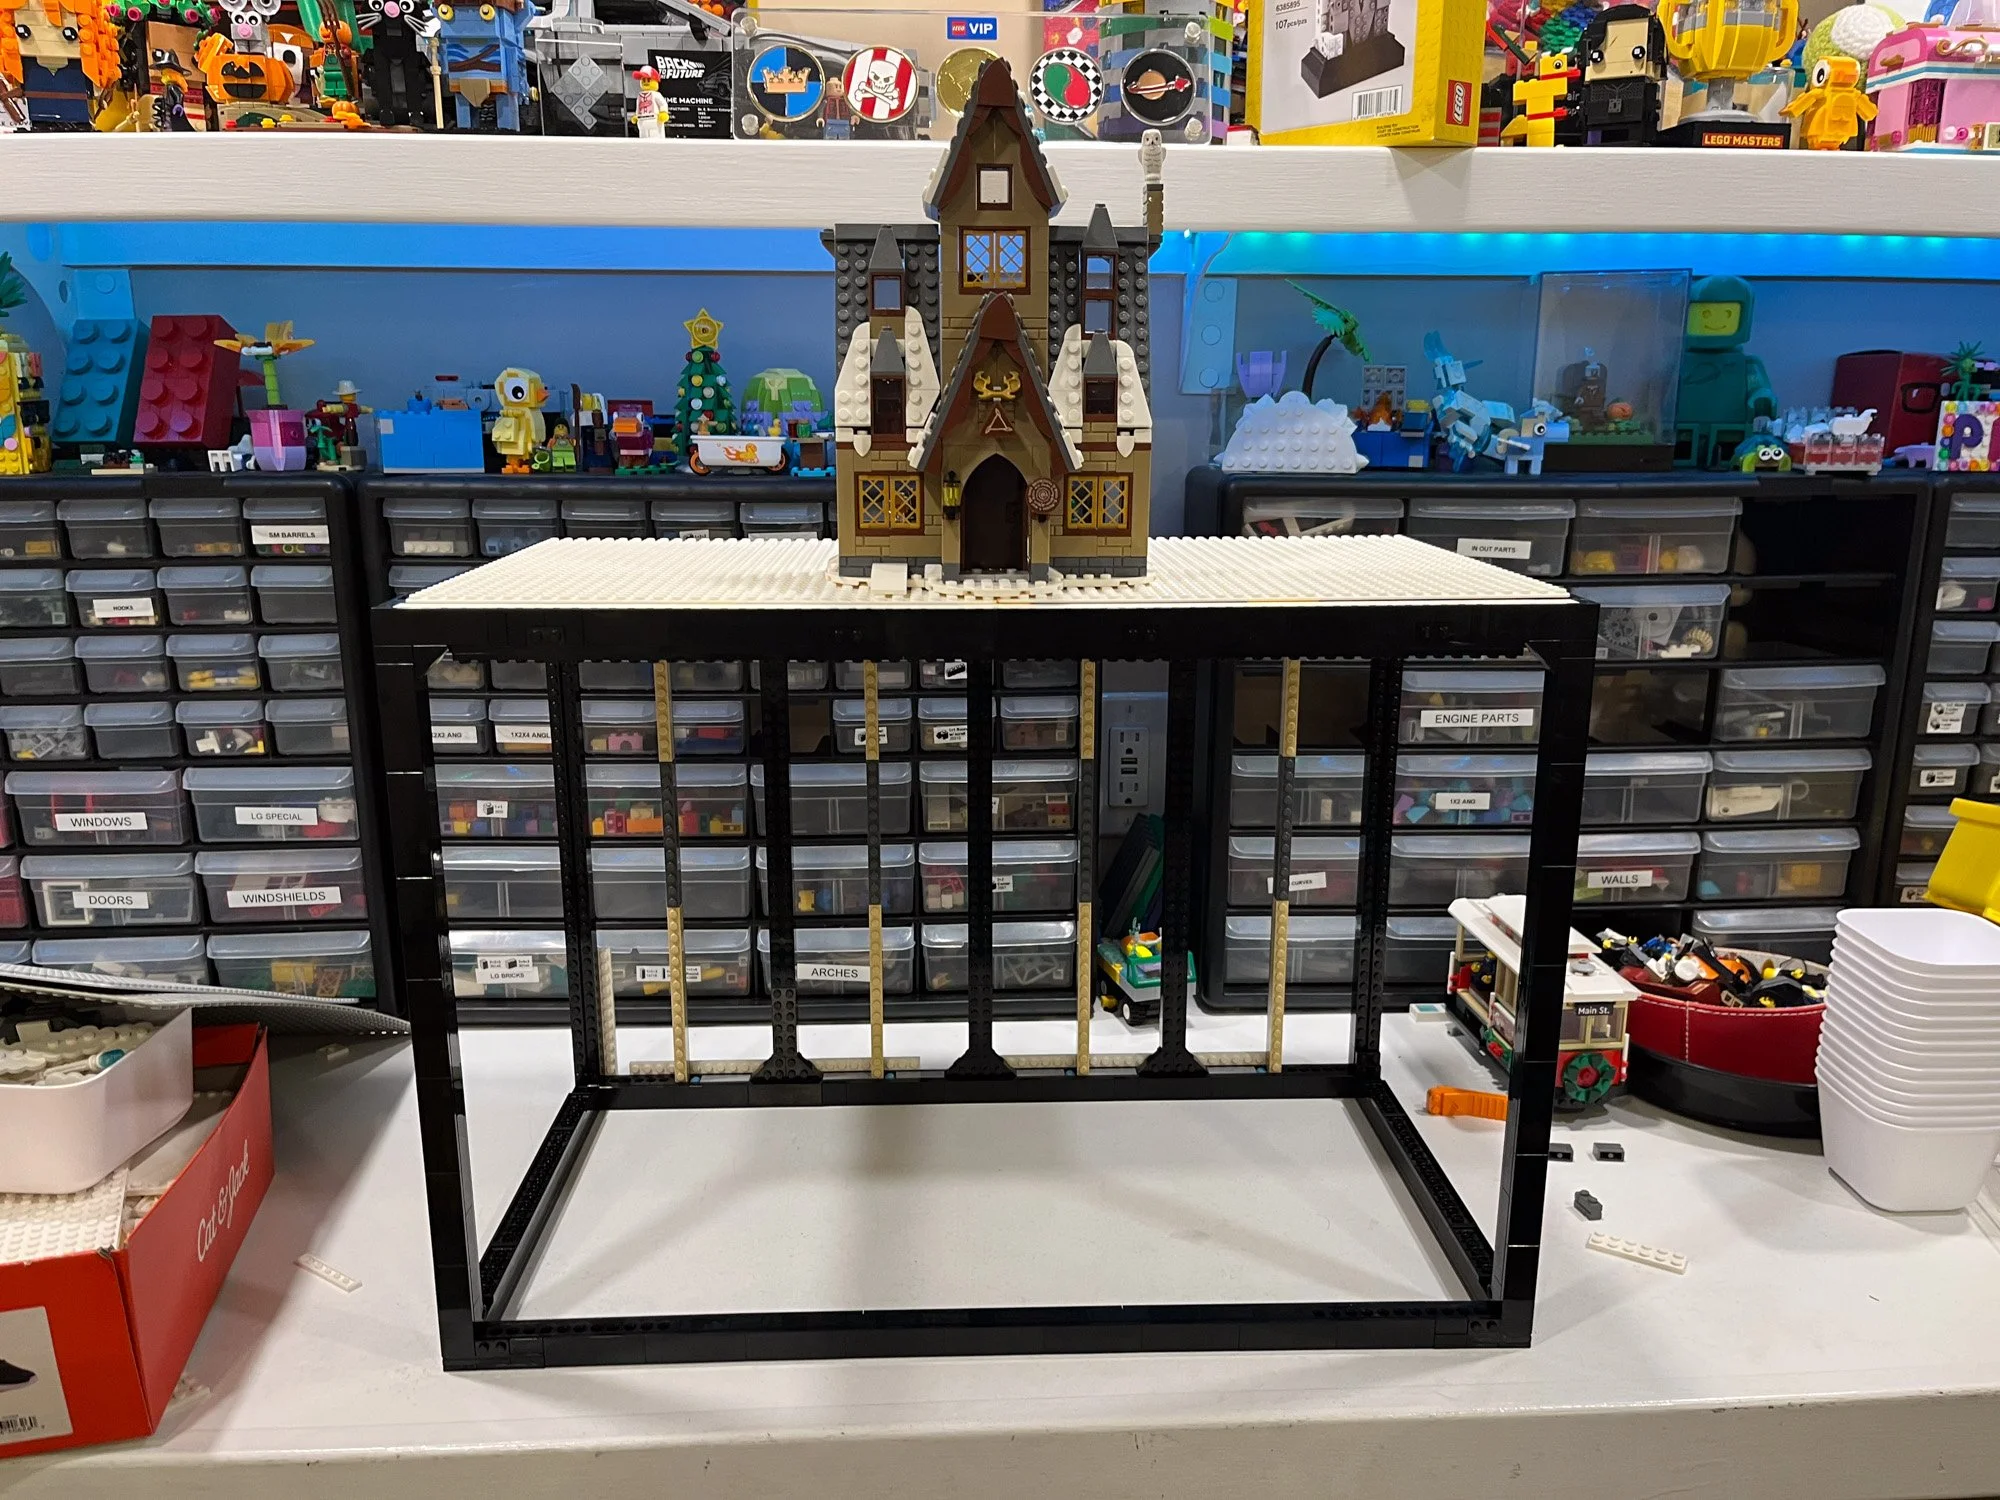
My next plan was to turn the frame into an end table. Cute idea, zero stability. Without Technic brackets or connectors to hold it together securely, the best I could do was flip it upside down and pile LEGO on top like a play table. It looked ok but wasn’t that functional.
Then came my next brainstorm: a lobster trap. The tank was about the right size, so I grabbed my tiny LEGO lobster, the crab from the set, and a bag of about 100 nets. Surely enough to cover the frame, right?
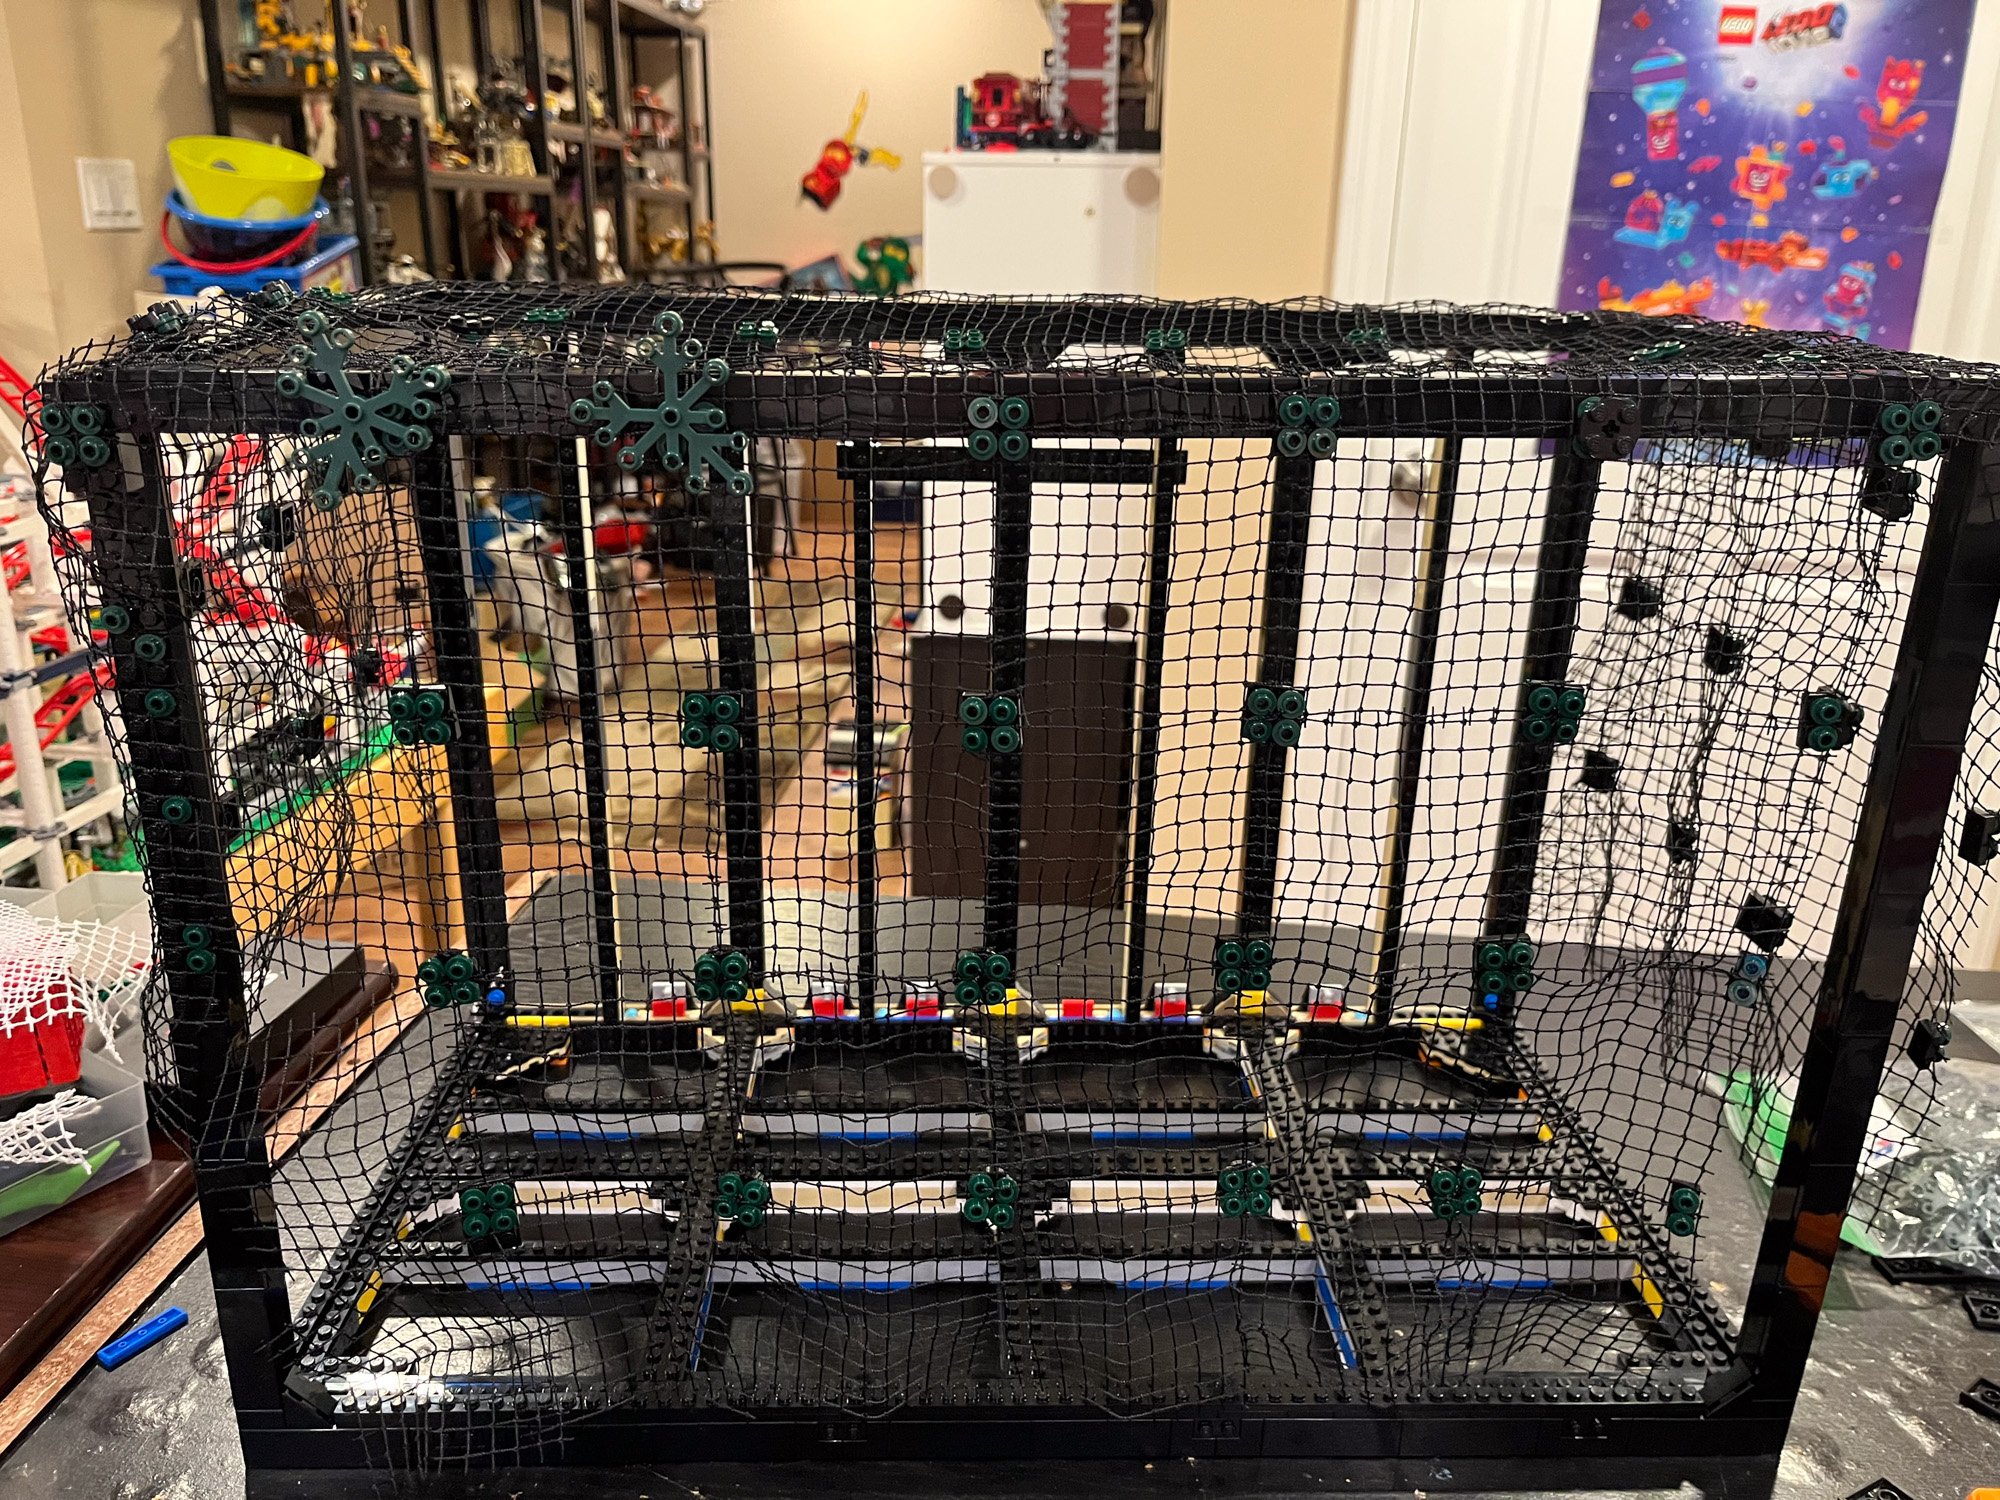
WRONG. After connecting every single one and draping it over the frame, I was once again disappointed in my lack of math and planning.
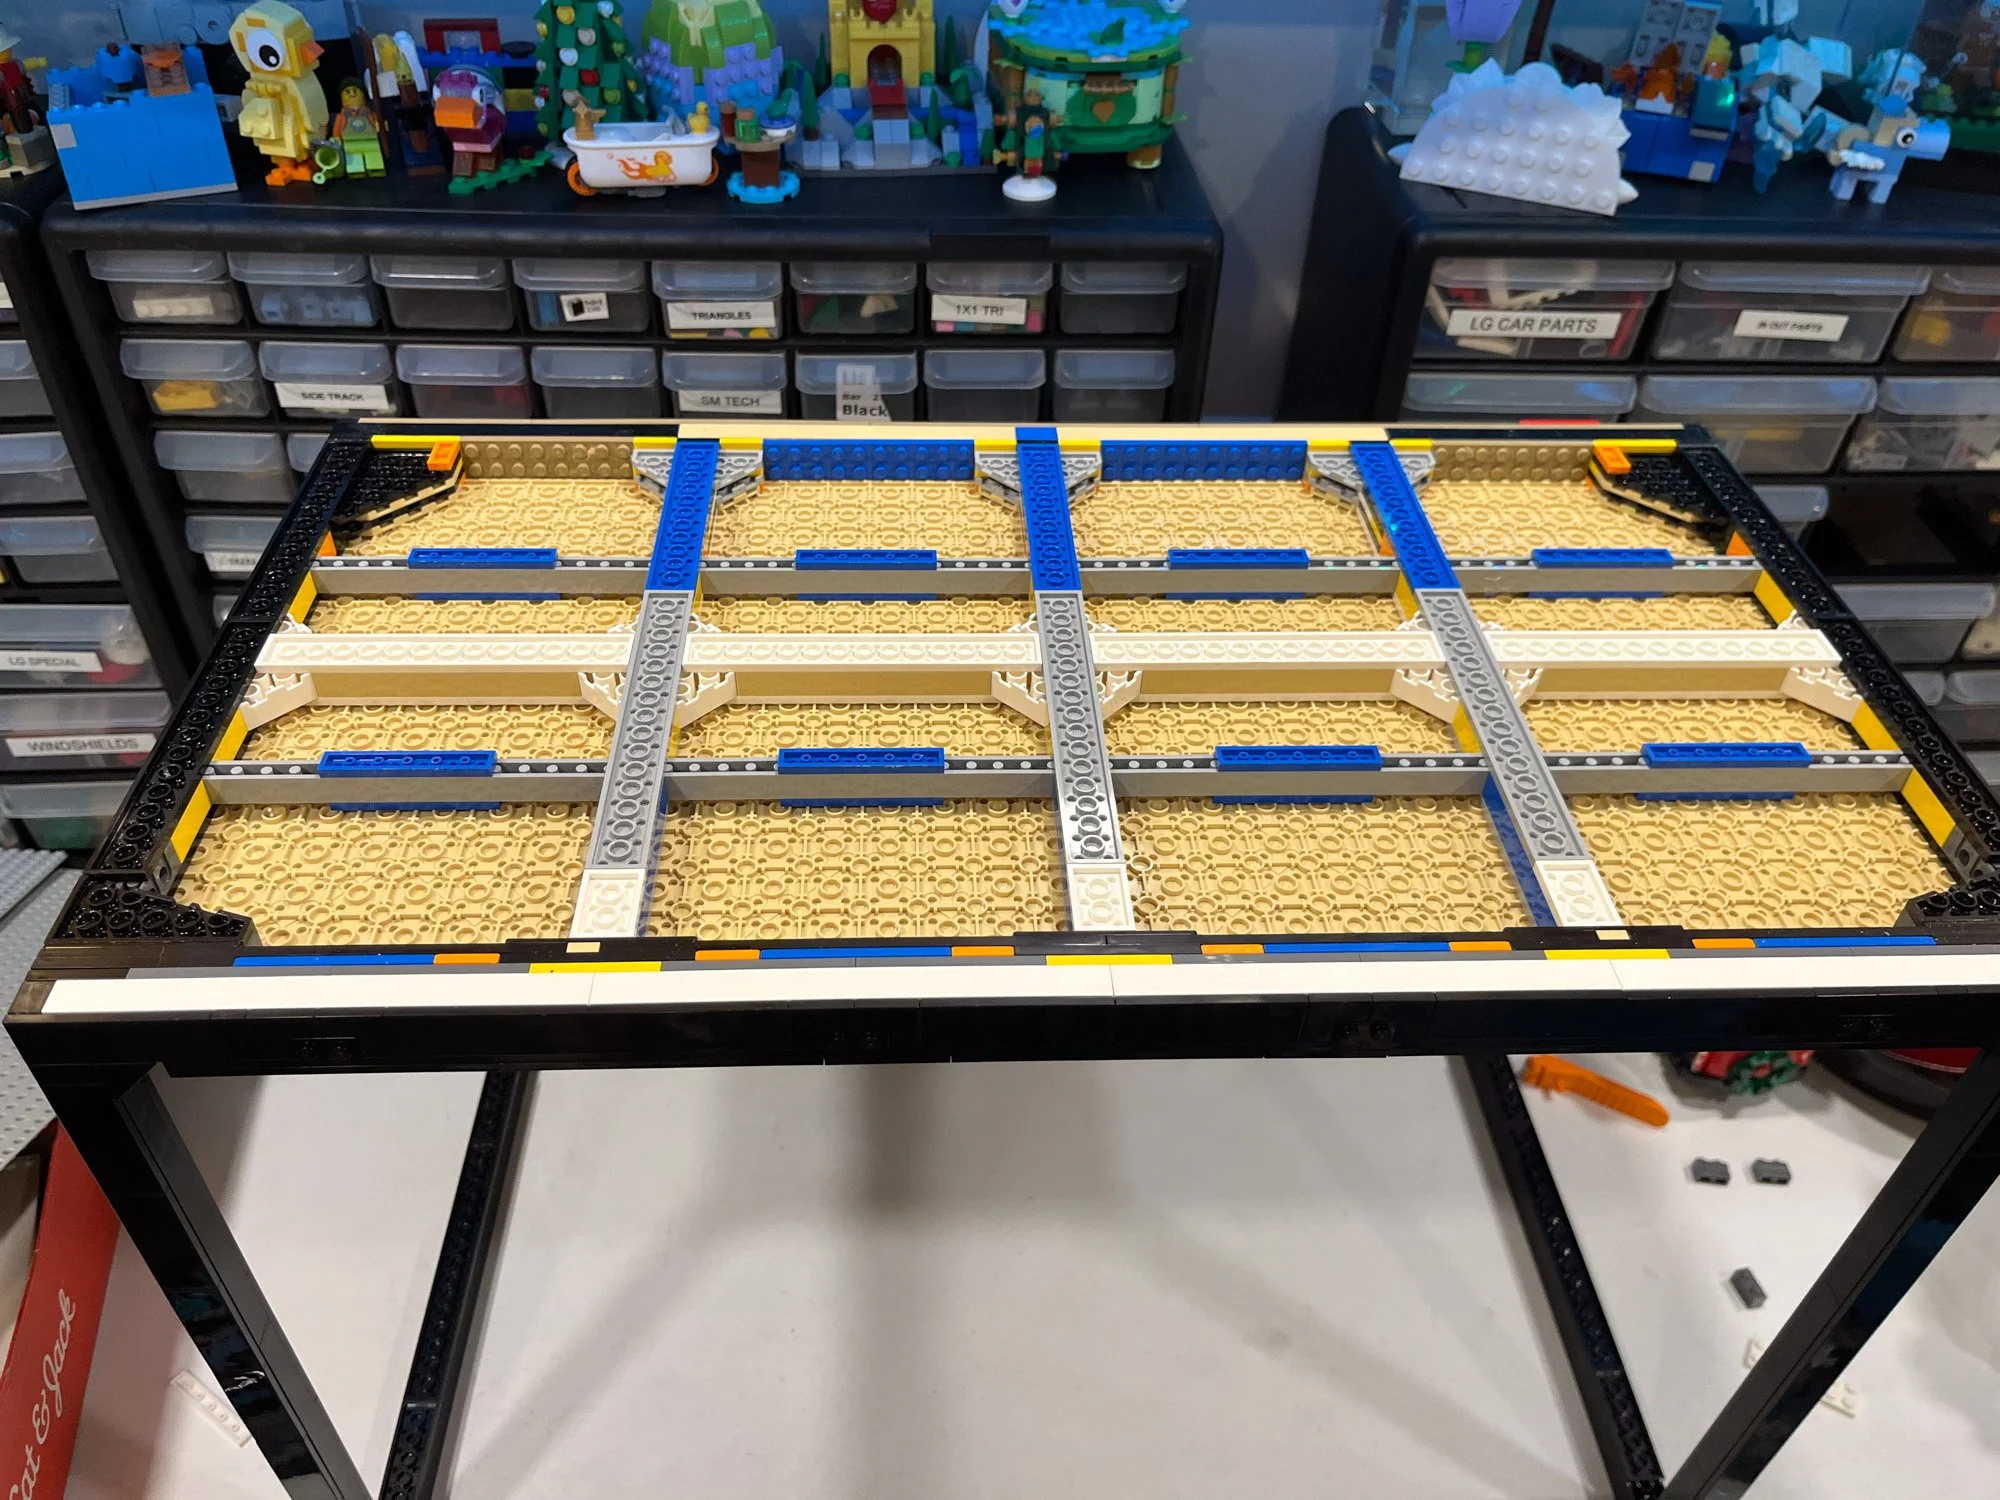
Not ready to give up, I grabbed the underwater parts from the set plus a giant bag of glow-in-the-dark elements I’d bought on an ADHD shopping spree. I covered the bottom of the tank with two dark blue baseplates (which fit perfectly thanks to slots in the frame and don’t slide around). For the walls, I pondered something that might be eye-catching without making me have a full-blown meltdown over how it keeps falling apart. After experimenting with some of my favorite BURPs, I ended up using Technic mosaic plates for secure vertical walls which gave me more of a surface to work with.
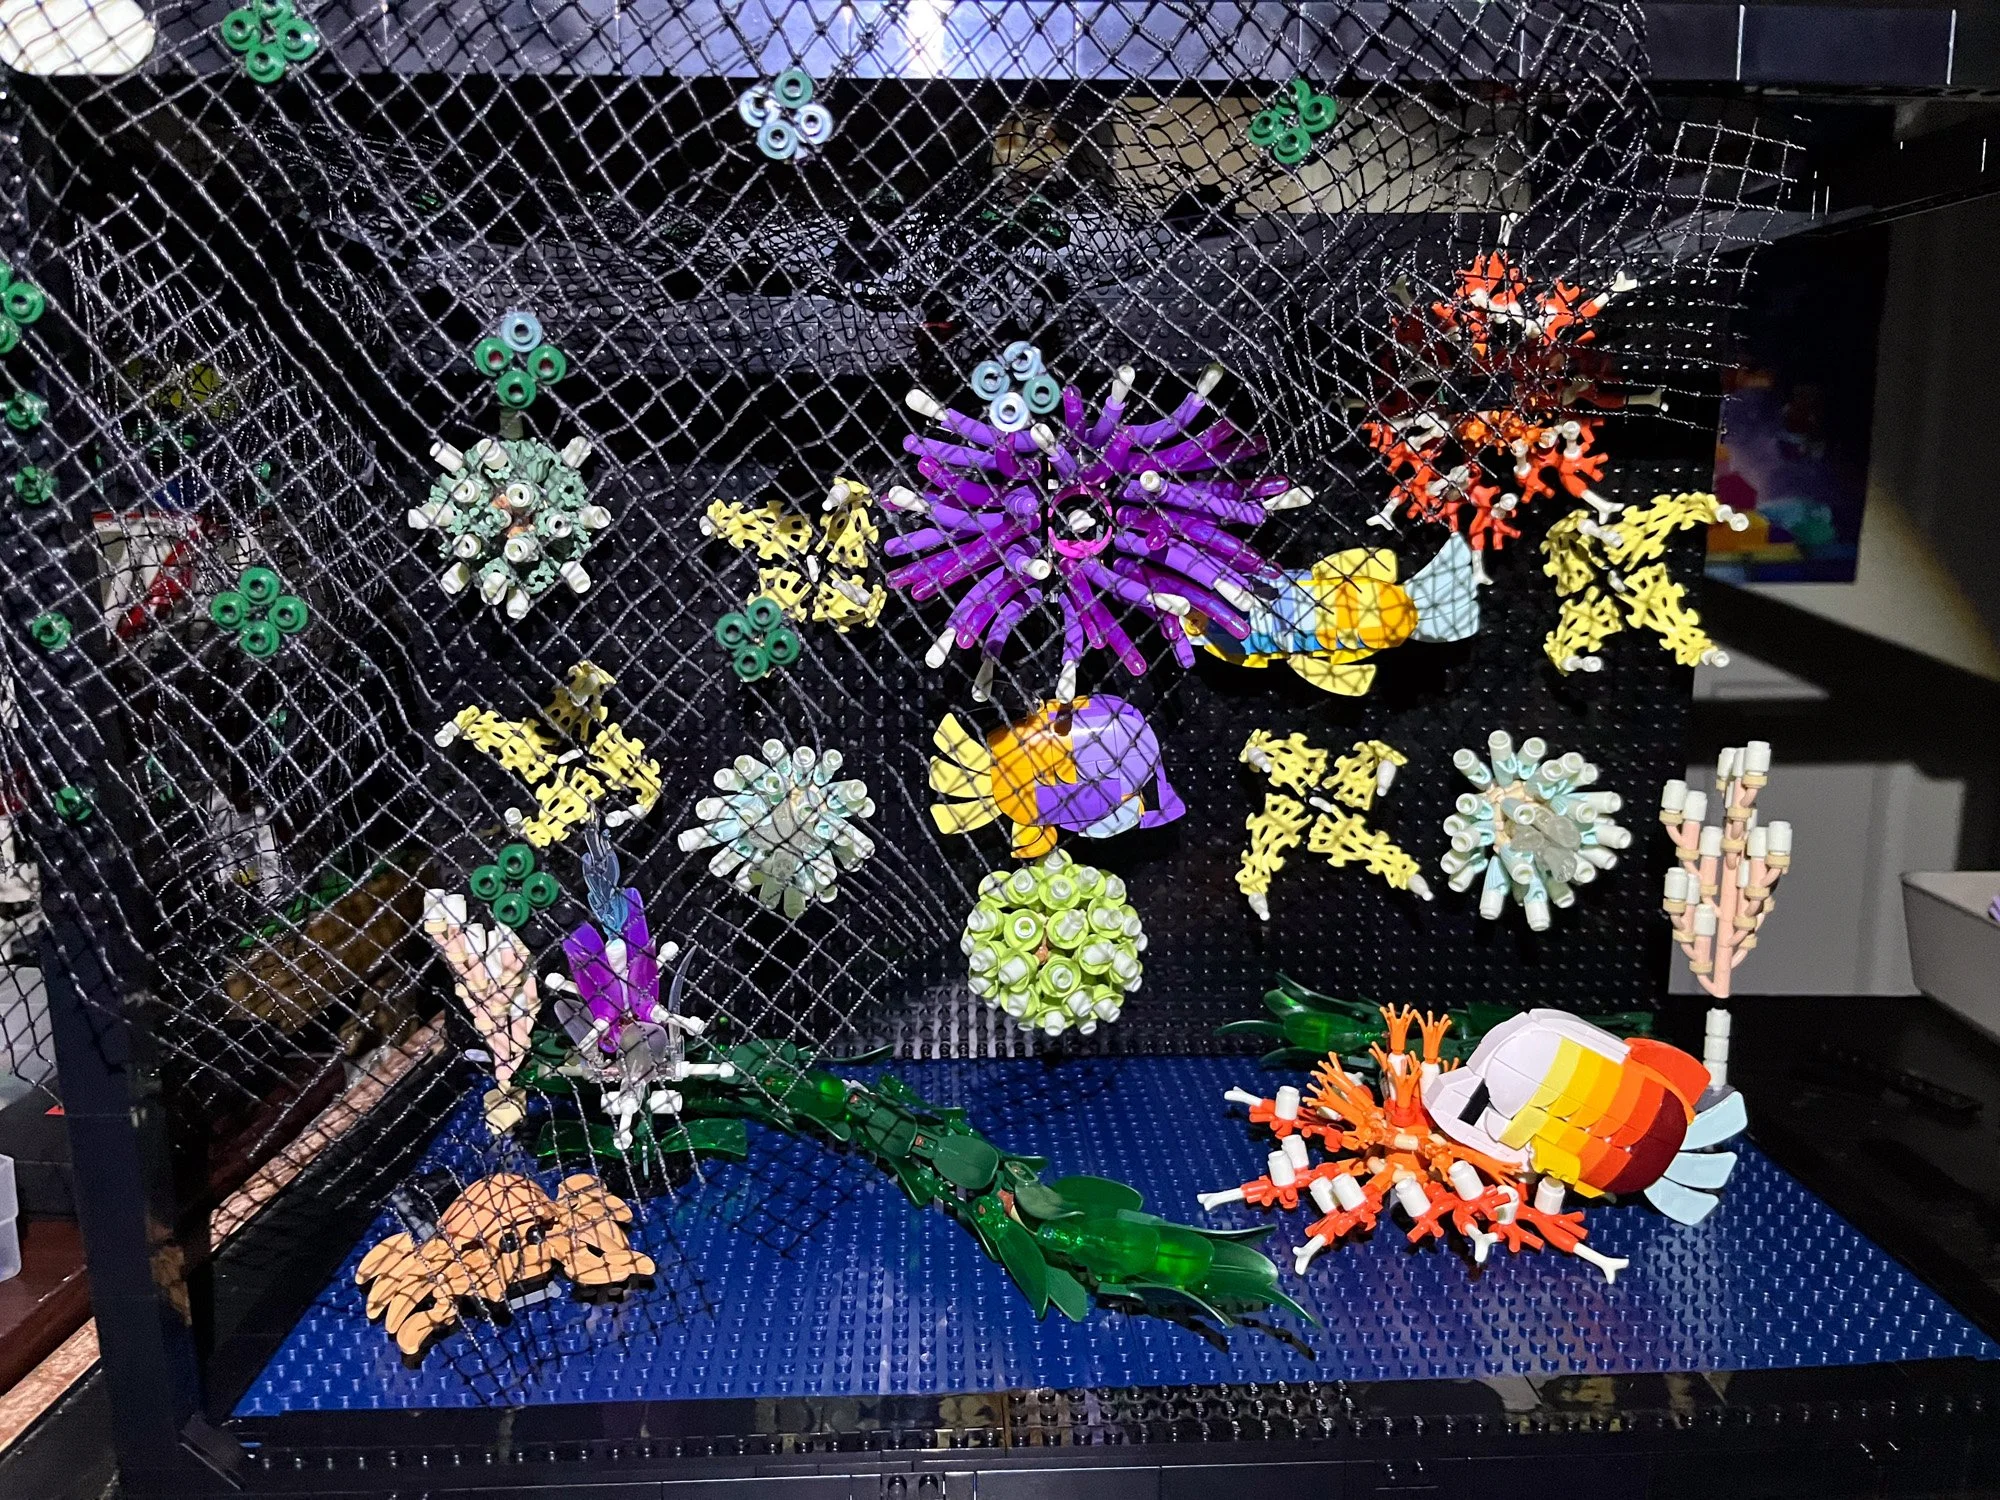
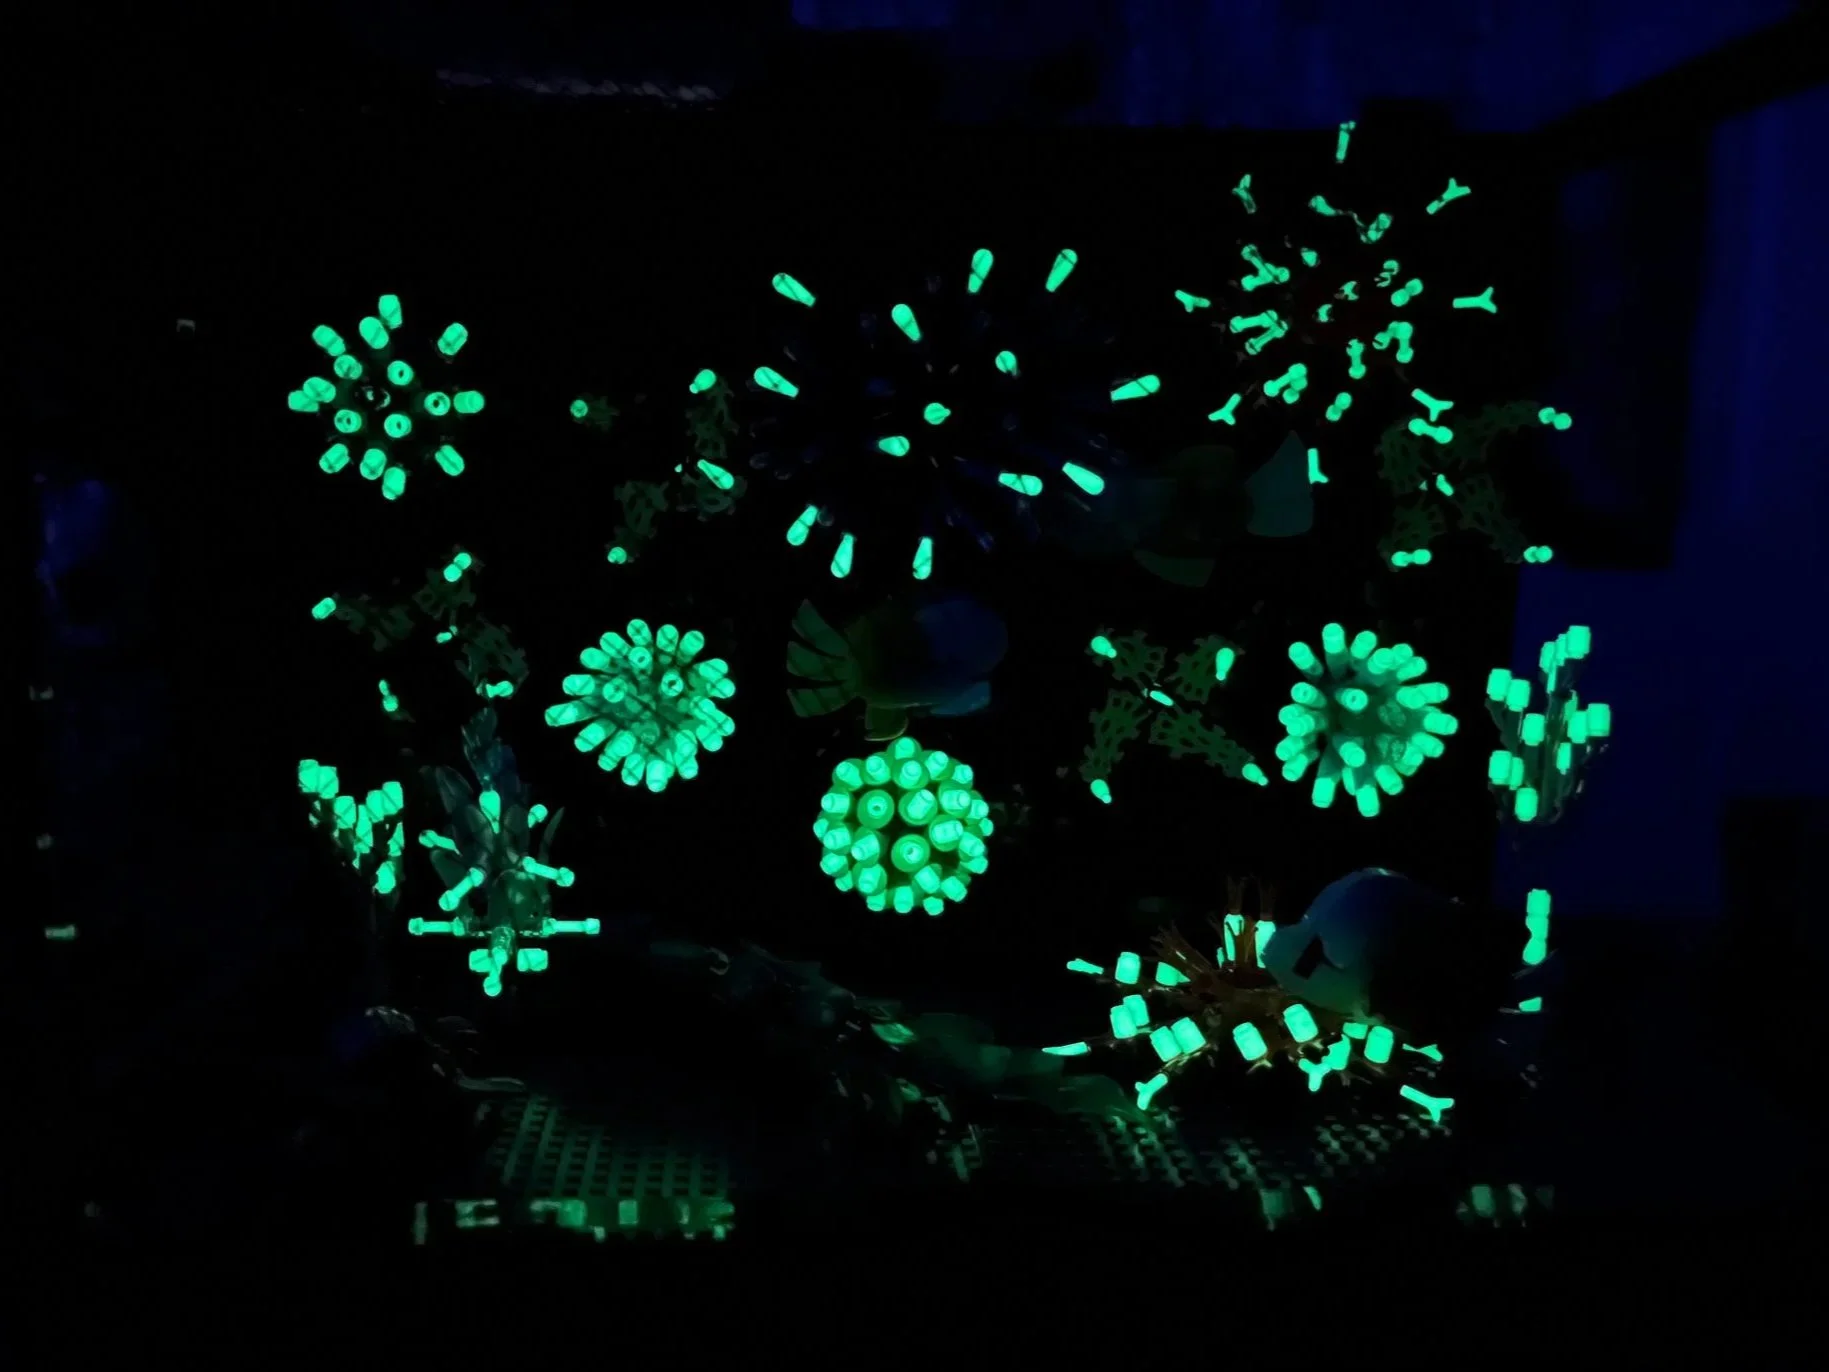
Cut to an hour later, after adding glow-in-the-dark parts to all the underwater foliage everywhere, and voila! We have a deep underwater scene that glows like magic (and looks decent with the lights on, too.) The only thing I wish I had is an Anglerfish! I started contemplating adding some brackets and Technic beams to mount some blacklights inside the frame itself, but honestly, I was done with the set.
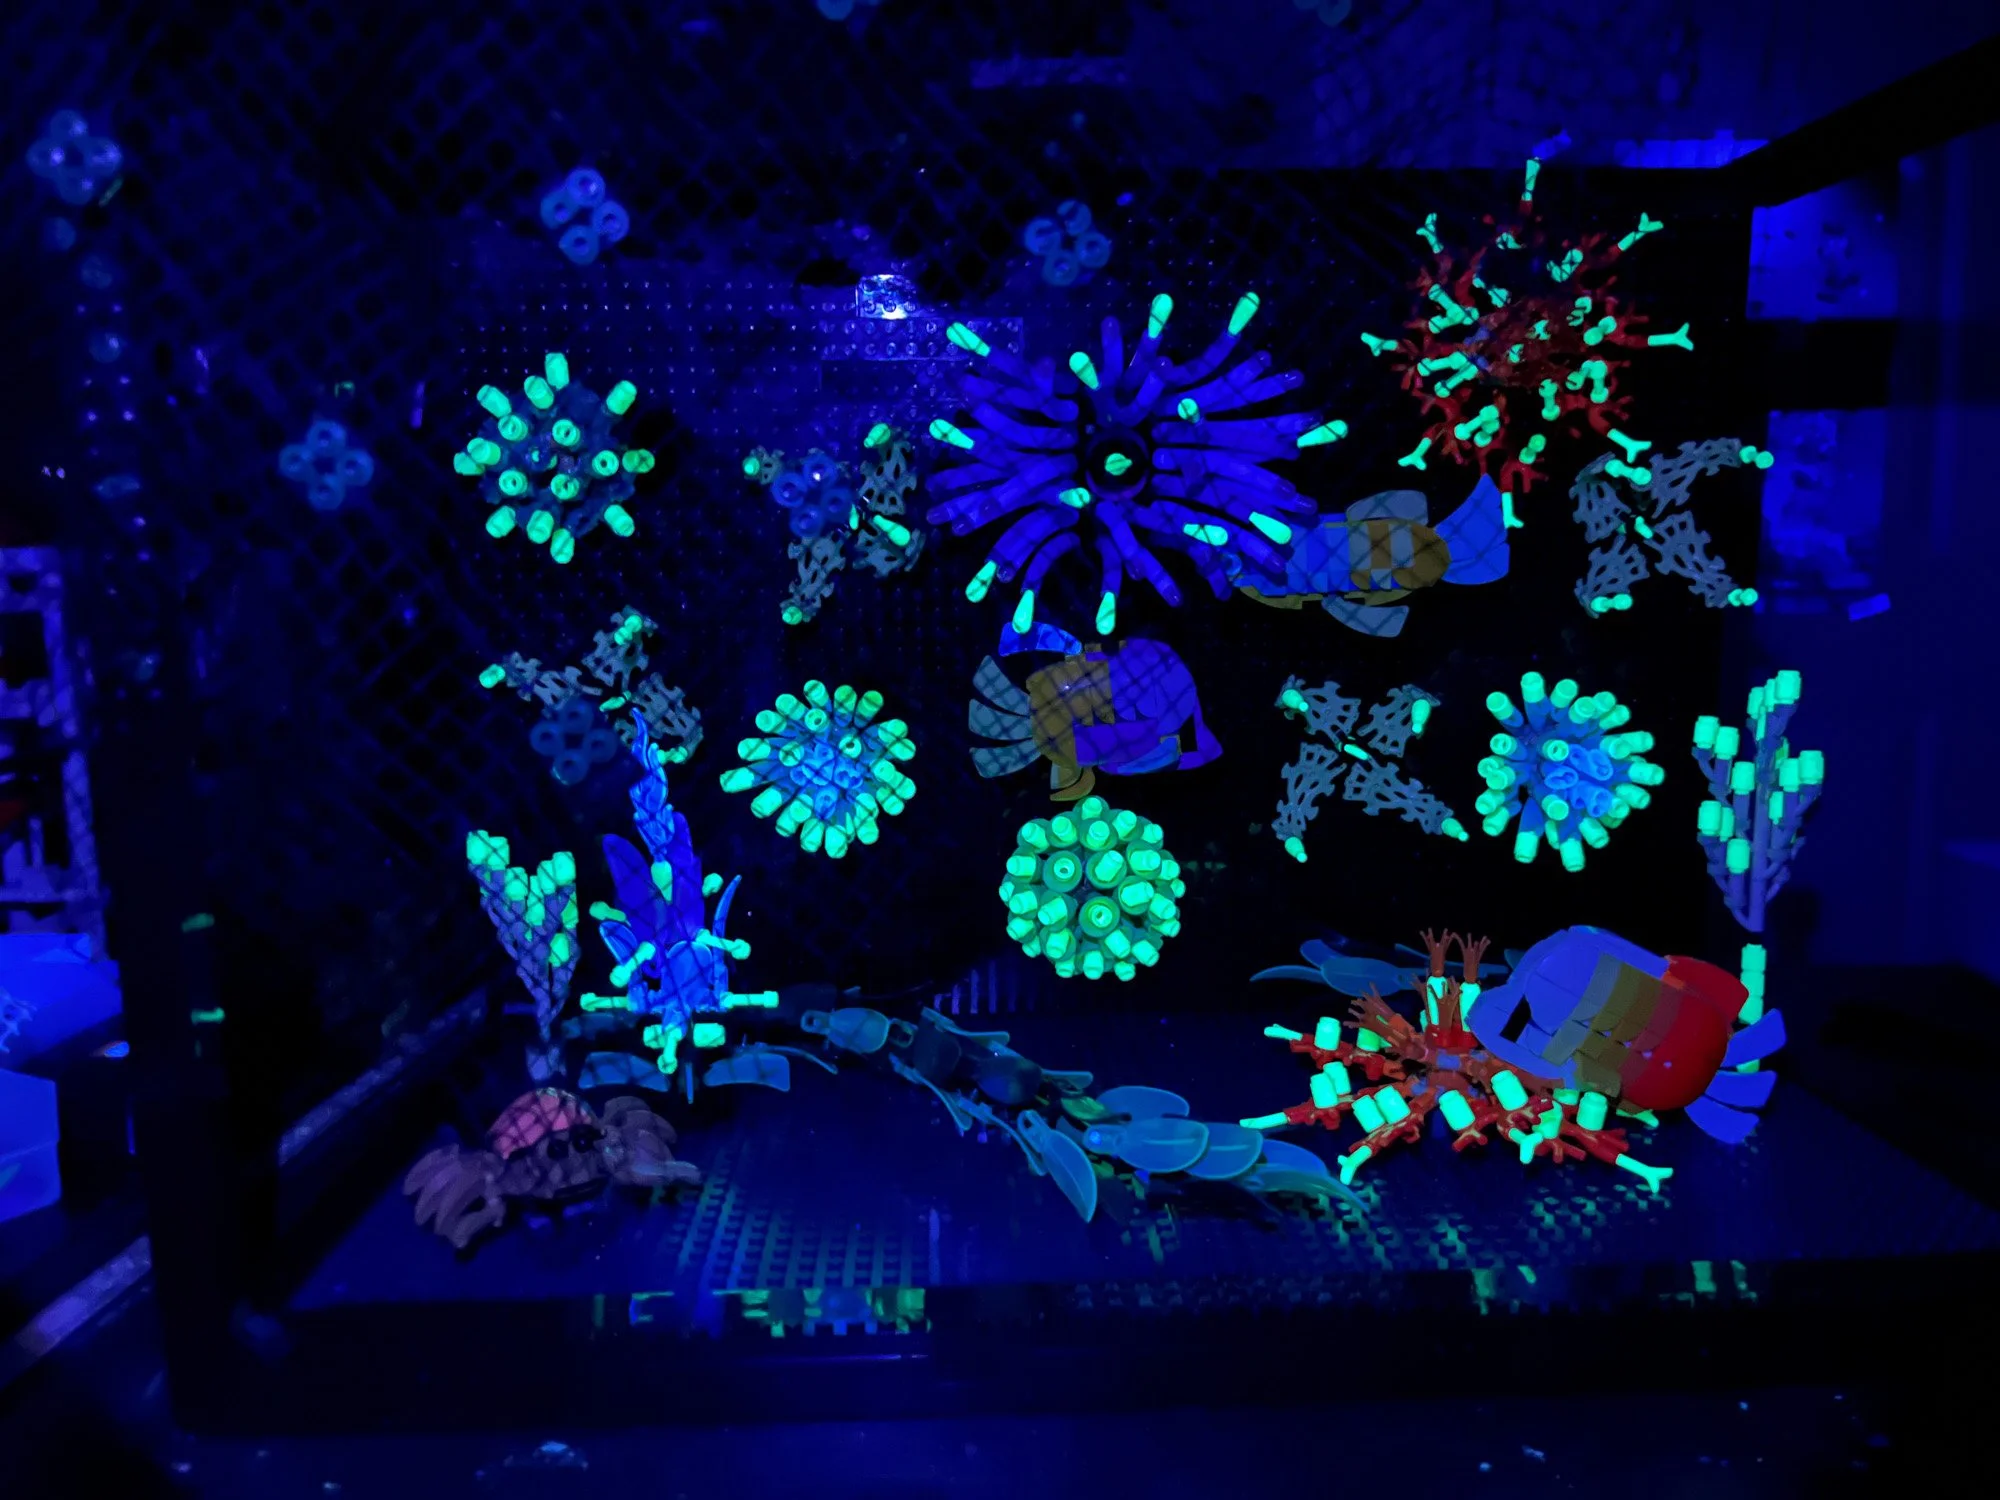
I might keep it this way. It’s peaceful, it glows beautifully, and it makes me happy. LEGO needs to be a hobby where I relax rather than stress out, and the reactions from people I shared the glow-in-the-dark version with told me that it was good enough. It was the right move to stop there to protect my sanity.
Last Splash
Thanks to BrickNerd for keeping me included in the LEGO community and sending me this set. The similarities between 43225 The Little Mermaid Royal Clamshell and this aquarium are small but significant—they’re both niche aquatic sets, both overly expensive, and probably not destined for massive amounts sold unless they go on sale for deep discounts.
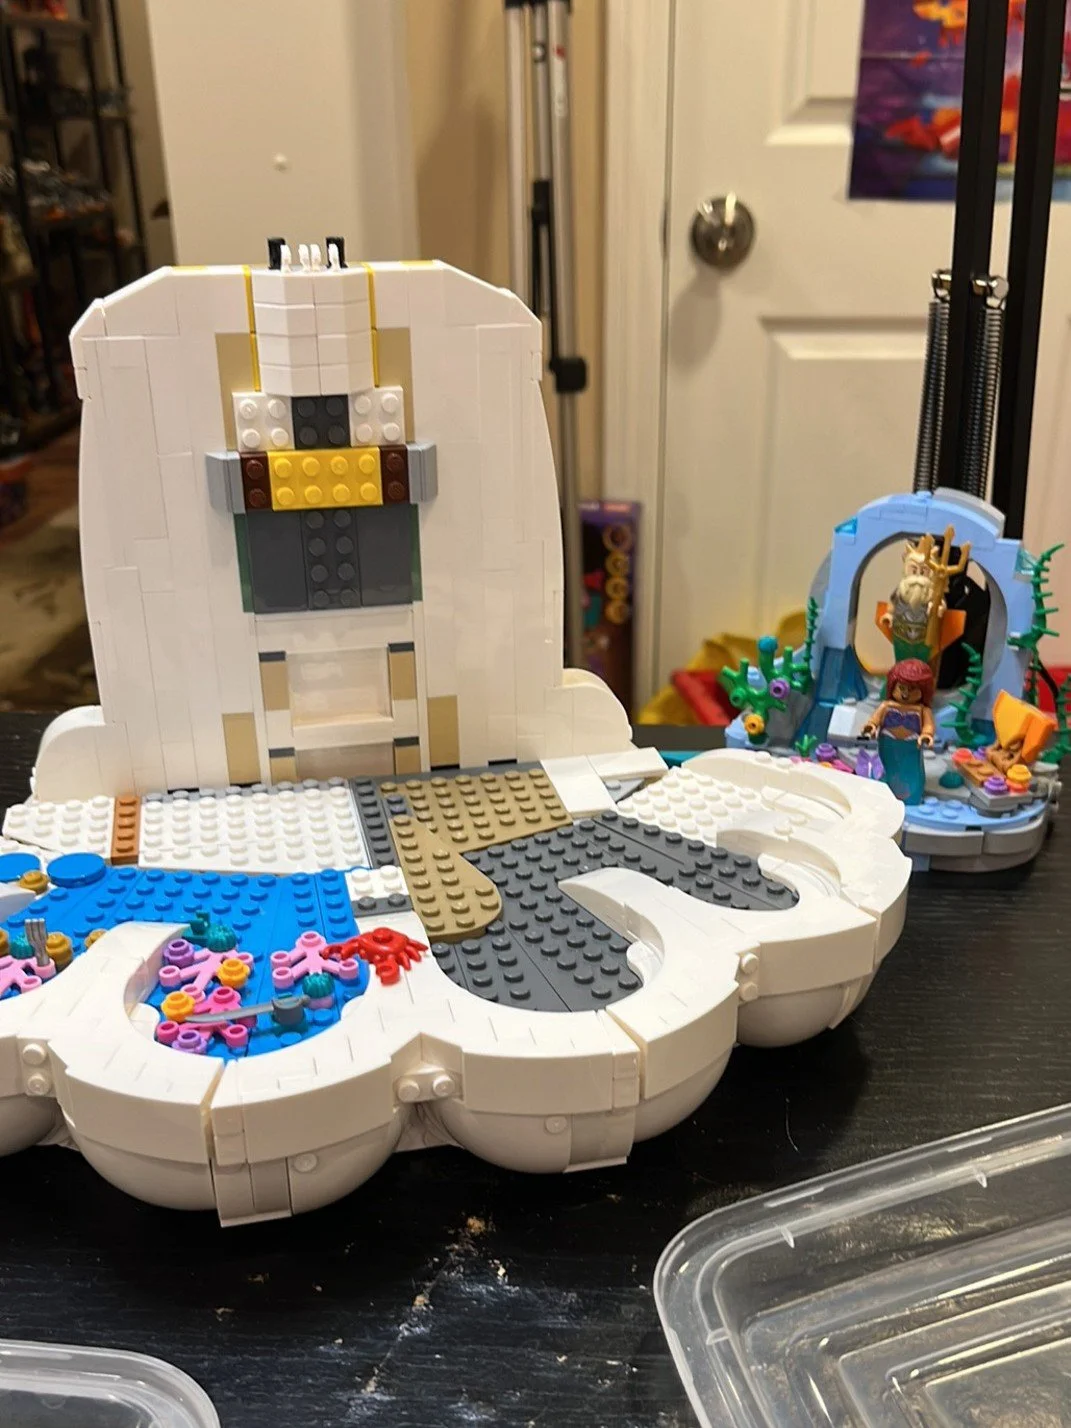

But both sets also have those fragile vertical walls attached so precariously that I can’t help wondering why, when more sturdy Technic beams are ready and available. I suppose the designers probably didn’t expect anyone to attach extra elements there—yet I constantly do.
But as someone who has seen numerous underwater MOCs, the ideas are wonderful, and the colors and new parts are delightful. I’m sure non-AFOLs might be more thrilled with this set, especially since you don’t have to feed the fish or clean the tank (other than dust it!).
Hopefully someone else will take this set and get creative too, and I can’t wait to see what everyone else comes up with. The fish and coral designs are gorgeous, and that little crab poking out is adorable—they could very well be a stand-alone set. I could see this set displayed in doctors’ offices or waiting rooms where people want the calm of an aquarium (though maybe without the dental equipment whizzing in the background).
Interestingly enough, I was most excited about what I could do with the frame in this set, and it was the one part that let me down. Yet somehow, even with all its flaws, I still ended up with a glowing, chaotic, oddly charming display that makes me smile when I see it. I’ll call that a win.
What would you do with an aquatic set like this? Let us know in the comments below.
Do you want to help BrickNerd continue publishing articles like this one? Become a top patron like Marc & Liz Puleo, Paige Mueller, Rob Klingberg from Brickstuff, John & Joshua Hanlon from Beyond the Brick, Megan Lum, Andy Price, Lukas Kurth from StoneWars, Wayne Tyler, Dan Church, and Roxanne Baxter to show your support, get early access, exclusive swag and more


