How To Store Your LEGO Winter Village: Tips from the Community
/The LEGO Winter Village lineup has been a fan favorite since its debut back in 2009 with 10199 Winter Village Toy Shop. Since then, there has been a new Winter Village addition every single year. That brings us to a total of 14 unique sets (15 if you include the rerelease of the Toy Shop in 2015).
While it makes for an amazing display in those chilly months, a yearly Winter Village tradition also means packing it up for the off-season. Since everyone’s collections and storage methods are vastly different, we reached out to the AFOL community (specifically the Fans of LEGO Winter Village Facebook Group, among others) to find out the best ways to store your Winter Village.
We got some great responses with various solutions and methods for what to do when it’s time to pack up. Some make a new display each year while some stick with tried and true setups. Some people fully disassemble the sets to be rebuilt again the next year and some store the builds as they are for a quick setup already built—someone really dedicated to the LEGO Winter Village just puts a blanket over the top of it until the next holiday season! Here are some of their thoughts. (Comments have been lightly edited for clarity and grammar.)
Hibernating For The Summer
By far, the most popular reply was that the sets and MOCs are stored pre-built for use the next year. Some people shared cardboard boxes, clear plastic tubs, and even pretty Christmas boxes to store their Winter Village buildings. Here’s what a few people had to say:
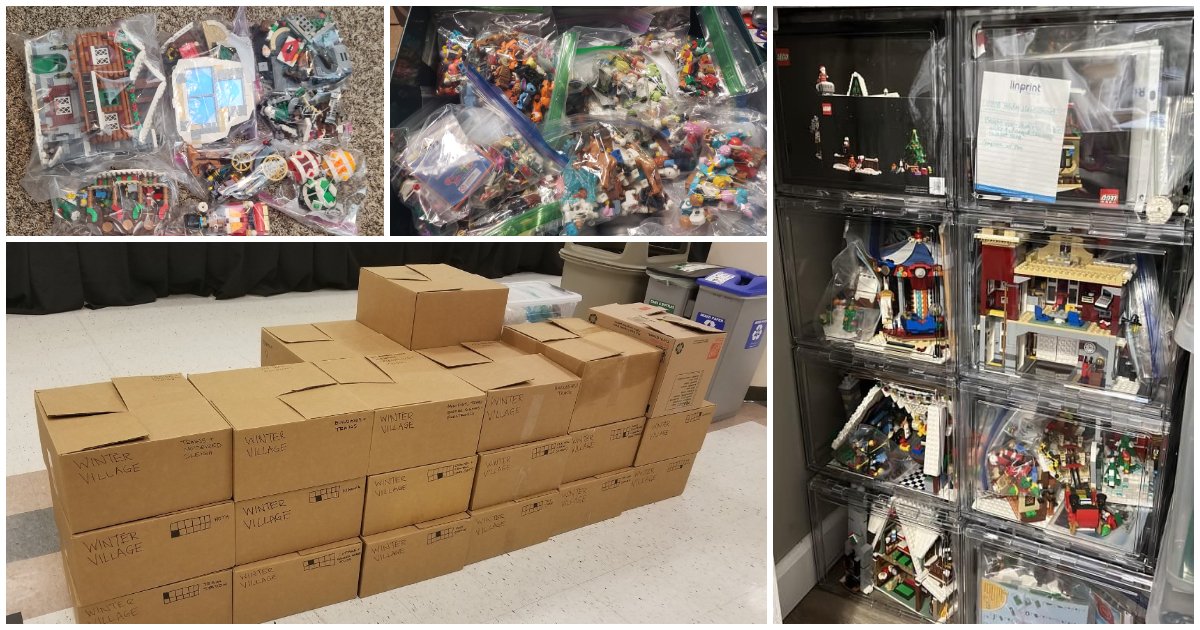
Mariann: “I change my village every year. I've spent over a decade collecting lots of custom figs and special holiday-themed parts to make it bigger and better every year. I don’t even have room for all of it anymore. I put my buildings in ziplock bags and then into big containers. I also have a couple boxes of just accessories, animals, people, and other winter stuff that I like to add to my village. “

Mariann’s Winter Village display
Heather: “We make a new village every year. Some years we do it on the pool table. Sometimes it covers two 8-foot banquet tables (when it is that big, we add the holiday train and station). One year, one table was the North Pole and the other was a village, and Santa flew back and forth. In February we disassemble it all. We put each building into large zip-lock bags. We have bins for landscaping features, street lamps, pavement, minifigs, etc. All the small bins and bags go into large plastic bins stored in the basement. Sometime in mid-November we rebuild.”
Chris shows us how much space keeping everything built can take: ”I keep them built, and store them in these containers until next year. Only a few need to be slightly broken down to fit.”

The tubs Chris uses to store his winter village
Linda also shows the space it takes and notes that she used to fully take apart and rebuild them every year before she switched to keeping them assembled:

“When I first started, I built mine every year but would end up only getting 2 or 3 done in time. So throughout this past year, I built all of my Winter Village sets and bought the clear stacking storage containers from Costco. I store my sets prebuilt now with instructions… it is quicker for me to set up that way. I can fit 2-3 sets in each container! My original boxes are broken down flat and stored in the back of my closet.”
Mountains and MILS
Quite a few people also create their custom landscaping for the Winter Village, not just assembling the buildings. This can range from making custom tables to building up height in their display with either bulk brick, Ikea boxes, of platforms.
Caron shows a fully-featured layout with lights, mountains, waterfalls, and even an ice dragon: “I keep the houses built as I've added lights and store them in bags/cling film in boxes. I dismantle everything else as I enjoy building the scenery. We store loose LEGO in drawers (large and small slopes, 2x1 bricks, different sized plates...).”
Many who make landscapes make use of the popular MILS system to make storage and setup that much easier. If you are unfamiliar with the system, you can check out this previous BrickNerd article about MILS. It makes storage and setup easier, but you are mostly locked into how the plates connect.
Scott: “My buildings and MILS plates are put into clear shoe box containers with their instructions. The shoe box containers are then put into larger black storage totes and then stored in the basement until next assembly session!”
John makes use of all those Amazon boxes we all seem to end up with at the end of the Christmas season for MILS storage: “I recycle my Amazon boxes. MILS are always 10”x10”. Height is the only variable. So, I just use a template and create bunch of boxes for stacking.”
Starting From Scratch
Though not as common as storing the sets, fully disassembling is still a popular option. You get to relive the joy of building each set at the beginning of the season each year. This does come with some obvious (and less obvious) downsides.

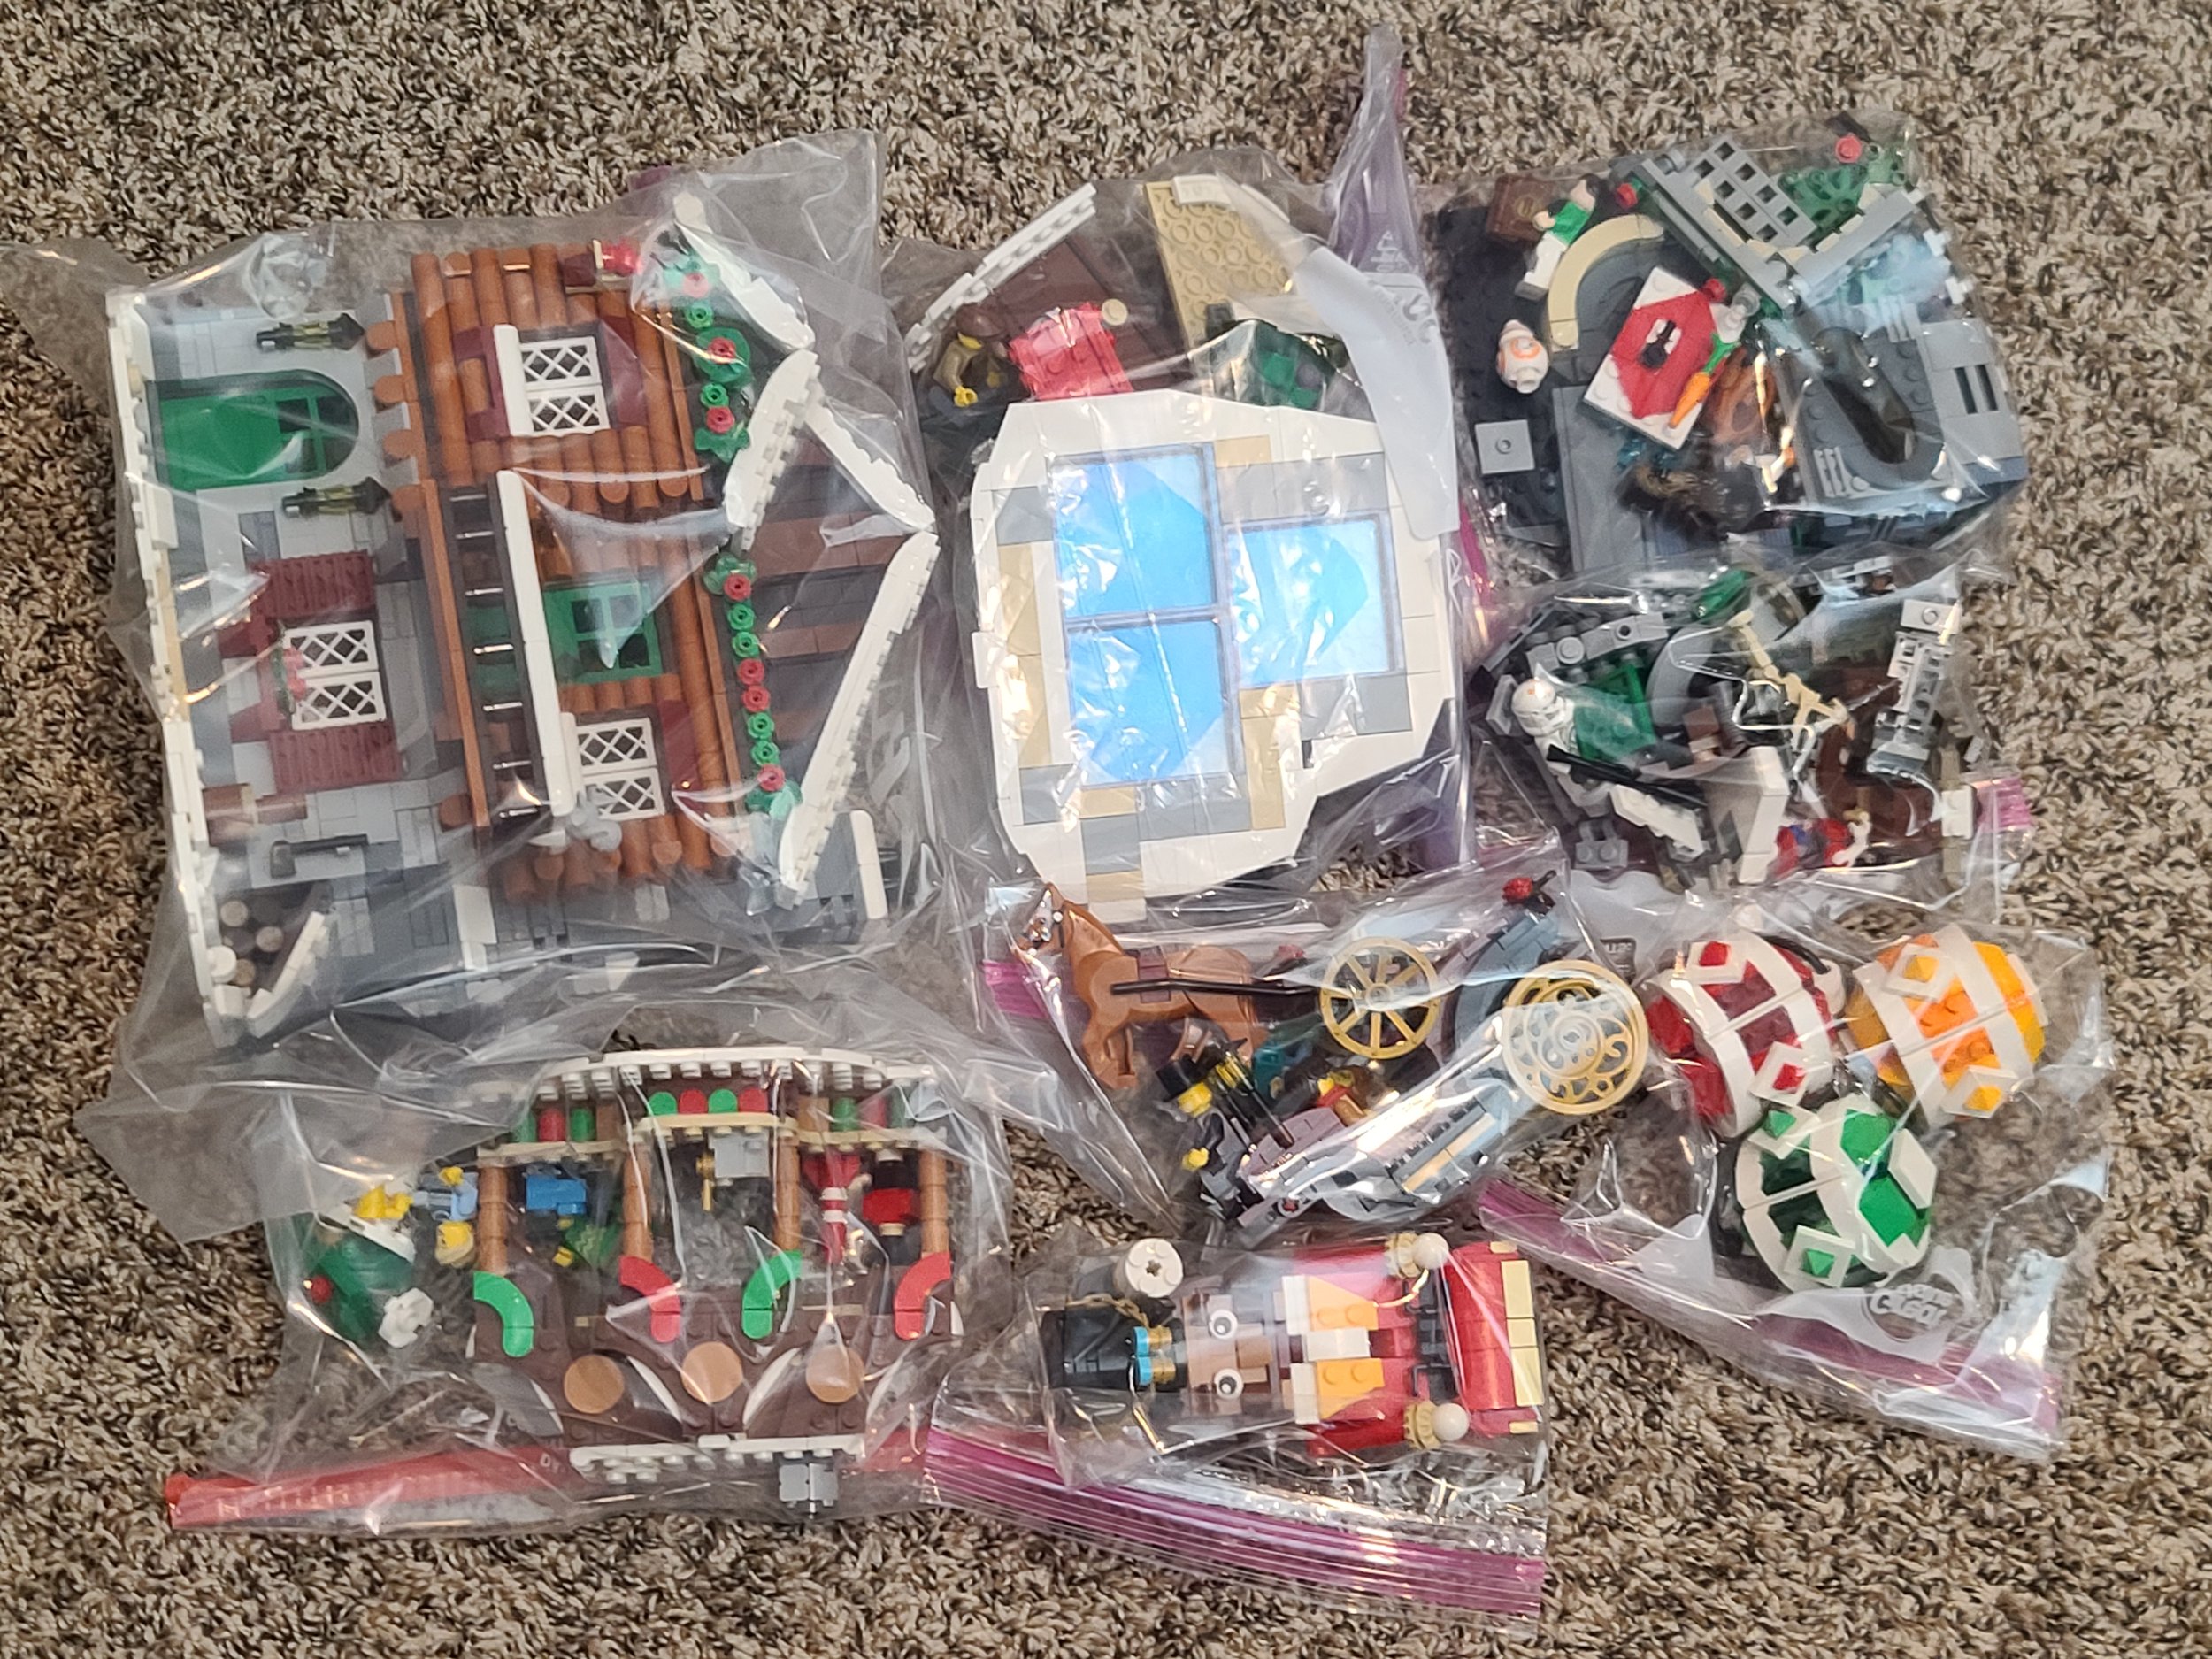
Some of Mariann’s baggies of Winter Village accesories.
BrickNerd contributor Brian was recently taking apart his Winter Village with his family: ”I unbuild them all, and my fingers hurt! I've never taken a set apart in reverse order before. My kids are old enough to participate in building it and they had a blast this year, but they find a big bag of unsorted pieces so overwhelming that I spent a lot of time sorting pieces back into numbered bags. The older Winter Village sets are generally easier to un-build—the train is only three bags, but the Alpine Lodge is ten! The emphasis on group building instructions in recent years increases the bag count, it seems. The fewer bags, the less you have to look at the instructions to double-check where to stop in demolition. The Main Street set was great to take apart—each bag was a floor of a building.”

There’s one other consideration when disassembling your Winter Village—one that unfortunately caught me by surprise as I was packing up my own small display. In older Winter Village sets like the Bakery, there is a high chance that brown and dark red pieces might snap in half as they are removed, even when doing do as carefully as possible due to some issues with how older brown and dark red LEGO elements were manufactured at the time.
I do a partial disassembly to make the buildings fit into ziplock bags easier, and this year I had two dark red 1x2 plates snap in half on my copy of the 2010 Winter Village Bakery. Fortunately, these pieces are easy to acquire, but beware that it can happen to any part, even if you are careful.
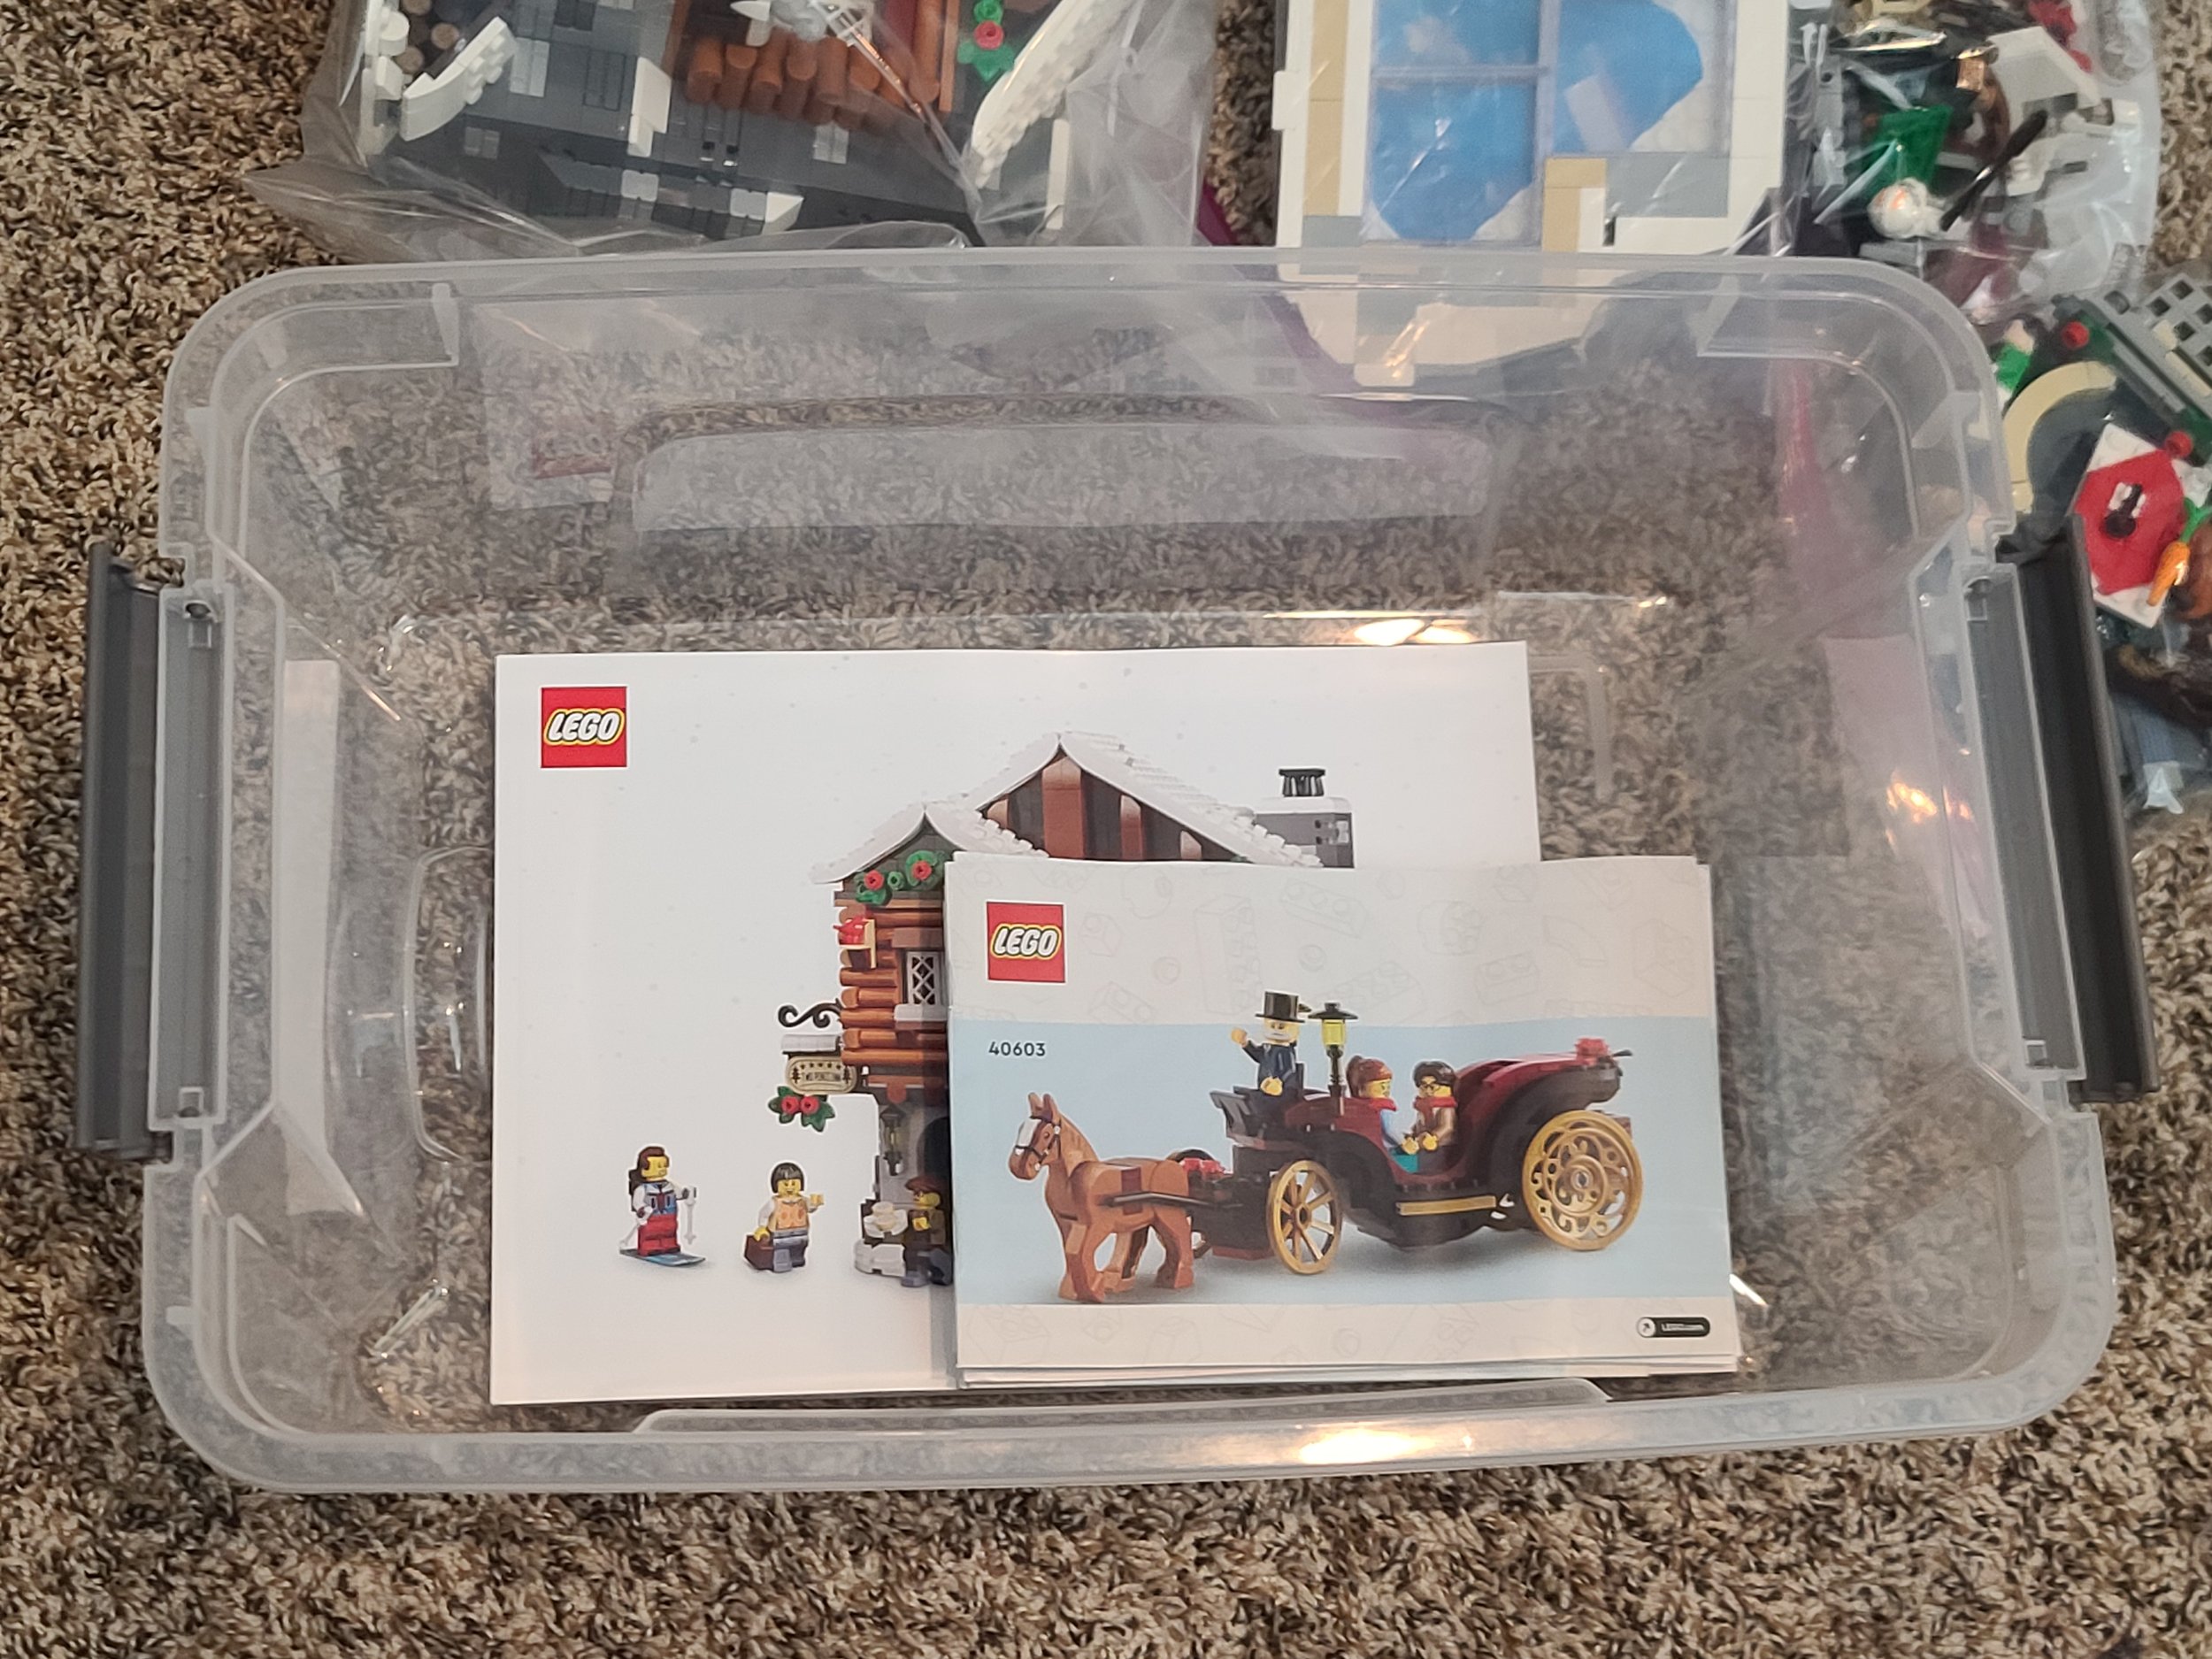
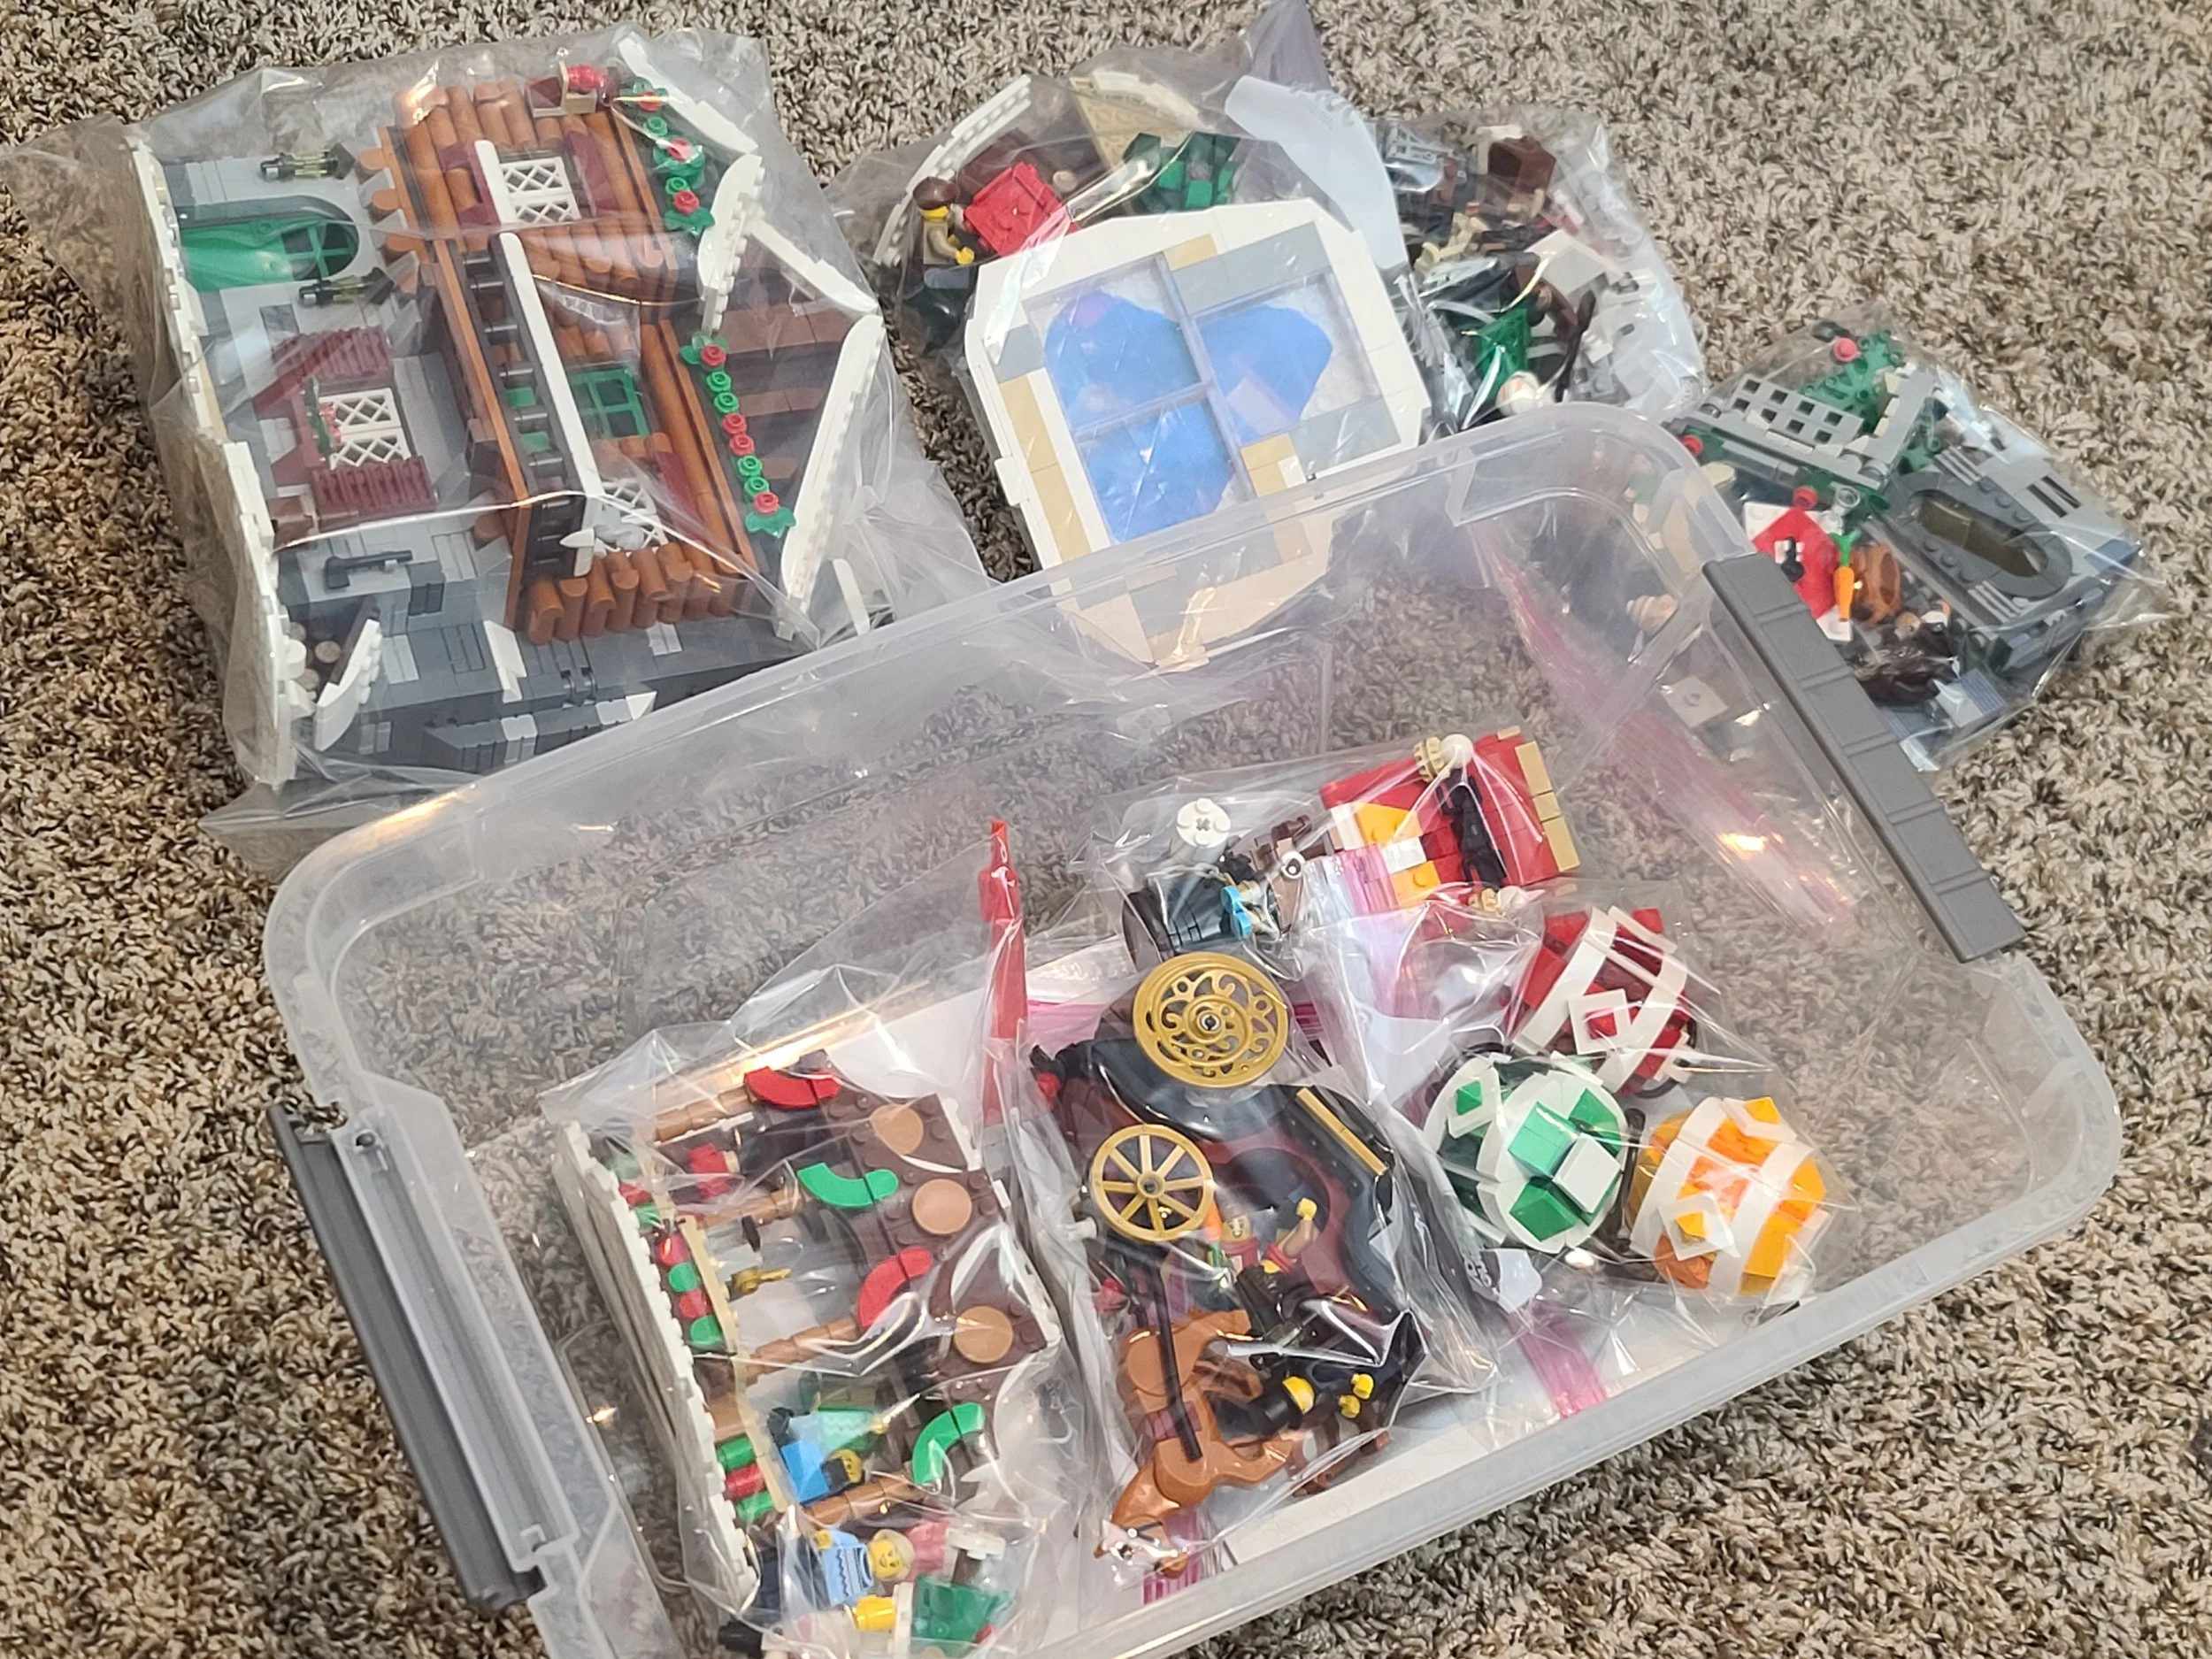
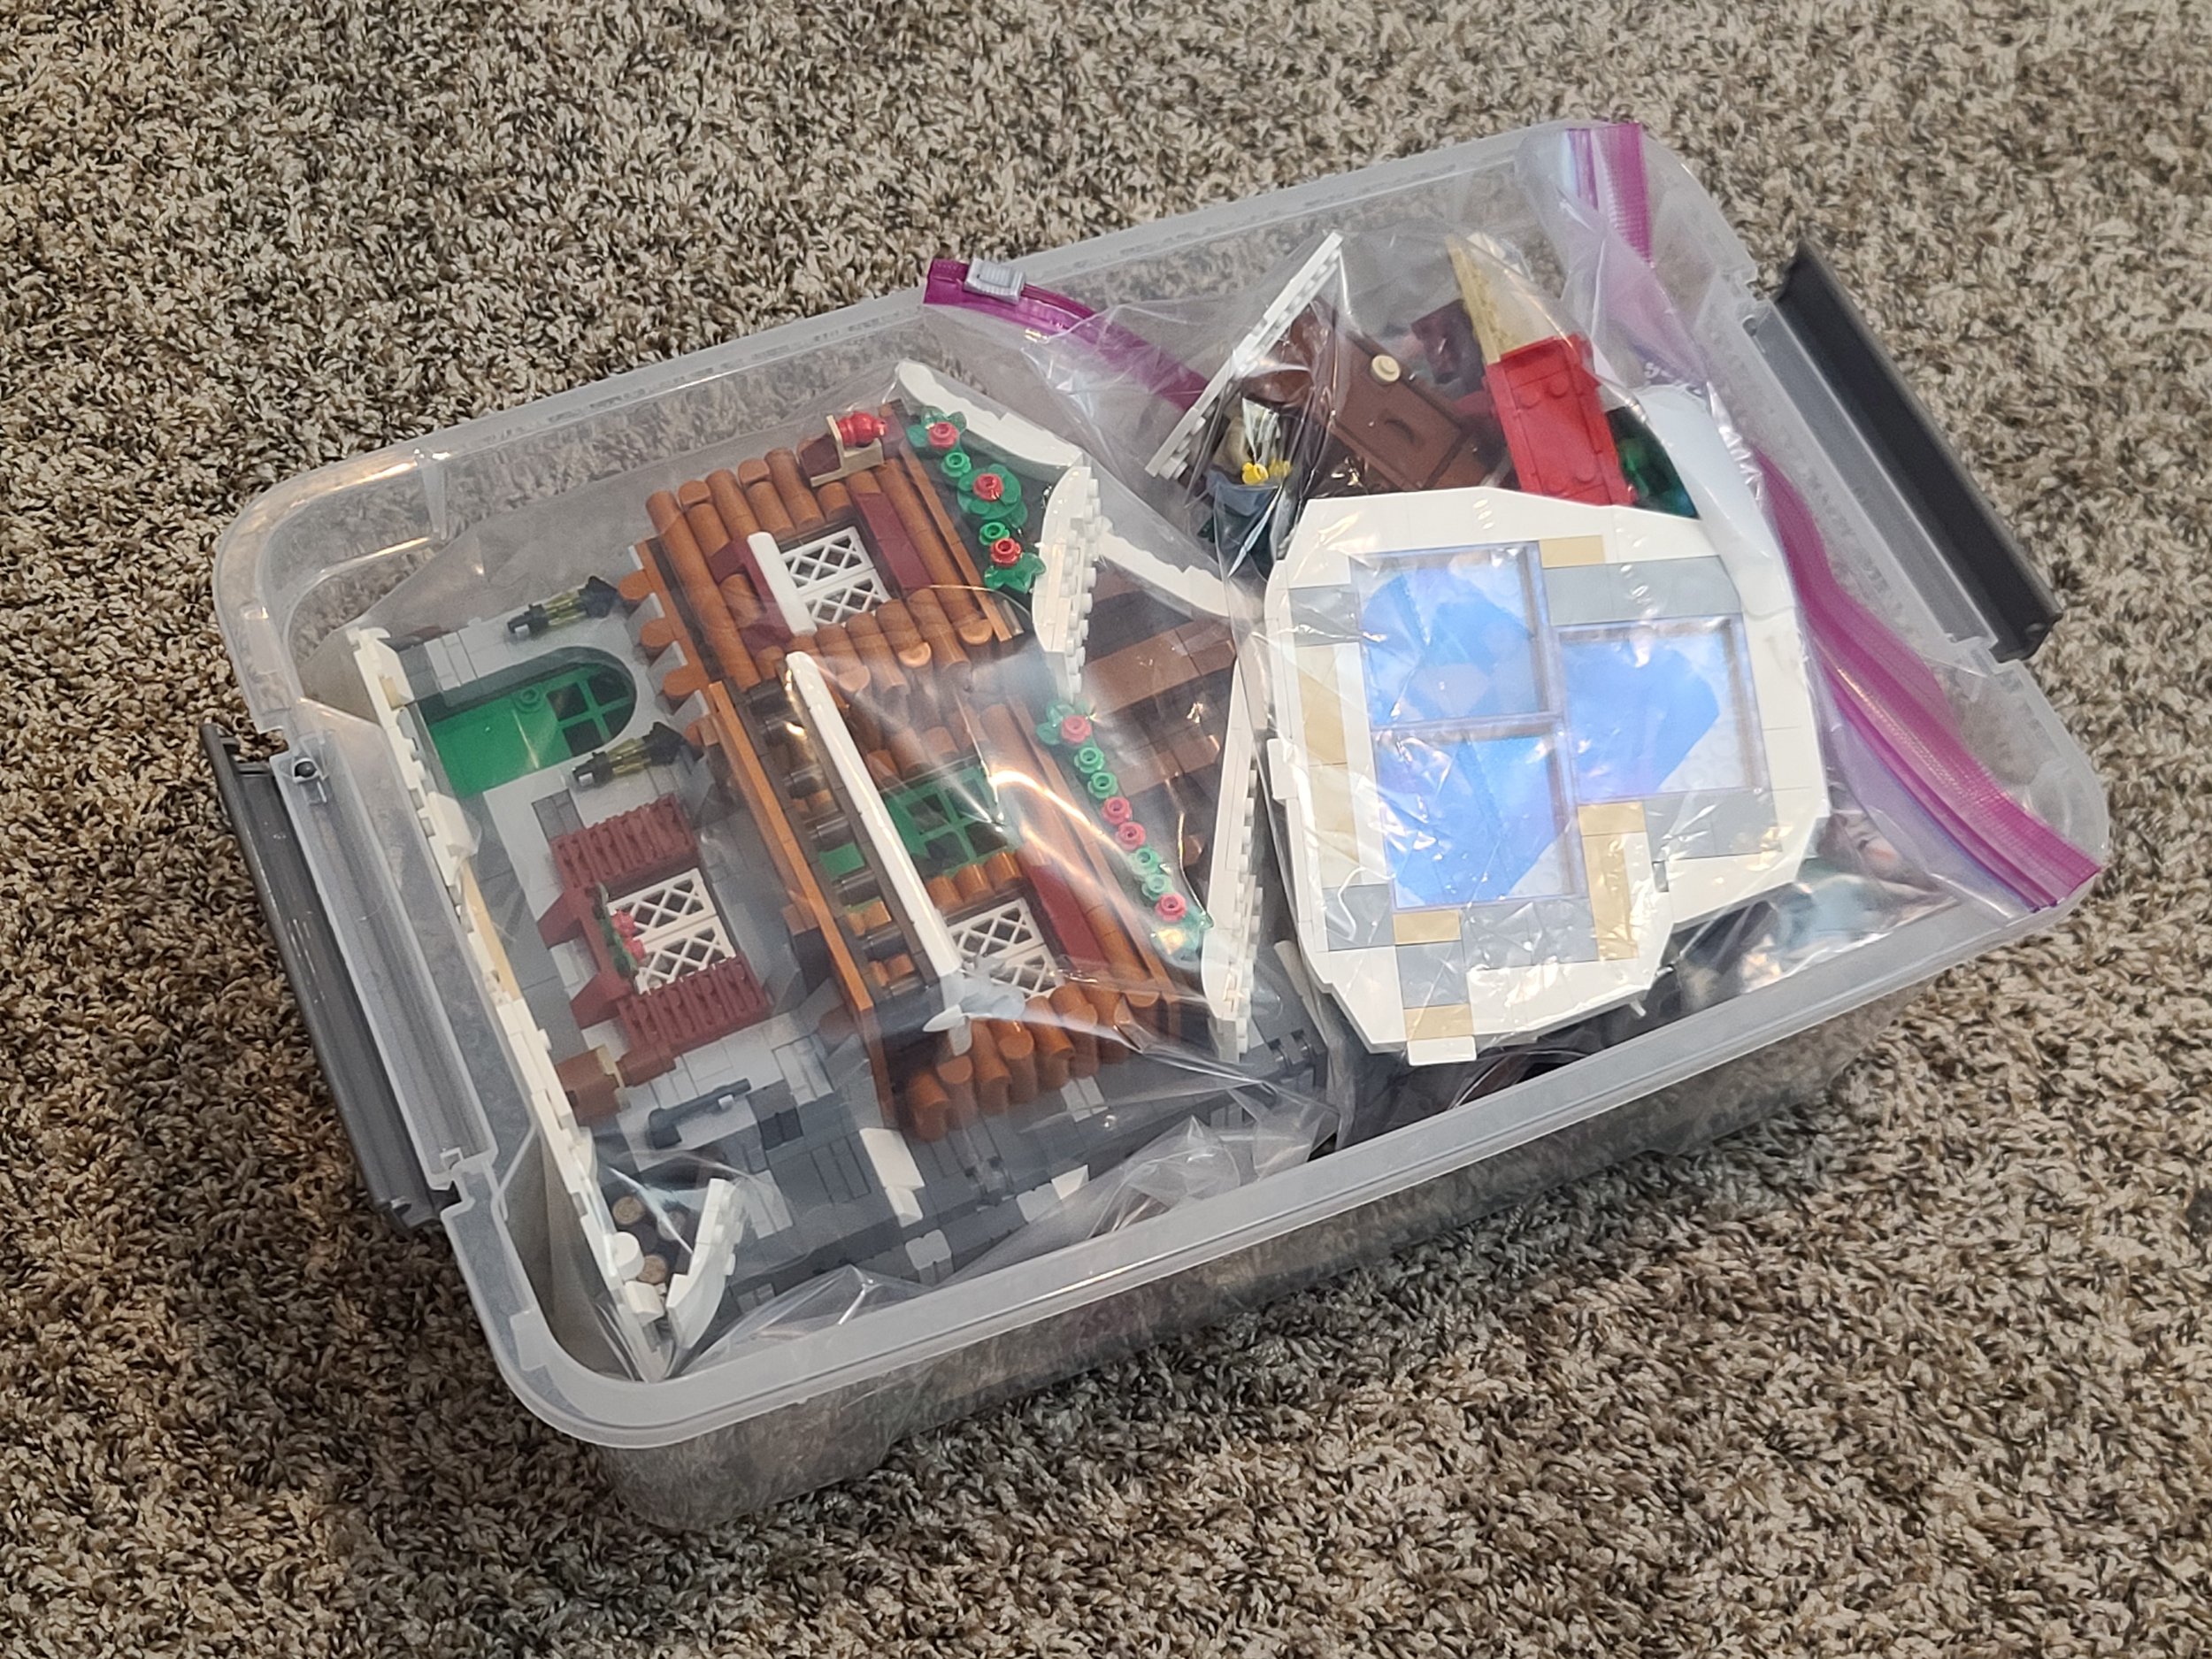
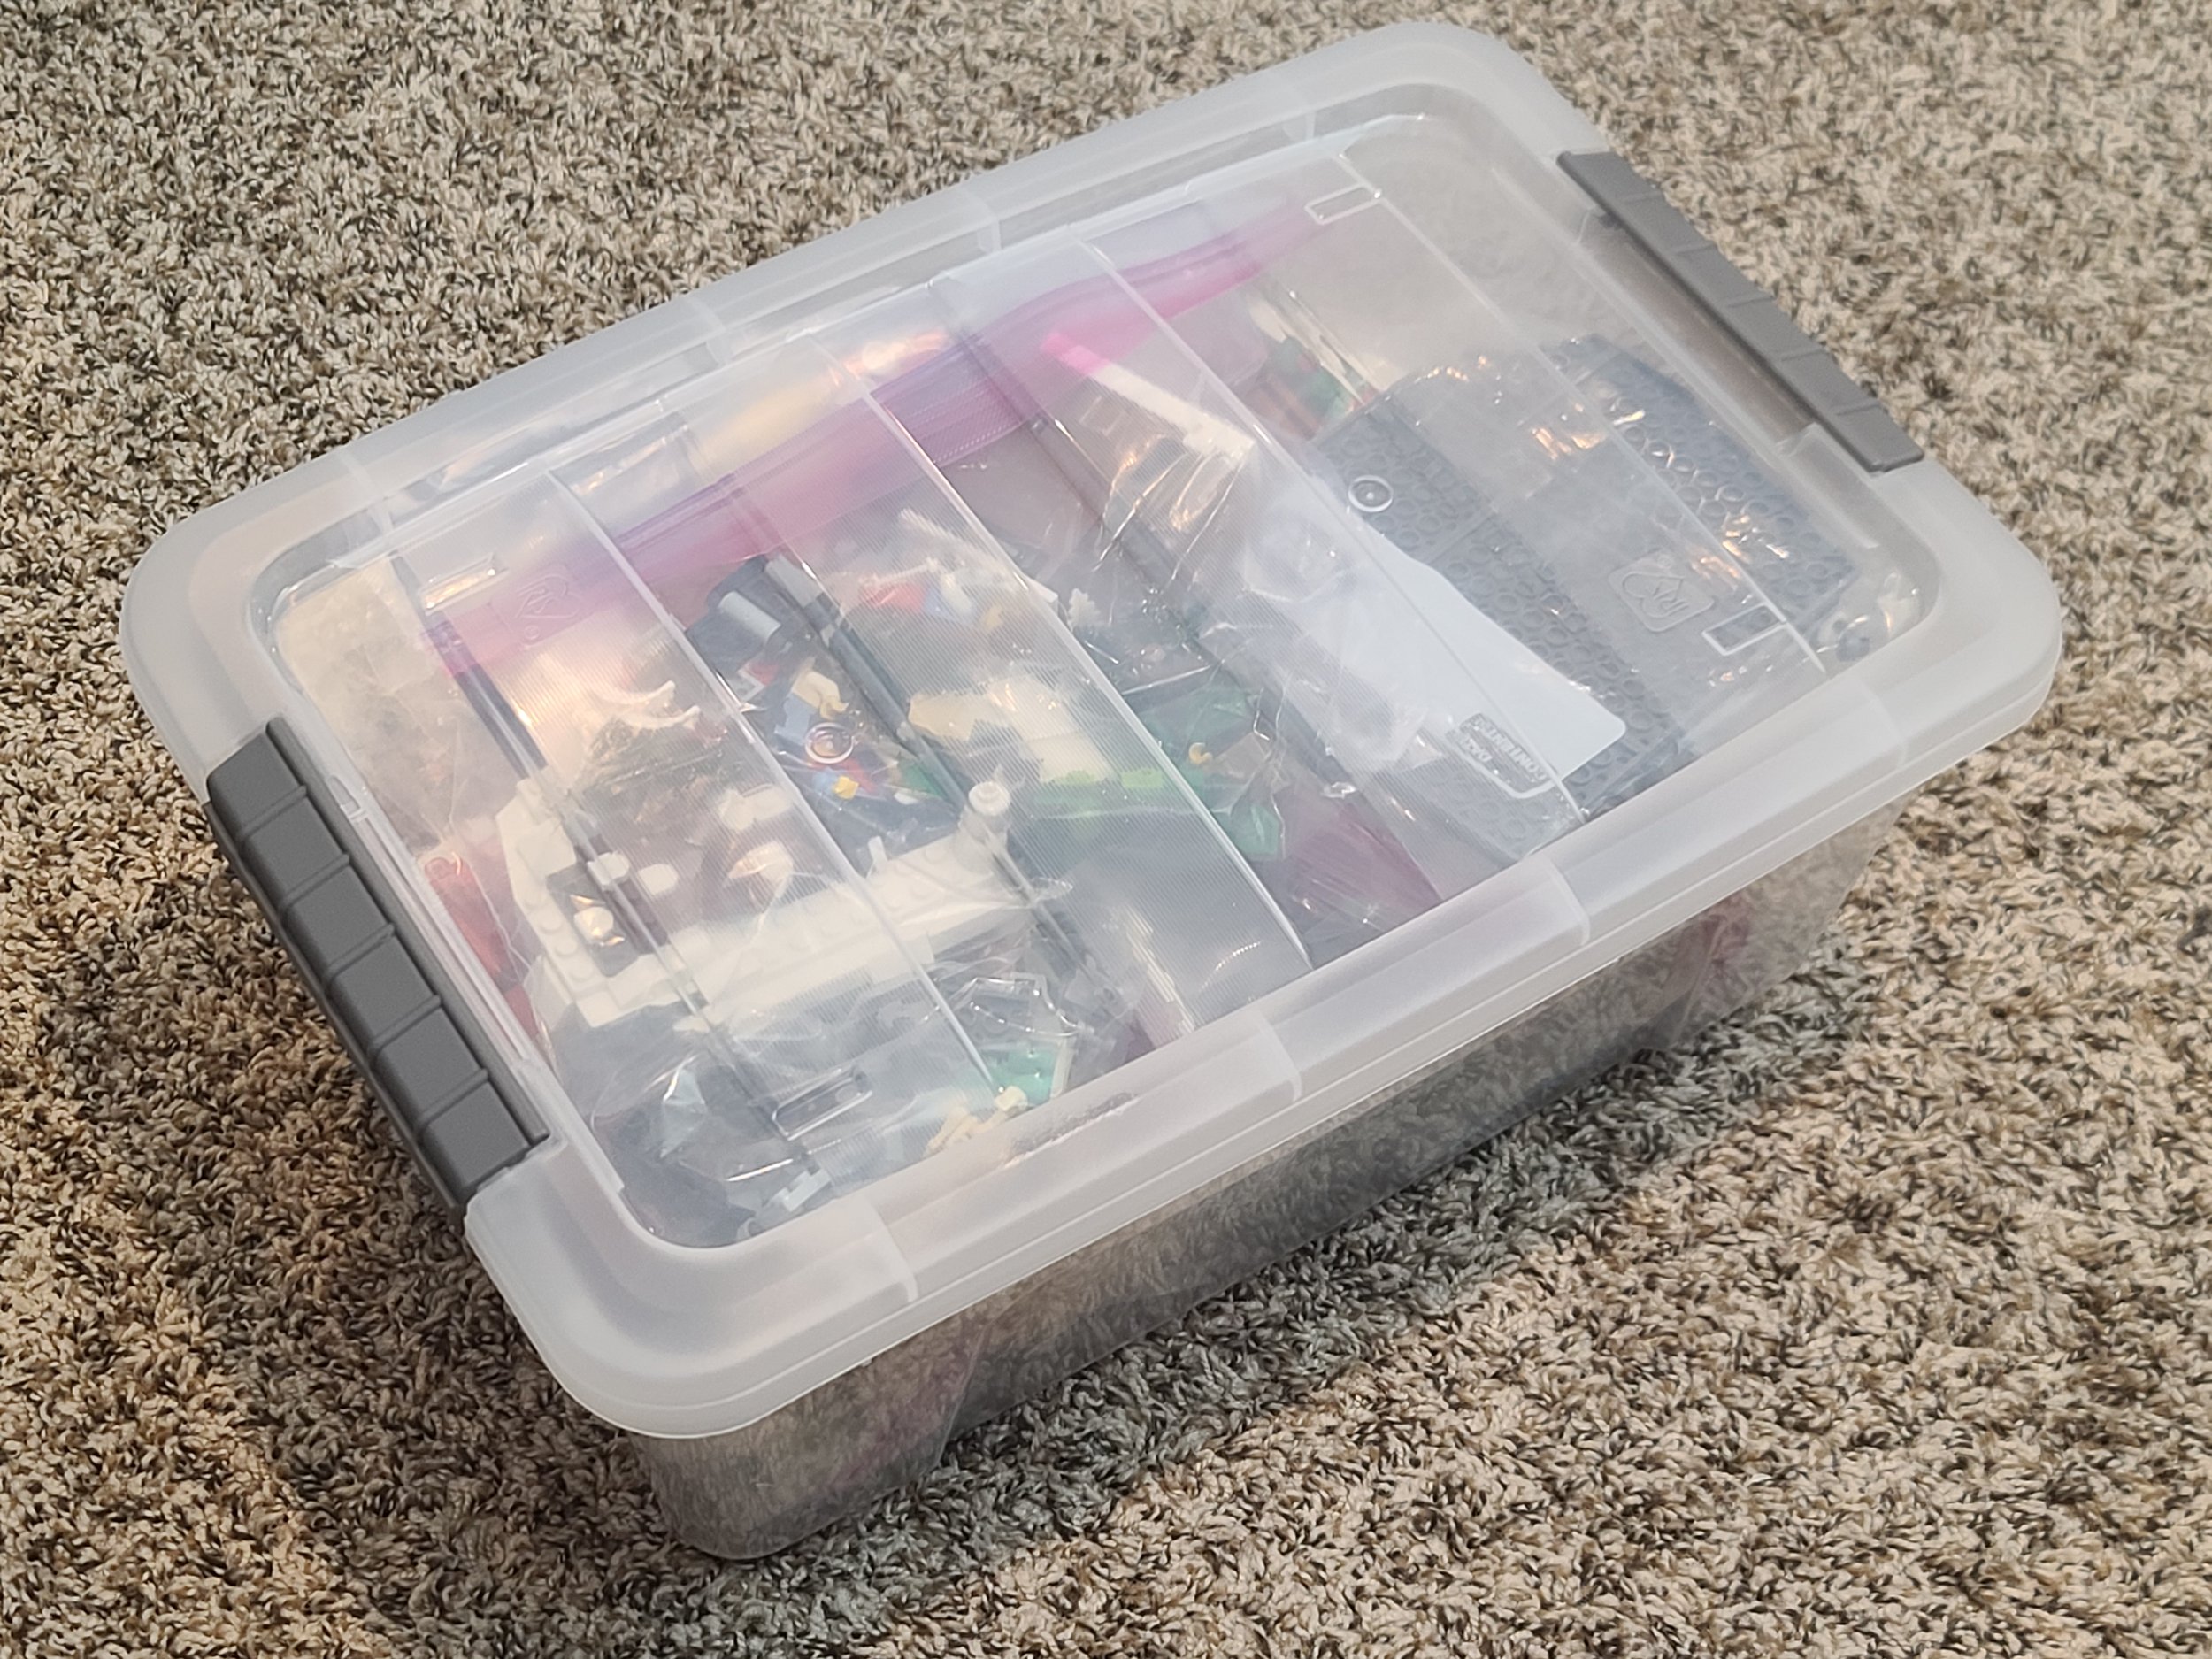
One option to store your Winter Village sets that’s a little of the best of both worlds is “chunking” them by taking apart large sections so they fit in a box better to save space, but in larger sections so they can be assembled again fairly quickly. Here’s most of 2024’s holiday lineup and how they can fit into a small container with minimal rebuilding needed:
Ultimately, the best storage solution for your Winter Village is what works for you, though I thought I’d ask our Nerd-in-Chief about how he stores his holiday display since he seems to be a pro!
Bringing It All Together To Go Big
For our readers who may not know, Dave built one of the first really epic LEGO Winter Villages that toured around to several conventions. He built it with Wayne Hussey and Terri Landers, and they came up with techniques like using old-school white flowers as piled snow, placing grill tiles as tire tracks, and shoving little bits and white animal horns into trees to make them look snowy.
I asked Dave how he stores such a big village: “At first, my Winter Village was just the sets that I’d take apart completely and reassemble every year, stored in plastic bags and containers. Then I started to mod them and build landscaping so it turned into a single MOC as big as my dining room table with everything connected. That year, I just lifted the whole thing and hid it under my bed until the holiday season came back around and it all had to be dusted. That’s when I knew I had to rebuild it from scratch using a 48x48 MILS system. I ordered boxes that perfectly fit those baseplates with a little extra room to help with storage. I also devised a grid system to know what belongs in each box. If any building or tree is taller than the box, I “chunk” them into a few reasonable-sized pieces to make reassembly quicker the next time it is on display. The extra space in each box is full of baggies of loose accessories from each grid square like trees, vehicles and minifigs that need to be re-built in the moment.”

From the sound of it, Dave uses EVERY technique mentioned in this article simultaneously! He shared this video of how his village transports, sets up, and gets taken down from a PSLTC train show where you can see everything in action.
But going big does have its drawbacks: “My Winter Village has almost come full circle, in a sense. The big version is too big for my house and lives in a storage unit. I only ever see parts of it when my LUG does a holiday display at a local community center, and each year I hope the white bricks haven’t yellowed. So now I’m back to building each year’s new Winter Village set like this year’s Alpine Lodge (and all the holiday GWPs), displaying it at home for the holidays, then taking it apart after and storing it in plastic bags.”
Get Packing!
From completely dissembling them to storing them built in plastic tubs, I think I can say there is no one right way to store your LEGO Winter Village sets when they are not on display. So take inspiration from those in the AFOL community and from us here at BrickNerd to get those sets packed up however works for you in preparation for another fantastic display next winter! Christmas is only 352 days away!
DISCLAIMER: Some of the holiday sets were provided to BrickNerd by The LEGO Group. Any opinions expressed in this article are those of the author.
How do you pack up your LEGO Winter Village? Tell us in the comments below!
Do you want to help BrickNerd continue publishing articles like this one? Become a top patron like Charlie Stephens, Marc & Liz Puleo, Paige Mueller, Rob Klingberg from Brickstuff, John & Joshua Hanlon from Beyond the Brick, Megan Lum, Andy Price, Lukas Kurth from StoneWars, Wayne Tyler, Monica Innis, Dan Church, and Roxanne Baxter to show your support, get early access, exclusive swag and more.